Your Home’s Lighting Probably Sucks. Here’s How to Fix It.
I’ve walked through hundreds of homes over the years, from sprawling custom builds to cozy little apartments. And I can tell you, the ones that just feel right all have one thing in common: great lighting. I’m not talking about a single, crazy-expensive chandelier. I mean lighting that’s been thoughtfully planned out. It makes a space feel warm, inviting, and genuinely useful.
In this article
On the flip side, I’ve seen just as many homes where something feels… off. You know the feeling. The paint colors look weird at night, or the kitchen feels like a cave even with every light blazing. Nine times out of ten, the culprit is a poor lighting plan.
Getting your lighting right is so much more than just picking out fixtures you think are pretty. It’s a fundamental system that works with the bones of your home, affecting your mood, how you see color, and how you actually live in your space. The pros use a simple but powerful method called layering. It’s the foundation of every good lighting design, and I’m going to walk you through it, step-by-step.
We’re going to get into the details that make a real difference—the kind of stuff that will help you make smart choices, whether you’re tackling this yourself or hiring some help.
First Things First: Let’s Talk About Light Itself
Before we even think about placing a lamp, we have to understand the material we’re working with. A lot of people still buy light bulbs based on outdated ideas, and it’s holding their homes back. Honestly, understanding these next three things is the single biggest step you can take toward a better-lit home. Let’s get a little nerdy.
Lumens, Not Watts: The New Way to Measure Brightness
For decades, we all bought bulbs based on watts. A 100-watt bulb was a bright one, a 40-watt was dim. Well, you can forget all that. Watts measure how much energy a bulb uses, not how much light it produces. With today’s super-efficient LEDs, a 15-watt bulb can easily outshine an old 100-watt incandescent. The number that actually matters now is lumens.
So, how many lumens do you need? Here are some general targets I use as a starting point. Remember, this is just for the base layer of general light; we’ll add more for specific tasks later.
- Kitchens: You need a good amount of light for safety and prep work. I usually aim for 30 to 40 lumens per square foot. So, for a 200-square-foot kitchen, you’d want a total of 6,000 to 8,000 lumens.
- Bathrooms: Good lighting is crucial for grooming. Go a bit higher here, targeting 70 to 80 lumens per square foot, especially around the vanity mirror.
- Living Rooms & Bedrooms: These spaces are all about flexibility. A good base is 15 to 20 lumens per square foot. Dimmers are an absolute must in these rooms.
- Hallways: You just need enough to see where you’re going. About 10 to 15 lumens per square foot usually does the trick.
A quick example: That kitchen needing 8,000 lumens might sound like a huge number, but it’s totally achievable. A standard 6-inch recessed LED light often provides around 800 lumens. So, to hit your goal, you’d be looking at installing around 10 of them. See? Now you have a concrete starting point for your shopping list!
Color Temperature: The Secret to Setting the Mood
Have you ever walked into a room and it just felt… sterile and cold? Or maybe it was so yellow and dingy it felt like a smoker’s den from another era? The problem is almost always the color temperature, which we measure in a unit called Kelvins (K). This describes the color of the light itself, from warm to cool.
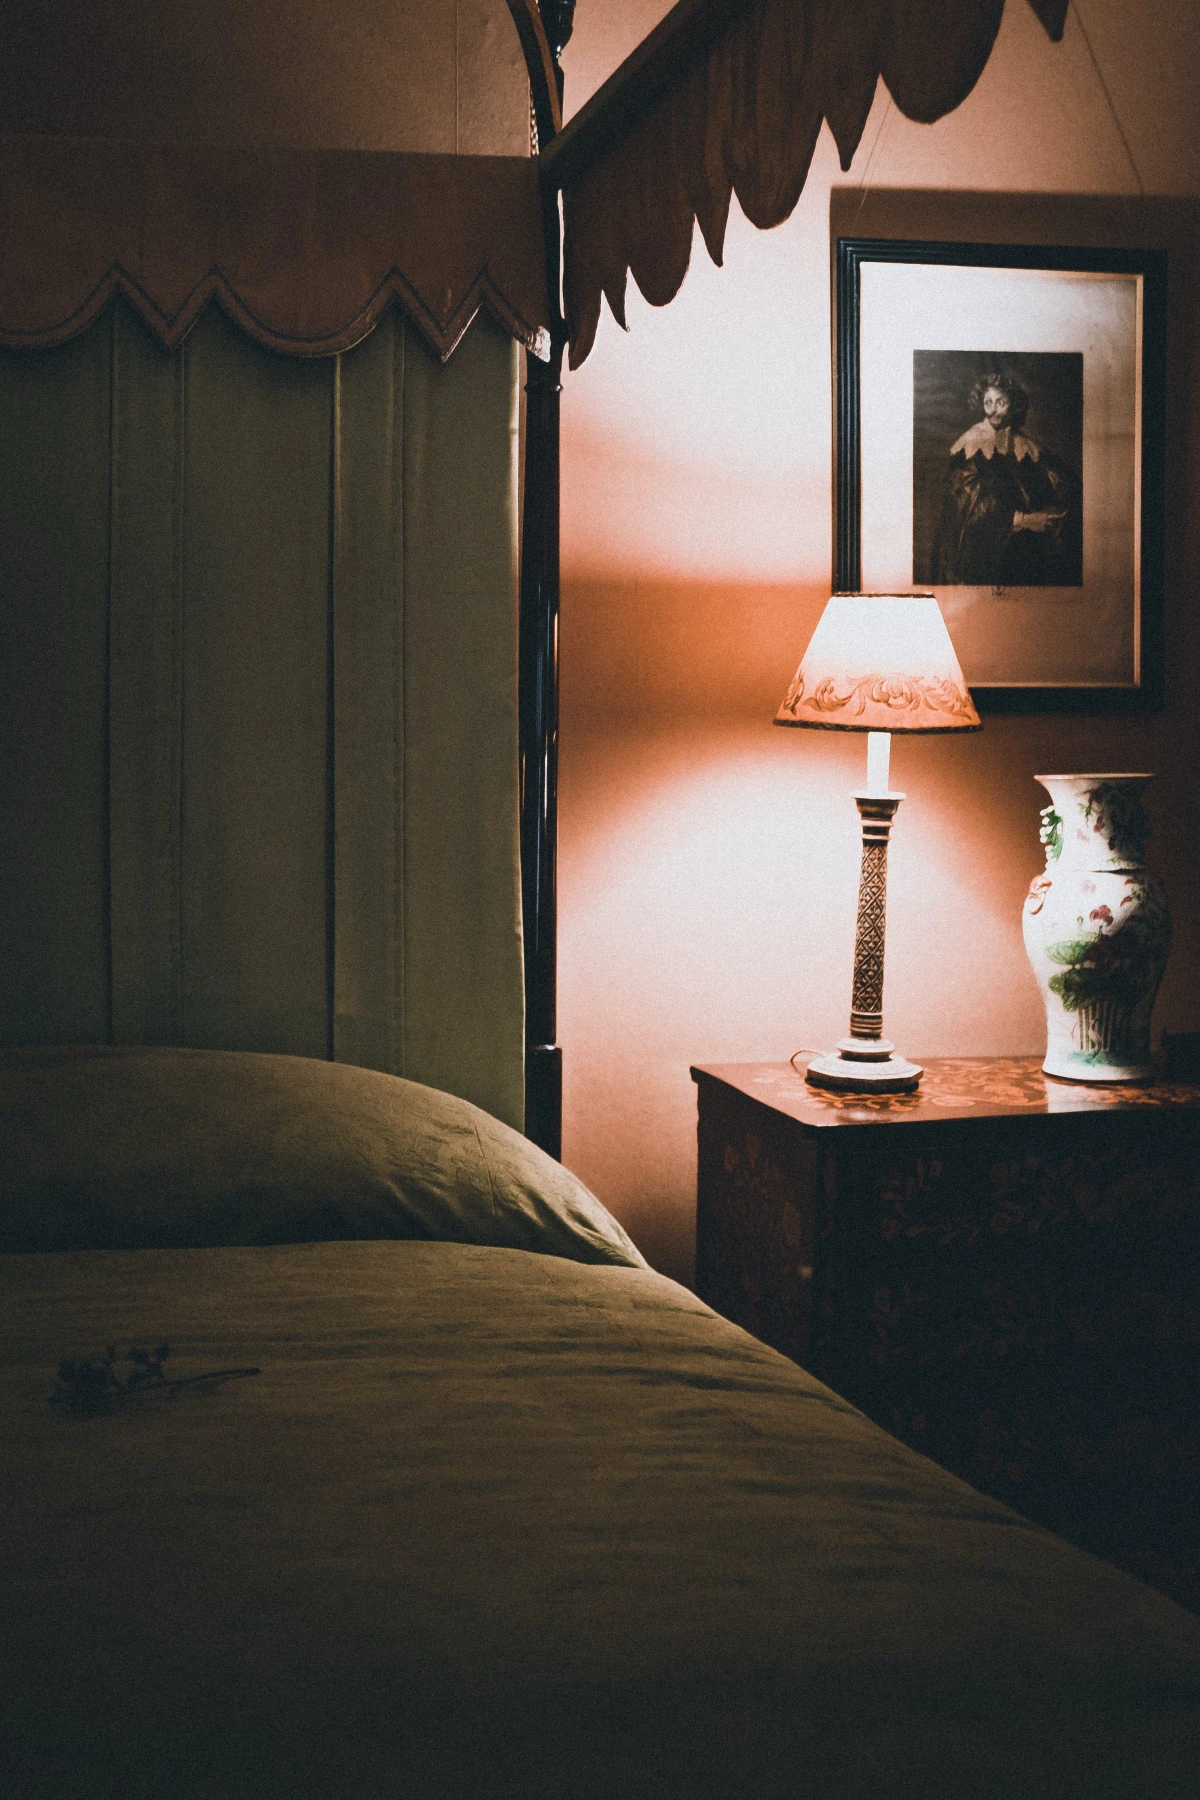
- 2700K (Warm White): This is the classic, cozy glow of an old incandescent bulb. It’s perfect for living rooms and bedrooms because it’s warm, inviting, and helps you wind down in the evening.
- 3000K (Soft White): This is my go-to for kitchens and bathrooms. It’s a bit crisper and cleaner than 2700K but still has a pleasant warmth. It helps colors look true without feeling clinical.
- 4000K (Cool White): This is a noticeably cool, white light you often see in offices. I rarely, if ever, use this in a home, unless it’s for a garage or a workshop where you need maximum task visibility.
- 5000K+ (Daylight): This is a very blue-white light that can feel harsh and jarring indoors. I strongly advise all my clients to avoid this for general home lighting, as it can mess with your sleep cycle.
Oh yeah, I once had a client who spent a fortune on beautiful custom cabinets with a subtle cream finish. They bought 5000K bulbs online because the ad screamed “BRIGHT DAYLIGHT!” The second they turned them on, their gorgeous creamy cabinets looked sterile white with a sickly blue tint. The whole room felt like a hospital cafeteria. We swapped every bulb for a 3000K version, and poof… the warmth and richness came right back. It was a simple fix that completely saved the vibe of their new kitchen.
CRI: The Metric That Makes Your Colors Pop
This is probably the most important and most overlooked number on the box: the Color Rendering Index, or CRI. It’s a scale from 0 to 100 that measures how accurately a light source shows the true colors of objects. Natural sunlight is a perfect 100.
For any residential project, I will not use a bulb with a CRI below 90. The difference is night and day. With high-CRI light, the red in your sofa looks rich and vibrant, not muddy brown. The wood grain in your floors has depth. Skin tones look healthy and natural. Cheap LED bulbs, often found in those big contractor packs, frequently cut corners here and have a CRI around 80. A quality 90+ CRI bulb might cost you $5 to $8, while the cheapo is maybe $2. I promise you, spending that extra few bucks is the best money you’ll spend on your lighting.
The Three Layers of a Great Lighting Plan
Okay, now that we know what makes for good light, we can start placing it. A professional plan is built with three distinct layers. When they work together, your room becomes both beautiful and incredibly functional.
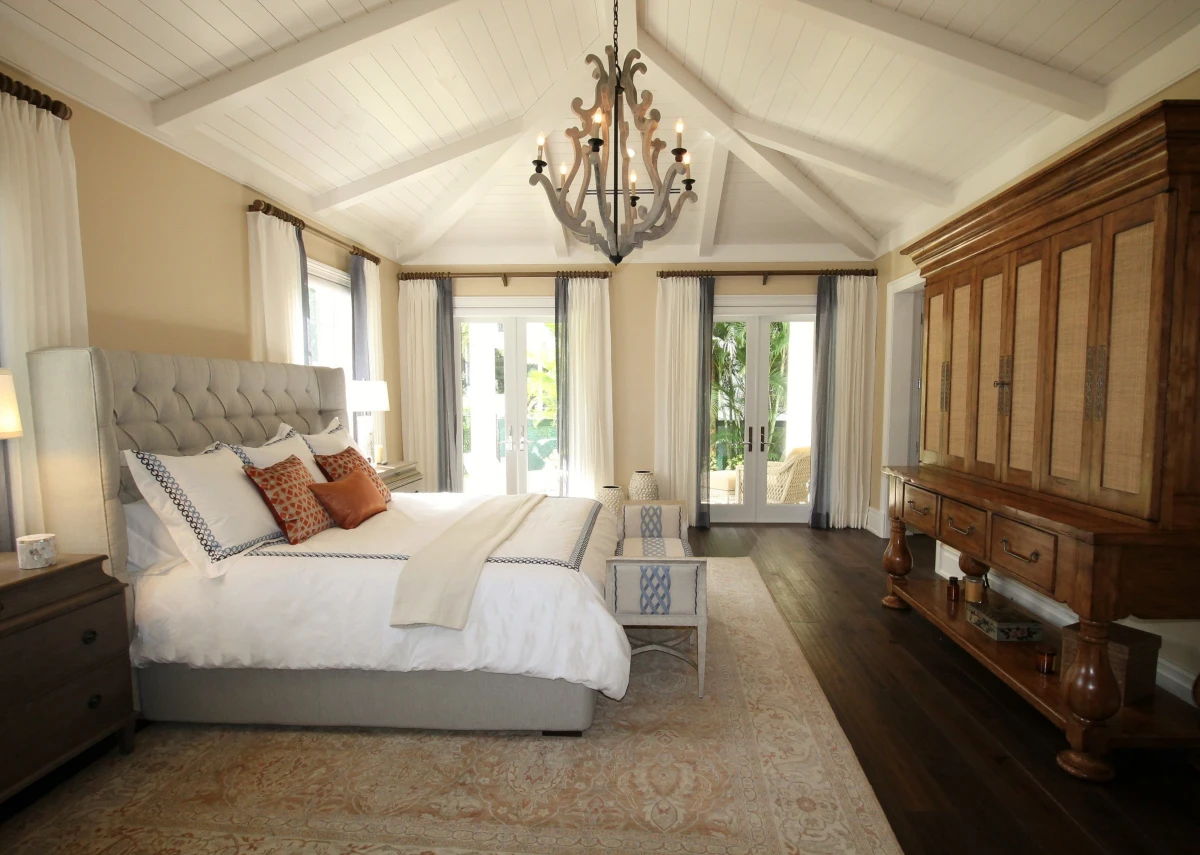
Layer 1: Ambient Light (The Overall Glow)
Think of this as your foundation. It’s the general, overall illumination that lets you see and walk around the room safely. It’s not meant to be dramatic; it’s just meant to provide a comfortable base level of light. This usually comes from overhead fixtures like:
- Recessed Lights: Great for smooth, even light. A common mistake is using too few or spacing them weirdly. A good rule of thumb is to take your ceiling height and divide by two. For an 8-foot ceiling, space your lights about 4 feet apart. And keep them 24-30 inches off the wall to avoid weird, ugly shadows.
- Chandeliers & Pendants: These provide general light while also acting as a decorative centerpiece.
- Flush-Mount Fixtures: The practical choice for hallways, closets, and rooms with lower ceilings.
Heads up! This entire layer should absolutely be on a dimmer switch. It’s what gives you the power to go from bright and clean to low and moody.
Layer 2: Task Lighting (The Workhorse)
Task lighting is exactly what it sounds like: focused light for specific activities like chopping vegetables, reading a book, or applying makeup. It prevents eye strain and makes detailed work safer and easier.
- Under-Cabinet Lighting: This is, frankly, non-negotiable in a kitchen. It lights up your countertops and gets rid of the shadows your own body creates when standing under overhead lights. There are great options for every budget and skill level. You can find simple plug-in LED bars for $20-$40, which are perfect for renters. DIY-friendly LED tape kits give a more custom look. For a seamless, high-end effect, a hardwired system installed by an electrician is the gold standard.
- Reading Lamps: A good floor or table lamp right next to your favorite chair is a classic for a reason.
- Vanity Lighting: Here’s a pro tip for the bathroom: place your lights on the sides of the mirror (as sconces), not above it. Side lighting at roughly eye level (about 60-66 inches off the floor) illuminates your face evenly. A light from above casts deep, unflattering shadows under your eyes and nose.
Layer 3: Accent Lighting (The Fun Part)
This is the final, artistic layer. Its only job is to create visual interest and drama. Accent lighting is what you use to highlight artwork, a textured stone fireplace, or a beautiful houseplant. It’s what makes a room feel custom and complete. A good guideline is to make your accent light about three times brighter than the ambient light around it to really make it pop.
Think about using things like adjustable track lighting aimed at a bookshelf, a picture light over a favorite painting, or even a simple uplight placed on the floor behind a large plant to create cool shadows on the ceiling.
A Quick Word on Dimmers (This is Important!)
We’ve mentioned dimmers a few times, but there’s a critical detail you need to know. Not all LED bulbs are dimmable! If you use a non-dimmable bulb on a dimmer switch, it will flicker, hum, and die a quick death. But it gets more complicated. Even with a dimmable LED, you might need a special dimmer switch designed for LEDs (often labeled as a CL or ELV dimmer) to get smooth, flicker-free performance. A good one will run you about $25 to $40 at the hardware store, and it’s worth every penny to avoid that annoying buzz.
Choosing Fixtures: A Practical Guide
Now that you have a plan, you can pick the fun stuff. But beyond style, let’s talk about scale and quality.
Getting the scale wrong can throw off the whole room. Here are some field-tested guidelines:
- Dining Chandelier: Aim for a diameter that’s about 1/2 to 2/3 the width of your table. Hang it so the bottom is 30-36 inches above the tabletop.
- Pendants Over an Island: Space them about 30 inches apart from each other’s center, with the bottom hanging 30-36 inches above the countertop. This lights your workspace without getting in your line of sight.
- Living Room Chandelier: Here’s a quick trick. Add the room’s length and width in feet. That number is a good approximation for your fixture’s diameter in inches. (So, a 15′ x 20′ room would look great with a 35″ diameter fixture).
And please, invest in quality. Check for a safety certification mark like UL or ETL. I’ve been called out to replace fixtures bought from sketchy online sellers and found dangerously thin wiring and melt-able plastic parts. It’s just not worth the risk to save a few bucks.
Installation: When to DIY and When to Call a Pro
Let’s be very clear: working with electricity is not like painting a wall. A mistake can cause a fire or worse. Your honesty about your own skill level is your most important safety tool.
If you’re going to do any work yourself, you MUST follow these rules:
- Turn off the power at the breaker panel. Don’t just flip the wall switch.
- Verify the power is off. Get a non-contact voltage tester. You can buy one for under $20 at any home center, and it’s the best twenty bucks you will ever spend. Seriously. Touch it to the wires in the box to be 100% sure they’re dead before you touch them.
A confident DIYer can usually handle swapping an old fixture for a new one of a similar weight. But you absolutely must call a licensed electrician in these situations:
- If you need to run new wiring to a spot that doesn’t have it.
- If you’re installing a heavy fixture. That standard plastic box in your ceiling is only rated to hold 50 pounds. A heavy chandelier requires a special brace secured to the ceiling joists. I’ve seen fixtures come crashing down, and it’s a destructive, expensive mess.
- If you have old wiring, like aluminum or knob-and-tube. Don’t touch it. It requires special handling.
- And, of course, if you ever feel unsure. The cost of hiring an electrician for an hour or two (usually between $150 and $350 depending on your area) is nothing compared to the cost of a house fire.
The Takeaway
Good lighting isn’t a luxury; it’s a core part of what makes a house a home. It even impacts our well-being. Our bodies are tuned to the sun’s cycle—bright light during the day keeps us alert, while warm, dim light in the evening helps us wind down. Having layers and dimmers gives you control over this, genuinely improving your mood and sleep.
Feeling overwhelmed? Here’s a simple challenge: Go to the store and buy two high-quality (2700K, 90+ CRI) LED bulbs and a $15 plug-in lamp dimmer. Put them in the lamps next to your sofa or bed. It’s a sub-$50 project that will take you five minutes. The immediate difference in the feel of that little corner of your room will make you a believer. By understanding these basics, you have the power to transform your space into one that’s not just more beautiful, but a whole lot better to live in.
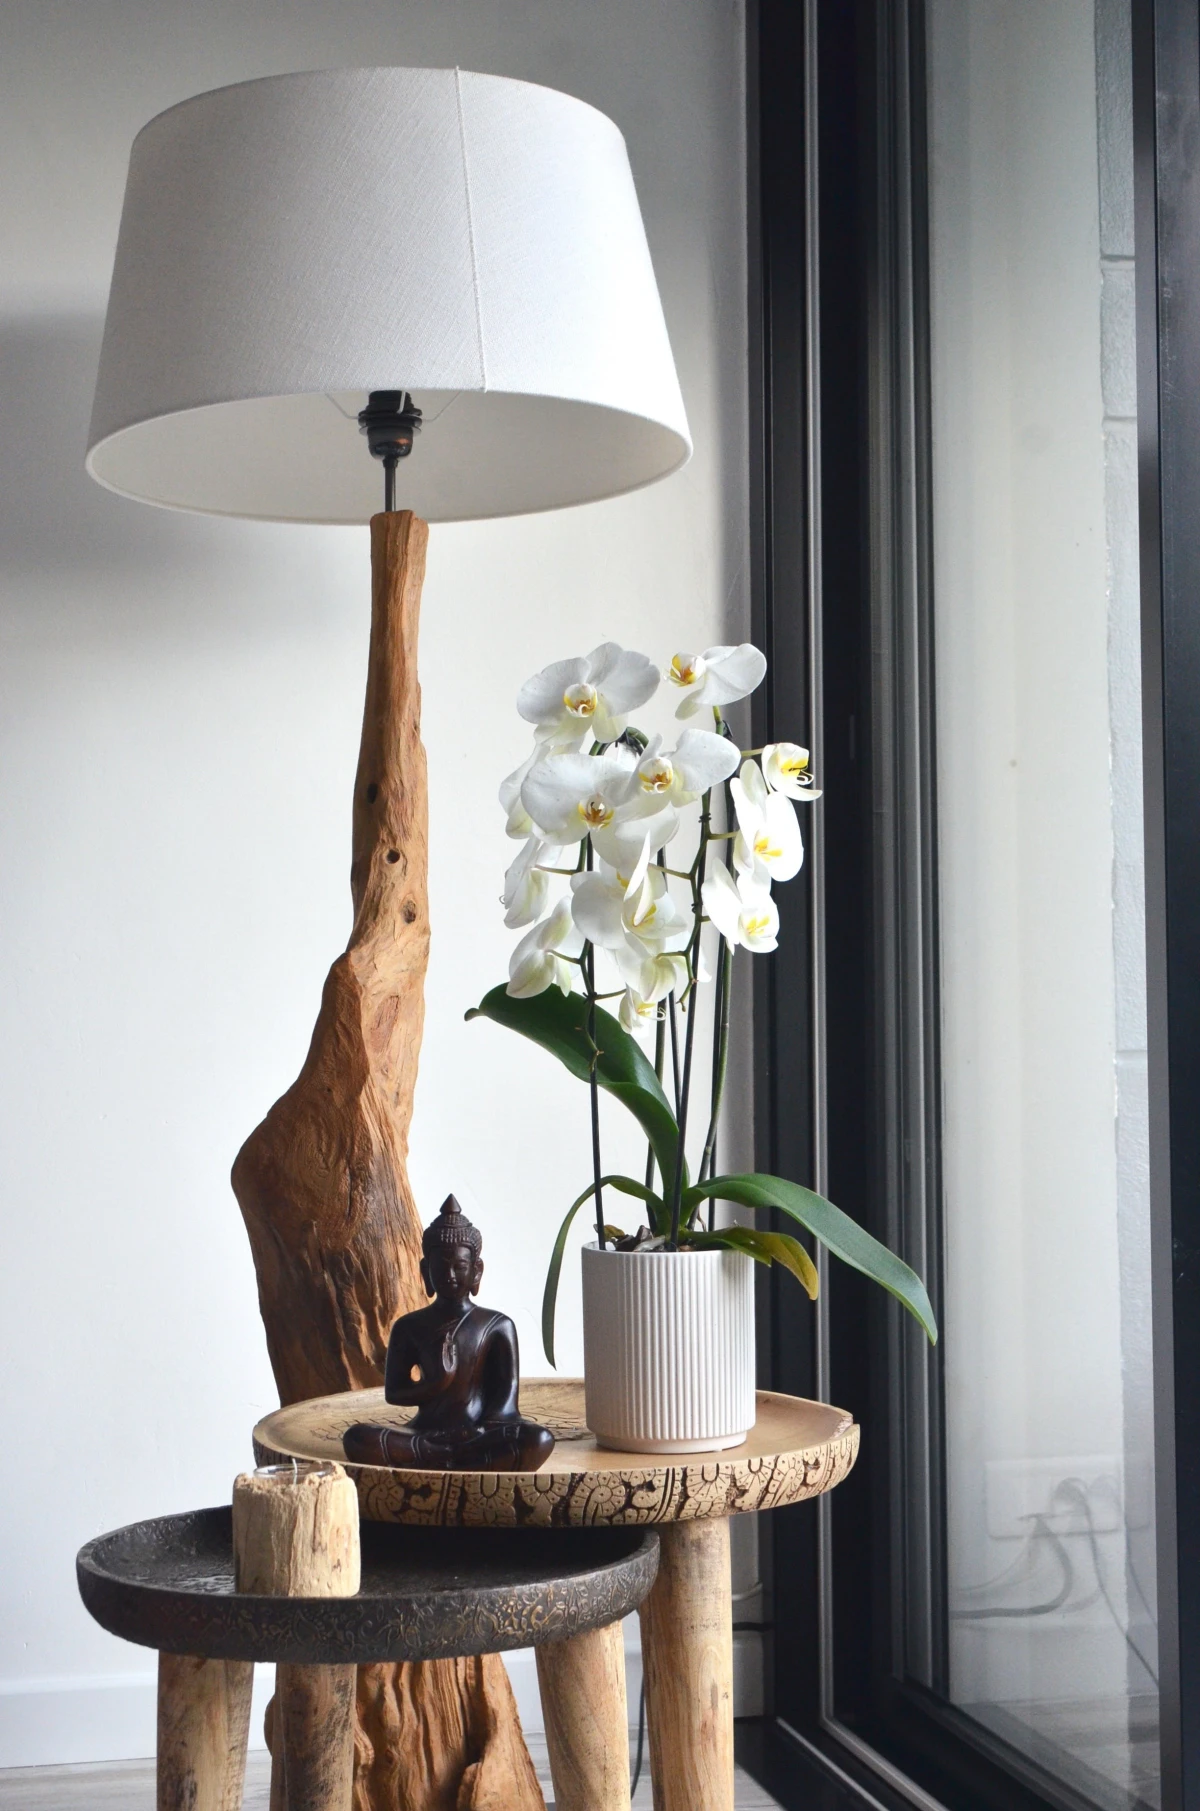
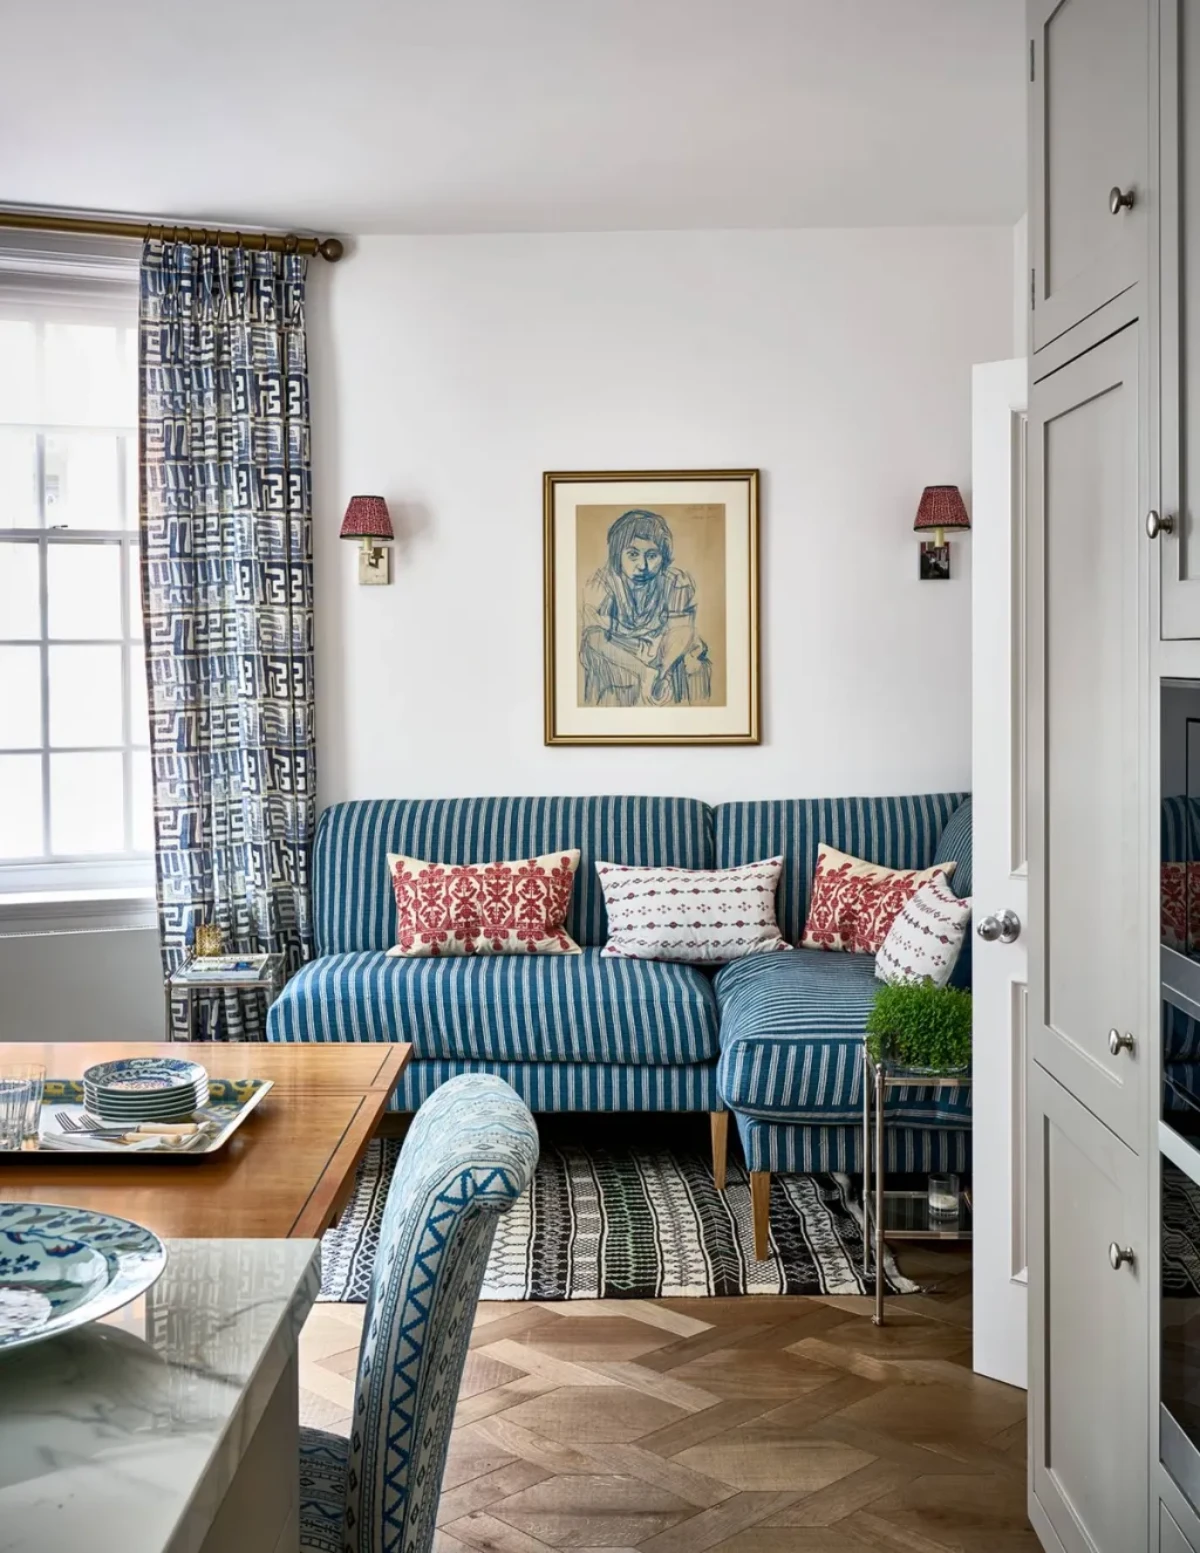
Inspirational Gallery
What’s the deal with ‘warm’ vs ‘cool’ light?
It’s all about Color Temperature, measured in Kelvins (K). Think of it like a flame: 2700K is the warm, cozy glow of a classic incandescent bulb, perfect for living rooms and bedrooms. 3000K is a slightly crisper, neutral white, great for kitchens and bathrooms. Anything 4000K and above starts feeling cool and blue, like office lighting—use it sparingly, perhaps only in a garage or dedicated workspace.
The average office worker receives only about one-third of the natural light exposure needed to properly regulate their circadian rhythm.
This is why home lighting is more than just decoration. Using tunable white light, like that from Philips Hue White Ambiance or WiZ bulbs, allows you to mimic the sun’s natural progression—cool, energizing light in the morning and warm, calming light in the evening. It’s a simple switch that can have a real impact on your mood and sleep cycle.
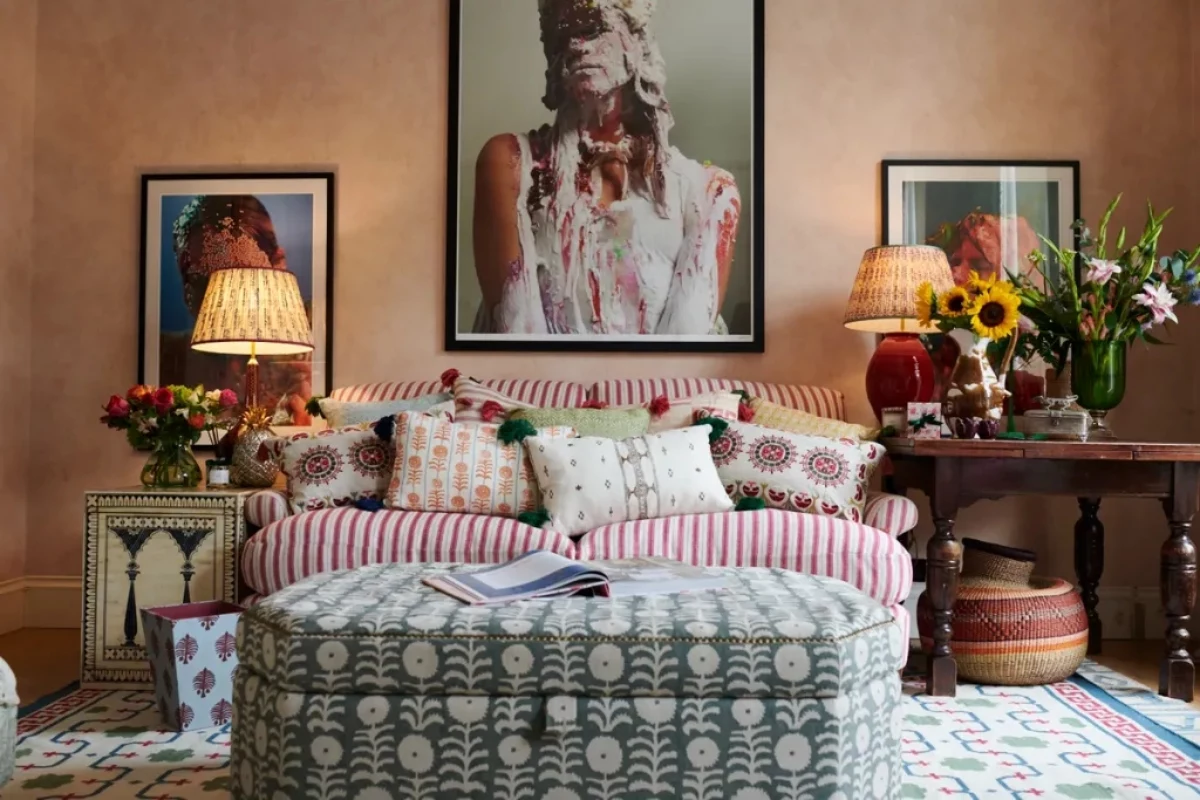
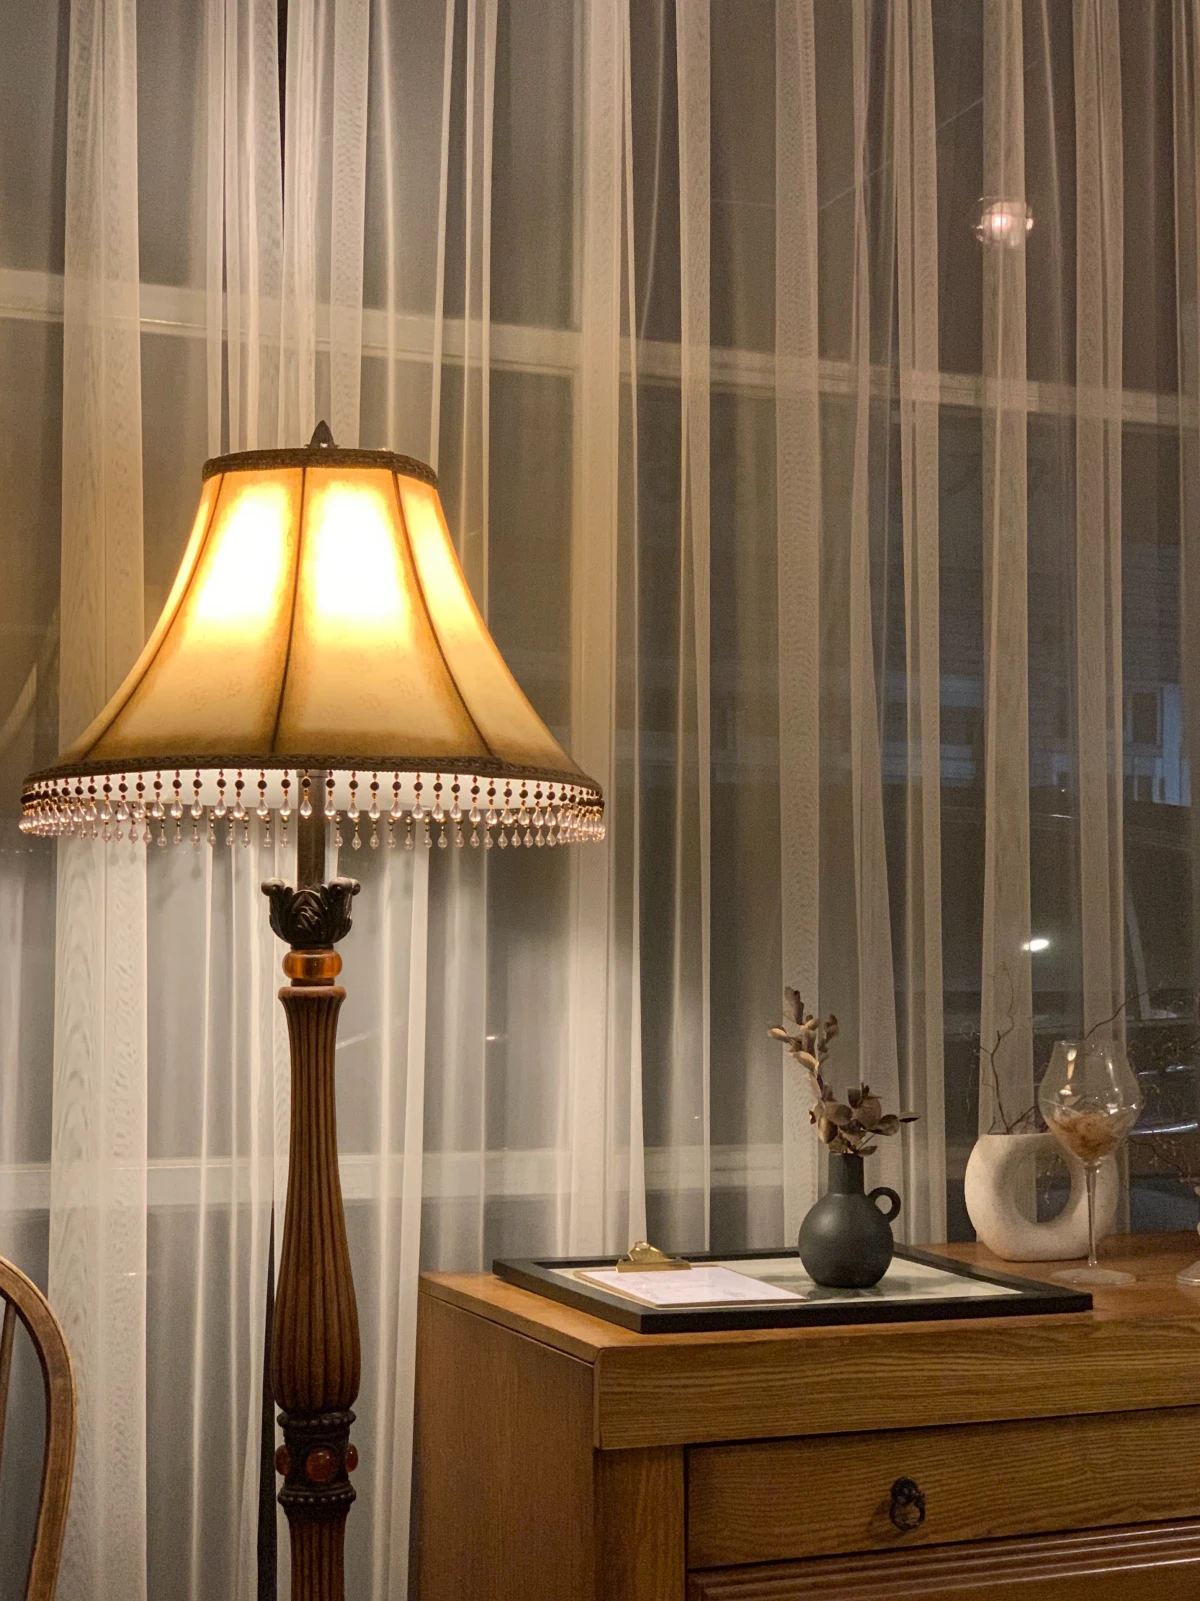
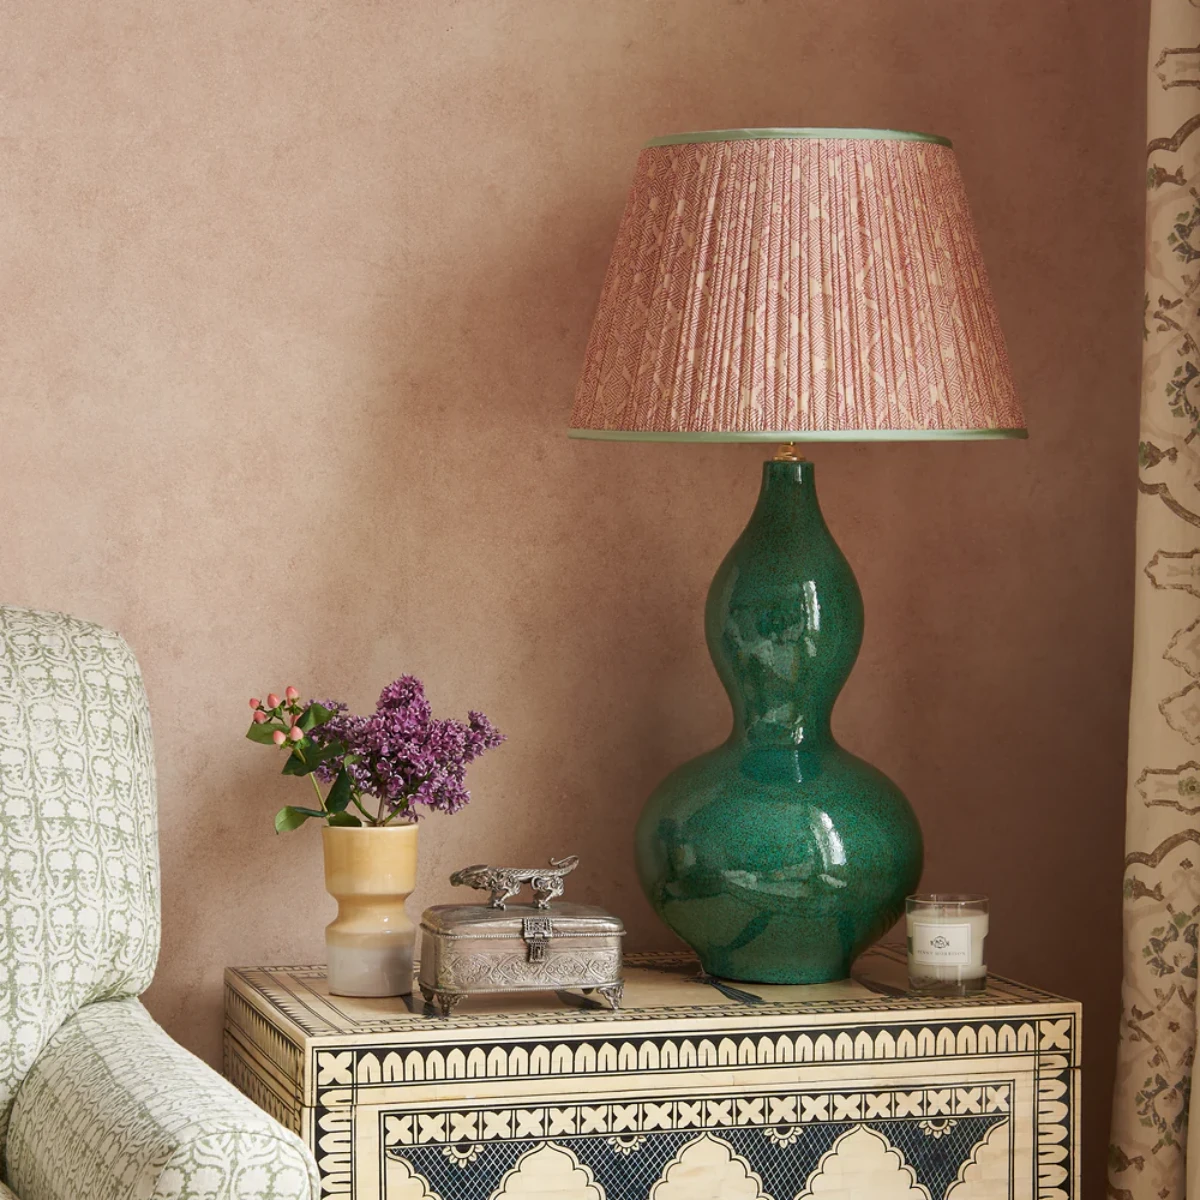
The lampshade is as important as the bulb. It’s not just decorative; it shapes the light and dictates the mood.
- Linen or Fabric: Diffuses light beautifully, casting a soft, warm, and inviting glow. A classic choice for ambient light.
- Opaque Metal or Ceramic: Directs a focused pool of light up and down, perfect for task lighting or creating dramatic highlights on a console table.
- Paper or Parchment: Offers a crisp, modern diffusion. Think of the iconic Noguchi Akari light sculptures—they provide an ethereal, even radiance.
The single most impactful upgrade you can make: Install dimmers. Everywhere. They’re inexpensive and allow you to take a single light source from functional brightness to intimate moodiness with a simple slide or turn. It’s the key to making your layered lighting plan truly dynamic and versatile.
- It can create a cozy dinner atmosphere on a table that has no overhead fixture.
- It can move to the patio for late-night conversations.
- It can add a warm glow to a bookshelf without a messy cord.
The secret? The new wave of stylish, rechargeable portable lamps from brands like &Tradition, HAY, and Zafferano. They’re the ultimate in lighting flexibility.
One of the most common lighting mistakes is the ‘runway effect’—a straight line of recessed ceiling lights that makes a hallway or room feel like an airport landing strip instead of a welcoming space.
Don’t forget to look up! Uplighting, where you bounce light off the ceiling, can make a room feel larger and more open. It creates a soft, diffuse glow that eliminates the harsh shadows often cast by downlights alone. Try a floor torchère tucked in a corner or wall sconces that direct their beam upwards. The effect is subtle, elegant, and instantly makes a space feel more sophisticated.
Smart Lighting – Hub vs. No Hub:
Philips Hue: The gold standard for a reason. It requires a central hub but offers incredible reliability, a vast ecosystem of products, and seamless integration. Ideal for those wanting a robust, whole-home system.
LIFX or WiZ: No hub needed! These Wi-Fi-based bulbs are incredibly bright and offer vibrant colors. They’re perfect for starting small or for rooms where you want maximum punch without extra hardware.
Take a cue from Scandinavian design, where light is a precious commodity. The goal of ‘hygge’ lighting isn’t to flood a room with brightness, but to create multiple ‘islands’ of warm, gentle light. Think a pendant over a table, a floor lamp by a chair, and accent lights on a bookshelf. This approach creates intimacy and draws people in, making even a large room feel cozy and inviting.


