Your Stainless Steel Pans Aren’t Ruined: A Pro’s Guide to Making Them Shine
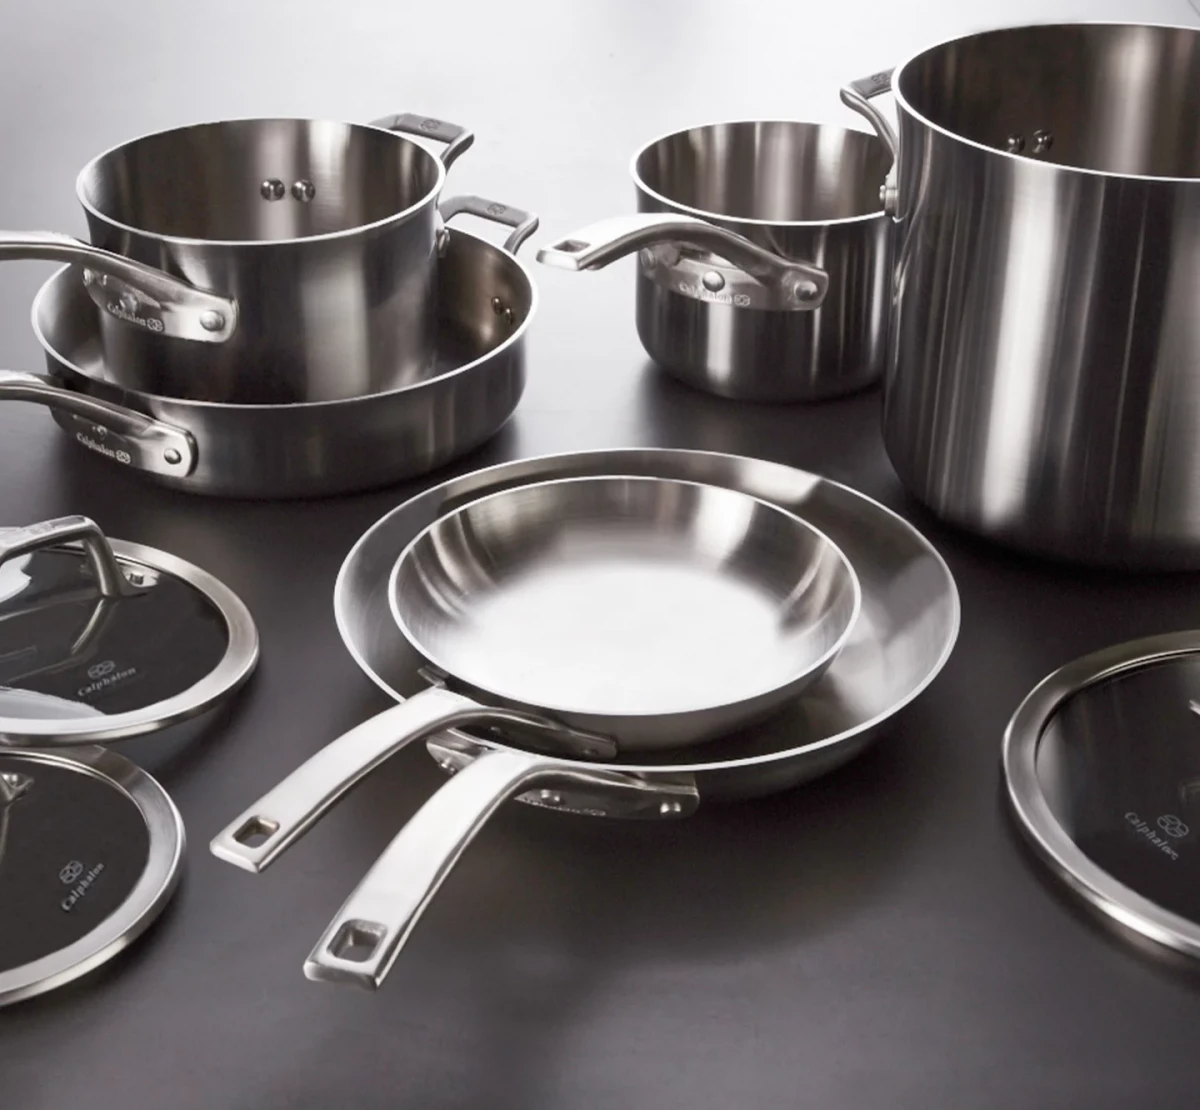
I’ve spent a long, long time in the back of professional kitchens. We’re talking decades. And in all that time, through all the fads and fancy new gear, one thing has never changed: our reliance on good old stainless steel cookware. It’s the absolute workhorse. It’s tough as nails, heats like a dream, and doesn’t get weird with acidic stuff like tomatoes or wine. One of the first things any new chef learns is that a clean pan is a high-performing pan. And this isn’t about vanity; it’s about pure function and hygiene.
In this article
But at home? I get it. A lot of people struggle. You see those weird rainbow stains or chalky white spots and your heart sinks, thinking you’ve ruined your pricey pan. Or you’re staring down a blackened, burnt-on mess and you reach for something that ends up scratching it forever. I’ve seen it a thousand times.
So let’s set the record straight. The goal isn’t to keep your pans in a museum-quality, mirror-finish state. It’s to maintain a clean, effective cooking surface that will honestly last a lifetime. These are the methods we use in the pros, broken down for your home kitchen.

First, Why Your Pans Look Weird (The Simple Science)
Before we get into scrubbing, you gotta know what you’re working with. That quality stainless steel pan is a clever mix of metals. You might see a stamp like “18/8” or “18/10” on the bottom. That’s not a model number; it’s the recipe—18% chromium and 10% nickel. That chromium is the magic ingredient.
It reacts with air to form a super-thin, invisible shield on the pan’s surface. Think of it like a force field that protects the steel from rust and corrosion. If you scratch it, the shield instantly heals itself. Pretty cool, right? Most stains are just something messing with this invisible layer.
- The Rainbow Stain (Heat Tint): Ever heat your pan a little too long, maybe while empty, and see a bluish or rainbow sheen? That’s just the protective layer getting a bit thicker from the heat. It’s completely harmless and doesn’t affect your cooking at all, but we can get rid of it.
- White Spots (Mineral Deposits): If you see chalky spots after washing, you’ve probably got hard water. These are just leftover minerals (mostly calcium) after the water evaporates. Again, totally harmless but can be annoying.
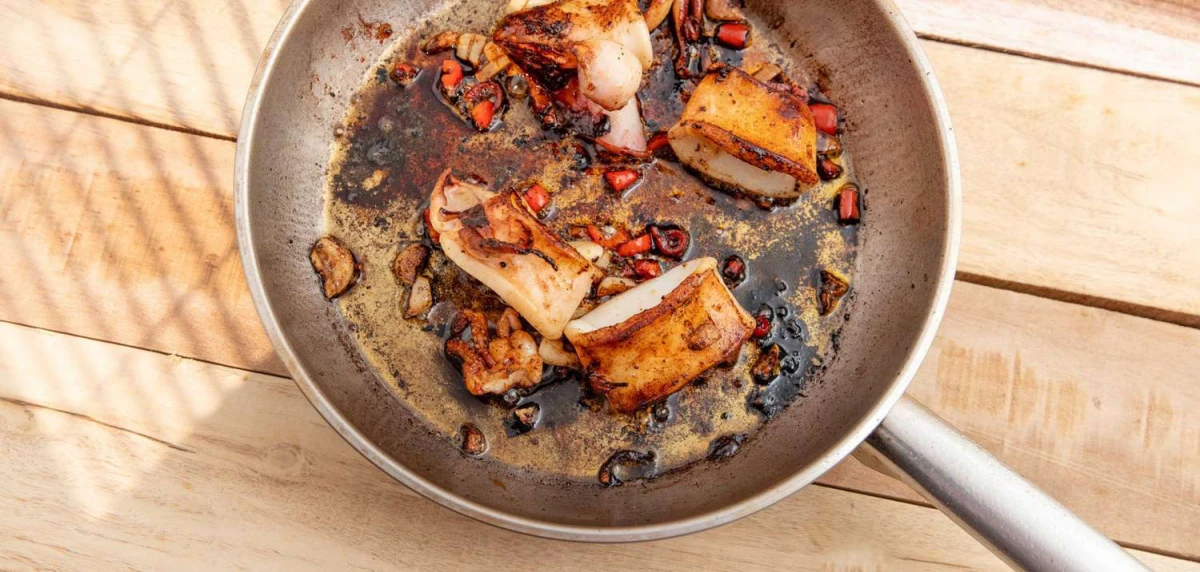
- Burnt-On Food and Oil: Ah, the big one. When oils and sugars get too hot, they polymerize. That’s a fancy word for turning into a hard, sticky, plastic-like resin that bonds to the metal. Regular soap has a tough time with this.
- Pitting (The Real Damage): These are tiny, permanent corrosion pits. The number one cause? Adding salt to cold water in the pot and just letting it sit there. The salt can attack the pan’s protective shield in one tiny spot, causing a pit. A hard lesson every culinary student learns eventually.
The Pro’s Go-To Cleaning Toolkit
Before we dive into techniques, let’s get your arsenal ready. You don’t need a lot, but having the right stuff is key. Here’s what I always have on hand.
- Basic Dish Soap: Any brand like Dawn works perfectly.
- Non-Scratch Scouring Pads: This is important! Look for the blue Scotch-Brite ‘Non-Scratch’ sponges. AVOID the green ‘Heavy Duty’ ones like the plague—they will absolutely leave fine scratches all over your beautiful pans.
- Baking Soda: Just the regular box from the grocery store. Costs about a buck.
- Distilled White Vinegar: The cheap stuff is perfect.
- Bar Keepers Friend: This is the secret weapon. You can find the powder version in the cleaning aisle at most supermarkets or hardware stores like Home Depot for about $3 to $5. It’s a must-have.
- Microfiber Cloths: For drying. They’re way better than letting them air dry.
The #1 Rule: Never Shock Your Pan
Before you even think about cleaning, hear this: Never, ever take a screaming hot pan and plunge it into cold water. That rapid temperature change can cause the metal to warp. I once saw a rookie cook do this, and the pan buckled with a loud “POP!” It was a brand new $150 sauté pan that never sat flat on a burner again. Always let your pan cool down for 5-10 minutes until it’s just warm to the touch.
Your Everyday Cleaning Habit
The best way to deal with tough stains is to prevent them. This simple routine takes just a couple of minutes.
- Deglaze While It’s Warm: This is a chef’s trick that’s also a cleaning trick. While the pan is still warm (not hot!), pour in a splash of water or stock. As it simmers, use a wooden spoon to scrape up all those tasty brown bits from the bottom. This does like 80% of the cleaning for you.
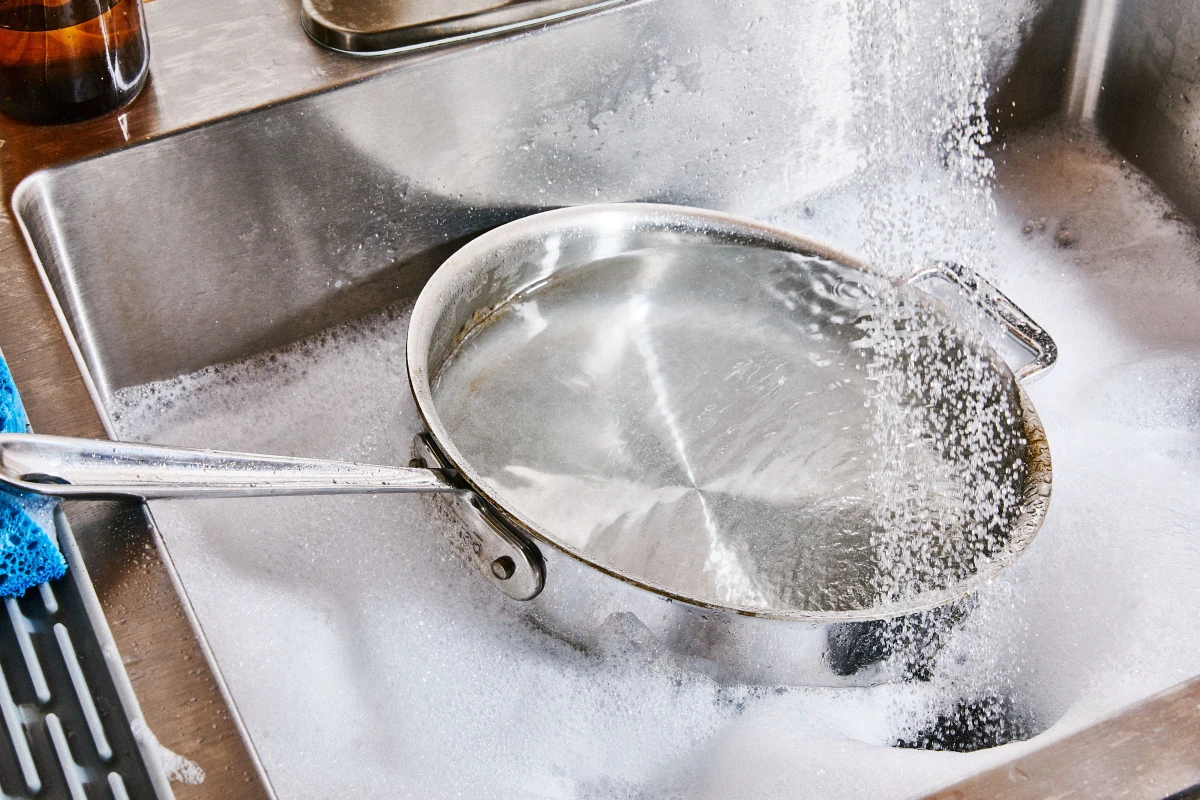
- Wash with Soap and Water: Once it’s cool enough to handle, use warm water, dish soap, and your blue non-scratch sponge to get rid of any remaining oil.
- Rinse Well: Make sure you get ALL the soap off. Leftover soap residue can burn on next time you cook, creating another stain to clean.
- Dry Immediately: This is the step everyone skips, but it’s critical. Use a microfiber cloth or dish towel to dry the pan completely. Air drying is what causes those white mineral spots and water marks.
How to Fix Stains, From Annoying to Disastrous
Okay, so even with perfect habits, stuff happens. Here’s the playbook for tackling specific problems, starting with the easiest fix first.
For Light Haze, Film, and Faint Stains… use a Baking Soda Paste.
Baking soda is a fantastic, gentle abrasive. Mix about three tablespoons of baking soda with one tablespoon of water to form a thick paste, kind of like toothpaste. Smear it onto the cool, dry pan and let it sit for 15 minutes. Then, scrub with a damp, non-scratch sponge in circular motions. Rinse and dry.
For Rainbow Stains and White Hard Water Spots… use Vinegar.
Acid is the answer here. Pour about a half-cup of plain white vinegar into the cool pan—just enough to cover the bottom. Swish it around. For really stubborn tint, you can gently heat the vinegar for a few minutes (don’t boil it). Let it cool, then wash with soap and water, rinse, and dry. The rainbow will be gone. Heads up: Your kitchen will smell like vinegar for a bit, so maybe crack a window.
For Seriously Burnt-On Gunk… use The Layered Attack.
Don’t just go nuclear. Start by filling the pan with an inch of water and bringing it to a boil for 5-10 minutes. This softens the burnt carbon. Then, carefully use a wooden spatula to scrape away the loosened gunk. If that doesn’t get it all, add 2-3 tablespoons of baking soda to the water and let it simmer for 15 minutes. This helps break down those polymerized oils. Let it cool, then scrub again.
The Final Boss: Bar Keepers Friend
If you’ve tried all that and still have black, carbonized patches, it’s time for the heavy hitter. Bar Keepers Friend (BKF) is what pros use to restore pans that look like they’re headed for the trash. Its active ingredient, oxalic acid, chemically breaks down what other cleaners can’t.
But you have to use it right! First, wet the inside of the pan. Sprinkle in some BKF powder and add a tiny bit more water to make a thin paste. Let it sit for ONLY one minute. Seriously, no more. Longer is not better. Then, scrub with your wet, non-scratch sponge. You’ll feel the grime start to give way. Rinse the pan two or three times VERY thoroughly to make sure all the residue is gone.
CRITICAL SAFETY NOTE: I tell every new cook this, and I’ll tell you too. NEVER, EVER mix Bar Keepers Friend (or any acid) with a cleaner that contains bleach. It can create toxic chlorine gas. Just don’t do it.
A Few More Pro-Tips You’ll Love
Here are a few more things that will make your life easier.
Tired of Food Sticking? It’s Your Heat, Not Your Pan.
People blame stainless steel for being sticky, but they’re just not pre-heating it correctly. Here’s the trick: put the dry pan on medium heat for a minute or two. Then, flick a drop of water into it. If the water sizzles and evaporates, it’s not ready. If it breaks into a bunch of tiny beads that skitter around, it’s not ready. But if the drop of water forms a single, beautiful ball that glides around the pan like a mercury marble… it’s perfect. That’s the signal to add your oil, let it heat for a few seconds, and then add your food. Game-changer.
What About the Outside of the Pan?
Drips and splatters happen, and they burn onto the outside just like on the inside. You can use the exact same methods! A baking soda paste or a gentle scrub with Bar Keepers Friend will take those brown, oily streaks right off.
So… Can I Use the Dishwasher or Not?
Okay, here’s the real talk. Most manufacturers say their pans are dishwasher-safe. And technically, they are. But in a professional kitchen, we would never, ever put our good pans in a dishwasher. The harsh detergents can dull the finish over time, and the high-pressure jets can cause other items to knock against them. For a pan you paid good money for, I always recommend the 2-minute hand wash. It’s just better for the pan’s longevity.
Is My Pan Truly Ruined?
It is incredibly hard to truly ruin a quality stainless steel pan. I once bought a set of used pans from a closing restaurant that were covered in a thick, black crust. I wish I had before-and-after pictures! Imagine a pan that’s almost entirely black on the bottom. It took a full afternoon of using every trick here—a long baking soda boil followed by several rounds with BKF—but underneath all that neglect were perfectly good pans. Patience beats force, every time.
The only things that are truly fatal are severe warping from thermal shock or damage from a seriously harsh chemical like oven cleaner, which can permanently etch the metal.
A Quick Recap: The Biggest Mistakes to Avoid
- Plunging a hot pan in cold water (Hello, warping!)
- Using steel wool or green ‘heavy duty’ scrubbies (Scratches for days.)
- Letting salt sit in cold water in the pan (This is how pitting starts.)
- Letting it air dry (Welcome to Spot City.)
Final Thoughts
Caring for your cookware is a skill, not a chore. It’s about using the right tool for the right job and understanding what you’re working with. Don’t be afraid of a pan that has a few scuffs—it’s a sign of a well-loved kitchen and delicious meals.
So, here’s your mission, should you choose to accept it: Find your grimiest, most-hated pan in the cupboard. The one you’ve given up on. Try the baking soda boil and a little scrub. I bet you’ll be amazed. Let me know how it goes!


