Your Grill is Begging for a Deep Clean. Here’s How to Do It Right.
I’ve spent more years than I can count with my hands covered in grill gunk. From the classic charcoal kettle in a neighbor’s yard to those huge, gleaming smokers at food festivals, I’ve seen them all. And let me tell you, I’ve seen what neglect does. It’s not just about looking bad. A dirty grill is an inefficient, unsafe, and frankly, disappointing machine that can ruin a perfectly good steak and even pose a serious fire hazard.
In this article
So many people think the fire just sterilizes everything. And while high heat does kill germs, it doesn’t vaporize the old, carbonized grease and crusty food bits. That’s the stuff that causes all the problems. It blocks heat, makes your food taste bitter, and fuels those terrifying flare-ups.
Think about it this way: A neglected grill might struggle just to get over 350°F, heating up unevenly and taking forever. But after this deep clean, I promise it’ll heat up fast and can roar to 500°F in minutes. It’s a total game-changer.
Today, we’re going beyond a quick wipe-down. This is the real-deal, deep-cleaning process the pros use, broken down so you can do it yourself. We’ll cover the tools, the right techniques for your specific grill, and the safety checks you should never, ever skip.
First, Know Your Enemy: The Gunk
Before you start scraping, it really helps to know what you’re up against. That black crud is a nasty cocktail of a few different things.
First, you’ve got carbonized food. These are the flaky bits of old burgers and charred veggies that have been cooked into nearly pure carbon. This stuff is crusty and usually comes off without too much of a fight.
The real villain is polymerized oil. When cooking oils get heated over and over, their molecules link together and form a hard, sticky, plastic-like coating. It’s the same science that seasons a cast-iron skillet, but on your grill, it builds up into a thick, rancid layer that makes everything taste awful.

And finally, especially with charcoal or pellet grills, you have creosote. It’s a tar-like substance that condenses from smoke. You’ll often see it looking like peeling black paint on the inside of your grill lid. A little bit adds smoky flavor, but when it starts flaking off onto your food? Yuck. It’s incredibly bitter.
Assembling Your Grill-Cleaning Arsenal
Having the right tools makes this job go from a nightmare chore to a satisfying project. Here’s the pro-level kit, along with some budget-friendly hacks if you don’t want to go all-in.
- Safety First (Non-Negotiable): Get some heavy-duty gloves—leather or thick rubber work great. Grill grease is a special kind of messy. Also, grab a pair of safety glasses. Seriously. I’ve seen little shards of carbon fly off during scraping, and you do not want one in your eye. This gear will cost you maybe $15-$20 at any hardware store, and it’s worth every penny.
- The Pro Scraper: A stiff metal putty knife is your best friend here. It costs like, $5, and it’s perfect for shearing off thick gunk inside the cook box. Heads up: if you have a porcelain-coated interior, grab a plastic putty knife instead to avoid chipping it.
- The Brush Debate: Let’s be frank: I stopped using standard wire-bristle brushes years ago. The risk of a bristle breaking off, sticking to the grate, and ending up in someone’s food is real and dangerous. Instead, invest in a tightly wound coil brush (around $15-$25) or a grill-safe pumice stone. Budget Hack: A wadded-up ball of heavy-duty aluminum foil held with tongs works surprisingly well on a hot grate.
- The Pro’s Secret Weapon: A wet/dry shop vacuum. This is the single best tool for getting all the scraped-down crud out of the grill’s body. It’s fast, clean, and thorough. Budget Hack: A stiff brush and a dustpan. It’s messier and takes more effort, but it gets the job done.
- Degreaser That’s Actually Safe: Look for a citrus-based, food-safe degreaser. Brands like Simple Green’s Food Service Cleaner or Zep have options that are non-toxic and biodegradable. You can find them at Home Depot or Lowe’s. Avoid harsh oven cleaners—their fumes can linger and they can strip the paint right off your grill.
- Other Essentials: You’ll want a bucket for hot, soapy water, some microfiber cloths for cleaning the outside (paper towels can scratch stainless steel!), and a small, pointy tool like an unfolded paperclip for clearing burner ports.
The Deep Clean: A Step-by-Step Guide
Before you even think about starting, make sure the grill is completely cool. For a gas grill, turn the propane tank valve off and disconnect the hose. It’s also a great idea to lay down a cheap tarp or some old cardboard to protect your patio from the inevitable mess.
For Gas Grills (The Most Common)
These have the most parts, so plan for a solid hour or two. Don’t rush it.
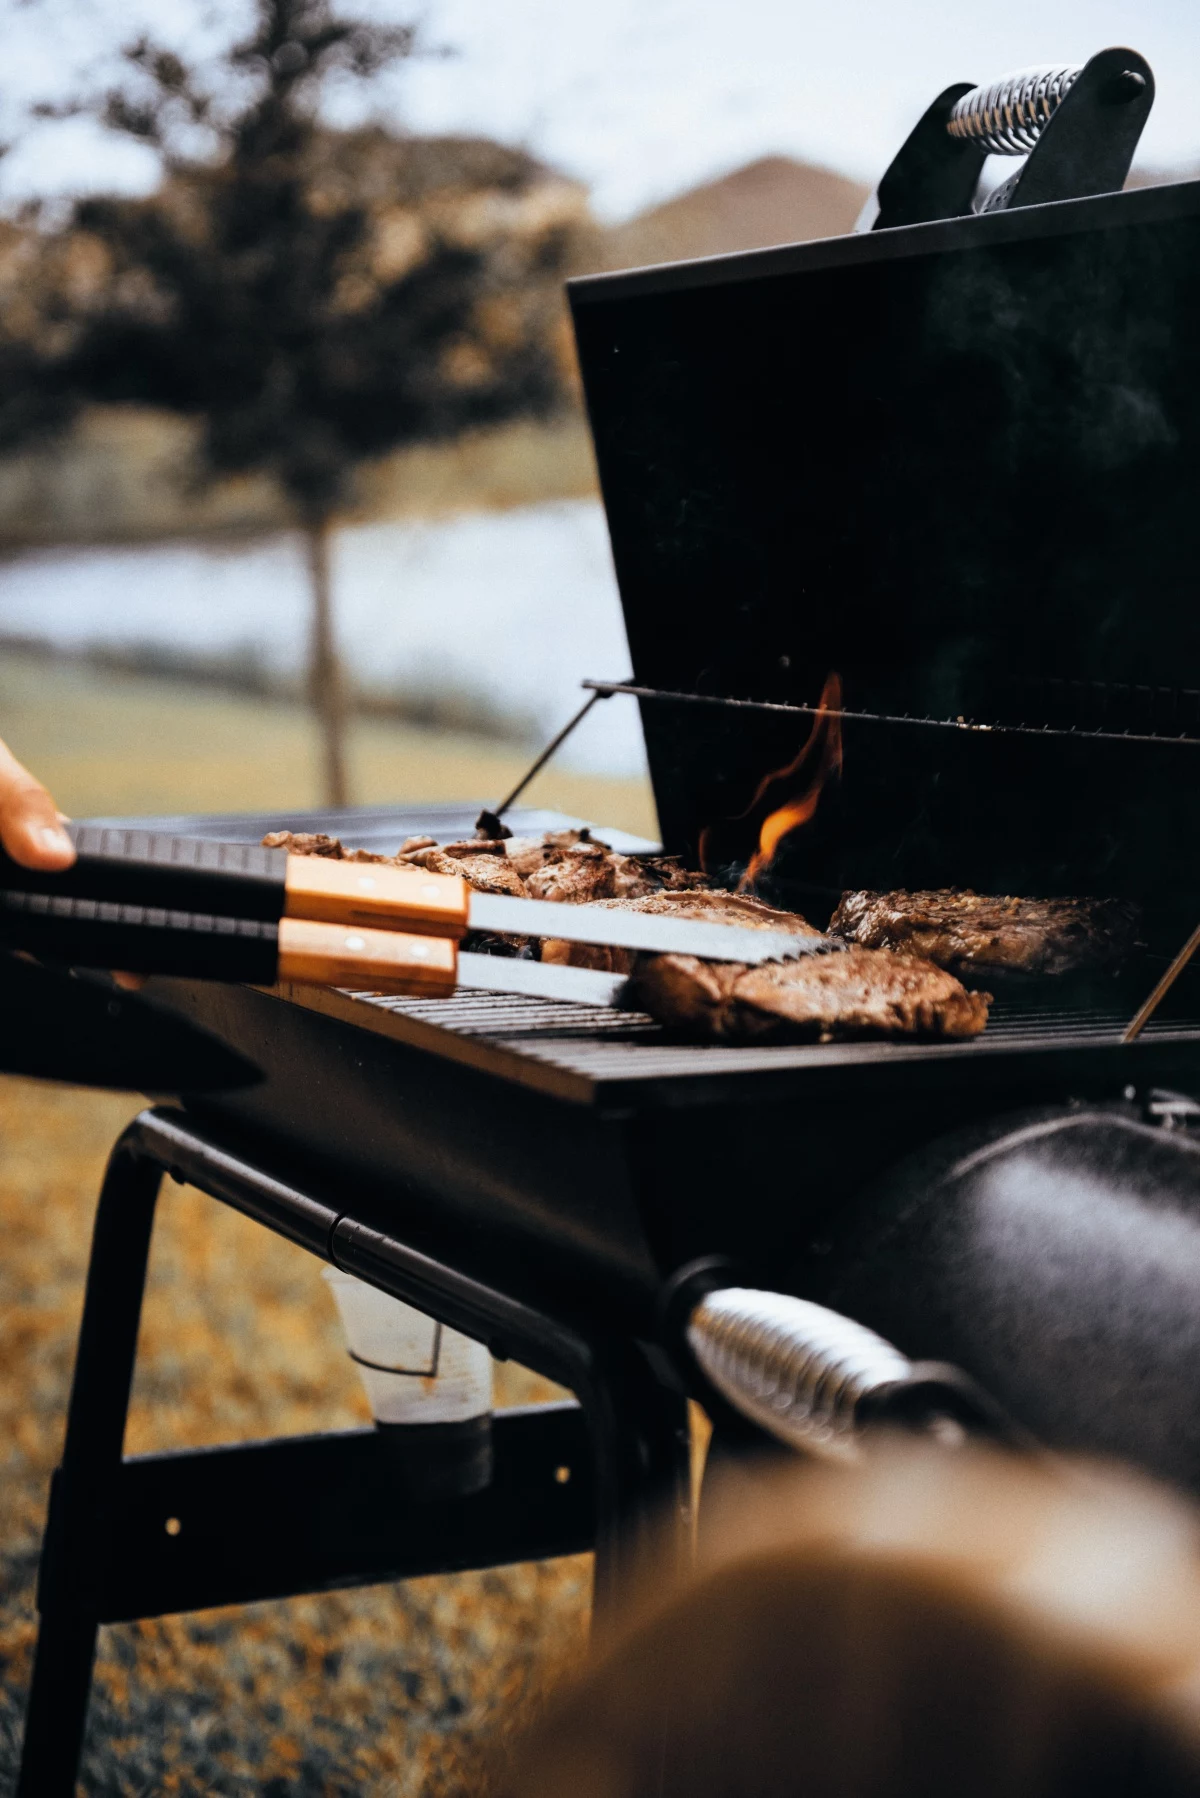
1. Grates & Heat Deflectors: Pull out the cooking grates and the metal tents that sit over the burners (sometimes called ‘Flavorizer Bars’ or heat plates). Scrape the big chunks off both sides, then either soak them in a bucket of hot, soapy water or give them a good spray with that food-safe degreaser and let them sit.
- A quick note on grates: For cast iron, scrape them, but avoid long soaks that can cause rust. For stainless steel, go to town—they can take a beating. For porcelain-coated grates, use a nylon brush to avoid chipping the finish. Once it’s chipped, rust is not far behind.
2. The All-Important Burner Tubes: This is critical for performance. Gently brush any debris off the top of the tubes. Now, look closely at the little holes where the flame comes out. Use your paperclip to poke out any gunk from clogged ports—this is what causes uneven heating. Then, check the open ends of the tubes where they connect to the knobs. Spiders LOVE building nests in there. I once cleaned out a tube so packed with webs and egg sacs it looked like a Halloween decoration. The owner couldn’t figure out why one side wouldn’t light… well, that was why. A flexible venturi brush is the best tool for this job.

3. The Cook Box: With everything out, use your putty knife and scrape the sides and bottom of the grill. Scrape all that junk down into the bottom. This is where the shop vac comes in handy—just suck it all up. It’s immensely satisfying.
4. Grease Management: Find the grease tray and catch pan. Slide them out, scrape the solidified gunk into the trash, and give them a good scrub with hot, soapy water. A clean grease system is your #1 defense against a big grease fire.
5. Reassembly and a CRITICAL Safety Check: Put everything back, then reconnect the gas tank. Turn on the gas. Now, mix some dish soap and water in a spray bottle and spray the hose and all connections. If you see bubbles growing, you have a gas leak. Turn off the gas IMMEDIATELY. Tighten the connection and test again. If it still bubbles, do not use the grill. Go buy a new hose and regulator assembly—they’re about $20-$30 and are essential for safety.
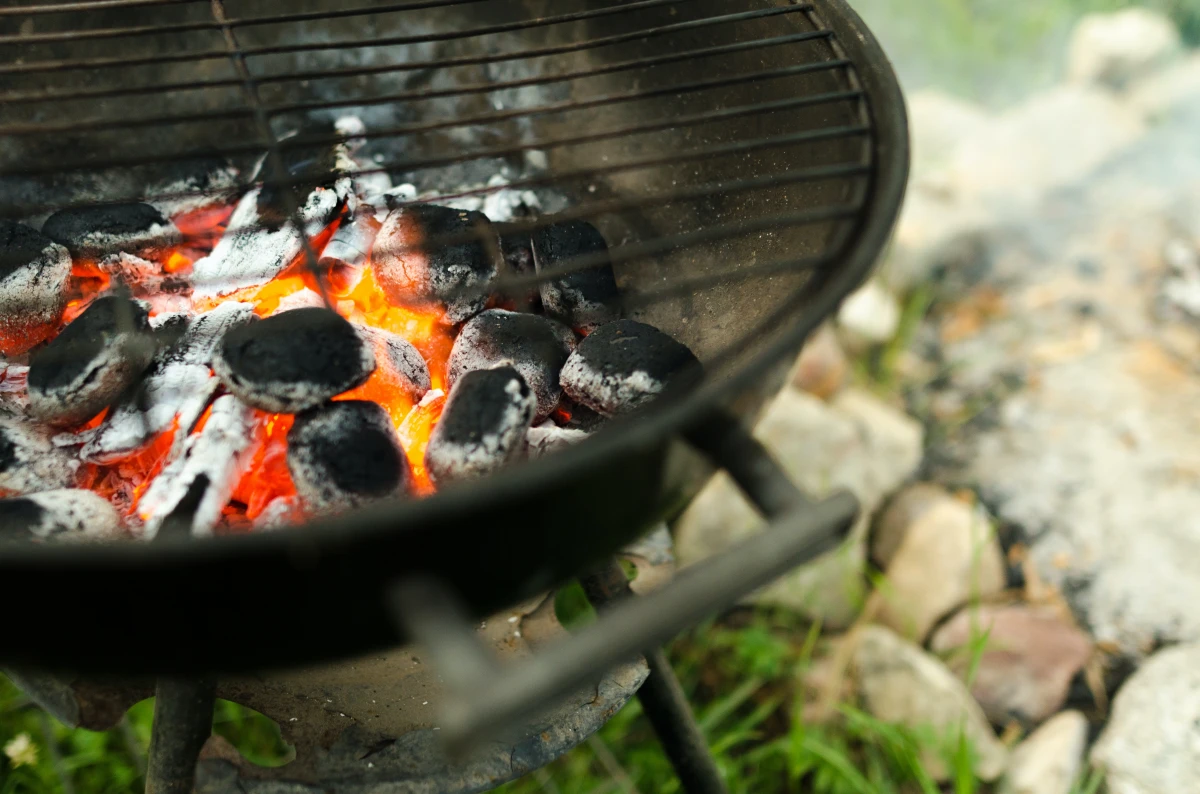
For Charcoal Grills
These are much simpler, but the ash makes it a dirty job.
Let the ash cool completely—this can take up to 48 hours!—before you touch it. Wet ash is a grill’s worst enemy, as it holds moisture against the metal and causes it to rust out. Scoop the cold ash into a metal can or a tough garbage bag. Then, just scrape the cooking grate and use your putty knife to get the flaky carbon off the inside of the lid and bowl.
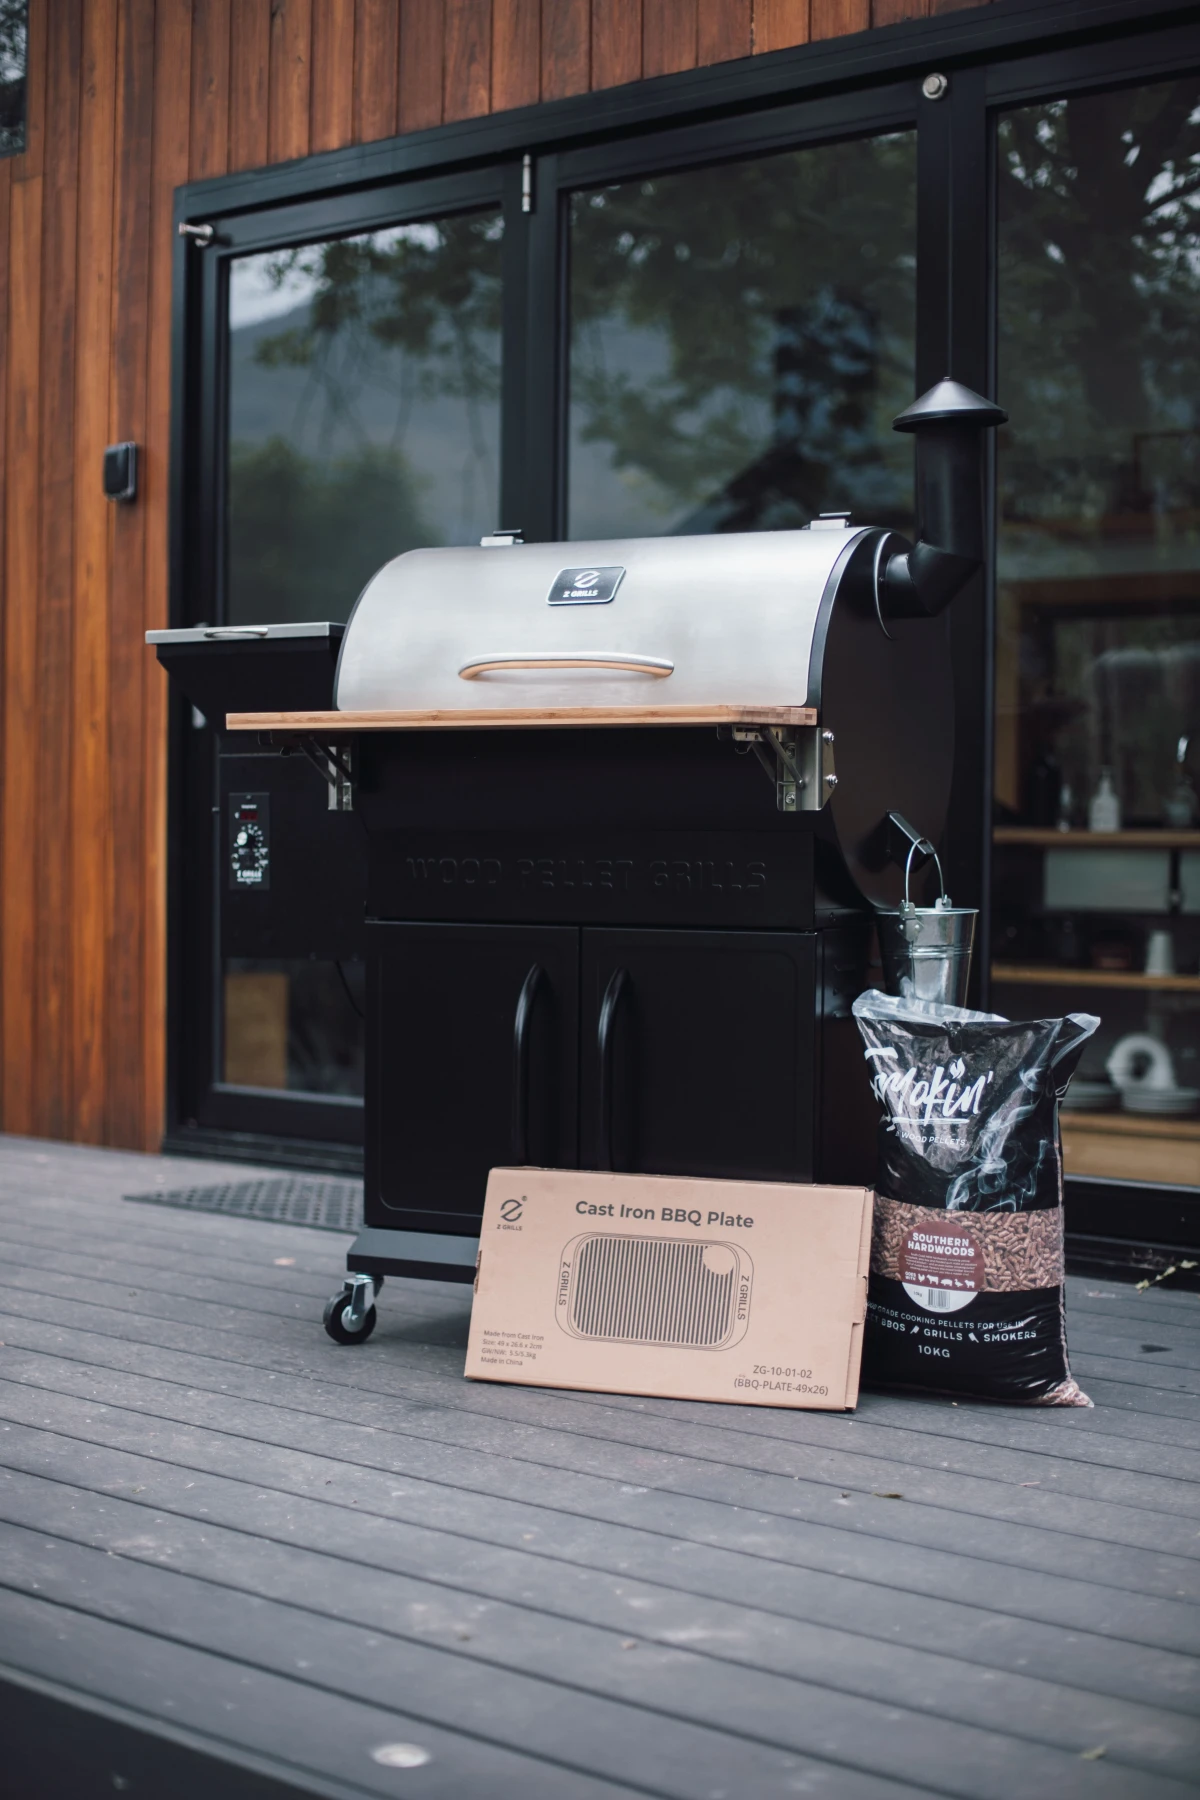
For Pellet Grills
These require a unique routine. Because they often run at lower temperatures, they produce more fine ash and that sticky creosote.
After every 3-5 cooks, you need to do a quick vacuum. Once the grill is cool, pull out the grates and drip pan and use your shop vac to clean out the entire interior, especially the fire pot. If ash builds up in the fire pot, it can cause the grill to fail on startup or even cause a dangerous “burn-back” into the auger. Trust me, you don’t want that.

For easier cleanup, I highly recommend lining your main drip pan with heavy-duty aluminum foil. It’s a total game-changer.
The “No Time” Quick Win
Feeling overwhelmed? Don’t have two hours?
Just do this one thing: Clean out your grease trap. It takes five minutes and is the single most effective way to prevent a massive, dangerous grease fire. Seriously, go do it now.
Is Your Grill a Lost Cause? When to Clean vs. When to Replace
Sometimes, a grill is just too far gone. Here’s how to tell if it’s worth the effort.
- It’s probably SAVABLE if: You have surface rust on cast iron grates (this can be scrubbed off and re-seasoned), a faulty igniter (easy to replace), or wobbly legs (just needs tightening). A little rust on the body is usually just cosmetic.
- It’s probably a goner if: The firebox itself is rusted through with actual holes in the bottom or back. Or if the frame is cracked or severely rusted, making it unstable. Once the structural integrity is gone, it’s a safety hazard and no amount of cleaning will fix it. Time for a new grill.

A Final Word on Routine Upkeep
A deep clean like this is great once or twice a year. But a little routine care makes it so much easier.
After you finish cooking, crank the grill up to high for 10-15 minutes. This incinerates most of the gunk. Then, give the hot grates a vigorous scrape with your coil brush or foil ball. If you have cast iron grates, wipe a super-thin layer of vegetable or canola oil on them while they’re still warm. So thin you can barely see it. This builds that beautiful non-stick surface and wards off rust.
A clean grill isn’t just about looks; it’s an investment in better-tasting food and your own safety. It might seem like a lot, but get into the rhythm, and it’ll become a simple, rewarding part of being a true backyard hero.
Galerie d’inspiration
The Classic Wire Brush: It’s the go-to for a reason—those tough metal bristles are effective at ripping through baked-on crud. However, they carry a significant risk: bristles can break off, stick to the grates, and end up in your food, which is a serious health hazard.
The Bristle-Free Alternative: Newer designs, like coiled wire brushes or solid scrapers (think the Grillart Bristle Free Grill Brush), eliminate that risk entirely. They use helix coils or shaped metal edges to scrape the grates clean without leaving dangerous debris behind. They may require a bit more elbow grease on stubborn spots but offer total peace of mind.
Our take? Make the switch. The safety advantage of a bristle-free scraper far outweighs the minor convenience of a traditional wire brush.


