How to Personalize Your Christmas Stockings (So They Actually Last)
I still have the stocking my grandmother made for me. It was a simple red felt thing, and she’d stitched my name on the cuff with thick, white yarn. The ‘S’ was a little backward, the stitches were uneven… and honestly, it was perfect. That stocking taught me something important: personalizing a stocking isn’t just about labeling whose is whose. It’s about creating a little piece of your family’s story. Before, you just had a stocking. After, you have the stocking you made for your kid’s first Christmas.
In this article
After decades of working with textiles—from running my own custom embroidery business to teaching workshops—I’ve seen every possible way to put a name on a stocking. And trust me, I’ve also seen all the ways it can go wrong. I’m talking peeling glue, crooked iron-on letters, and names that stretch into oblivion. So, I want to share what I’ve learned to help you create something you’ll be proud of for years to come.
The biggest mistake people make? They pick a fun method before they really look at their stocking. Your stocking’s material is the boss. It dictates what will work and what will end in total frustration. What looks amazing on a sturdy felt stocking will absolutely destroy a delicate knit one. So before you grab a paint pen or a needle, let’s figure out what you’re working with.
First, Let’s Figure Out Your Stocking’s Material
Think of this as a quick consultation. You have to know your foundation before you can build on it. Ignoring your fabric’s personality is why so many DIY projects end with a trip to the trash can.
Felt Stockings (Wool or Craft Felt)
Ah, felt. The most forgiving friend a beginner can have. It doesn’t have a grain or weave, so it won’t fray when you cut it. You can sew on it or glue things to it without much fuss. Heads up, though: cheap craft felt (the kind you get in big multipacks) can sometimes tear if you pull a needle and thread too tight, and it can pill over time. For a few bucks more, wool felt is way more durable. Most methods work on felt, but direct embroidery needs a gentle touch to keep the fabric from puckering.
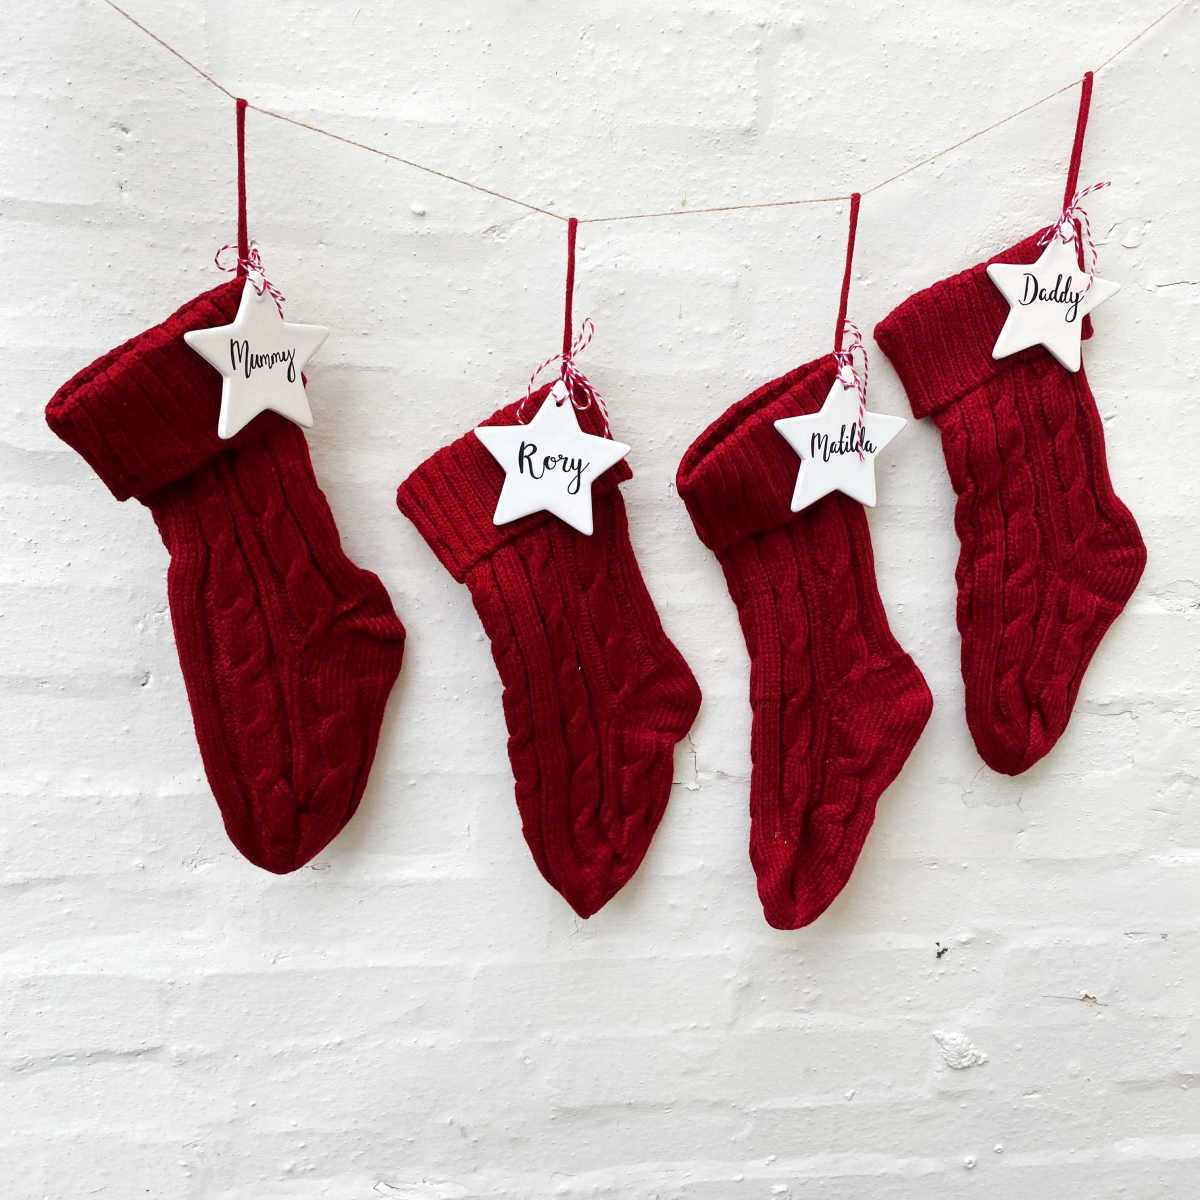
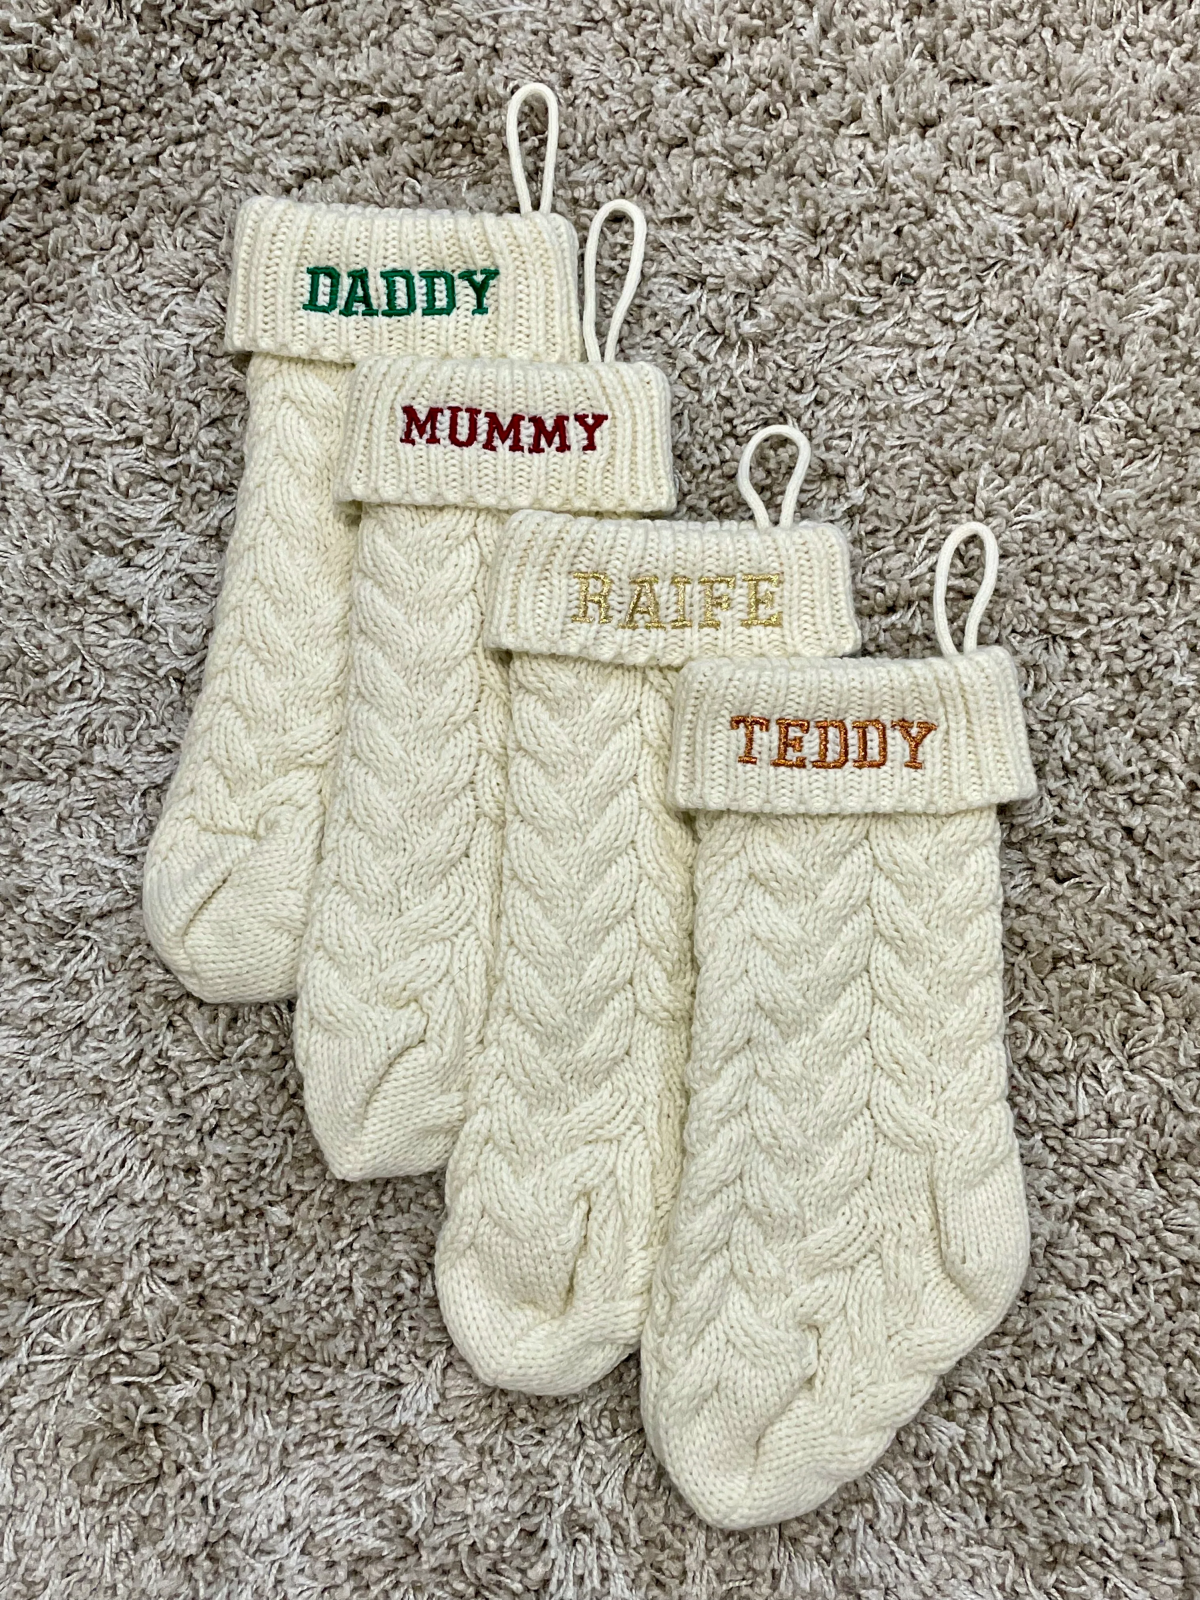
Knit Stockings (Wool, Acrylic, etc.)
These are gorgeous, but they can be tricky. The number one issue is stretch. If you try to embroider a name directly onto a knit stocking without any support, the letters will look great… until you hang it up. The second you put an orange in the toe, your perfect lettering will warp and sag. For knit stockings, using a stabilizer is non-negotiable. It’s a rule I drilled into every apprentice I ever trained. Add-on tags are a much safer—and often smarter—choice here.
Velvet or Plush Stockings
Working with velvet is all about respecting the “nap”—that’s the direction of the soft, dense fibers. If you crush that nap, you can leave a permanent mark that looks like a shiny stain. This is why iron-on methods are a huge risk; the heat and pressure can easily ruin the fabric. I’ve seen it happen, and it’s heartbreaking. The best options for velvet are almost always add-on tags or a very carefully hand-sewn appliqué, making sure you always stitch in the direction the fibers lay.
Burlap or Linen Stockings
These give off such a great rustic, farmhouse vibe. Their challenge is their loose weave. If you try to paint on them, the paint can bleed between the fibers, creating a fuzzy mess. Precise embroidery can also be tough because the needle can slip around. For burlap, a sewn-on patch or a simple wooden tag just looks better and is a whole lot easier to get right.
Method 1: The Add-On Approach (The 15-Minute Win)
Honestly, this is my top recommendation for most people, especially if you’re feeling a little nervous. It’s impossible to ruin the stocking itself, and it’s super versatile. You can swap out the tags next year if you change your decor! This is the perfect method for heirloom stockings you don’t want to permanently alter.
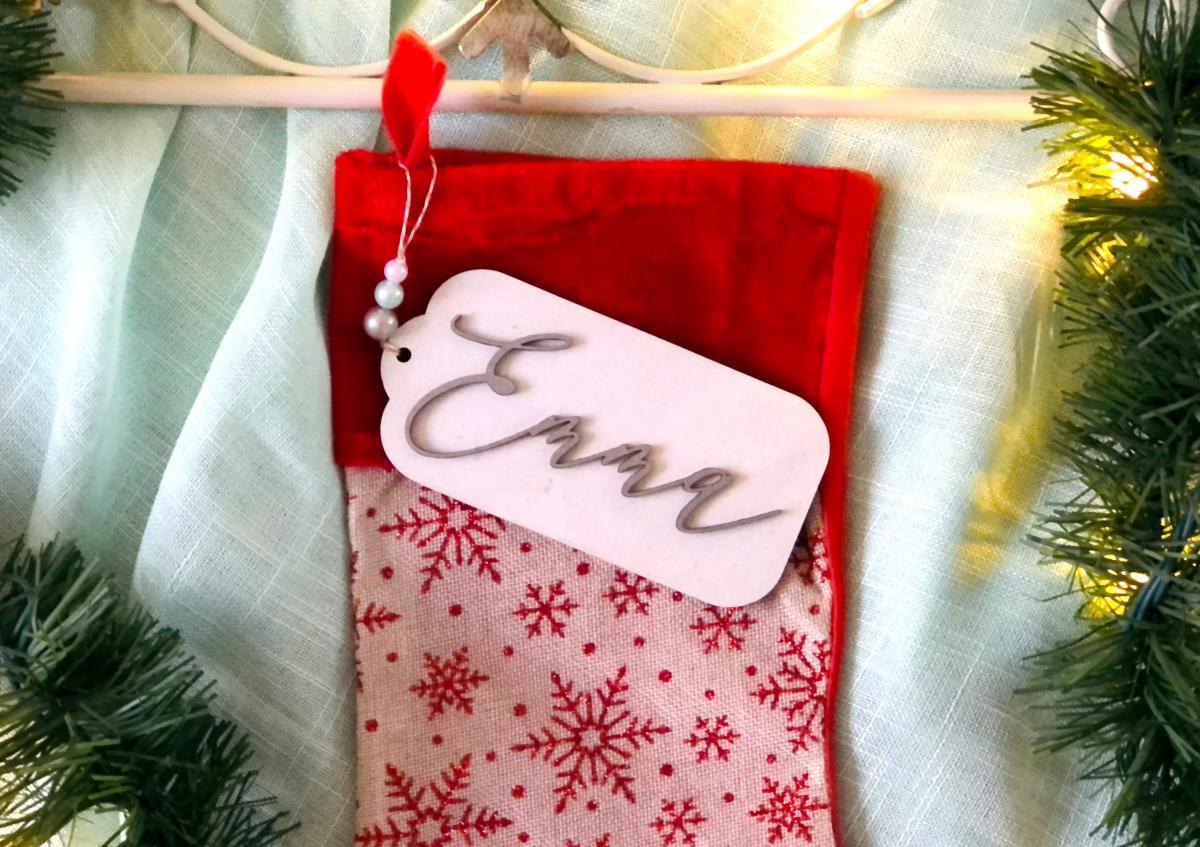
Wooden or Ceramic Tags
This classic look is a slam dunk. It works with nearly every stocking style, from modern to traditional.
- Your Shopping List: You can grab blank wood slices or shapes at any craft store like Michaels or Jo-Ann for about $5-$10 a pack. Look for basswood or birch. For writing, I swear by Posca or Sharpie oil-based paint pens—they give you a solid, crisp line. A good pen will cost you around $4-7.
- Quick Pro Tip: Raw wood is thirsty and will make your ink bleed. Always give the wood tag a quick coat of clear matte sealer first! Let it dry, write the name, and then you can seal it again to protect it.
- Time & Budget: You can knock this out in 15-20 minutes (plus drying time). The total cost should be under $20 for everything you need.
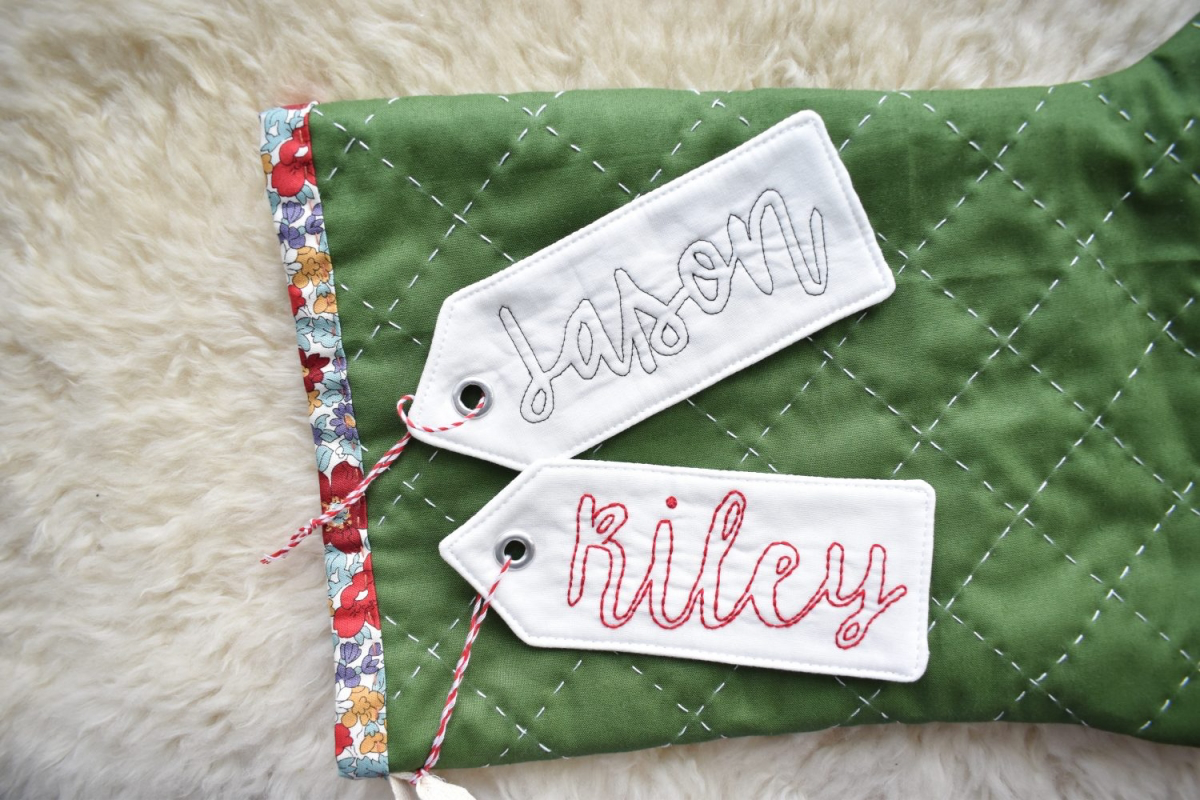
Fabric or Cardstock Tags
A simple fabric tag can feel a bit softer. I like to use a sturdy felt or canvas and iron a piece of medium-weight interfacing to the back to give it some body so it doesn’t feel flimsy. For paper, don’t just use any old thing. Go for a heavy cardstock (at least 110 lb.) so it won’t curl up and look cheap.
Method 2: Direct Application (For the Steady Hand)
Ready to commit? This is where you put the name directly on the stocking with paint or glue. My one rule: always, always test your paint or glue on a hidden spot first, like inside the cuff.
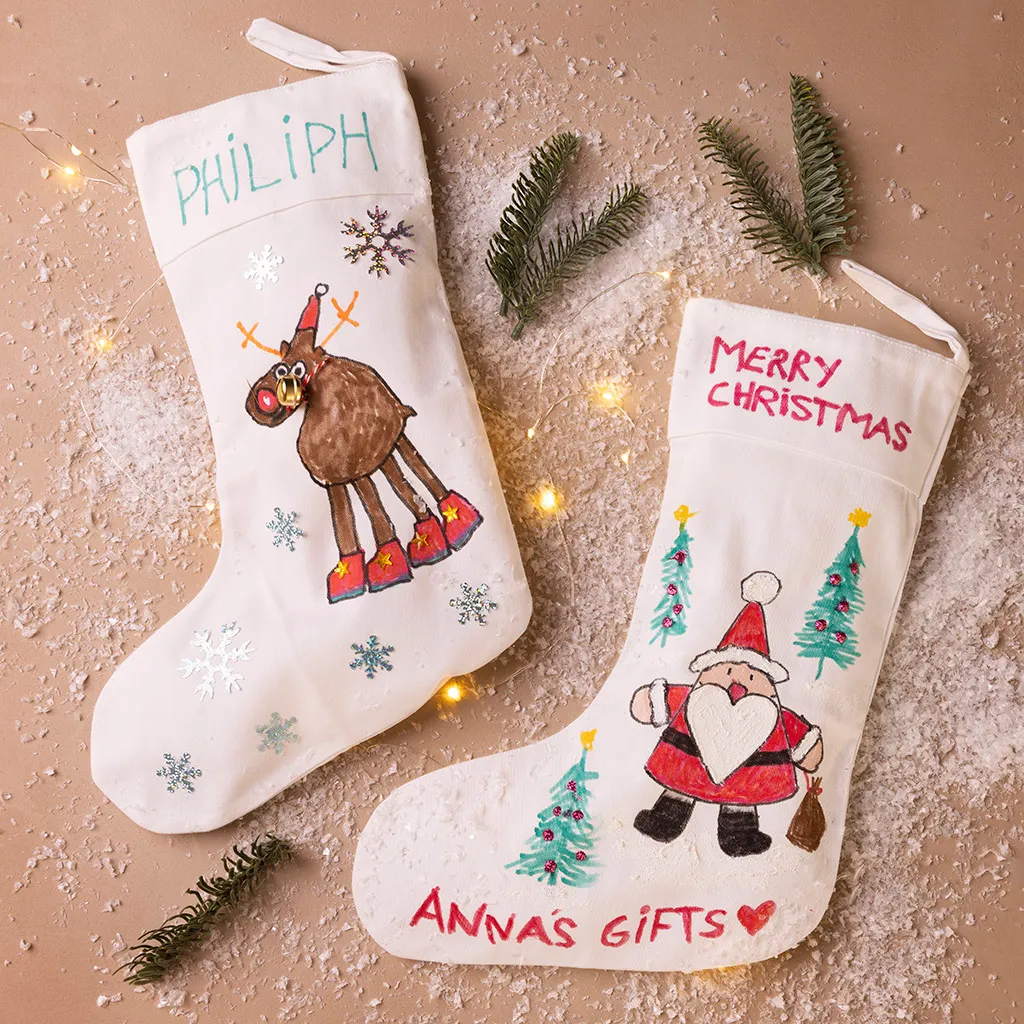
Hand-Painting a Name
A painted name can look incredibly artistic. It can also look… well, like a mess. The key is in the prep.
- Choose the Right Paint: This is critical. You must use fabric paint. Regular acrylic craft paint will dry stiff, crack, and peel right off. Go for reliable brands like Tulip or Jacquard, which you can find at any craft store or on Amazon. They stay soft and flexible. A bottle is usually only $3-$5.
- The Setup: Slide a piece of cardboard inside the stocking. This stops paint from bleeding through and gives you a firm surface to work on. Lightly sketch the name first with a chalk pencil or a disappearing ink fabric marker.
- Common Pitfall & Fix: Oh no, the paint pen bled! What now? Before it dries, try dabbing the edges very carefully with a Q-tip dipped in a tiny bit of rubbing alcohol. It can sometimes help sharpen the line. If not, lean into it and add a fun drop-shadow effect with another color!
- The Final, Essential Step: Heat-setting! This is what makes the paint permanent. Once the paint is bone dry (wait 24 hours!), cover the name with a thin cloth (like a tea towel) and press it with a hot, dry iron (no steam!) for 30-60 seconds. This cures the paint and bonds it to the fabric.
Appliqué Letters (Felt or Fabric)
Appliqué is just a fancy word for attaching fabric shapes to a background. This is a fantastic choice for felt or cotton stockings.

- Your Shopping List: Pre-cut felt letters (~$3-5), Fabric Glue (Fabri-Tac is my go-to, around $6), OR a paper-backed fusible web like Heat’n Bond (~$5).
- Glue vs. Sewing: You can glue the letters on, but please, step away from the hot glue gun. Hot glue becomes brittle in the cold and will just pop off in storage. A dedicated fabric glue like Fabri-Tac is strong but stays flexible. For a true heirloom feel, though, a simple stitch around the edge is always best.
- A Pro-Level Trick: For a super clean, no-sew bond, use a fusible web like Heat’n Bond. You iron it onto the back of your letter fabric, peel the paper off, then place the letter on the stocking and iron it down. It’s a game-changer.
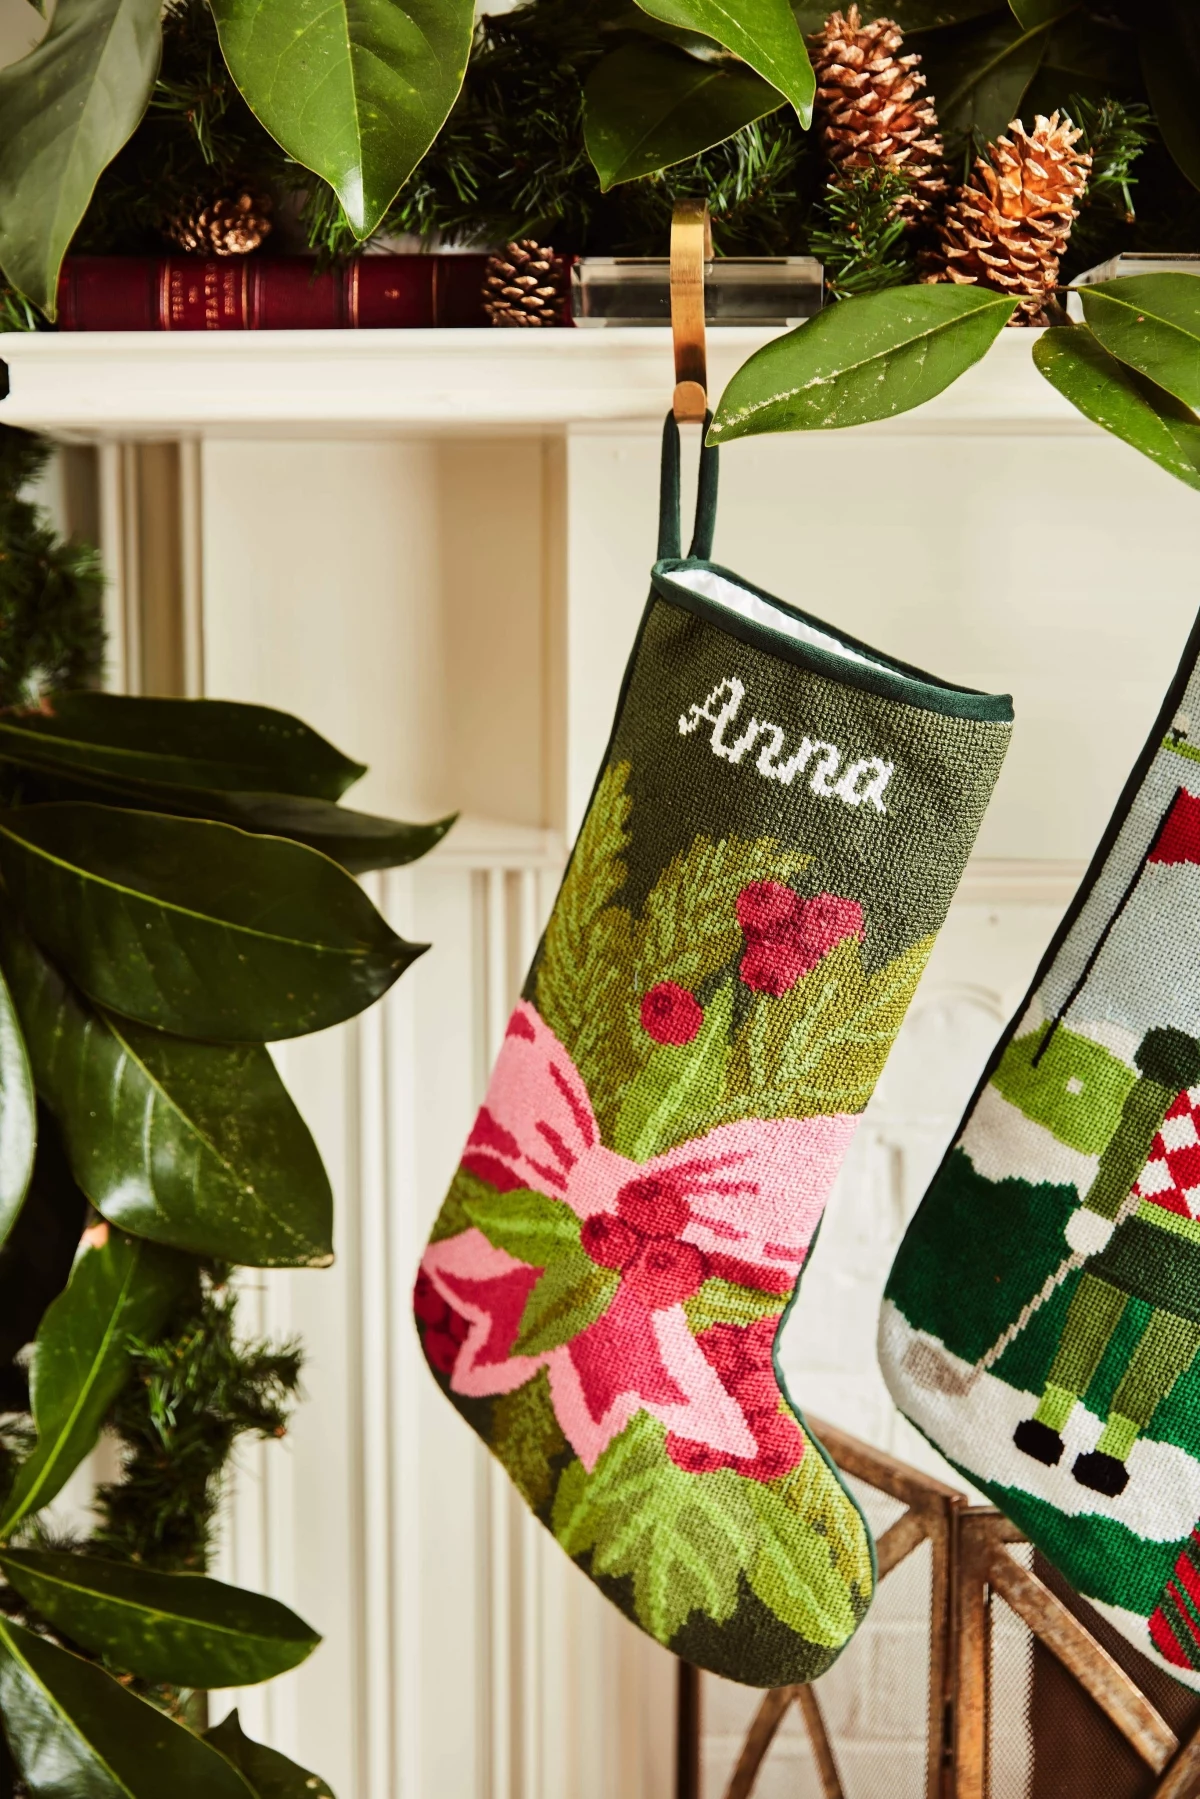
Method 3: The Stitched Approach (True Heirloom Quality)
This is where the real magic happens. A stitched name becomes part of the stocking itself. It takes more time, sure, but the result is simply unmatched. This is how my grandmother made my stocking, and it’s why it’s still here today.
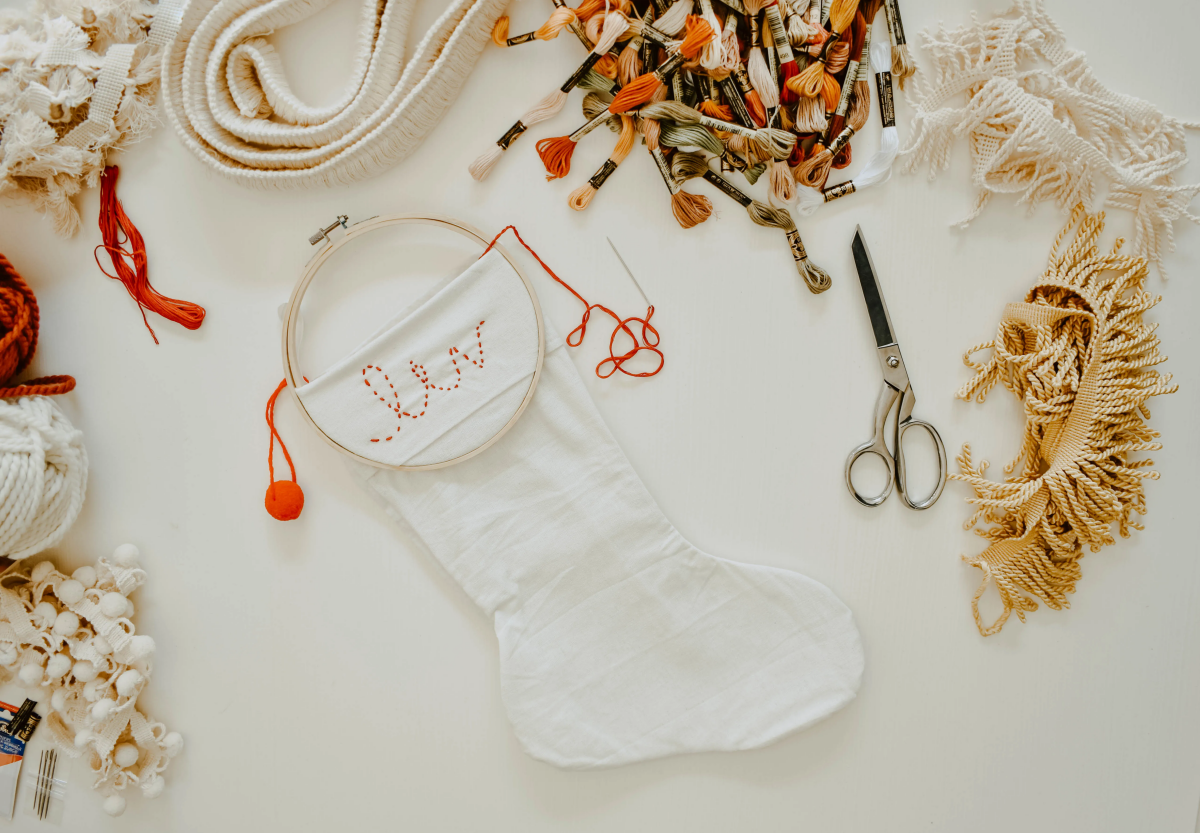
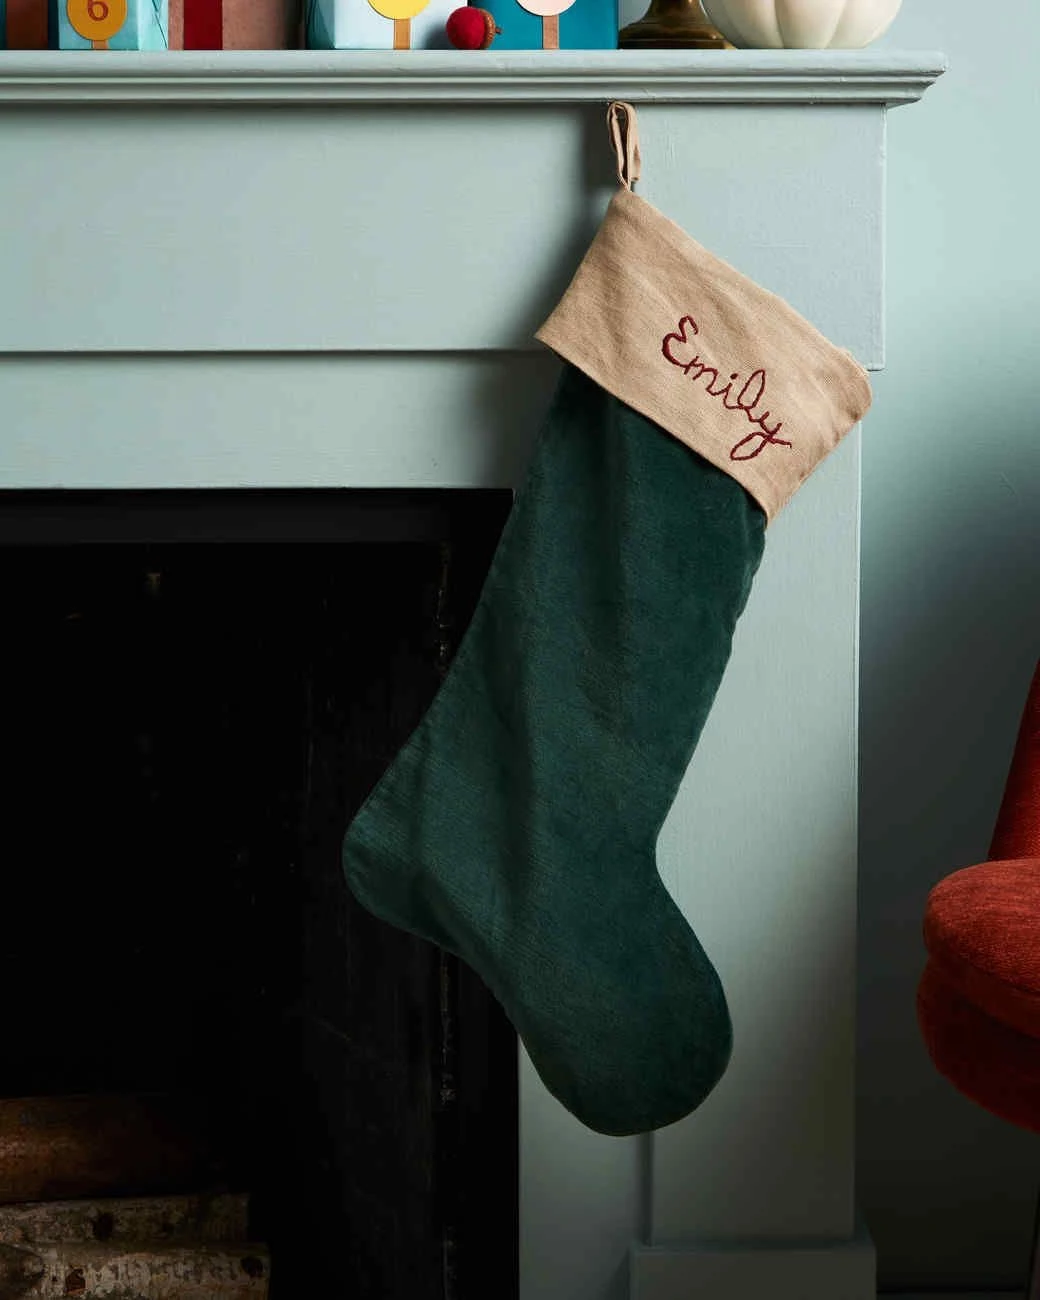
Hand Embroidery
My personal favorite. For this, you’ll need an embroidery hoop ($3-5), a needle, and some floss (less than $1 a skein). The hoop is key—it holds the fabric taut for even stitches.
- Getting Started: Use a water-soluble transfer pen to draw the name, stitch right over the lines, and then dab the marks with a wet cloth to make them disappear. For thread, I usually separate the six-strand floss and use three strands for a more delicate line.
- Key Stitches: The Backstitch gives you a clean, solid line (great for beginners). The Stem Stitch creates a lovely, rope-like texture that’s perfect for cursive lettering.
- Working on Knits: Remember that non-negotiable rule? If you must embroider on a knit, you need a stabilizer. Ask for a “tear-away” stabilizer at the fabric store—a small roll of something like Sulky Tear-Easy will only set you back $5-8. You place it behind the fabric, and it prevents stretching while you stitch. When you’re done, you just gently tear it away.
Machine Embroidery
If you have an embroidery machine, you can get flawless results. But if you don’t, this is a great time to call a professional. Many local print and embroidery shops will happily embroider a name on a stocking for you. It’s a small investment, maybe $15-25, to guarantee a perfect result on a special or expensive stocking.
Caring for Your Masterpiece
Your job isn’t done when the name is on! A personalized stocking should never see the inside of a washing machine. The agitation can destroy embroidery and heat can ruin paints. Spot clean only, with a damp cloth and a bit of mild soap.
And when the holidays are over, don’t just shove them in a dusty box. Extreme heat and cold can weaken fibers and glues. I wrap each of our family’s stockings in acid-free tissue paper and store them in a closet inside the house, where the temperature is stable. It’s a small step that makes a huge difference.
Galerie d’inspiration
Beyond just writing a name, how do I choose a font style that truly matches my stocking’s vibe?
This is where personalization becomes design! Think of your stocking’s personality. For a rustic, farmhouse-style stocking (like burlap or linen), a simple, clean sans-serif font or a charming, hand-printed style works beautifully. For a luxurious velvet or silk stocking, an elegant script or a classic serif font, perhaps embroidered with a metallic thread like DMC’s Light Effects, adds a touch of old-world glamour. If you have a playful, brightly colored felt stocking for a child, a bubbly, rounded font is perfect. Pro tip: Don’t just center the name. Placing it slightly to the right or left on the cuff can create a more dynamic, modern look.


