The Art of Book Wrapping: A Pro’s Guide to Flawless Finishes
I’ve spent a good chunk of my life behind the counters of a high-end bookstore and a fancy stationer’s shop. In that time, I swear I’ve wrapped more books than most people will own in their entire lives, from tiny poetry collections to massive art books that could double as a doorstop. And I learned something important: wrapping a book isn’t just about hiding what’s inside. It’s a craft. It’s the first impression, a little signal of the care you’ve put into the gift. A crisp, clean wrap truly honors the book itself.
In this article
So many people get frustrated with wrapping. I get it. The paper rips, the corners look like a lumpy mess, and the tape is everywhere. But it doesn’t have to be a battle. With the right gear and a solid technique, you can get a sharp, professional finish every single time. And let’s be real, this isn’t about perfection; it’s about understanding the fundamentals. We’re going to walk through the stuff that makes a real difference, the step-by-step for a perfect wrap, and how to handle those awkward books.
By the way, I once tried to wrap a huge coffee table book with cheap, thin paper right before a party. It looked… okay. But the moment I handed it to my friend, the paper split right down the middle. So embarrassing. Never again! That’s why we start with materials.
First Things First: Your Shopping List
Before you make a single fold, the game is won or lost with your materials. Seriously. Grabbing cheap paper or the wrong tape is just setting yourself up for failure. Here’s what you’ll actually need, and what it’ll likely cost you.
- Good Wrapping Paper (90-110 GSM): This is the secret ingredient. Expect to pay between $8 and $15 for a quality roll from a place like Paper Source, a local art supply shop, or even some online specialty stores. It’s worth it.
- Matte or Double-Sided Tape: A roll of Scotch “invisible” matte tape is about $4 and is a massive upgrade from the glossy stuff. Double-sided is the true pro move for a completely seamless look.
- A Sharp Blade: A decent pair of scissors works, but a craft knife (around $10) or a rotary cutter gives you perfectly straight edges. Heads up! Always use a self-healing mat underneath and cut away from your body. These blades are no joke.
- A Bone Folder (Optional but amazing): This little tool, usually around $7, creates unbelievably crisp creases. If you don’t want to spring for one, the smooth back of a butter knife is a decent, and free, substitute.
The Science of a Good Wrap: Why Your Paper Matters
The biggest mistake I see is people using paper that’s too thin. It’s often pretty, but it tears if you just look at it wrong. Pros talk about paper weight in GSM (grams per square meter). It sounds technical, but it’s super simple.
Let’s break down paper weight:
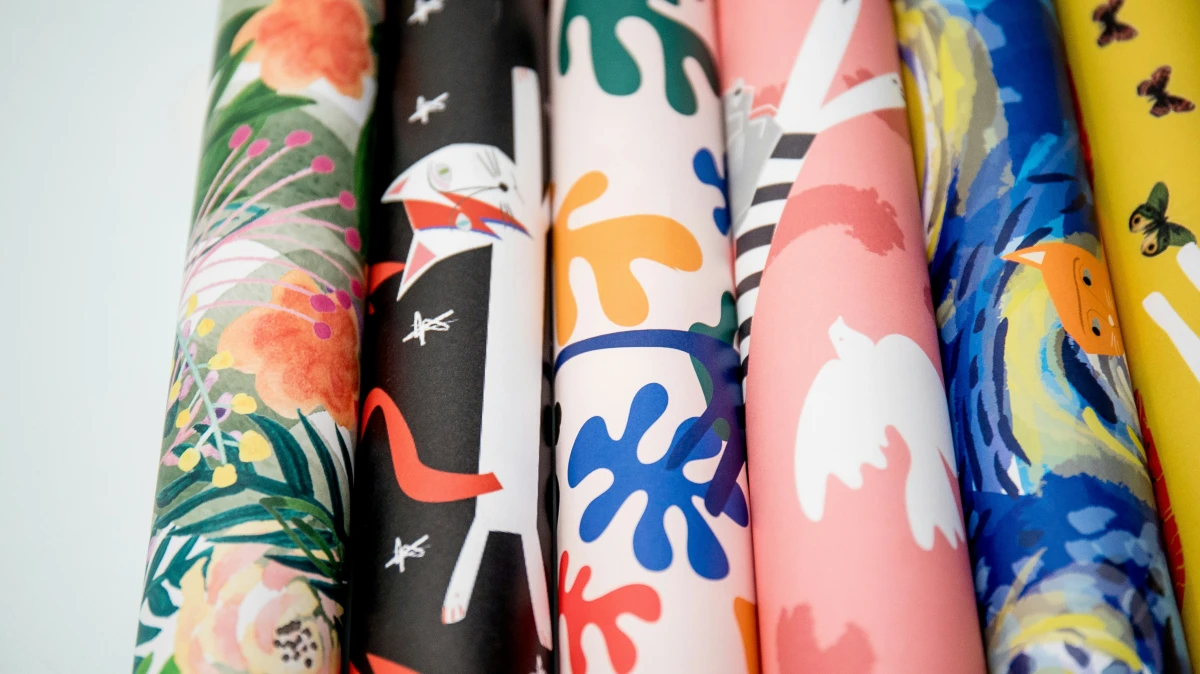
- Under 80 GSM: This is your typical, cheap gift wrap from the dollar store. It’s flimsy, often a bit see-through, and getting a sharp crease is nearly impossible. I only use this if a pattern is an absolute must-have, and even then, I handle it like it’s made of spun sugar.
- 90-110 GSM: Ah, the sweet spot. This is the gold standard. It’s tough enough to handle sharp corners without tearing but still flexible enough to fold cleanly. Most high-quality papers from proper stationers will be in this range. Honestly, this is what you should aim for.
- 120+ GSM: Now we’re getting into thin cardstock territory. While it’s incredibly durable, it can be tough to fold tightly around smaller books, leading to bulky corners. I save this for those massive, heavy books that need the extra structural support.
Oh yeah, and paper has a grain, just like wood. It folds more easily in one direction. To find it, give the paper a gentle bend one way, then the other. It’ll feel less resistant in one direction—that’s the grain. For a standard wrap, you want the grain running parallel to the book’s spine for the smoothest folds.
The Foundational Technique: Wrapping a Standard Hardcover
This is the method we used for 90% of books at the shop. It’s perfect for hardcovers and most trade paperbacks. For your first few tries, give yourself a solid 10-15 minutes. It gets faster with practice, I promise!
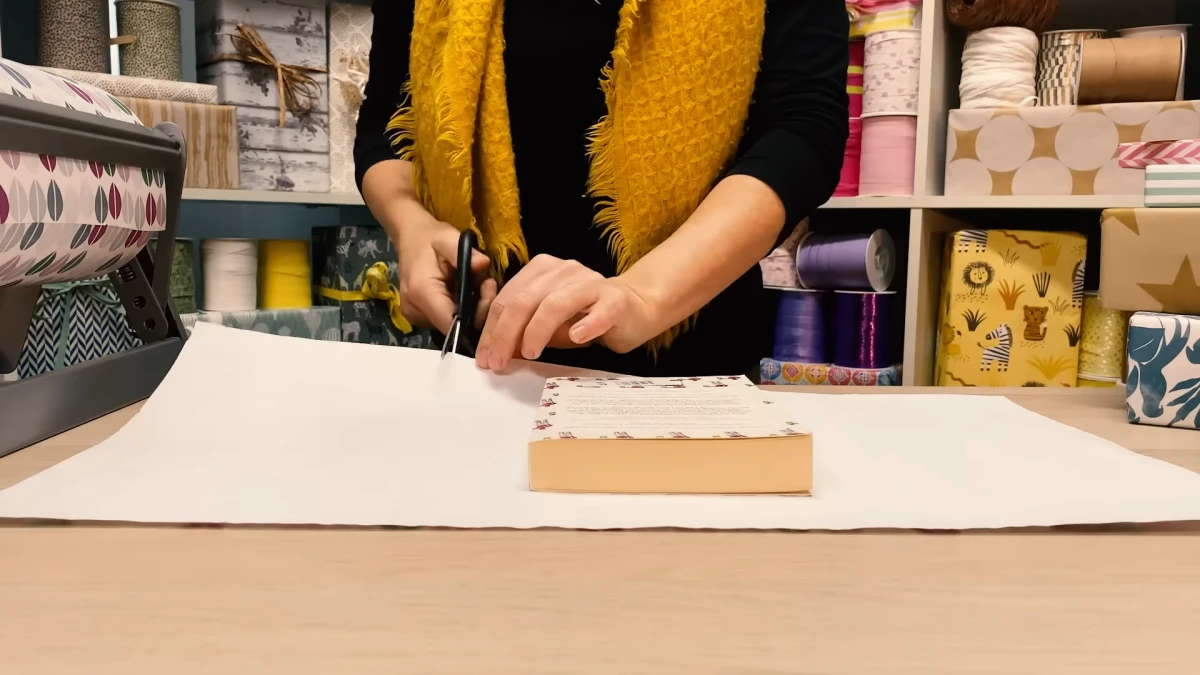
Step 1: Measure and Cut Like You Mean It
Bulky corners are almost always caused by using way too much paper. Lay your paper face down and place the book in the middle. For the width, you want enough to wrap around the book with about a two-inch overlap. A quick way to do this is to pull one side of the paper just past the middle of the front cover, then pull the other side over and trim it so it overlaps that first edge by two inches.
For the height (the top and bottom), you need enough paper to cover about two-thirds of the book’s thickness. So, if your book is an inch thick, you only want about ¾ of an inch of paper sticking out past the top and bottom. Any more is just asking for trouble.
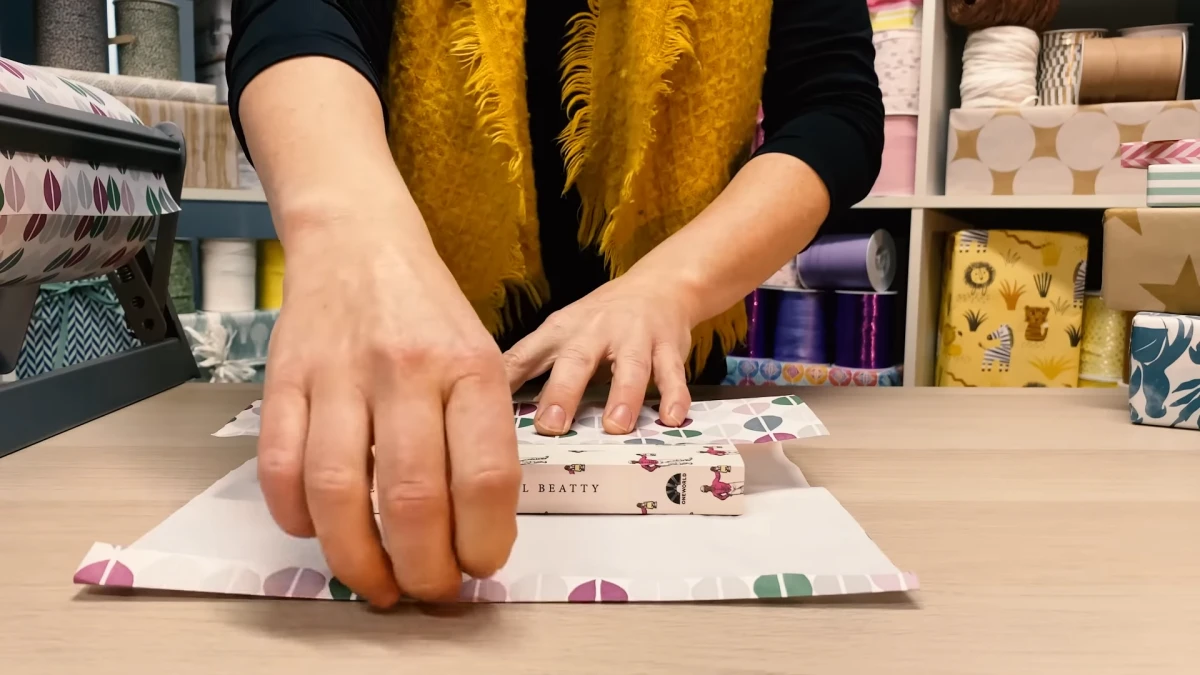
Step 2: The Initial Wrap and Creating Tension
With your paper cut, place the book face down in the center. Pull one side of the paper over, snug against the book’s edge, and use a tiny piece of matte tape to hold it in place on the cover. Now, for the other side—and here’s a pro tip—fold the last inch of this edge under itself. This creates a perfect, clean, factory-like seam. It’s a small detail that makes a huge difference.
Pull this folded edge tightly over the first sheet. The tension should be snug, but not so tight that you’re bending the cover. Smooth it all out with your hand and secure the seam. For a great look, use a few pieces of matte tape. For a flawless look, use a strip of double-sided tape hidden on the underside of that folded edge.
Step 3: Conquering the Ends with Hospital Corners
This is where the magic happens. On one end of the book, push the sides of the paper inward against the book with your thumb and finger. This will create two triangular flaps, one on the top and one on the bottom.
Now, grab your bone folder (or butter knife) and sharpen those four new creases you just made. This is the key to a non-lumpy corner. You should have a neat trapezoid shape on the end of the book. Fold the top triangular flap down, creasing it firmly. Then, fold the bottom flap up to cover it. The point of this final flap should land neatly where the spine and cover meet. It should all lie perfectly flat.
Quick Tip: Go grab a junk mail catalog and an old box. Practice just this folding part—no tape needed—a few times. It’ll click, and you’ll get the muscle memory down in no time.
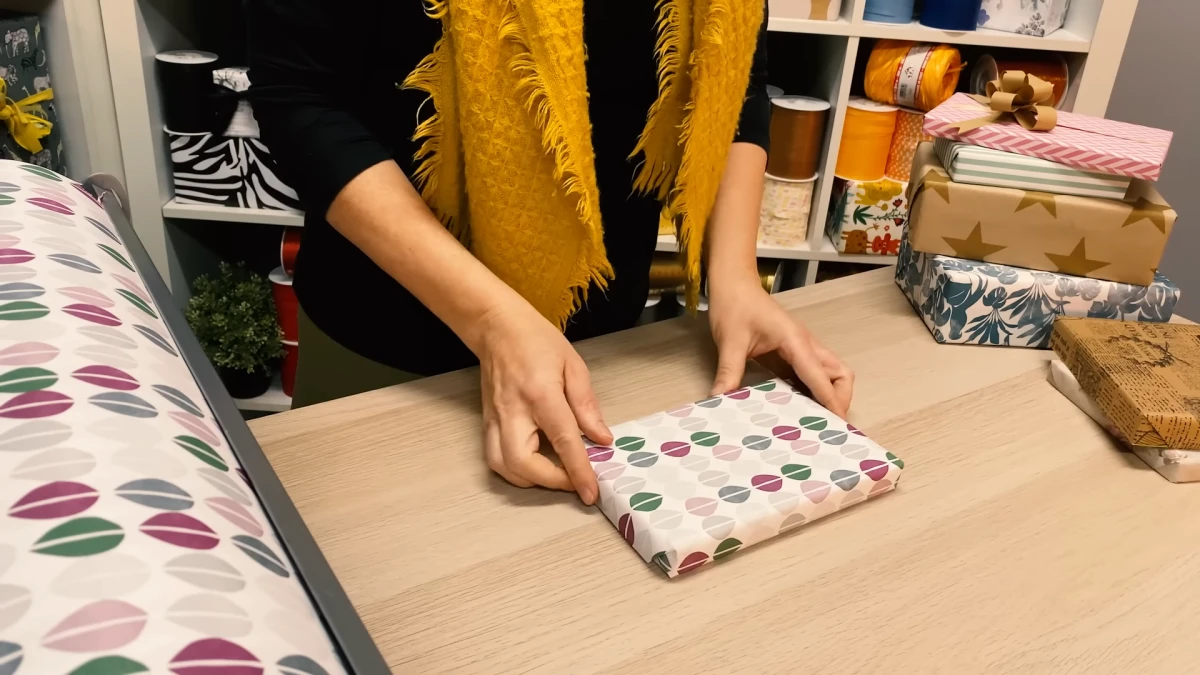
Step 4: The Final Seal
Secure that final flap with a small, neatly folded triangle of matte tape or a hidden piece of double-sided tape. Repeat the whole process on the other end, taking your time to make it a mirror image. The result? A beautifully tailored paper jacket for your book.
How to Handle Tricky Books
Of course, not every book is a perfect hardcover. Here are a couple of workarounds I’ve relied on for years.
- Flimsy Paperbacks: The flexible cover on a paperback makes it tough to get good tension. My trick? Give it a temporary backbone. I cut a piece of scrap cardboard to the exact size of the front cover and slip it under the wrapping paper as I start. It provides the rigid structure you need for sharp folds. Just be sure to tell the person receiving the gift that it’s in there!
- Wrapping a Book Series: Gifting a whole series? Stack them together (largest on the bottom) and secure them with a bit of twine or a rubber band to create a single, stable block. Then, just wrap the whole thing as if it’s one big book. It makes for a really impressive presentation.
Beyond the Basics: Two Elegant Wrapping Styles
Once you’ve mastered the standard wrap, you might want to try something with a little more flair. These are two of my favorites.
The Japanese Diagonal Wrap
This method is incredibly elegant, surprisingly fast, and uses less paper. To be frank, it’s tricky to learn from text alone, so have patience. Place your paper like a diamond and put the book in the center. You then pull, fold, and roll the book in a specific sequence, tucking the final corner into a pocket created by the other folds. It often requires no tape at all.
My first few attempts were a disaster. I highly recommend practicing with a newspaper and a box until you get the rhythm. A lesser-known trick: If you search for “Naname Tsutsumi” on YouTube, watching a quick video will make the process click instantly.
Furoshiki: The Art of Fabric Wrapping
Furoshiki is the beautiful and sustainable Japanese tradition of wrapping gifts in fabric. The cloth itself becomes part of the gift! You’ll need a square piece of fabric that isn’t too thick or stretchy—a silk scarf or a dedicated cotton Furoshiki cloth works great. For a standard hardcover book, a cloth that’s about 70cm by 70cm (or 28 by 28 inches) is perfect.
A simple method is to lay the fabric in a diamond shape, place the book in the middle, and tie the opposite corners together over the book. First the top and bottom corners, then the left and right corners over that first knot. It’s simple, gorgeous, and eco-friendly.
The Finishing Touches
A great wrap becomes unforgettable with the right embellishments.
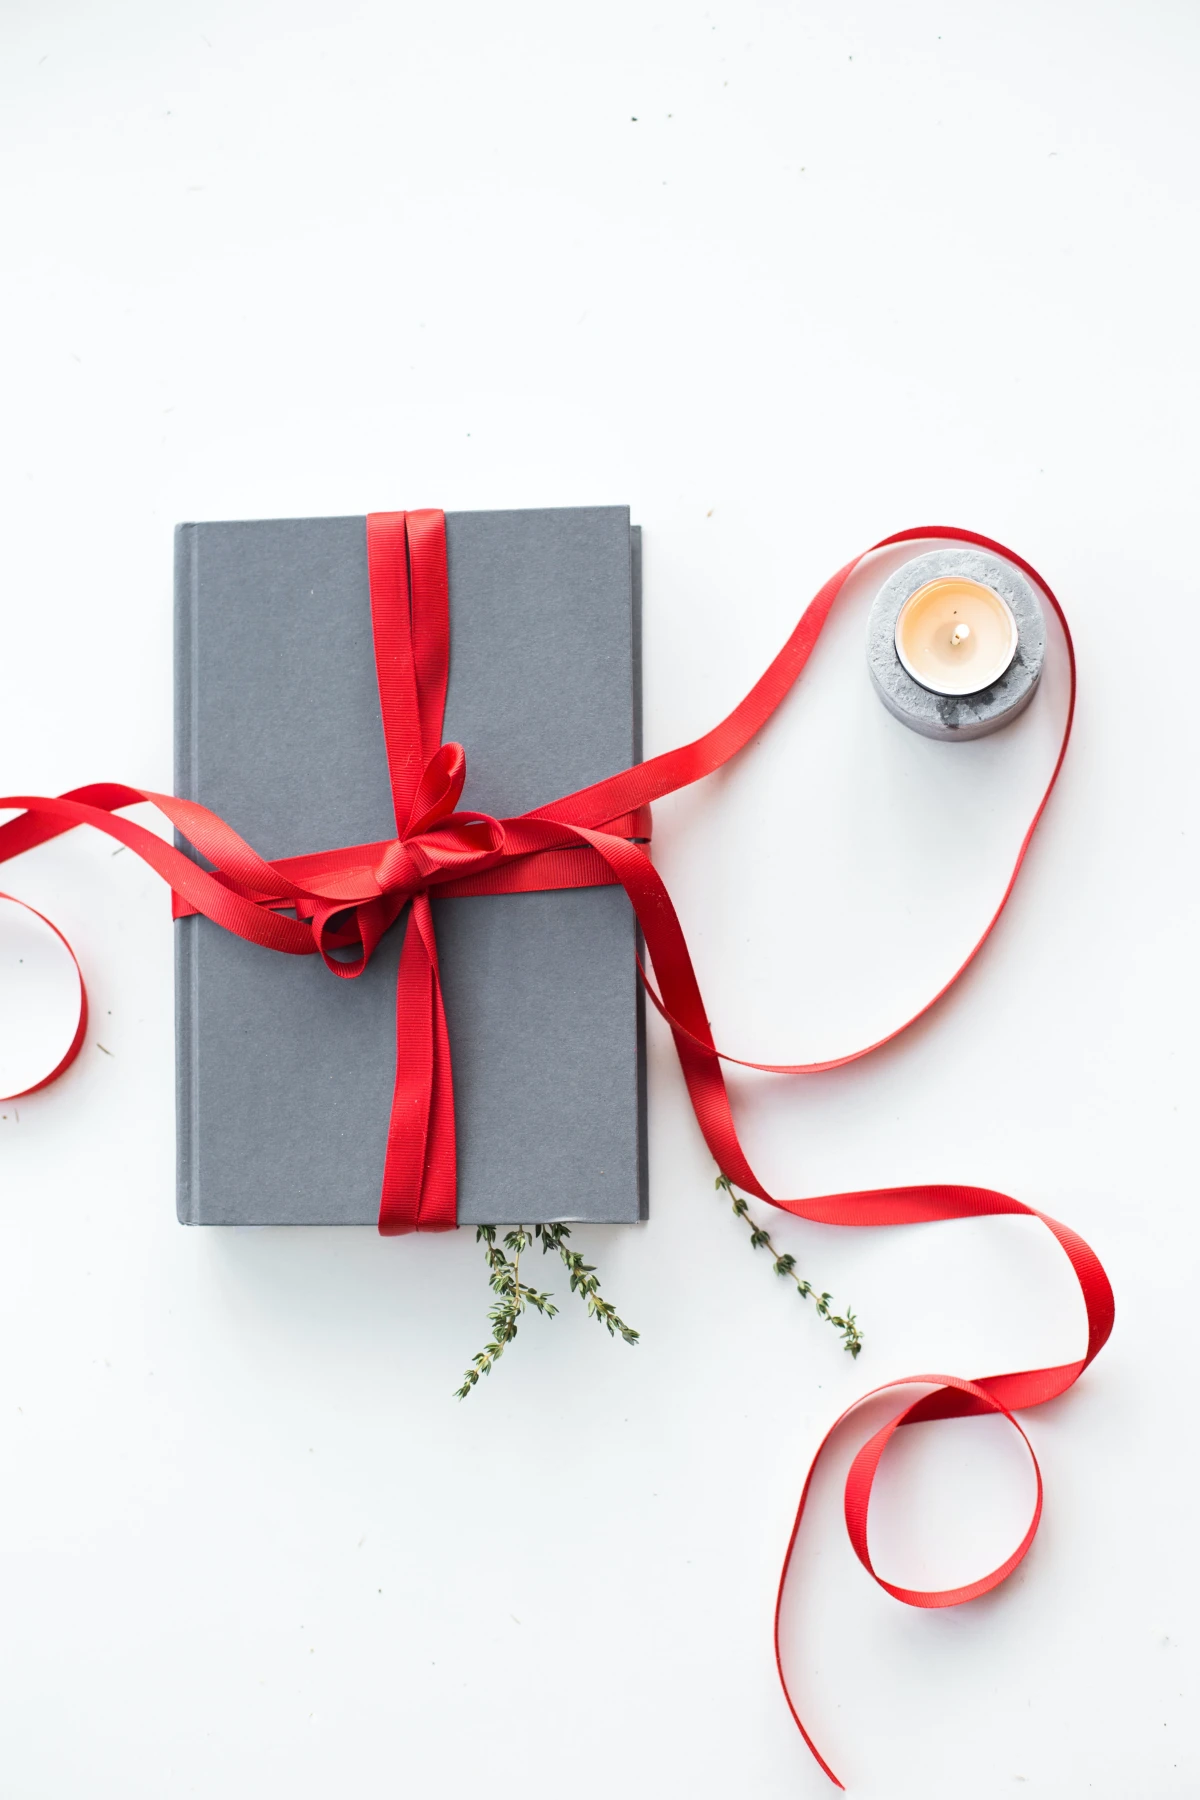
- Real Ribbon: Please, step away from the stick-on bow. Learning to tie a simple, classic bow with satin or grosgrain ribbon is a skill worth having. Grosgrain is my favorite for books; its texture has a lovely, classic feel. A pro tip: always cut the ribbon ends at an angle or into a ‘v’ shape to prevent them from fraying.
- Thematic Details: Tying in a little something that hints at the book’s content is a thoughtful touch. For a cookbook, a cinnamon stick. For a gardening book, a small packet of seeds. For a mystery, a tiny, old-fashioned key.
- Wax Seals: For a touch of old-world class, nothing beats a wax seal. But a quick safety warning: you’re working with hot wax and an open flame, so be careful and only do this for hand-delivered gifts, as the seals can be brittle and break in the mail.
Ultimately, wrapping a book well is a skill that gets better with practice. It’s a quiet, mindful activity that transforms a gift into a true token of affection. When you hand someone a beautifully wrapped book, you’re showing them you value them and the stories held within those pages.
Inspirational Gallery
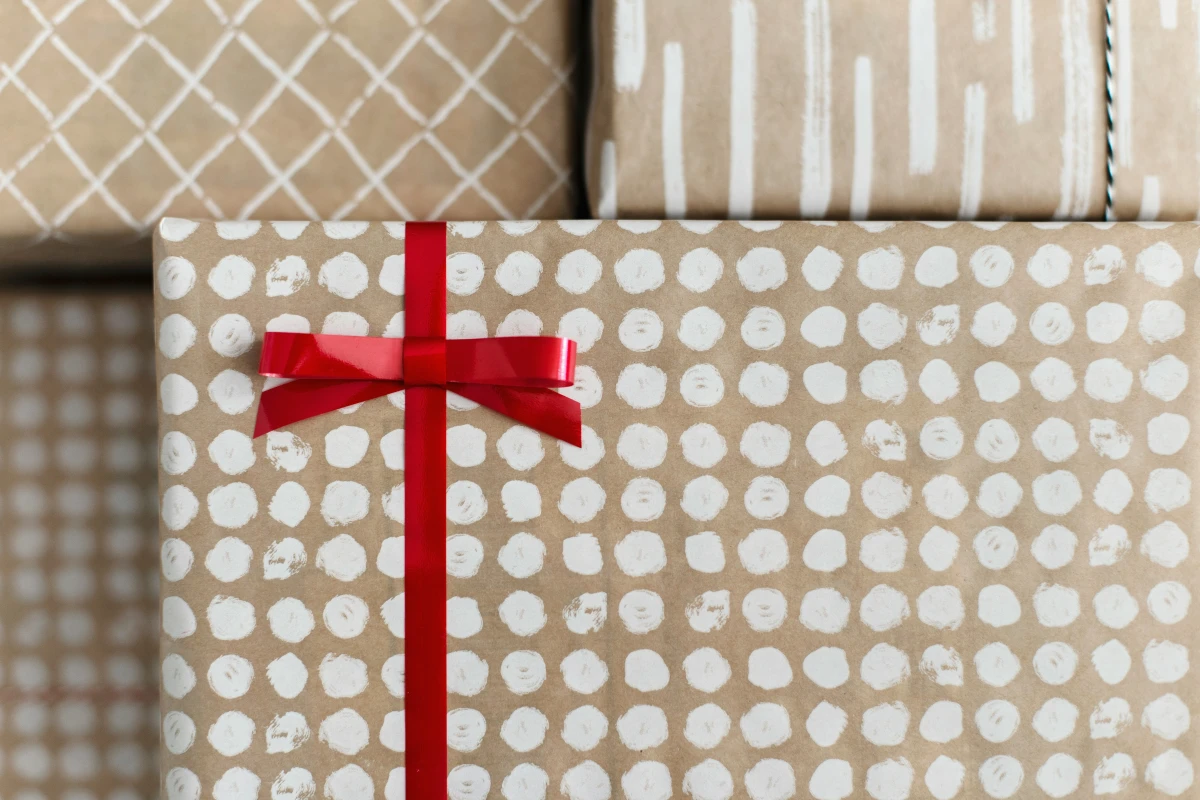
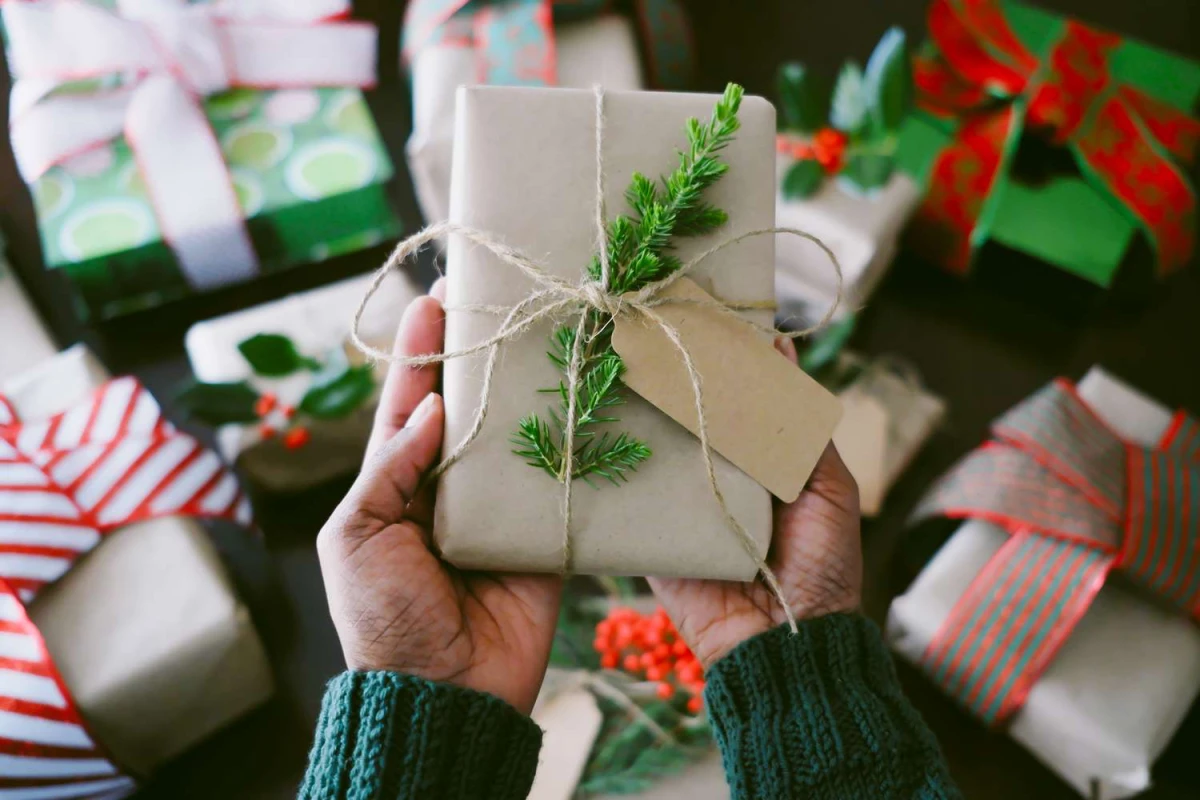
Kraft Paper: Your rustic, forgiving friend. It’s sturdy, rarely tears, and its natural texture hides minor imperfections. It’s a perfect canvas for twine, stamps, or natural embellishments like a sprig of pine.
Foil or High-Gloss Paper: The glamorous but demanding star. It offers a stunning, reflective finish but shows every single crease and fingerprint. It requires precision and is best handled with double-sided tape for a truly seamless look.
For a reliable starting point, the solid color heavyweight papers from a brand like Paper Source offer the sturdiness of kraft with a more refined, colorful finish.
Did you know that in the UK alone, an estimated 227,000 miles of wrapping paper is thrown away each Christmas? That’s enough to wrap around the Earth nine times.
This staggering fact makes a case for mindful wrapping. Choosing high-quality, recyclable paper (avoiding glitter and foil) or exploring reusable options like fabric aren’t just aesthetic choices; they’re impactful ones. A beautifully wrapped gift can still be a sustainable one.
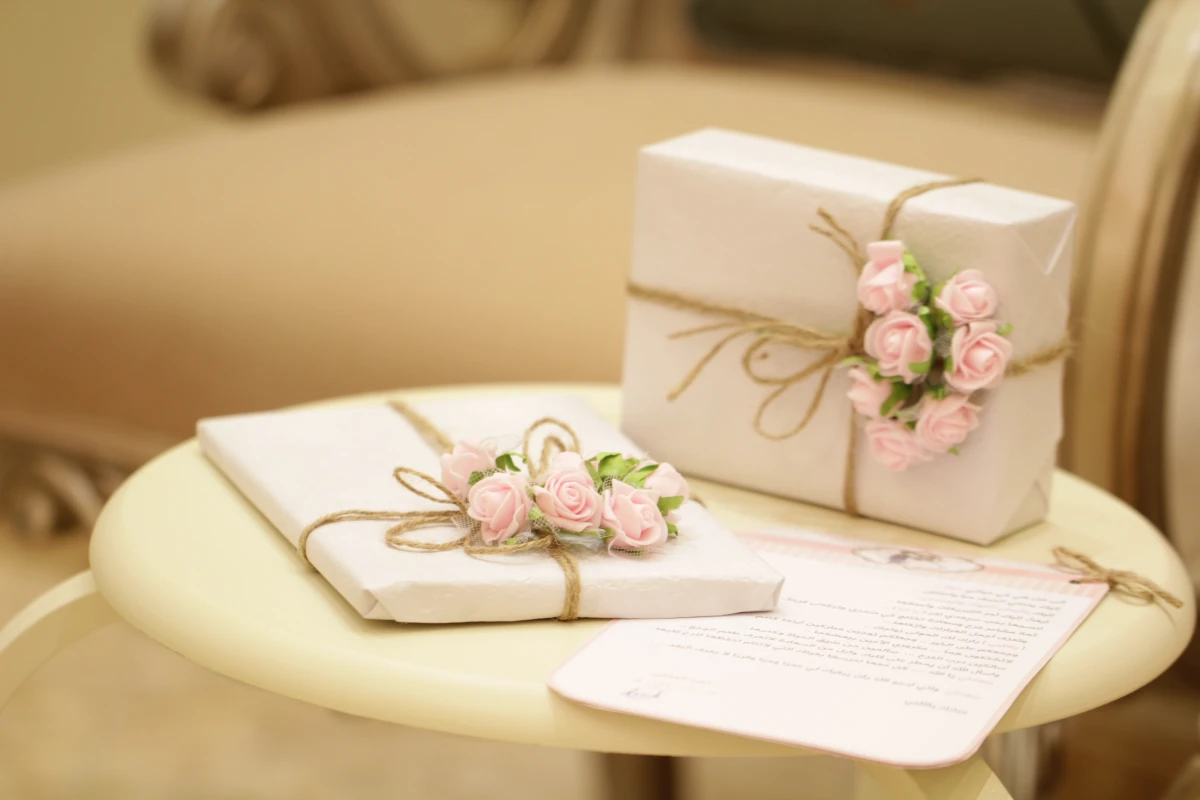
Move beyond the simple bow and add a thoughtful, textural final touch. The presentation becomes part of the gift itself.
- A sprig of eucalyptus or rosemary: Tucked under the ribbon, it adds a touch of green and a subtle, lovely scent.
- A classic wax seal: Use a stamp with the recipient’s initial for an elegant, old-world feel. Kits from brands like Artisaire are easy to use.
- A dried orange slice: A beautiful, translucent pop of color perfect for holiday or autumn gifts.
- A vintage bookmark: It’s a charming and functional embellishment for any book lover.
The Japanese art of Furoshiki, using a single piece of decorative fabric to wrap objects, is a perfect alternative for books. It’s zero-waste, endlessly reusable, and the unwrapping feels like a ceremony in itself.
How do you get sharp, crisp corners when wrapping a softcover or paperback book?
The flimsy nature of a paperback makes it difficult to get the tension needed for a professional finish. The pro trick is to create a temporary support. Cut a piece of stiff cardstock to the exact height and width of the book’s front cover. Place it on top of the book before you start wrapping. This gives you a hard edge to fold against. Once the gift is fully wrapped, simply slide the cardstock out from the side.
- A perfectly flat, professional-looking knot.
- Lush, symmetrical loops that don’t crush the paper.
- A secure hold that won’t slip during transport.
The secret? Tie your ribbon with the gift placed upside down on a table. This lets you pull the initial knot tight against the hard surface of the table, not the delicate paper wrap, ensuring a snug fit without causing any damage.
For a touch of bespoke charm, create your own custom paper. It’s surprisingly simple. Start with a roll of plain brown, black, or white kraft paper. Using a high-pigment ink pad, like a VersaFine Clair, and a simple rubber stamp—perhaps a small botanical design or a geometric shape—create a repeating pattern. The slight variations of hand-stamping give it a warmth and personality that no mass-produced paper can match.
The number one sign of an amateur wrap: Using way too much paper. It creates bulky, soft edges and makes the ends impossible to fold neatly. Before you cut, measure! Place the book on the paper and roll it over to ensure you have just enough to overlap by about two inches. For the sides, you only need enough paper to cover slightly more than half the book’s thickness on each end. Less is truly more.


