Stop Throwing Away Moldy Blackberries: A Grower’s Guide to Making Them Last
Is there anything more frustrating than buying a perfect-looking container of blackberries, only to find them sporting fuzzy gray sweaters two days later? I’ve seen that look of disappointment a thousand times. After years of working with these fruits, I can tell you that keeping a blackberry fresh is a race against the clock. It’s not just about the $5 you just wasted; it’s about all the sunshine and effort that went into growing that little gem.
In this article
- So, Why Do They Spoil So Fast?
- Choosing the Best Berries: Your Game Plan at the Store
- The Vinegar Bath: Your Secret Weapon Against Mold
- Drying: The Step Everyone Skips (and Regrets)
- Storing Them Right: The Final Piece of the Puzzle
- What If You’re REALLY Strapped for Time?
- Freezing Berries for Later (Without Creating a Giant Ice Brick)
- A Final Word on Safety
- Inspirational Gallery
The methods the pros use aren’t some kind of protected secret, but they do require a little TLC. These steps are the difference between berries that last a day and ones that stay firm and delicious for close to a week. So, let’s dive into the hows and whys.
Heads up, this whole process from wash to fridge takes about 25 minutes, but believe me, it’s completely worth it. And if you’re in a massive hurry? I’ll even share the ONE thing you should do if you have absolutely no time—it’ll still make a huge difference.
So, Why Do They Spoil So Fast?
To outsmart a blackberry, you have to understand it. Unlike an apple with its waxy armor, a blackberry is an “aggregate fruit.” That means it’s a delicate cluster of tiny individual juice sacs called drupelets. Every single one of those little bubbles is a potential doorway for mold and bacteria. More doors mean more chances for trouble.
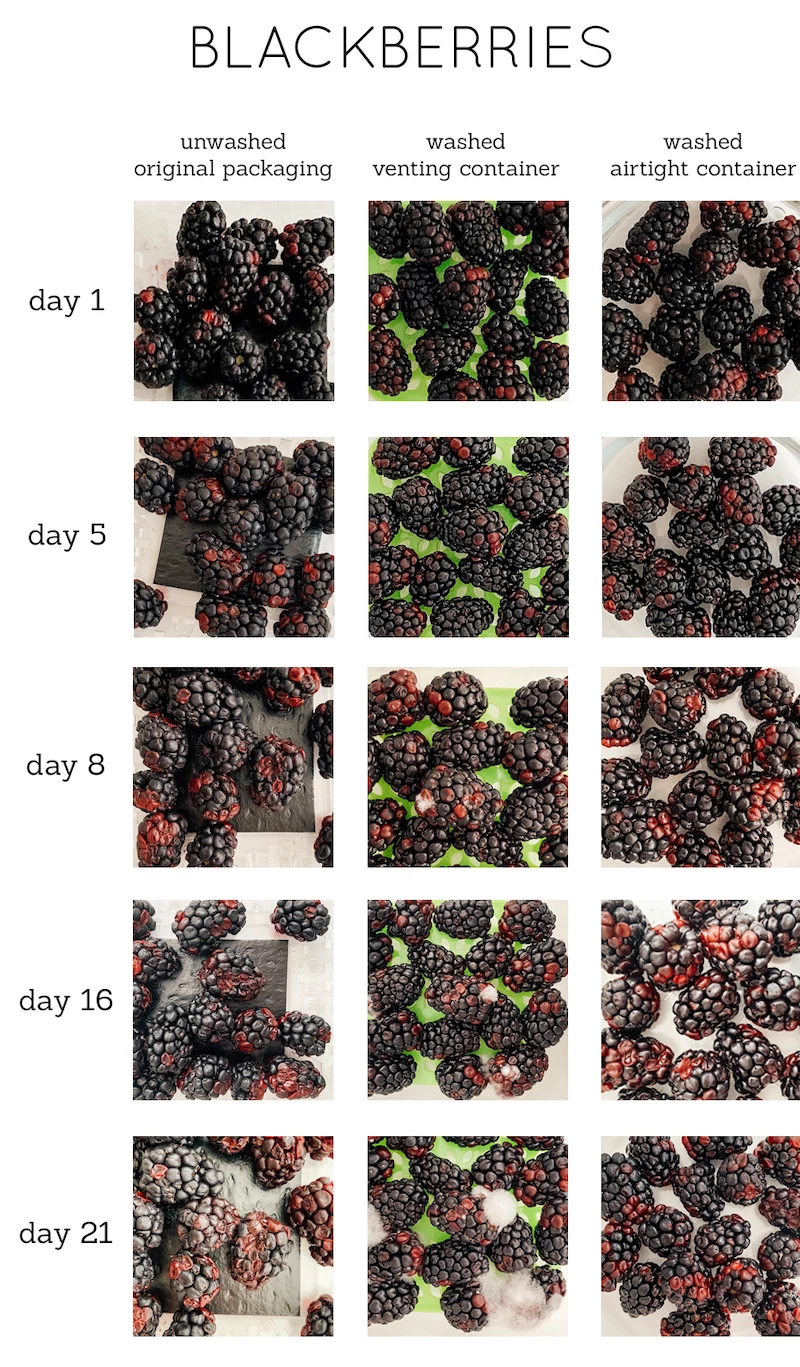
Once picked, berries are still very much alive—they “breathe” by taking in oxygen and breaking down their sugars. Blackberries have one of the highest respiration rates out there, which means they age incredibly fast. This process also releases moisture. If you seal them in an airtight container, you’re basically creating a steamy sauna perfect for growing that fuzzy gray mold we all hate.
Oh yeah, and they’re super sensitive to ethylene gas. This is a natural hormone that fruits like apples, bananas, and pears release to ripen. Storing your beautiful blackberries next to your bananas is like putting them in a hyper-aging chamber. Seriously, keep them separated!
Choosing the Best Berries: Your Game Plan at the Store
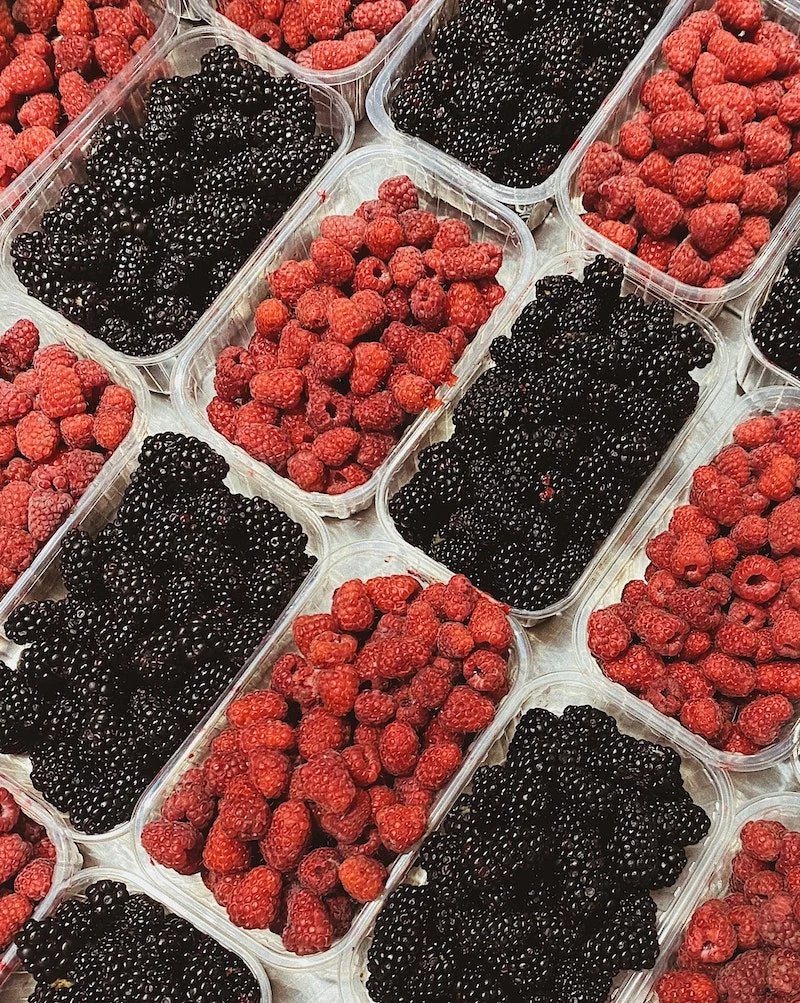
Your success story begins the moment you pick up that container. No storage trick in the world can save a berry that was already bad. A typical pint of blackberries can run you anywhere from $3 to $7 depending on the season and whether they’re organic, so let’s make sure you get your money’s worth.
Here’s what to look for:
- Check the Container: First, flip it over. See any juice stains on the bottom or the little absorbent pad? Put it back. That means berries at the bottom are already crushed and leaking. Also, check for condensation inside the lid—it can be a sign the berries went through a big temperature change, which kickstarts spoilage.
- Look for a Matte Finish: A perfectly ripe blackberry has a deep, rich black color and a slightly dull, almost matte appearance. If they look super shiny and wet, they might be starting to break down. The little drupelets should be plump, not deflated.
- Trust Your Nose: Lean in and take a sniff. They should smell subtly sweet and a little earthy. If you get even a whiff of something sour, fermented, or alcoholic, that’s a hard pass.
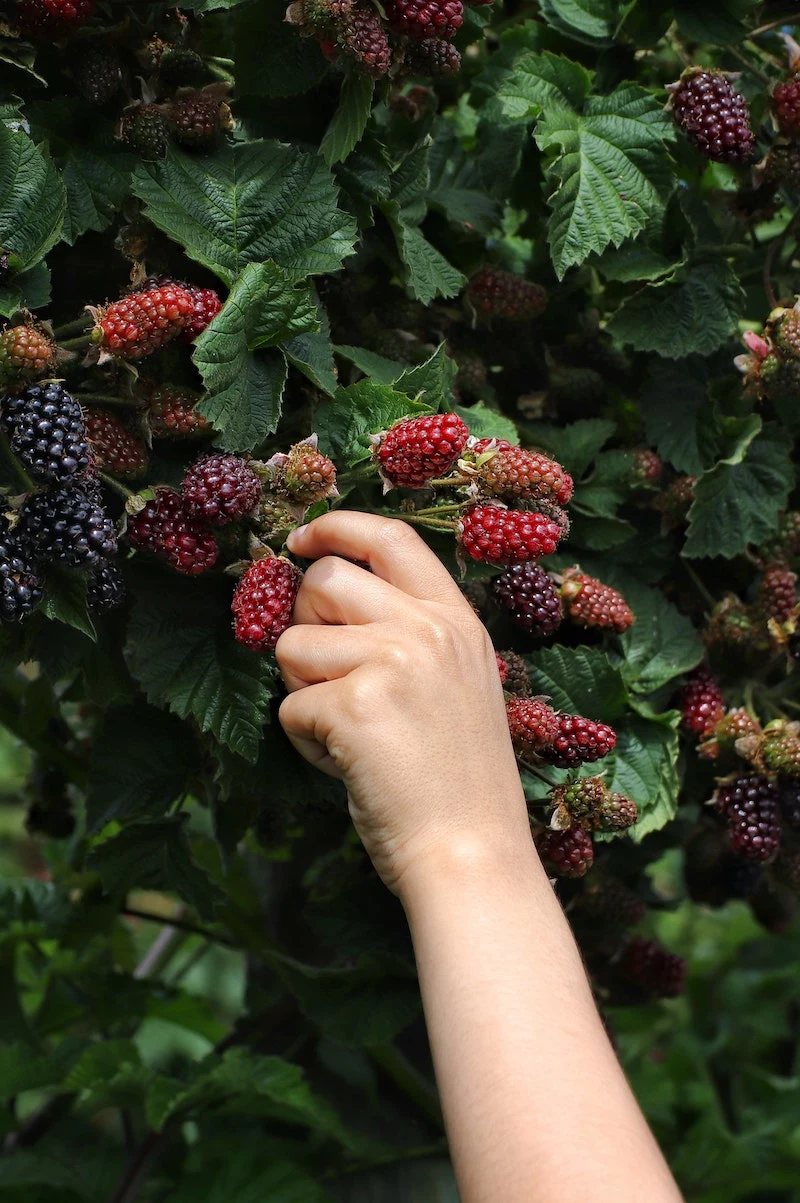
- Talk to the Farmer: If you’re at a farmers’ market, don’t be shy! Ask the person at the stall when they were picked. A good grower will be happy to tell you, “This morning.” It’s the best way to guarantee freshness.
The Vinegar Bath: Your Secret Weapon Against Mold
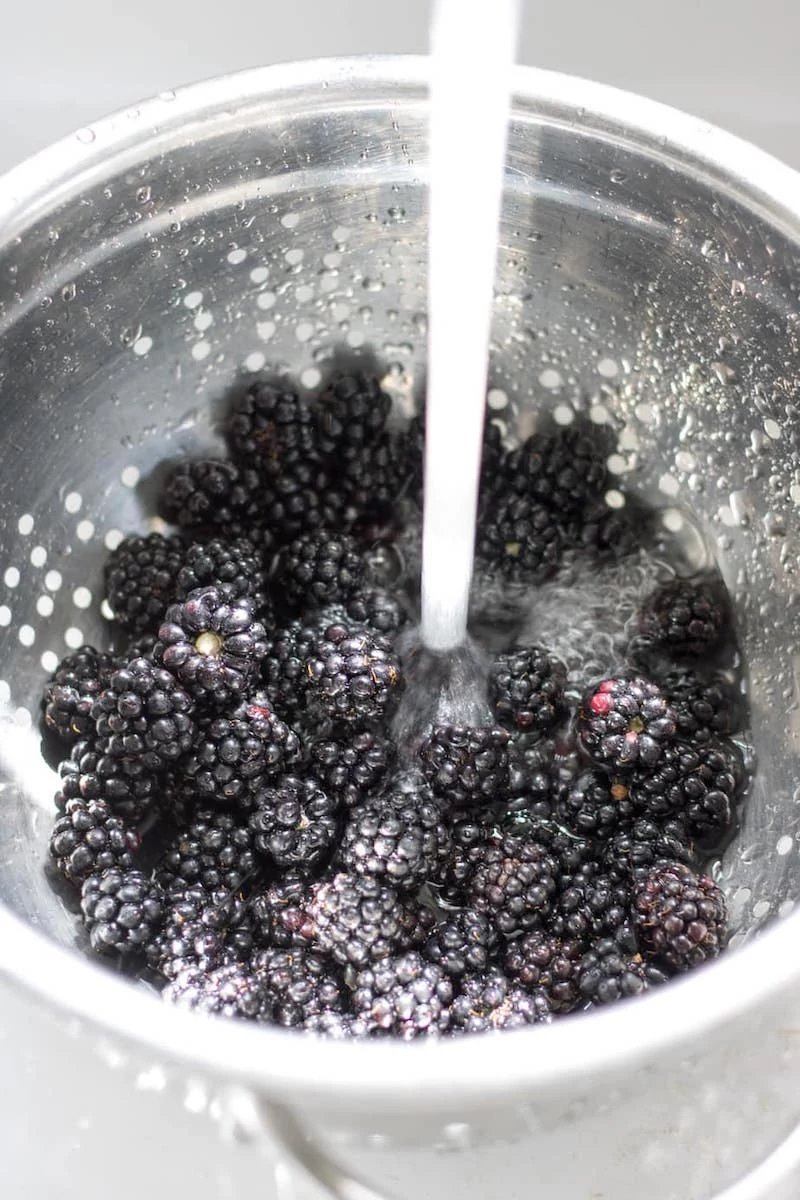
Once you’re home, it’s go-time. The single most important thing you can do is give them a quick bath. And no, not just with water. We’re using vinegar.
This isn’t really about dirt; it’s about killing the invisible mold spores and bacteria that are already on the fruit. The vinegar creates a mild acidic environment that zaps these little guys before they can multiply. I swear by this method.
Here’s the exact technique:
- Mix the Solution: In a big bowl, stir together one part plain white distilled vinegar and three parts cool water. For a standard clamshell of berries, about 1 cup of vinegar to 3 cups of water is perfect. (P.S. White vinegar is best since it’s tasteless, but in a pinch, apple cider vinegar works too. Just rinse them extra well afterward!)
- Give ‘Em a Gentle Swirl: Gently place the berries in the water. Don’t just dump them in. Swirl them around with your hands for about 30-60 seconds. That’s all it takes.
- Rinse Well: Lift the berries out with a slotted spoon or pour them into a colander and rinse them really, really well under cool, gentle running water. I promise, if you rinse properly, you won’t taste even a hint of vinegar.
By the way, this trick is a total game-changer for delicate raspberries and strawberries, too!
Drying: The Step Everyone Skips (and Regrets)
Okay, you’ve washed them. Now for the most critical and most-often-skipped step: getting them BONE DRY. Storing them wet, even a little bit, will just invite mold back to the party.
I have to admit, I got lazy once and skipped the proper drying step. Huge mistake. I came back the next day to a container of fuzzy sadness. Never again!
Method 1: The Salad Spinner (My Fave)
A basic salad spinner, which you can find for $20-$30 at Target or online, is amazing for this. Line the basket with a couple of paper towels, add the berries in a single layer, and give it a few GENTLE spins. The towels cushion the berries and soak up the water that flies off.
Method 2: The Towel Method
No spinner? No problem. Lay a clean, fluffy kitchen towel on a baking sheet. Gently spread the rinsed berries in a single layer, making sure they don’t touch. Let them air-dry for about 20 minutes, maybe blotting the tops gently with a paper towel. Don’t rush this part!
While you’re at it, do one last quality check. See any berries that got a little squished? Pull them out. But don’t you dare throw them away! Toss these imperfect berries straight into a blender for a smoothie, or simmer them for 5 minutes with a spoonful of sugar for a quick, amazing ice cream topping. No berry left behind!
Storing Them Right: The Final Piece of the Puzzle
Your berries are now clean and dry. Do not—I repeat, DO NOT—put them back in that plastic clamshell they came in. Those are designed for shipping, not storage, and they trap way too much moisture.
Instead, grab a wide, shallow container, preferably glass. Line the bottom with a dry, folded paper towel to wick away any extra moisture the berries release. Arrange the berries in a single, glorious layer on top. Don’t pile them up! If you have too many, use a second container. It’s better than having a bottom layer of crushed berries.
And here’s a pro tip: don’t seal the lid completely tight. Leave it just slightly ajar, or if it has a rubber seal, just set the lid on top without locking it down. This allows for a tiny bit of air exchange, preventing that humid, mold-friendly environment from forming.
Quick tip for crowded fridges: If you absolutely have to stack containers, use a sturdy glass or hard plastic one on the bottom and make sure the lid is on securely, so the weight doesn’t crush the fruit below. And never stack more than two high.
What If You’re REALLY Strapped for Time?
Okay, so what’s that “quick win” I mentioned? If you only have two minutes, do this: just open the clamshell, lay a folded paper towel on top of the berries, and close the lid. Then, store the whole thing upside down in the fridge. The paper towel will absorb the moisture that drips down from the berries, and storing it upside down prevents the ones on the bottom from getting crushed. It’s not as good as the full routine, but it can easily buy you an extra day or two.
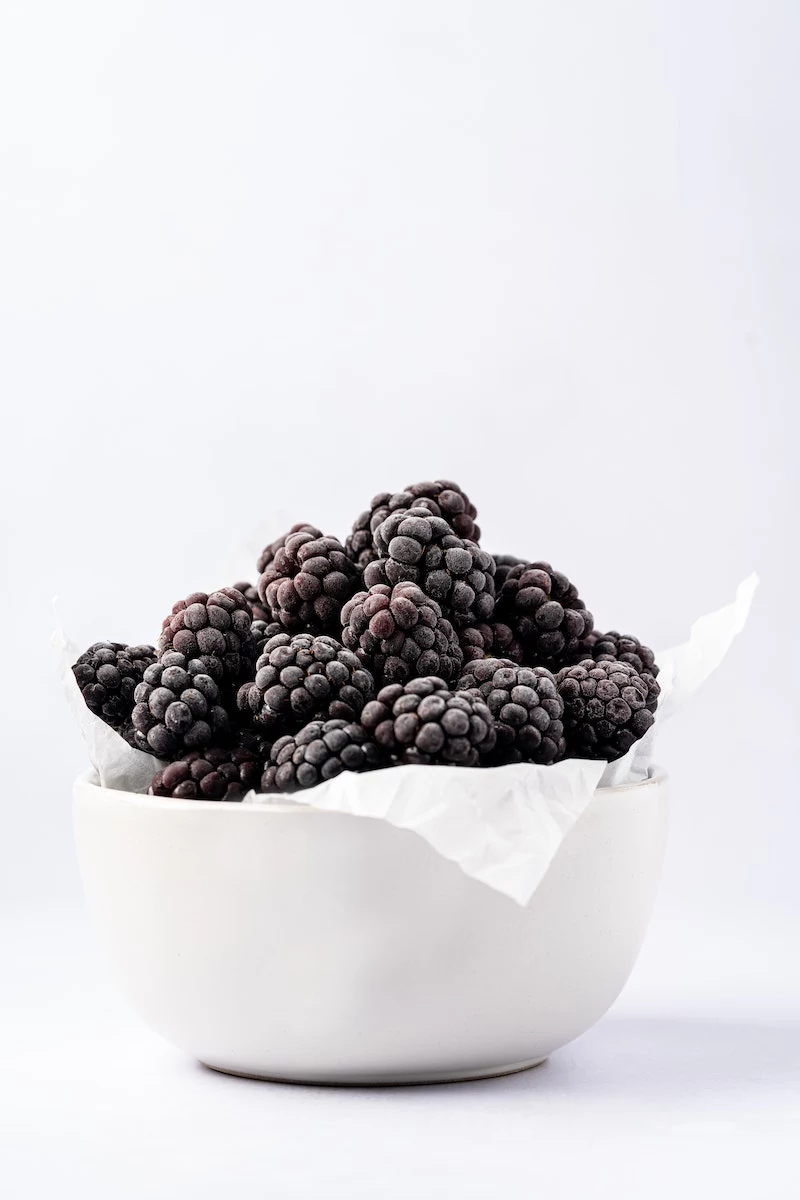
Freezing Berries for Later (Without Creating a Giant Ice Brick)
Got a huge haul? Freezing is your best friend. But if you just toss them in a bag, you’ll end up with a solid, unusable berry-brick.
Here’s the smart way to do it:
- First, do the full vinegar wash and get them COMPLETELY dry. This is non-negotiable.
- Line a baking sheet with parchment paper and spread the dry berries in a single layer, not touching.
- Pop the whole tray in the freezer for a few hours until they’re frozen solid, like little marbles.
- Once they’re individually frozen, you can transfer them to a freezer bag. Now you can grab just a handful whenever you need one for a smoothie or oatmeal!
Squeeze all the air out of the bag, and they’ll be great for at least 6-8 months. If you have a vacuum sealer (a good one can run from $60 to $150 and is a great investment), you can easily get over a year of perfect quality.
A Final Word on Safety
What if you find one or two moldy berries? Carefully remove them and any berries they were touching. The rest are probably fine to eat that day (maybe give them another quick rinse). But if you see widespread mold or smell anything off, don’t risk it. The whole batch goes to the compost. The golden rule is: when in doubt, throw it out.
Also, it’s good to know that blackberries often appear on the “Dirty Dozen,” a list published by the Environmental Working Group that shows produce with the highest pesticide residues. Buying organic or from a local farmer you trust is the best way to minimize your exposure. A vinegar wash helps, but it can’t remove everything.
And that’s it! With these little tricks up your sleeve, you can finally win the war against fuzzy berries and enjoy every last one. Happy snacking!
Inspirational Gallery

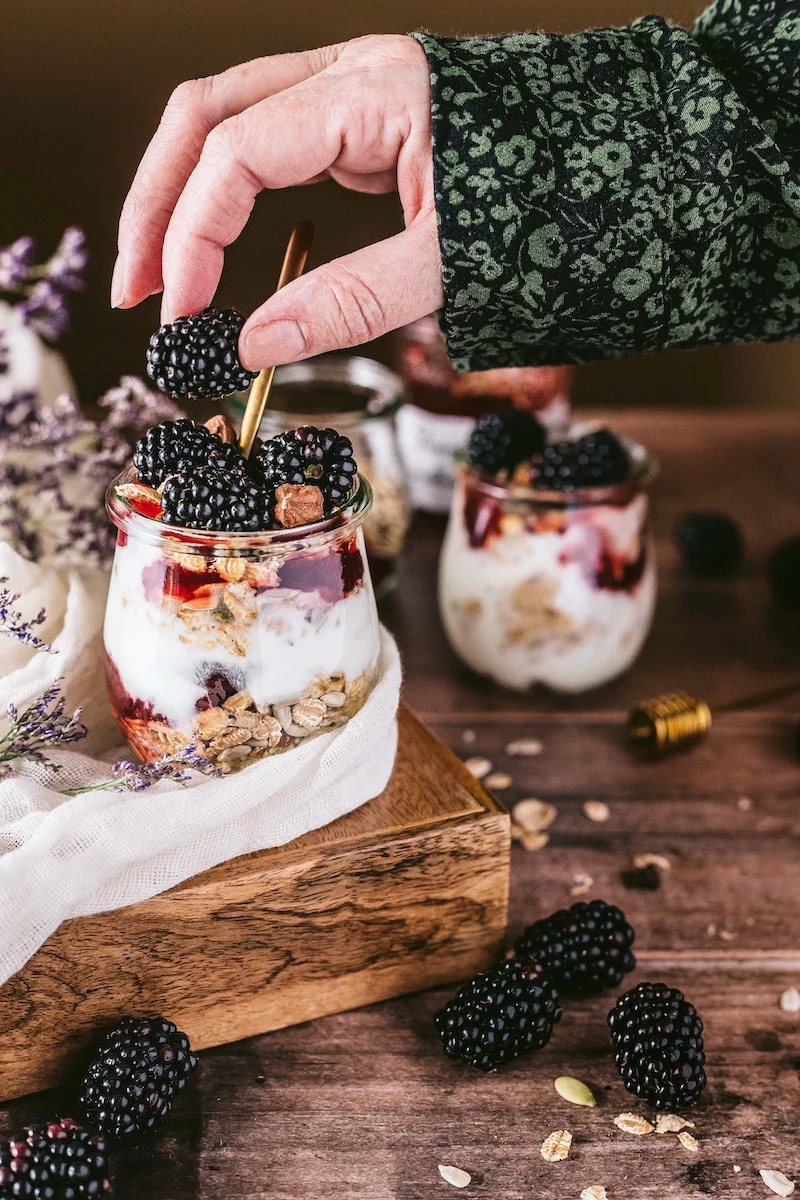
The one-minute salvage mission: Don’t discard berries that are just a bit soft or bruised! While not perfect for a fruit bowl, they are flavor bombs waiting to be used. Mash them with a fork, add a tiny squeeze of lemon juice and a pinch of sugar, and you have an instant, vibrant topping for Greek yogurt, oatmeal, or vanilla ice cream. No cooking required.
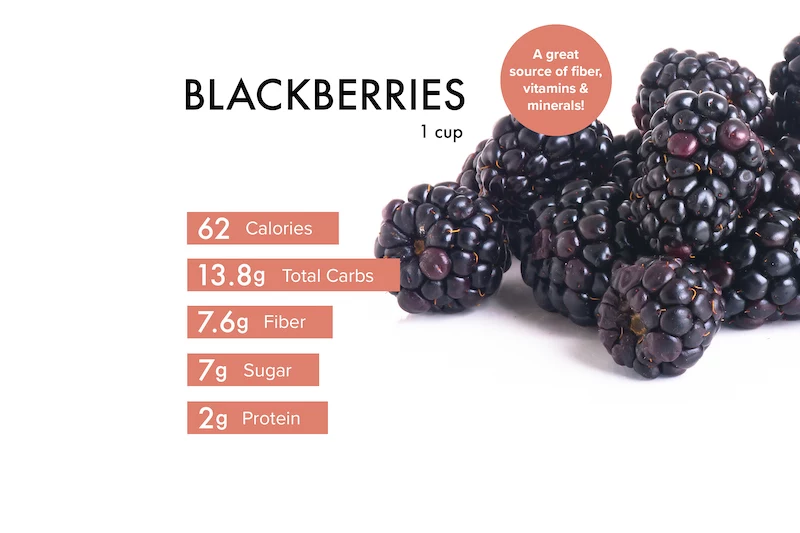
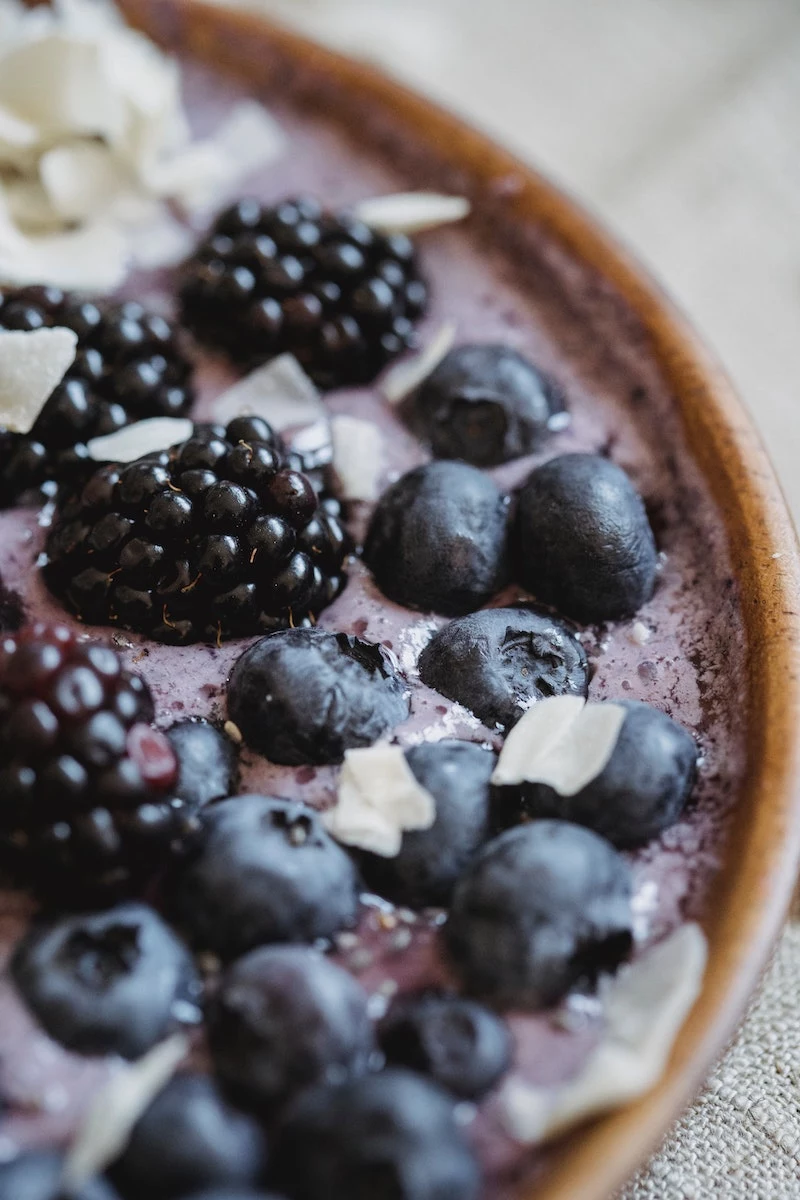
A single cup of blackberries packs in about 8 grams of fiber, which is roughly 32% of your recommended daily intake.
That impressive fiber content is what makes blackberries so satisfying. It aids digestion and helps stabilize blood sugar, turning a simple fruit snack into a genuinely powerful part of your diet. The tiny seeds, or drupelets, are where much of this fibrous goodness is stored.

What about the containers they come in?
Those plastic clamshells are designed for transport, not long-term storage. Their limited ventilation can trap ethylene gas and moisture. For a serious upgrade, transfer your berries to a specialized container like an OXO Good Grips GreenSaver or a Rubbermaid FreshWorks Produce Saver. These have enhanced airflow and often include a carbon filter to absorb ethylene gas, creating a perfect micro-climate for your delicate fruit and easily adding days to their life.
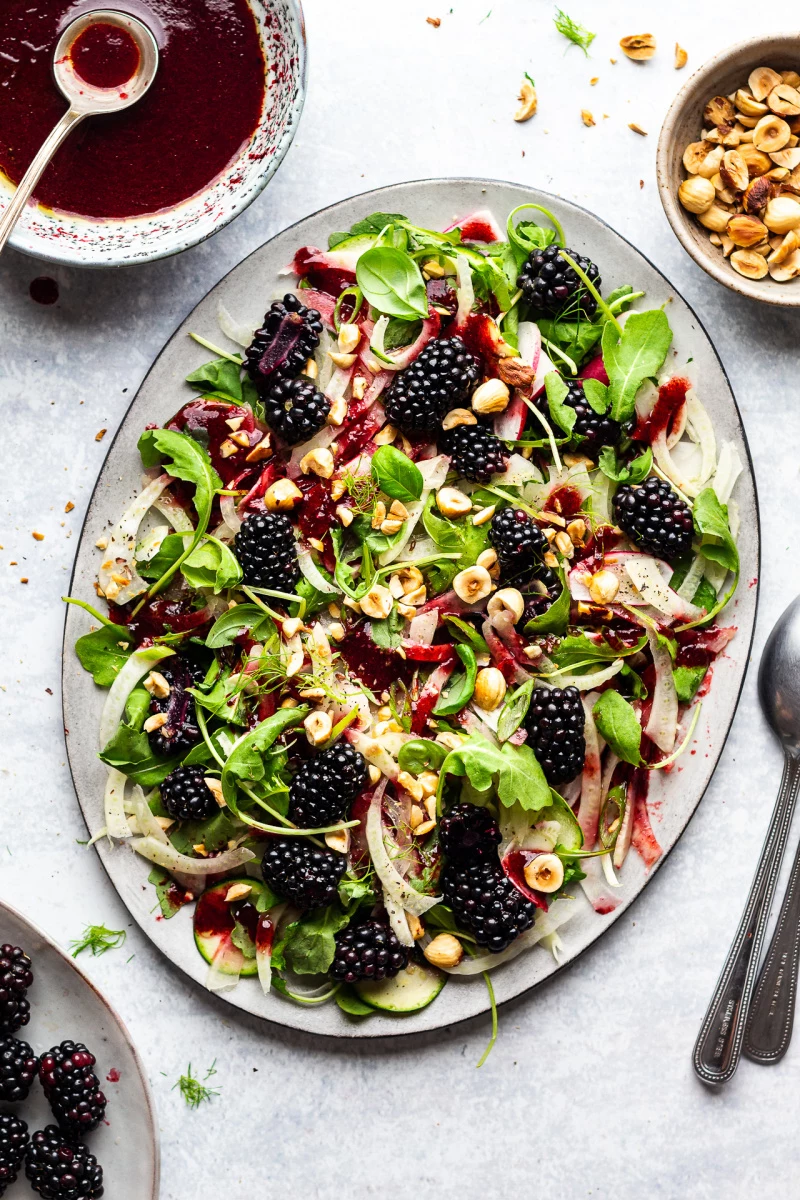
- A deep, rich flavor in salad dressings.
- A beautiful, ruby-toned color for cocktails.
- A way to preserve the essence of summer for months.
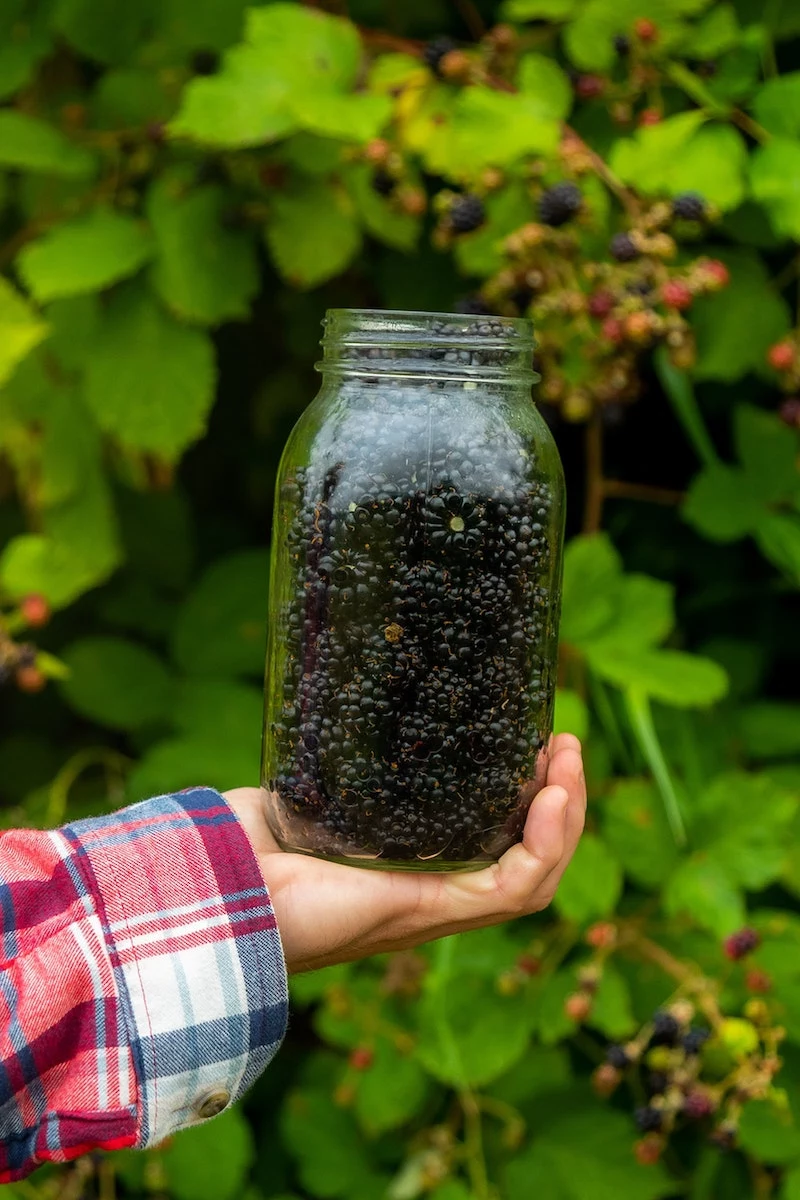
The secret? Blackberry-infused vinegar. Simply fill a clean jar with blackberries, top with white wine vinegar, seal, and let it sit in a cool, dark place for a week before straining. It’s a simple project with gourmet results.
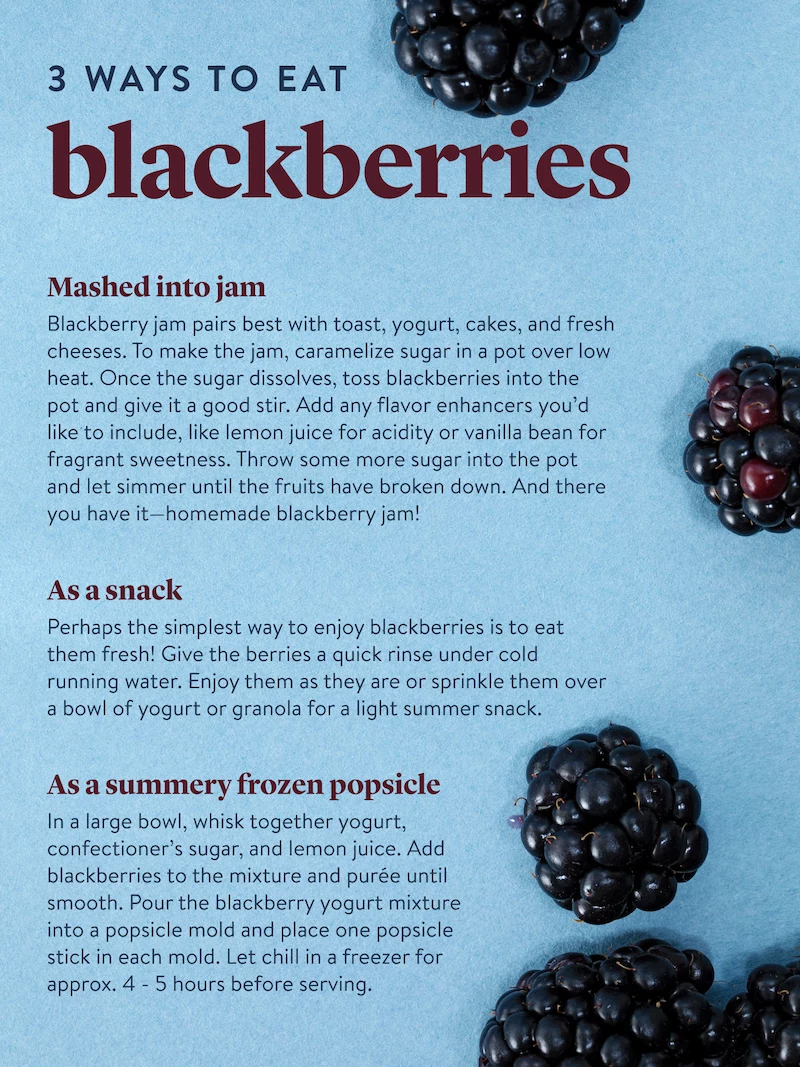
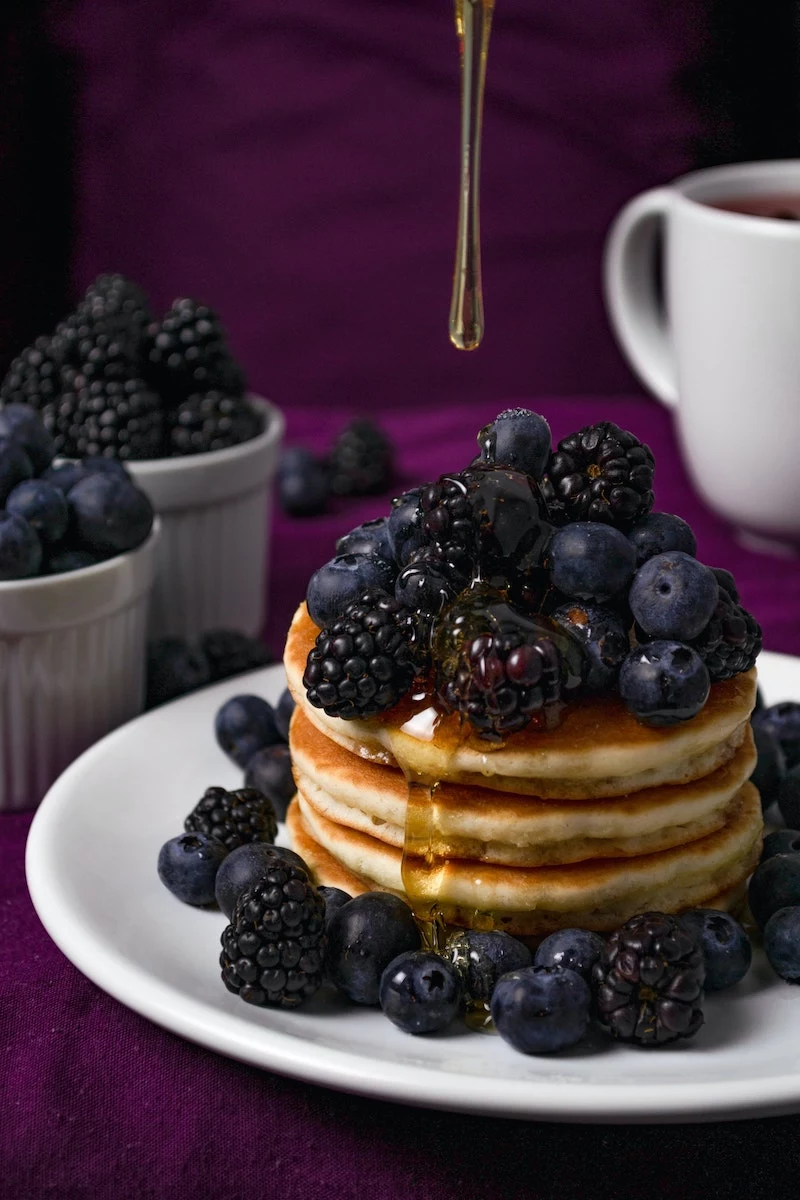
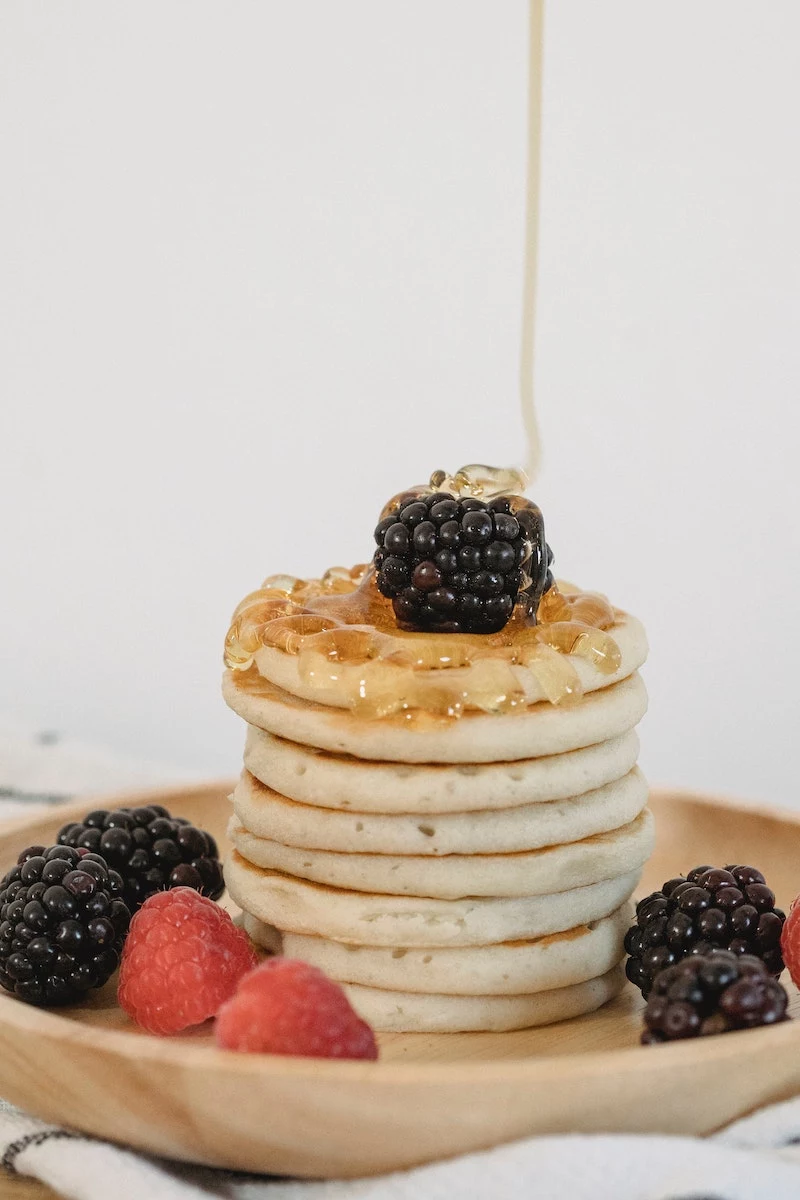
Fresh Berries: Unbeatable for garnishing desserts, tossing into a light salad, or eating straight from the bowl. Their texture is key, offering a delicate pop.
Frozen Berries: The hero of smoothies, sauces, and baking. Freezing breaks down their cell walls slightly, releasing more juice when heated, which is perfect for pies, compotes, and crumbles. They offer year-round access to blackberry flavor at a fraction of the cost of off-season fresh ones.
In British folklore, blackberries shouldn’t be picked after Old Michaelmas Day (October 11th), as it was believed the devil had spat on them, rendering them inedible.
The quest for perfectly dry berries after washing is crucial, as lingering moisture is mold’s best friend. A salad spinner is your secret weapon. Line the basket with a layer of paper towels, add your washed berries, and give them a few gentle spins. This wicks away water from every nook and cranny without bruising the delicate fruit.
Ever wondered if you can freeze them without creating a solid berry-brick?
Yes, and the trick is flash-freezing. Spread your clean, dry blackberries in a single layer on a parchment-lined baking sheet. Make sure they aren’t touching. Freeze for 2-3 hours until solid, then transfer the individually frozen berries to a freezer-safe bag or container. They’ll stay separate, allowing you to grab exactly the amount you need.
Don’t limit blackberries to sweet dishes. Their earthy tartness is a spectacular counterpoint to rich, savory foods. A simple blackberry reduction sauce—made by simmering berries with a splash of balsamic vinegar and a sprig of thyme—is a game-changer when served with grilled duck breast, pork tenderloin, or even a strong cheese like baked Camembert.
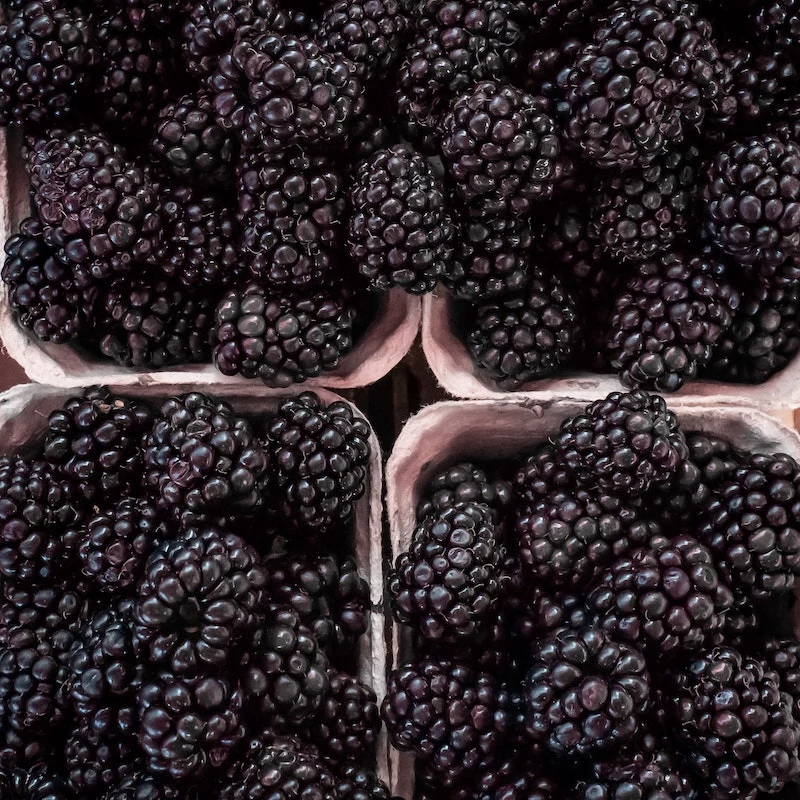
A word on wild vs. cultivated: If you’ve ever had the chance to pick wild blackberries, you’ll know their flavor is often more intense, complex, and tart than their larger, juicier store-bought cousins. Cultivated varieties, like the popular ‘Chester’ or ‘Triple Crown’, are bred for size, sweetness, and transportability, while wild ones are a pure, untamed expression of their terroir.
Found the perfect pint? Don’t stumble at the finish line. The biggest mistake is washing the entire container at once if you only plan to eat a handful. Water is the enemy of longevity. For maximum freshness, only wash the exact amount of blackberries you intend to eat right before you eat them, and return the unwashed berries to their breathable container in the fridge.


