Your Guide to Washing a Comforter Without Clumps, Damage, or Regret
I’ve worked with fabrics my whole life, and let me tell you, I’ve seen some comforter horror stories. I’m talking about fluffy, expensive bedding that comes out of the wash looking like a lumpy, shrunken disaster. One time, a client brought in what was once a beautiful down comforter. They’d washed it on high heat, and it had basically felted itself into a solid, useless mat. A $300 mistake. That kind of thing makes people terrified to wash their own comforters, and honestly, I get it. But you absolutely can do this at home. You just need a little patience and the right game plan.
In this article
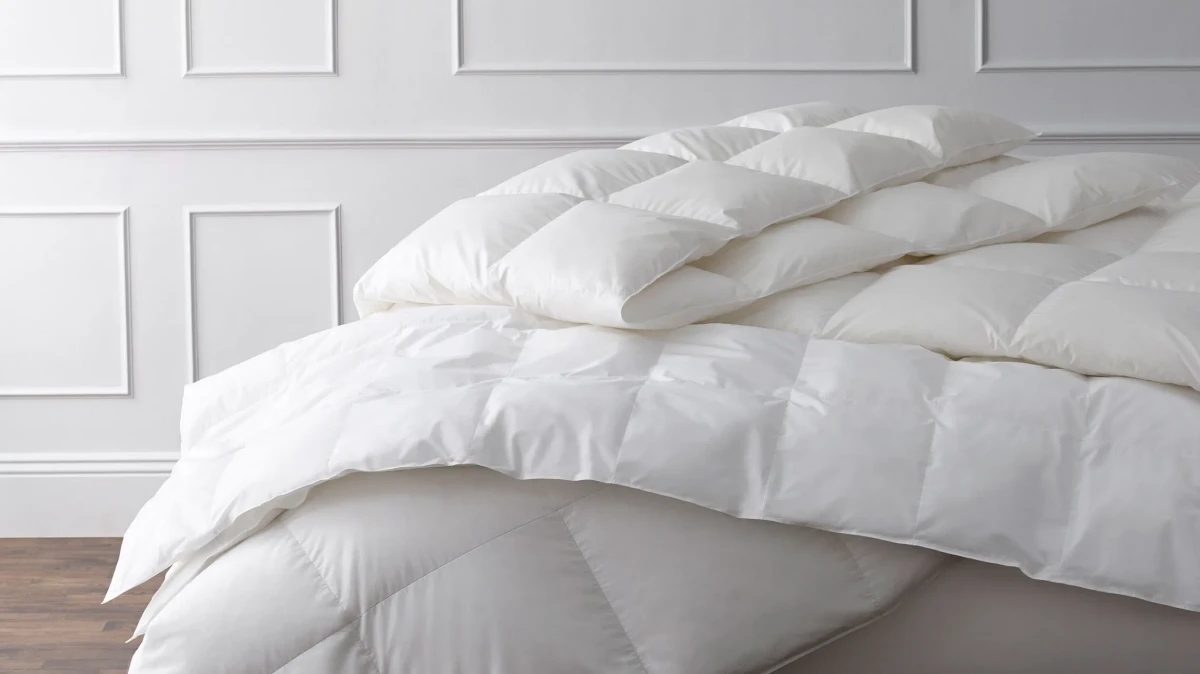
A comforter isn’t just a big blanket; it’s a piece of engineered bedding. The whole point is to keep the fluffy stuff inside—whether it’s down, feathers, or a synthetic alternative—evenly distributed. When washing goes wrong, the fill gets waterlogged, mats together, and dries into hard clumps, leaving you with cold, empty spots. This guide will walk you through the exact process the pros use, so you can avoid that nightmare scenario.
By the way, this advice is for the big, fluffy comforter or duvet insert itself. If you use a separate duvet cover (the decorative part that goes over the insert), you can and should wash that way more often—just toss it in with your sheets! Most people only need to wash the actual comforter once or twice a year, or maybe seasonally when you’re swapping out your bedding.
First Things First: A Quick 5-Minute Check-Up
Before you even think about getting it wet, you need to do a quick inspection. This is the five-minute step that prevents 90% of the problems. Lay your comforter out on your bed and give it a once-over.
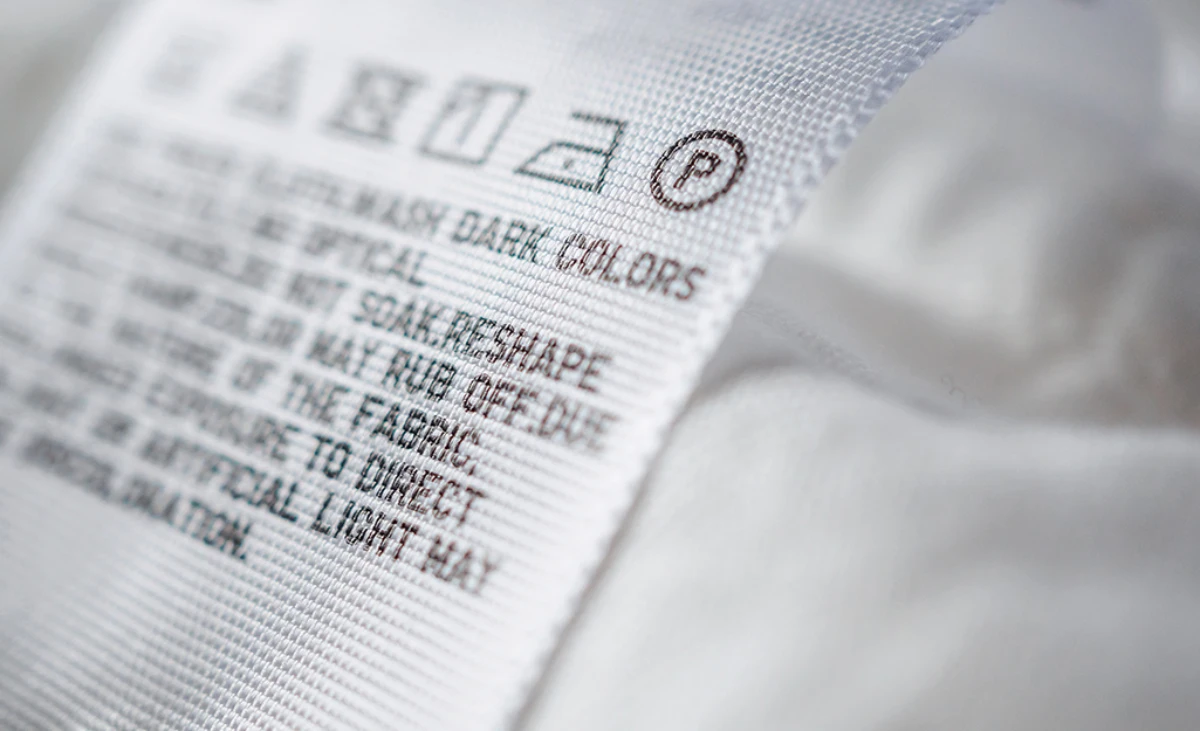
Read the Label (Seriously!)
That little tag sewn into the seam is your best friend. It’s the manufacturer’s direct instructions to you. Look for a few key things:
- Machine Wash, Cold: This means a water temp of 86°F (30°C) or less is your safe zone.
- Tumble Dry, Low: This is a non-negotiable rule. High heat is the number one enemy of almost all comforter fillings.
- Do Not Bleach: Listen to this, especially for down or colored comforters. Chlorine bleach can literally dissolve natural down and will strip the color right out of the shell fabric.
- Dry Clean Only: Okay, this is a hard stop. If it says this, believe it. It means the fabric, dyes, or fill (like silk or some wools) can’t handle being submerged in water. Sure, some people get lucky, but it’s not worth risking your expensive bedding.
Check for Holes and Weak Seams
Next, scan for any small rips, tears, or loose threads in the stitching. The force of a washing machine and the weight of a water-logged comforter can turn a tiny hole into a massive tear, spilling stuffing everywhere. It’s a mess. If you find a small opening, you can easily fix it with a needle and some strong thread (polyester is great). You don’t need to be a pro seamstress; a simple whipstitch to close the gap is all it takes. If you’re not sure, just look up a quick video on a “basic whipstitch for beginners.” It’ll take you two minutes and could save your comforter.
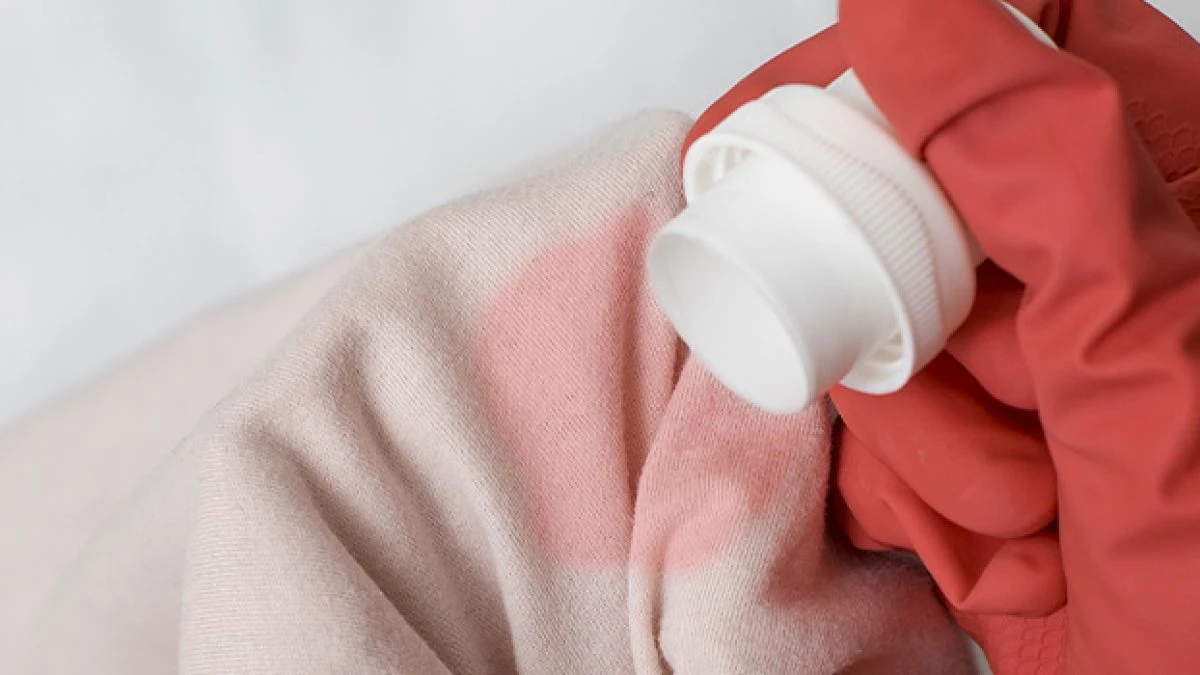
Pre-Treat Stains the Gentle Way
Got a coffee spill or a smudge? Deal with it now. Push the filling away from the stained area so you’re just treating the outer fabric. A great DIY solution is a dab of clear dish soap mixed with a little water. Gently blot the stain with a clean cloth—don’t scrub! Scrubbing just pushes the stain deeper and can damage the fabric. Let it sit for about 15 minutes before you head to the washer.

Getting Your Gear Ready: The Right Machine and Supplies
Washing a comforter successfully is all about giving it enough space to do its thing. Jamming it into a small machine is a recipe for a half-washed, lumpy mess and can even damage your washer.
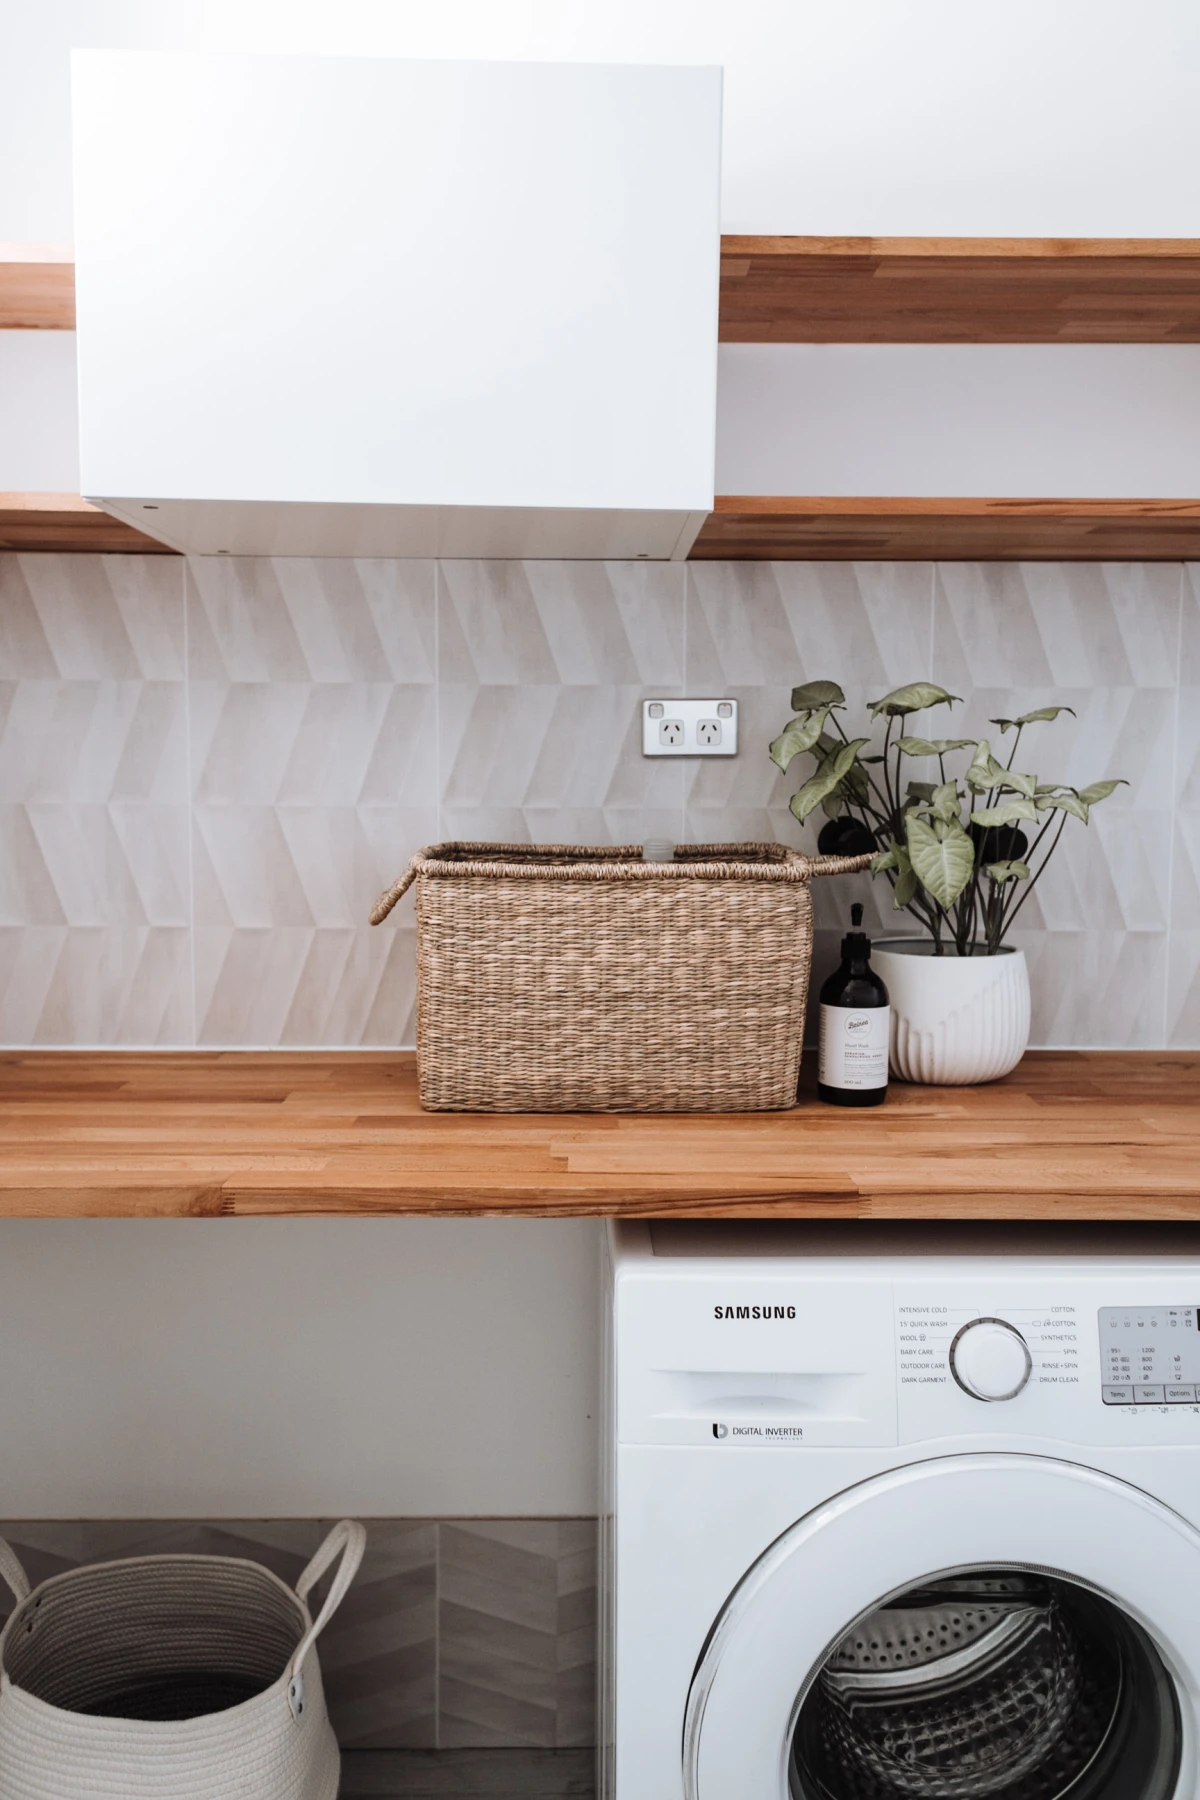
Is Your Washing Machine Big Enough?
This is the big question. A queen-size comforter needs a washer with at least 4.5 cubic feet of space, and a king needs 5.0 cubic feet or more. Most standard home washers just aren’t that big. If your comforter takes up more than about 75% of the drum when it’s dry, it’s too small. Front-loading machines are always the best choice because they don’t have that central agitator that can twist and tear fabric. A top-loader without an agitator is the next best thing.
Heads up! A trip to the laundromat might be your best bet. Their oversized, commercial machines are built for this stuff. Spending $8 to $12 on a large-capacity washer is fantastic insurance for both your comforter and your home washing machine (a burned-out motor repair can cost hundreds!). For comparison, sending it to a professional cleaner will likely run you between $40 and $80, depending on the size and fill. Suddenly, that laundromat trip sounds pretty good, right?
Your Comforter-Washing Shopping List
Before you start, make sure you have the right stuff. It’s a short list, but the items are important.
- The Right Detergent: For down comforters, you absolutely need a specialized, pH-neutral down wash. Standard detergents are too harsh and will strip the natural oils from the feathers, making them brittle. For synthetic (polyester) fill, a mild liquid detergent is fine. Use about half of what you’d use for a normal load of laundry.
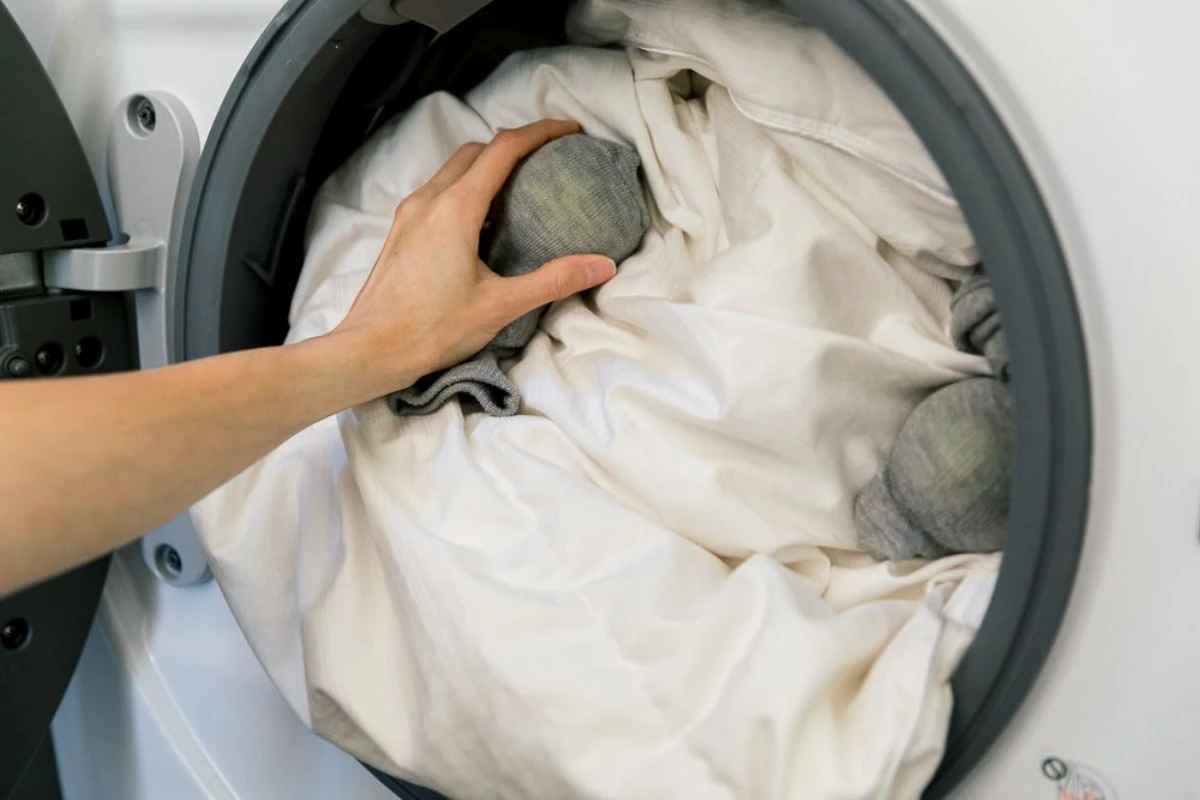
- Wool Dryer Balls: These are a game-changer for the drying process. They bounce around and break up clumps, ensuring a fluffy finish. A set usually costs between $10 and $20. In a pinch, a few clean tennis balls tucked inside a sock will also work.
- Quarters for the Laundromat: If you’re going that route, plan on needing about $10-$15 for the washing and drying cycles.
Oh, and one more thing: never use fabric softener. It coats the fibers and fill, which kills the loft and makes the comforter less breathable. Just don’t do it.
The Wash Cycle: Getting It Clean the Right Way
Once you’ve done your prep, the washing part is pretty straightforward. The key is to keep the load balanced.
Load the comforter into the machine loosely, distributing its weight as evenly as possible. If you’re using a top-loader with an agitator, form the comforter into a U-shape around the central post to keep it from getting tangled.
Choose the ‘Bulky Items’ or ‘Bedding’ cycle. These cycles are designed to use more water and have gentler spin speeds. Always use cold or warm water—never hot. And here’s my number one pro-tip for the wash cycle: select the ‘Extra Rinse’ option. I consider this mandatory. It ensures every last bit of soap is rinsed out of the dense filling, which is the secret to avoiding that stiff, post-wash feeling.
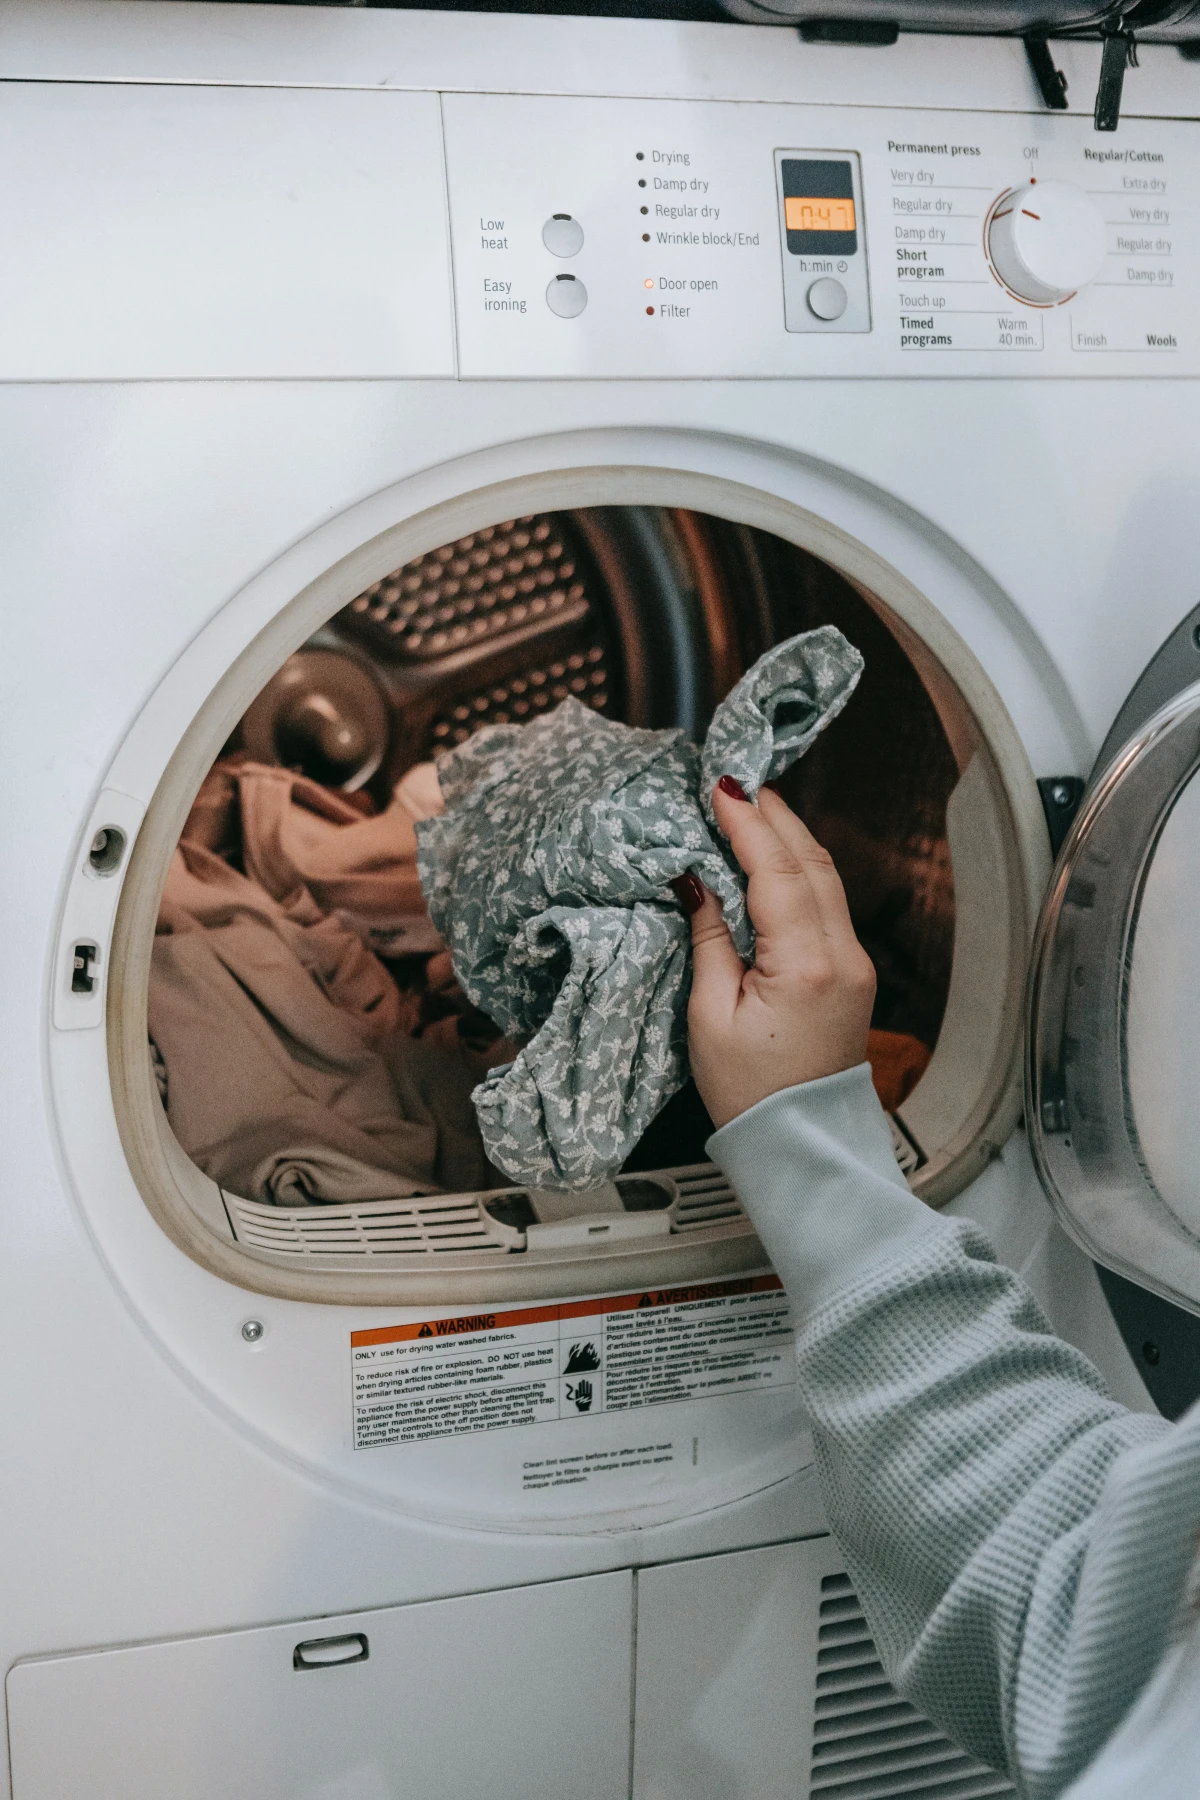
The Drying Game: This Is Where the Magic (or Disaster) Happens
I can’t say this enough: the drying phase is more important than the washing phase. This is where you either create clumps or you create fluff. When the fill gets wet, it naturally mats together. The goal of drying is to gently separate those fibers as they dry.
The best way to do this is in a large-capacity dryer on LOW or NO HEAT. I’m putting that in bold because it’s that important. High heat will melt synthetic fibers into permanent, hard plastic-like clumps and scorch natural down, making it brittle and smelly. It’s also a serious fire hazard.
Toss in your dryer balls to help pummel the clumps apart. Then, use what I call the ‘Stop and Fluff’ method. Run the dryer on low for about 30 minutes. Then, take the comforter out. It will still be damp and clumpy. Give it a good, hard shake from all four corners and use your hands to manually pull apart any big, wet clumps you feel inside. Then, toss it back in for another 30-minute cycle. Repeat this process until it’s 100% dry.
And be patient… this takes time. A big comforter can take two to four hours to dry completely. Set aside a 4-5 hour block on a weekend for this chore. Don’t rush it by turning up the heat. To check if it’s done, feel it all over, especially the center. If any spot feels even slightly cool, it’s still damp inside. Putting it away damp is a one-way ticket to mildew city, and that musty smell is nearly impossible to get rid of.
Know When to Fold ‘Em: When to Call the Pros
So, which route is best for you? Let’s break it down.
- At Home: This is the cheapest option, but it’s only suitable if you have a large-capacity machine. It takes a lot of your time (4-5 hours) and attention. Best for smaller comforters (twin/full) or if you’re on a tight budget and have the right equipment.
- Laundromat: This is my recommended sweet spot. For a cost of about $10-$15, you get access to commercial-grade machines that can handle the job safely and effectively. It still takes a few hours of your time, but it’s the best balance of cost and results for most queen and king comforters.
- Professional Cleaner: This is the easiest but most expensive option, running $40-$80. You just drop it off and pick it up. This is the best choice if your comforter is ‘Dry Clean Only,’ made of a delicate material like silk or wool, has very tough stains, or if you simply don’t have the time to deal with it yourself.
Honestly, knowing your limits is key. If you have an heirloom quilt, or a comforter filled with wool or silk, don’t even try to wash it yourself. Those materials are incredibly sensitive to water and agitation and are best left to a professional who specializes in them.

And that’s it! It might seem like a lot, but it’s a pretty simple rhythm once you get it down. For those of you who just want to screenshot the steps for laundry day, here you go:
Your No-Fail Comforter Checklist:
- Read the care label.
- Inspect for holes and mend any you find.
- Pre-treat stains gently.
- Use a large-capacity machine (the laundromat is your friend!).
- Use the right detergent (down wash for down!) and NO fabric softener.
- Wash on a bulky/bedding cycle with cold water and an extra rinse.
- Dry on LOW heat with dryer balls.
- Stop, fluff, and shake every 30 minutes until 100% dry.
Inspiration:

How do I keep my comforter smelling fresh between washes?
A light mist of a high-quality linen spray is your best bet. Look for formulas with natural essential oils that won’t leave a synthetic residue. A few spritzes of something like The Laundress Fabric Fresh Classic or a Caldrea Linen and Room Spray in a scent like Sea Salt Neroli is enough to refresh the fabric without overwhelming your senses. Avoid heavy perfumes, which can sometimes attract dust and aren’t ideal for direct skin contact.
Wool Dryer Balls: These are the professional’s choice. Made of tightly felted wool, they absorb moisture, reduce drying time, and gently pummel the comforter to redistribute the fill. They are quiet, natural, and last for thousands of loads.
Clean Tennis Balls: A classic DIY hack, but with downsides. The rubber can overheat and release a faint odor onto your bedding. They’re also much louder in the dryer and can be too aggressive on delicate shell fabrics.
For a pristine, fluffy result, investing in a set of quality wool balls is a small price to pay to protect your comforter.


