Your Plunger is Probably Wrong. Here’s How to Fix Most Clogs Yourself.
Look, I’ve spent years in the plumbing trenches, and I can tell you something that might save you a few hundred bucks. At least half the calls I used to get for simple clogs could have been fixed by the homeowner in under ten minutes. The problem isn’t usually a lack of trying; it’s using the wrong tool for the job, or using the right tool the wrong way.
In this article
A plunger seems like the simplest tool on earth, right? But there’s a real technique to it. Mastering this one skill is like learning first aid for your house. Get it right, and you can skip the $150 to $300 emergency call and the awkward wait for a plumber to show up. Let’s walk through how to do this properly.
How a Plunger Actually Works (It’s Not What You Think)
Most people think plunging is about forcing air down the pipe to push a clog. That’s a huge misconception, and it’s why so many people get frustrated and just splash gross water everywhere. A plunger is a hydraulic tool. It doesn’t move air; it moves water.
Think about it: water can’t be compressed, but air can. An air-filled plunge is weak and spongy. But when you get a good seal and trap water in the pipe, you’re creating a powerful, incompressible battering ram. Pushing down sends a shockwave of water forward. But here’s the secret: the real magic happens on the pull. Pulling back creates powerful suction, yanking the water—and the clog—backward. This rapid push-pull action rocks the blockage back and forth, breaking it apart way more effectively than just pushing.
So, your goal isn’t to slam the plunger down with brute force. Your goal is to get a perfect seal and use the water in the pipe to do the hard work for you.
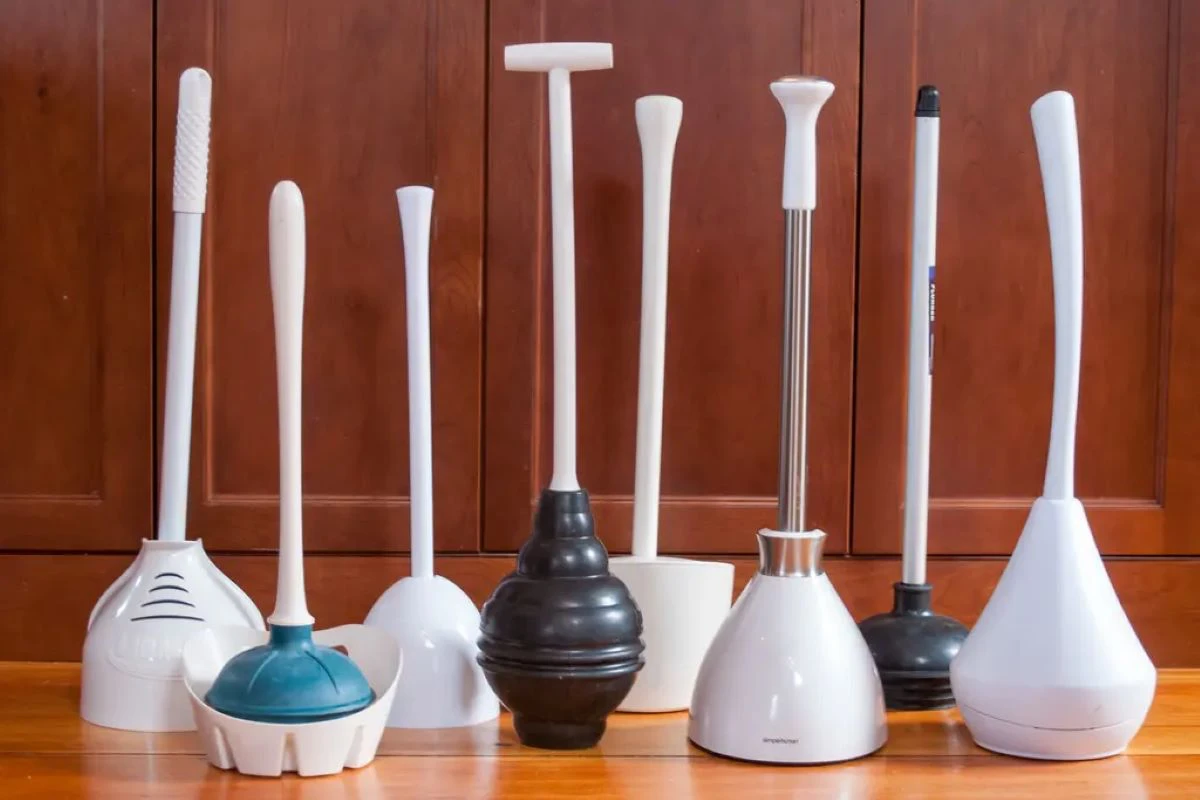
The Plunger Aisle: Picking Your Weapon
Walk into any Home Depot or hardware store and you’ll see a few options. Grabbing the wrong one is like trying to use a fork to eat soup. It’s a waste of time. Let’s break down the main types.
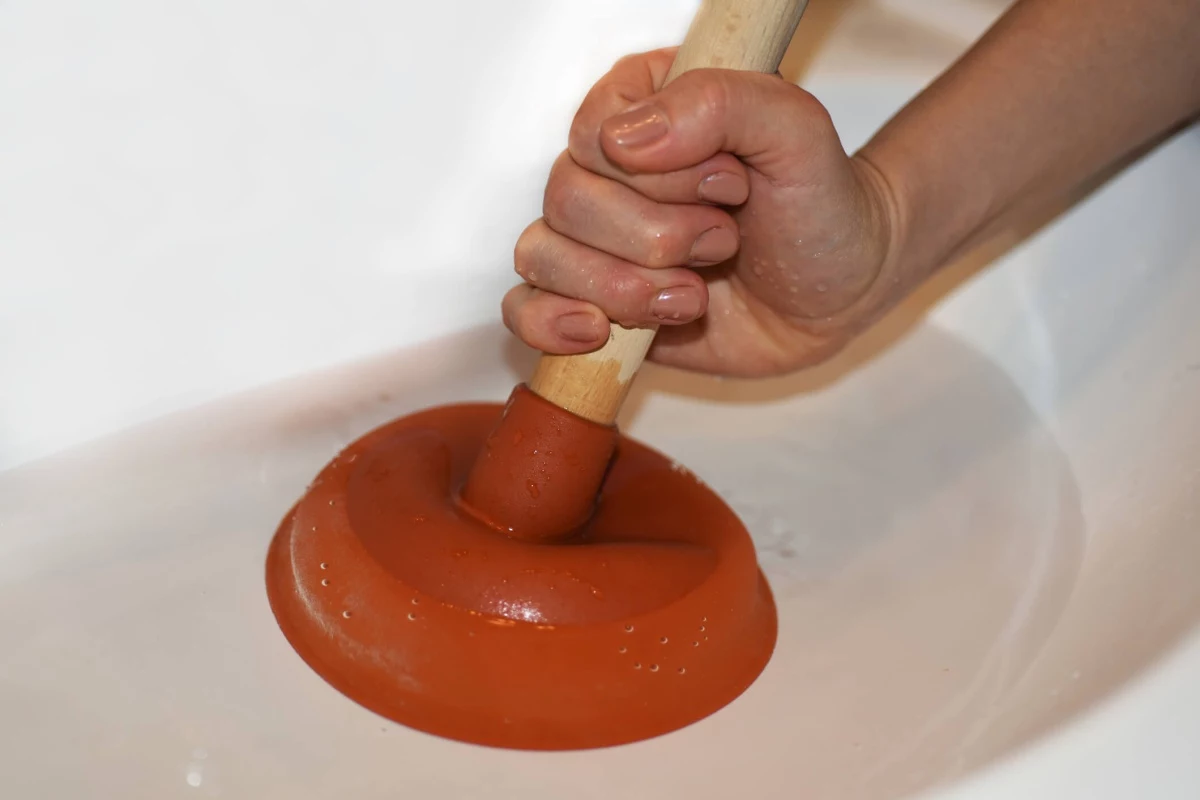
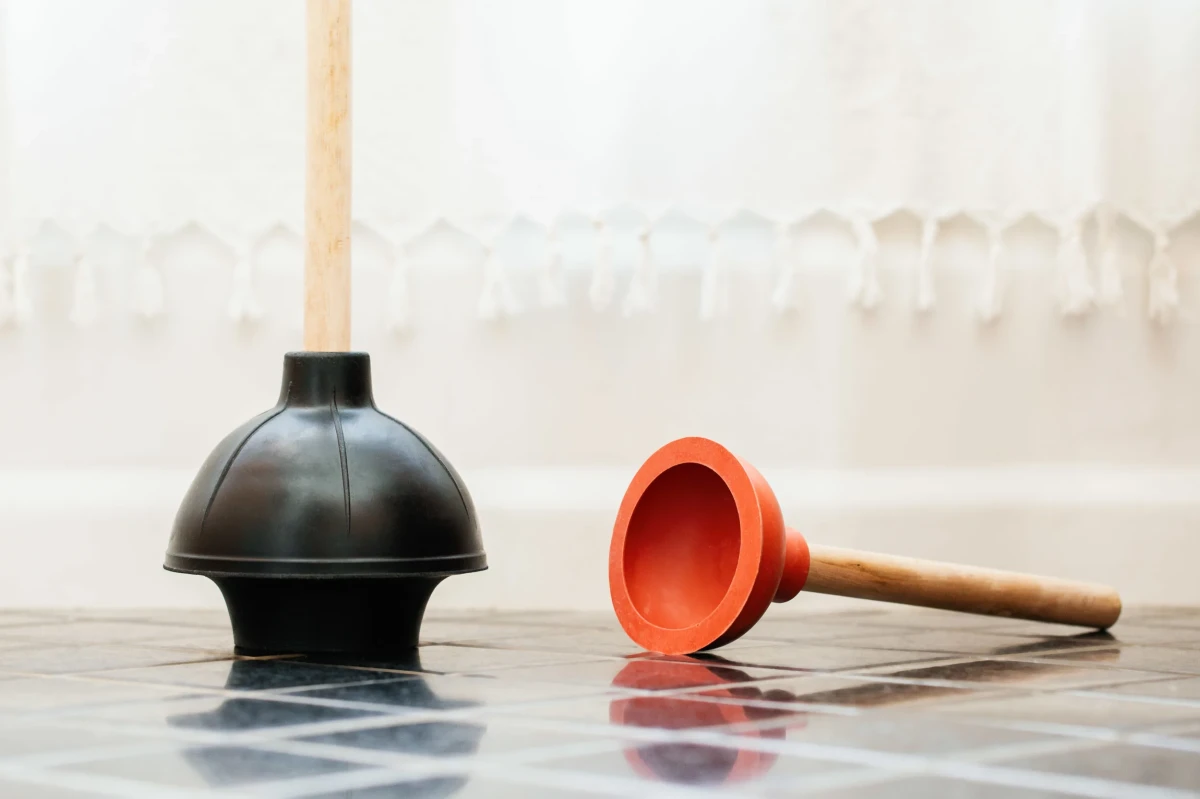
The Classic Cup Plunger (For Sinks & Tubs ONLY)
This is that classic orange or black cup on a stick. Its flat rim is designed to create a seal on a completely flat surface, like your kitchen sink, bathroom sink, or tub drain. It works great for those. But if you try to use this on a toilet, you’ll never get a seal around the curved drain. You’ll just be pushing water around the bowl. These are cheap, usually under $10, but they’re a one-trick pony.
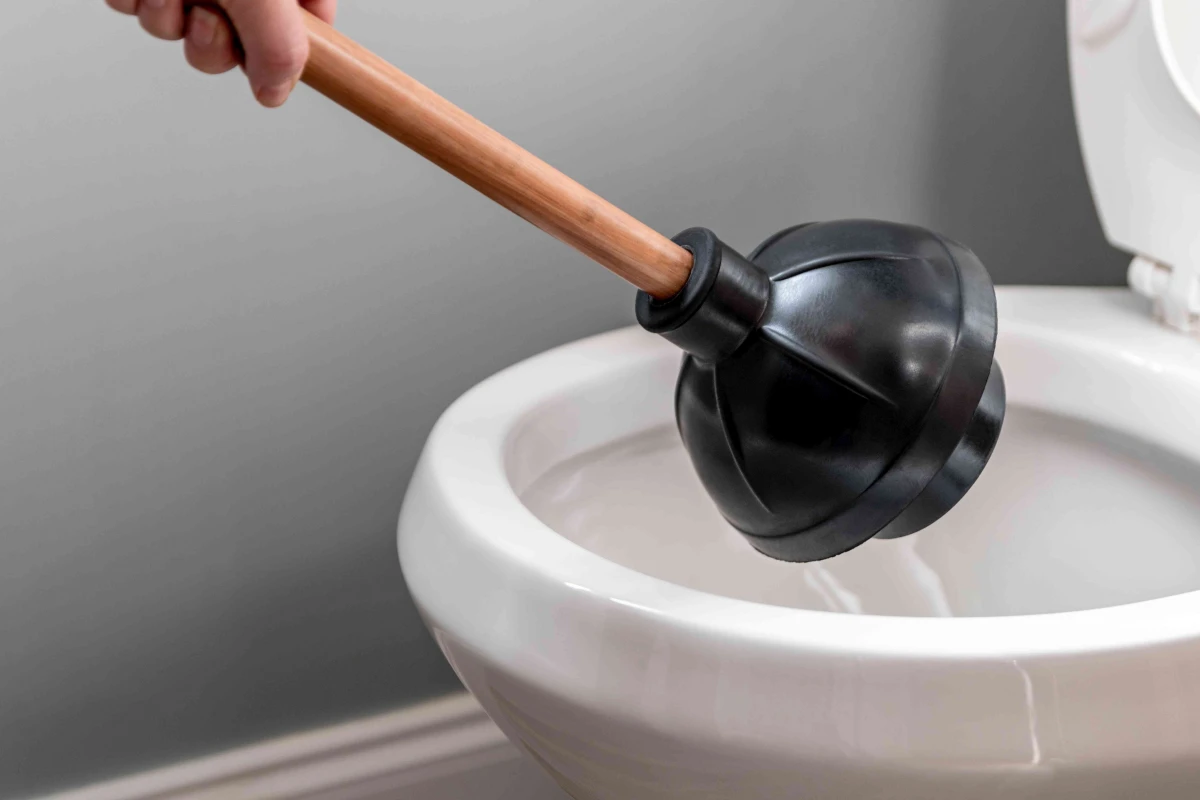
The Flange Plunger (The One You Should Own)
This is the real MVP of the plunger world. It looks like a cup plunger but has a soft, bell-shaped flap (the flange) that extends from the bottom. That flap is specifically designed to fit snugly inside a toilet’s drain opening, creating the tight seal you need. Honestly, if you only buy one plunger, this is it. You can even fold the flange up into the cup to use it on a flat sink drain, making it a two-in-one tool.
Pro Tip: When you’re buying one, spend a little extra for good quality. Look for one in the $15 to $25 range with flexible, pliable rubber, not hard, cheap-feeling plastic. Stiff ones crack easily and don’t form a good seal. A style like the “beehive” plunger is a great example of a modern, effective design.
The Bellows Plunger (The Accordion One)
This one looks like an accordion and it’s almost exclusively for toilets. It can move a massive amount of water with a ton of force, which is great for stubborn clogs. The downside? It can be tricky to control and is notorious for splashing water right out of the bowl if you aren’t careful. For most homeowners, a quality flange plunger is a much safer and more reliable bet.
How to Plunge a Toilet the Right Way
Okay, let’s get down to business. Rushing this process is how you end up with a bathroom floor disaster. Before you even touch the plunger, let’s get prepped.
Your Pre-Plunge Shopping List
- Quality Flange Plunger: ($15 – $25) The star of the show.
- Rubber Gloves: Non-negotiable.
- Old Towels or Newspapers: To protect the floor around the toilet.
- Small Bucket: Just in case you need to bail water.
- Petroleum Jelly: The secret weapon. Trust me on this.
Step 1: Prep the Battlefield
First, lay down those old towels around the base of the toilet. Put on your gloves. Now, check the water level in the bowl. The head of your plunger needs to be completely submerged to work. If the water is low, add some from the sink or a bucket. If the bowl is full and threatening to overflow, you have to bail some out into your bucket. And whatever you do, DO NOT flush it again to “see if it’s fixed.” That’s how overflows happen.
Step 2: The Pro-Level Seal
Here’s a little trick that makes a world of difference. Smear a thin layer of petroleum jelly on the rim of the plunger’s flange. This helps create a super-tight, waterproof seal against the porcelain. It’s a game-changer. Now, place the plunger in the bowl at an angle so the cup fills with water, pushing all the air out. Fit the flange directly into the drain and press the main cup down to form the seal.
Step 3: The Actual Plunging
Your first push should be gentle. This is just to push out any remaining air. Once the seal feels solid, you’re ready to go. Grip the handle with both hands and start a vigorous push-pull motion. Remember to pull up with as much gusto as you push down—the suction is doing half the work! Give it a solid 15-20 rhythmic plunges.
Break the seal and see what happens. If the water drains, you’ve won! If not, don’t lose hope. Tough clogs (especially those from so-called “flushable” wipes, which are a plumber’s nightmare and shouldn’t be flushed) might take a few rounds. Give it 3 or 4 good rounds. If you’ve been at it for 5-10 minutes with no change, it’s probably time to admit defeat. The clog is likely too severe for a plunger.
Step 4: The ‘Nervous’ Test Flush
Once the water goes down, the clog is probably gone. But don’t just hit the main flush. Take the tank lid off so you can control the flapper (the rubber stopper at the bottom). Flush the toilet but keep your hand ready. If the water starts rising again, just push that flapper back down. It’ll stop the tank from emptying and prevent another overflow. If the test flush is successful, you’re golden.
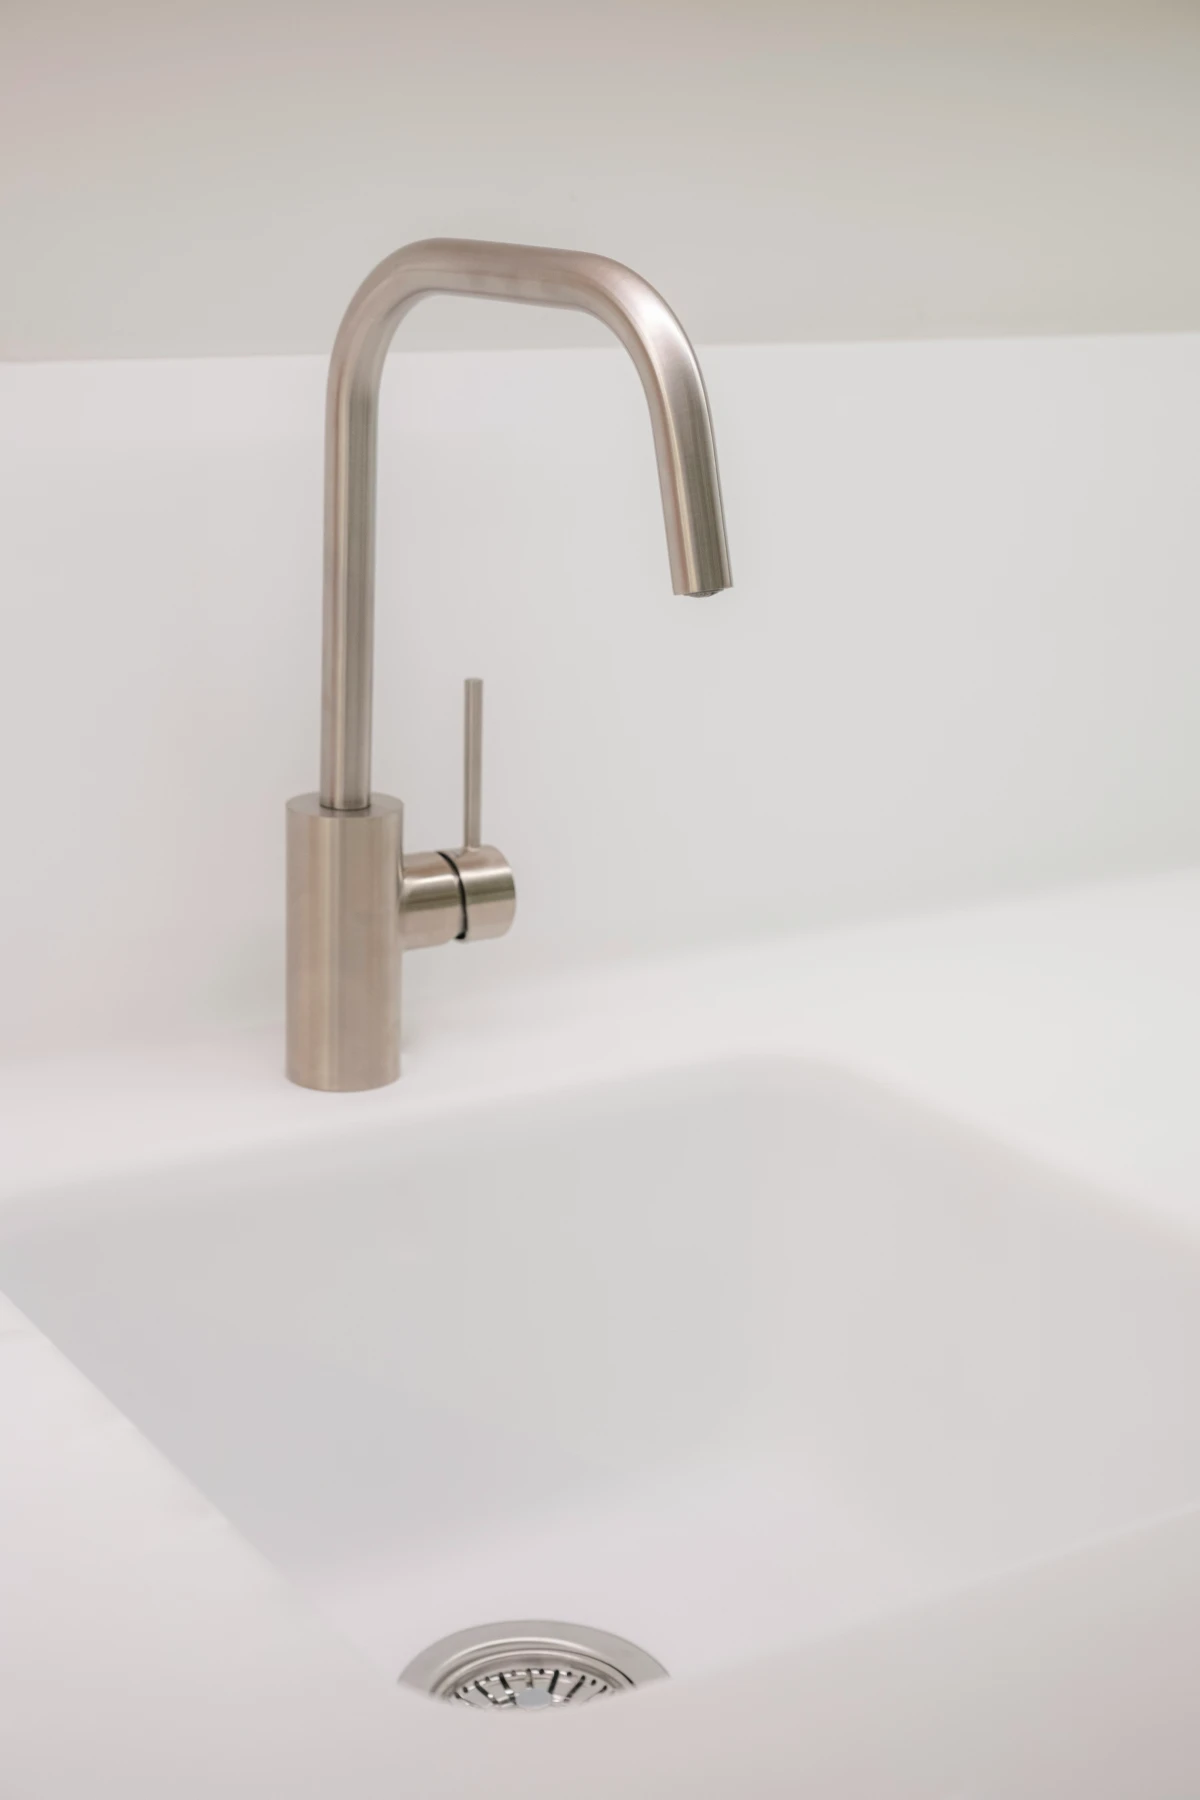
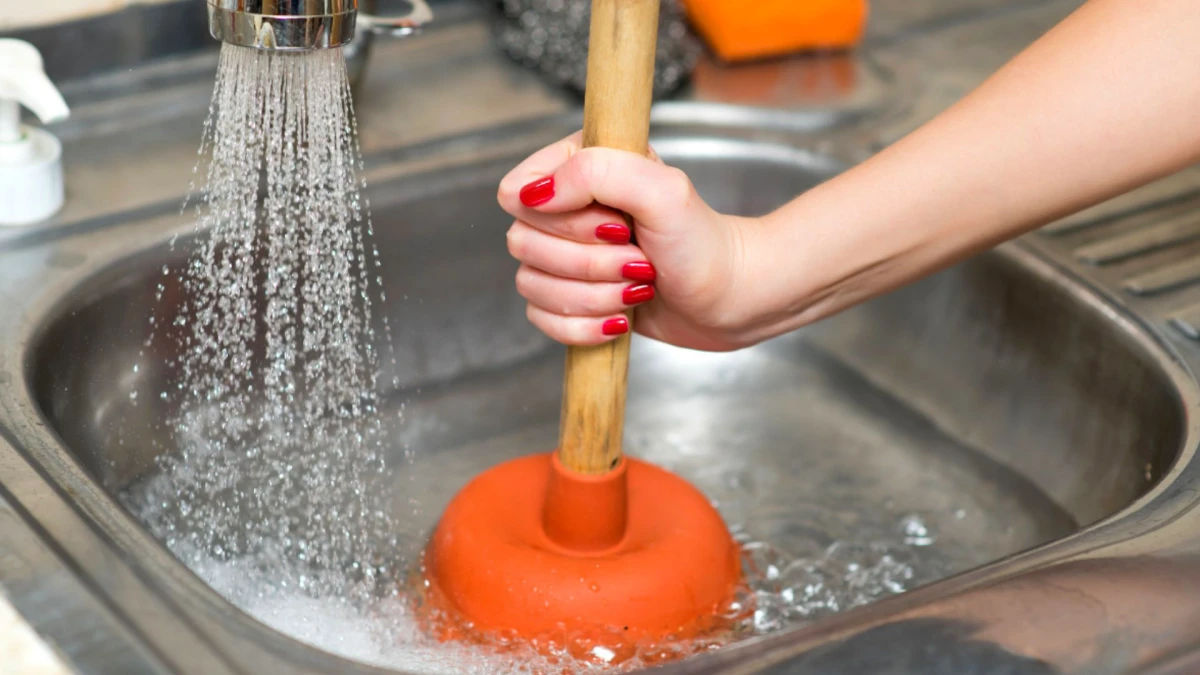
Tackling Sinks and Tubs
For sinks and tubs, you’ll use a cup plunger, but the biggest challenge isn’t the main drain—it’s the overflow.
Almost every sink and tub has an overflow hole to prevent flooding. If you don’t block this, all the pressure from your plunging will just escape out of it. Get a wet rag, stuff it firmly into the overflow opening, and hold it there. For a double kitchen sink, you have to plug the other drain, too. A stopper or a second person with a rag works.
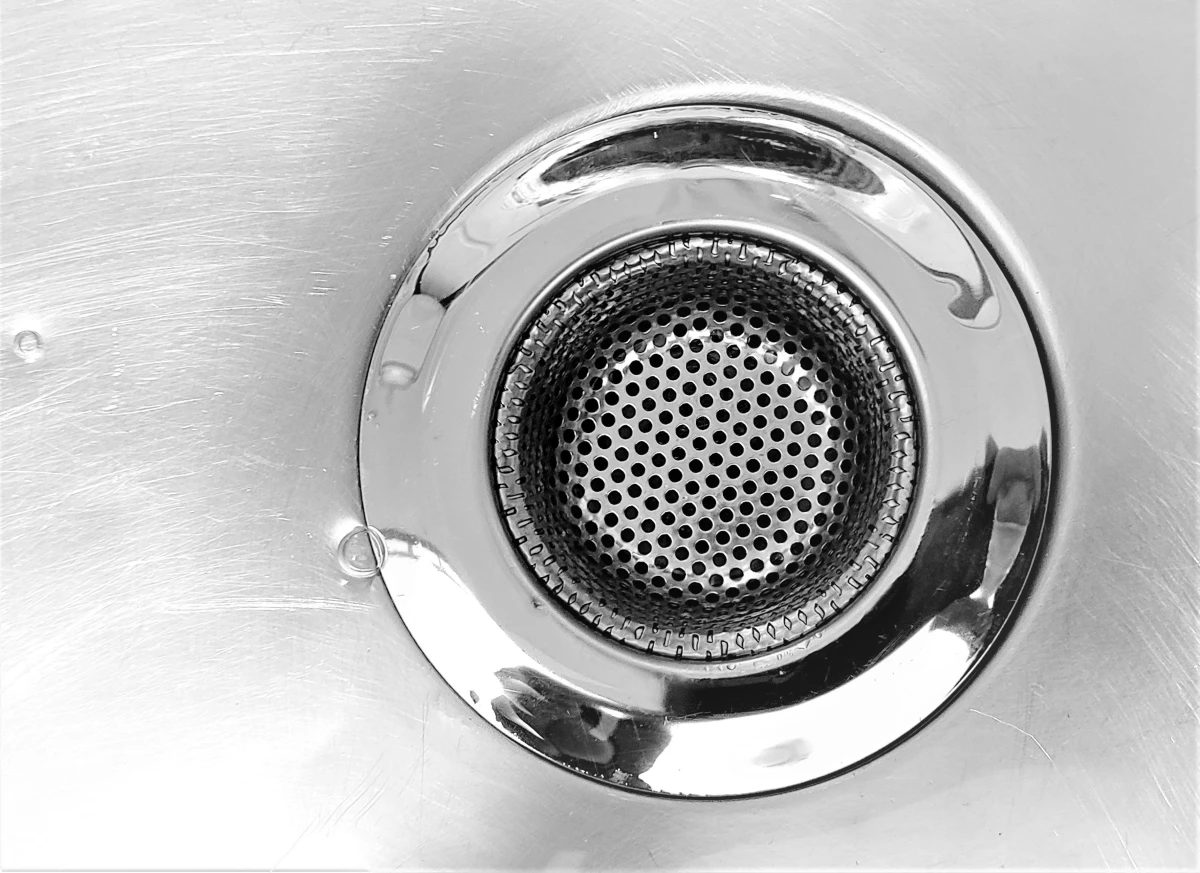
Heads up for bathroom sinks: You’ll want to remove the pop-up drain stopper first, as it’s a major hair and gunk magnet. Most just pull straight up. If it feels stuck, it might be attached to a little pivot rod. You can usually loosen a nut on the pipe right under the sink to release it. A quick wiggle and pull should do it.
With the overflows and stoppers handled, cover the plunger cup with water and plunge away just like you did with the toilet.
Know When to Fold ‘Em: When a Plunger Isn’t the Answer
A plunger is your first line of attack, but it can’t solve everything. If you’ve plunged your heart out and nothing is happening, stop. Continuing to force it can sometimes make things worse.
Pay attention to your other drains. If you plunge the toilet and water gurgles up in the bathtub, STOP. That’s a classic sign of a clog in your main sewer line, and a plunger has zero chance of fixing that. You’ll need a pro. Also, if you know a solid object went down the drain—like a kid’s toy or a razor—don’t plunge. You can wedge it in deeper, turning a simple retrieval into a major pipe-cutting repair.
A Serious Warning About Chemical Drain Cleaners
I can’t say this strongly enough: please avoid liquid chemical drain cleaners. They are incredibly corrosive and can eat away at older metal pipes and even damage modern PVC. Worse, if the chemical doesn’t clear the clog, you’re left with a pipe full of toxic, caustic liquid. Plunging it then becomes a serious safety hazard. And when you inevitably call a plumber, we now have to work in a dangerous chemical stew. They rarely work on tough clogs anyway.
Time to Call a Pro
There is absolutely no shame in calling for backup. It’s time to pick up the phone if:
- You’ve tried plunging correctly for 10 minutes and the clog is winning.
- Multiple drains in your house are backing up at once.
- You know a solid, hard object is the culprit.
- After plunging, the toilet wobbles. This could mean you’ve broken the wax seal at the base, which needs to be replaced.
A pro has tools like power augers and hydro-jetters that can handle what a plunger can’t. It’s better to pay for a service call than to accidentally cause a much bigger, more expensive problem.
Clean Up and a Final Tip
After your victory, clean your tool. Rinse the plunger in the clean water of the first successful flush, then disinfect it in a bucket with a bit of bleach or cleaner. Let it air dry. And please, don’t just stick the wet plunger in a closet. Grab a cheap plastic drip tray for it, or store it in a dedicated heavy-duty trash bag in the garage or utility room. A little sanitation goes a long way.


