Stop Ruining Your Bread! A Baker’s Straight-Up Guide to Keeping It Fresh
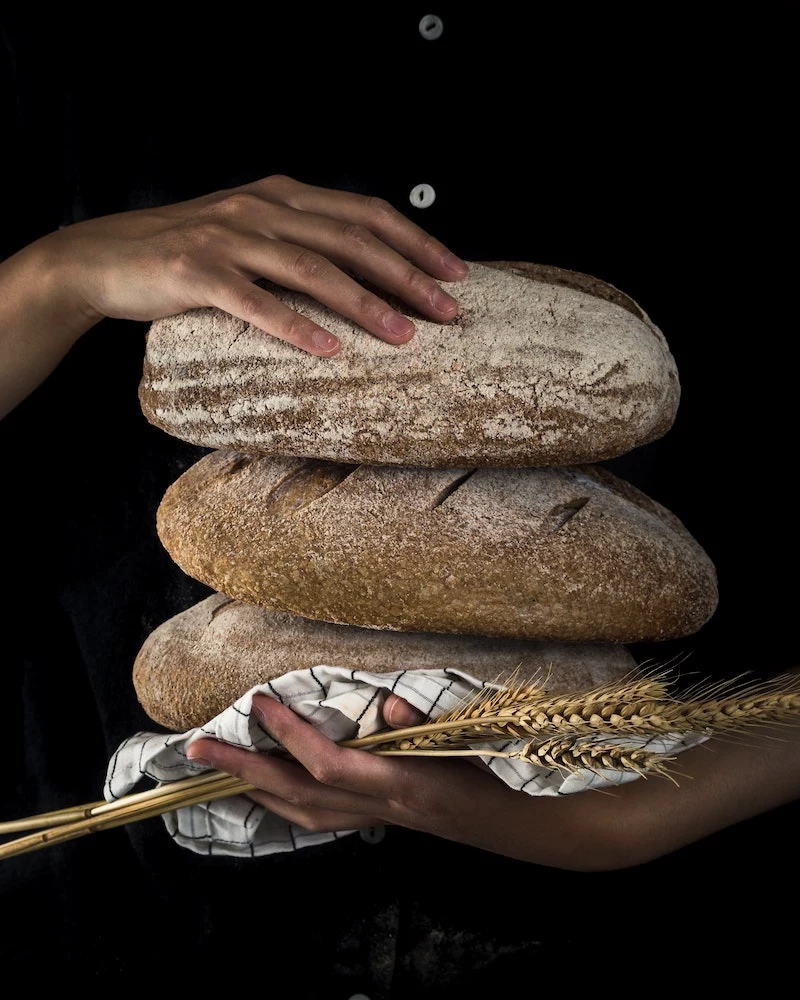
For as long as I can remember, my mornings have smelled like yeast, flour, and heat. That bakery rhythm gets into your bones. You learn the feel of a perfect dough, the sound of a good crust cracking… and, unfortunately, the crushing disappointment of a beautiful loaf gone stale a day later.
In this article
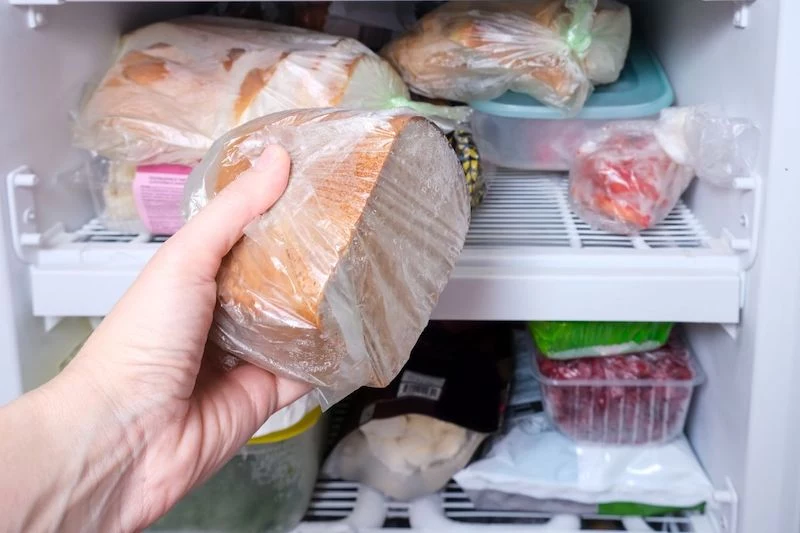
Honestly, the biggest mistake I see people make is wrapping a gorgeous, crusty artisan loaf in plastic. They’re shocked when it turns into a soft, gummy mess overnight. Storing bread isn’t just about tossing it on the counter; it’s about understanding what that specific loaf needs to stay amazing.
So, let’s get into the nitty-gritty of how we do it in the pros and how you can do it at home. This isn’t about secret tricks—it’s about giving your bread what it actually wants.
First Things First: The Golden Rules of Bread Storage
If you only remember three things from this whole article, make it these:
- The refrigerator is bread’s #1 enemy. Seriously. It makes bread go stale three times faster than leaving it at room temperature. Just don’t do it (unless it’s a cream-filled pastry that needs it for safety).
- Always, ALWAYS let bread cool completely before storing it. I’m talking four to six hours. A warm loaf releases steam, and that trapped moisture is a one-way ticket to a soggy crust. Patience is key.
- If you see even one spot of mold, the whole loaf is garbage. I’ll get into why later, but please, don’t just cut off the spot. Toss the entire thing. It’s not worth the risk.
The Real Reason Your Bread Goes Stale (It’s Not What You Think)
Most people think stale bread is just dry bread—that it lost its moisture to the air. But that’s only a tiny part of the story. The real culprit is a science-y process that happens as soon as the bread cools down.
Inside the flour, tiny starch molecules puff up with water during baking, creating that soft, perfect texture we all love. But as the loaf cools, those molecules start to squeeze back together and push the water out. This makes the bread firm and tough, even though the water is still technically inside the loaf. It’s the exact same reason day-old pasta gets all stiff in the fridge.
Our mission, then, is to slow that process down without creating a humid, swampy environment where mold can have a party. And how we do that depends entirely on the type of bread.
The Best Ways to Store Your Loaf
The Bread Box: Your Best Bet for Crusty Breads
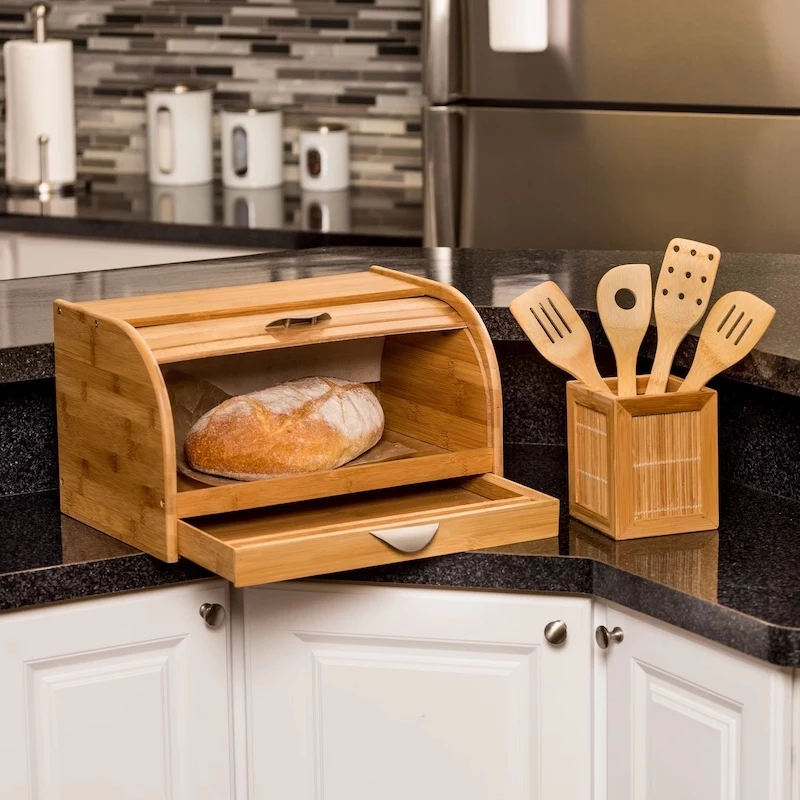
A bread box is my go-to for any artisan loaf I plan on eating within three to four days. And no, it’s not just a decorative kitchen item. A good bread box is engineered to create the perfect little microclimate. It’s not airtight; it lets just enough air circulate to prevent moisture buildup (and mold), but it holds in enough humidity to keep the crust from turning into a rock.
A few things to look for when you’re buying one:
- Good to know: Material matters. Wooden boxes are fantastic because the wood itself helps regulate humidity. Metal or ceramic ones are great too, but make sure they have little vents to let the bread breathe.
- Don’t overstuff it. One or two loaves is perfect. Jamming it full will just create too much humidity and defeat the purpose.
- Cost and Where to Buy: You can find decent bread boxes for between $30 and $80, depending on the material and style. Look at home goods stores like Crate & Barrel, or you can find tons of options online from Amazon to Etsy.
Heads up! No bread box? No problem. You can get a similar effect by placing your loaf, cut-side down, on a wooden cutting board and covering it with a clean, overturned bowl. Or, you can wrap it in a clean tea towel and stash it in a cool, dry cabinet. Some people even swear by putting their bread in a turned-off microwave—it acts as a makeshift, non-ventilated bread box in a pinch!
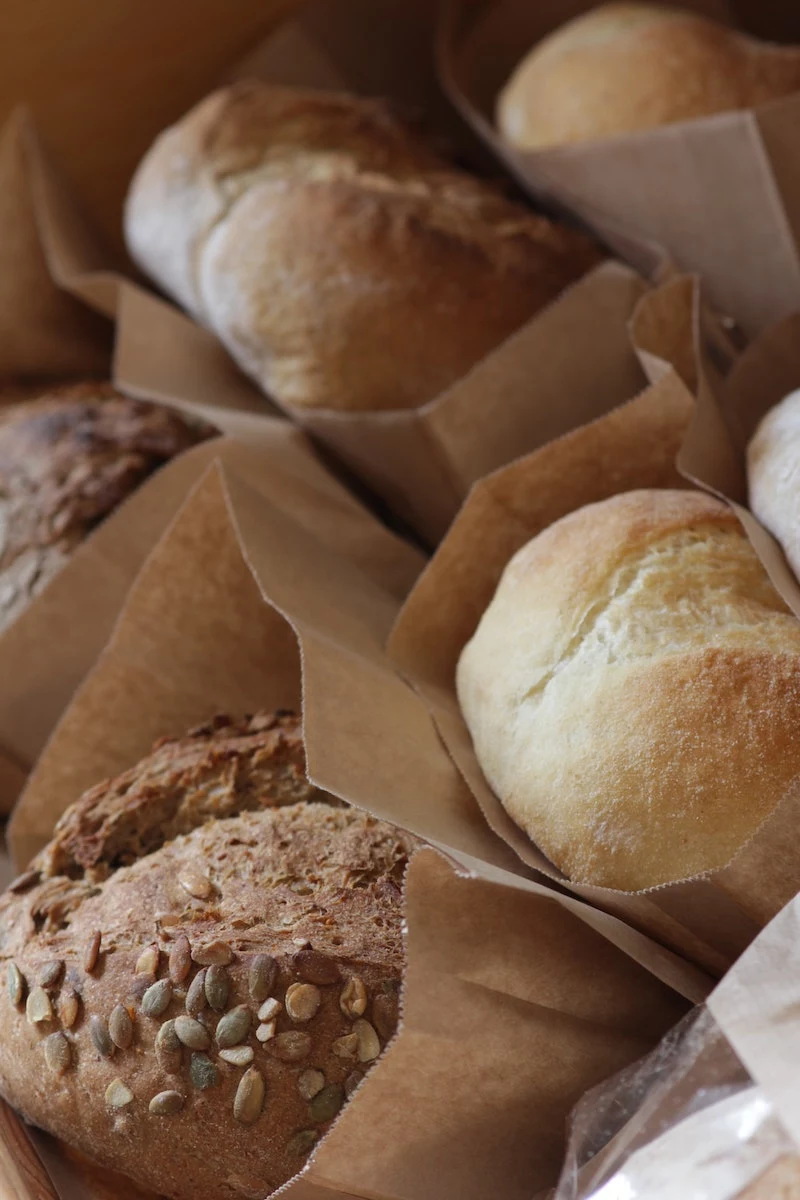
Paper or Cloth Bags: For Short-Term Crust Protection
Ever wonder why that fancy baguette from the bakery comes in a paper bag? It’s because a baguette is all about that shatteringly crisp crust, and it’s meant to be eaten today. A paper bag protects the bread from dust while letting it breathe, preserving that perfect crust for a few hours.
Reusable linen or cotton bread bags work on the same principle but are a bit more effective for an extra day. They’re my top choice for a sourdough loaf I know we’ll finish in a day or two. Quick tip: when you wash these bags, skip the scented detergents and fabric softeners. That perfume will go straight into your bread. A simple hot water wash is all you need.
The Plastic Bag: For Soft Breads Only
Okay, let’s talk about the plastic bag. It gets a bad rap because it ruins crusty bread, but it’s exactly what you need for soft, enriched breads. (By the way, “enriched” is just baker-talk for breads with extra fat, sugar, or eggs, like a classic sandwich loaf, challah, or brioche).
These breads don’t have a crispy crust to protect; their whole deal is a soft, tender crumb. A plastic bag traps moisture and keeps them from drying out. The only catch? That high-humidity environment is a perfect breeding ground for mold, which is why store-bought sandwich bread is loaded with preservatives. For a homemade soft loaf, you’ll get two, maybe three days at room temp before you’re in the danger zone.
The Freezer: Your Long-Term Secret Weapon
Let’s be real, the freezer is a baker’s best friend. It almost completely stops the staling process. If you do it right, you can thaw bread weeks or even months later, and it will taste unbelievably fresh. I do this all the time to bake in bigger batches and always have great bread on hand.
My Foolproof Freezing Method
- Cool It Down. Completely. I know I said it before, but it’s the most important step. A warm loaf in a bag creates steam, which turns into big ice crystals that destroy the bread’s texture. Be patient.
- Slice Before You Freeze! This is a game-changer, especially if you live alone or have a small family. It lets you grab just a slice or two for toast without thawing the whole thing. Trust me, trying to slice a frozen loaf is a nightmare.
- Use the Double-Wrap Method. This is the key to preventing freezer burn. You need two layers. First, wrap the sliced loaf tightly in plastic wrap, squeezing out as much air as you can. Then, put that plastic-wrapped loaf into a heavy-duty, zip-top freezer bag and, again, press out all the air before sealing.
- Label It. Grab a marker and write the type of bread and the date on the bag. Lean breads like baguettes are best within a month. Richer breads can go for up to three months before they start to lose flavor.

Bringing Frozen Bread Back to Life
How you thaw it is just as important as how you freeze it.
- For Slices: The best way is to pop them straight from the freezer into the toaster. The direct heat thaws them and crisps the surface perfectly. Don’t even think about the microwave—it’ll make your beautiful bread tough and chewy.
- For a Whole Loaf: Let it thaw on the counter in its wrapping for a few hours. Once it’s thawed, unwrap it and pop it into a 350°F (175°C) oven for about 5 to 10 minutes. This little trick re-crisps the crust and warms the crumb, making it taste like it just came out of the oven.
Advanced Moves and Climate Control
Got a round loaf? Try the old-school trick of slicing it from the middle. Take out the slices you need, then push the two halves back together. The crust on both ends now protects the soft interior from the air, easily buying you an extra day of freshness.
And if you have a loaf that’s just hard and stale (but not moldy!), you can often revive it. Quickly run the whole loaf under a cool tap—just enough to wet the crust, not soak it. Then, place it directly on the rack in a 375°F (190°C) oven for 6 to 8 minutes. The water turns to steam, rehydrating the loaf and making it warm and crusty again. It’s a magic trick that only works once per loaf, but it’s amazing.
Your turn! Got a slightly hard loaf in your kitchen? Go try the water-and-oven trick right now and see for yourself!
Oh, and one more thing: your climate matters. If you live in a super humid place like Florida, mold is your biggest enemy. You might get less time out of your bread at room temperature, and a bread box with good ventilation is non-negotiable. If you’re in a dry climate like Arizona, your bread will stale faster, so a well-sealed bread box or a cloth bag might be even more crucial to hold onto that moisture.
A Serious Word on Mold
Okay, let’s get serious for a second. Food safety is everything. If you see a spot of mold on your bread—even a tiny green or blue speck—you have to throw the entire loaf away.
Bread is porous, like a sponge. That spot on the surface is just the tip of the iceberg. The roots of the mold have already spread, unseen, deep into the loaf. Some of these molds can produce toxins that can make you seriously ill. For the price of a loaf of bread, it is never, ever worth the risk. When in doubt, throw it out.
But stale is not the same as moldy! Stale, mold-free bread is a treasure in the kitchen. It can become amazing homemade croutons, breadcrumbs, or the base for a killer French toast or bread pudding. Respect the bread from start to finish, and you’ll get to enjoy it down to the very last, delicious crumb.
Inspirational Gallery with Photos
What about bread that’s already gone a bit hard?
Don’t despair, a slightly stale crusty loaf can often be revived. For a whole loaf, run it quickly under the tap (don’t soak it!) and place it directly on the rack of a preheated oven at 180°C (350°F) for 5 to 10 minutes. The steam created on the surface will re-gelatinize the starches, making the crust crisp and the inside soft again. This trick works best once, so eat it immediately!
The Linen Bag Advantage: A simple, often overlooked solution is a reusable linen bread bag. Unlike plastic, which suffocates the crust, linen is breathable. It allows just enough air circulation to prevent the crust from getting soft and damp, while still slowing down moisture loss from the crumb. It’s the traditional European method for a reason, perfect for keeping a sourdough or baguette fresh for an extra day or two.
Did you know that the average household throws away the equivalent of nearly half a loaf of bread every single week?
That’s a staggering amount of waste. Mastering bread storage isn’t just about enjoying a better slice for your breakfast toast; it’s a simple, effective way to reduce food waste in your own kitchen, saving money and resources in the process. Each loaf saved is a small victory.
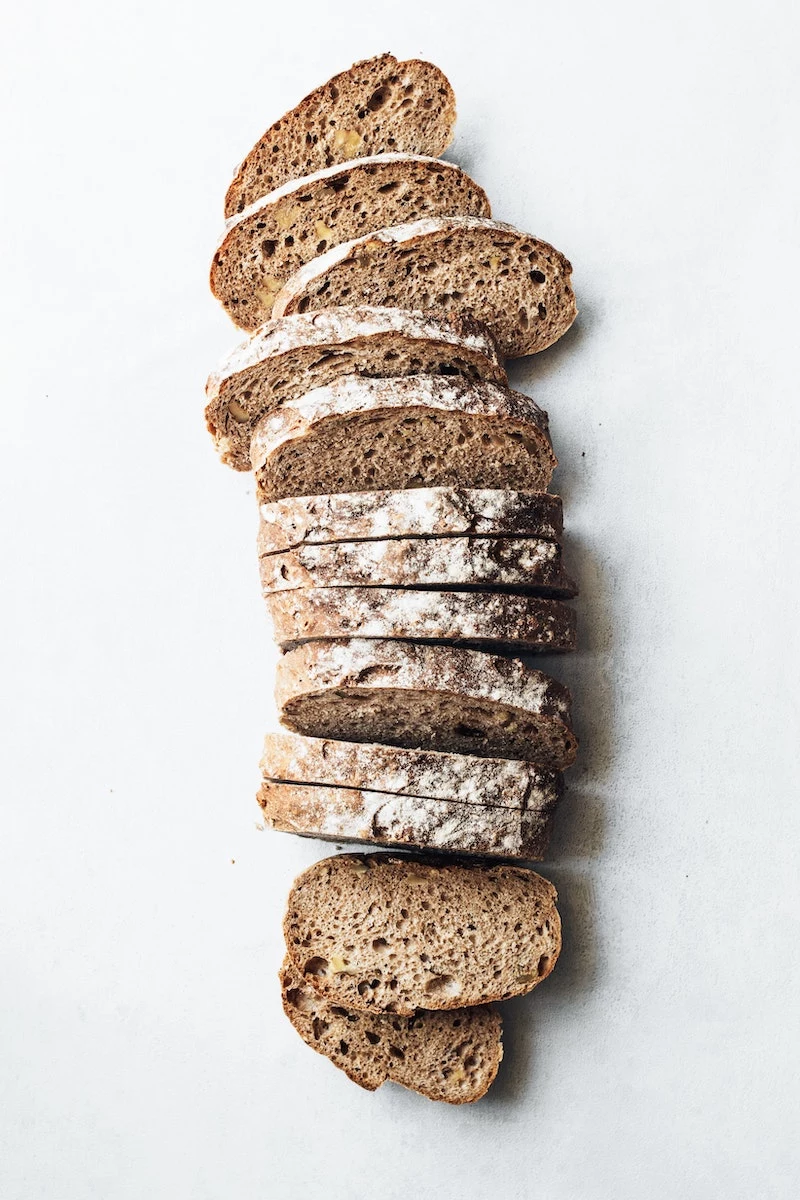
The way you slice can make a huge difference. If you have a whole, unsliced artisan loaf that you won’t finish in one sitting, resist cutting from the end. Instead, slice it from the middle. You can then push the two cut ends together, creating a seal that protects the interior crumb from air exposure. This keeps the inside of the loaf dramatically softer for much longer.
- Keeps the crust perfectly crisp.
- Allows the crumb to breathe, preventing sogginess.
- Naturally wicks away excess moisture.
The secret? A high-quality linen bread bag. It’s a low-tech, high-impact tool that respects the texture of a good artisan loaf.
Choosing the right bread box depends entirely on your climate and your bread.
Metal or Ceramic Box: A classic bread bin, like those from Brabantia, creates a darker, slightly cooler environment. They are excellent in dry climates as they trap the bread’s own humidity, keeping it from drying out too quickly. Best for softer, pre-sliced loaves.
Wooden or Bamboo Box: These materials are naturally more porous and breathable. They are ideal for humid climates, as they prevent excess moisture buildup that can lead to mold, and they are perfect for preserving the integrity of crusty, artisan breads.
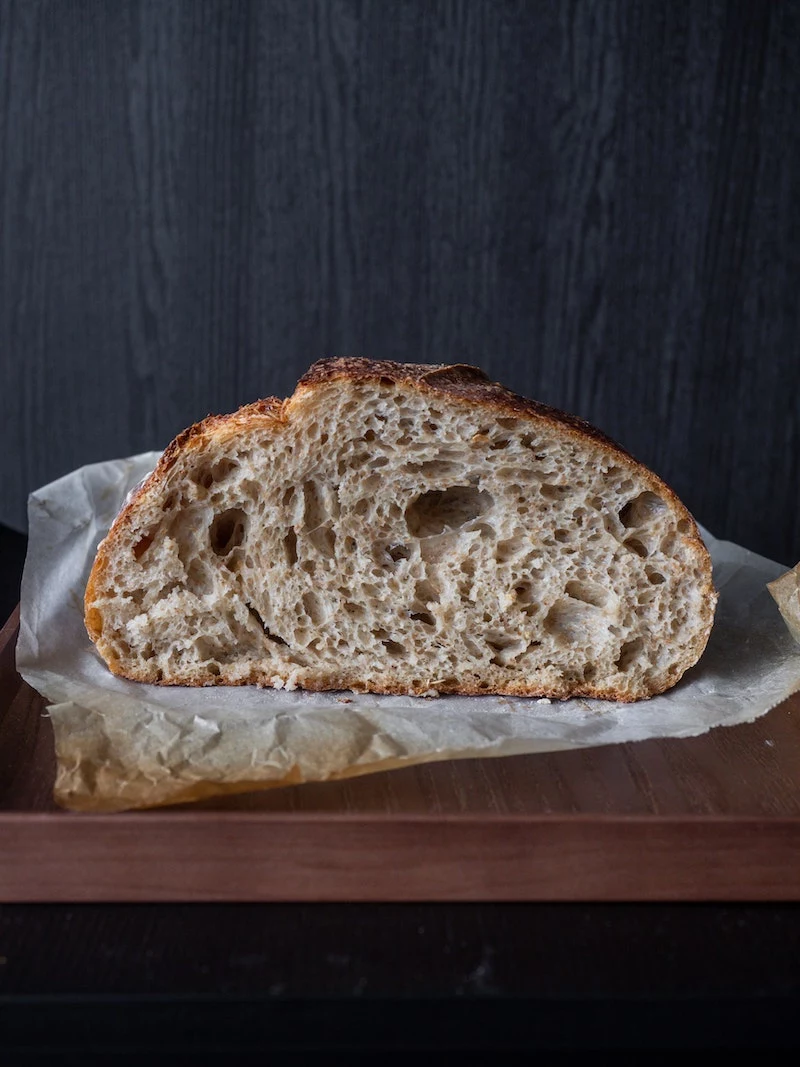
That beautiful, dark crust isn’t just for flavor and crunch; it’s the loaf’s natural protective packaging. Formed by the Maillard reaction during baking, the crust acts as a barrier, slowing down the process of moisture leaving the soft crumb inside.
Beyond the plastic bag, consider the rise of beeswax wraps. While not ideal for a super-crusty loaf you want to preserve, they are a fantastic, breathable alternative for storing softer breads, buns, or the cut end of a loaf. A wrap from a brand like Bee’s Wrap molds to the shape of the bread, creating a protective seal that is far superior to plastic wrap and is reusable for up to a year.
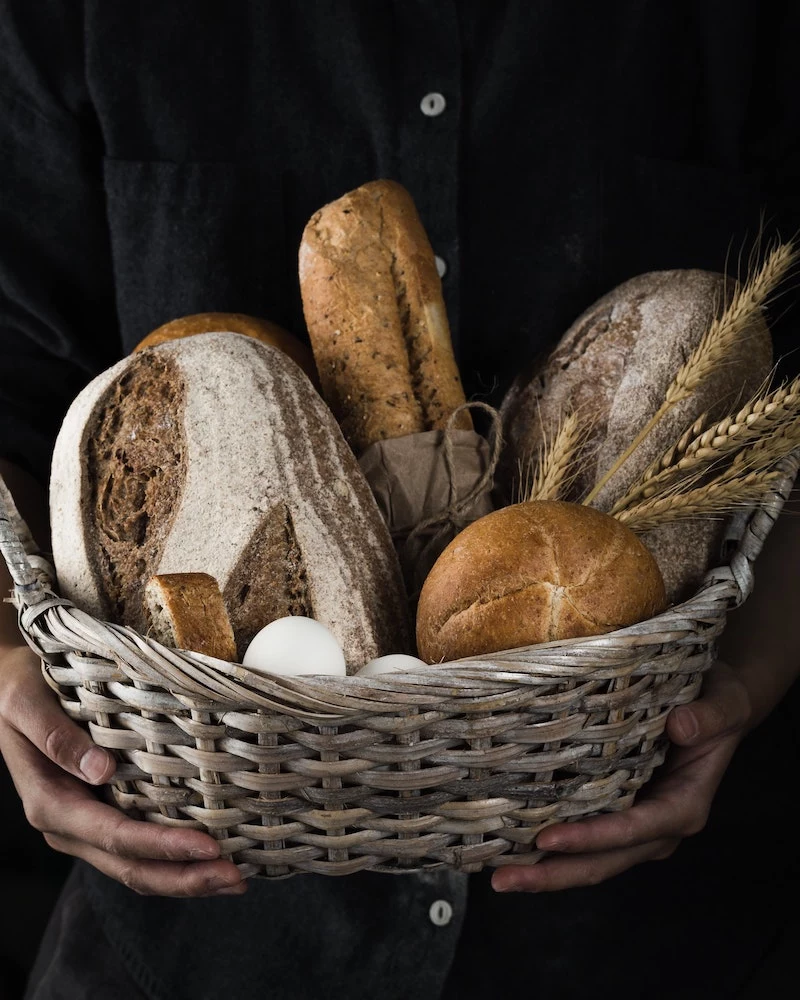
A note on enriched doughs: Breads that are rich in fat, sugar, or eggs—like brioche, challah, or panettone—stale much more slowly than lean doughs. The fats and sugars interfere with the starch recrystallization process, effectively acting as natural preservatives that keep the bread soft and moist for several days at room temperature in a simple paper bag.
Freezing bread is an excellent long-term strategy, but preparation is everything. For best results, slice the loaf *before* freezing. This allows you to grab and toast individual slices straight from the freezer without thawing the whole loaf. Wrap the slices tightly in plastic wrap and then place them in a zip-top freezer bag, squeezing out all the air. This double-barrier method prevents freezer burn and preserves flavor for up to three months.


