How to Actually Remove Super Glue (Without Destroying Everything)
I’ve spent a lot of time in workshops, and I can tell you one thing for sure: super glue loves to end up in all the wrong places. I once saw a rookie mistake turn a pricey slab of antique wood into a permanent home for a set of calipers. That was a tense afternoon, to say the least.
In this article
But it taught me something important. When you’re faced with a blob of cured super glue, panic is your worst enemy. Spills happen to everyone, even the pros. The real difference is knowing what you’re up against and how to fight it without making things a hundred times worse.
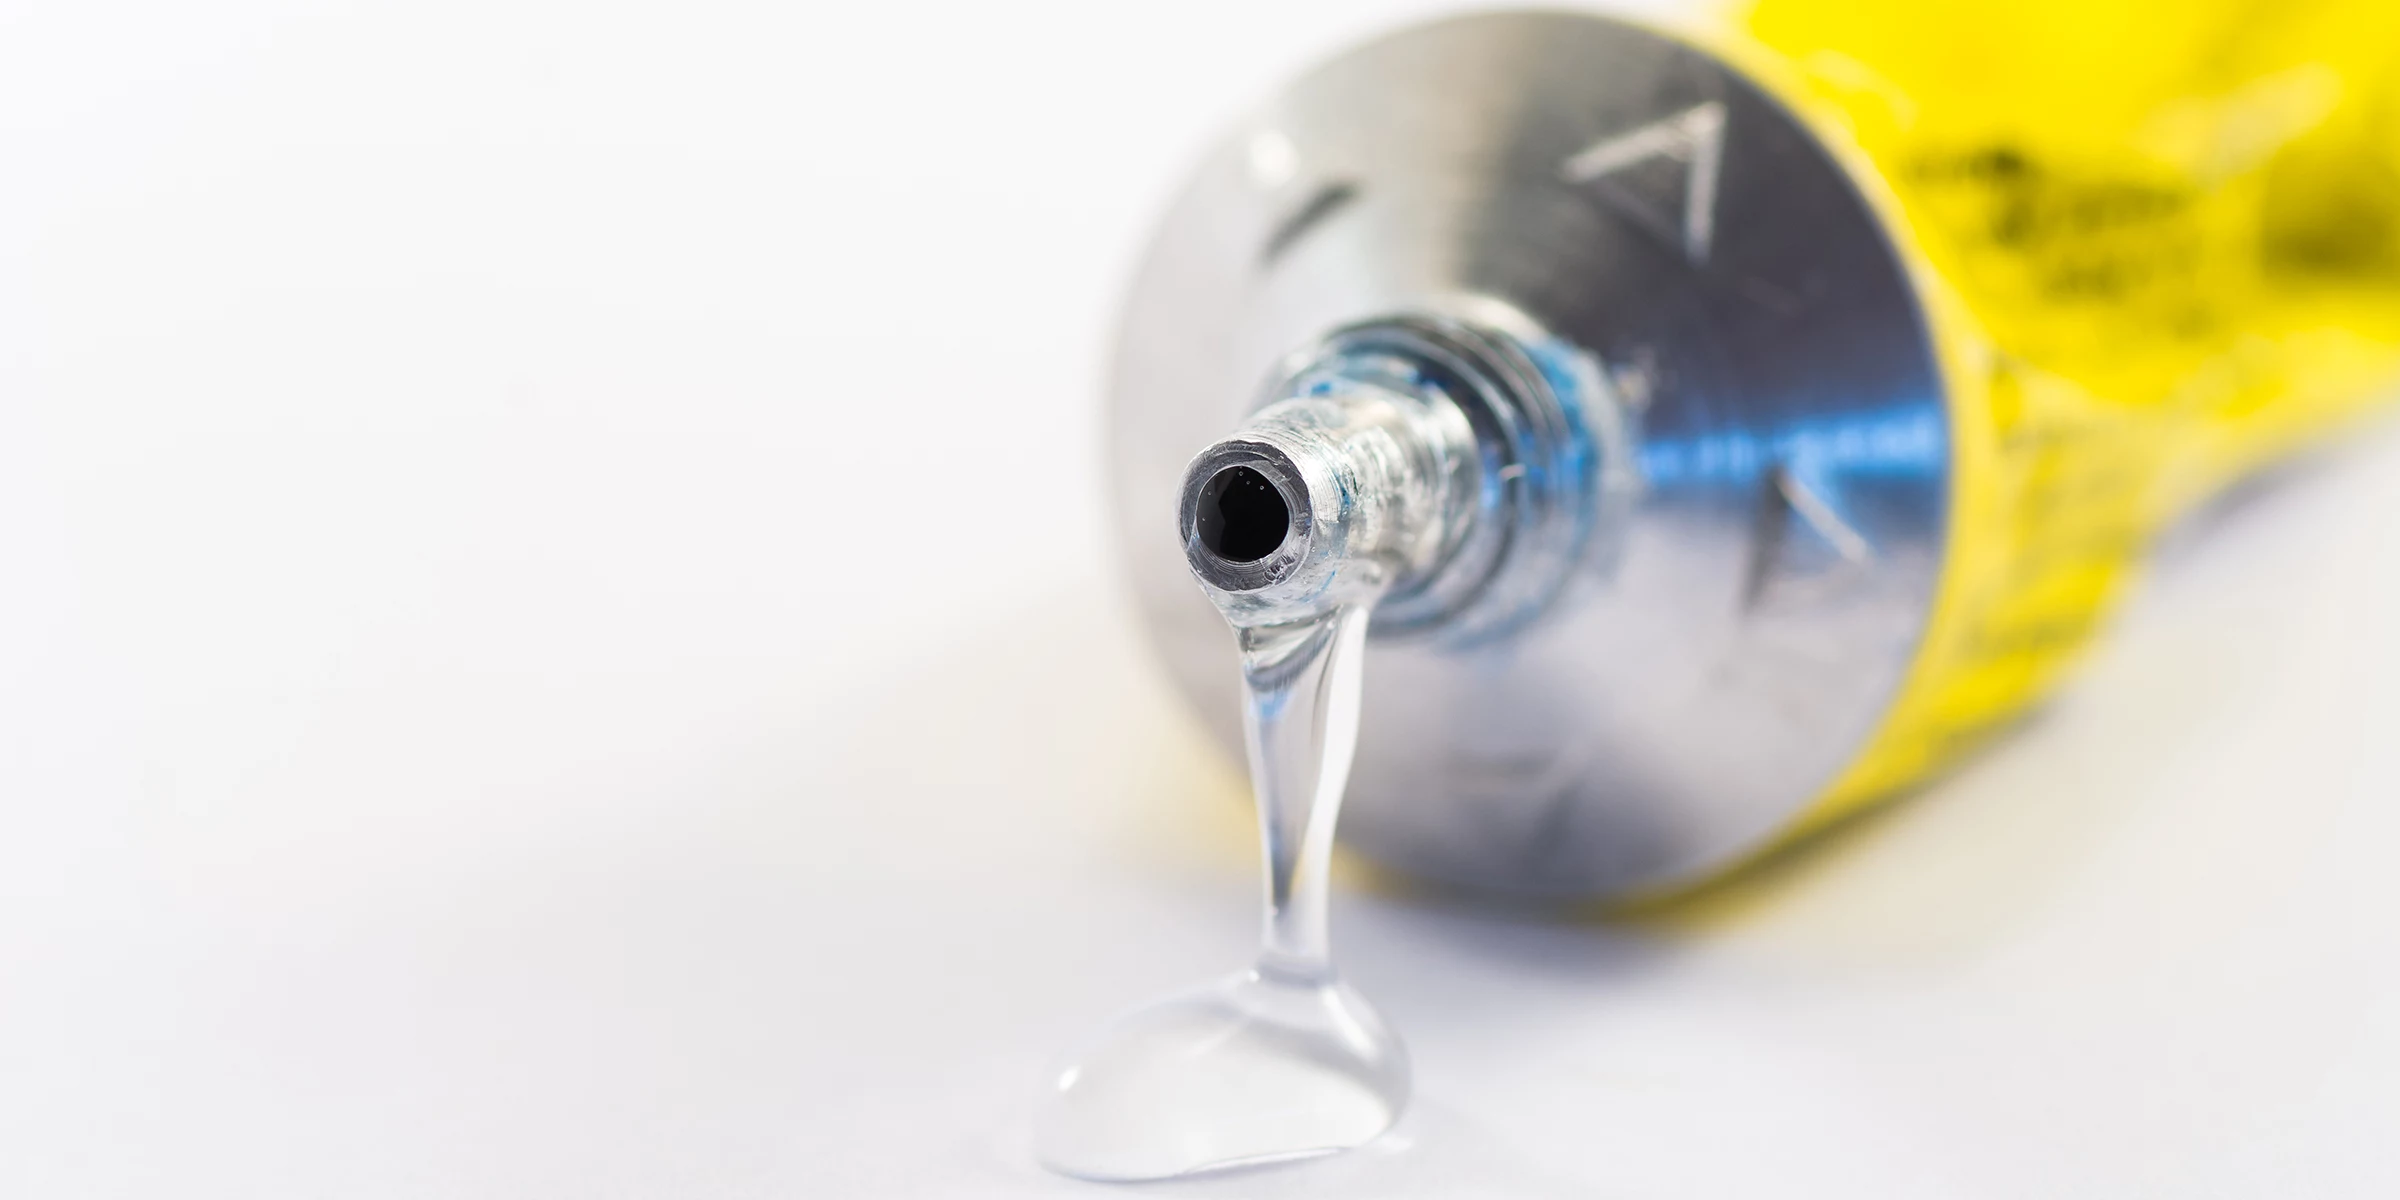
So, what exactly is this stuff? Super glue isn’t like the white glue from school that just dries out. It’s a cyanoacrylate, or CA glue, and it cures through a chemical reaction with moisture. The tiny bit of humidity in the air or on your skin is enough to kick off a process called polymerization, rapidly forming super-strong plastic chains. Understanding this is key. You aren’t just wiping up a mess; you’re trying to break down a solid piece of acrylic that’s bonded like crazy to a surface.
Choosing Your Weapon: The Right Tool for the Job
Before you grab the first bottle you see under the sink, you need a game plan. Most super glue removers work by either dissolving the plastic polymer itself or by weakening its grip on the material underneath. This is where most DIY jobs go horribly wrong.
Let’s break down the main contenders:
- Acetone: This is the heavy hitter. It’s fantastic at melting the glue’s structure and is the active ingredient in most nail polish removers. But, and this is a big but, it will also melt many plastics and strip the finish right off most furniture. Use it with extreme caution.
- Isopropyl Alcohol (Rubbing Alcohol): Think of this as acetone’s gentler cousin. It’s way less aggressive and a much safer first choice for plastics or delicate surfaces. It works slower, but patience often pays off.
- Commercial Debonders: Head to any hobby shop, and you’ll find small bottles of “CA Debonder” from brands like Bob Smith Industries or Zap, usually for about $8-$15. They often use a chemical called nitromethane, which is very effective on glue but often safer on plastics than pure acetone. It’s the secret weapon for model builders.
- Oils and Soaps: For skin, these are your best friends. They don’t dissolve the glue but can work their way underneath it, breaking the seal and letting you gently peel it away.
My number one rule? Always start with the least aggressive method possible and work your way up. A little patience now can save you from a huge, costly repair project later.
Safety First… No, Seriously
Alright, let’s have a quick chat before you start. These chemicals are no joke. The fumes from both the glue and the solvents can irritate your lungs, and getting them on your skin or in your eyes is a trip to the doctor you don’t want to make.
Always work in a place with good airflow—open a window or use a fan. And please, wear safety glasses. Not your sunglasses, but real, wrap-around ones you can get for less than $10 at any hardware store. For your hands, nitrile gloves are the way to go. A box of 100 costs about $15-$20 and will last you ages. Quick tip: Don’t use cotton gloves or a cotton rag to wipe up a big spill! The glue can have a wild heat-producing reaction with cotton that can cause a nasty burn.
Heads up! If you get super glue in your eye, do NOT try to pry it open. Flush it gently with warm water for 15 minutes and get immediate medical help. This is not a home remedy situation.
Here’s your 5-minute prepper task: The next time you’re at the store, buy a pair of safety glasses and some nitrile gloves. Go home and put them in the exact same drawer as your super glue. Best $25 you’ll ever spend, I promise.
A Pro’s Guide to Common Surfaces
The right technique depends entirely on what the glue is stuck to. Here’s how I tackle the most common messes, from the most delicate to the easiest.
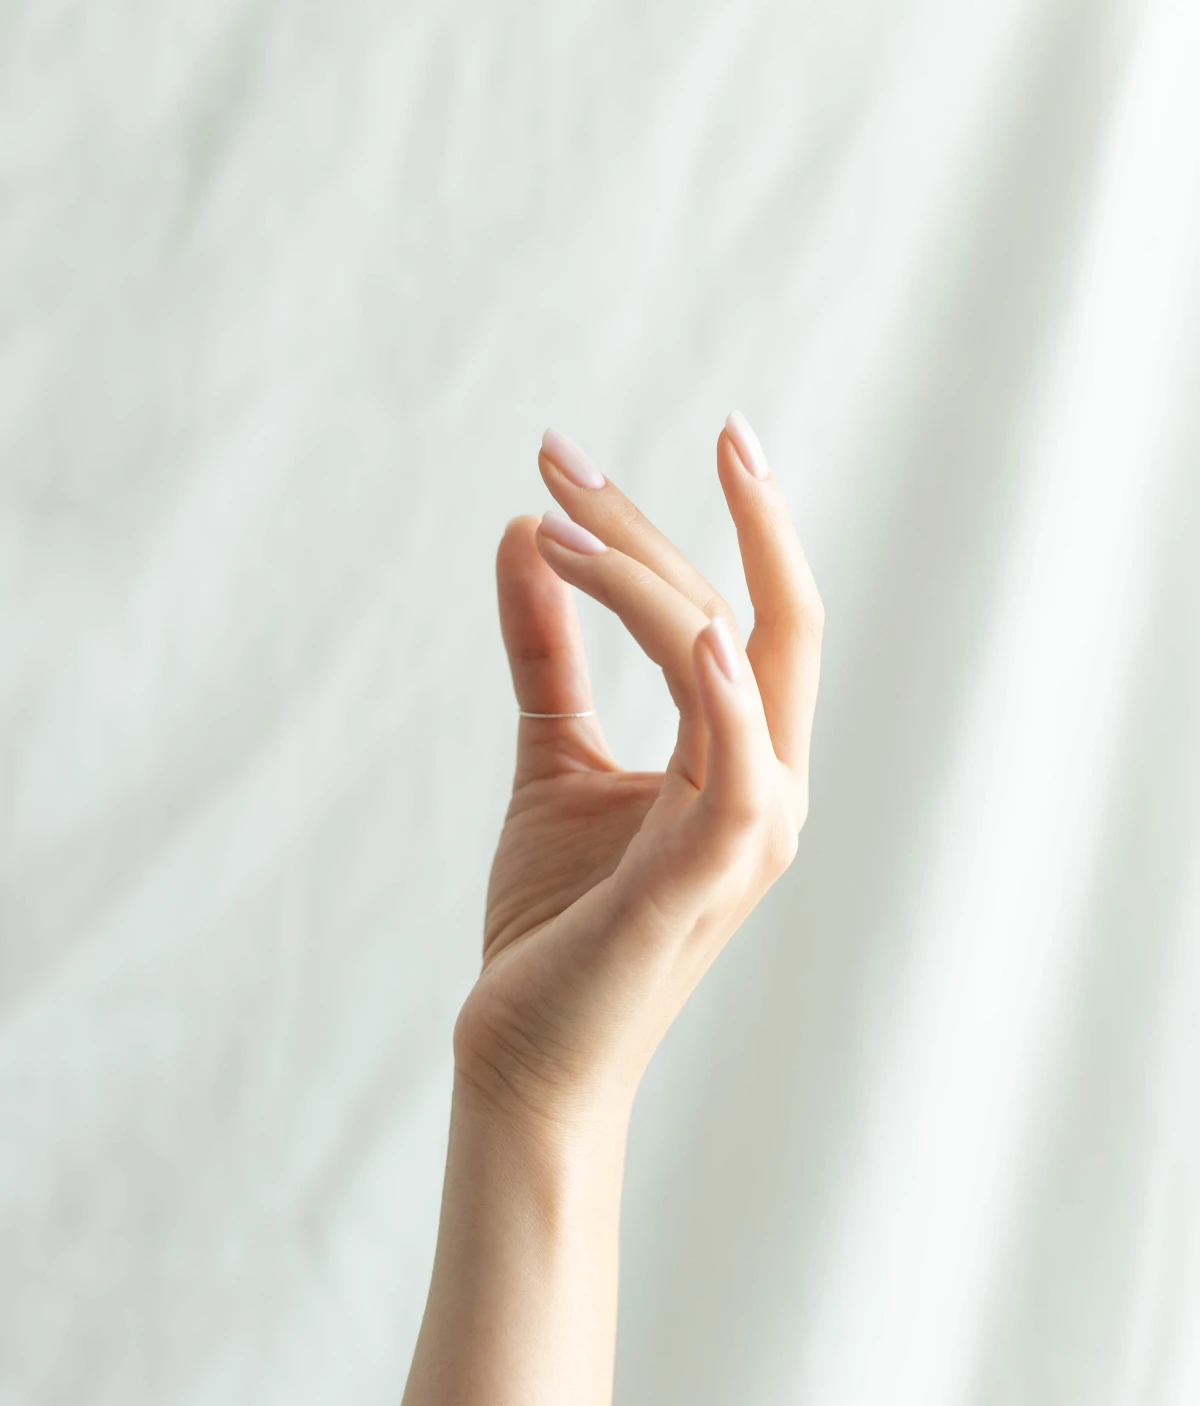
1. Super Glue on Skin
This is probably the most common one. Don’t panic and DO NOT pull! The glue bond is stronger than your top layer of skin, and you’ll just rip it.
First, try soaking the area in warm, soapy water for a good 10-15 minutes. Gently wiggle or roll your fingers. Often, this is enough. If not, grab something greasy—petroleum jelly, mineral oil, even butter. Work it into the edges of the glue to help break the seal. If that still doesn’t work, you can use an acetone-based nail polish remover on a cotton swab. Dab it just on the glue and wait for it to soften and turn white, then gently peel it off. Afterwards, your skin will be super dry, so wash it well and slather on a heavy-duty moisturizer, like a thick hand salve or more petroleum jelly.
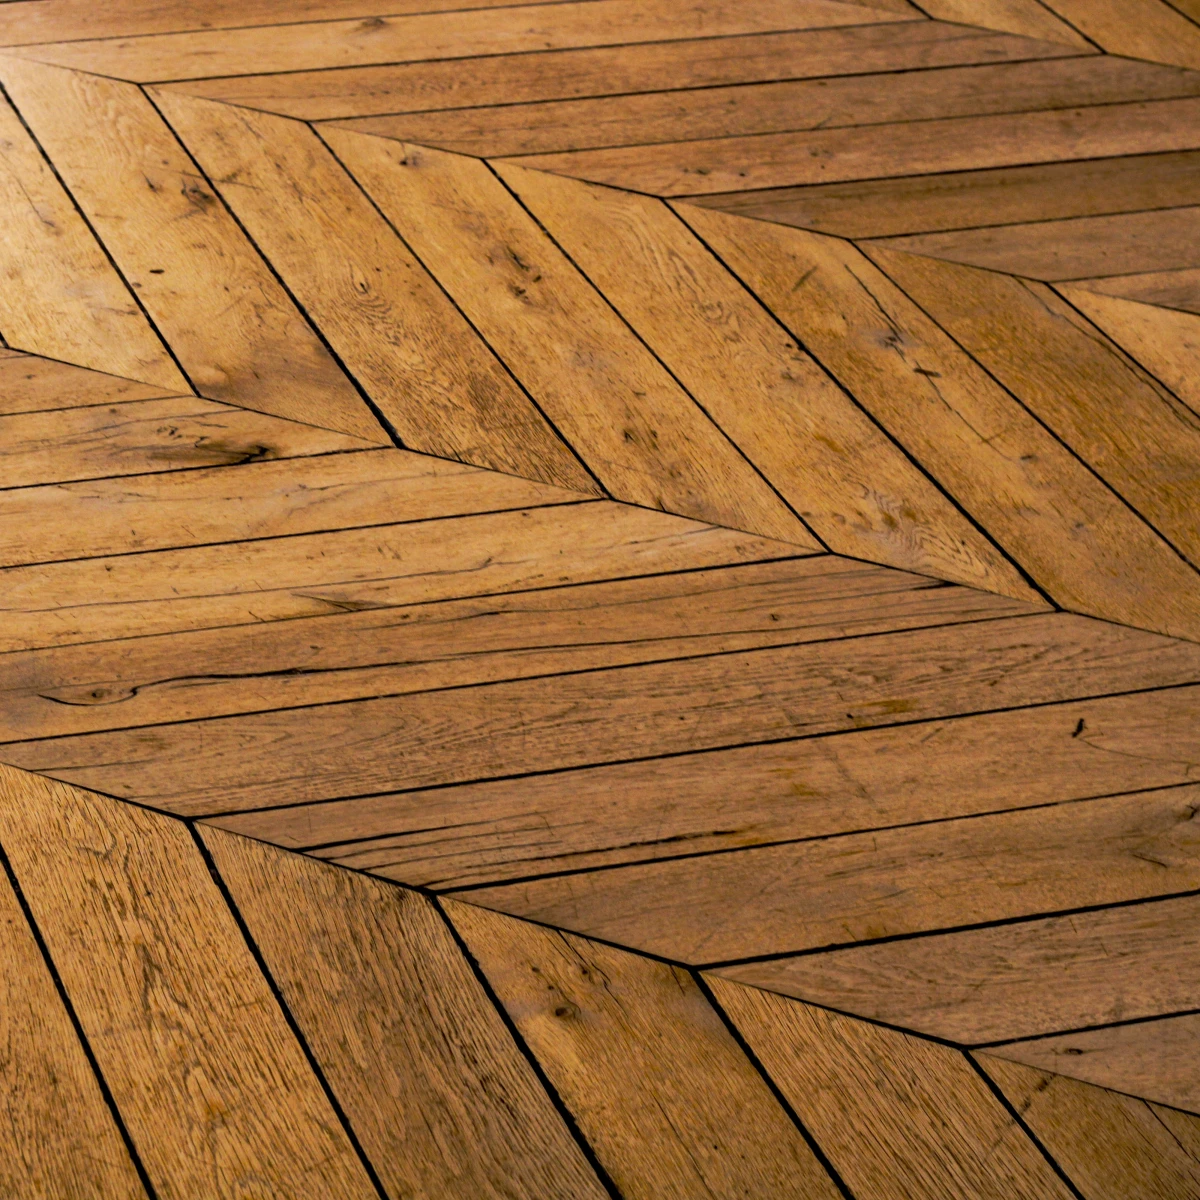
2. Super Glue on Wood
This is tricky because it all depends on the wood’s finish. For this job, you’ll probably want to have some acetone, fine-grit sandpaper (220-grit or higher), and maybe a new razor blade handy.
On unfinished wood, the glue soaks right in. Your best bet is to apply acetone with a Q-tip. It will dissolve the glue but might leave a little dark spot. Let it fully evaporate, then give the area a light sanding to smooth out the grain. This is just part of the process.
Finished wood is the danger zone. Acetone will destroy most common finishes like lacquer or varnish, leaving a cloudy, sticky mess. So, start mechanically. Hold a sharp, single-edge razor blade almost flat against the surface and try to gently pop the glue blob off. If you’re lucky, it will break away cleanly. If that doesn’t work, try a milder solvent like mineral spirits, making sure to test it on a hidden spot first. The last resort is a tiny, precise drop of acetone on the glue spot itself, but be warned, you’ll likely damage the finish. To be frank, you should probably expect to do a small touch-up with a matching stain pen and some wipe-on poly, but that’s a whole other project!
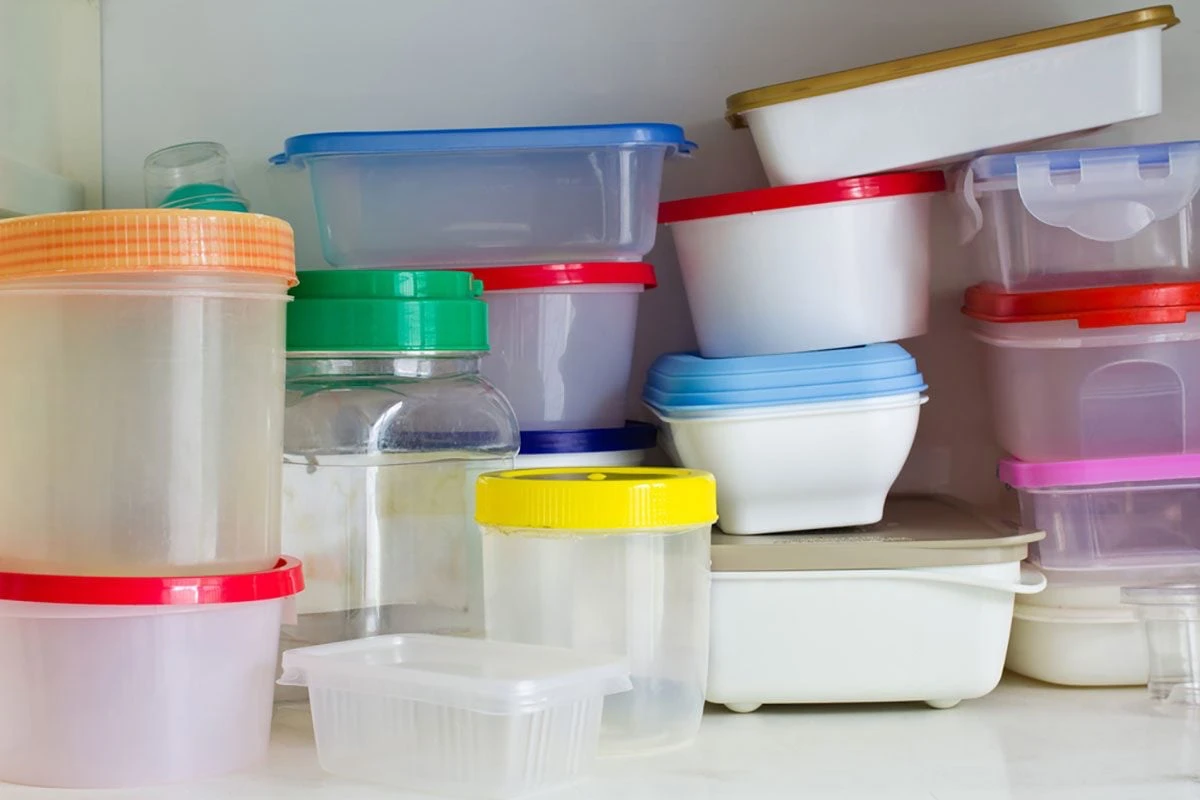
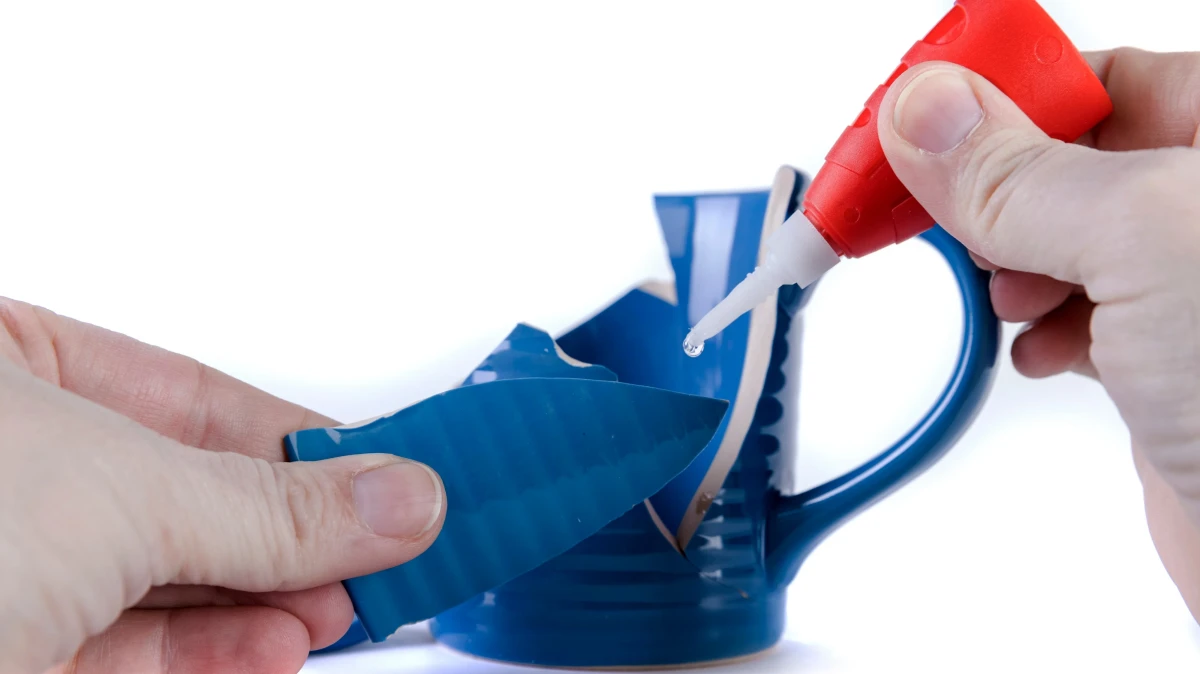
3. Super Glue on Plastic
Plastic is maybe the toughest one because acetone can melt the item itself. ALWAYS test your solvent on a hidden spot first. If the plastic gets soft or cloudy, stop immediately.
Start safe by soaking the item in warm, soapy water. If that fails, try 90% isopropyl alcohol. It’s much safer than acetone. Put some on a cotton ball, place it on the glue, and cover it with plastic wrap to stop it from evaporating. Give it a good 30-60 minutes before you try to scrape with a plastic tool. For stubborn cases on durable plastics (like in a model car kit), a commercial CA debonder is your best bet. It’s less likely to melt the plastic but still requires a spot test.
4. Super Glue on Metal and Glass
These are usually the easiest fixes since the glue can’t soak in. For most metals and glass, acetone is perfectly safe. Let it sit on the glue for 5-10 minutes to soften it up. Then, use a razor blade to carefully scrape it off. On tough materials like steel or glass, a metal blade is fine; for softer metals like aluminum, use a plastic razor blade to avoid scratches.
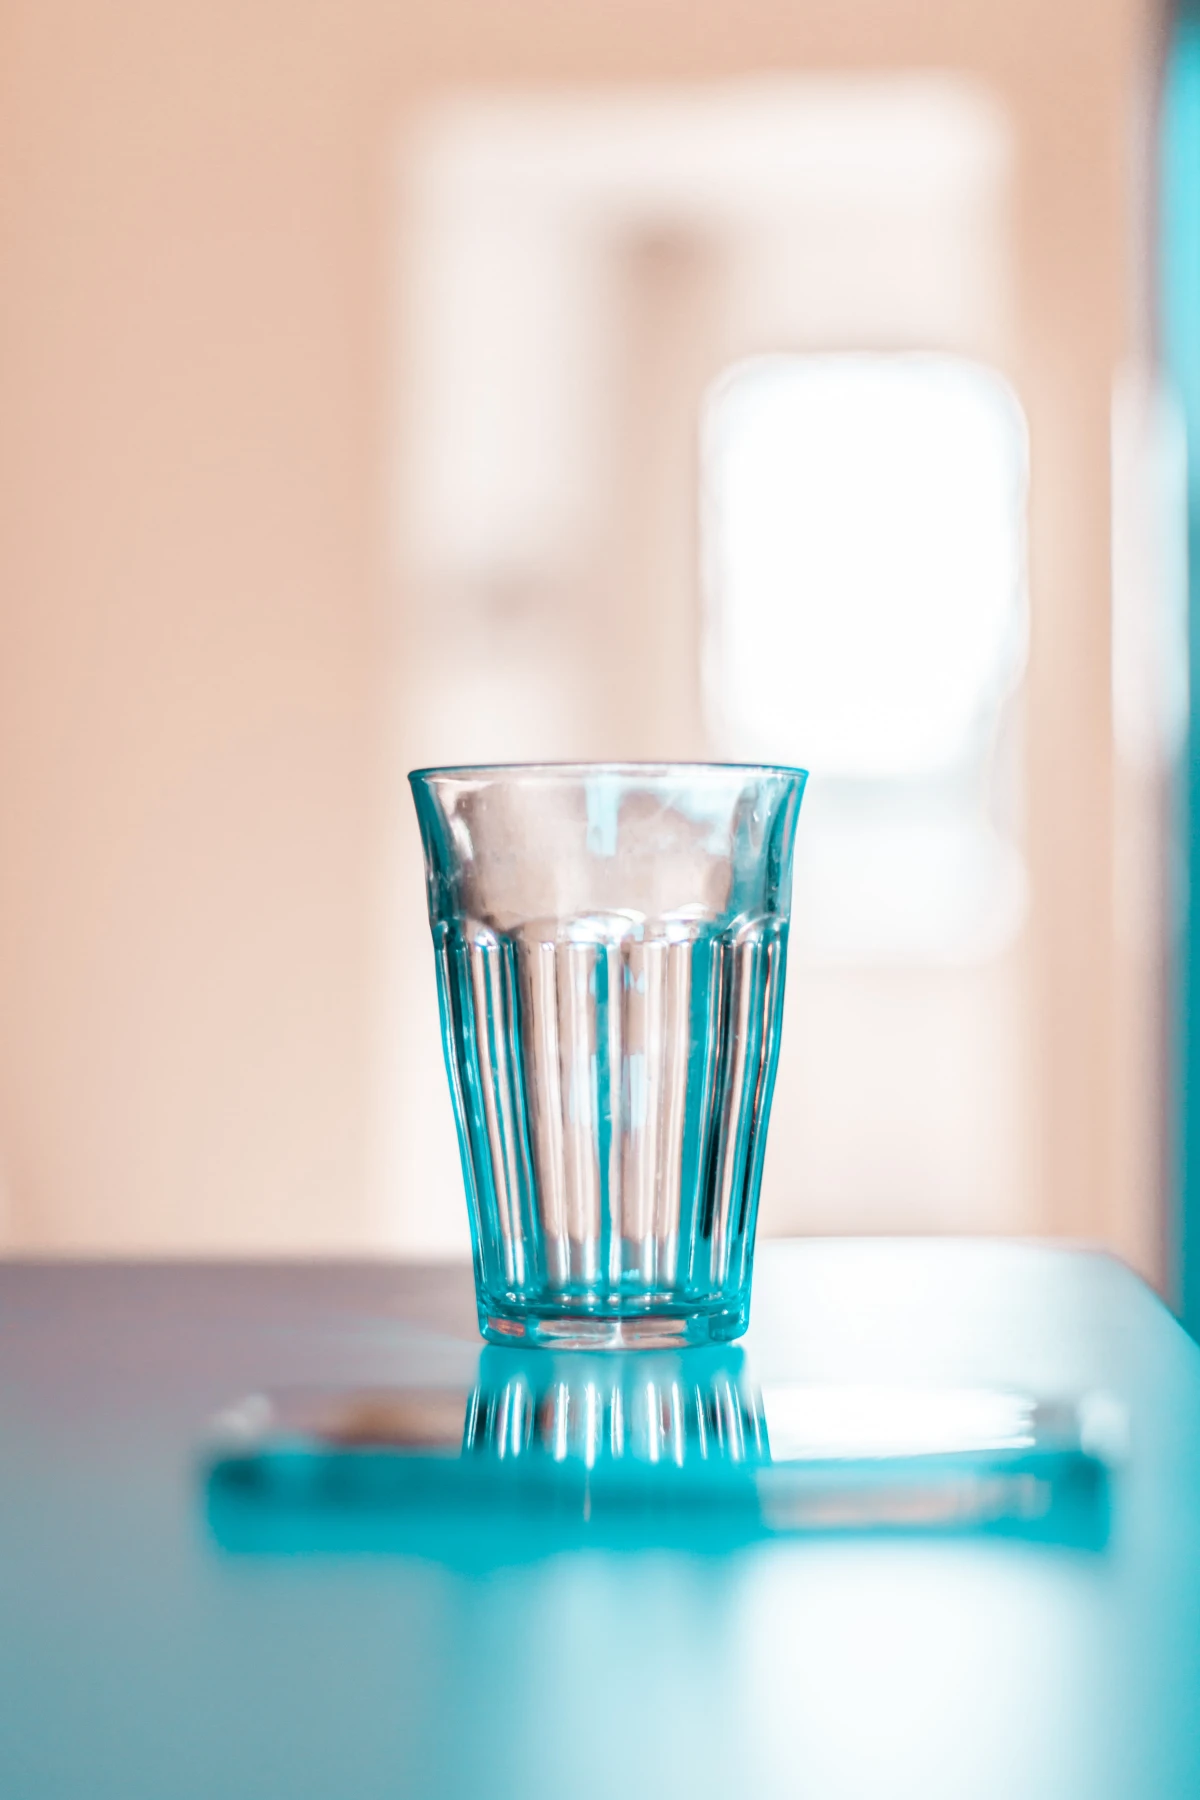
CRITICAL WARNING: This does not apply to eyeglass lenses, camera lenses, or coated screens. These have delicate anti-glare coatings that acetone will strip instantly, ruining them forever. Do not use solvents here. Take them to a professional.
5. Super Glue on Fabric and Carpet
When glue hits fabric, let it dry completely. Trying to wipe it when it’s wet just smears it deeper into the fibers.
Once it’s hard, use a dull knife or the edge of a spoon to flake off as much as you can. Then, test a drop of acetone on an inside seam to make sure it doesn’t cause the color to bleed. If it’s safe, lay the fabric stain-down on a clean white cloth. From the back, dab acetone onto the stain. The goal is to push the dissolved glue out of the fabric and onto the cloth below. Afterwards, treat any remaining spot with a pre-wash spray and launder as usual.
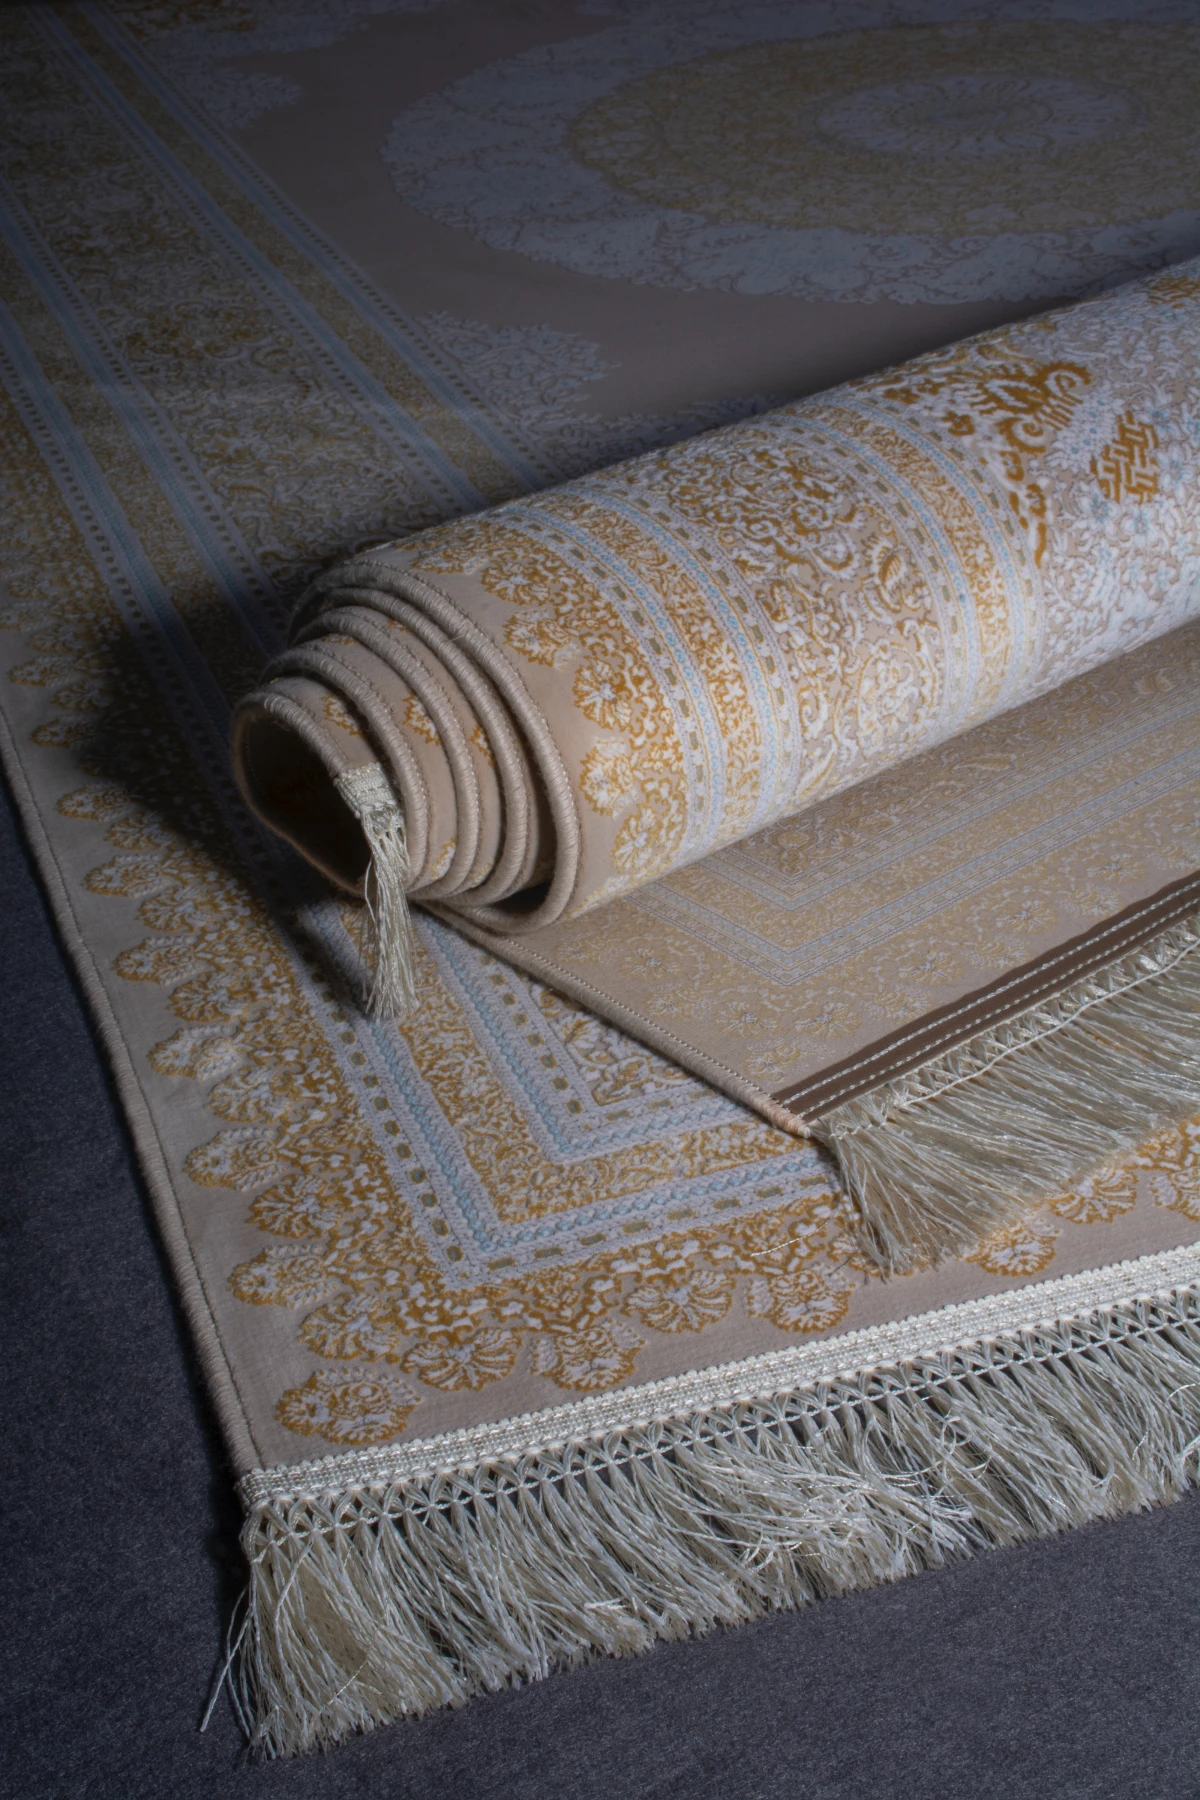
Oh, and for delicate stuff like silk, wool, or leather, skip the acetone. You can try putting the item in the freezer for a few hours. The glue will become brittle and you might be able to crack it off. For anything valuable, though, your best bet is a trip to a professional dry cleaner.
A Few Final Pro-Tips
Ever wonder if you can just use a hairdryer? It’s a common thought. While heat can soften the glue, it’s also very risky. It can easily warp plastic, damage wood finishes, or even melt delicate synthetic fabrics. I’d generally avoid it unless you’re working on a solid, heat-resistant surface like metal.
And what about those DIY projects using super glue and baking soda as a filler? That mixture creates a much harder, denser acrylic plastic. It’s way more resistant to solvents, so you’ll need a lot more time and patience, working in thin layers, to get it off.
Ultimately, a super glue spill is just a problem that has a solution. You just have to slow down, identify your material, choose the right tool, and always, always test first. And if you’re staring at a truly priceless item, the smartest move is knowing when to call in a pro.
Inspiration:
The best defense against a super glue disaster is being prepared. Instead of scrambling for a solution while a spill rapidly hardens, assemble a dedicated ‘CA Glue Crisis Kit’. Keeping these items together in your workshop or craft drawer can turn a potential catastrophe into a manageable cleanup.
- A Commercial Debonder: A small bottle of Loctite Glue Remover or Bob Smith Industries’ Un-Cure is your most reliable weapon. It’s specifically formulated to dissolve cyanoacrylate.
- Precise Applicators: Cotton swabs and pads are essential. They allow you to apply the remover directly to the glue spot, preventing it from damaging the surrounding area.
- A Gentle Lifting Tool: A plastic razor blade or an old credit card is perfect for gently testing and lifting the softened glue without scratching the surface underneath.
- Petroleum Jelly: Absolutely indispensable for skin contact. It helps lubricate the bond, allowing you to slowly and safely roll the hardened glue off your fingers.


