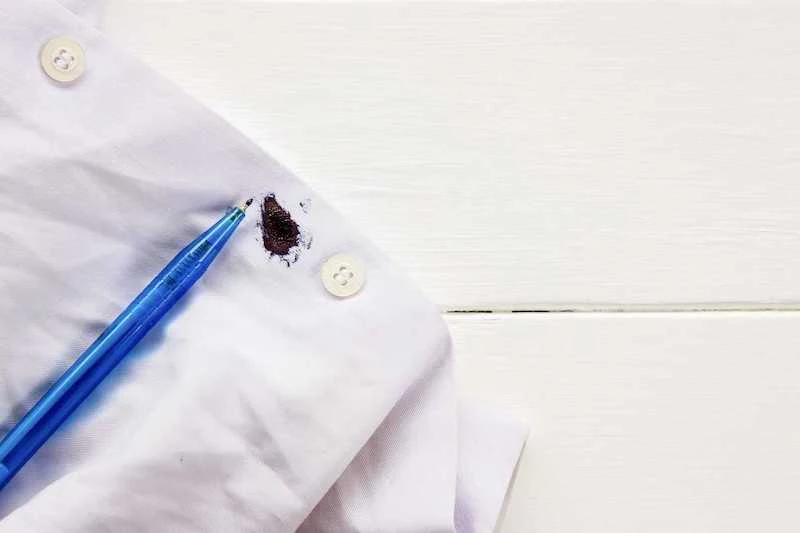
So You Dried an Ink Stain on Your Clothes. Here’s How to Actually Fix It.
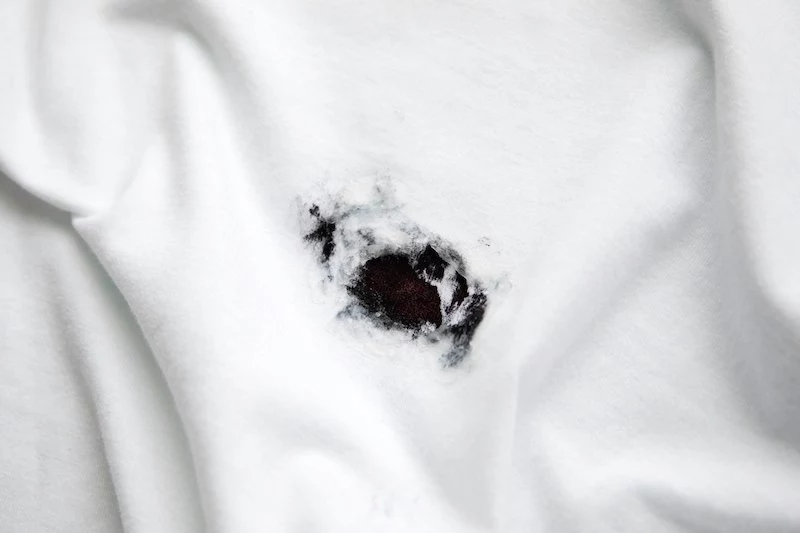
I’ve been working with fabrics for what feels like a lifetime, and in that time, I’ve seen every stain you can possibly imagine. Coffee on a wedding dress, red wine on a brand-new white carpet, and, of course, a whole lot of ink stains. The calls that cause the most panic, though, are always the same: someone found an ink stain after the garment went through the washer and dryer. You can hear the dread in their voice. They’re convinced their favorite shirt is ruined forever.
In this article
- In a Panic? Read This First!
- Why That Ink Stain is So Stubborn
- Your Ink-Fighting Shopping List
- Choosing Your Weapon: A Guide to Solvents
- The Pro Method: Evicting a Set-In Ink Stain
- What About Hairspray and Milk?
- Special Cases: Leather, Upholstery, and Permanent Marker
- Troubleshooting: When Things Go Wrong
- Final Thoughts: Knowing When to Stop
- Inspirational Gallery
I remember a lesson from my very first mentor in a commercial laundry. He handed me a cotton shirt with a blue ballpoint pen line practically baked into the pocket. He told me, “Heat is ink’s best friend. You just made that stain a permanent resident. Now, let’s see if we can evict it.” That lesson has always stuck with me. While getting a set-in ink stain out is tough, it’s not always impossible. It just takes patience, the right stuff, and knowing what you’re up against.
This isn’t about some flimsy life hack. This is the real-deal method the pros use, and I want to walk you through it so you can give your clothes a fighting chance.
In a Panic? Read This First!
Okay, take a breath. If you’re frantically scrolling, here’s the most critical piece of advice: DO NOT APPLY MORE HEAT. The dryer is your number one enemy right now. Setting the stain with heat is what made this a problem in the first place. If you do nothing else, just keep that piece of clothing far, far away from the dryer. Now, here’s how to actually fix the mess.
Why That Ink Stain is So Stubborn
To defeat the enemy, you have to understand it. An ink stain isn’t just sitting on top of your clothes; it’s a chemical reaction. When a pen leaks, you’re dealing with pigment (the color) and a carrier (the liquid that delivers the color). The dryer changes everything.
You’re usually dealing with one of these types of ink:
- Water-Based Inks: Think rollerball, gel, and most felt-tip pens. The carrier is mostly water. Before they’re heated, these are pretty easy to deal with.
- Oil-Based Inks: This is your classic ballpoint pen. The carrier is an oil-based solvent that loves to soak deep into natural fibers like cotton. Water alone just beads right off it.
- Solvent-Based Inks: We’re talking permanent markers here. The carrier is often an alcohol that evaporates fast, leaving behind a dye that’s designed to bond with whatever it touches.
Heat from a dryer basically super-glues that ink to the fabric fibers. For cotton, the ink becomes part of the fiber. For synthetics like polyester, the heat softens the plastic-based fibers just enough for the dye to melt right into the surface. That’s why you need more than just soap and water.
Your Ink-Fighting Shopping List
In a professional shop, we have a whole station for this, but you can build a seriously effective kit at home. Here’s what you’ll need.
- 91% Isopropyl Alcohol (Rubbing Alcohol): This is your number one weapon. Don’t grab the 70% version; it has too much water in it. You can find the 91% stuff at any pharmacy or big-box store like Target for about $2 to $4.
- Glycerin: This is a secret weapon many people don’t know about. It’s a thick, clear liquid that lubricates and softens old, hardened stains, making it easier for the alcohol to work. You can find it in the pharmacy or baking aisle for around $5 to $8.
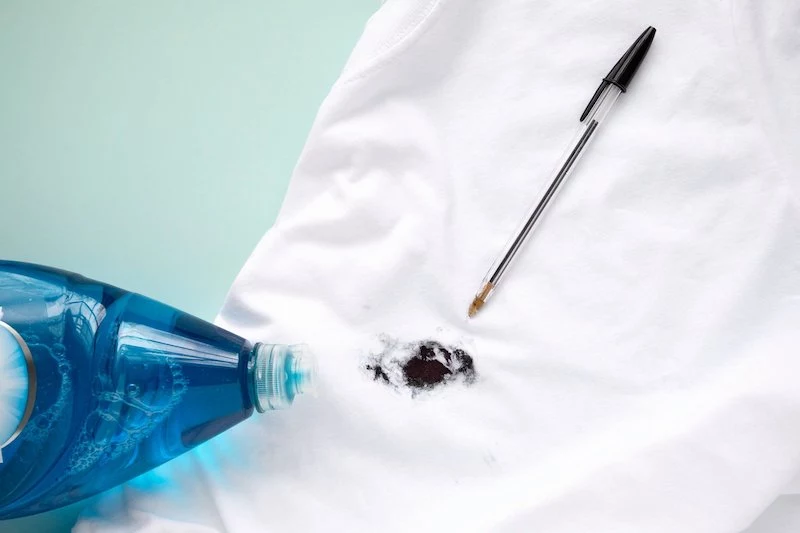
- Heavy-Duty Liquid Laundry Detergent: You want one with enzymes designed to break down oils. I’m talking about the powerhouses, like Persil ProClean or Tide Heavy Duty.
- Clean White Cloths: An old, cut-up t-shirt or a stack of plain paper towels will do. The key is that they’re white and absorbent so you can see the ink you’re lifting out.
Choosing Your Weapon: A Guide to Solvents
A solvent is what actually dissolves the ink. It’s crucial to pick the right one for the job and understand the risks.

Your safest and most effective bet for home use is Isopropyl Alcohol (91%). It’s a rockstar on oil-based ballpoint ink and works on most sturdy fabrics like cotton and polyester with a very low risk of causing damage. By the way, a common question I get is, “Can I use hand sanitizer? It has alcohol!” Please don’t. Hand sanitizers are loaded with gels, moisturizers, and fragrances that can leave their own weird, sticky residue, creating a whole new stain to deal with.
If you’re feeling a bit more advanced and dealing with something stubborn like a permanent marker, you could step up to Denatured Alcohol. You can find it at hardware stores. It’s a more powerful, purer solvent, but the trade-off is that you absolutely need good ventilation because the fumes are no joke. The risk is moderate; it’s still pretty safe on cotton, but you need to be more careful.
Then there’s the nuclear option: Acetone, the main ingredient in many nail polish removers. Honestly, I hesitate to even mention it for home use. While it’s a beast of a solvent, it carries a HIGH risk. Acetone will literally dissolve certain synthetic fabrics like acetate and triacetate on contact, melting a hole right through your garment. I’ve seen it happen. If you ever consider using it, you absolutely must test it on a hidden inside seam first. To be frank, it’s usually not worth the risk.
The Pro Method: Evicting a Set-In Ink Stain
This method is for sturdy fabrics like cotton, denim, and polyester. Do not try this on silk, wool, or anything super delicate. And always, always read the care label first!
Time Estimate: Plan for 30-60 minutes of hands-on work, plus some soaking and washing time.
Step 1: Set Up Your Workspace
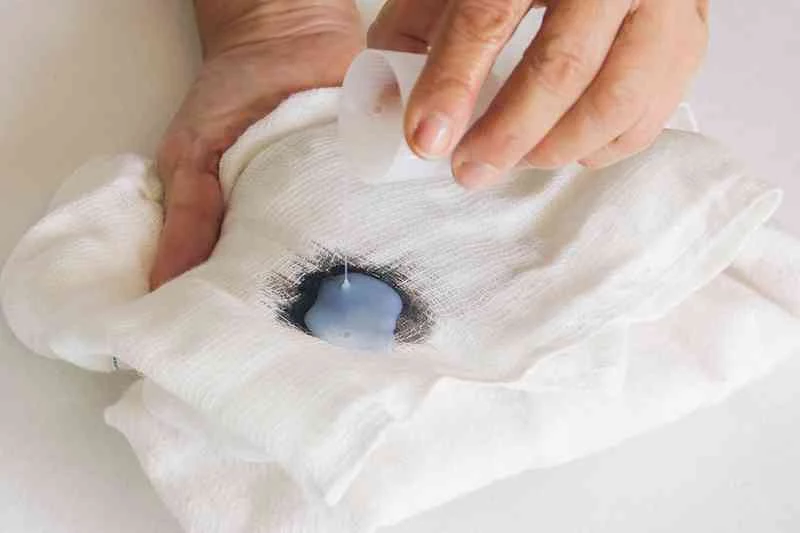
Work in a well-ventilated area. Lay your garment flat and place a folded white cloth or a thick stack of paper towels directly underneath the stain, on the inside. This backing cloth is non-negotiable. It’s there to soak up the ink you’re pushing out, preventing it from bleeding through to the other side.
Step 2: Lubricate the Stain (Highly Recommended!)
If the stain is old and crusty, put a few drops of glycerin on it. Gently work it in with your finger until the stain is saturated. Let it sit for at least 30 minutes. You might even see the ink start to loosen up a bit. That’s a great sign.
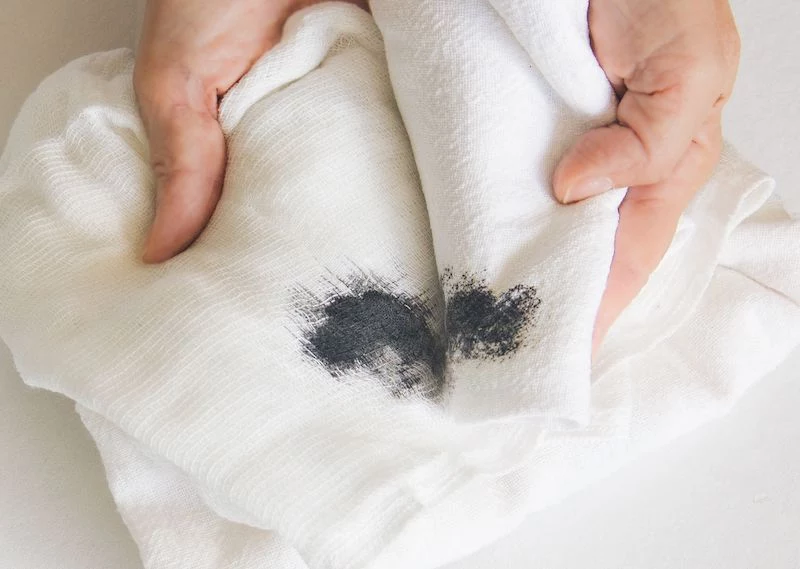
Step 3: Apply the Solvent (Dab, Don’t Rub!)
Dampen a clean white cloth or a cotton swab with your 91% isopropyl alcohol. Don’t pour it directly on the garment. Start at the outer edges of the stain and work your way in, dabbing gently. Do not scrub! Scrubbing will spread the ink and can damage the fabric fibers, leaving a fuzzy, worn-out spot. You should see the ink transferring from your shirt onto your swab and, more importantly, onto the backing cloth underneath. Keep swapping to a clean part of your swab and replacing the backing cloth as they get dirty. You are physically moving the ink from one surface to another.
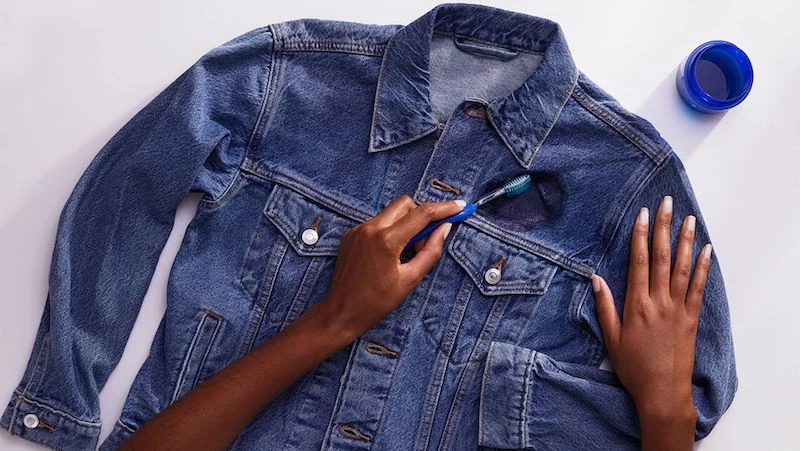
Step 4: The ‘Tamping’ Technique
Once you’re not getting much ink transfer anymore, apply a small amount of your heavy-duty liquid detergent to the damp area. Take a soft-bristled toothbrush and gently ‘tamp’ the stain—that’s a light, up-and-down tapping motion, not a back-and-forth scrub. This forces the detergent deep into the fibers without roughing them up.
Step 5: Rinse and Check
Rinse the area with cool water. Hold it up to a light. If a lot of the stain is still there, it’s time for round two. Just repeat steps 3 and 4. Patience is way more effective than force.
Step 6: Wash, But Check Before You Dry
Once you’re happy with the result, wash the entire garment as you normally would, using the warmest water the fabric can handle. But here’s the critical part: after the wash, inspect it carefully before it goes anywhere near the dryer. If a faint spot remains, the heat will set it all over again. If you see anything, repeat the whole process. Only when the stain is 100% gone can you safely dry the item.
What About Hairspray and Milk?
You’ve probably heard a few old wives’ tales about ink removal. Let’s clear a couple of things up.
The hairspray trick used to work, but not anymore. Decades ago, hairspray had a ton of alcohol in it, and that’s what did the heavy lifting. Modern formulas are full of polymers and conditioners that will just make your stain a sticky, gummy mess.
And milk? The theory is that the fat in milk can help break down oil-based ink. It’s a bit scientific, but honestly, it’s not very effective and you risk leaving behind a sour milk smell or a protein stain. It’s better to stick with the proven stuff.
Special Cases: Leather, Upholstery, and Permanent Marker
Permanent Marker: For this, you might need to bring out the denatured alcohol. The process is the same—backing cloth, dabbing from the outside-in—but it will take more time and patience. And again, make sure you have windows open for ventilation.
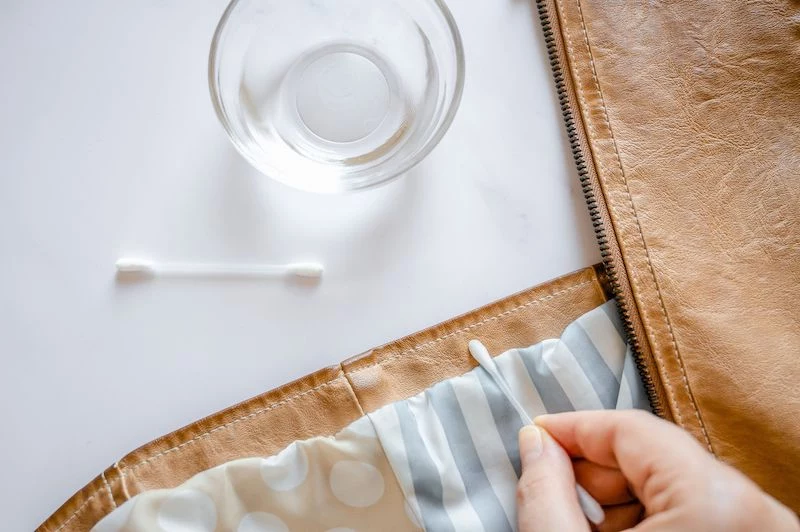
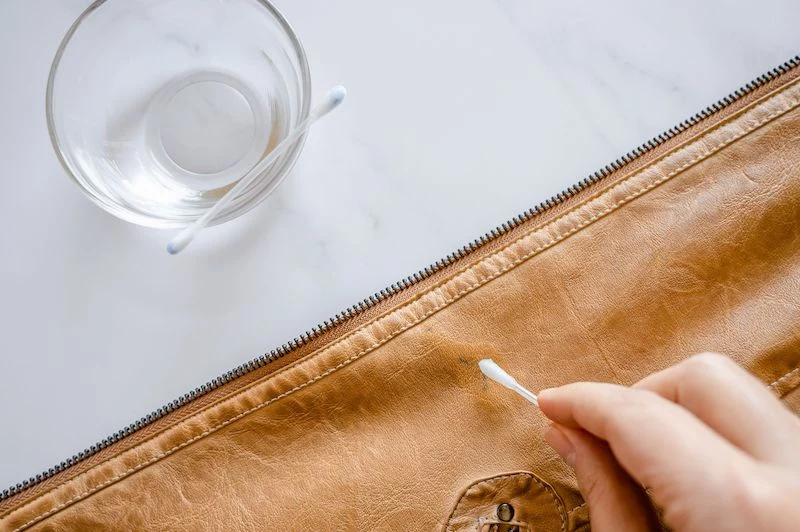
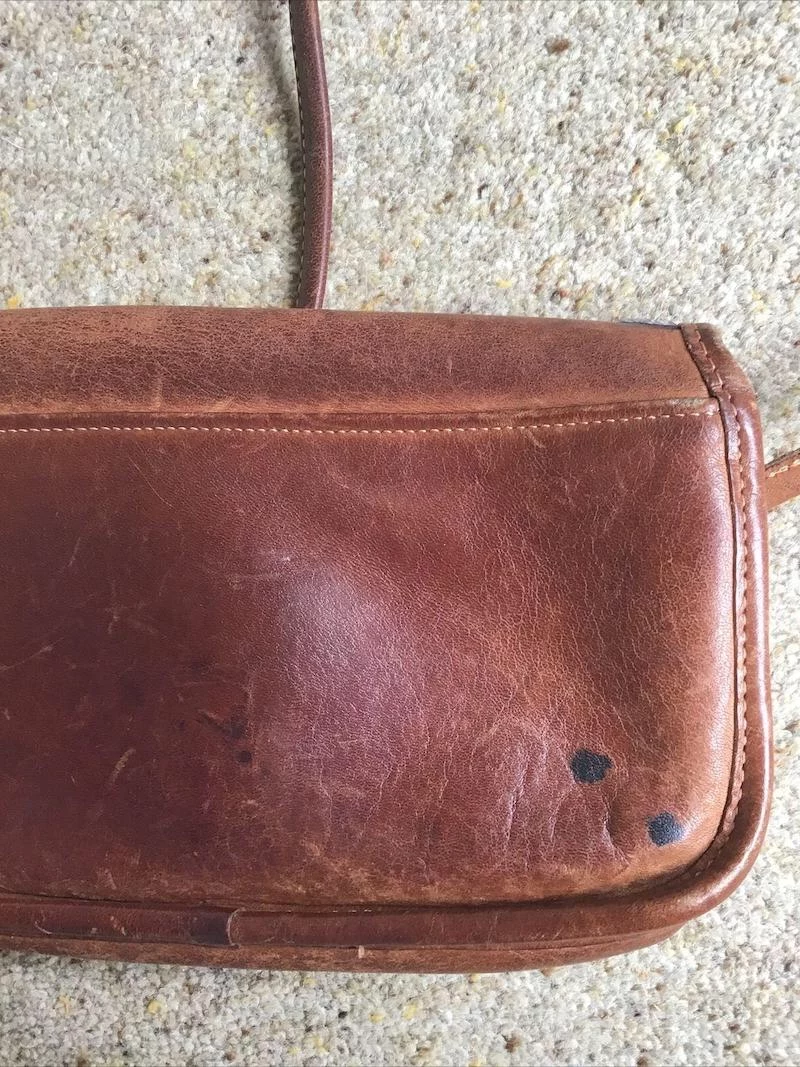
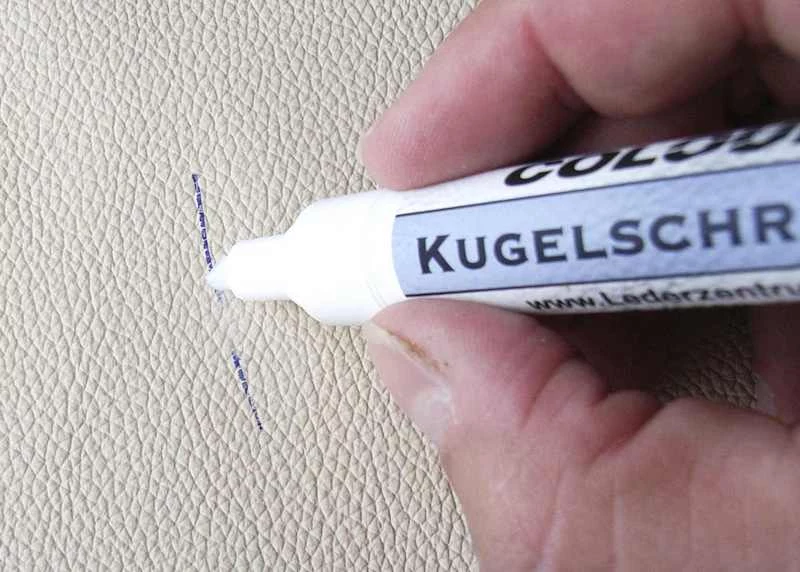
Ink on Leather: Be careful here. Solvents can strip the color and finish right off leather. Always test on a hidden spot first! For finished leather, a cotton swab with a tiny bit of isopropyl alcohol can work. Rub very gently, and immediately afterward, clean the area with a proper leather cleaner and follow up with a leather conditioner to restore the oils. A safer bet? There are specialty products like Amodex Ink & Stain Remover sticks you can buy online for about $10-$15. For an expensive bag or jacket, it’s money well spent.
Ink on Silk or Wool: My honest advice? Take it to a professional dry cleaner. These protein fibers are incredibly delicate. Alcohol can strip color from silk, and any agitation can cause wool to shrink or felt. The risk of ruining the garment is just too high.
Troubleshooting: When Things Go Wrong
Sometimes, even with the best technique, things can get a little weird. Here are a couple of common issues and how to handle them.
- “Help! The stain spread out into a big, faint ring!” This usually happens from using too much solvent at once or from rubbing instead of dabbing. Don’t panic. Let the area dry completely. The stain is now bigger but also much less concentrated. You can usually remove the ring by carefully repeating the dabbing process with just a small amount of alcohol on a clean cloth.
- “Now there’s a faint yellow or brown mark where the ink was.” This is often residue left behind by impurities in the solvent or things that were lifted from the fabric itself. It’s usually easy to fix. Try pre-treating the spot with a little of your heavy-duty laundry detergent, letting it sit for 15 minutes, and then re-washing the garment.
Final Thoughts: Knowing When to Stop
I’ve salvaged countless garments that people thought were goners, but I’ve also had to deliver the bad news that a stain is truly permanent. Some combinations of ink, fabric, and heat create a bond that you just can’t break without destroying the cloth itself. The goal is to remove the stain, not create a hole where it used to be.
So work with patience, always check your pockets before doing laundry, and remember that heat is the real enemy of a fresh stain. By using the right tools in the right order, you’re giving your clothes the best possible chance to survive.
Inspirational Gallery
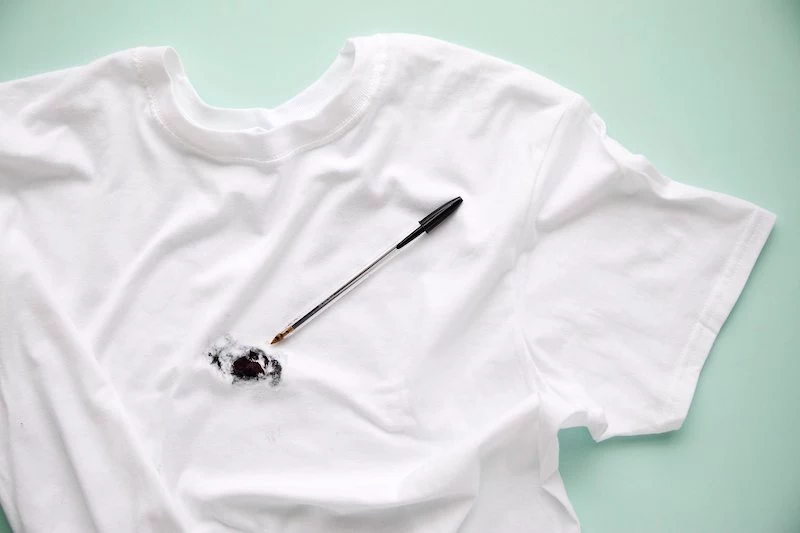
The ultimate ink stain nightmare: Permanent marker. Is it really permanent?
Not always. For fabrics like cotton or polyester, the key is a high-concentration solvent. Before you give up, place a clean white cloth under the stain and dab (don’t rub!) the area with a cotton ball soaked in Amodex Ink & Stain Remover or even a dry-erase marker fluid, which contains an alcohol that can re-dissolve the ink. Work from the outside in to prevent the stain from spreading, and be patient. It may take several applications before you can launder as usual.
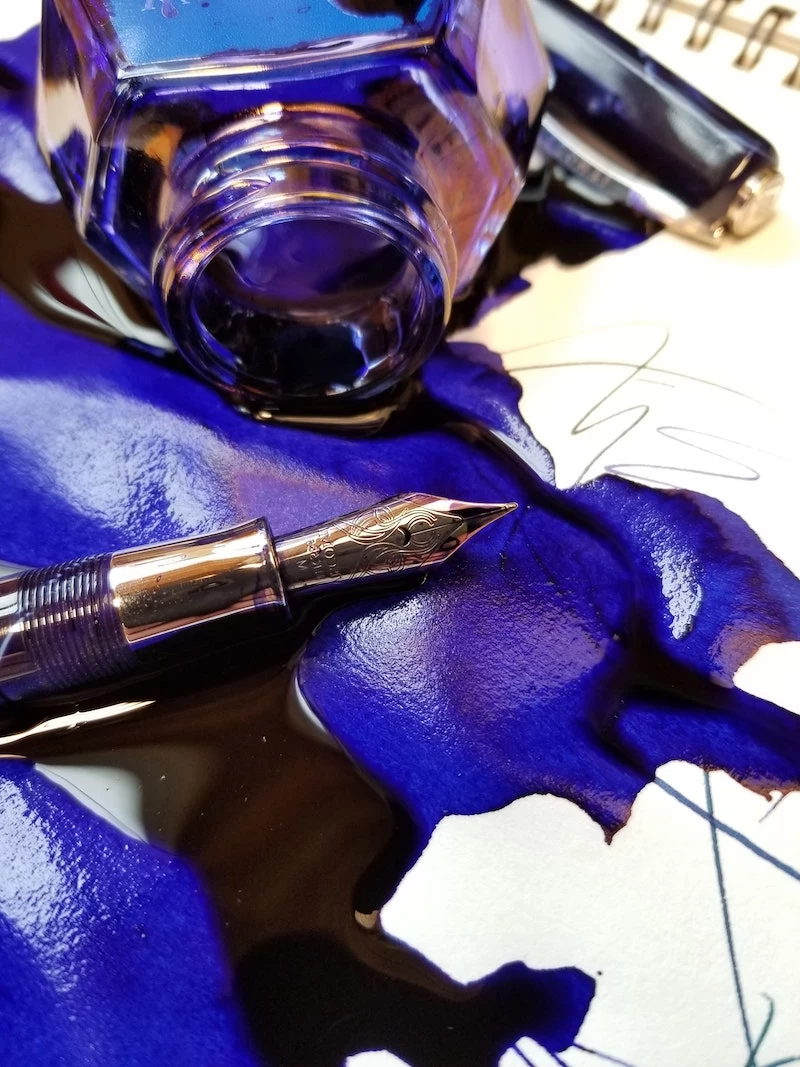
More than 90% of ballpoint pen ink is oil-based, making it resistant to water but vulnerable to solvents like alcohol.
This simple fact is the secret behind most successful ink removal stories. The principle is ‘like dissolves like.’ The alcohol in rubbing alcohol, hairspray, or hand sanitizer acts as a solvent that breaks down the oily components of the ink, lifting them from the fabric fibers. Water, on the other hand, will often just spread the oily stain around without removing it.
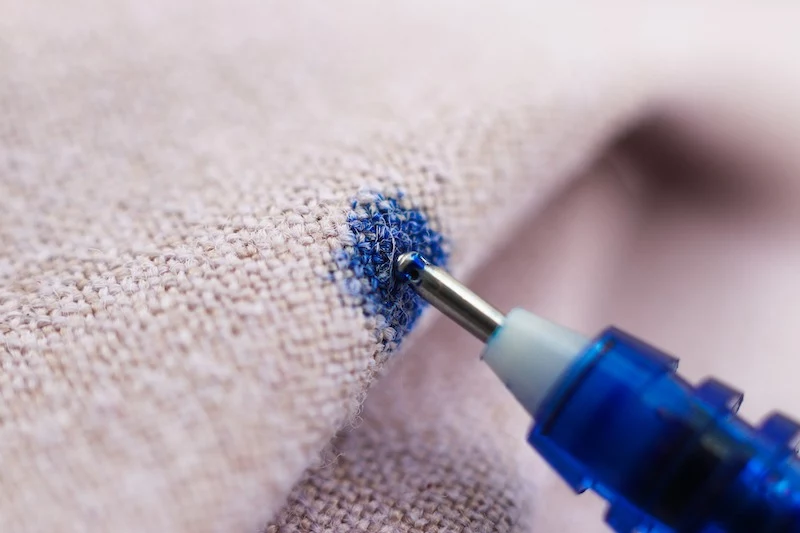
Cotton Canvas: Highly absorbent, ink stains bleed deep into the fibers. Treatment requires a solvent that can penetrate thoroughly. You can be more aggressive with dabbing and use stronger solutions like rubbing alcohol.
Leather: Non-porous on the surface, but its finish can be delicate. A gentle approach is crucial. Use a specialized leather ink remover stick or a cotton swab with a tiny amount of alcohol, followed immediately by a wipe-down and conditioning with a product like Leather Honey to restore moisture and shine.

Before a disaster strikes, assemble a ‘Stain First-Aid Kit.’ Having the right tools on hand can make the difference between a saved garment and a permanent mark. Keep these essentials in your laundry room:
- A bottle of Isopropyl Alcohol (70% or higher).
- A dedicated stain remover stick, like the Tide to Go Pen, for immediate action on fresh stains.
- Clean, white microfiber cloths for blotting without transferring color.
- An old toothbrush for gently working solution into durable fabrics.
One critical error: Using a colored or patterned cloth to blot the stain. You might lift the ink, but you risk transferring the dye from your cleaning cloth onto the garment, creating a brand new, even more complex stain. Always, always use a clean, plain white cloth or paper towel that you can be sure is colorfast.
- It can save delicate fabrics from fiber damage.
- It prevents the stain from spreading into a larger, faded mess.
- It lifts the pigment directly upwards, away from the garment.
The technique? Consistent, gentle blotting. Press a clean cloth onto the stain, lift, use a fresh section of the cloth, and repeat. This patient dabbing motion is far more effective than panicked rubbing, which only grinds the ink deeper into the fabric’s weave.


