That Chalky Gunk on Your Faucet? Here’s How to Finally Kill It.
I’ve been in the home maintenance and plumbing game for a long time, and I can tell you a secret: half the calls I get aren’t for broken parts. A homeowner will call about terrible water pressure, a coffee maker that just gurgles sadly, or a dishwasher that leaves spots on everything. And nine times out of ten, the villain is the same: limescale. That chalky white crust you see on your faucets is just the stuff you can see. The real damage is happening inside your pipes and appliances, slowly choking them and costing you money.
In this article
And yes, it costs you real money. But here’s the good news—you can absolutely get a handle on it. This isn’t a list of weird internet “hacks.” This is a field guide to what actually works, what’s safe for your home, and just as important, when to admit defeat and call in a pro. Let’s get into it.
First, Know Your Enemy: What Is This Gunk?
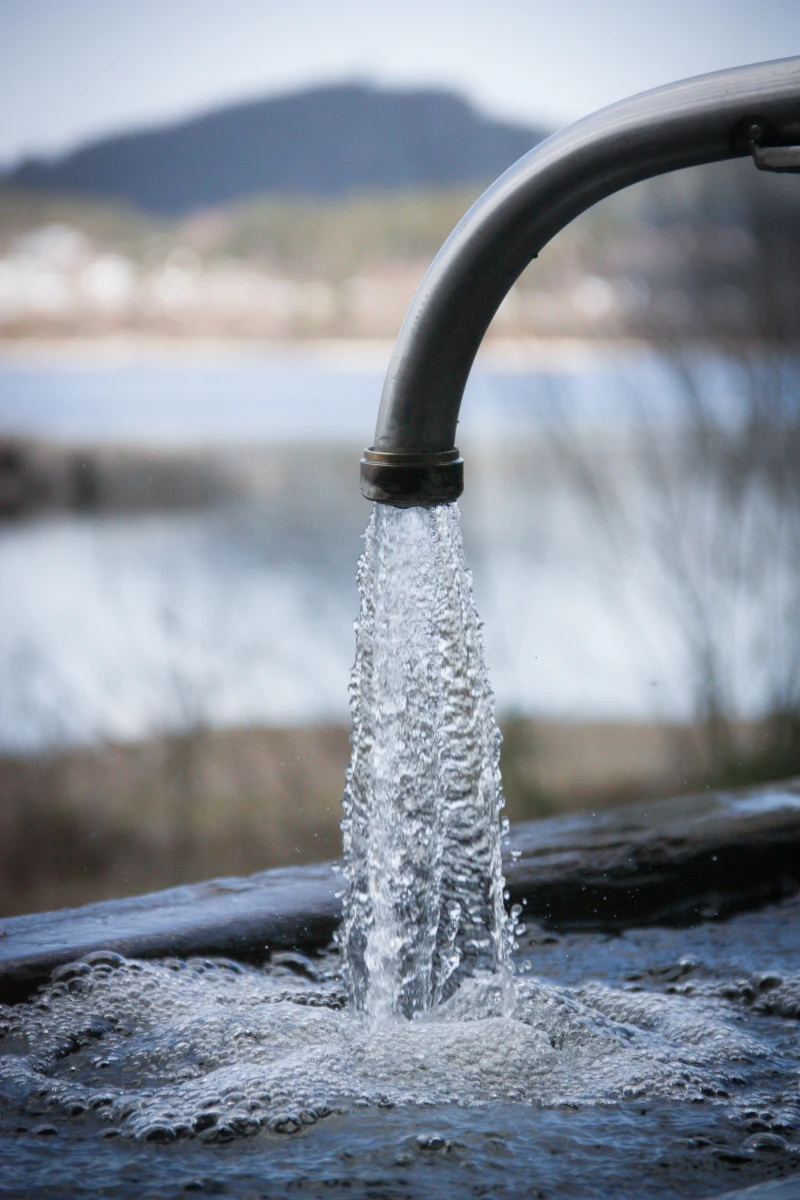
Before you start scrubbing, you gotta understand what you’re up against. Limescale starts with your water. As water flows through the ground, especially through areas with limestone and chalk, it picks up minerals like calcium and magnesium. This creates what we call ‘hard water.’ It’s perfectly safe to drink, but it’s the root cause of all this trouble.
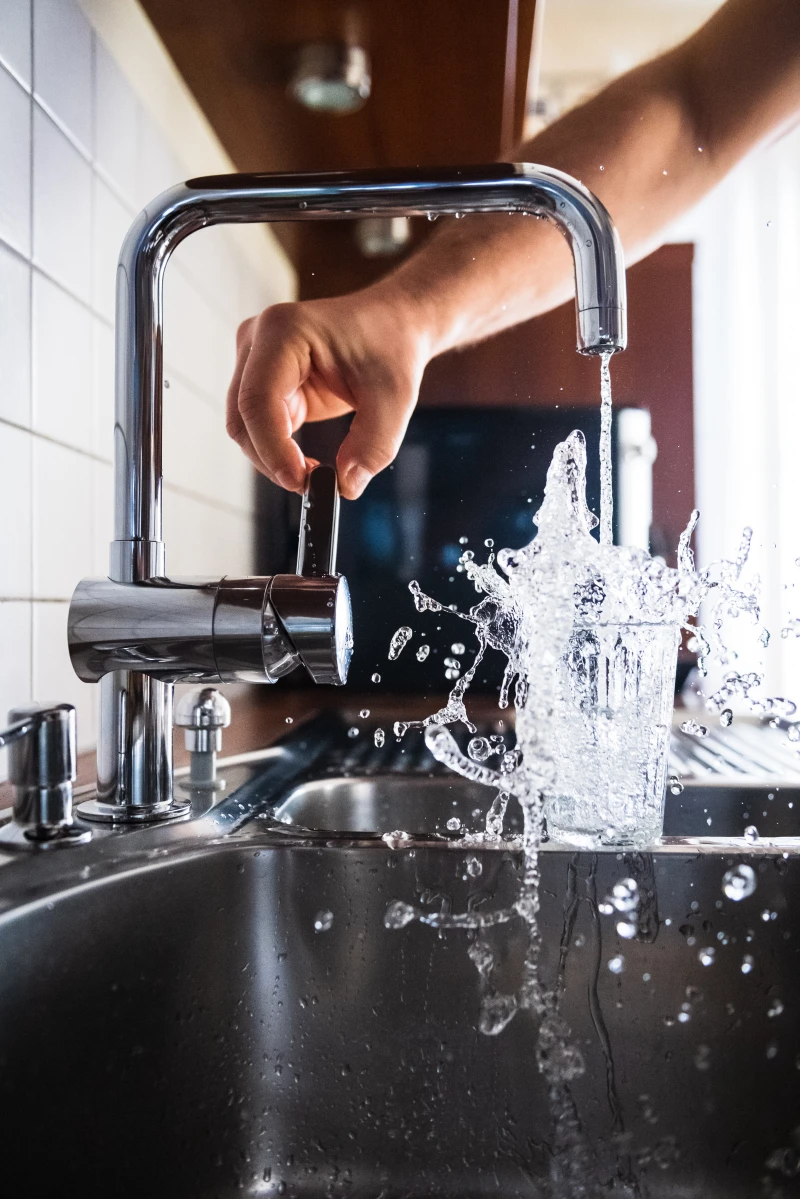
By the way, there’s a super simple way to see if you have hard water. Fill a clear, clean bottle about one-third full with tap water. Add a few drops of a pure liquid soap (like basic castile soap, not a detergent), and shake it hard for 15 seconds. If you get a big, fluffy head of suds, your water is likely on the softer side. If the water just gets cloudy and you see very few suds, congratulations… you’ve got hard water.
The Simple Science of Why It Sticks
Limescale is basically just calcium carbonate. It forms when hard water either gets heated up or evaporates. Think about the heating element in your kettle or the water spots that dry on your shower door. The water leaves, but the minerals get left behind, building up layer by stubborn layer.
Here’s the key thing to remember: calcium carbonate is alkaline. And what’s the opposite of alkaline in chemistry? Acid. That’s the secret sauce. Almost every effective limescale remover works by using a mild acid to dissolve the mineral buildup. That fizzing sound you hear when you pour vinegar on it? That’s the sound of the acid winning the battle, breaking the scale down into stuff that just washes away. It’s a chemical reaction, which is why just scrubbing usually doesn’t cut it.
Your Limescale-Busting Toolkit: Picking the Right Weapon
You wouldn’t use a sledgehammer to hang a picture, right? The same logic applies here. Using the right cleaner for the job protects your expensive fixtures and gets the job done faster. We’ll start with the gentlest stuff first.
Level 1: The Everyday Heroes from Your Pantry
Honestly, for most of the limescale you’ll face, you don’t need to spend a ton of money on fancy chemicals.

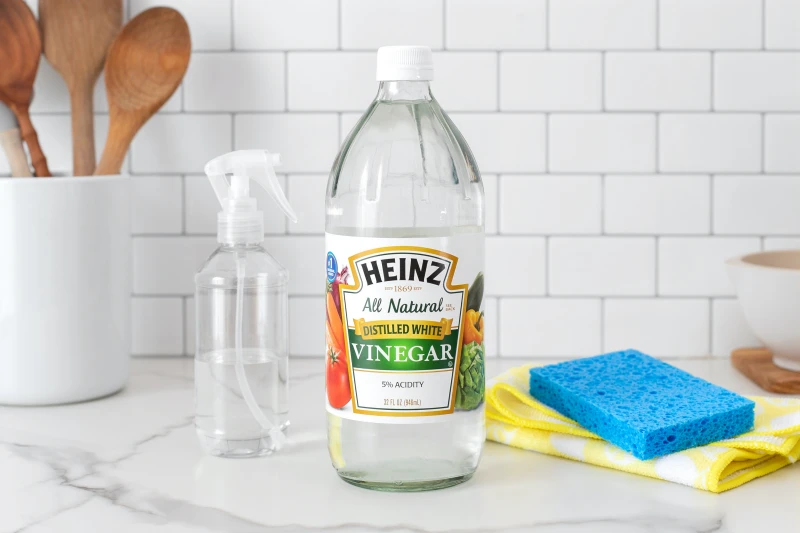
- White Vinegar: The Undisputed Champ. A big gallon jug of white vinegar costs about $4 at the grocery store, and it’s the most valuable player in this game. Its 5% acetic acid is strong enough to dissolve most scale but gentle enough not to wreck everything instantly. It’s my go-to for shower heads, faucet aerators, and coffee makers. The only downside is the salad-y smell, but that rinses away.
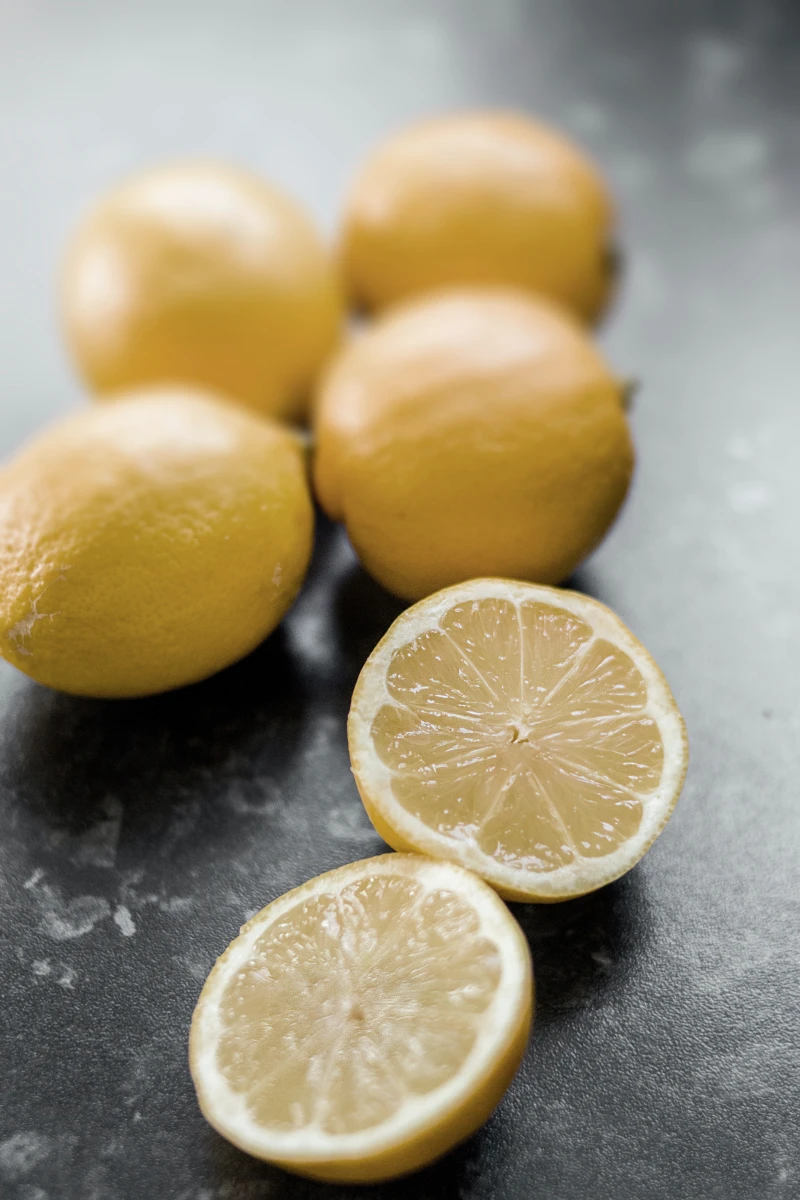
- Lemon Juice: The Detail Specialist. Lemon juice is citric acid, so it works the same way as vinegar but is a bit milder. I find it’s perfect for small touch-ups. If you have a light ring of scale around a sink drain, just cut a lemon in half, dip it in some salt for a little grit, and scrub the spot directly. It’s not practical for soaking a whole shower head, but it’s great for quick, focused cleaning.
Level 2: When You Need More Firepower
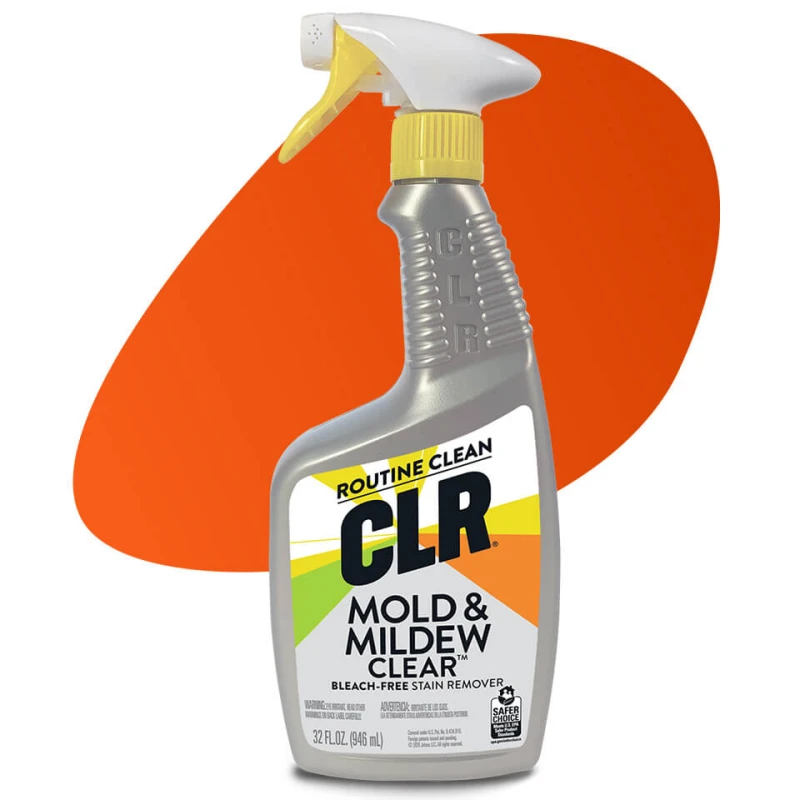
Sometimes, the buildup is just too thick or has been there for years. That’s when it’s time to grab a commercial cleaner. You’ll see products like CLR (Calcium, Lime, Rust), Lime-A-Way, or Zep Calcium, Lime & Rust Stain Remover on the shelves at Home Depot or Lowe’s. A bottle will run you about $7-$10.
These use stronger acids to work faster. But that strength is also a risk. I’ve seen them discolor fancy faucet finishes like oil-rubbed bronze or matte black if left on for even a few minutes too long. So, here’s a rule that is absolutely non-negotiable: ALWAYS test it on a small, hidden spot first. Seriously. This one step can save you from a very expensive mistake.
Level 3: The ‘Don’t You Dare’ Option
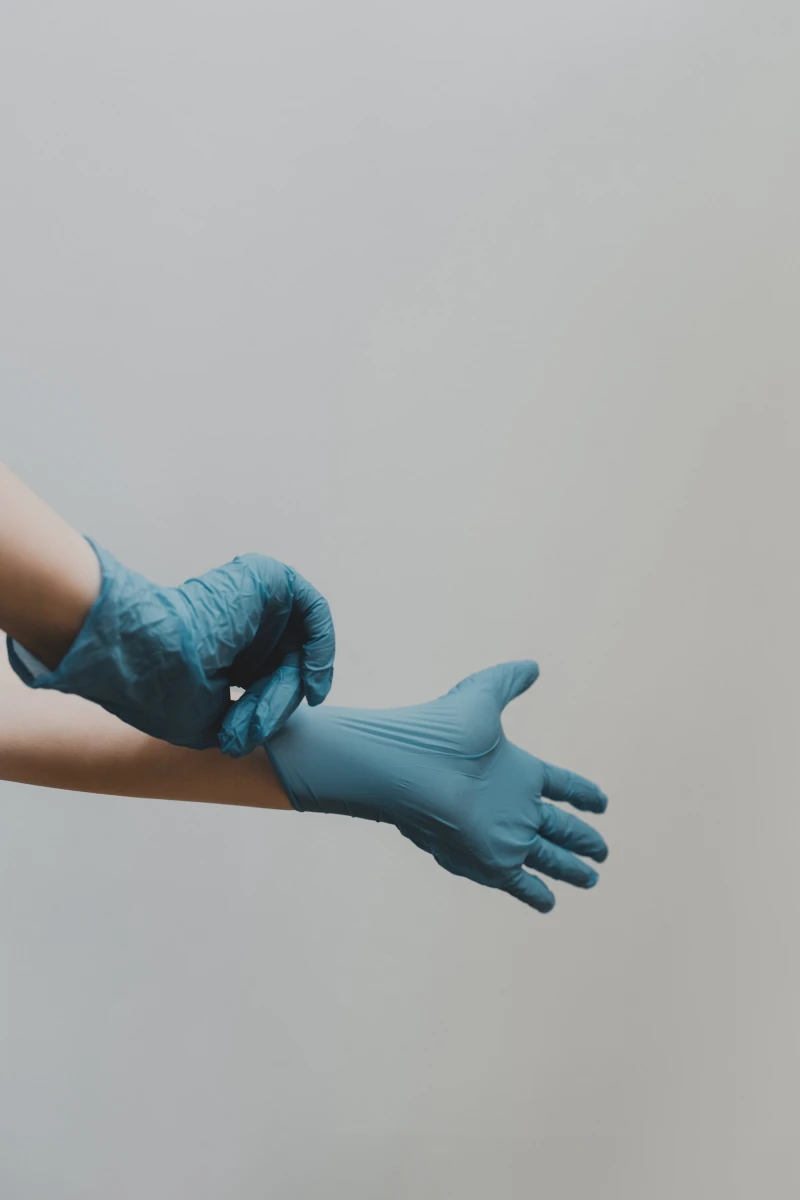
You might see people on forums recommend muriatic acid. Let me be crystal clear: this is not for homeowner use. This stuff is incredibly dangerous. I only handle it with full protective gear—respirator, heavy-duty gloves, the works. The fumes can scar your lungs, and a single drop will give you a nasty chemical burn.
I once took a call where a homeowner poured it down a slow toilet. It didn’t clear the clog, but it did eat through the toilet’s wax ring, damage the porcelain finish, and fill the entire house with toxic fumes. It’s a disaster in a bottle. There is no household problem that justifies this risk. Just don’t.
Essential Gear to Have on Hand
- Non-Scratch Scouring Pads: To scrub sinks and tubs without making them look dull.
- An Old Toothbrush: Perfect for getting into all the nooks and crannies.
- Plastic Scraper or Putty Knife: For gently chipping at thick scale after it’s been softened by acid. Never use metal on your fixtures!
- Microfiber Cloths: For the final wipe-down and polish.
- Zip-top Bags & Rubber Bands: The classic combo for soaking faucets.
- An Adjustable Wrench (and a rag): If you have to remove a fixture, wrap the wrench jaws in a rag to avoid scratching the chrome.
How to Tackle the Most Common Problem Areas
Here’s how I handle the usual suspects. The most important technique? Patience. You have to give the acid time to work its magic.
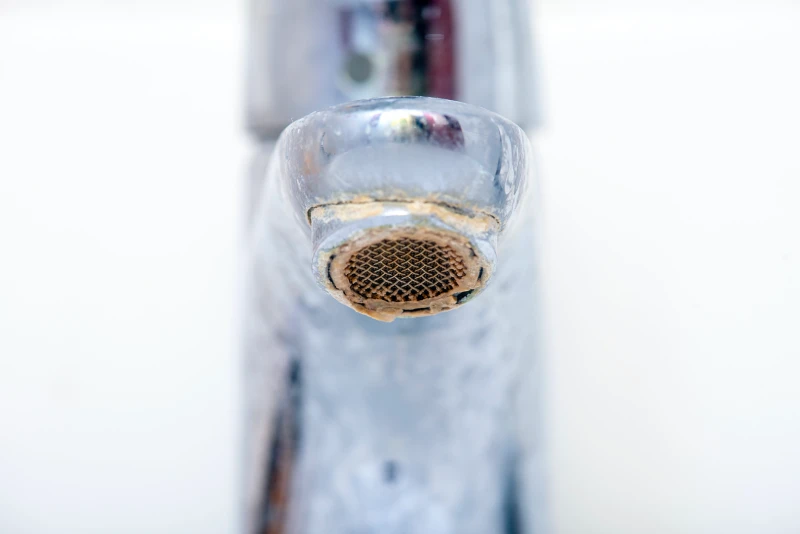
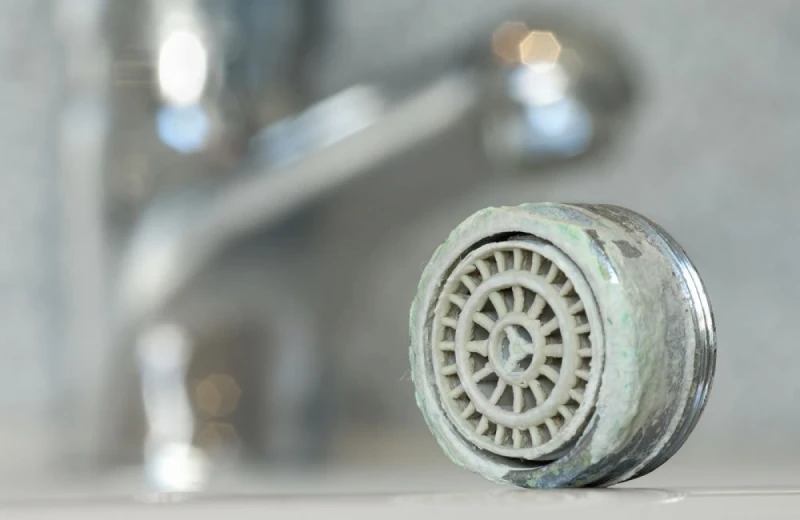
Faucets and Shower Heads
This is where low pressure usually shows up first. I once had a client who was convinced they needed a whole new shower fixture, which would have cost them hundreds. The pressure was awful. I told them to hold on. I did the trick below, left it overnight, and the next day the thing was blasting like a fire hose. Saved them a ton of money for about 50 cents worth of vinegar. That’s why I love this job.
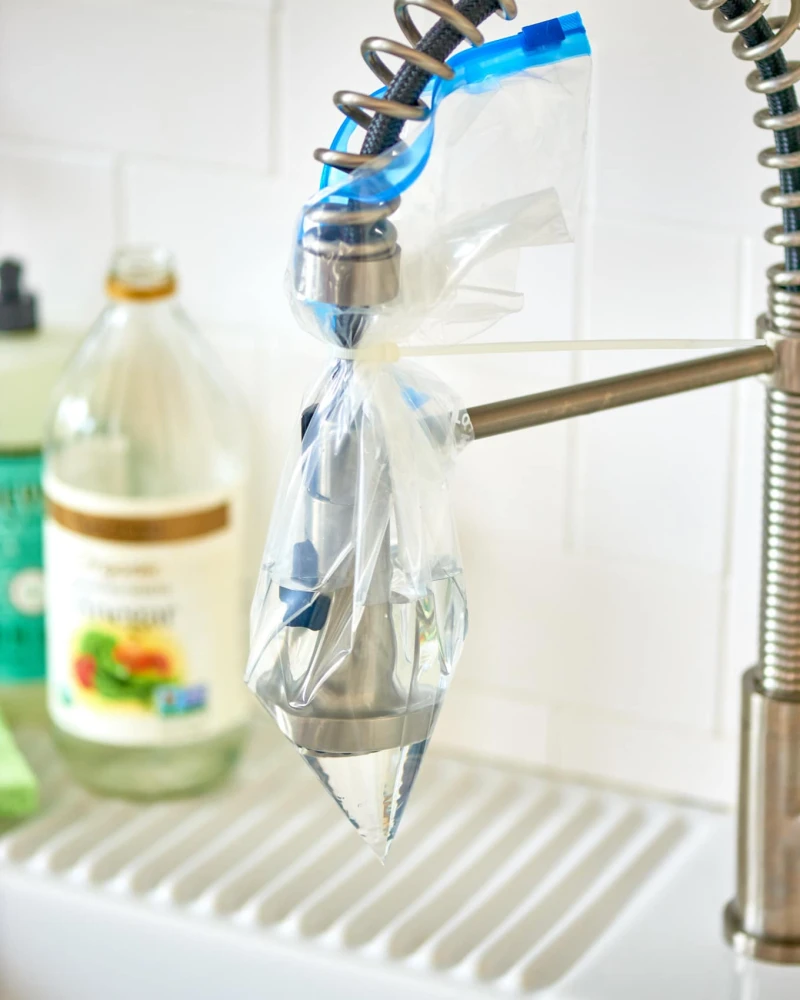
The Bag Method: Fill a zip-top bag with white vinegar, stick the faucet or shower head in it, and use a rubber band to hold it in place. Let it soak for at least an hour—overnight is even better for tough cases. Afterwards, take the bag off and run the hot water to flush it out. Use that old toothbrush to scrub off any lingering bits.
Your 15-Minute Challenge: Go do this to your kitchen faucet right now. Seriously. By the time you finish reading the rest of this article, you’ll already see a difference in the flow. Go on, I’ll wait.
Heads up on finishes! Standard chrome is tough as nails, but things like brushed nickel, polished brass, and matte black are sensitive. For these, I never soak for more than 30 minutes. It’s better to do two short soaks than one long one that ruins a $300 faucet.
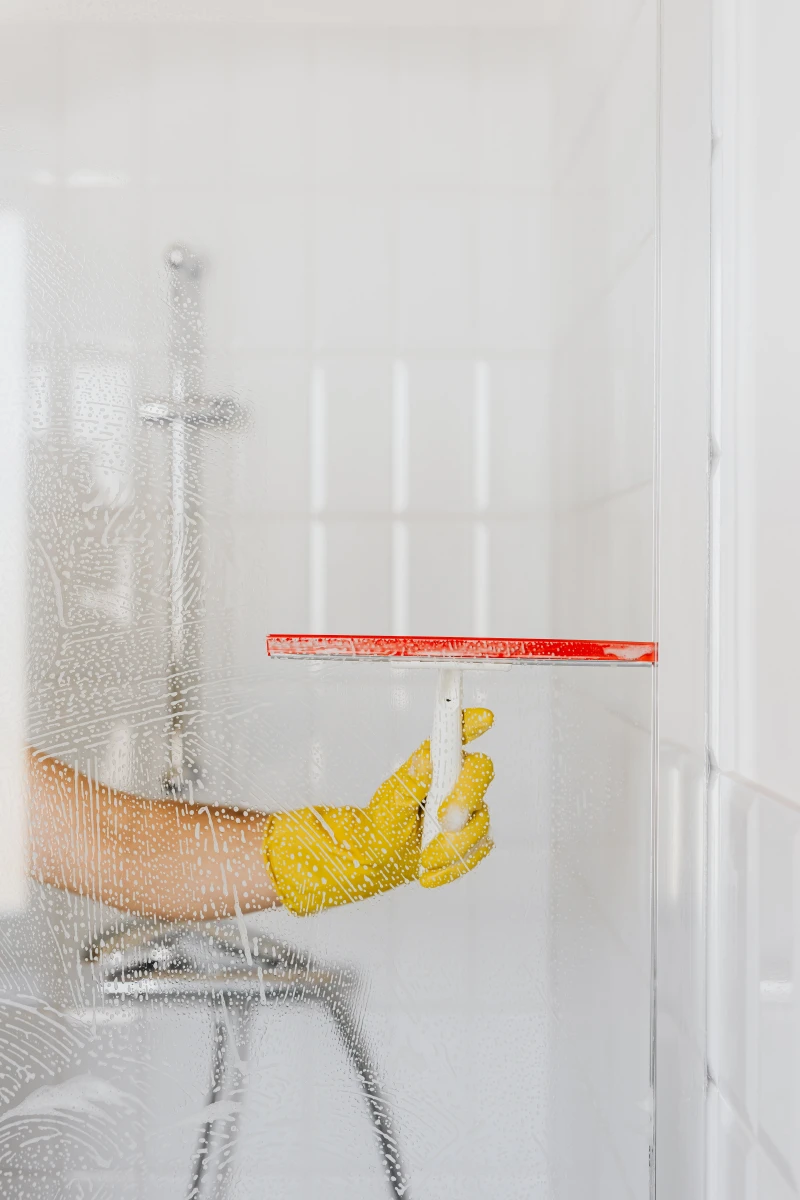
Glass Shower Doors and Walls
That cloudy film is pure limescale. The fix is easy. Mix a 50/50 solution of white vinegar and water in a spray bottle. Drench the glass and let it sit for about 15 minutes (don’t let it dry). Then, scrub in circles with a non-scratch pad, rinse with water, and use a squeegee for a perfect, streak-free finish.
Pro-Tip: The best cure is prevention. Keep a cheap squeegee in the shower. A 30-second wipe-down after you shower stops water from ever drying on the glass. No water spots, no limescale. Problem solved.
Toilets, Sinks, and Tubs
For that stubborn ring in the toilet bowl, turn off the water valve behind the toilet and flush to lower the water level. Pour in a couple of cups of vinegar and let it sit overnight. In the morning, scrub with a stiff toilet brush. If it’s really bad, a pumice stone (you can find them for about $8 in the cleaning aisle) works wonders on porcelain, but make sure the surface is wet to avoid scratches.
For sinks and tubs, make a paste of baking soda and vinegar. It’ll fizz up—just wait for it to settle down. You want a consistency like thick toothpaste. Smear it on the stains, let it sit for 20 minutes, then scrub and rinse.
Inside Your Appliances
This is the hidden killer. Descaling your appliances regularly can literally add years to their lifespan.
A good rule of thumb? If you have moderately hard water, plan on doing this every month or two for your coffee maker, and maybe quarterly for your dishwasher and washing machine. If your water is very hard, you might need to do it more often.
- Coffee Makers: Run a brew cycle with a 50/50 mix of vinegar and water in the reservoir. Then, run two more cycles with just plain water so your coffee doesn’t taste like vinegar.
- Dishwashers: Put a cup of white vinegar in a glass on the top rack of your empty dishwasher and run a hot cycle. It will clean out the jets and heating element.
- Washing Machines: For a top-loader, add four cups of vinegar to a hot cycle. For a front-loader, two cups is plenty.
A quick note on water heaters. Yes, they need to be flushed to remove sediment. But please, this is a job for a licensed plumber. I’ve seen old drain valves snap off, causing a massive flood. A professional service call might cost between $150 and $300, which is way cheaper than replacing your flooring.
The Long-Term Fix: Treating the Water Itself
If you live in an area with very hard water (like parts of Texas or the Southwest), cleaning is just a battle you’ll fight forever. The only way to truly win the war is to treat the water before it ever enters your pipes.
This is where a whole-house water softener comes in. It’s a system that gets installed where your main water line enters your house. It’s a big investment—you can expect to pay anywhere from $1,500 to $3,000+ for a professionally installed system. But, it protects every single water-using appliance you own, from your pipes to your washing machine, paying for itself over time by preventing costly replacements. This is another job that absolutely requires a licensed plumber.
Final Words of Wisdom
Always remember the most important safety rule: NEVER, ever mix different cleaning chemicals. Specifically, never mix an acid-based cleaner (like vinegar or CLR) with anything that contains bleach. It creates toxic chlorine gas, and it’s no joke.
At the end of the day, dealing with limescale is a marathon, not a sprint. A little routine cleaning is way more effective than a massive chemical battle once a year. Stay on top of it, and you’ll keep your home looking great and running smoothly for a long, long time.
Inspiration:
Tired of constantly wiping down your faucets? Does the finish itself make the problem worse?
Absolutely. While classic polished chrome looks brilliant when clean, it’s a magnet for showing every single water spot and chalky deposit. For a lower-maintenance life, consider finishes like brushed nickel or matte black. Their less-reflective surfaces are much more forgiving. Brands like Delta with its SpotShield® Technology or Moen with its Spot Resist™ finish go a step further, actively resisting fingerprints and water spots, making your fight against buildup that much easier.
According to the Water Quality Association, water-heating appliances can see their efficiency reduced by up to 48% due to limescale.
That chalk on your faucet is a visible symptom of a more expensive, hidden problem. The same scale is coating the heating element in your water heater, forcing it to work harder and use more energy to heat the same amount of water. Regular descaling isn’t just for looks; it’s a direct way to lower your energy bills.
White Vinegar: The classic, cheap, and effective choice. Its acetic acid readily dissolves calcium deposits. The main drawback? That distinct, lingering salad dressing smell during the cleaning process.
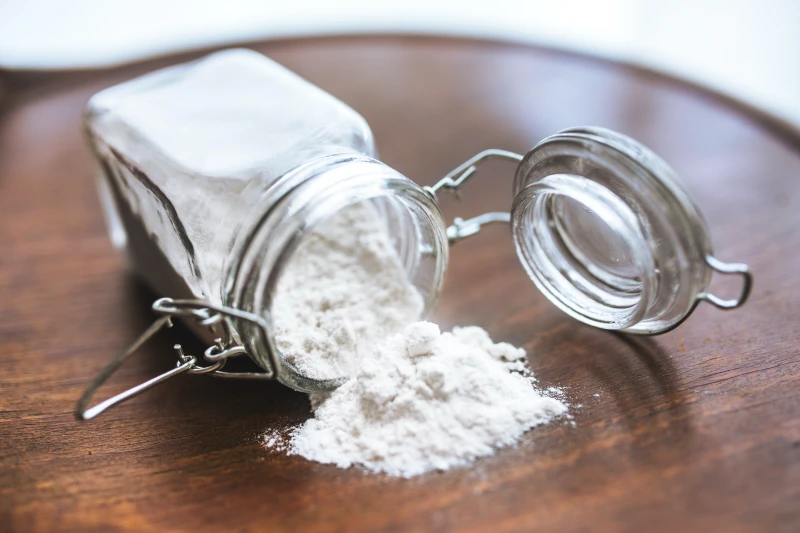
Citric Acid: Sold as a powder, it’s a fantastic, odorless alternative. Mix a tablespoon with warm water to create a powerful descaling solution. It’s especially great for coffee makers and kettles where you don’t want a vinegary aftertaste.


