Found a Tick? Don’t Panic. Here’s Exactly How to Remove It Safely.
I’ve spent a lot of time on trails and in the woods, and over the years, I’ve removed more ticks than I can even remember. I’ve taken them off seasoned hikers, nervous first-timers, and yeah, even myself. So, the first thing I want you to know is this: finding a tick is not a reason to freak out. It is, however, something you need to deal with calmly, correctly, and right away. Using the wrong technique can honestly make things worse, but the right way is simple and drastically lowers your risk.
In this article
The internet is a minefield of conflicting advice, and some of those old wives’ tales are still floating around. My goal here is to give you the straight-up, no-nonsense method that pros use—a technique based on how a tick actually works, not on folklore.
Why Your Technique Really Matters
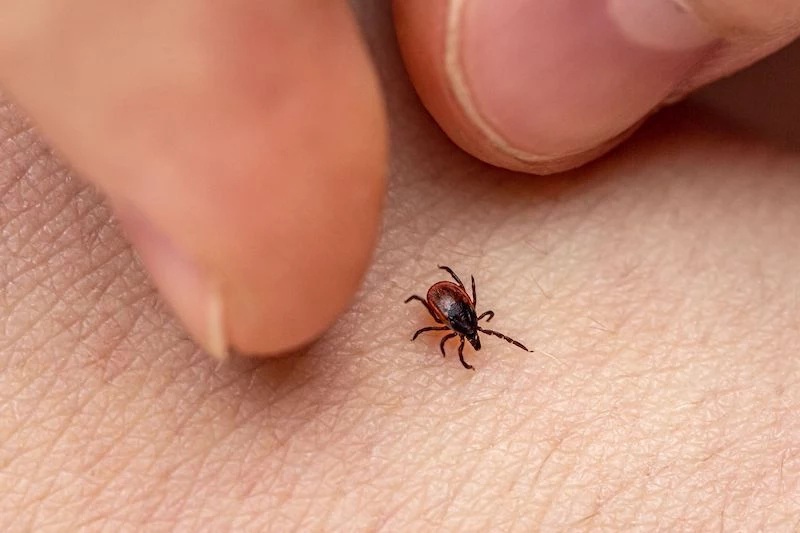
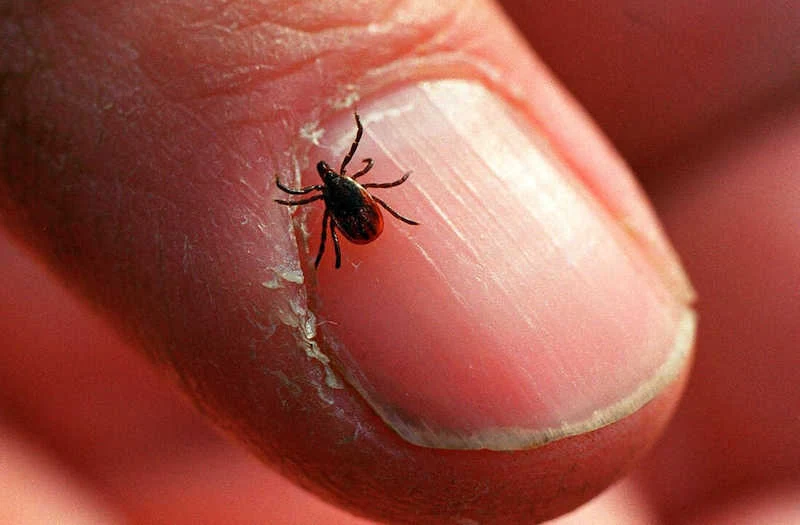
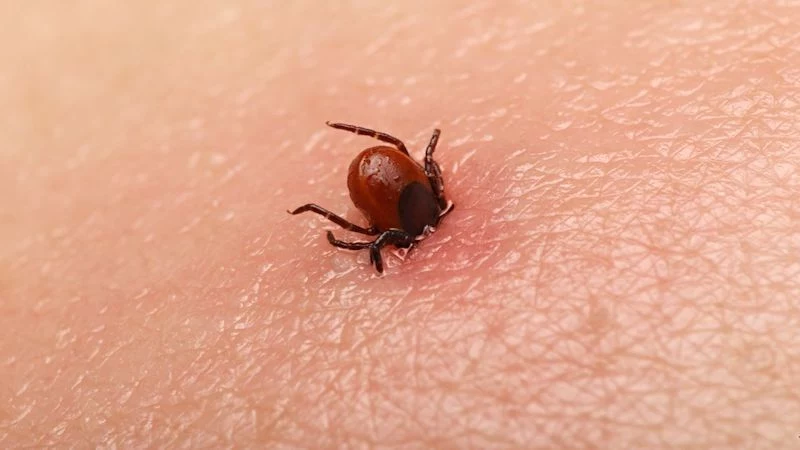
First off, let’s understand what’s happening. A tick isn’t just taking a little bite. It’s anchoring itself into your skin with its barbed, harpoon-like mouthparts. Once those barbs are in, they fan out, making the tick surprisingly difficult to pull out. This is why just flicking or scraping at it is a total waste of time and can be dangerous.
When you try to remove a tick the wrong way—by twisting it or, even worse, squeezing its body—you risk two major problems. First, the head and mouthparts can break off and stay stuck in your skin. But more importantly, squeezing the tick’s body is like pressing down on a tiny, fluid-filled syringe. You can accidentally inject its gut contents, along with any nasty pathogens it might be carrying, straight into your bloodstream. This is precisely why we avoid old-school methods like petroleum jelly or a hot match.
Good to know: The risk of getting a tick-borne illness is all about how long it’s been attached. For the bacteria that causes Lyme disease, for example, the tick usually needs to be attached for 36 to 48 hours to pass it on. For other illnesses, that window can be shorter. Since you rarely know exactly when it latched on, the rule is simple: get it out as soon as you find it.
The Only Tick Removal Gear You’ll Ever Need
Before you even think about touching the tick, get your tools ready. It’s way easier to be calm and deliberate when you’re not scrambling. You really only need a couple of things.
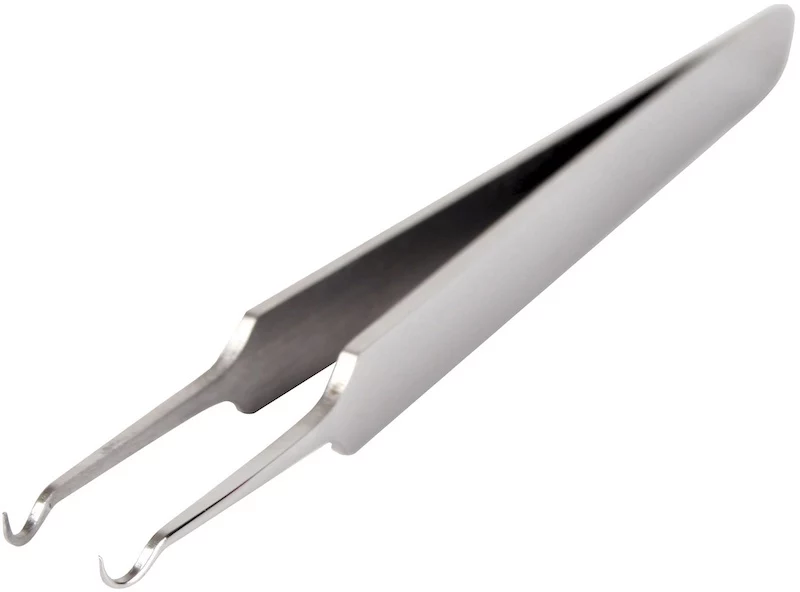
First, and most critically, you need a pair of fine-tipped tweezers. I’m not talking about the flat, slanted ones you use for your eyebrows. Those are too blunt and are almost guaranteed to squeeze the tick’s body. You need pointy, needle-nose tweezers. I keep a pair of surgical-grade steel ones in my first-aid kit, my car’s glove box, and my hiking pack. Brands like Tweezerman Point or Uncle Bill’s Sliver Grippers are perfect and usually cost between $10 and $20 online or at any pharmacy. They give you the precision you need.
What about those other tools? A “tick key” or a “tick twister” can work pretty well, too. They are designed to slide under the tick and lift it out. They’re a solid option, but I find good tweezers are just more versatile, especially for tricky spots.
A very common question I get is: “What if I only have blunt, slanted tweezers right now?” It’s a great question. Is it better to wait an hour to drive to a store for the right tool, or use the wrong tool now? Here’s my take: prompt removal is always the top priority. If the wrong tool is all you have, use it very carefully. Try to grab the tick by the head with the very tips of the tweezers, getting as close to the skin as possible. Do your absolute best not to squeeze its body. Then, make a mental note to buy a proper pair of tweezers for next time!
The only other thing you need is an antiseptic, like rubbing alcohol, an iodine swab, or an antiseptic wipe. In a pinch, plain old soap and water for cleanup will do just fine.
The Pro Method: Step-by-Step Removal
Okay, this is the important part. Take a deep breath. A steady hand is your best friend here.
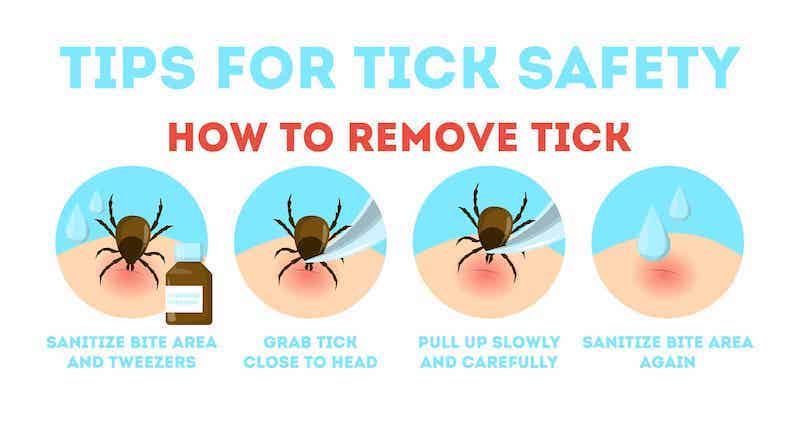
- Get Ready: Clean your tweezers with a bit of rubbing alcohol or an antiseptic wipe. This prevents you from introducing any new germs into the bite. And whatever you do, don’t put anything on the tick itself. No jelly, no alcohol, nothing. You want to get it out without agitating it.
- Position and Grip: Spread any hair away from the tick to get a clear view. Bring the tweezers in parallel to the skin. Your goal is to slide the pointy tips around the tick’s head, right where it enters your skin. Get as close as you can. You want to be grabbing the head/mouthparts, NOT the swollen, soft body.
- Pull Straight Up: This is where most people mess up. Do not twist, jerk, or rock the tweezers. Just pull straight up with slow, steady, even pressure. Imagine you’re pulling a tiny, straight nail out of a board. You’ll see the skin tent up a little—that’s totally normal. Just keep that gentle, consistent pressure, and after a few seconds, the tick’s mouthparts will release their grip.
- Easy Does It: Apply just enough pressure to get a firm grip, but not so much that you crush the tick. If it does get crushed, don’t panic, just be extra thorough when you clean the area afterward.
Aftercare, Disposal, and Peace of Mind
Once the tick is out, you’re almost done.
First, clean the bite area well with your antiseptic or with soap and water. Wash your hands, too! It’s normal for the spot to be a little red and irritated for a day or two, much like a mosquito bite.
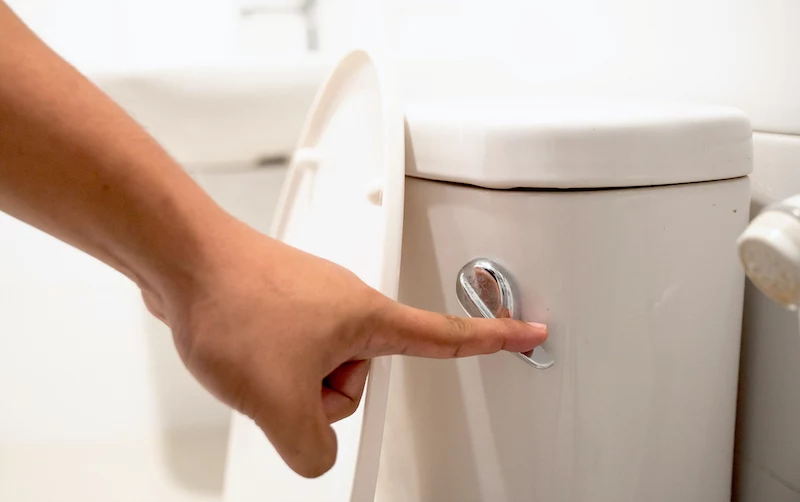
Now, what to do with the tick? Don’t squash it with your fingers. You can flush it down the toilet or kill it by dropping it in a small container of rubbing alcohol before tossing it in the trash. By the way, here’s a pro tip: consider saving the tick. Place it in a small, sealed plastic bag with a tiny scrap of damp paper towel to keep it from drying out. Label the bag with the date and where on your body you found it. If you start feeling unwell later, you can send the tick to a lab for testing. Services like TickReport dot com will test it for a fee (usually around $50), which can give your doctor valuable information for a faster diagnosis.
Troubleshooting: When Things Don’t Go Perfectly
Let’s be real, sometimes things go wrong. Here’s how to handle common hiccups.
What if the head or mouthparts break off?
First, take a breath. This is the number one fear, but it’s usually not a big deal. I’ve seen this happen a dozen times. Remember, the tick’s body is the real disease factory. Once that’s gone, your risk of transmission drops dramatically. You’re basically just dealing with a tiny splinter. Don’t turn it into a bigger problem by digging at your skin with tweezers.
If a little black dot is left, you can try to gently lift it out with your clean tweezers. But if it doesn’t come out easily, just leave it alone. Clean the area with antiseptic and let your body’s natural healing process push it out over the next few days. Just keep an eye on it for signs of a skin infection, like increasing pain or pus.

Where do ticks like to hide?
Ticks are sneaky and aim for warm, soft spots. When you do a tick check, be thorough! They love to hide in these places:
- Behind the knees
- In and around the ears
- In the groin area
- Under the armpits
- On the scalp and in the hairline
- Inside the belly button
What about sensitive areas?
I’ve seen them everywhere—eyelids, ears, you name it. For the scalp, use a comb to part the hair and get a clear view. For an eyelid, brace your hand firmly against the person’s face to keep it steady. But if a tick is deep inside an ear canal or you’re just not comfortable with an eyelid removal, don’t be a hero. It’s time to see a doctor or visit an urgent care clinic.
Quick Guide: When to Call a Doctor
Most tick bites are harmless, but you need to know the warning signs. I always tell people to snap a quick photo of the bite right after they clean it so they can monitor any changes.

Call a doctor if:
- You just can’t get the whole tick out and aren’t comfortable leaving the mouthparts in.
- A rash develops. The classic “bull’s-eye” rash is a well-known sign, but any expanding red rash is a reason to call.
- You develop flu-like symptoms within a month of the bite: fever, chills, fatigue, headache, or muscle aches.
- The bite area looks infected (i.e., it’s getting more painful, swollen, warm, or is oozing).
Ultimately, preventing tick bites is always the best strategy. But when one gets through, a calm head and the right technique are your best defense. It’s not complicated, but doing it right matters. Now you know how.
Inspirational Gallery
What should you do with the tick after removing it?
Don’t just crush it or toss it in the trash. The best practice is to dispose of it securely. Place the tick in a small, sealed plastic bag or container. You can add a cotton ball lightly soaked in rubbing alcohol to kill it. Why the caution? Some public health departments or doctors may want to identify the tick species or test it if you develop symptoms later. Label the bag with the date and location of the bite. If you don’t plan on testing it, you can simply flush it down the toilet.


