Don’t Call It High Tea: A Caterer’s Guide to Nailing the Perfect Afternoon Tea
For well over a decade, my life has revolved around beautiful food. I’ve built a little catering business on the back of classic European traditions, serving everything from wedding canapés to corporate lunches. But honestly? My real passion has always been the quiet, elegant ritual of a proper Afternoon Tea.
In this article
I didn’t learn this in some stuffy classroom. My training came from the trenches—in the demanding kitchens of a grand old hotel in England. The Head Pastry Chef there was a formidable woman who taught me that Afternoon Tea isn’t just a “party.” It’s a structured service with a rhythm and a set of rules. It’s all about precision, timing, and showing deep respect for the ingredients.
So many people picture a casual get-together with some cute cakes and tea, which is lovely, but it’s not technically a traditional Afternoon Tea. This guide is for anyone who wants to learn the professional way of doing things. I’m going to share the techniques I’ve spent years getting just right, from the science of a perfect cup of tea to structuring the menu. This isn’t about being snobby; it’s about understanding the craft so you can create an experience for your guests that feels truly special. We’re focusing on the timeless skills that make this tradition so magical.
First Things First: Know Your Foundation
Before you even think about buying a single teacup, you have to get the “why” behind the whole affair. When you understand the history and the structure, you elevate a simple gathering into something authentic. Trust me, guests can feel the difference when the host knows their stuff.
Afternoon Tea vs. High Tea: Let’s Settle This
One of the first things I drill into my team is the difference between Afternoon Tea and High Tea. They are not interchangeable, and getting it right is a small detail that shows you respect the tradition.
- Afternoon Tea is the elegant, light meal most people are thinking of. It was traditionally a luxury for the upper classes to bridge the long gap between lunch and a very late dinner. Think small, crustless sandwiches, scones with cream and jam, and delicate pastries, served around 3 or 4 p.m. It was often served on low tables in a drawing room, which is why it was sometimes called ‘low tea.’
- High Tea, on the other hand, was the hearty evening meal for the working class, served around 6 p.m. after a long day. It was a substantial, often hot meal—things like meat pies, fish, or casseroles served with bread and strong tea. It was eaten at a high dining table, hence the name.
So, when you’re planning your event with pretty finger sandwiches and tiny cakes, you are hosting an Afternoon Tea. Calling it ‘High Tea’ is a super common mistake, often used by hotels trying to sound fancy. Now you know the difference!
The Simple Science of a Perfect Brew
Tea is the absolute star of the show. You can have the most beautiful food, but if the tea is bitter or weak, the whole experience falls flat. Getting it right just comes down to a little science: water quality, temperature, and time.
Good to know: Always start with fresh, cold, filtered water. Re-boiling water removes oxygen and can make your tea taste dull. If you have very hard tap water, using bottled spring water can make a surprisingly big difference, especially for delicate teas.
Water temperature is probably the most critical part. Boiling water (212°F / 100°C) is great for robust black teas, but it will absolutely scorch delicate green or white tea leaves, making them taste bitter. A variable temperature kettle is one of the best investments you can make for your kitchen. I’ve had a reliable Cuisinart model for years, but friends and fellow pros rave about their Bonavita kettles, too. They can cost anywhere from $60 to over $150, but they’re a game-changer.
Here’s a quick cheat sheet for temps:
- Black Teas (like English Breakfast): 200-212°F (93-100°C) for 3-5 minutes.
- Green Teas: 175-185°F (80-85°C) for just 1-3 minutes. Any longer and they get bitter fast!
- White & Oolong Teas: 160-185°F (70-85°C) for 2-4 minutes.
- Herbal Teas (Infusions): 212°F (100°C) for 5-7 minutes.
And please, use a timer! Over-steeping is the most common mistake. Once the time is up, get those leaves out of the pot. I always recommend loose-leaf tea over bags—the flavor is just worlds apart. A good rule of thumb is one heaping teaspoon of leaves per 8-ounce cup of water.
A Caterer’s Game Plan and Timeline
The secret to being a relaxed host is obsessive planning. Seriously. I run every single event with a strict timeline, which wipes out any last-minute panic. Here’s a peek at my professional schedule.
4 Weeks Out
- Finalize Guest List & Date: This sets the scale for everything.
- Choose Your Vibe: Casual garden party or a more formal indoor event? This decision guides your menu, decor, and even what you’ll wear.
- Send Invitations: Paper invites always feel more special. Make sure you ask guests to inform you of any dietary restrictions or allergies. Getting this info early is a massive professional courtesy and a safety must-do.

2-3 Weeks Out
- Plan the Full Menu: Get specific on your sandwich fillings, scone type, and pastries.
- Teaware Audit: Do you have enough matching cups, saucers, and plates? Now’s the time to buy, borrow, or rent what you need. Don’t forget small forks, knives, and teaspoons.
- Order Specialty Goods: This is when you order your loose-leaf teas, special jams, or any other hard-to-find ingredients online.
1 Week Out
- Shop for Non-Perishables: Grab your flour, sugar, butter, etc.
- Confirm Final Headcount: Nudge anyone who hasn’t replied.
- Plan the Layout: Figure out where the food will go, where the tea station will be, and how guests will be seated.
2 Days Before
- Get a Head Start on Baking: You can make sturdy cookies or biscuit bases.
- Prep Fillings & Curds: Make your sandwich fillings (like egg mayo) and store them in airtight containers in the fridge. This is also a great time to make any lemon curd or fruit syrups.
- Iron Your Linens: Crisp, ironed tablecloths and napkins make a huge impact. Don’t skip this!
The Day Before
- Shop for Perishables: Buy your fresh cream, milk, fruits, and herbs.
- Bake the Scones (If You Must): Scones are at their peak the day they’re baked. But if you’re crunched for time, you can bake them the day before. Store them in an airtight container and just warm them gently in the oven before serving.
- Set the Table: Lay out everything—tablecloth, plates, cutlery, napkins, centerpiece. This is a massive stress-saver on the day of the party.
The Day Of
- Morning: Assemble delicate pastries, whip the cream, wash and slice fruit.
- 2 Hours Before: Assemble the sandwiches. This is the very last food task to prevent soggy bread. Cover them with a very slightly damp paper towel and plastic wrap, and keep them chilled.
- 30 Minutes Before: Arrange everything on your tiered stand. Put out the jam and cream.
- 15 Minutes Before: Start heating the water. Your goal is to pour the first cups of tea just as your guests are getting comfortable.
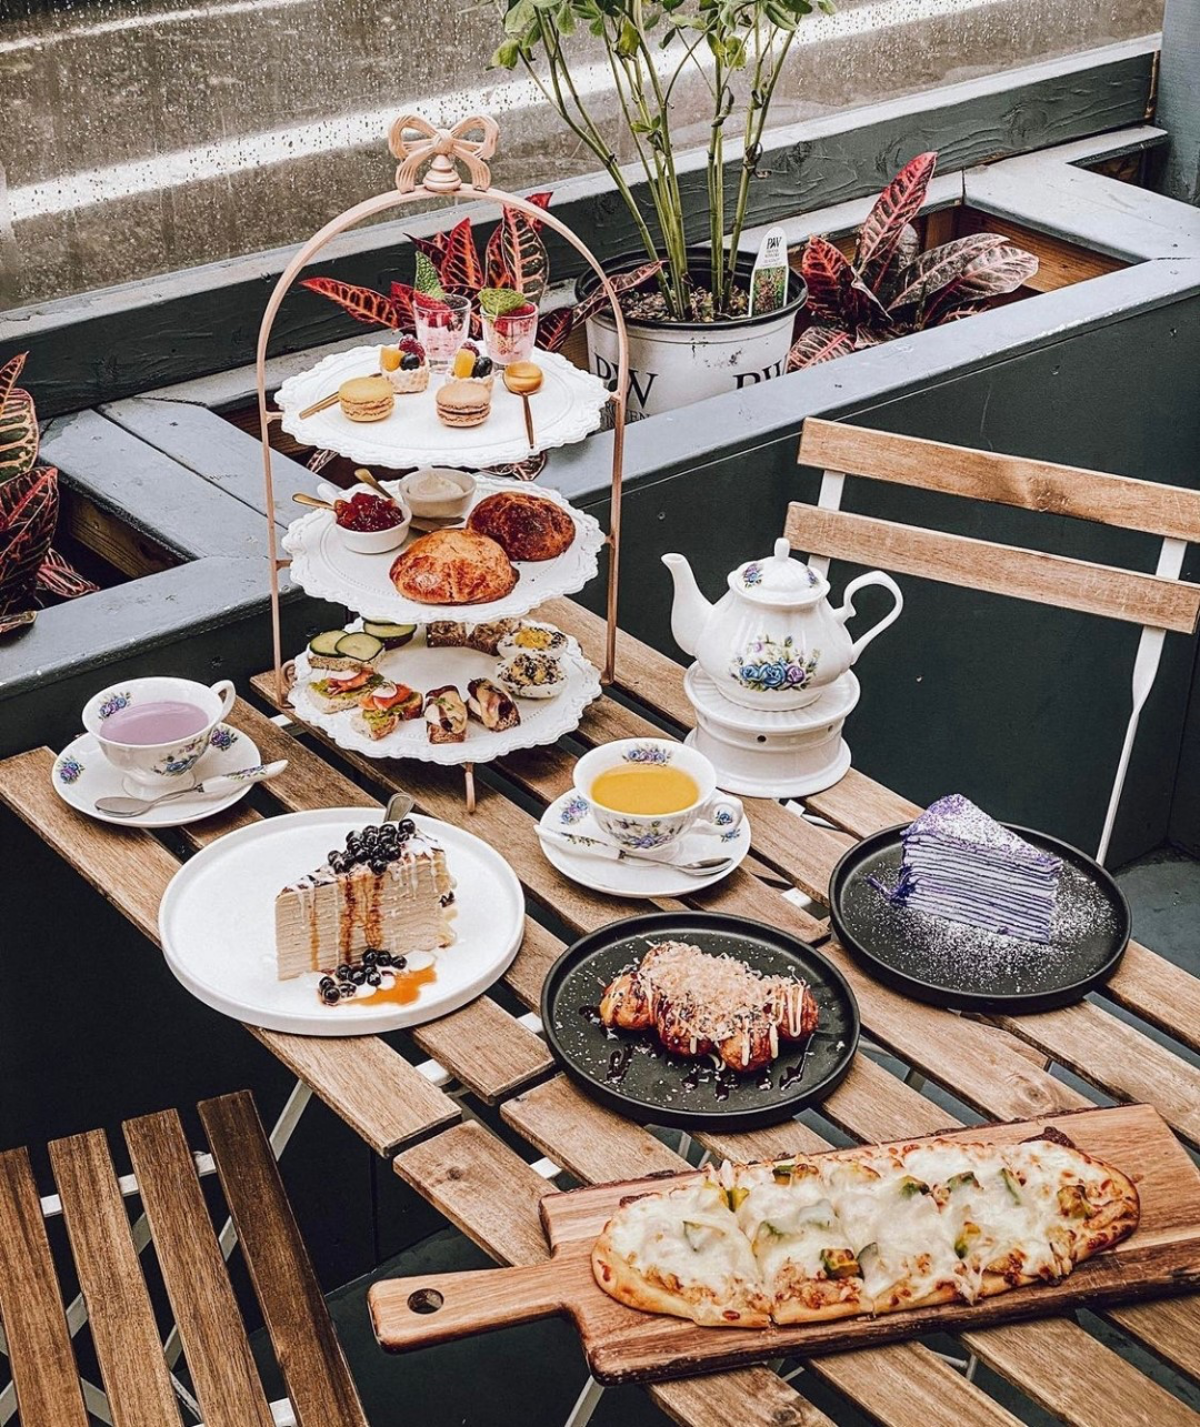
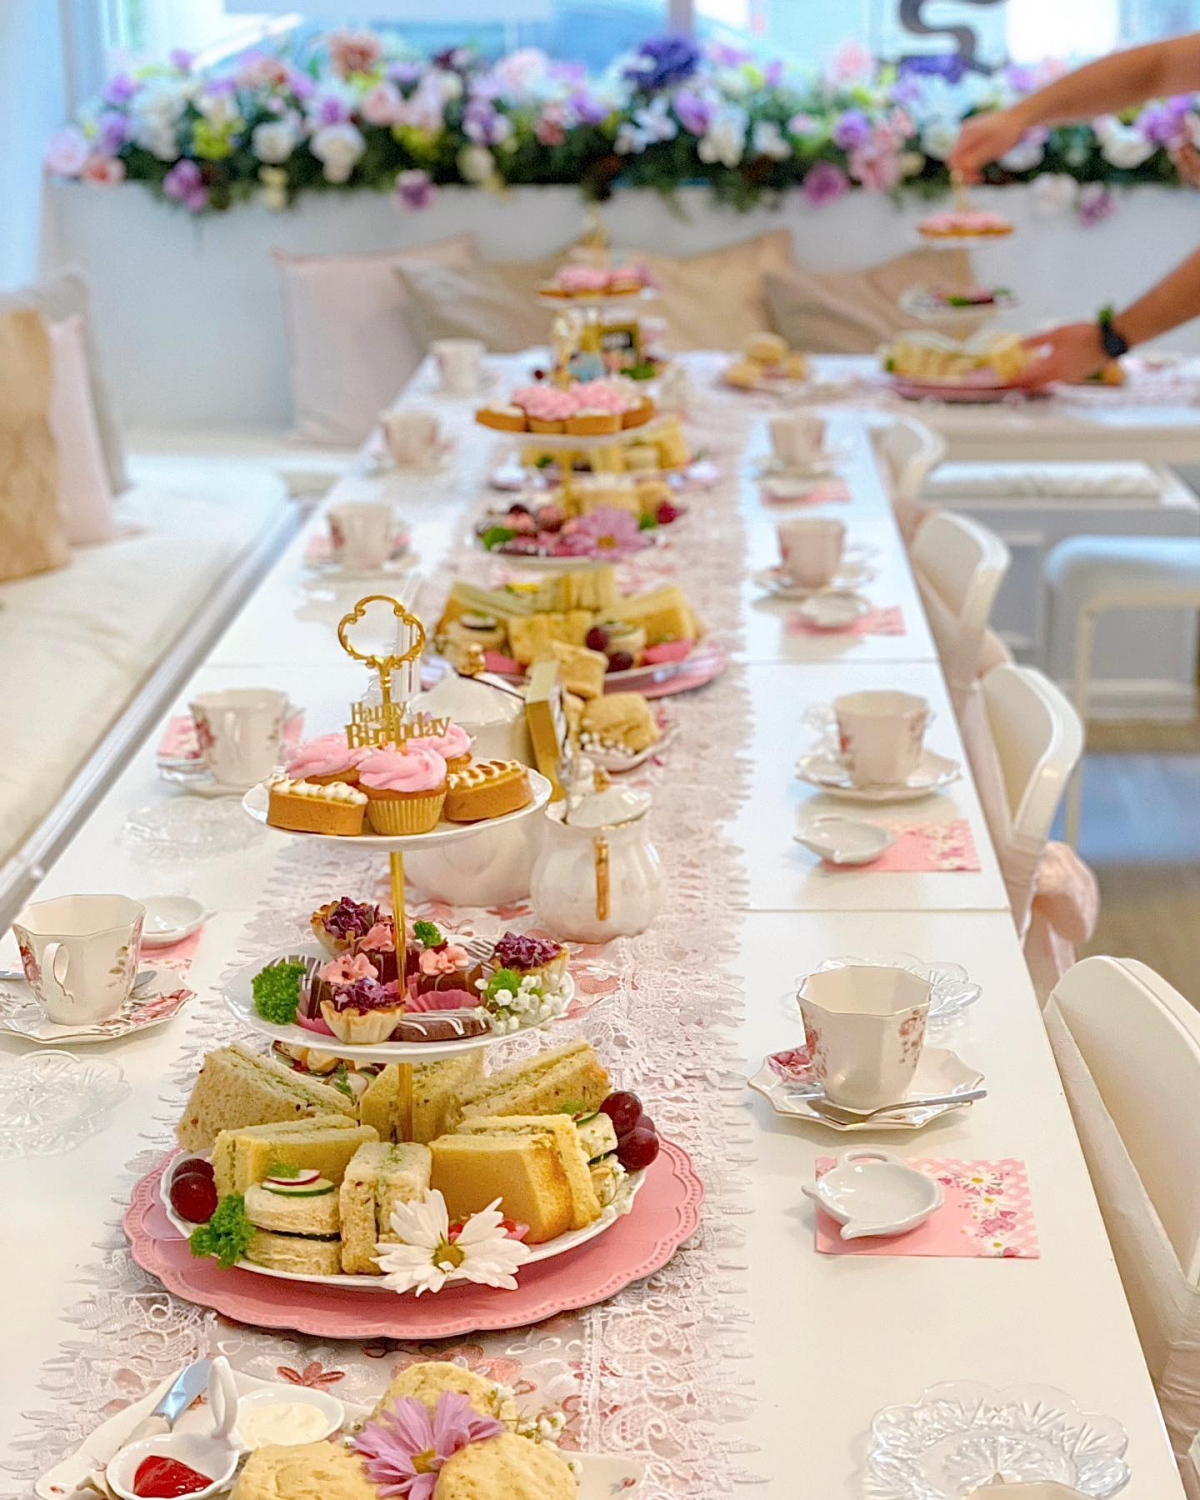
Crafting the Menu: The Three Tiers & How Much to Make
The traditional tiered stand isn’t just for looks; it dictates the order of the meal. You eat from the bottom up, moving from savory to sweet.
But the biggest question everyone has is: how much food do I actually need? Here’s my go-to catering formula that has never failed me.
My Catering Formula (Per Person):
- 4 sandwich fingers (this is equal to 2 regular sandwiches with crusts cut off)
- 2 scones (I like to offer one plain and one with fruit, like currants)
- 3 to 4 assorted mini pastries
This amount always seems to be the perfect balance, leaving guests satisfied but not uncomfortably stuffed. As for the cost, if you’re making everything from scratch, you can probably budget around $15 to $25 per person for high-quality ingredients, depending on your choices.
Tier 1: The Savories
These are the foundation. The key is to make them delicate and neat. To get that pro finish, here’s my foolproof sandwich method:
- Use a good, thinly sliced bread. I prefer a simple, high-quality white Pullman loaf, but a soft brioche works well too. Avoid anything too rustic or with large holes. Letting it sit out for 20 minutes helps prevent tearing.
- Butter every single slice all the way to the edges with softened unsalted butter. This creates a fat barrier that stops fillings from making the bread soggy. This is non-negotiable!
- Spread fillings evenly but not too thick.
- Press the sandwich together firmly but gently.
- Use a very sharp serrated knife to slice off all the crusts. A dull knife will just crush your hard work.
- Cut into neat fingers or triangles. For big events, I literally measure them to ensure they’re all uniform.
Classic Fillings: Cucumber & Mint Cream Cheese (pro tip: thinly slice the cucumber, salt it, and let it drain in a colander for 20 mins to draw out water—pat dry before using!), Egg Mayo with Cress, and Smoked Salmon with Dill Cream Cheese.
Tier 2: The Scones
A bad scone can ruin the whole experience. The secret to a light, flaky scone is cold fat and a light hand. The butter needs to be ice-cold and quickly cut into the flour. Overworking the dough makes them tough. And then there’s the great debate…
The Devon vs. Cornwall Scone Topping Showdown: This is a fun bit of trivia for your guests. There are two main schools of thought on how to dress a scone, and people have very strong feelings about it!
- The Devonshire Method: First, you split the scone. Then you slather it with clotted cream. Finally, you add a dollop of jam on top. Cream first, then jam.
- The Cornish Method: First, you split the scone. Then you spread on the jam. Finally, you top it with a generous dollop of clotted cream. Jam first, then cream.
Honestly, there’s no official ‘right’ way, but it’s a fun tradition to share. Speaking of cream, let’s talk about clotted cream. It’s not just whipped cream. It’s a thick, nutty, incredibly rich cream that’s essential for the real deal. It can be tough to find in regular grocery stores, so check specialty food shops or order it online.
Heads up! Can’t find clotted cream? Here’s a great ‘cheater’s cream’ that works beautifully. In a chilled bowl, beat 1 cup of very cold heavy whipping cream with 1/2 cup of mascarpone cheese and 1 tablespoon of powdered sugar until it’s thick and holds its shape. It’s not a perfect match, but it’s delicious and way better than plain whipped cream.
Tier 3: The Sweets
This top tier is the grand finale. The pastries should be small—just one or two bites each. The goal is variety in flavor and texture. Think a mix of fruity, chocolatey, and creamy.
A Caterer’s Shortcut: If you’re feeling overwhelmed, this is the tier where you can get away with buying something. Don’t buy a cheap sheet cake. Instead, buy high-quality macarons from a good bakery or some beautiful mini fruit tarts. No one will know, and it’ll save you hours of work.
If you are making them, good make-ahead options include Lemon Tarts (bake shells in advance, fill the morning of), Chocolate Pots de Crème (they need to chill overnight), and Mini Victoria Sponges.
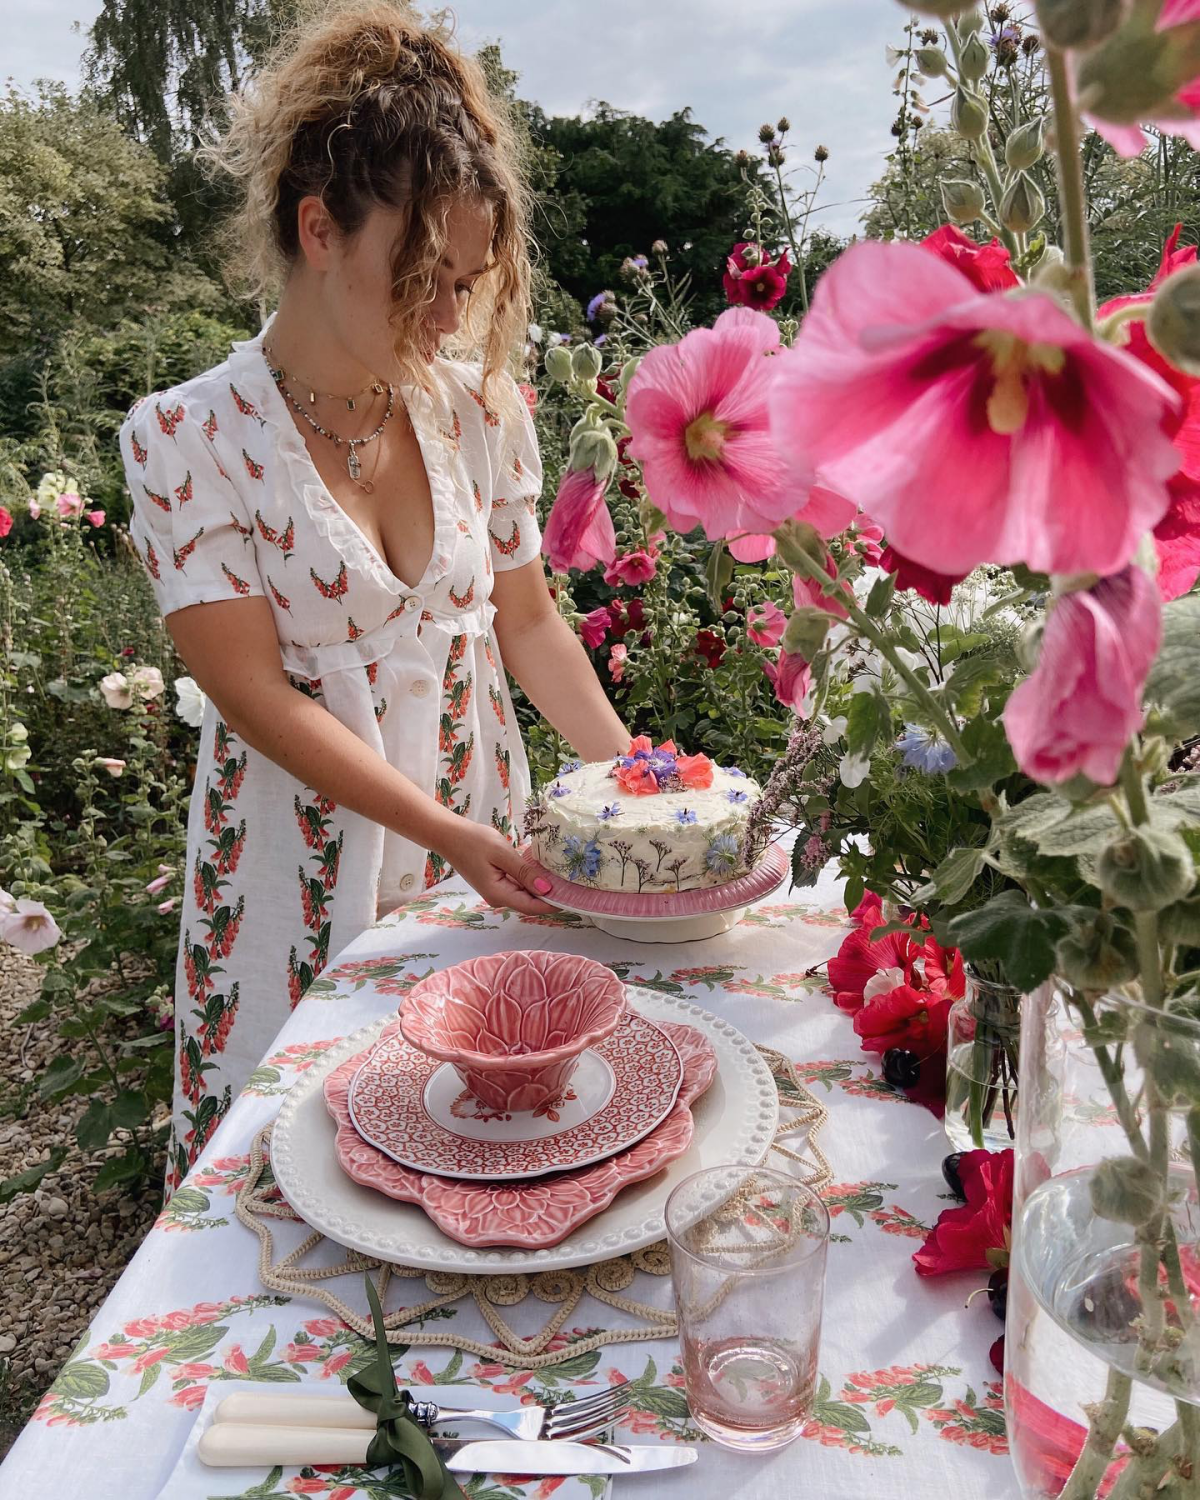
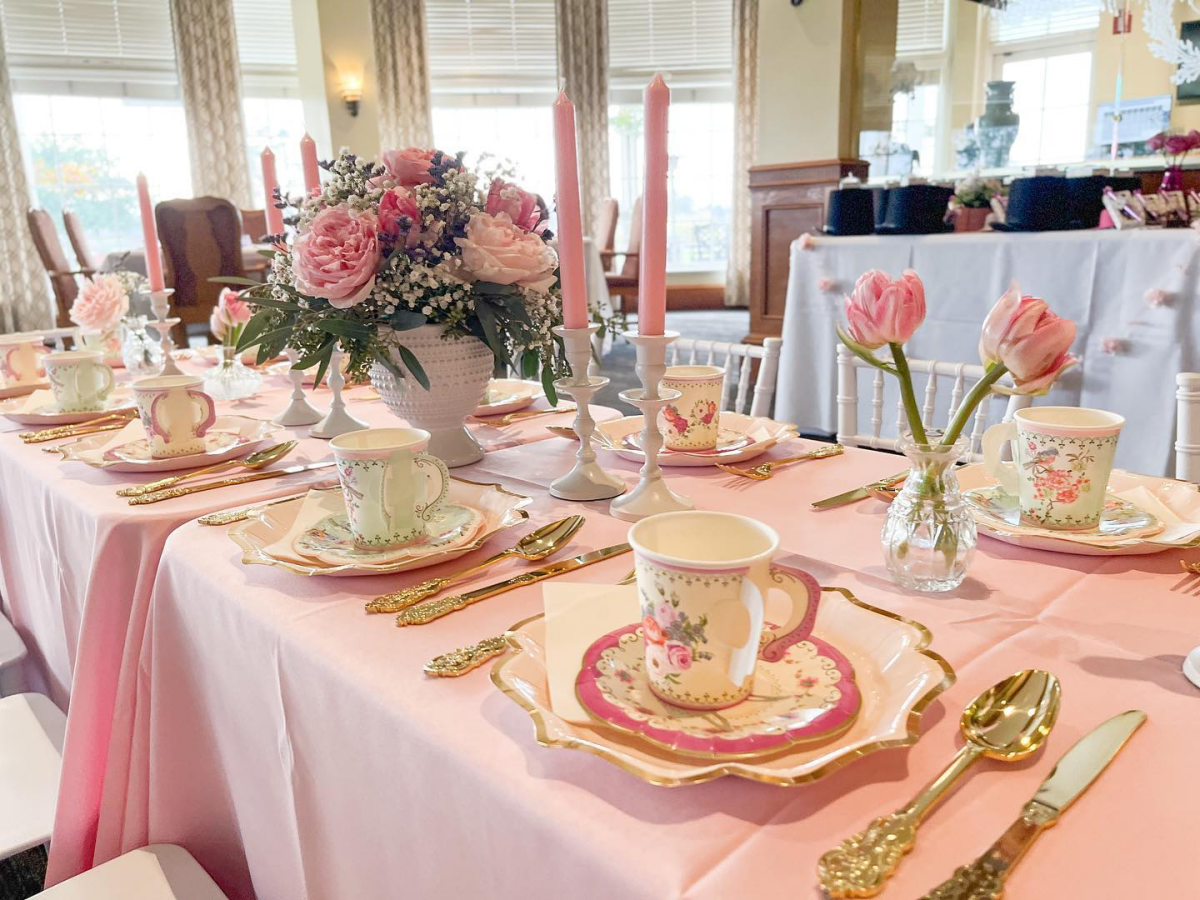
The Vibe: Atmosphere and Etiquette
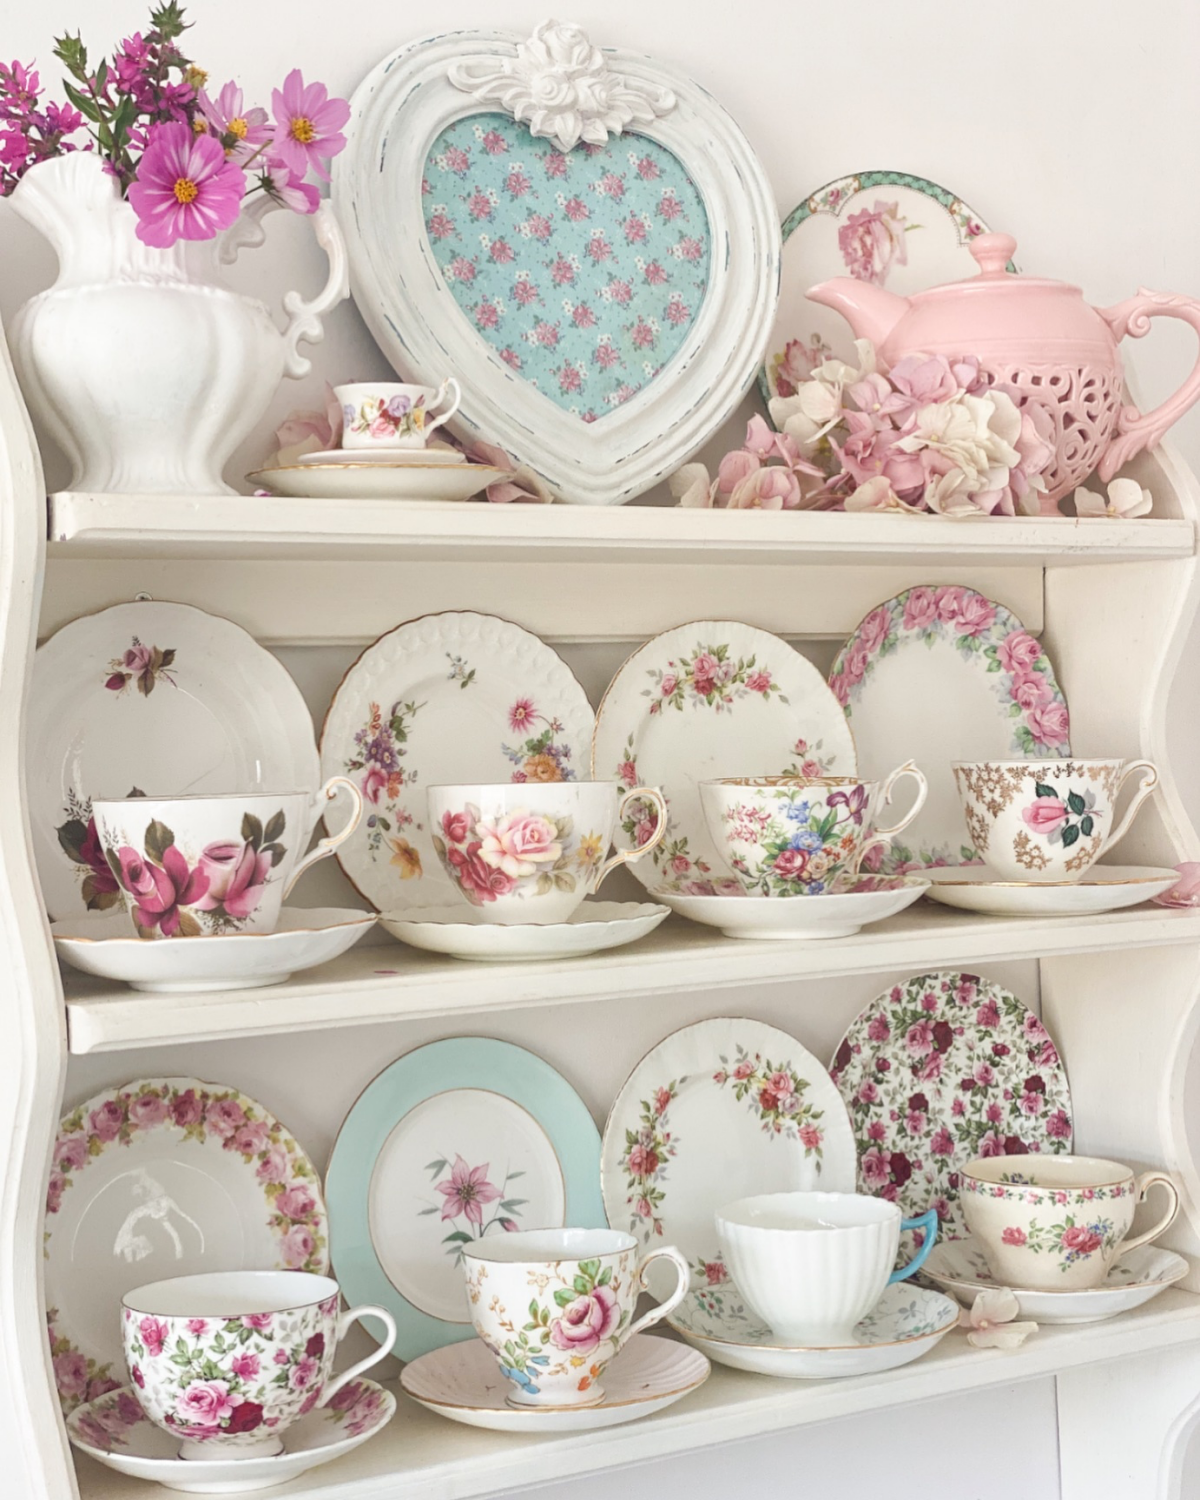
The environment you create is just as important as the food. Use a real tablecloth (ironed!), real napkins, and a low floral centerpiece so guests can see each other. Each guest needs a small plate, a fork and knife, and a teacup and saucer. Simple, but it shows intention.
As the host, you guide the experience. Pour the tea for your guests. A little etiquette nugget to share: the whole ‘milk in first’ (MIF) or ‘tea in first’ (TIF) debate has a practical origin. People with cheaper china put milk in first to prevent the hot tea from cracking the cup. Those with fine porcelain put the tea in first. Today, it’s just personal preference.
Oh, and by the way, that whole ‘pinky up’ thing? It’s not traditionally accurate. The original teacups from China were handle-less bowls held with the whole hand. When handles were added, a simple pinch with the thumb and forefinger was all that was needed. Sticking the pinky out was a later affectation. So feel free to keep it down!
The Serious Stuff: Allergies and Food Safety
This is where being a pro really counts. If a guest tells you they have an allergy, you have to take it seriously. I use a completely separate set of color-coded cutting boards and knives to prevent cross-contamination. Prepare their food first, wrap it, and serve it on a distinct plate to them directly.
A quick safety reminder: Any food with dairy, eggs, or meat (like your sandwiches) should not be left at room temperature for more than two hours. This is the ‘temperature danger zone’ where bacteria grow like crazy. In a warm room or outside, that window is even shorter. Keep everything chilled until the absolute last minute.
Bringing It All Together
Hosting a proper Afternoon Tea is a true act of generosity. You’re carving out a little pocket of time for people to slow down, connect, and enjoy something truly beautiful. Yes, it takes more planning than a casual hangout, but the impact is so much greater.
Start small, focus on the details, and don’t be afraid to practice. Your confidence will grow with every pot of tea you brew. The real goal isn’t sterile perfection—it’s creating a warm, genuine, and well-crafted experience. And that is a gift your guests will remember for a long, long time.
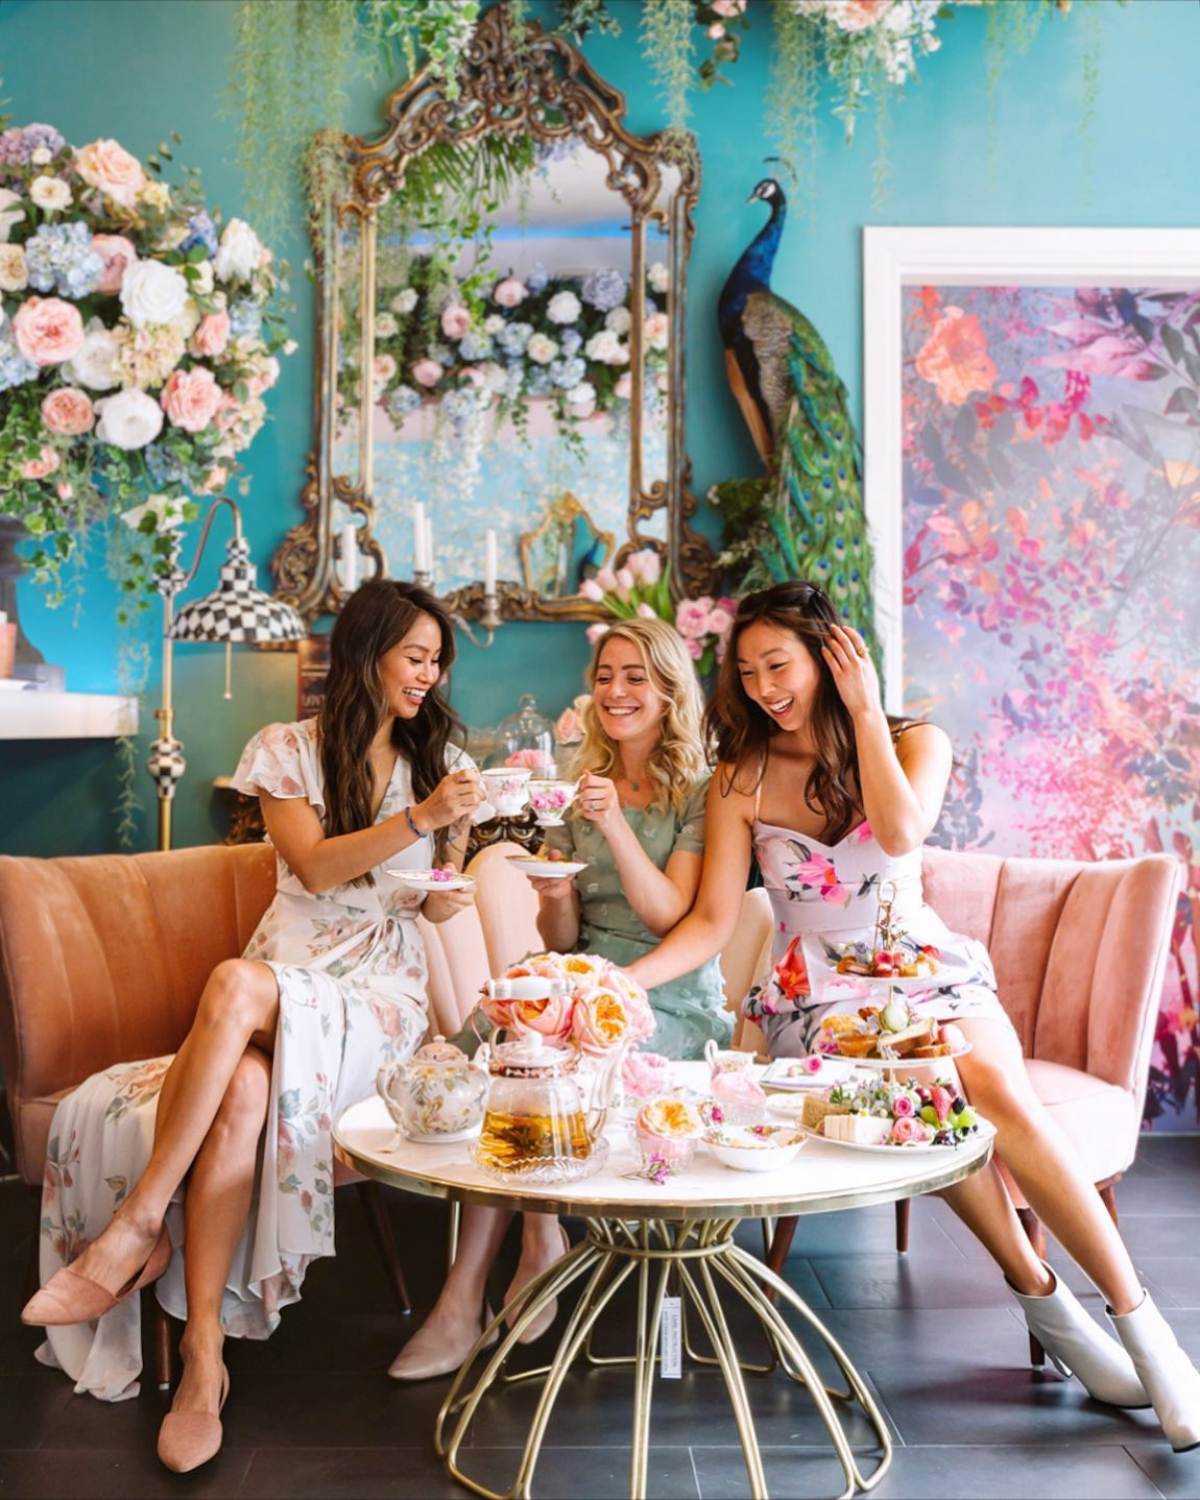
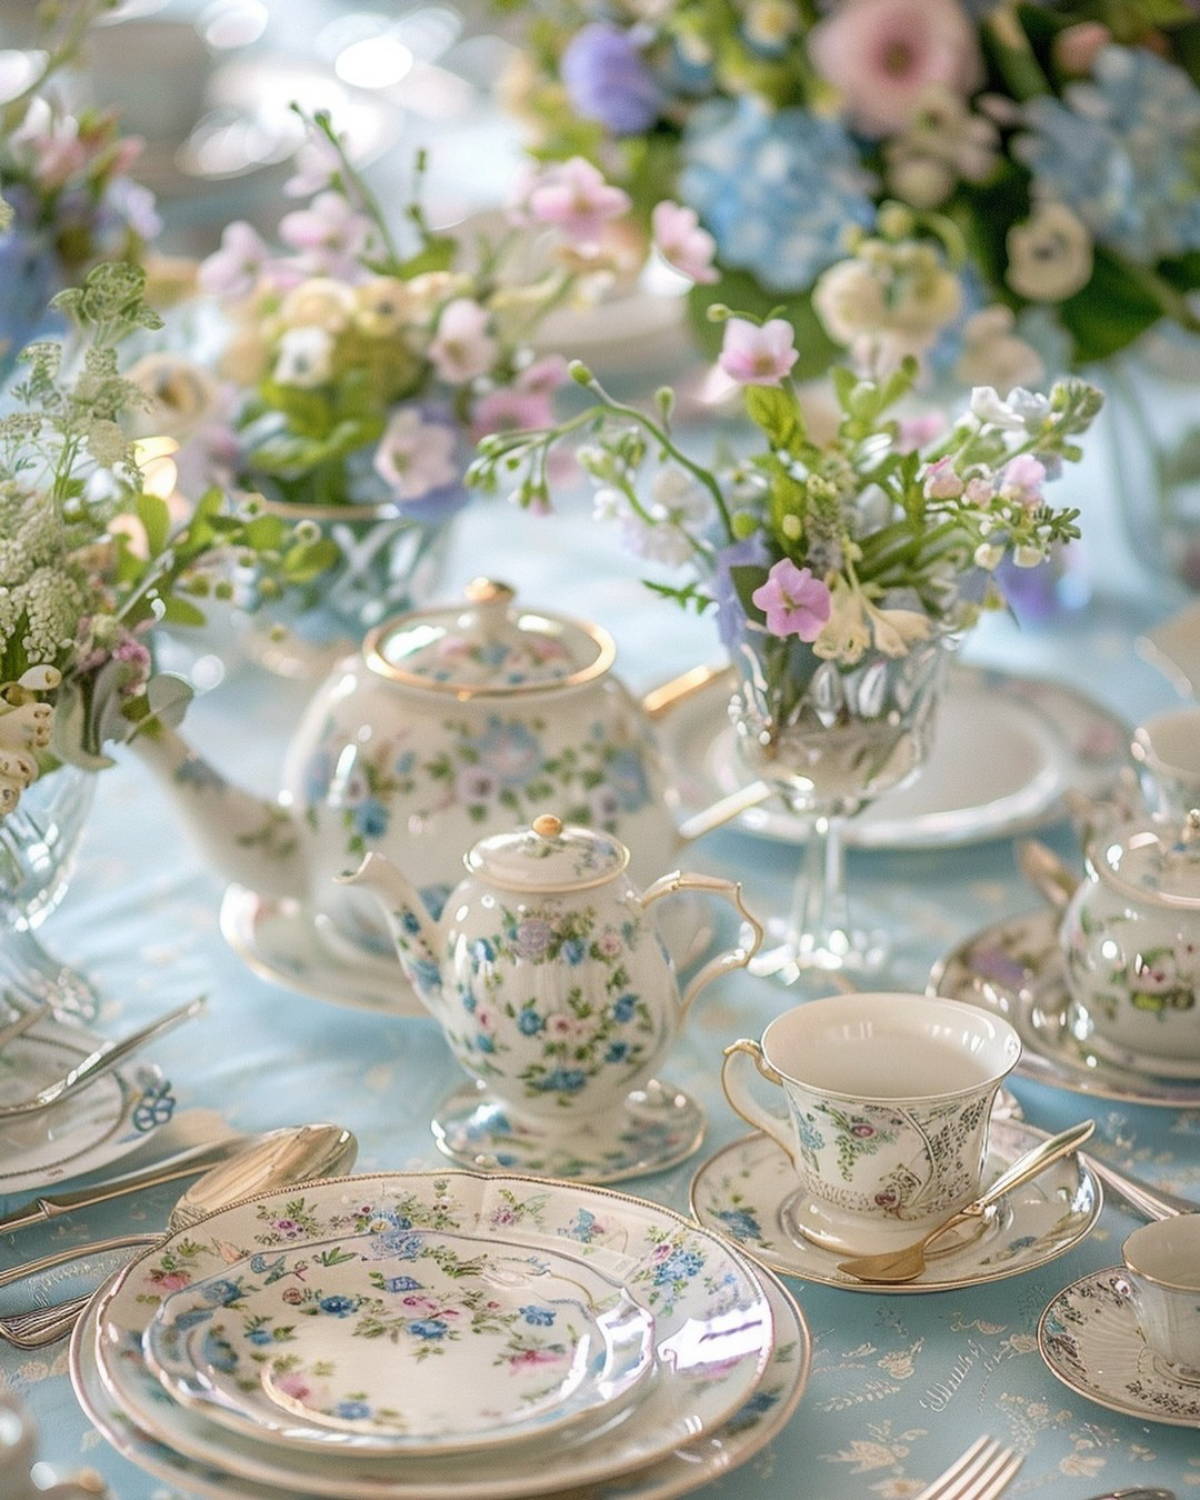
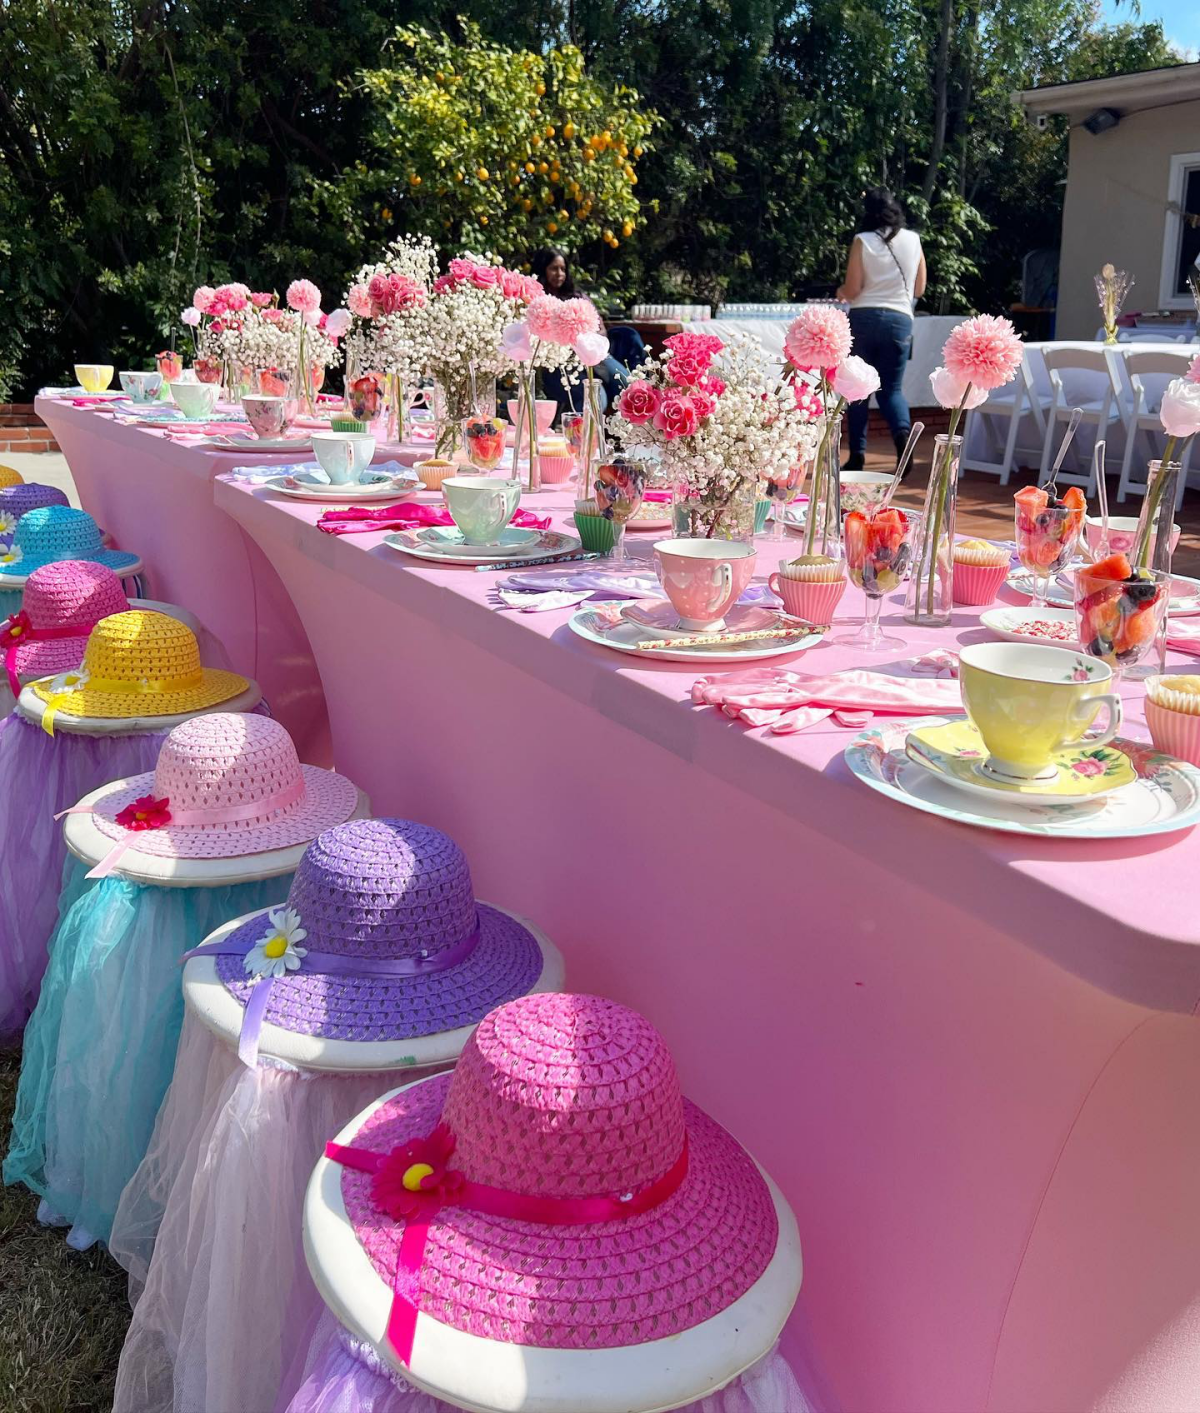
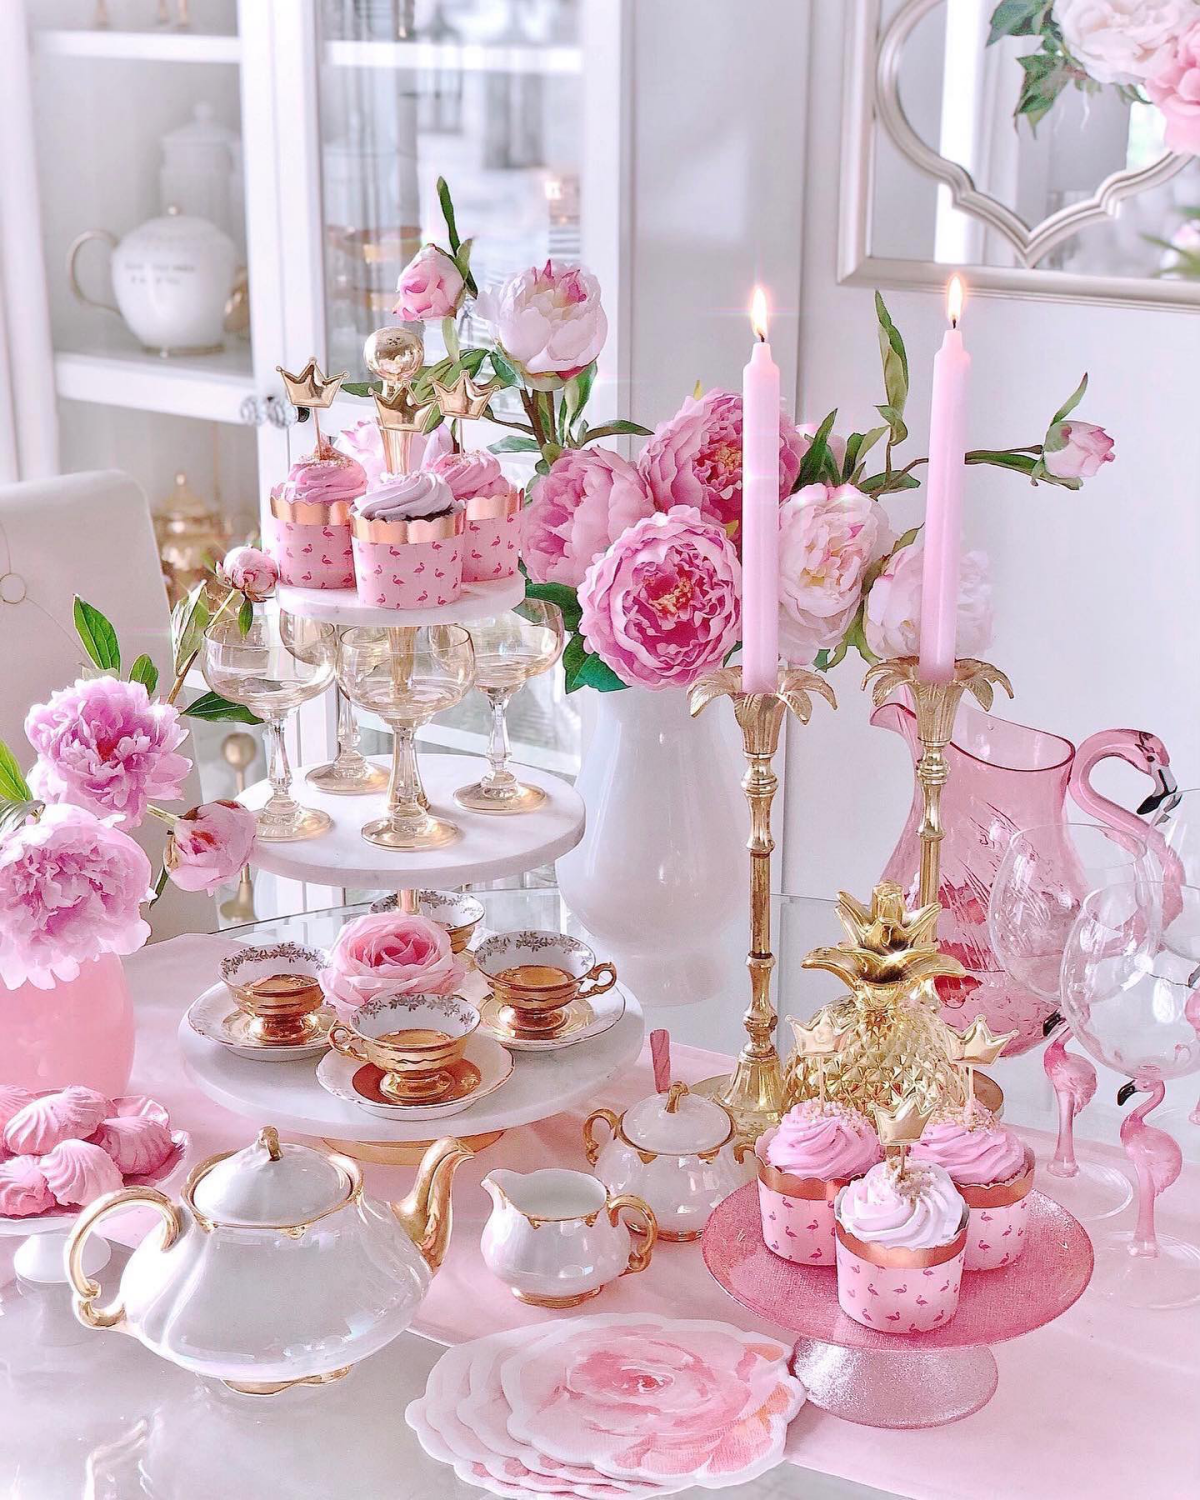
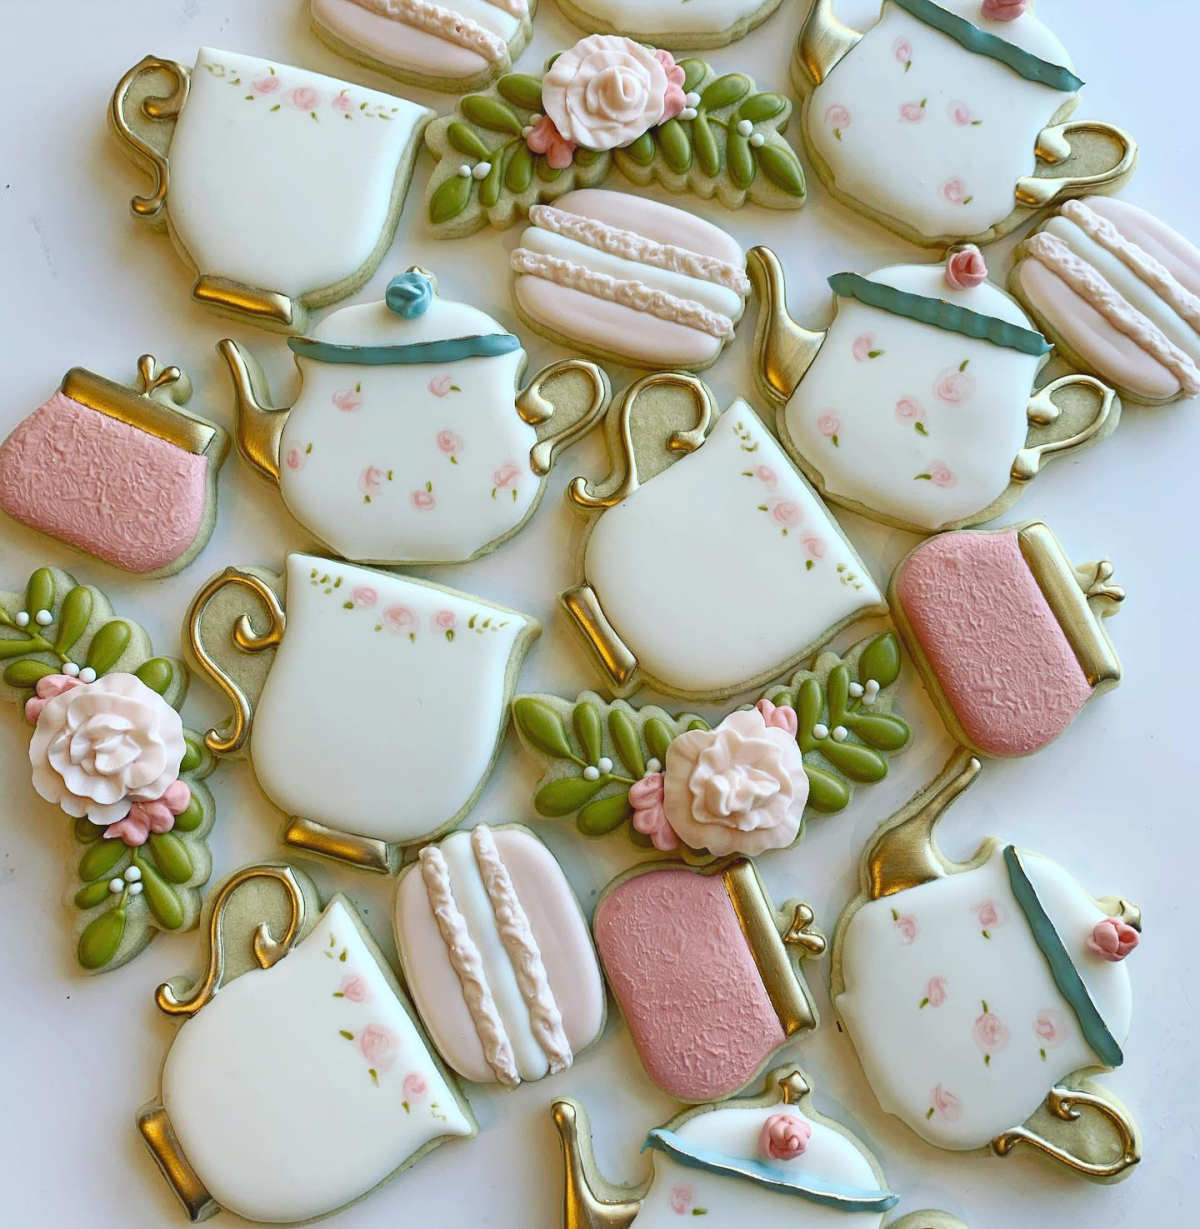
Inspirational Gallery
The great scone debate: In Cornwall, the jam is spread first, with a dollop of clotted cream on top. In neighboring Devon, the cream goes on first, followed by the jam. While there’s no official ‘right’ way, the Cornish method is said to have been favored by the late Queen Elizabeth II. Whichever you choose, do it with conviction!
The custom of Afternoon Tea is said to have been originated in 1840 by Anna, the seventh Duchess of Bedford, who complained of having a “sinking feeling” in the late afternoon.
This ‘sinking feeling’ created a new, fashionable meal to bridge the gap between lunch and dinner. The small, delicate foods were specifically chosen not to ruin one’s appetite for the main evening meal, a principle that still defines the structure of a truly traditional tea today.
Does the type of teapot really matter?
Absolutely. For black teas like Assam or Earl Grey, a classic bone china or porcelain teapot is ideal. These materials are non-porous, so they won’t absorb the flavors of past brews, ensuring a pure taste every time. For a more traditional look, a silver-plated teapot offers excellent heat retention, but be sure it’s impeccably clean, as any tarnish can affect the tea’s delicate notes. A classic choice from a brand like Wedgwood or Royal Albert is a lifetime investment in good taste.
The rule of thumb for a tiered stand is to work your way up. Start with the savory sandwiches on the bottom tier, move to the scones with jam and cream on the middle tier, and finish with the sweet pastries and cakes on the top. It’s a progression from savory to neutral to sweet, designed to be a balanced journey for the palate.
- A perfectly crisp, white linen or damask tablecloth.
- A small, low floral arrangement that doesn’t obstruct conversation.
- Polished silver cutlery and a dedicated teaspoon for each guest.
- A tea strainer for loose-leaf tea, placed beside the cup.
The secret to an elegant setting isn’t extravagance, but attention to these small, thoughtful details.
Loose Leaf Tea: The leaves are whole, allowing for a fuller, more complex flavor to infuse into the water. You have complete control over the strength of your brew. Brands like Harney & Sons offer exceptional quality and variety.
Tea Bags: Often contain smaller, broken pieces of tea leaves (‘fannings’ or ‘dust’), which can result in a quicker but sometimes more bitter or one-dimensional brew. Convenient, but less refined.
For an authentic experience, loose leaf is non-negotiable.
The Ritz London’s signature Afternoon Tea is so in-demand that reservations are often required months in advance, and a strict dress code (jackets for gentlemen, no sportswear) is enforced to maintain the elegant atmosphere.
Beyond the classic cucumber or smoked salmon, modern sandwich fillings can add a personal touch without breaking tradition. Think finely chopped egg mayonnaise with cress, a thin layer of coronation chicken, or even a sophisticated pairing of rare roast beef with horseradish cream on wholemeal bread. The key is that they remain delicate, crustless, and easy to eat in two or three bites.
The magic isn’t just in the food; it’s in the pace. Encourage a slow, unhurried atmosphere. Put away phones. Choose gentle, instrumental music or simply let the quiet clink of teacups and conversation be the soundtrack. Afternoon tea is a ritual of pause, a small island of civility in a busy day.


