Your Paint Isn’t Drying? A Pro’s Guide to Speeding Things Up (Without Ruining It)
I’ve been slinging paint for a long, long time. Early in my career, I landed a gig painting a small retail shop. The owner was in a huge rush—she needed to reopen in 48 hours. I figured, no problem. But the coastal air was so thick with humidity that my second coat of paint was still depressingly tacky the next morning. The owner was… not pleased. That day taught me a lesson that has stuck with me ever since: controlling how your paint dries is just as critical as how you apply it. Honestly, it’s one of the biggest things that separates the beginners from the pros.
In this article
By the way, people throw around the words “drying” and “curing” like they’re the same thing. They’re not. Getting this right is the first step. Drying is just the liquid part evaporating, making the surface feel dry to the touch. Curing is the real magic—it’s the chemical process where the paint film hardens completely and gets its final durable, scrubbable finish. Curing can take days, sometimes even weeks. Our goal here is to speed up that initial drying time so we can get the next coat on and finish the job.
In a Rush? Here’s What to Do Right Now.
Look, sometimes you just need the quick and dirty version. If you’re on a tight deadline, here are the three most impactful things you can do:
- Create a Wind Tunnel (The Right Way): Open a window at the far end of the room. Then, place a simple box fan in a doorway or another window, facing OUT. This pulls the damp, paint-fume-filled air out of the room and draws fresh, drier air in to replace it. It’s a game-changer.
- Get the Temperature Right: If it’s chilly, crank up the heat to around 70°F (or 21°C) at least an hour before you even open the paint can. A warm room is a thirsty room.
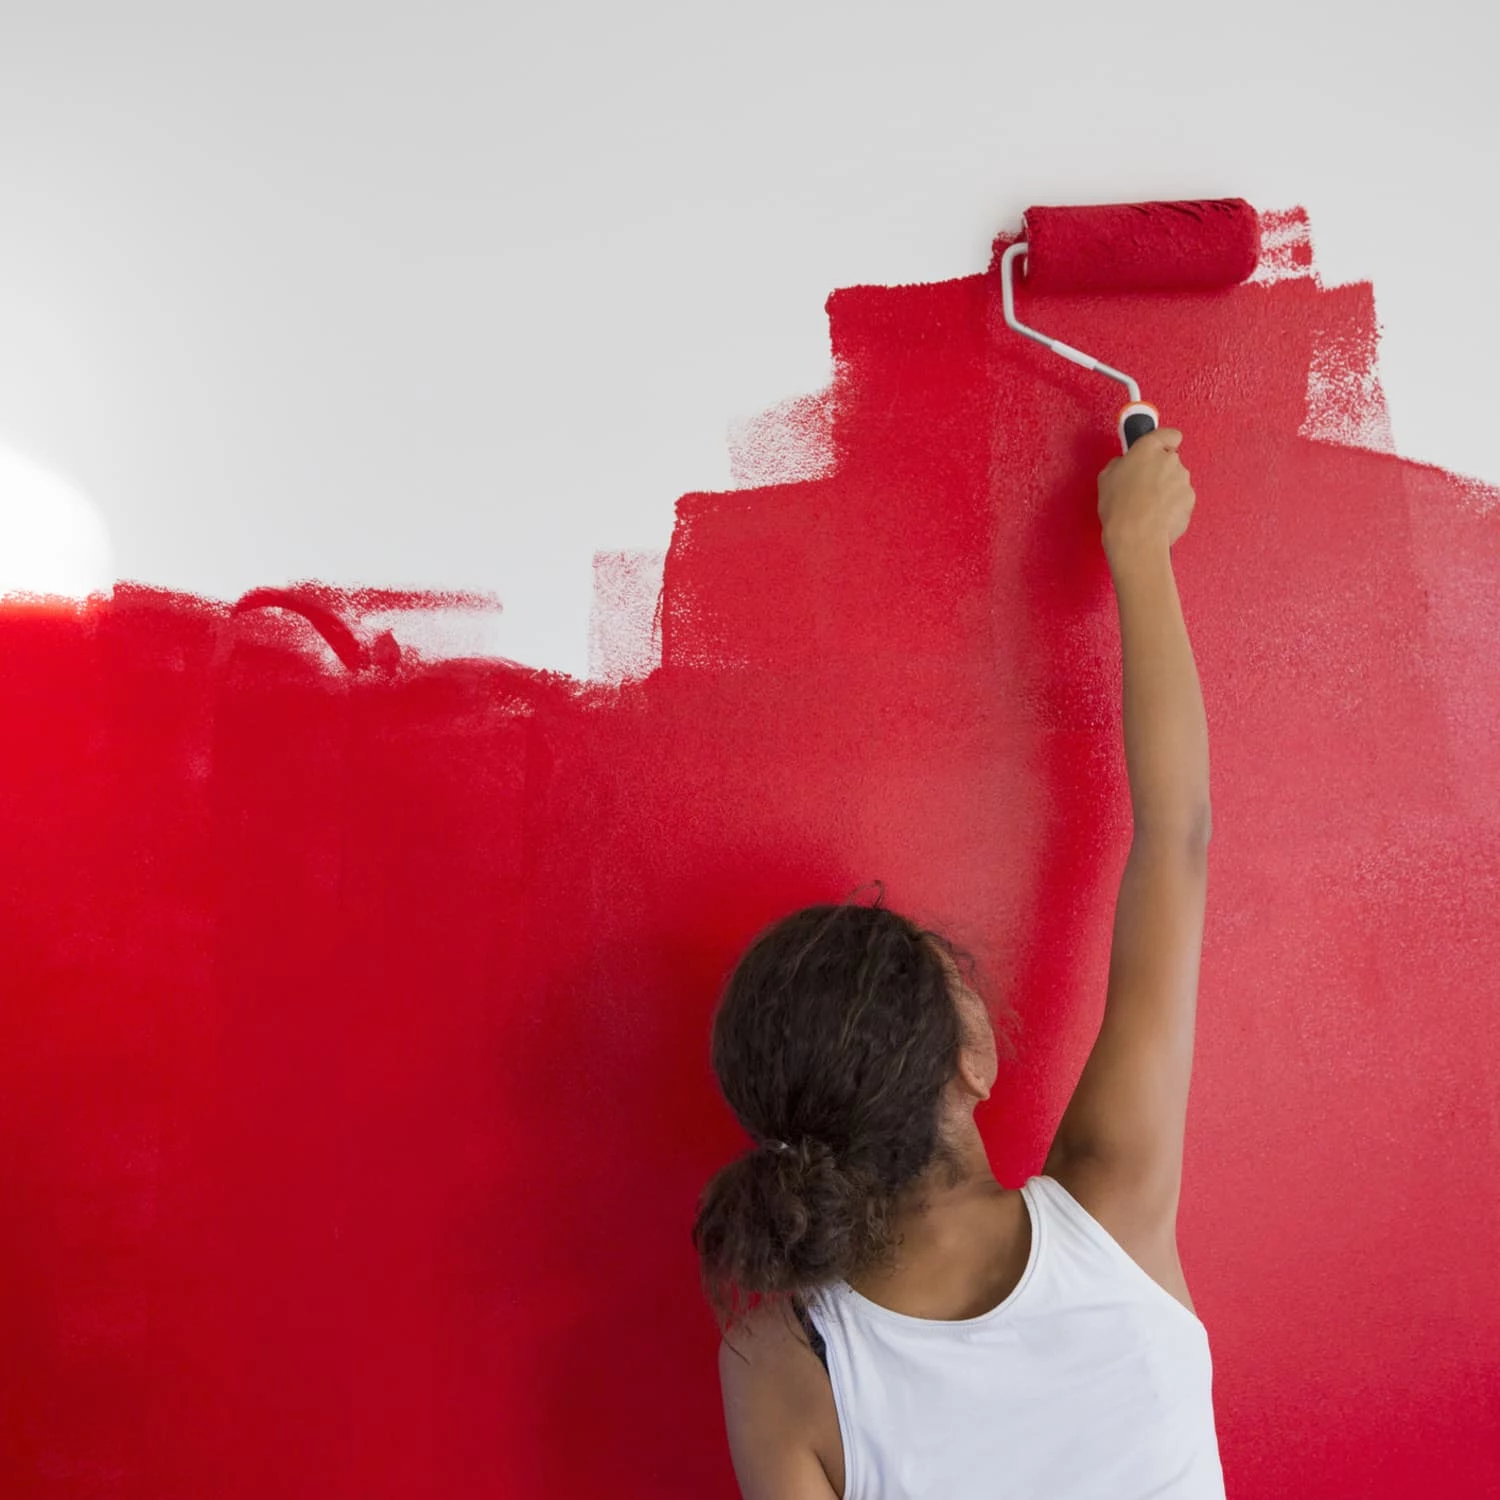
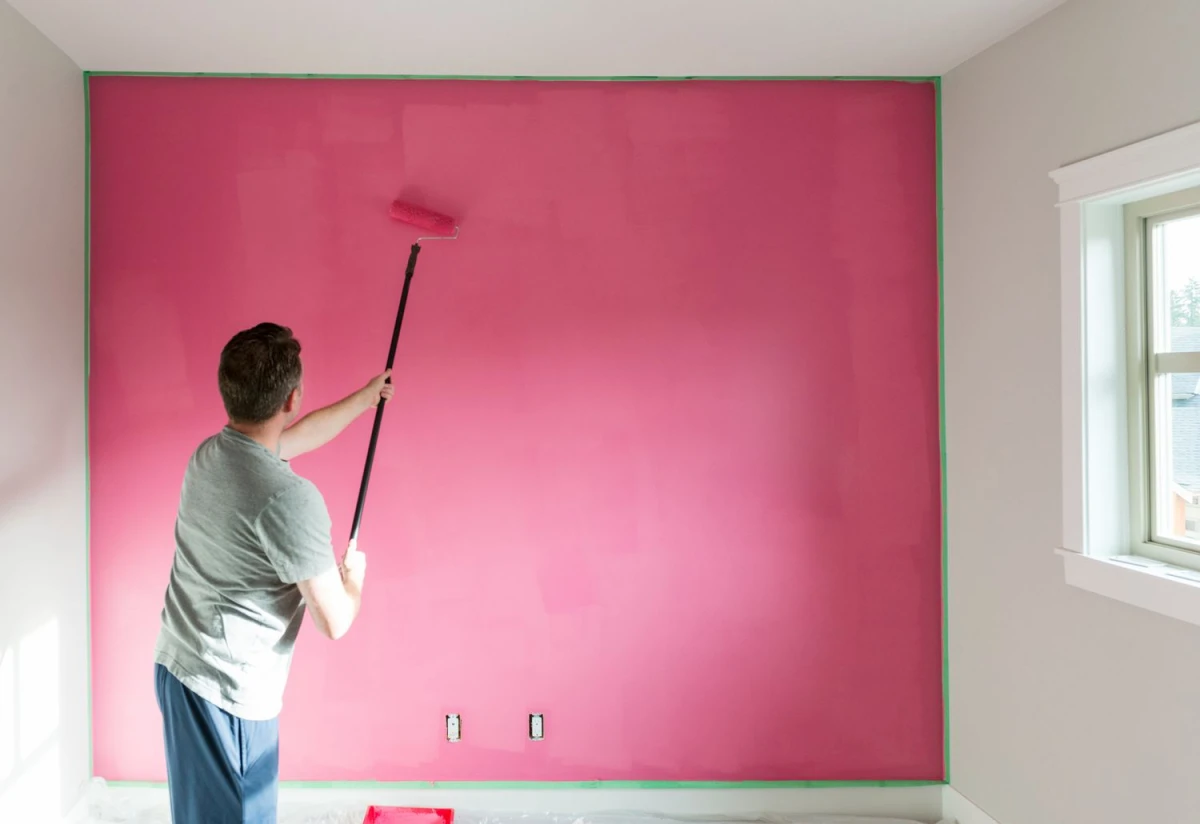
- Apply Thin Coats: I know it’s tempting to load up that roller and slap on a thick coat to finish faster. Don’t do it. Two thin, even coats will dry significantly faster and look a million times better than one thick, drippy one.
What’s Actually Happening in the Can?
To outsmart your paint, you have to understand what it is. It’s not just colored water; it’s a carefully balanced chemical cocktail. And different cocktails behave differently.
For most of us painting walls and ceilings, we’re using water-based paints (latex or acrylic). Think of it like this: tiny solid particles are floating in water. When the water evaporates, those particles get closer and closer until they fuse together into a solid film. To speed this up, you just need to help the water evaporate. Simple as that.
Then you’ve got your oil-based (alkyd) paints. These are old-school tough guys, great for trim and doors because they create a super hard finish. They dry in two stages. First, the solvent evaporates. But then, the paint has to react with oxygen in the air—a process called oxidation—to truly harden. This takes a lot longer. We’re talking a recoat time of 8 to 24 hours, compared to just 2 to 4 hours for most water-based paints.
And these days, there are also waterborne alkyds, or hybrids. They’re pretty cool, actually. They give you the hard-as-nails durability of an oil paint but with the easier cleanup and faster dry time of a water-based one. I use these a lot for cabinets and high-traffic trim.
The Four Levers You Can Pull to Control Drying
You can’t change the weather outside, but you have a surprising amount of control over the environment inside. It all boils down to four factors.
1. Airflow: Your Most Powerful Ally
Moving air is your best friend for whisking away evaporated moisture from the paint’s surface. But there’s a right way and a wrong way to do it.
A rookie mistake is aiming a high-powered fan directly at a wet wall. This causes the surface to “skin over,” drying the top layer instantly while trapping wet paint underneath. The result? A wrinkly, weak finish that might bubble later. I once saw an apprentice do this to a freshly painted door to try and save time. The next day, we had to spend five hours stripping and sanding the whole thing down. A terrible trade-off.
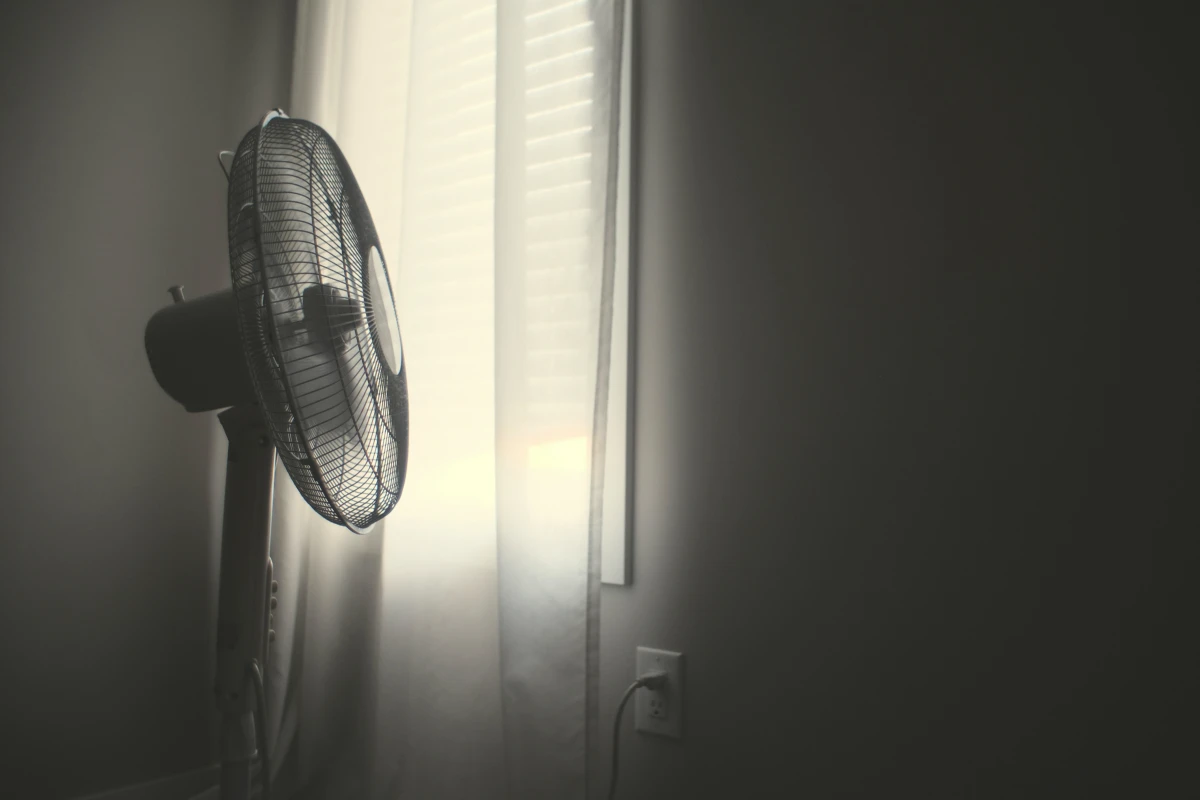
Instead, create gentle, whole-room circulation. A cheap $20 box fan pointed towards a corner can create a slow vortex of moving air. For pros, we use specialized air movers (they look like snail shells and are often used for drying carpets) to move a huge volume of air without creating a direct blast. Oh, and to answer a common question: yes, you can use your home’s central air or furnace fan! Just turn the thermostat’s fan setting to “On” instead of “Auto.” It’s a great, low-effort way to keep air moving throughout the house.
2. Temperature: The Goldilocks Zone
Heat speeds up evaporation and chemical reactions, but it’s a delicate balance. The sweet spot for most paints is between 60°F and 85°F (15°C to 30°C). Below that, drying slows to a crawl. If it drops below 50°F (10°C), a latex paint might not form a proper film at all, leaving you with a chalky mess that won’t last.
On cold days, an electric space heater can be a lifesaver, but be smart about it. Place it in the middle of the room on a low setting to warm the ambient air, never pointing it directly at a wet surface. And a huge heads-up: NEVER use a propane or kerosene heater indoors for this. They pump a ton of water vapor into the air as they burn, which is the exact opposite of what you want. Not to mention the carbon monoxide risk. It’s dangerous and completely counterproductive.
3. Humidity: The Invisible Enemy
Humidity is just the amount of water already in the air. If the air is already saturated (like on a rainy day), it can’t accept any more water from your paint. The paint will just sit there, staying sticky for hours.
So how do you fight it? First, know your enemy. You can grab a simple digital hygrometer for about $15 online or at a hardware store. For painting, you really want the relative humidity to be below 50%.
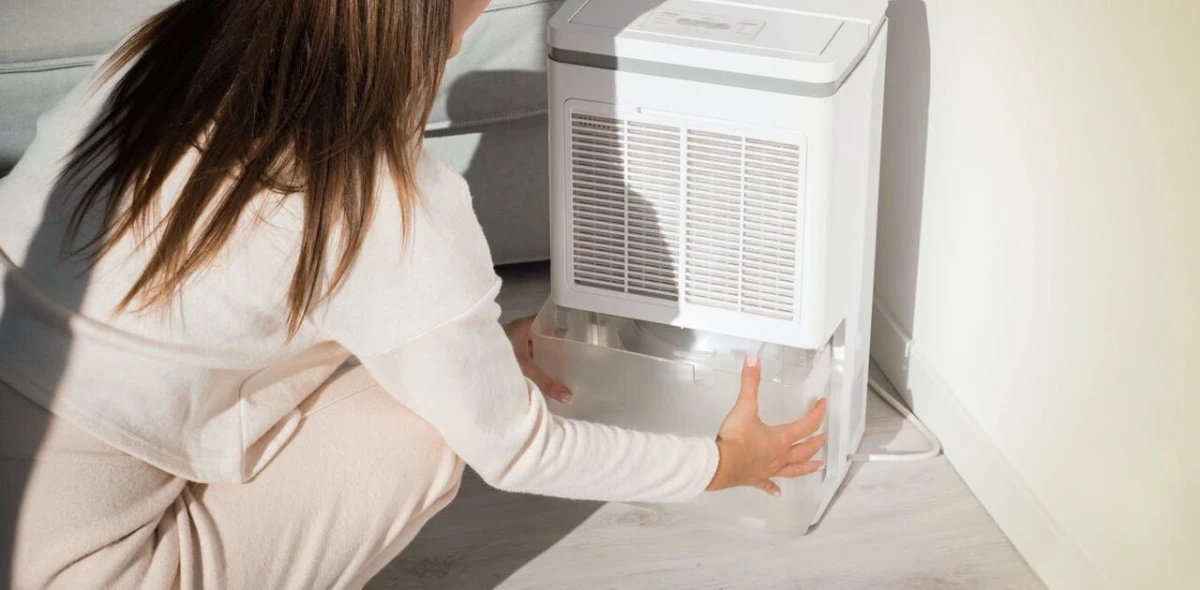
If the humidity is high, your best weapon is a dehumidifier. In damp conditions, it’s far more effective than a heater. It actively pulls moisture out of the air, making it “thirsty” again. You can rent a commercial-grade one for about $50-$60 a day, or buy a decent home unit for around $150 and up. For my business, buying a couple of these paid for themselves in a single soggy season.
Good to know: In super dry climates, you have the opposite problem! The paint dries too fast, leaving lap marks. In that case, you need to slow it down. A paint extender or retarder is what you need. A common one for latex paint is Floetrol, and for oil-based paint, it’s Penetrol. A little bit mixed into your paint gives you more working time.
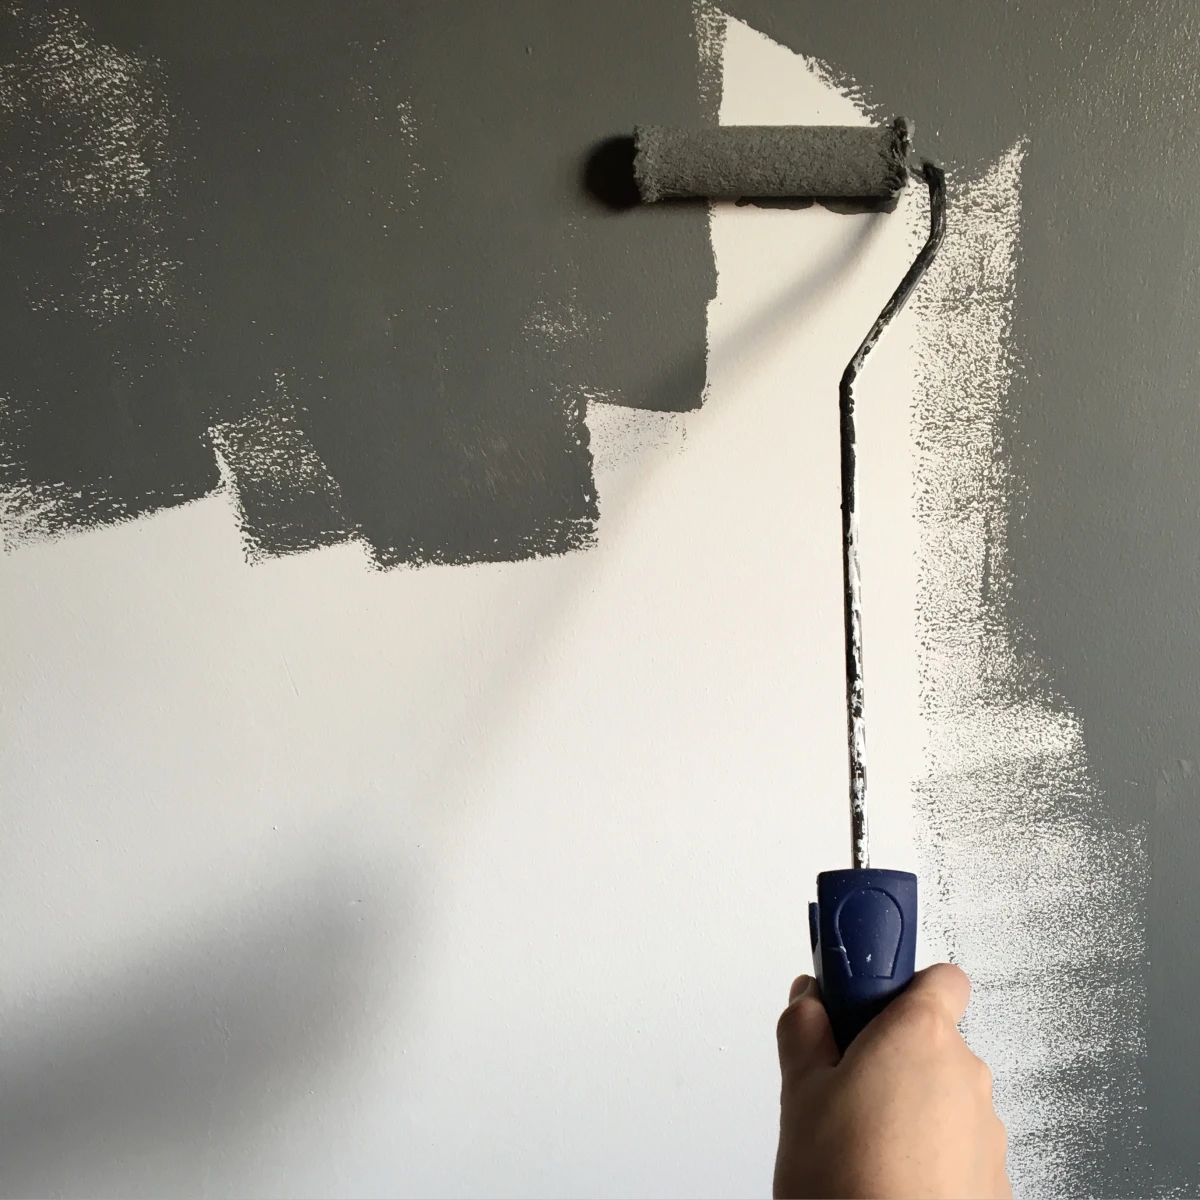
4. Film Thickness: The One You Directly Control
This one is pure technique. The thicker you slop on the paint, the longer it will take to dry. It’s that simple.
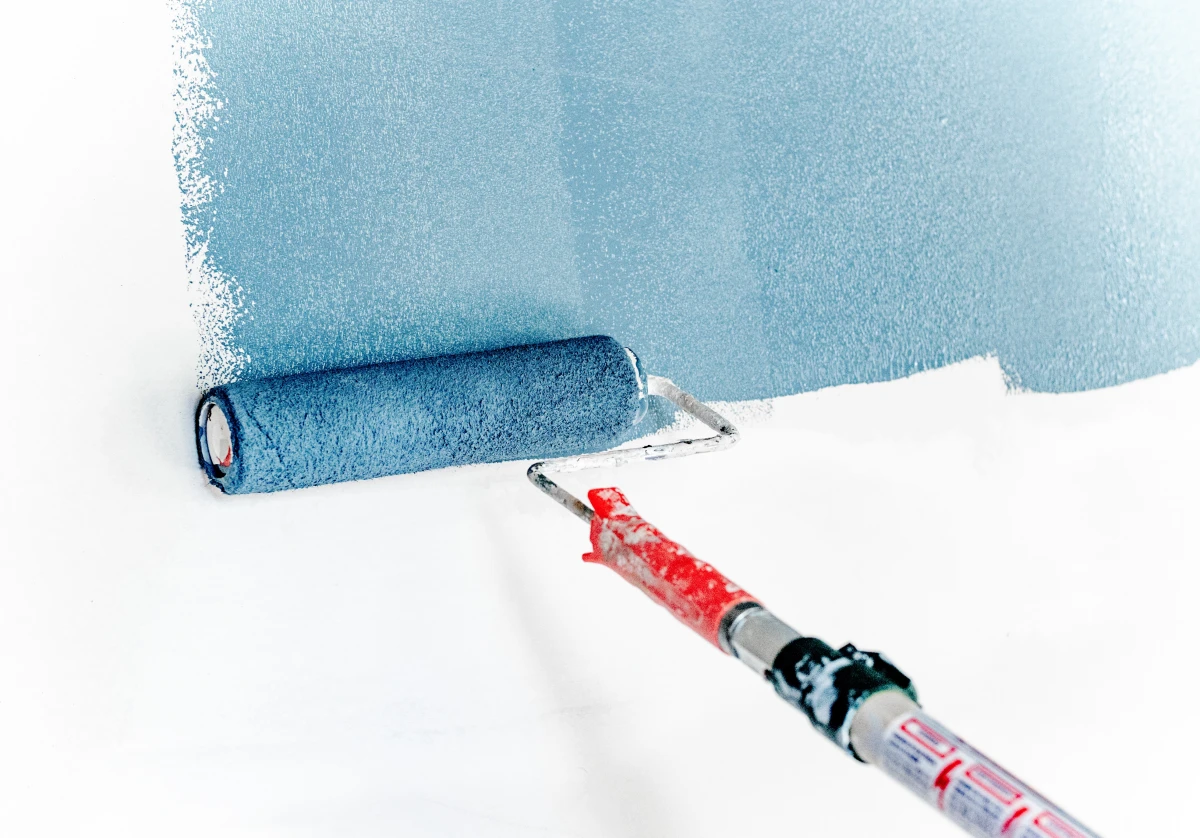
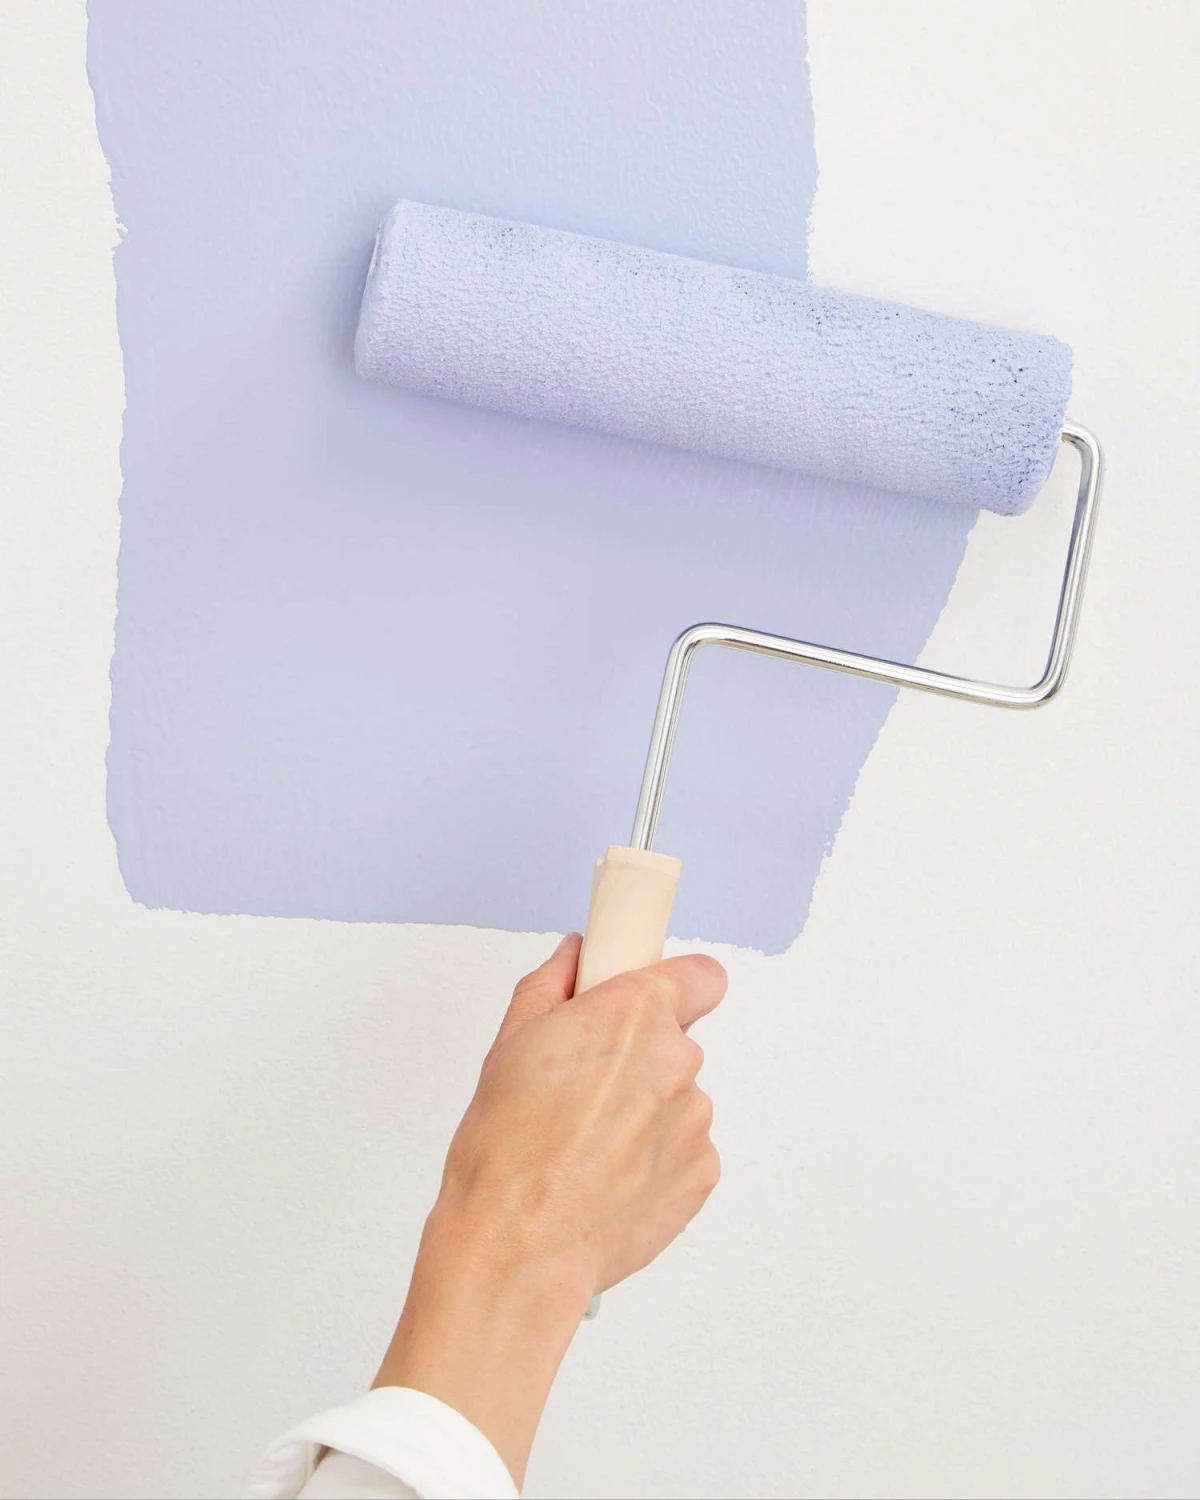
Using the right tools is half the battle. For a standard drywall wall, use a roller with a 3/8-inch or 1/2-inch nap. Using a big, fluffy 1-inch nap roller might feel faster, but you’re just laying on a thick, uneven coat that will take forever to dry and probably sag. The goal is always thin, even coats. The first coat seals the surface and dries fast. The second coat goes on smoothly, creating a beautiful, uniform finish. It’s a little more work, but the quality is night and day.
Avoid These Common Time-Killing Mistakes
Sometimes the fastest way to finish is to stop doing things that slow you down.
- Rushing the Recoat: The time listed on the can is a rule, not a suggestion. A coat of latex paint might feel dry to the touch in an hour in a perfect 70°F room with 45% humidity. But don’t you dare try to recoat it for at least 2-4 hours (check the can!). The solvents in the second coat will re-wet the first, and you’ll end up with a gummy mess, pulling paint right off the wall with your roller.
- Painting a Damp Surface: If you just patched a wall, that spackle or joint compound needs to be 100% bone dry before you prime or paint. Painting over a damp spot traps moisture, guaranteeing a bubble or peel in the future.
- Sealing Up the Room: When you’re done, don’t just close the door and windows. You’re trapping all that moisture you just pulled out of the paint! Leave a fan running and a window cracked for several hours to keep the air moving and carry the moisture out.
At the end of the day, controlling paint drying is about working smarter, not harder. It’s about understanding your materials and taking charge of your environment. When you get the hang of managing airflow, temperature, humidity, and your own technique, you can tackle any project with confidence, delivering amazing results on schedule.