Gelatin Shots That Don’t Suck: A Pro’s Guide to Getting It Right
I’ve been in the event and catering business for a long, long time. And in that time, I’ve probably made enough gelatin shots to fill a small swimming pool. I’ll never forget one of my first big gigs—a massive corporate party where the client ordered 1,000 shots. A thousand! I figured, hey, it’s just booze and Jell-O, how hard can it be? That weekend was a sticky, soupy lesson in humility. I learned that a truly great gelatin shot isn’t just a party trick; it’s a science.
In this article
So, let’s just forget those wobbly, medicinal-tasting shots you remember from back in the day. We’re talking about creating something genuinely delicious and reliable enough for any party or event. This is about making them perfect, every single time.
It’s All About the Science (Don’t Worry, It’s Easy)
Honestly, most recipes you find online skip the most important parts. Understanding why you’re doing something is the key to never messing it up again. A gelatin shot is just a delicate balance of liquid, sugar, protein, and alcohol. If one part is off, the whole thing collapses.

First Things First: You HAVE to Bloom Your Gelatin
This is the number one rule. So many instructions say to just dump the gelatin powder into boiling water. Please don’t do this. It’s a guaranteed recipe for clumps and a weird, gritty texture.
The secret is to “bloom” it first. Think of gelatin granules as tiny, dehydrated sponges. Blooming just means giving them a chance to soak up a cool liquid and soften before you try to dissolve them with heat. If you skip this, the hot water instantly cooks the outside of the granule, creating a waterproof shell that traps the dry powder inside. The result? Nasty clumps.
Here’s the pro method: For every one packet (that’s a quarter-ounce) of unflavored gelatin, you’ll need a quarter-cup of a cool liquid. This can be water, juice, whatever. Sprinkle the powder evenly over the surface—don’t just dump it in one pile. Now, walk away for 5 to 10 minutes. Seriously, don’t touch it. You’ll see the powder absorb the liquid and the surface will look wrinkly and almost translucent. That’s the sign it’s bloomed perfectly and is ready for heat.
Temperature is Everything
The temperatures listed in a recipe aren’t just suggestions; they’re rules for getting the right texture and potency.
After your gelatin has bloomed, you need to dissolve it. You’ll bring your main liquid (like juice or water) to a boil, then pour it over the bloomed gelatin. Stir it gently until the liquid is completely clear. I like to hold the mixing bowl up to a light to check for any rogue granules. If it’s cloudy, keep stirring.
Now for the most common mistake: adding the alcohol. Never, ever add booze to a boiling-hot mixture. Alcohol boils at a lower temperature than water, so if you pour it into steaming liquid, a good chunk of it will simply evaporate. You’ll be left with weak, sad shots. It can also mess with the gelatin’s setting power.
The simple rule: Once the gelatin is dissolved, let the mixture cool on the counter for about 15-20 minutes. It should be just warm to the touch. A quick tip if you’re in a rush: place the bowl in an ice bath for 5 minutes to cool it down fast, but don’t walk away, or it’ll start setting on the edges! Once it’s cooled down, go ahead and stir in your chilled alcohol. This little bit of patience makes all the difference.
The Magic Ratio for a Perfect Set
There’s a hard limit on how much alcohol gelatin can handle before it refuses to set. Alcohol literally gets in the way of the proteins trying to link up. Too much, and you’ve got soup.
A foolproof ratio that works for pretty much any standard 80-proof (40% alcohol) spirit is simple. For a total of two cups (16 ounces) of liquid, a foolproof plan is: 8 ounces of boiling liquid, 4 ounces of a cold mixer, and 4 ounces of your spirit. This gives you a shot that’s firm enough to hold its shape but not tough or rubbery.
Heads up! Some fresh fruits have enzymes that will absolutely destroy gelatin. Fresh pineapple, kiwi, mango, and papaya are the main culprits. If you want to use their juice, you have to boil it for a few minutes first to neutralize those enzymes.
The Right Gear and Pro-Level Tricks
Making a handful of shots is one thing, but making them for a crowd requires efficiency. You don’t need much, but the right tools make the process clean and fast.
My Go-To Equipment List
- Big Glass Measuring Cups: I swear by the 4-cup or 8-cup glass ones with a spout. They handle heat perfectly and make pouring a breeze.
- Baking Sheets: This is non-negotiable. Arrange your shot cups on a baking sheet before you fill them. Trust me, trying to carry 50 individual, wobbly cups of liquid to the fridge is a sticky disaster waiting to happen.
- A Squeeze Bottle or Turkey Baster: For perfectly even pours with no drips, a cheap plastic squeeze bottle (like for condiments) is your best friend. A turkey baster also works wonders.
- Cups with Lids: Always get the 2-ounce plastic cups that come with lids. You can usually find them at a party supply store or online by searching for “condiment cups.” A pack of 100 might run you $10 to $15. The lids are crucial for stacking in the fridge and for keeping them fresh.
- A Stockpot: If you’re scaling up to make 100 or more shots, a big measuring cup won’t cut it. A large, clean stockpot is what you’ll need for mixing bigger batches.

A Quick Word on Cost
People often wonder if this is a cheap party trick. It can be! A basic batch of 20 vodka shots might cost you around $10-$15, depending on the booze you use. You’ve got about $2 for the gelatin box, $3 for a mixer like juice, and the rest is the cost of the alcohol. Using unflavored gelatin and fresh juices might push the price up a bit, but it’s still very budget-friendly.
Time to Get Fancy: Beyond the Basics
Once you’ve got the basic technique down, you can start having some real fun. This is where you go from good to unforgettable.
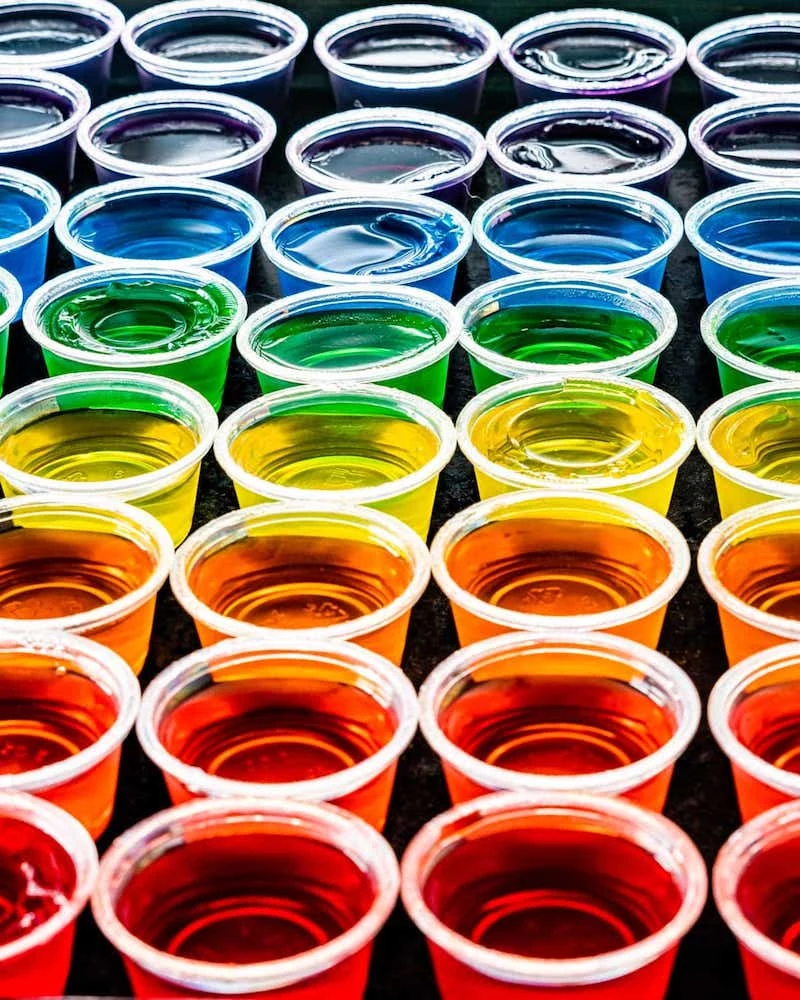
How to Make Flawless Layered Shots
Layered shots look incredibly impressive, but the secret is just patience. It’s all about the timing between layers.
Pour your first flavor and pop the tray in the fridge. Let it chill until it’s set but still slightly tacky to the touch—this usually takes 20-30 minutes. That tackiness is what helps the layers stick together. If it’s too wet, the colors will bleed. If it’s too dry and firm, the layers will just slide apart later. Trust me, I learned this the hard way trying to rush a rainbow shot for a wedding… I ended up with a tray of muddy-colored sadness.
While that layer chills, mix your next flavor and let it cool completely to room temperature on the counter. Gently pour the cooled second liquid over the tacky first layer. A great trick is to pour it slowly over the back of a spoon to avoid making a dent. Repeat for as many layers as you want!
Creating Creamy, Opaque Layers
For creamy shots, like a Piña Colada vibe, sweetened condensed milk is your secret weapon. After you dissolve your gelatin in the hot liquid, whisk a few spoonfuls of that hot mix into your sweetened condensed milk in a separate bowl. This warms it up gently (it’s called tempering). Then, you can whisk that milky mixture back into the main batch without it curdling. Cool, then pour.
A Few Can’t-Miss Recipes
These are a few of my most-requested recipes. Each one is designed to work with either a standard 3-ounce box of flavored gelatin or one packet of unflavored gelatin. And by the way, each of these recipes will make about 18-20 two-ounce shots.
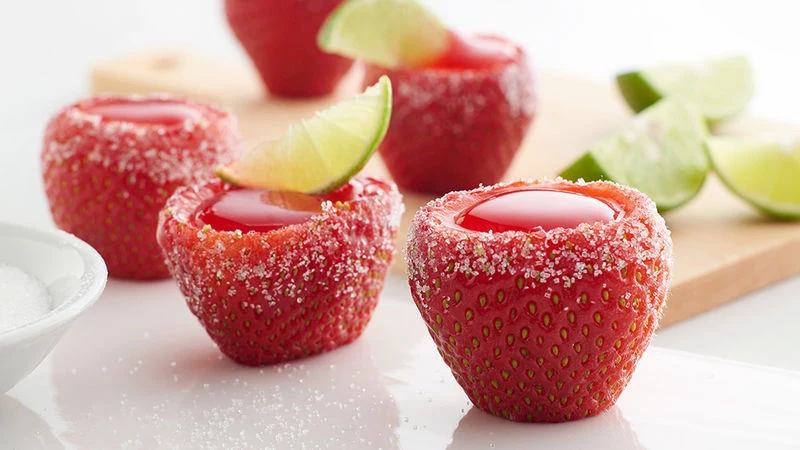
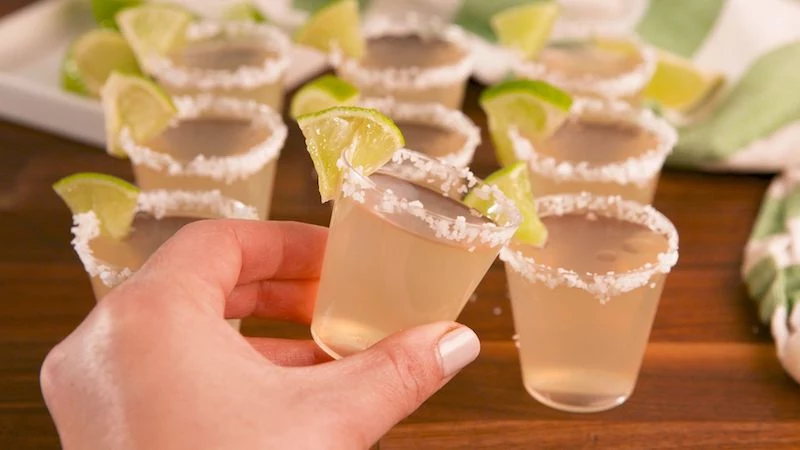
1. The Real Deal Margarita Shot
- 1 packet (1/4 oz) unflavored gelatin
- 1 cup water, divided
- 2 tbsp sugar or agave
- 1/2 cup fresh lime juice
- 1/2 cup decent blanco tequila
How to do it: Bloom the gelatin in 1/2 cup of cool water. Boil the other 1/2 cup of water with the sugar. Pour the hot water over the bloomed gelatin and stir until it’s all dissolved. Let it cool for 15-20 minutes, then stir in the fresh lime juice and tequila. Pour into cups and chill until firm.
2. The Bourbon Apple Pie Shot
- 1 box (3 oz) lemon-flavored gelatin
- 1 cup apple cider
- 1/2 cup cold water
- 1/2 cup smooth bourbon
- A tiny pinch of cinnamon
How to do it: Bring the apple cider to a boil. Pour it over the gelatin powder and stir for about 2 minutes to dissolve. Let it cool down for 15-20 minutes. Stir in the cold water, bourbon, and cinnamon. Pour and chill.
3. The Classy Gin & Tonic Shot
These are crystal clear and so refreshing. A real surprise for guests.
- 1 packet (1/4 oz) unflavored gelatin
- 1 cup good tonic water, divided
- 2 tbsp sugar
- 1/2 cup gin
- A squeeze of fresh lime
How to do it: Bloom the gelatin in 1/2 cup of the tonic. Gently heat the other 1/2 cup of tonic with the sugar until it dissolves (don’t boil it, or you’ll lose the fizz!). Pour the warm tonic over the bloomed gelatin, stir gently. Let it cool completely. Then, gently stir in the gin and lime juice. Pour and chill. By the way, if you want something even clearer, you can use sheet gelatin. You just soak the sheets in cold water until they’re floppy, then wring them out before melting them into your warm liquid.
Good to know: Want to make a non-alcoholic version for all your guests? It’s easy! Just replace the alcohol with an equal amount of a cold mixer. For the Apple Pie recipe, using a sparkling cider instead of bourbon is absolutely delicious.
The Important Stuff: Safety and Storage
This is food, so we have to treat it right. Gelatin is a protein, and it can become a bacteria playground if left at room temperature. The rule is simple: never leave shots out of the fridge for more than two hours (and only one hour if you’re outside in the heat). I always serve them straight from a cooler packed with ice.
In the fridge, they’ll stay good in a sealed, lidded container for about 3-4 days. After that, they start to get watery and lose their texture. And whatever you do, don’t freeze them. It ruins the texture permanently, leaving you with a grainy, slushy mess when they thaw.
Finally, remember these can sneak up on you. A standard 2-ounce shot made with my ratio has about a half-ounce of liquor. That means three or four of them is like drinking a full cocktail. Always let your guests know what’s in them. It’s just good hosting.
Inspirational Gallery
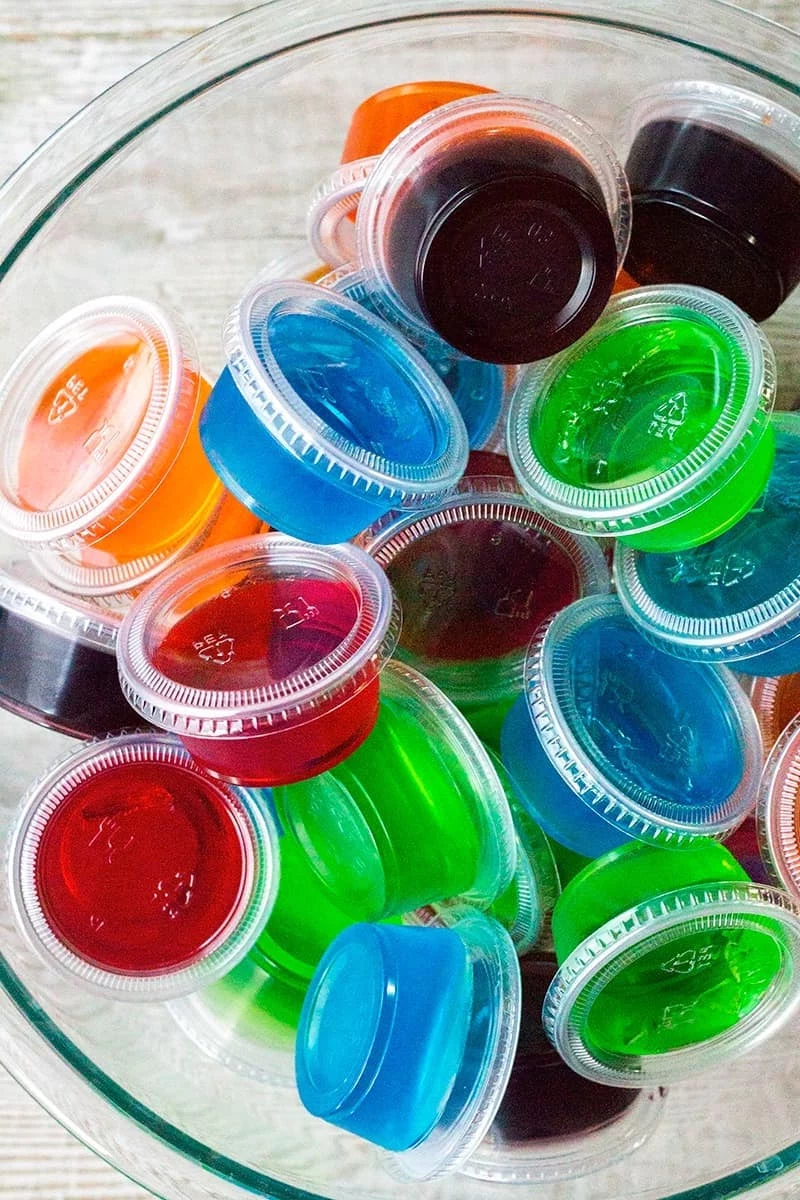
Boxed Jell-O Mix: Incredibly convenient. The flavor, sugar, and color are all included, making it a nearly foolproof option for speed. The trade-off is a somewhat artificial taste and a limited flavor palette.
Unflavored Gelatin (like Knox): This is the professional’s choice for total creative freedom. It allows you to use high-quality fruit juices, purees, teas, or even coffee as your base. You control the sweetness, flavor intensity, and final color. It’s a blank canvas.
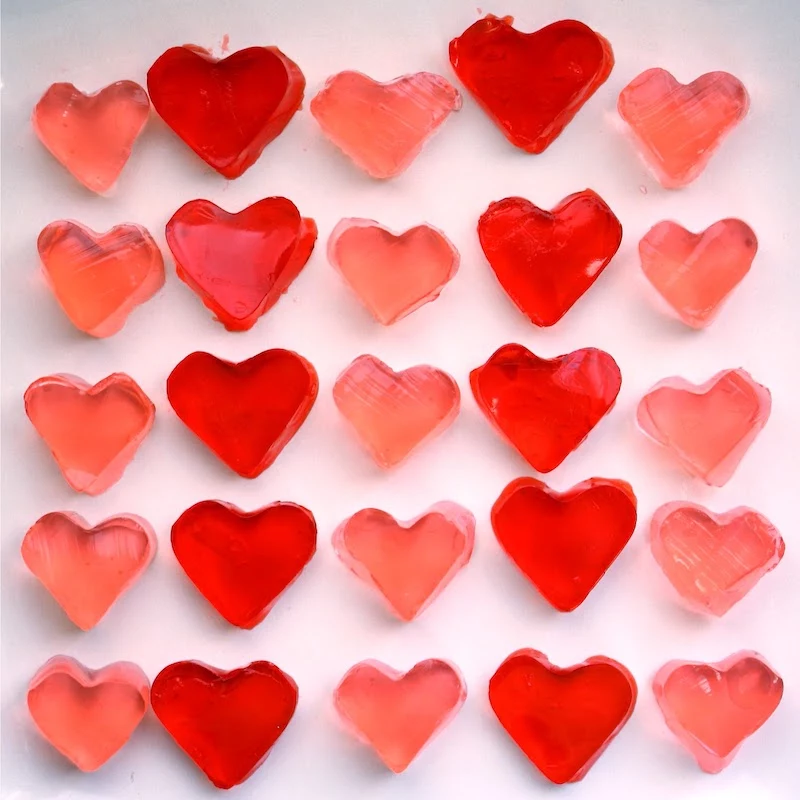
How do you prevent the shots from sticking stubbornly to the cup?
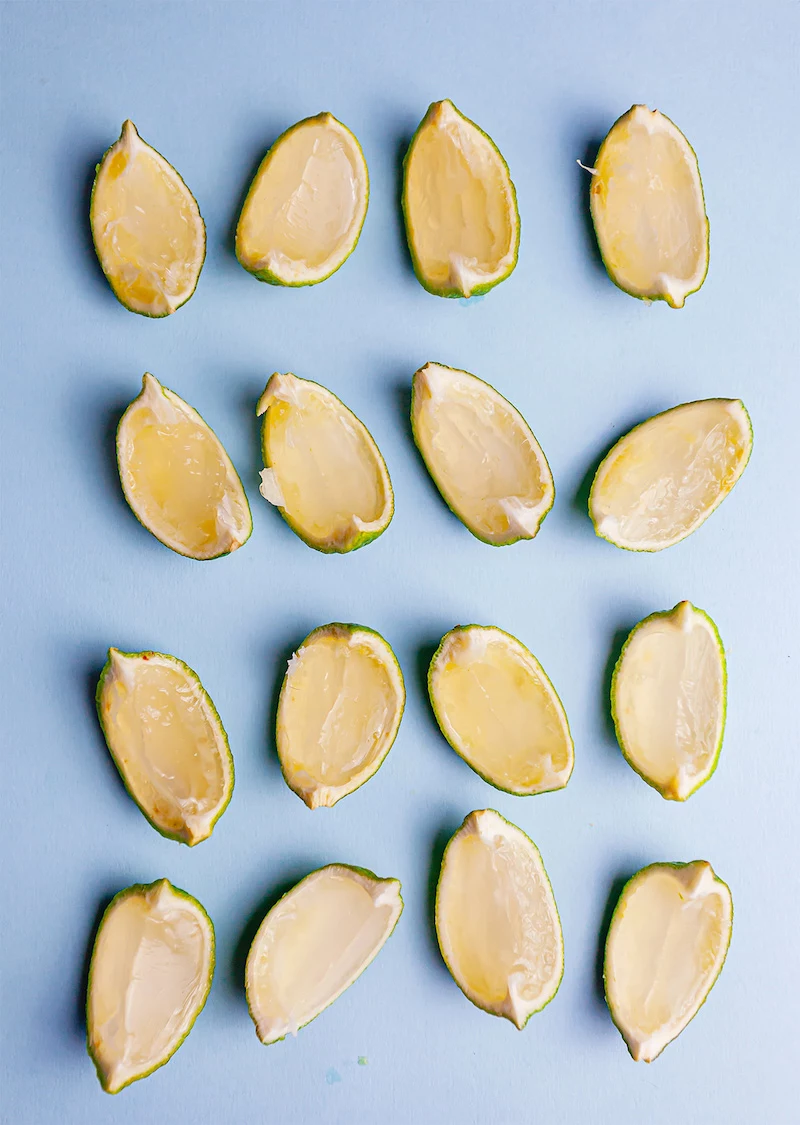
The caterer’s trick is to use a light mist of a neutral-flavored cooking spray (like PAM) inside the plastic cups before pouring in the gelatin mixture. Use a paper towel to wipe out the excess, leaving only a microscopic film. This creates a non-stick surface that ensures a perfect, clean slide-out every time, no fumbling required.
The Alcohol Trap: Thinking more booze equals a better shot is the most common path to failure. Alcohol actively inhibits gelatin’s setting power. Exceed the proper ratio, and you’re left with a sticky, syrupy soup. As a hard rule, your spirit (80-proof) should never constitute more than one-third of the total liquid volume. For perfect firmness, aim for a ratio of one part alcohol to three parts non-alcoholic liquid.
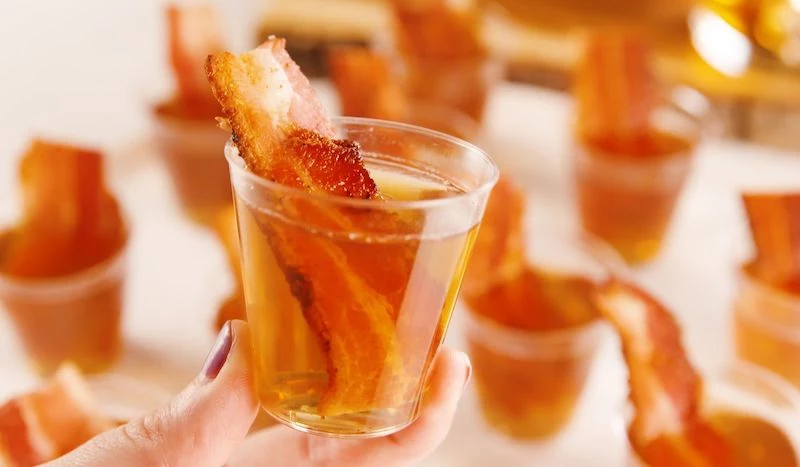
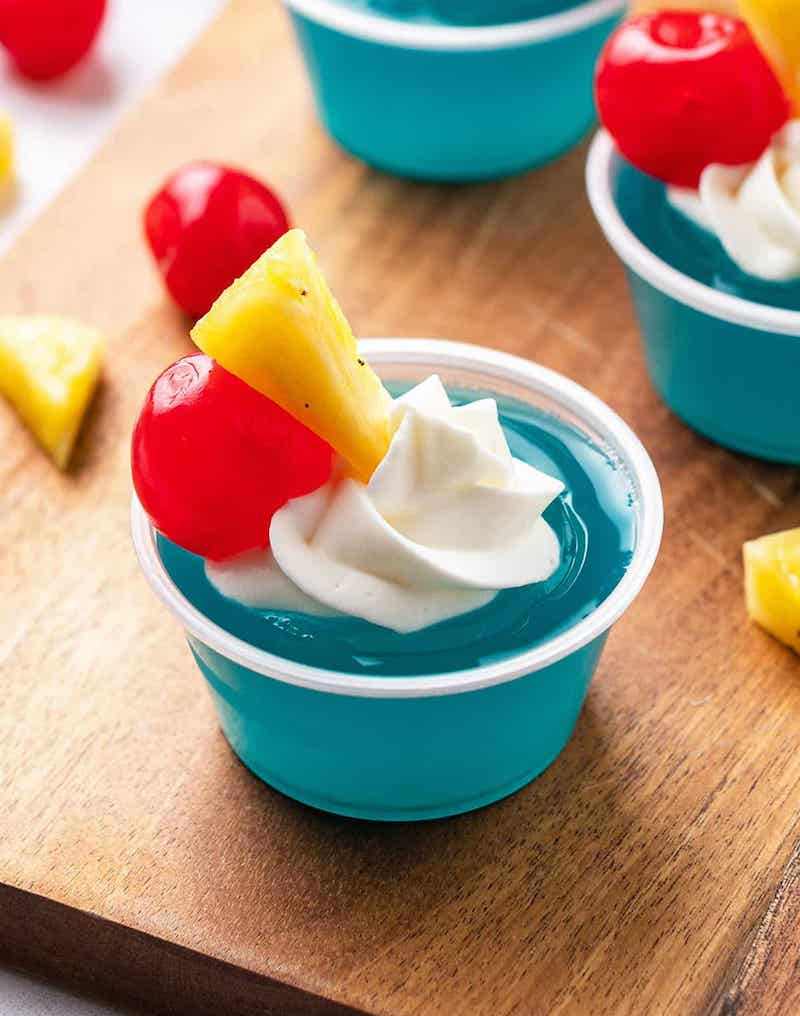
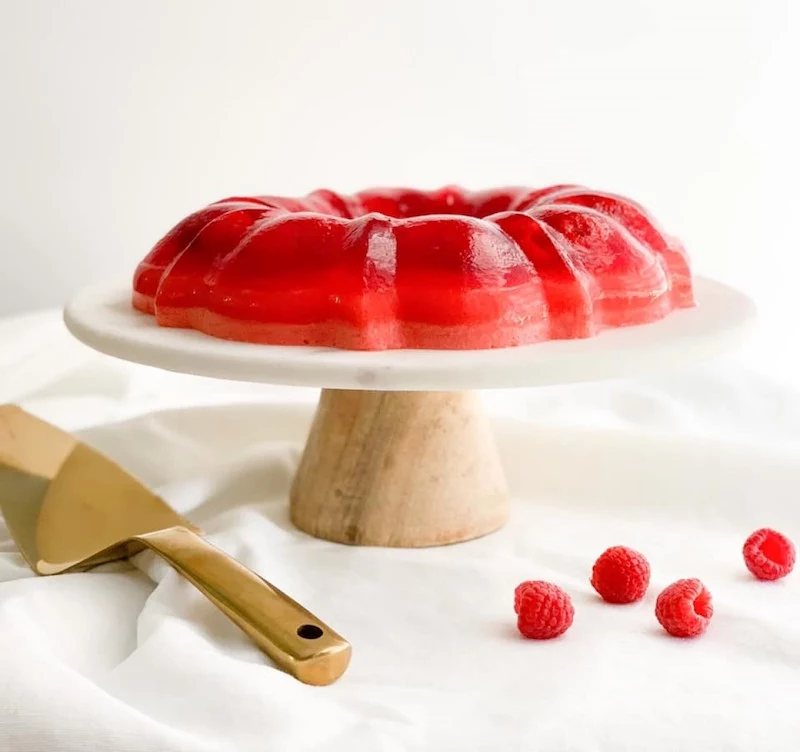
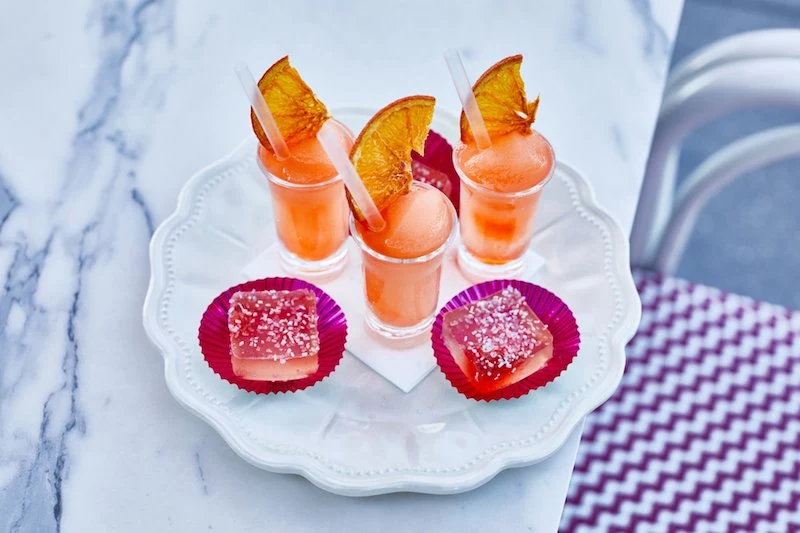
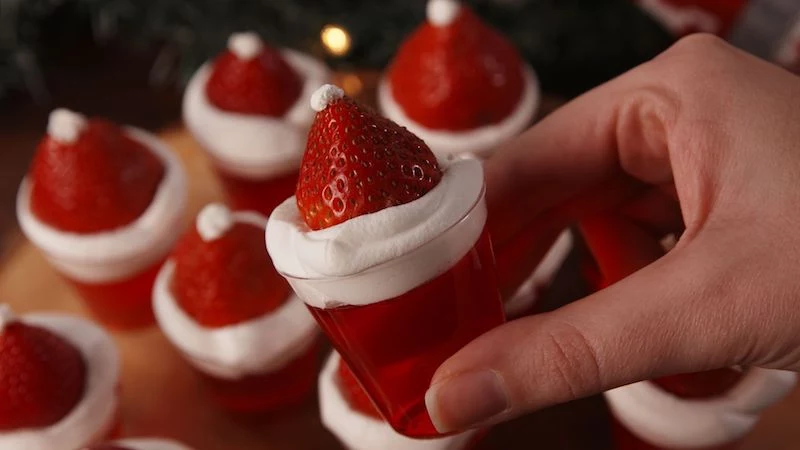
Don’t neglect the garnish. It’s the tiny detail that elevates a simple party shot into a sophisticated treat. A sprinkle of toasted coconut on a Piña Colada shot, a sliver of candied ginger on a Moscow Mule shot, or a single raspberry atop a French 75-inspired creation adds visual appeal and a final burst of flavor.
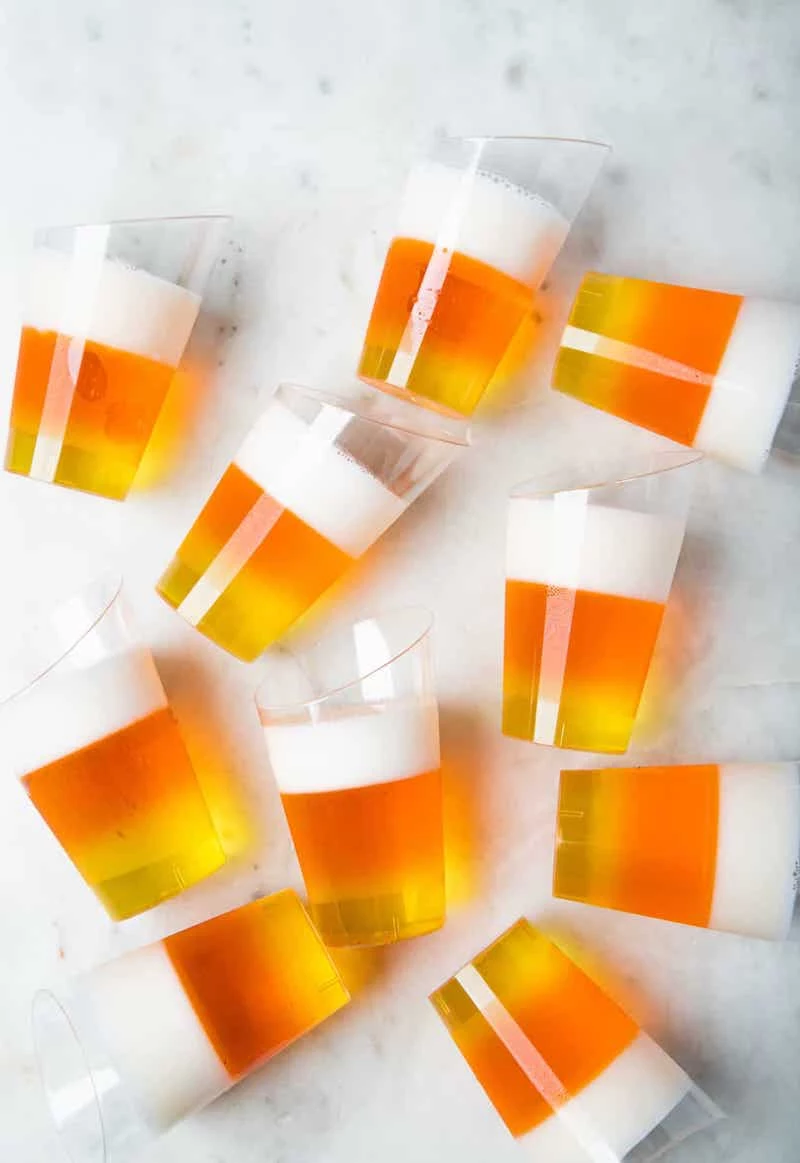
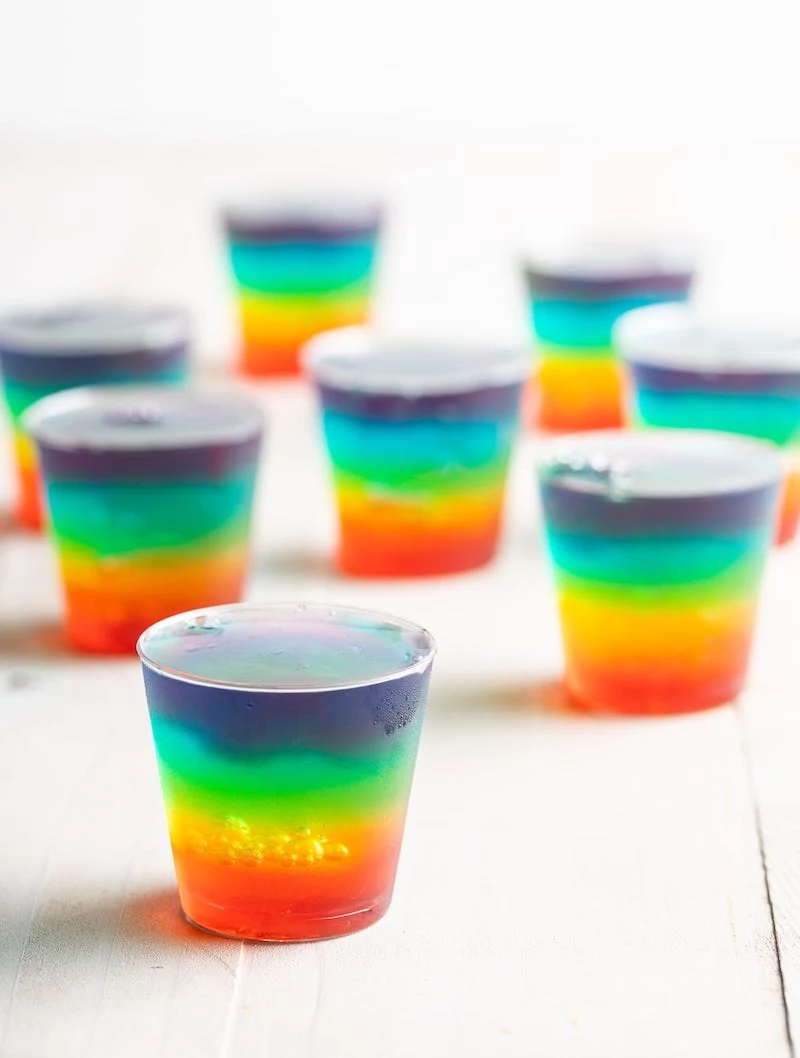
- A stunning visual with clean, distinct stripes.
- A complex flavor experience in a single bite.
The secret to perfect layered shots is patience and temperature control. The key is to let each layer chill until it’s firm to the touch, but not fully set (about 20-30 minutes). If it’s too liquid, the colors will bleed. Also, ensure the next layer you pour on top is cooled to room temperature to avoid melting the foundation below.
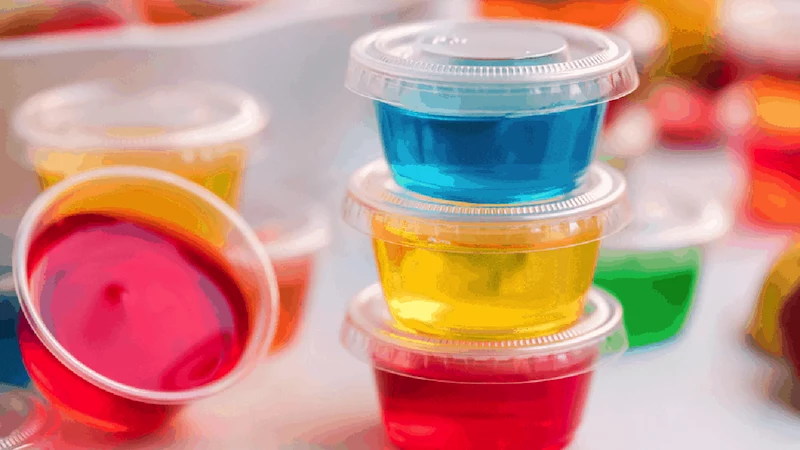
Once set, your creations are on a timer. To maintain optimal texture and prevent them from absorbing fridge odors, proper storage is key.
- Container: Use an airtight container or keep the shots on a tray tightly covered with plastic wrap.
- Shelf Life: For the best firmness and flavor, consume them within 3 to 4 days. After that, they can begin to weep and lose their structure.
Think beyond vodka. The dark, complex notes of bourbon or spiced rum can create incredibly sophisticated shots. Try a Bourbon-Apple Cider shot using a smooth bourbon like Maker’s Mark, or a Spiced Rum & Cola shot with Captain Morgan and a high-quality cola.


