Found a Tick? Don’t Panic. A Pro’s Guide to What to Do Next.
Over the last couple of decades as an outdoor guide and public health educator, I’ve pulled more ticks off people than I can even remember. I’ve dealt with them on anxious hikers, worried parents, and yeah, even my own family. Every single time, the approach is the same: stay calm, be methodical, and focus on one thing—safety.
In this article
- First, a Dose of Calm: The Time Factor
- Prevention: The Best Way to Handle a Tick Is to Never Get One
- Your Tick Removal Toolkit: Get This Ready Now
- The Right Way to Remove a Tick
- How to Get Rid of the Tick: The Good, The Bad, and The Ugly
- Disposal Methods to Avoid at All Costs
- What About Ticks on My Dog?
- Know Your Enemy: A Quick Guide to Common Ticks
- Yard Wars: Making Your Property Less Tick-Friendly
- After the Bite: Stay Vigilant for 30 Days
- Inspirational Gallery
It’s not just about yanking the tick out. It’s about doing it the right way to slash the risk of infection. And honestly, what you do after the tick is out is just as critical.
A lot of people think the job’s done once the little critter is removed. They flush it, crush it, or toss it in the garbage. But here’s the thing I’ve learned from working with infectious disease pros: those common reactions are usually the wrong ones. A tick isn’t just a bug; it’s a tiny vessel that could be carrying some serious germs. Handling it correctly is just smart. This isn’t about fear, it’s about being prepared.
So, let’s walk through the exact process I teach, from the moment you find it to its final, safe disposal.
First, a Dose of Calm: The Time Factor
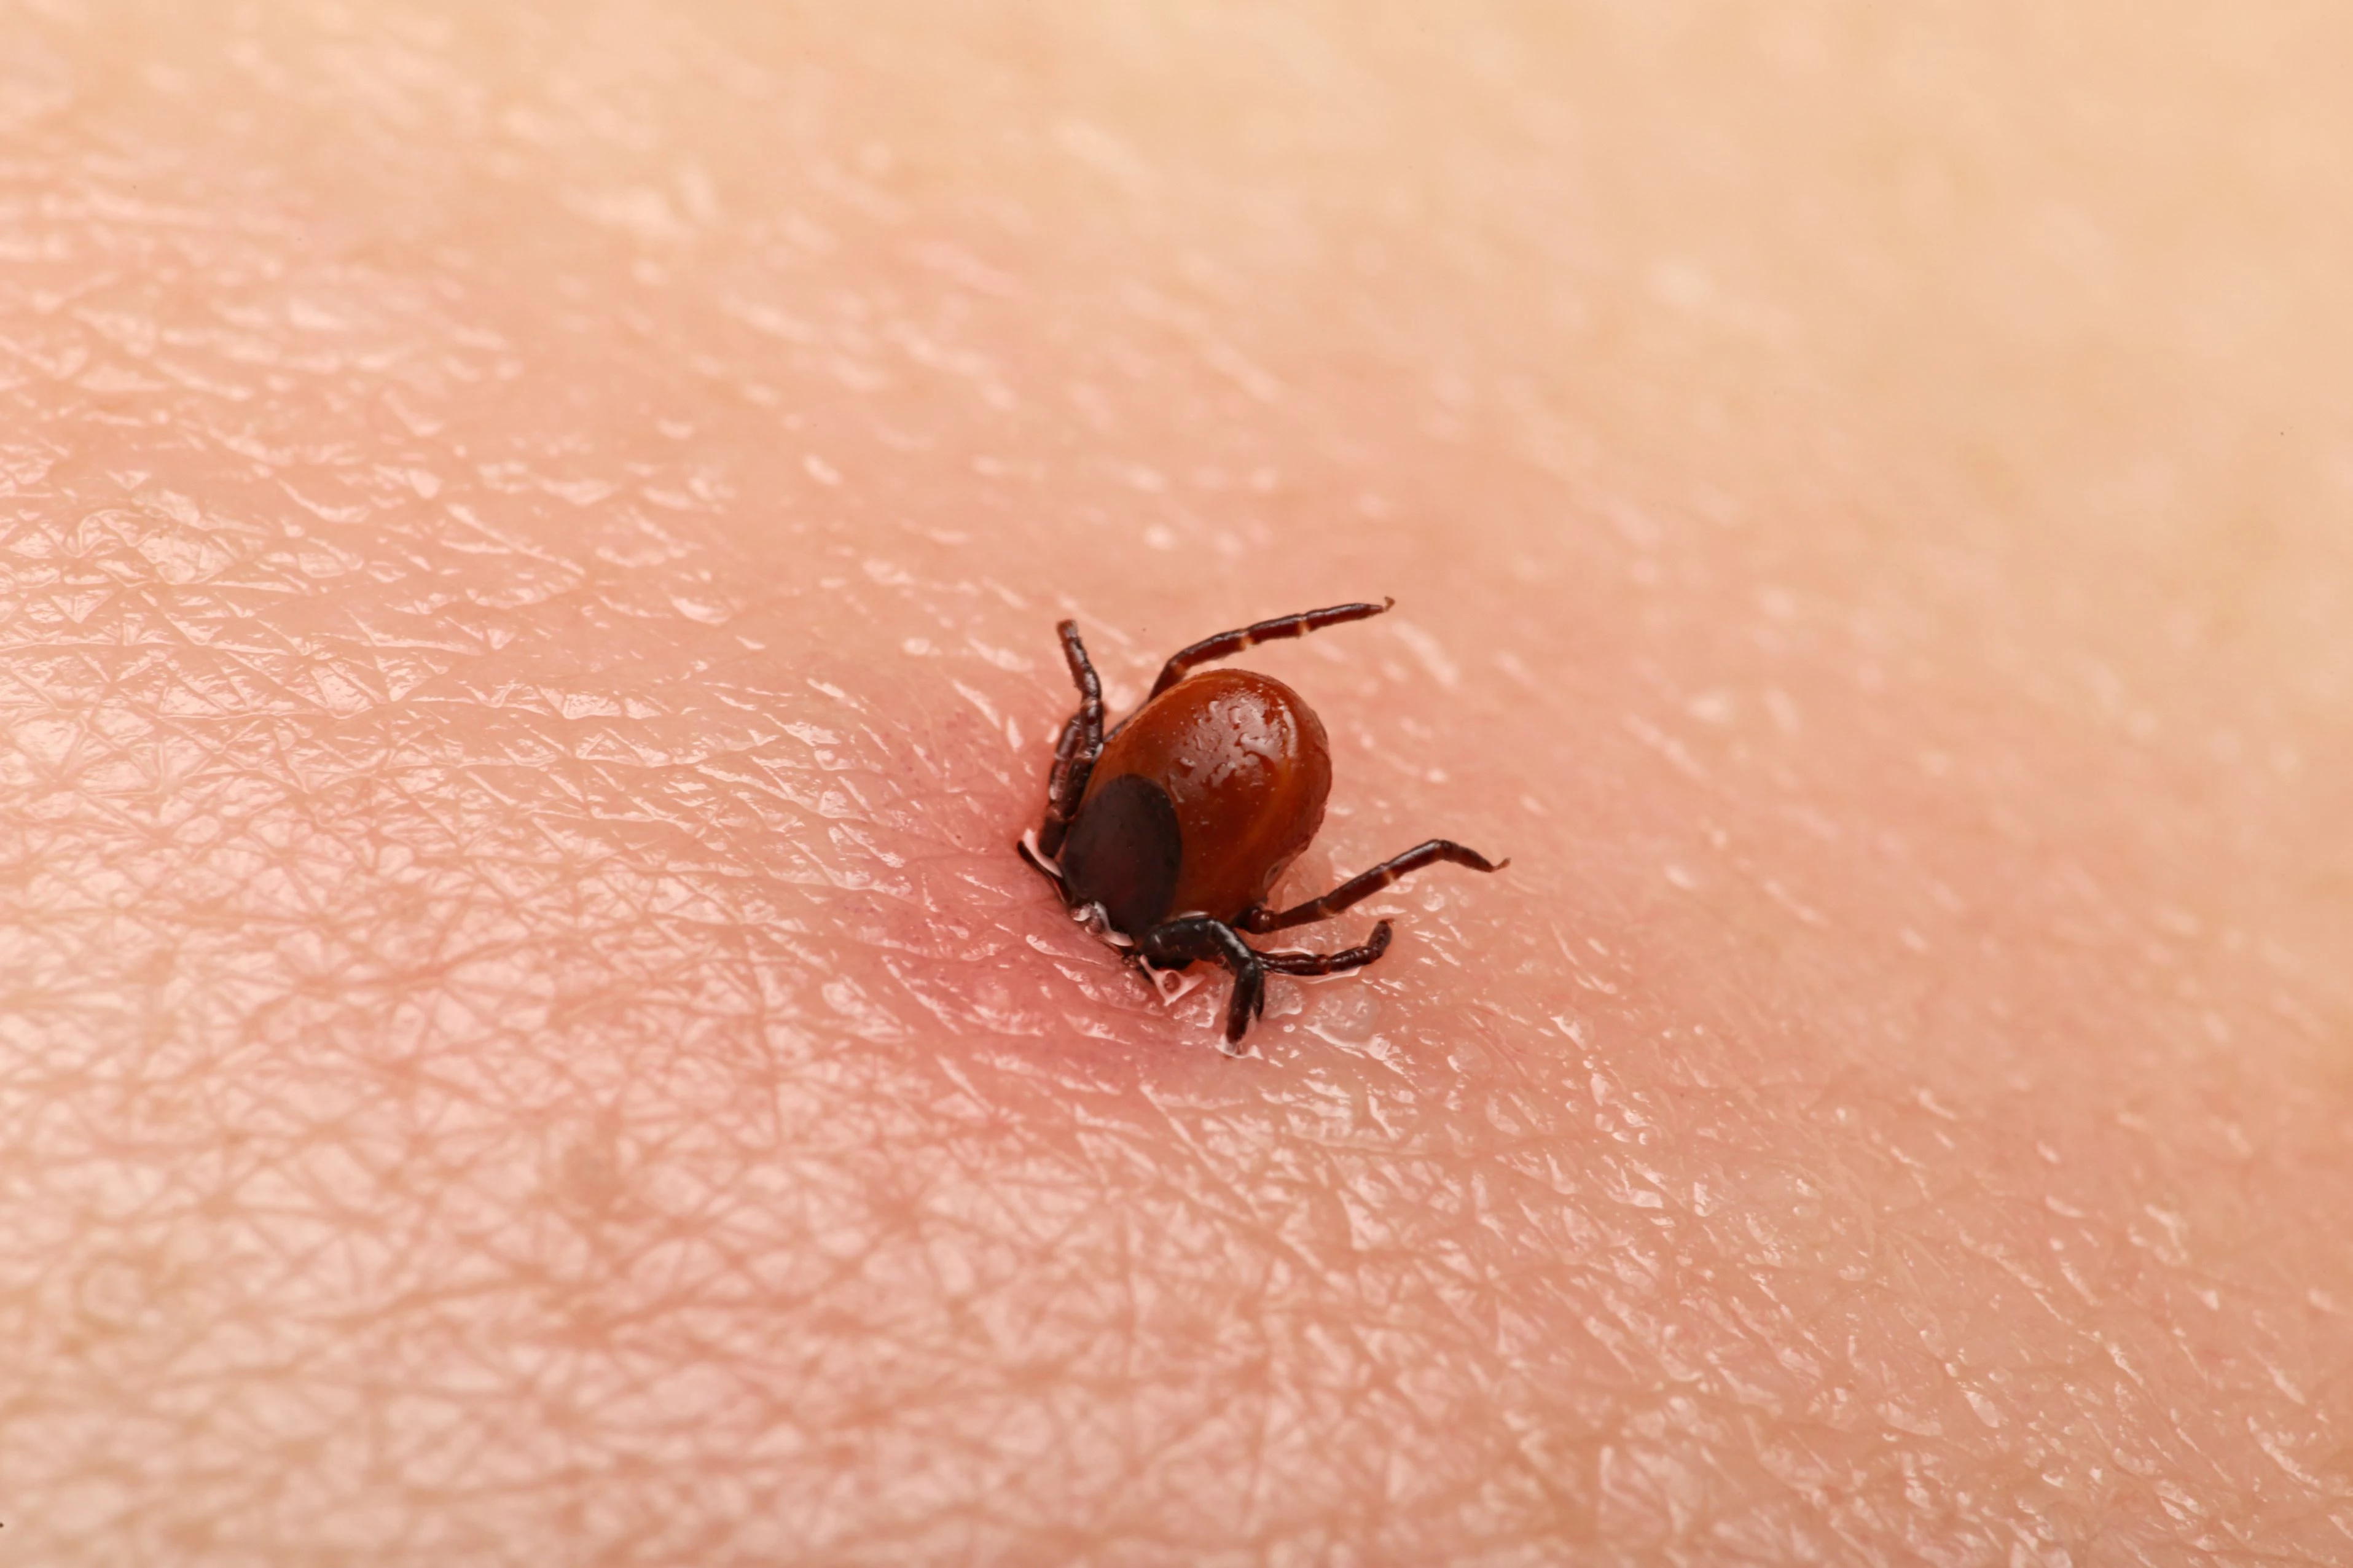
Before we go any further, let’s address the number one question that sends everyone into a panic: how long does a tick need to be attached to transmit something nasty like Lyme disease?
Good news: it’s not instant. Generally, for most common tick-borne illnesses, the tick needs to be attached for at least 24 to 36 hours. If you find a tick that’s small and flat, not swollen and grey, chances are it hasn’t been feeding for long. This little piece of knowledge can really lower the stress levels and help you focus on removing it correctly.
Prevention: The Best Way to Handle a Tick Is to Never Get One
Before we even get to removal, let’s talk about not getting bitten in the first place. A few simple habits can make a huge difference.
- Dress for Success: When you’re heading into grassy or wooded areas, tucking your long pants into your socks is a classic for a reason—it works. Light-colored clothing also makes it way easier to spot a tick crawling on you before it finds a place to bite.
- The Permethrin Trick: This is a game-changer. You can treat your hiking clothes, shoes, and gear (like backpacks) with a spray containing permethrin. It’s a repellent that actually kills ticks on contact. Just be sure to follow the product instructions carefully and let everything dry completely before wearing it. Heads up: never apply it directly to your skin. For skin, use a good quality repellent with DEET or Picaridin.
- The 5-Minute Tick Check: As soon as you get inside, make this a habit. Toss your clothes in the dryer on high heat for 10-15 minutes to kill any potential hitchhikers. Then, do a full-body check. Pay close attention to warm, hidden spots: in and around your hair, in your armpits, behind your knees, in your belly button, and around the groin area.
Your Tick Removal Toolkit: Get This Ready Now
When you find a tick, the last thing you want to do is rummage through drawers. I tell everyone to make a tiny “Tick Kit” and keep one in your car’s glove box and another in your home first-aid kit. It’s cheap and you’ll thank yourself later.
- Fine-Tipped Tweezers: This is non-negotiable. I’m not talking about the flat, slanted ones for eyebrows. You need pointed tweezers that can grab the tick right at the skin line. You can find them at any pharmacy or online for about $5 to $15. Brands like TickEase are great, but any pointed tweezer will do.
- A Small, Sealable Container: An old pill bottle or a tiny sample jar works perfectly. You can also buy small vials online for a couple of bucks. The goal is something airtight.
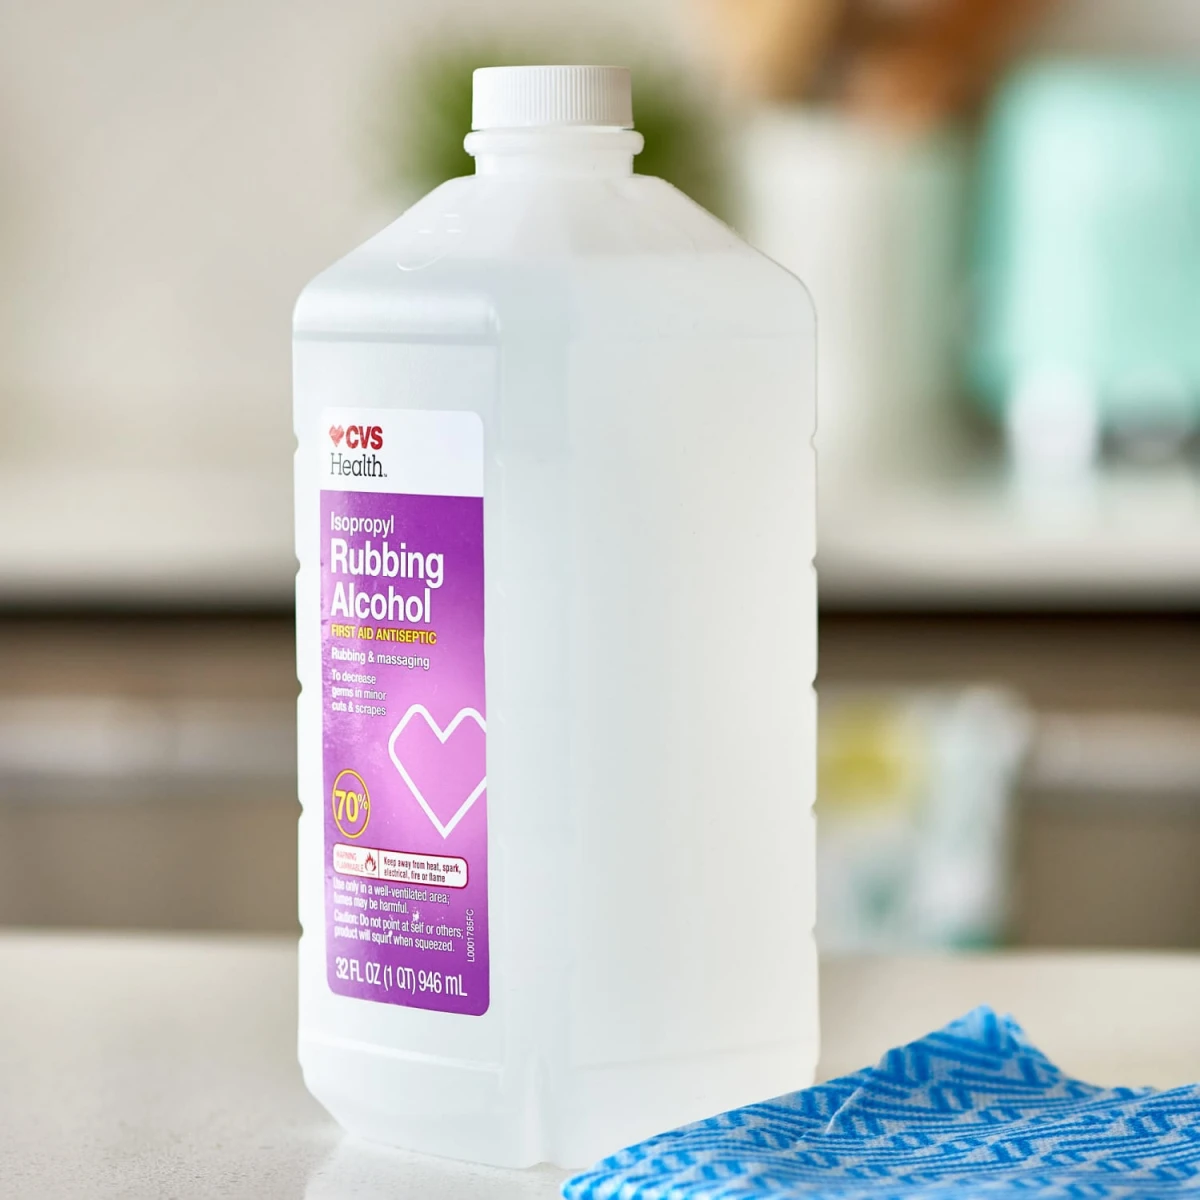
- Rubbing Alcohol (70% Isopropyl): A standard bottle costs around $2 and is the best thing for both cleaning the bite and disposing of the tick.

The Right Way to Remove a Tick
Okay, you’ve found a tick, and you have your kit. Now what? I’ve seen some wild stuff in the field—people trying to use petroleum jelly, nail polish, or even a hot match head. Please, don’t do any of that. These methods just aggravate the tick, causing it to basically panic and spit its gut contents into your bloodstream, which seriously increases your risk.
The only method recommended by public health experts is mechanical removal. Here’s how to do it like a pro:
- Prep the Area: First, wipe the skin around the tick with an alcohol swab or a cotton ball soaked in rubbing alcohol. This helps keep skin bacteria out of the bite wound.
- Get a Grip: Take your pointed tweezers and grab the tick as close to the skin’s surface as you possibly can. You want to be holding its tiny mouthparts, NOT its big, round body. Squeezing the body is the #1 mistake—it can push germs right into you.
- Pull Straight Up: With a firm grip, pull upward with steady, even pressure. Don’t twist or jerk it. A tick’s mouth is barbed like a fishhook, so a slow, consistent pull gives those barbs time to disengage. Be patient. You’ll feel a little pop or release when it lets go.
- Clean Up: After the tick is out, clean the bite area thoroughly with rubbing alcohol or soap and water. And don’t forget to wash your hands, too!
Quick Tip: What if it’s in a hard-to-reach place, like the middle of your back? Don’t try to be a hero. Grab a handheld mirror or, even better, ask someone for help. A second pair of eyes makes a world of difference.

Troubleshooting: The Head Broke Off!
First, take a breath. It’s rarely the whole head, just the tiny mouthparts. If this happens, don’t dig at your skin with the tweezers or a needle. You’ll just cause more damage and invite infection. Your body is great at expelling foreign objects. Clean the area well, and in most cases, your skin will push the little bits out on its own over a few days, just like a splinter. If the area gets red, painful, or looks infected later, that’s when you should see a doctor.
How to Get Rid of the Tick: The Good, The Bad, and The Ugly
Once the tick is out, you have a live (and potentially infectious) pest on your hands. Here’s how to handle it.
The Gold Standard: Rubbing Alcohol
This is, hands down, the best method. It’s what I do every single time. It safely kills the tick and, more importantly, preserves it in case you need it identified later.
Simply drop the tick into your sealable container with a little rubbing alcohol. It will kill it quickly. Then, seal the jar and use a permanent marker to label it with the date of the bite and where on your body it was found (e.g., “back of knee”). It’s also smart to note the general area where you were when you got bit (e.g., “hiking in the state park”).
Why is this so great? If you start feeling sick later on (fever, rash, aches), you can take that preserved tick to your doctor. A lab can identify the species and sometimes even test the tick itself for germs like the bacteria that causes Lyme. This can lead to a faster, more accurate diagnosis. It’s a small step that gives you powerful options.
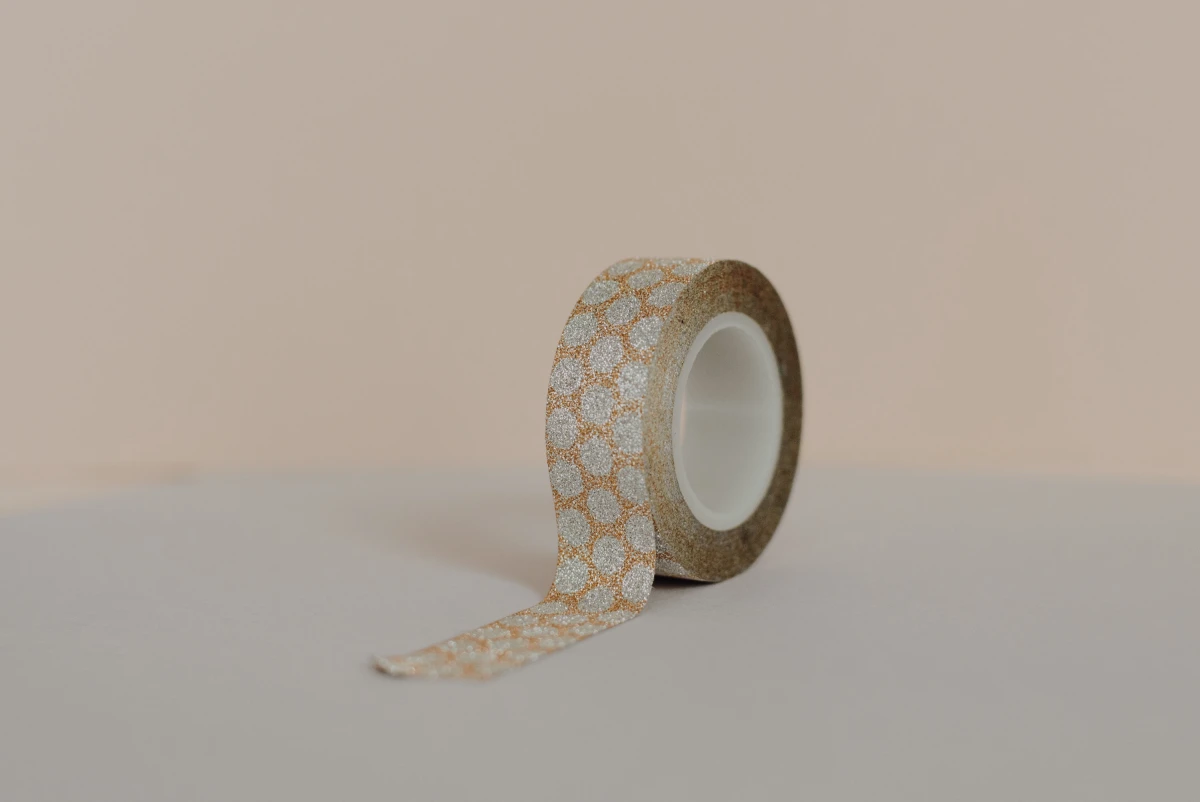
The Next Best Thing: The Tape Tomb
No alcohol handy? This is a solid plan B. Take a piece of heavy-duty clear packing tape (not flimsy office tape). Place the tick on the sticky side, then fold the tape over on itself, sealing it completely. The tick is now trapped and will suffocate. You can then throw it in the trash. It’s contained and safe. While you can’t lab-test a taped tick, you can still show it to a doctor for visual identification.

Disposal Methods to Avoid at All Costs
Bad advice travels fast. Steer clear of these common but terrible ideas.
- Flushing It: Ticks are survivors. They can live in water for a long time. There’s no guarantee the toilet will kill it, and yes, they can sometimes crawl back out. It just gives you a false sense of security.
- Crushing It: As I mentioned, this is the most dangerous thing you can do. Squishing a tick can spray its infectious fluids into the air or into tiny cuts on your skin. Never, ever crush a tick.
- Burning It: Using a lighter is a fire hazard and it completely destroys the tick, making any future identification impossible. It offers zero benefit over safer methods.
What About Ticks on My Dog?
Great question! So many of us are dealing with ticks on our furry friends. The removal process is pretty much the same: use fine-tipped tweezers, grab close to the skin, and pull straight up. Don’t use your fingers!
The biggest difference is in prevention. Talk to your vet about the best monthly tick preventative for your pet—there are great options, from collars to topical treatments to chewable tablets. And even with a preventative, it’s still smart to give your dog a thorough check after they’ve been outside, especially around their ears, between their toes, and under their collar.
Know Your Enemy: A Quick Guide to Common Ticks
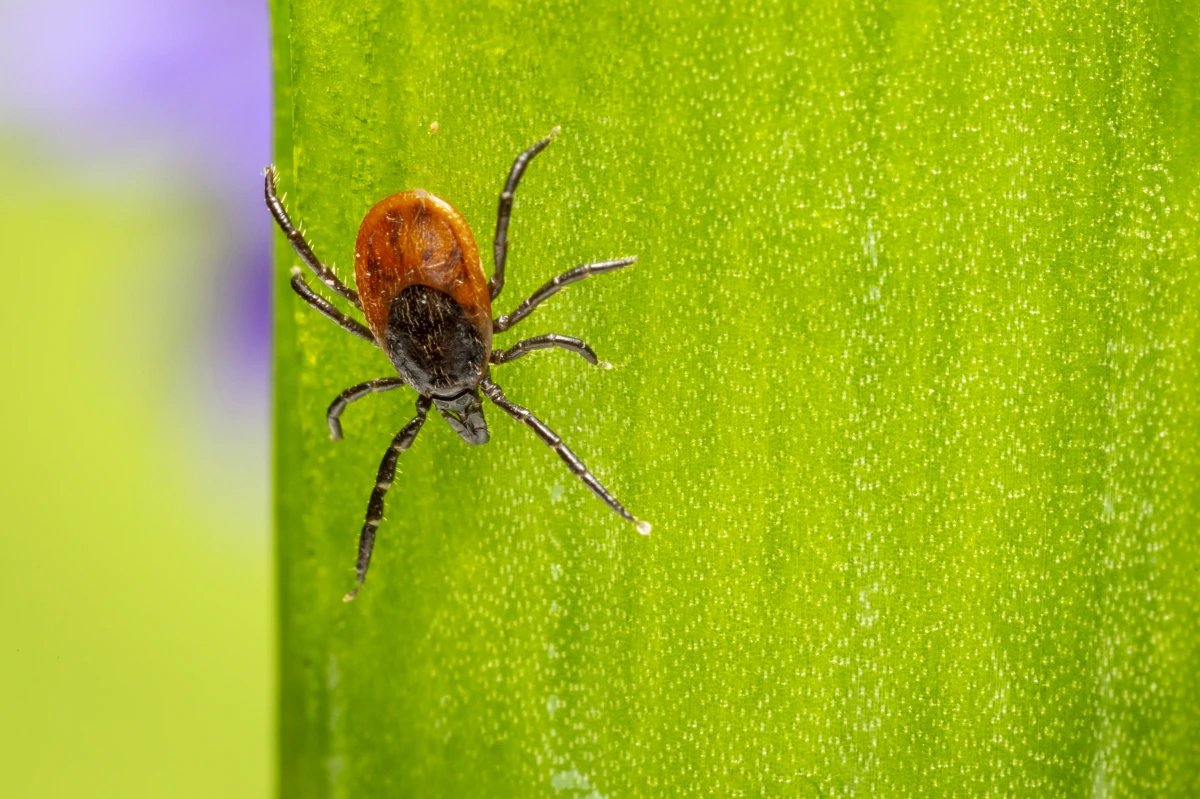
Not all ticks are the same, and the risk they pose depends on where you live. Knowing the local troublemakers is key.
Instead of a boring chart, think of it in terms of what to watch out for. In the eastern and upper midwestern states, the one to worry about most is the tiny Blacklegged Tick (also called the Deer Tick). The young ones, or nymphs, are no bigger than a poppy seed and are responsible for most cases of Lyme disease. If I pull one of these off in a high-risk area, it’s going straight into that alcohol vial.

A bit larger and more common in the eastern US and parts of the West Coast is the American Dog Tick. They can transmit things like Rocky Mountain spotted fever, but they aren’t the main culprit for Lyme.
Then there’s the Lone Star Tick, which is all over the southeastern and eastern states. The female has a tell-tale single white dot on her back. These are aggressive biters and can transmit a whole host of illnesses. Oh yeah, and a bite from this one has been linked to developing a red meat allergy. Fun, right? Your local public health department’s website is a fantastic place to see which of these are common in your backyard.
Yard Wars: Making Your Property Less Tick-Friendly
A proactive approach means making your yard a place where ticks don’t want to hang out.
A surprisingly effective strategy is to create a three-foot-wide barrier of dry wood chips or gravel between your lawn and any wooded areas. Ticks hate crossing dry, sunny patches. Also, keep your lawn mowed short and get rid of leaf piles, as these are prime tick habitats.
By the way, some people swear by Diatomaceous Earth (DE). It’s a natural powder made of fossilized organisms that can dehydrate ticks. For it to work, you have to use the “food-grade” kind and apply it when it’s completely dry. Honestly, in my experience, it’s only moderately effective and needs to be reapplied often. For serious tick problems, especially if you live in a high-risk area, calling a licensed pest management professional is a smart investment. A targeted yard treatment can cost anywhere from $75 to $200 and can dramatically reduce the tick population.
After the Bite: Stay Vigilant for 30 Days
Your job isn’t quite done. For the next month, you need to be observant. Watch the bite site for any changes. The classic “bullseye” rash is a well-known sign, but here’s a crucial fact: many people with Lyme disease never get that specific rash.
So, don’t wait for a bullseye. If you experience any of the following, it’s time to call your doctor:
- An expanding red rash of any shape
- Fever, chills, or fatigue
- Headaches or muscle and joint aches
- Swollen lymph nodes
If you call your doctor, make sure to tell them you were bitten by a tick, when it happened, and where you were. And if you saved the tick? Bring it with you. That little bit of info could be a huge help.
Disclaimer: Everything here is for educational purposes and comes from years of field experience. It’s the same advice I give my own family. However, it is not a substitute for professional medical advice. Always consult a healthcare professional for diagnosis and treatment, especially if you develop symptoms after a tick bite.
Inspirational Gallery
When you get back indoors, a thorough check is your best tool. Ticks love warm, hidden places. Be sure to inspect these hotspots with extra care:
- In and around the ears
- Under the arms
- Inside the belly button
- Around the waist
- Behind the knees
- Between the legs
- And don’t forget your hair and scalp!
According to the CDC, tick-borne diseases in the United States have more than doubled in the last 20 years.
This isn’t just a statistic; it’s a reflection of changing climates and habitats. It means that areas once considered low-risk may now harbor tick populations. Vigilance isn’t just for deep-woods hikers anymore; it’s become essential for anyone enjoying local parks, gardens, and even suburban backyards.
What about repellents? Are they all the same?
Not at all. The two most common and effective choices are DEET and Picaridin. DEET has a long track record but can have an oily feel and damage some plastics. Picaridin, often found in Sawyer products, is odorless, non-greasy, and considered equally effective. For those seeking a plant-based alternative, Oil of Lemon Eucalyptus (OLE) is an EPA-registered option, but it typically requires more frequent reapplication.
Tick on your pet, risk for you? A tick that has bitten your dog or cat cannot transmit a disease to you directly from that bite. However, its presence is a major red flag. It means your pet has wandered through a tick-infested area and could have brought other, unattached ticks into your home on its fur, which can then find and bite a human family member. Always use a veterinarian-recommended tick preventive for your pets.
- Reduced risk of Lyme disease transmission.
- A yard that’s more enjoyable for kids and pets.
- Less worry after an afternoon spent gardening.
The secret? Creating a tick-unfriendly zone. This involves simple landscaping: keep grass mown short, remove leaf litter, and create a 3-foot wide barrier of wood chips or gravel between lawns and wooded areas. Ticks thrive in moisture and shade; sunlight is their enemy.
Don’t just rely on memory; build a dedicated Tick Emergency Kit. Keep it in your car’s glove box or your hiking daypack. Include a pair of fine-tipped tweezers (brands like TickEase are designed specifically for this), antiseptic wipes, a small sealable plastic bag or vial for saving the tick, and a permanent marker to write the date on the bag. Being prepared turns a moment of panic into a simple procedure.
Never use folklore remedies like a hot match, nail polish, or petroleum jelly to make a tick ‘back out.’
These methods can agitate the tick, causing it to regurgitate its stomach contents—including potential pathogens—into the bite wound, significantly increasing the risk of infection. The only proven, safe method is steady, gentle pulling with fine-tipped tweezers.
DEET-based repellents: The long-standing gold standard for effectiveness, especially in highly infested areas. Concentrations of 20-30% offer long-lasting protection.
Permethrin-treated clothing: This is a powerful preventative. It doesn’t repel but kills ticks on contact. You can buy pre-treated clothing from brands like L.L.Bean or ExOfficio, or treat your own gear with a permethrin spray. It lasts for several washes.
For maximum protection in high-risk zones, experts recommend using both: a DEET-based repellent on exposed skin and permethrin on clothing.
While Lyme disease gets the most attention, it’s not the only concern. Depending on your region, ticks can transmit Rocky Mountain spotted fever, which can be severe if not treated early, or even alpha-gal syndrome, a bizarre allergy to red meat triggered by the bite of the Lone Star tick. Knowing the specific risks in your area helps you and your doctor recognize symptoms more quickly.


