Don’t Melt Your Shirt: The Real Way to Iron Polyester
I’ve spent more years than I can count working with fabrics, and a lot of that time has been spent staring at a professional steam press, trying to fix mistakes people made at home. And you know the most common victim? A polyester blouse or a pair of pants with that awful, shiny, melted-looking patch. It’s a permanent scar, and honestly, it’s a total bummer.
In this article
It happens because most of us treat polyester like it’s cotton. We crank up the heat, press down hard, and the synthetic fibers just can’t handle it. They literally melt.
But polyester is everywhere for good reasons. It holds onto color like a champ, laughs at wrinkles compared to most natural fabrics, and it’s surprisingly tough. That toughness, however, has an Achilles’ heel: heat. Learning how to press polyester the right way isn’t just about looking sharp; it’s about protecting the clothes you paid for. So, this isn’t a quick-and-dirty list of tips. This is the full-blown method I learned years ago and still use every day. It’s all about the right technique, a little patience, and knowing your fabric.
First, Why Does Polyester Even Melt?
To get this right, you have to understand what you’re working with. Polyester isn’t like cotton or wool that grows on a plant or an animal. It’s synthetic—a type of plastic, really—drawn into super-fine threads to make fabric. A good way to think about it is like a very, very thin fishing line. And what happens when you get a flame near a fishing line? It shrivels up and melts. Your shirt does the same thing under a hot iron.
Every fabric has a point where heat makes it pliable enough to reshape and get wrinkles out. For polyester, this is a very specific, low-temperature sweet spot. Go past that, and you start doing real damage. That ugly shine you see is the top layer of those plastic fibers literally melting and fusing together. The new, flat surface reflects light differently than the original weave, and unfortunately, there’s no going back from that.

So, the goal isn’t to blast the wrinkles into submission. It’s to gently warm the fibers just enough to make them flexible, then let them cool in their new, wrinkle-free shape. It’s a delicate dance, not a wrestling match.
The Right Tools for a Finish That Doesn’t Suck
You can’t do a professional job with bargain-bin tools. Before you even plug that iron in, let’s get your setup right. This is half the battle and prevents 90% of the mistakes I see.
Your Iron and Your Steamer
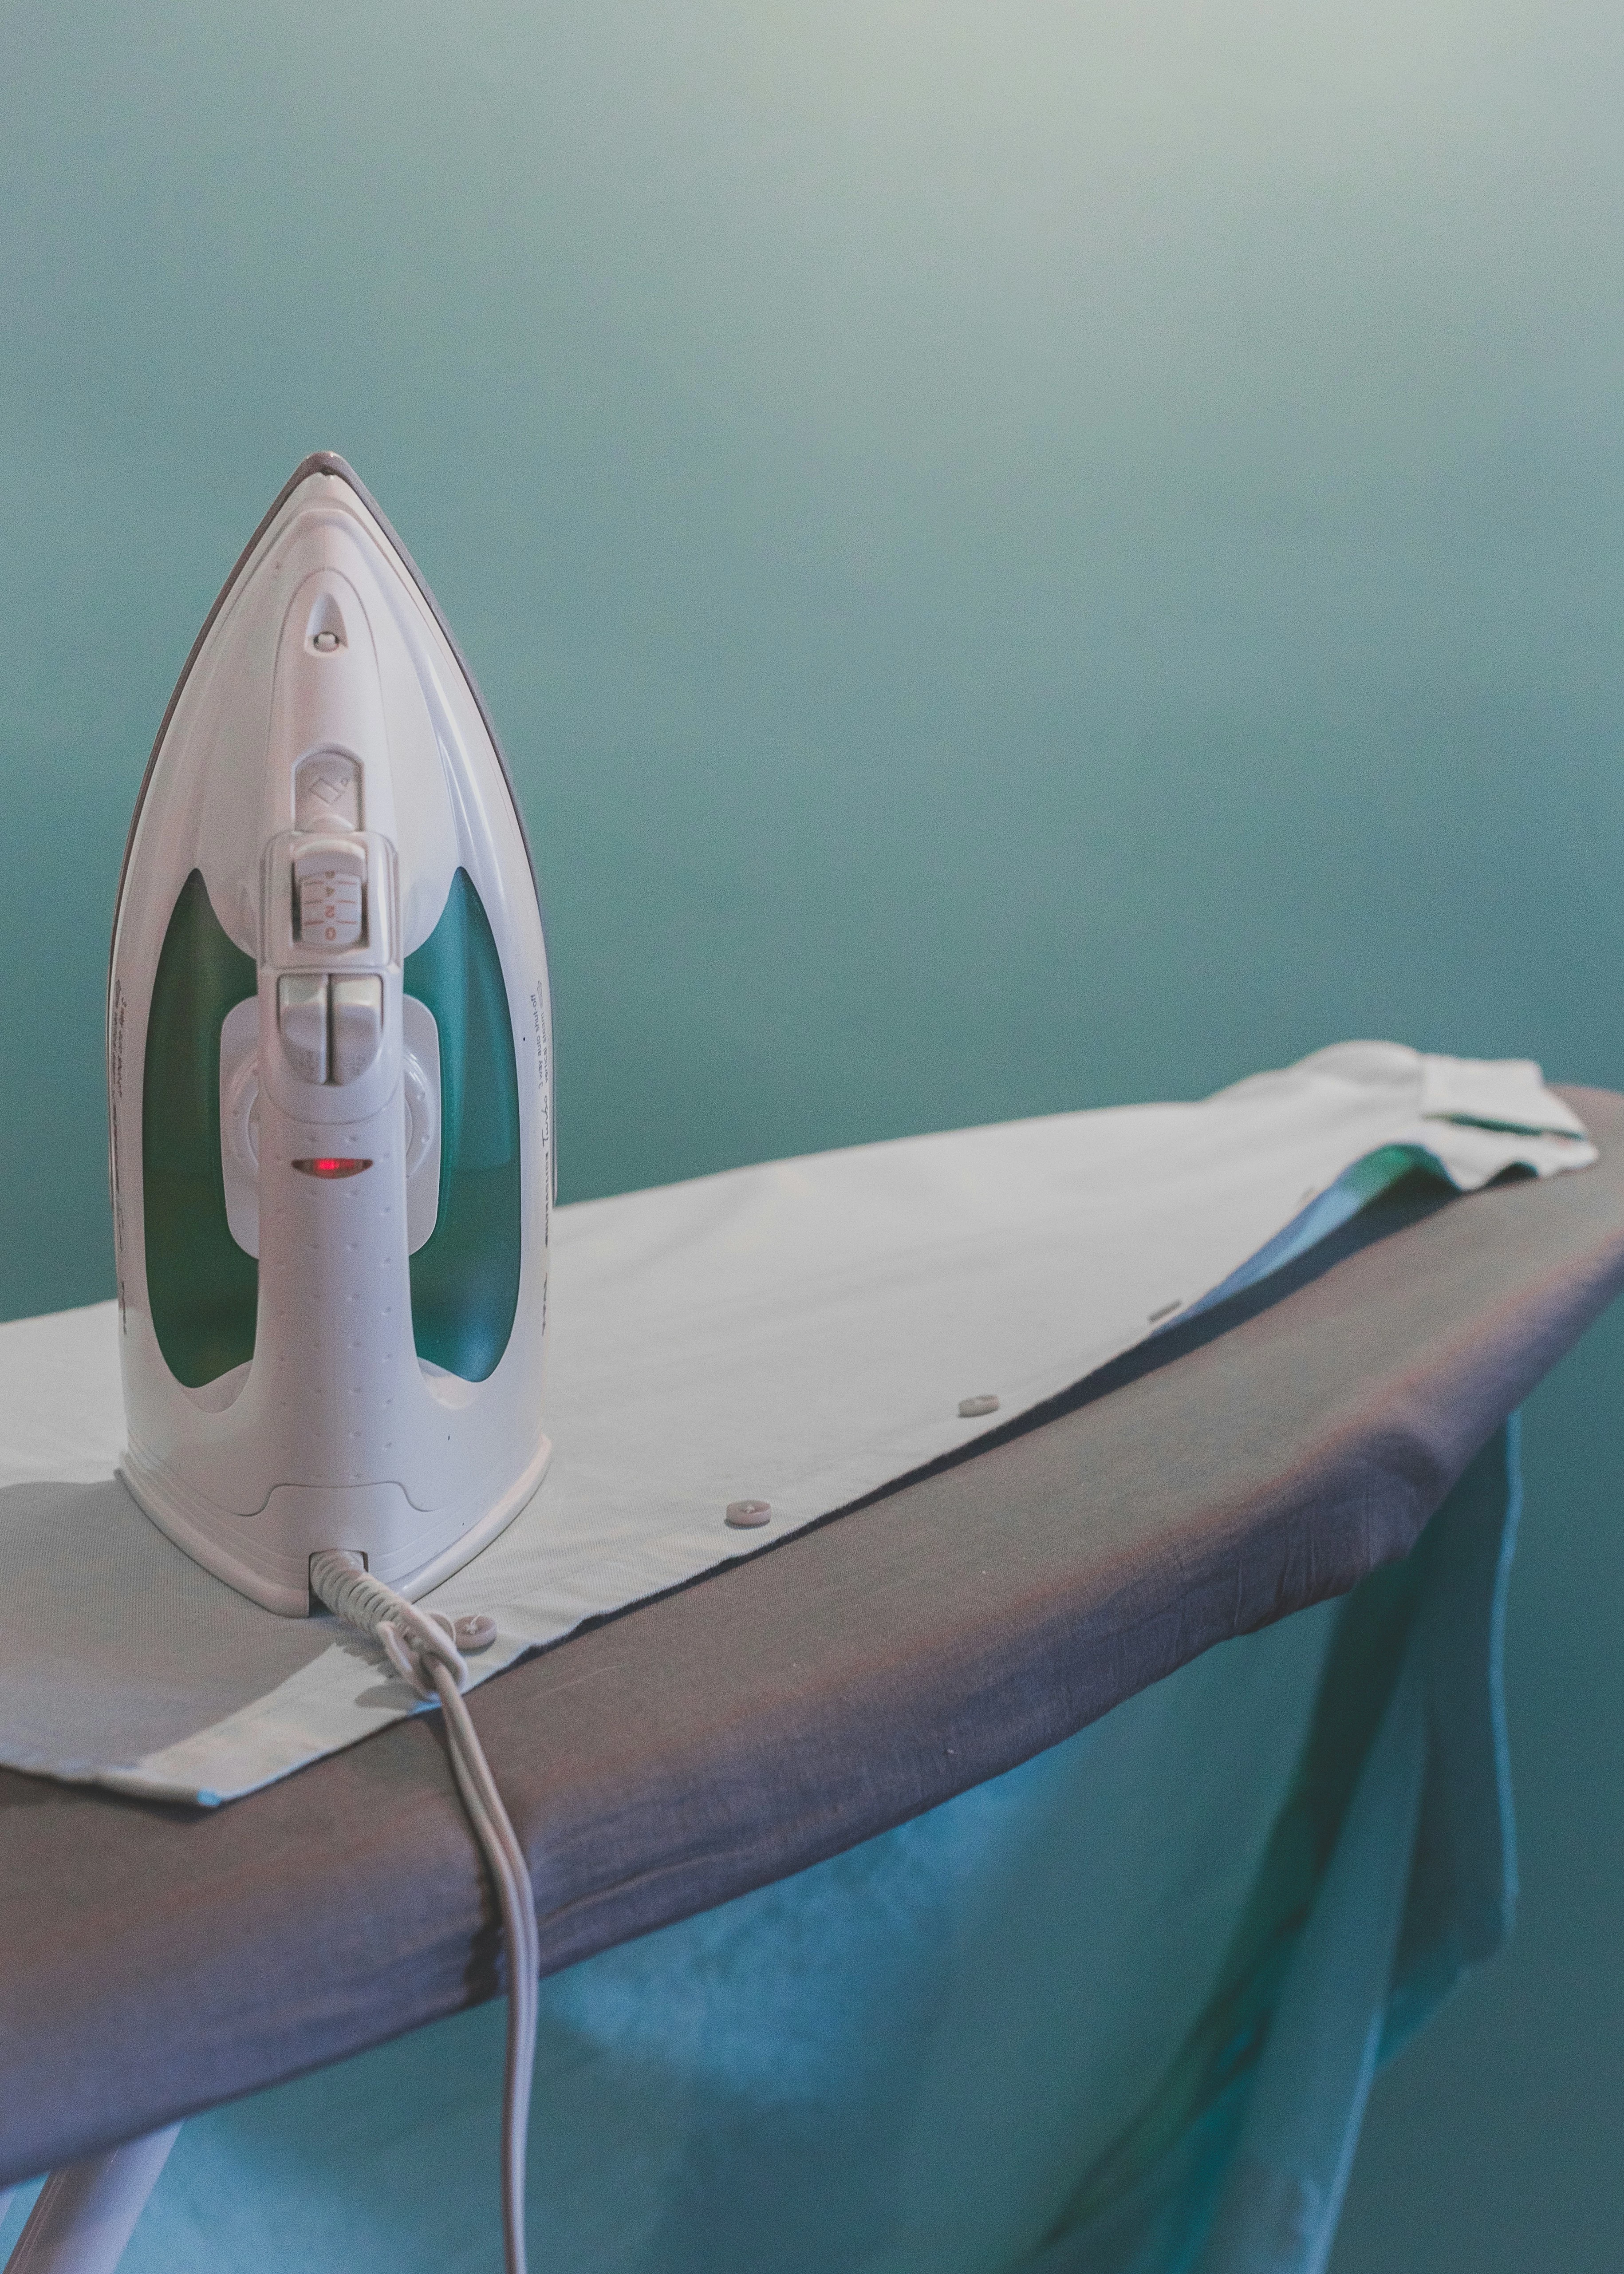
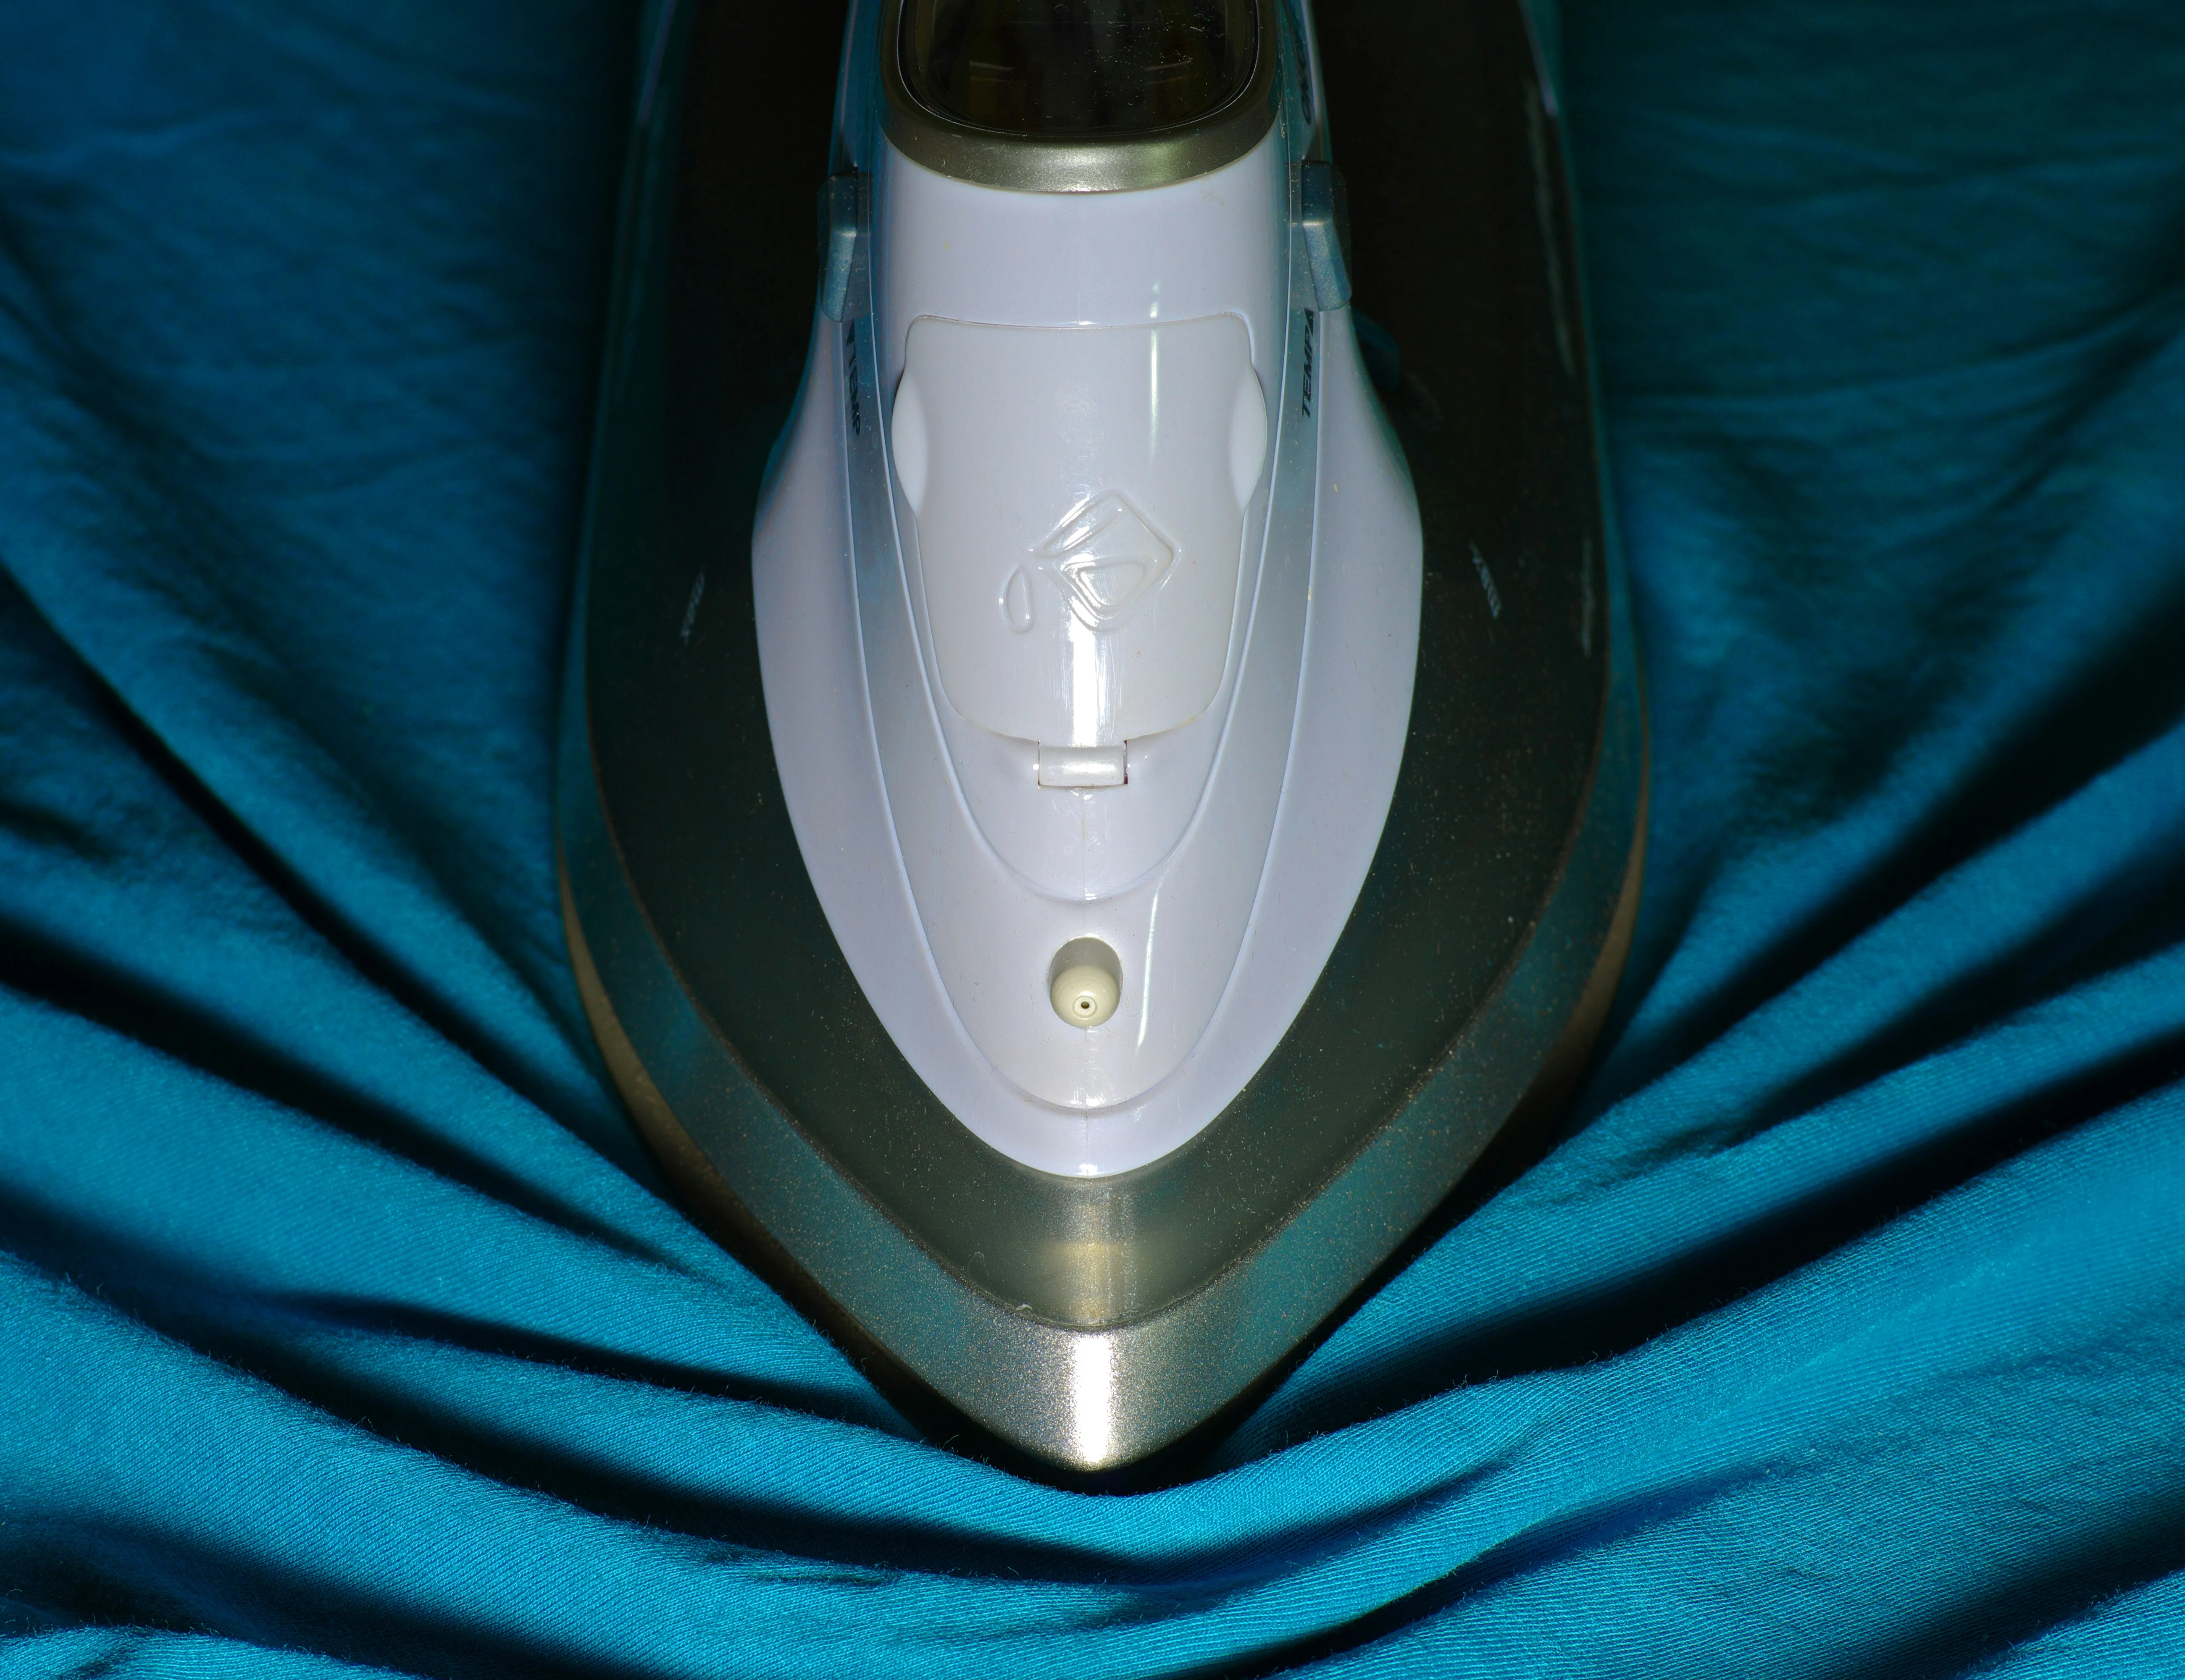
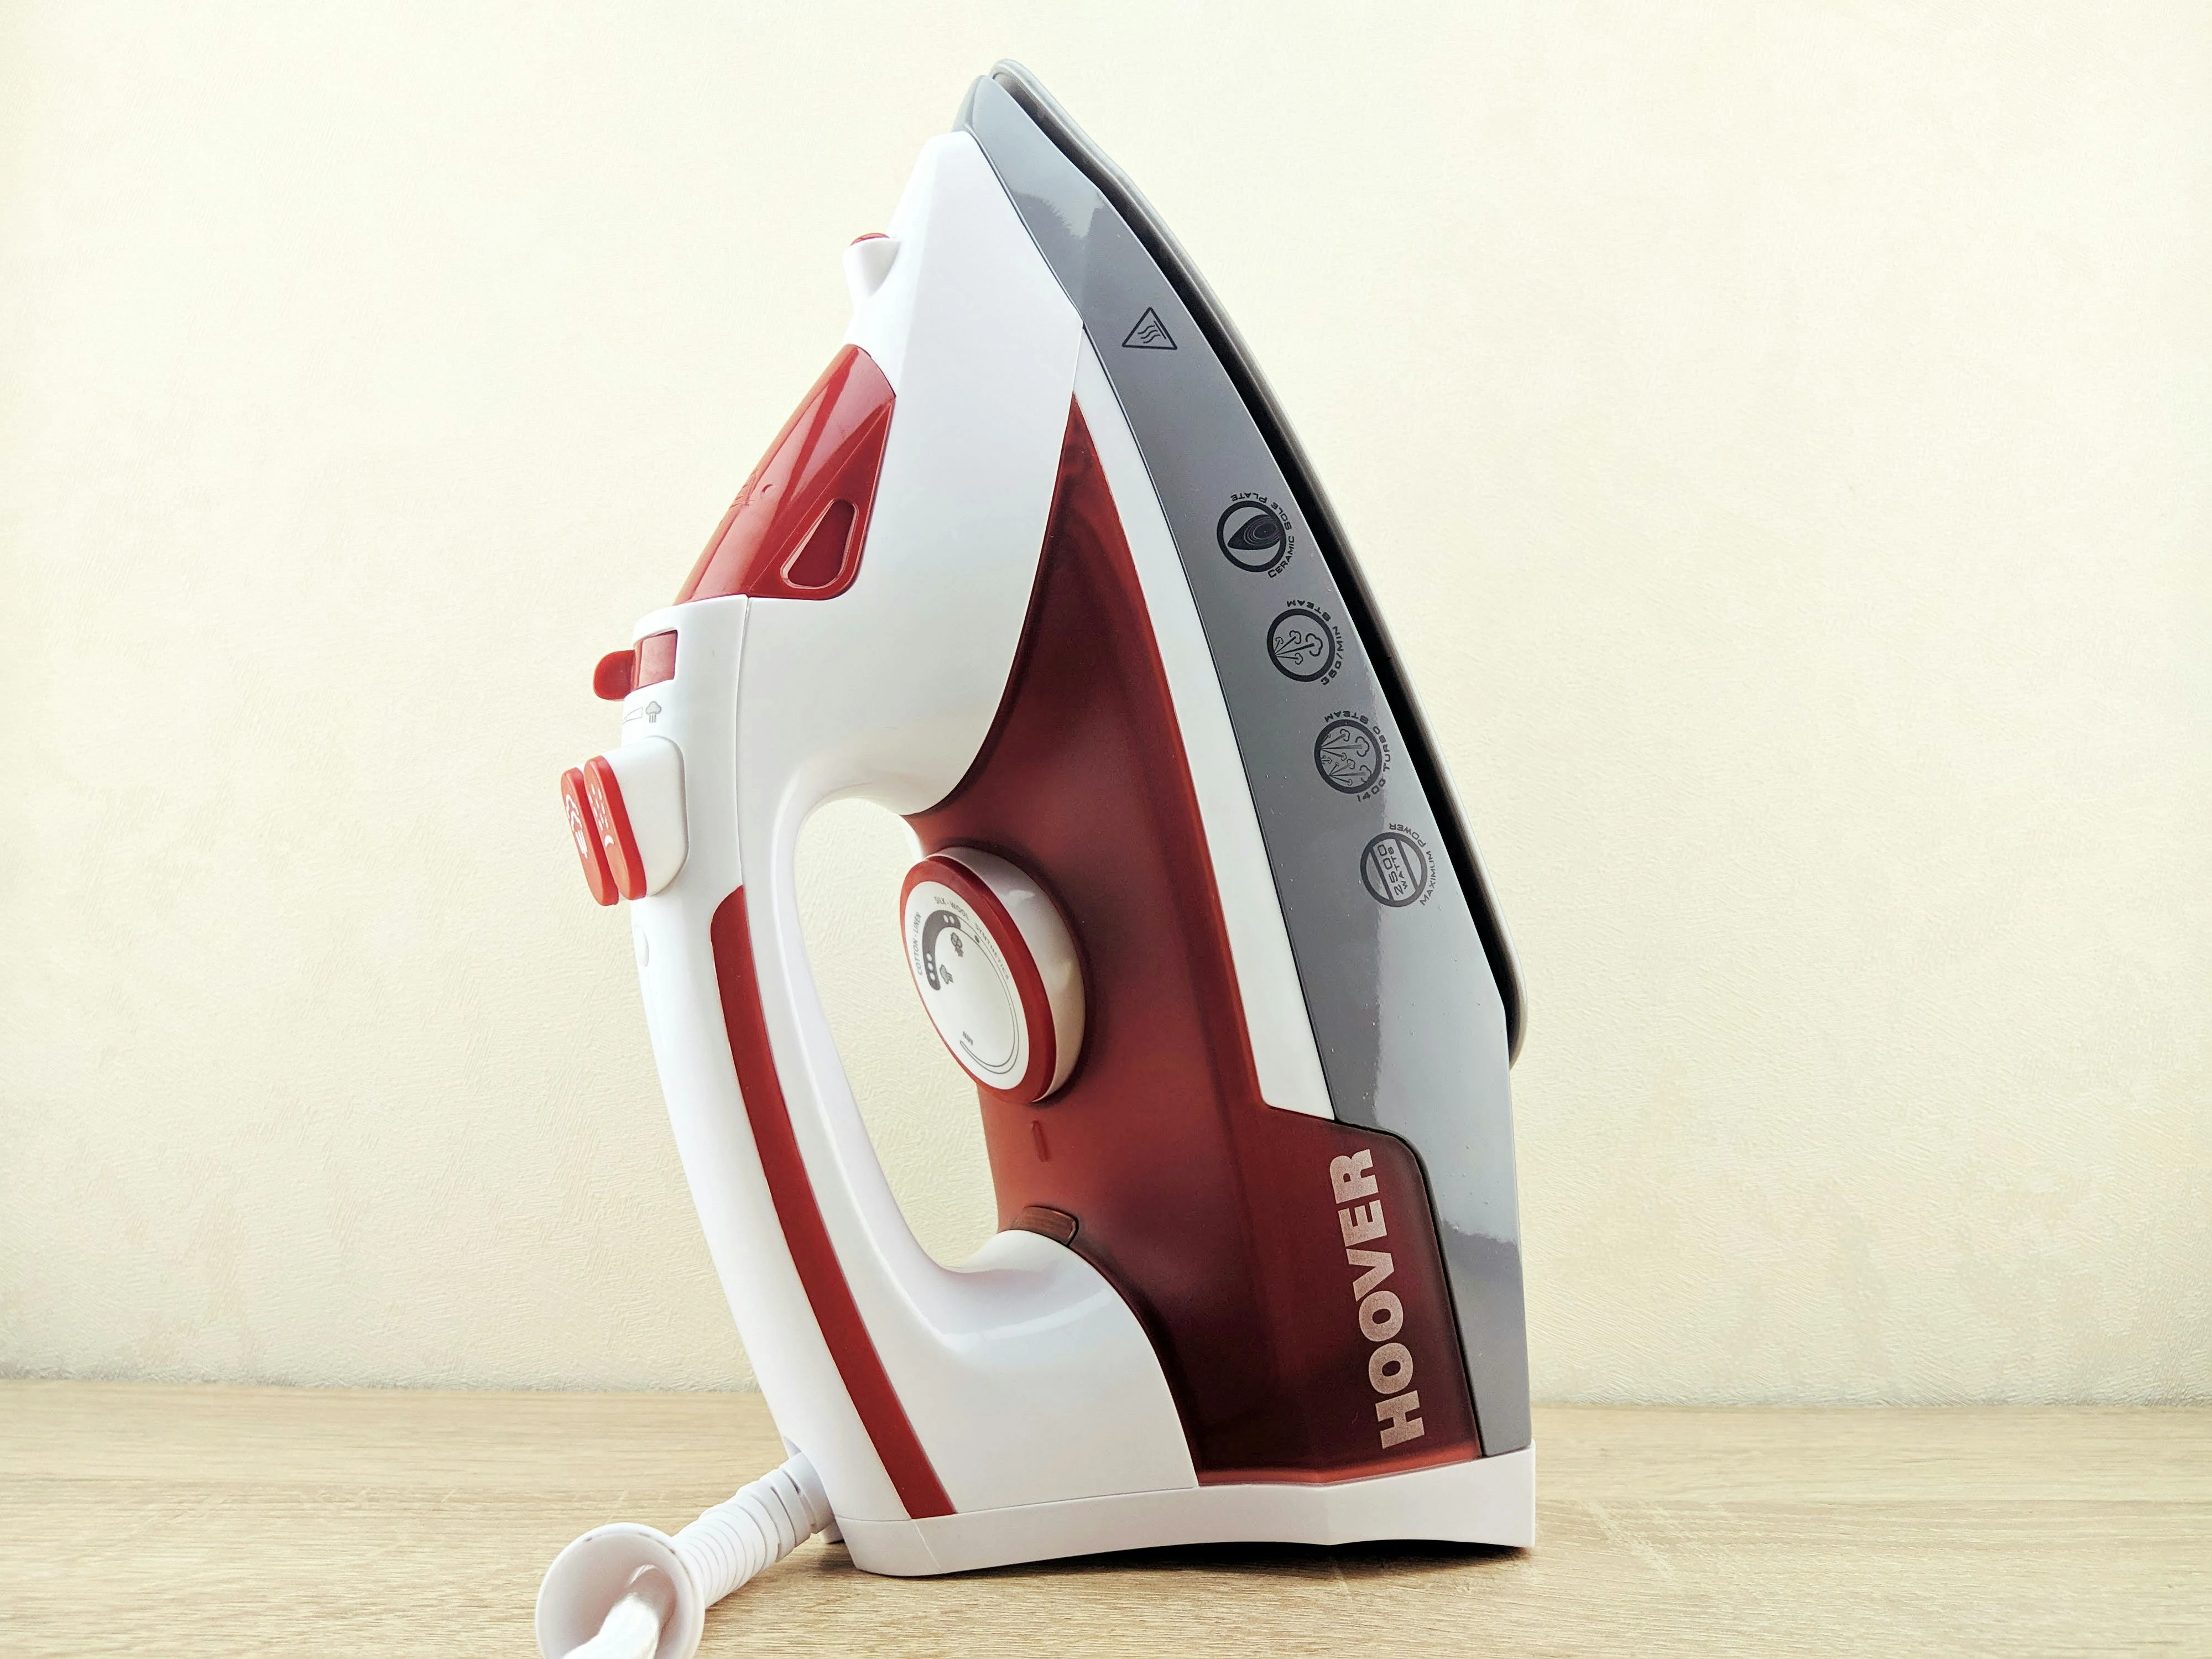
Let’s be frank: that flimsy, $15 iron with a thermostat that’s more of a suggestion than a setting is a recipe for disaster. You need an iron with a clean base and a reliable temperature dial. Look for one with clear markings for synthetics. If yours just has numbers, a good rule of thumb is to start at the lowest setting, usually 1 or 2. A good steam iron with a ceramic plate will glide smoothly and costs between $40 and $70. It’s a worthy investment that will last you for years.

By the way, before every single use, flip your iron over and look at it. Any gunk or discoloration on there? You have to clean it. A simple trick is to make a paste with about 2 tablespoons of baking soda and 1 tablespoon of water. Rub it on the cool iron plate with a soft cloth, then wipe it completely clean.
Okay, But Can I Just Use a Steamer?
Great question. A lot of people wonder if they can skip the iron altogether. Here’s the deal:
- A handheld steamer (around $30-$60) is fantastic for delicate polyesters like chiffon or anything with a texture you don’t want to flatten. It’s also great for a quick de-wrinkle before you run out the door.
- An iron is what you need for a truly crisp, sharp finish. Think sharp creases on trousers or a perfectly flat collar. The direct, controlled heat and pressure give a structure that steam alone can’t.
For a well-rounded wardrobe, having both is ideal. But if you have to choose one, think about what you wear most. Flowy dresses? Get a steamer. Structured work shirts? Get a good iron.
The Non-Negotiable Tool: A Pressing Cloth
This is the most important tool for ironing polyester, and it is absolutely not optional. A pressing cloth is just a piece of fabric you put between your iron and your garment. It diffuses the heat to prevent direct contact (and those shiny spots) and protects your iron from any gunk on the clothing.
You don’t need to buy a fancy one. A clean, white, 100% cotton pillowcase or a fine-weave tea towel works perfectly. You can also grab a yard of muslin from a fabric store for about $5. Just don’t use anything colored (the dye might transfer) or synthetic (it could melt!).
And the Rest…
A sturdy, stable ironing board is a must. If the cover is getting thin and you can see the metal mesh pattern, you’re going to iron that pattern right into your clothes. A new pad and cover set is only about $15-$25 at places like Target or online. Also, grab a cheap spray bottle. Having one gives you way more control over moisture than the often spitty, unpredictable steam function on an iron.
Always Check the Care Label (Seriously)
Before you do anything, find that little tag inside your garment. The manufacturer is telling you exactly how to take care of their product. Here’s how to decode the iron symbol:
- One dot (•): Low heat. This is your setting for polyester, nylon, and other synthetics.
- Two dots (••): Medium heat, for things like wool.
- Three dots (•••): High heat, reserved for cotton and linen.
- An iron with an X through it: Do Not Iron. Take this seriously!
Heads up! Sometimes you’ll find a 100% polyester garment with a “Do Not Iron” tag. This can be confusing. It usually means the fabric has a special finish, a delicate texture (like a crinkle fabric), or maybe some hidden spandex fibers that heat will destroy. In these cases, trust the tag. If you’re feeling brave, you can test a steamer very carefully on an inside seam, but never an iron.
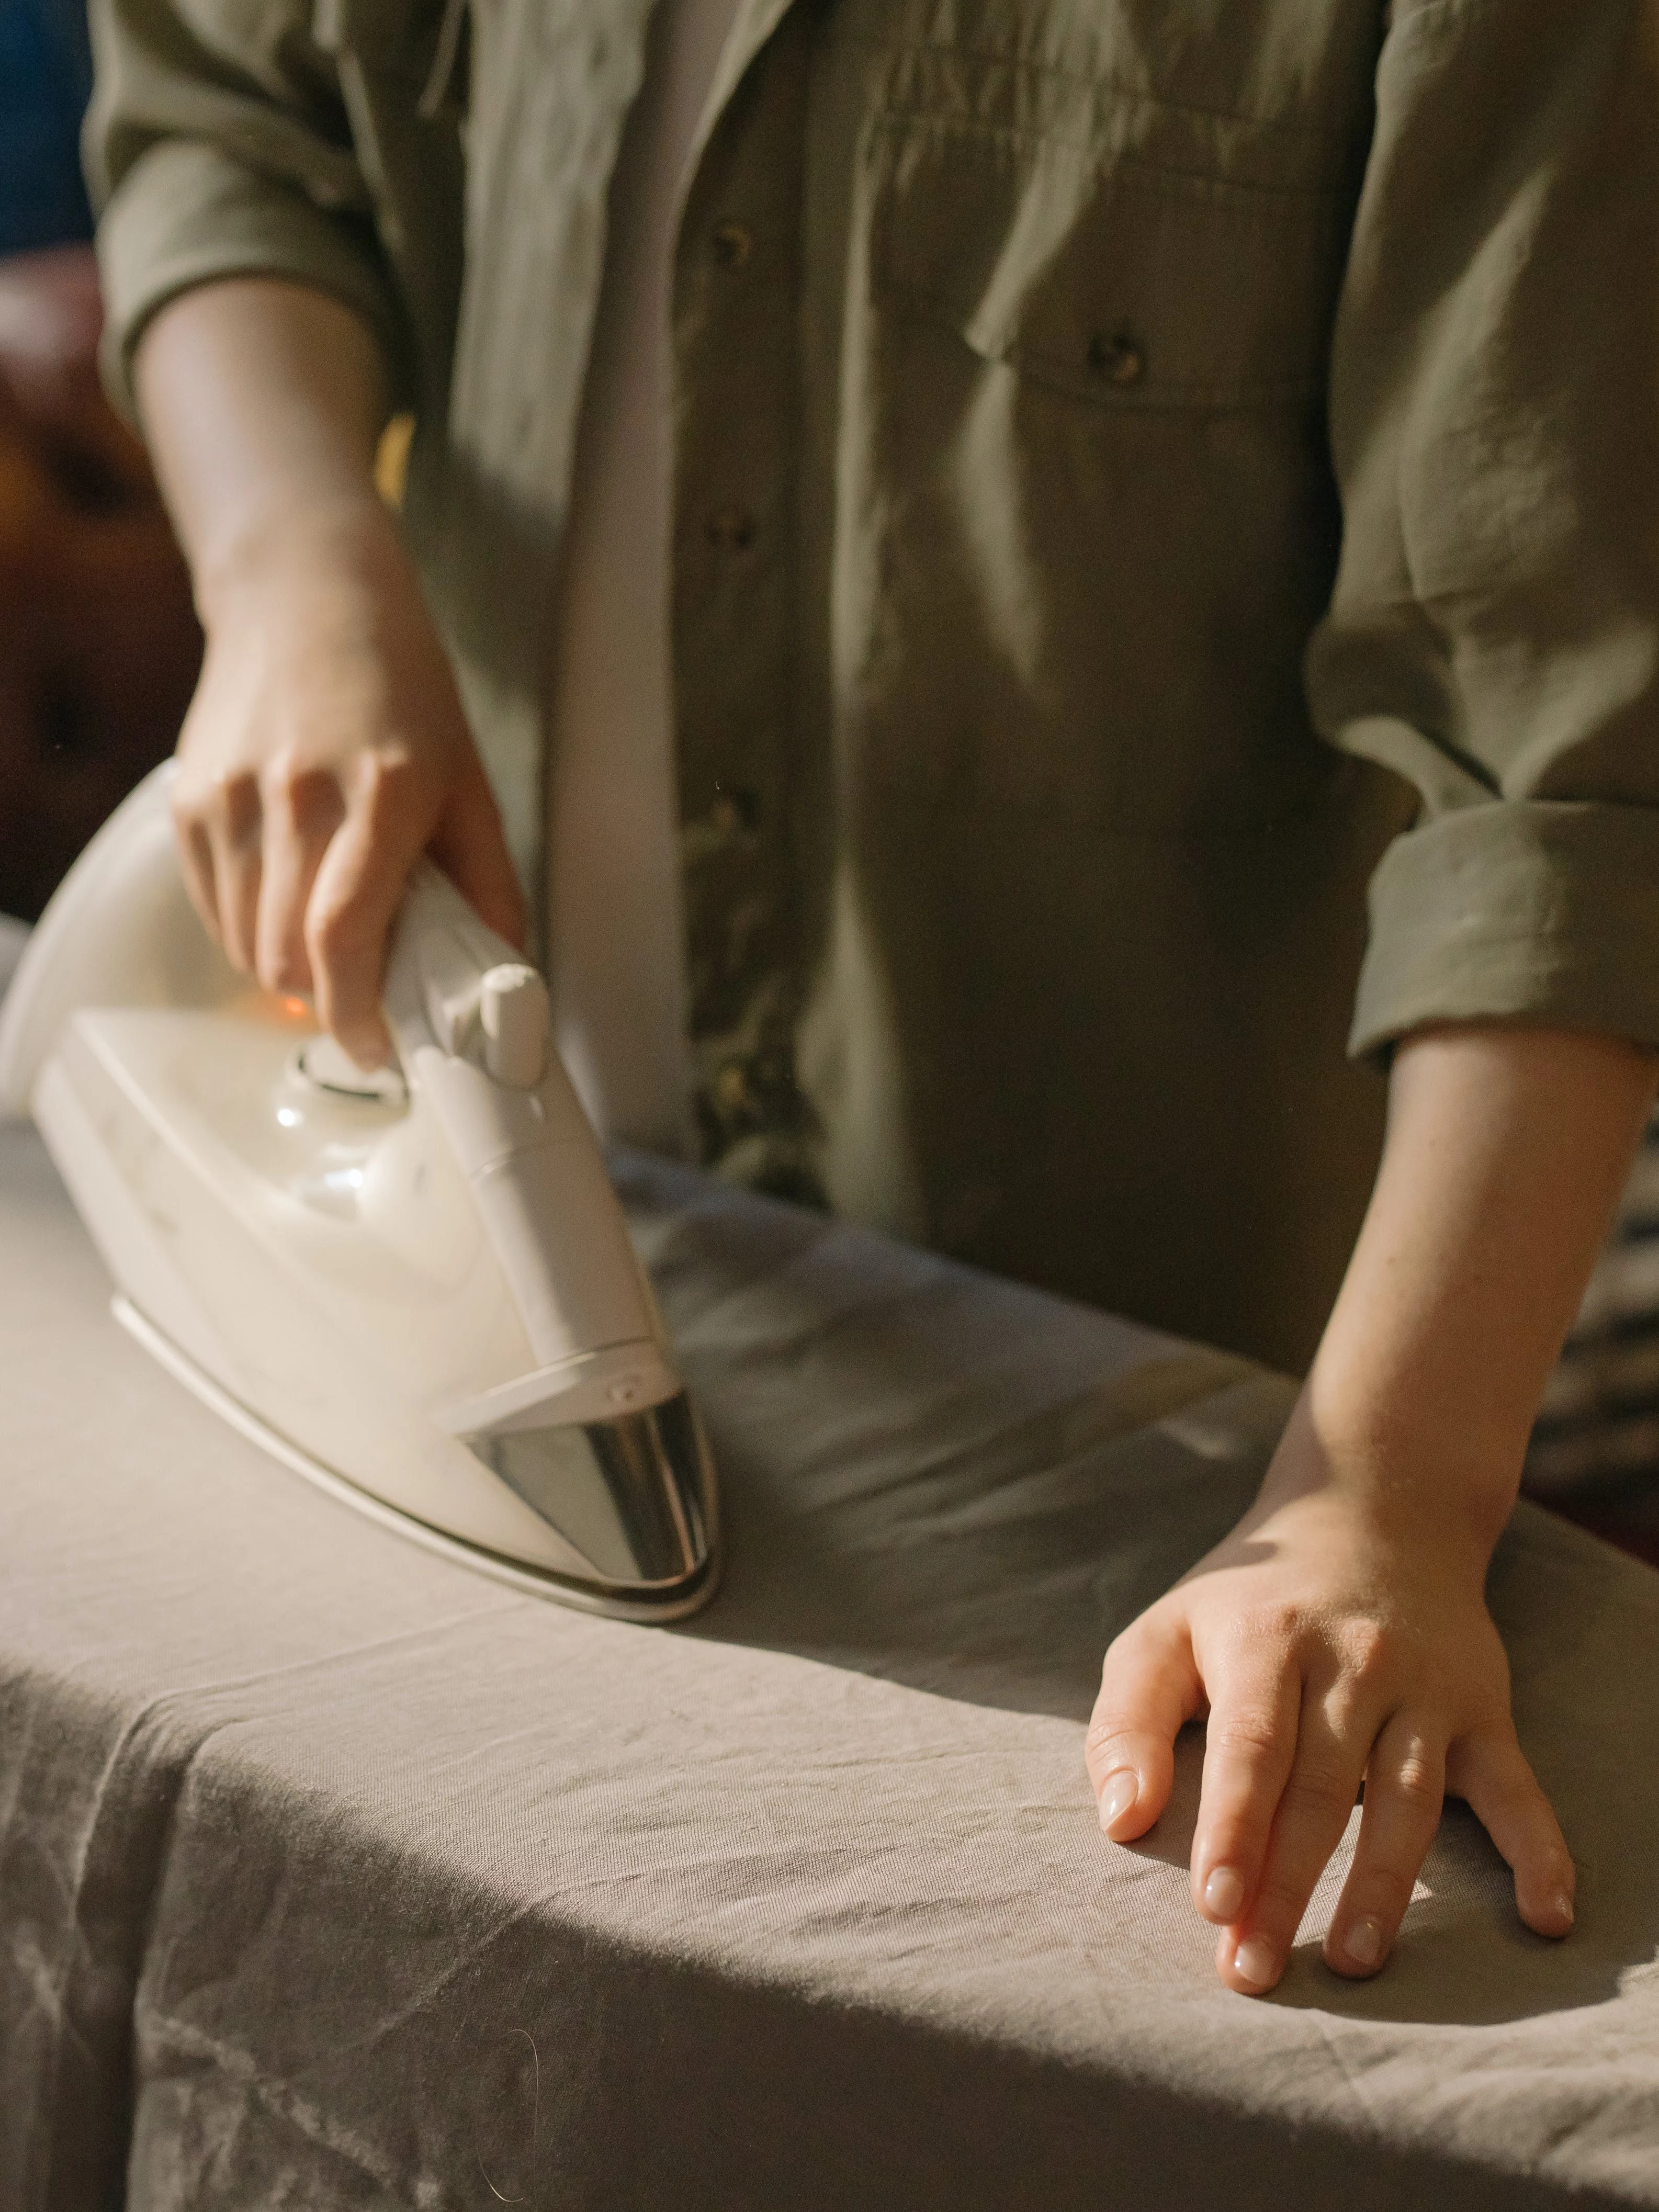
The Pro Method: Step-by-Step Pressing
Notice I said “pressing,” not “ironing.” Ironing is sliding the hot metal back and forth. Pressing is a more deliberate lift-and-place motion. This prevents you from stretching the fabric, which is super easy to do when synthetics are warm.
1. Turn It Inside Out. This is your simplest and best defense. If you do make a small mistake, it’ll be on the inside where no one can see it.
2. Start Low and Slow. Set your iron to the lowest heat setting (Synthetics or •) and let it heat up completely. You can always inch the temperature up if needed, but you can never, ever undo a melt.
3. Test in a Hidden Spot. Never go straight for the middle of the chest. Always test first on an inside seam allowance or the fabric behind a pocket. Press for a few seconds, let it cool, and check for any changes. If it looks good, you’re clear to proceed.
4. Dampen the Fabric. Don’t press dry polyester. It’s stubborn. Lightly mist the garment with your spray bottle OR dampen your pressing cloth. It should be damp, not sopping wet.
5. Use Your Pressing Cloth. Lay it flat and smooth over the area you’re about to press.
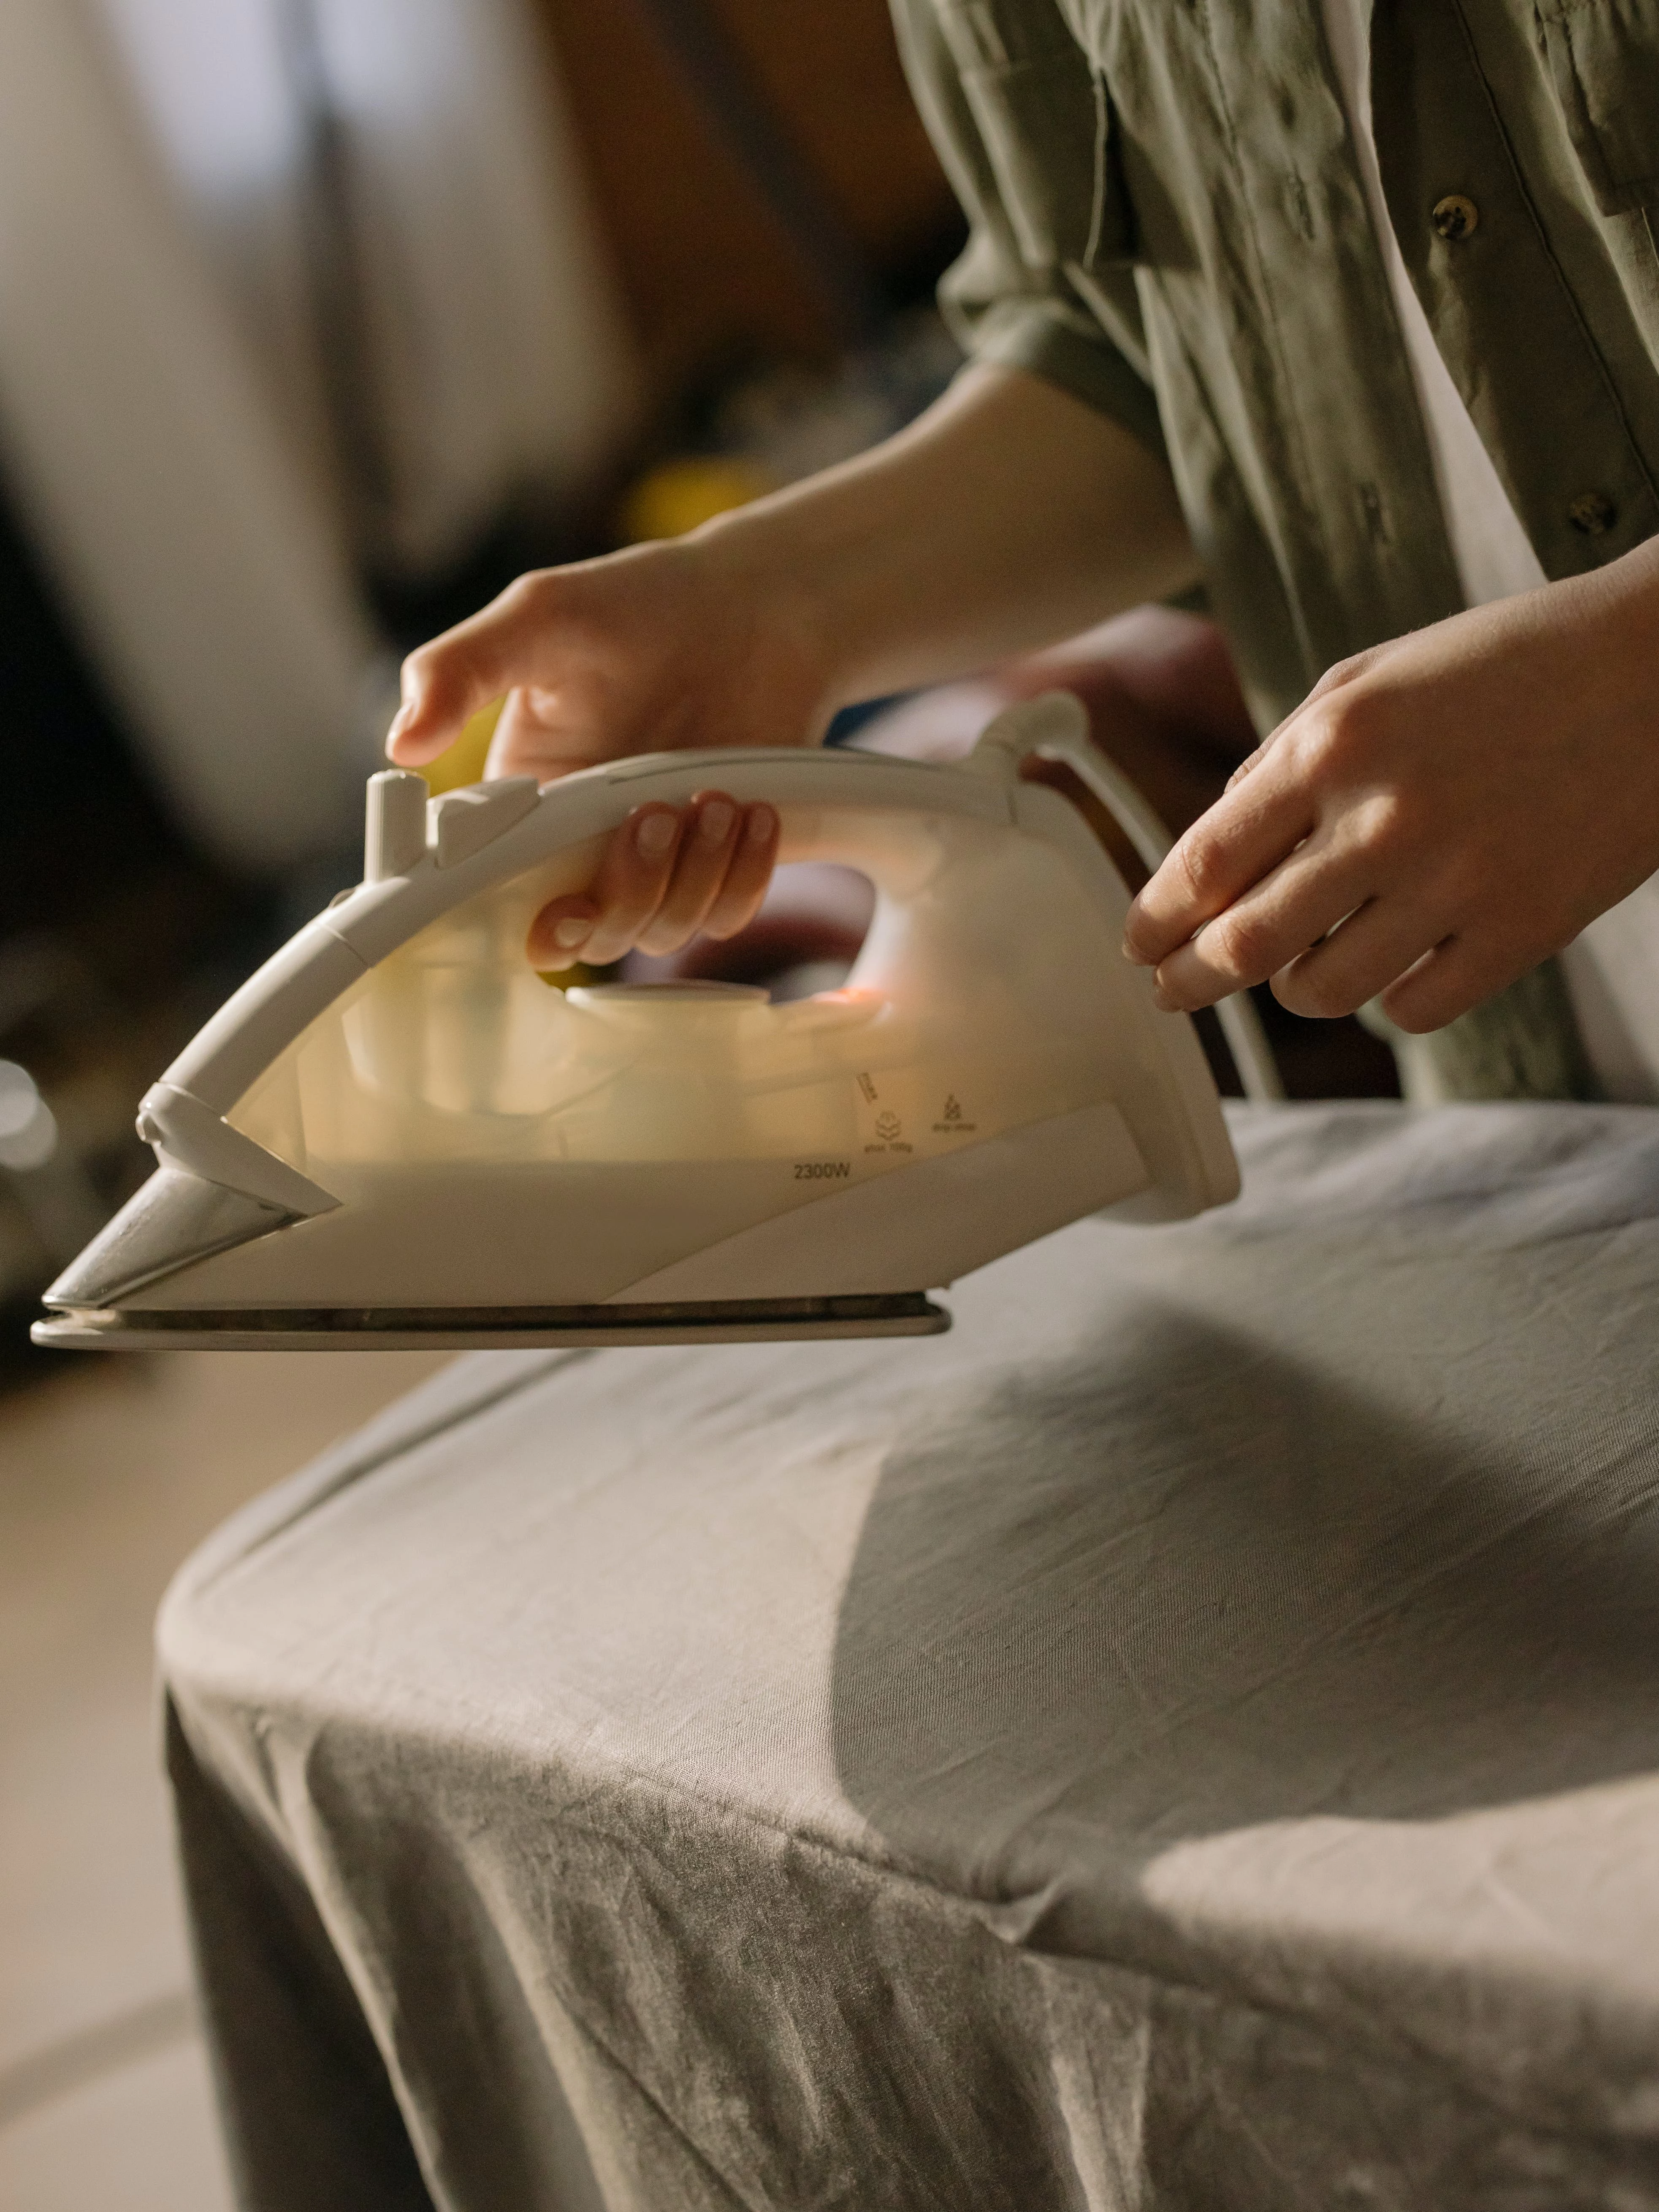
6. Press. Lift. Repeat. This is the key. Place the iron on the pressing cloth, apply light pressure for just a few seconds (2-4 seconds is plenty), and lift it straight up. Move to an overlapping section and repeat. This methodical process lets the steam do the work without scorching anything.
7. Hang It Up Immediately. The smooth finish gets locked in as the fabric cools. As soon as you’re done with a garment, hang it on a proper hanger (not a flimsy wire one!). Let it cool completely for at least 15 minutes before you wear it or cram it in your closet.

In a Rush? Okay, look. If you have no time for the full process, here’s the quick-and-dirty version. Turn the garment inside out, give the worst wrinkles a quick spritz of water, throw a tea towel over the spot, and press for 3 seconds. It won’t be perfect, but it’ll get you out the door without looking like you slept in your clothes.
Troubleshooting Common Problems
Even when you’re careful, things can get tricky. Here’s how to handle it.
Those Horrible, Deep Wrinkles
If you have a crease that just won’t budge, your first instinct is to turn up the heat. Don’t do it! Instead, increase the moisture. Use a slightly wetter pressing cloth. The extra water creates more steam, which is what actually relaxes the fibers. You might have to press the spot a couple of times, letting it cool in between.
Help, I Made a Shiny Spot!
I get asked this all the time. Can it be fixed? The honest answer is… almost never. The shine means the fibers are physically melted. Prevention is truly the only cure. I learned this the hard way myself on a pair of navy blue trousers I loved. I was in a hurry, skipped the pressing cloth, and left a perfect, shiny iron-shaped mark right on the thigh. They were ruined. It was a painful lesson, but one I only had to learn once!
Working with Pleats, Blends, and Textures
- For Pleats: Use one hand to hold the pleat in its original shape. You can even use small metal hair clips to hold the pleats in place at the waistband. Press in small sections down the length of the pleat, always using your cloth.
- For Blends (like Poly-Cotton): Always, always use the iron setting for the most delicate fiber in the blend. So for poly-cotton, you use the low-heat polyester setting. The cotton can take more heat, but the polyester can’t.
- For Textures (like Crepe or Chiffon): For these, a vertical steamer is your best friend. If you must use an iron, use almost no pressure and a damp cloth. You want the steam to relax the wrinkles, not the weight of the iron to flatten the fabric’s natural texture.
Learning this skill just takes a little more thought than blasting a cotton t-shirt. But once you get the hang of it, you’ll keep your clothes looking brand new for years. You’ll avoid those costly, irreversible mistakes and feel way more confident at the ironing board. Take your time, respect the fabric, and you’ll be golden.

Galerie d’inspiration


The Ironing Alternative: Is a Steamer Better for Polyester?
For many polyester garments, especially flowy dresses, blouses, or items with delicate pleats, a garment steamer is your best friend. It uses hot moisture to relax the fibers without the direct, high-pressure heat of an iron, virtually eliminating the risk of melting or creating a shine. A handheld model like the Conair Turbo ExtremeSteam is perfect for quick touch-ups. However, for achieving sharp, crisp creases on polyester trousers or a structured collar, a traditional iron used with a press cloth remains the superior tool. The choice depends on the finish you need.
More than 60% of all PET produced globally—the same plastic used in water bottles—is used to make polyester fibers for textiles.
This fact highlights why polyester is so sensitive to heat: it’s fundamentally a plastic. Treating it with the same care you would any heat-sensitive material is key. This is also why washing in cold water and air-drying not only protects the fabric’s integrity but is also a more sustainable choice, reducing both energy consumption and the release of microplastics.


