Want to Grow an Orange Tree from a Seed? Here’s How to Actually Do It
I’ve been working with plants for years, from big commercial operations to my own little greenhouse, and one question pops up all the time: can you really grow an orange tree from a seed? The answer is a big YES, and it’s a fantastic project. But let’s be honest from the get-go. Growing a tree from a seed you pocketed from your morning orange is a long game. It’s a journey of patience that could take a decade or more to give you fruit—if it fruits at all.
In this article
That surprises a lot of people. They picture a mini version of the tree the orange came from. The reality is a little more fascinating. The tree you grow will be gorgeous. Its leaves will release that amazing sweet citrus smell when you brush past them, and it’ll bring a splash of green into your home. The fruit, though? It might be nothing like the one you originally ate. For most of us who take this on, the goal isn’t a quick harvest. It’s about the satisfaction of nurturing life from a tiny, unassuming seed. This guide will walk you through it, the way the pros do it, covering the science, the steps, and what to really expect.
First Things First: What’s This Hobby Going to Cost?
Good news! This is a super affordable project. You can get everything you need to start for less than a night out. Here’s a quick shopping list to give you an idea:
- Small Pots: You’ll need a few 3 or 4-inch pots with drainage holes. These are usually super cheap, maybe $1-$2 each at a local garden center.
- Good Potting Soil: This is where you don’t want to skimp. Look for a bag of pre-made “Citrus Potting Mix.” A small bag will run you about $10-$15 and last a long time.
- Optional Grow Light: If you don’t have a super sunny south-facing window, a simple LED grow light bulb can be a game-changer. You can find them for around $20 online or at places like Home Depot.
So, you can easily get started for under $40, and the main ingredient—the seed—is free!
The Cool Science Inside an Orange Seed
Before we get our hands dirty, it helps to understand what you’re working with. Knowing a little bit of the science behind the seed turns this from a guessing game into a skill. It’s the difference between a lucky sprout and consistent success.
Citrus seeds have a neat trick up their sleeve called polyembryony. It just means that a single seed can hold several embryos, and they aren’t all the same. Think of it like a surprise package. Inside, you’ll usually find two types of potential trees.
First, there’s what we call a zygotic embryo. This is the normal result of plant reproduction—pollen from one flower met an ovule in another. This little guy carries genes from two parent plants, so it’s a total wild card. The tree it grows into might have weird fruit, or no fruit, or be a bit scrawny. It’s a genetic lottery.
But the ones we’re really hoping for are the nucellar embryos. These are the cool ones. They aren’t a product of pollination; they are literal clones of the mother tree. They grow from the tissue surrounding the embryo sac. So, a seedling from a nucellar embryo will be a genetic copy of the parent, with the same fruit quality and growth habits. Your job, down the line, will be to spot and keep these stronger, clone seedlings.
Step 1: Getting Your Seeds Ready
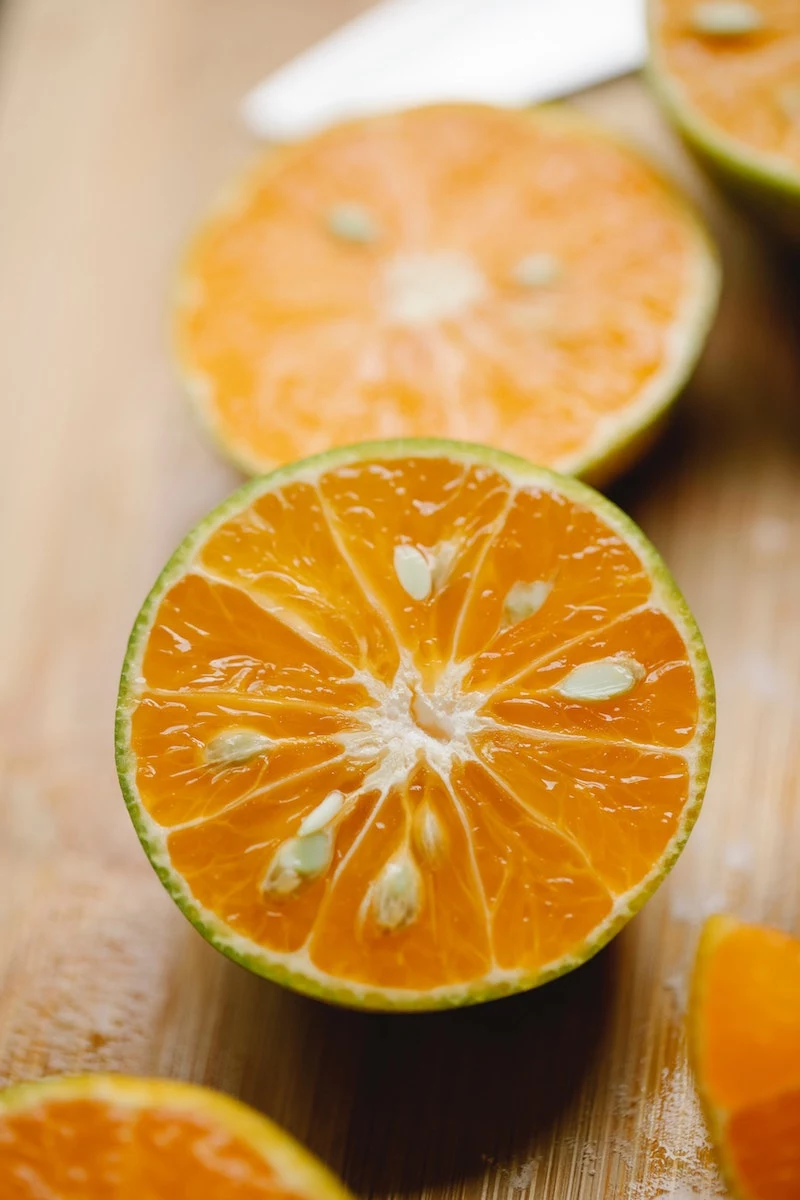
Your journey begins with picking the right seeds. Not all grocery store oranges are good candidates. Modern varieties like Navel oranges are usually seedless. You’ll have much better luck with types known for having seeds. Think Valencia oranges, tangerines, Meyer lemons, Key limes, or Tangelos.
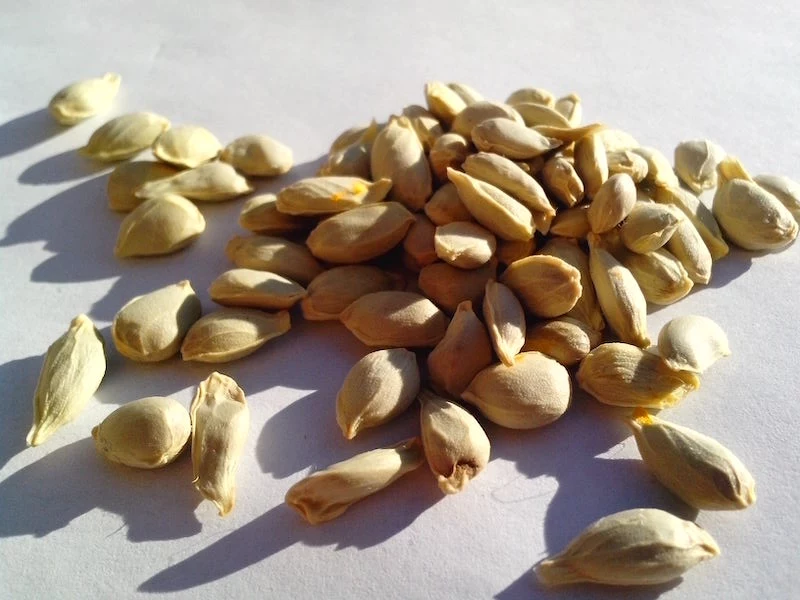
Choose and Clean Your Seeds
When you find your seeds, be gentle. Pick out the ones that look plump and feel firm. Toss any that are flat, shriveled, or feel empty. Pro tip: always collect more seeds than you plan to grow. It’s a basic rule of thumb in horticulture; you always plan for a few duds.
Now for a crucial step: cleaning. Any pulp or sugar left on the seed is just asking for mold to show up and ruin your project. I’ll never forget the first time I tried this and came back to a Ziploc bag full of green fuzz because I didn’t clean the seeds properly. A rookie mistake, but we’ve all been there! Wash them under cool water, gently rubbing them until they’re no longer sticky or slippery. Then, just pat them dry.
A Little Trick to Speed Things Up
The hard outer shell of the seed can slow down water absorption. If you want to give your seeds a helping hand, you can lightly scarify them. It sounds intense, but it just means gently roughing up the seed coat.
- The Soak Method: This is the easiest and safest. Just drop your clean seeds in a cup of warm water and let them sit for 24 hours. This softens the shell and gives the embryo a wake-up call.
- The Nicking Method: If you have a steady hand, you can use nail clippers to snip the tiniest bit off the pointed end of the seed. Be super careful not to cut into the seed itself!
- The Sandpaper Method: Gently rub one side of the seed on some fine-grit sandpaper. A few swipes are all you need.
This step is totally optional, but I find it can shave a week or more off the germination time.
Step 2: Time to Sprout!
Okay, your seeds are prepped and ready for the magic to happen. The key ingredients are moisture, warmth, and darkness. I’ve got two reliable methods for you.
Method 1: The Paper Towel Trick
This is my favorite because you can see what’s happening. You’ll know exactly which seeds are viable before they even touch soil.
Just moisten a paper towel—it should be damp, not sopping wet. Place your seeds on one half, leaving at least an inch between them. Fold the other half over, slide the whole thing into a zip-top bag (leave it slightly open for air), and put it somewhere warm and dark, like on top of your fridge. Check it every few days. In one to three weeks, you should see a tiny white taproot. That’s your green light!
Method 2: Straight into the Soil
This way is simpler and you don’t risk damaging that delicate little root when you transplant. The only downside is the suspense—you won’t know what’s happening until a sprout pokes through the dirt.
Fill small pots with a sterile seed-starting mix, moisten it, and plant one seed about half an inch deep in each pot. Cover the pots with plastic wrap to create a mini-greenhouse, and place them somewhere warm. Keep the soil moist, and once you see a green shoot, take off the plastic and move the pot to a spot with bright, indirect light.
So, which method is better? Honestly, it’s personal preference. The paper towel method gives you more control and a better success rate since you only plant sprouted seeds. But the direct-sow method is less work and avoids the delicate transplanting step. For a beginner, I’d probably lean toward the paper towel method just so you can see the process unfold.
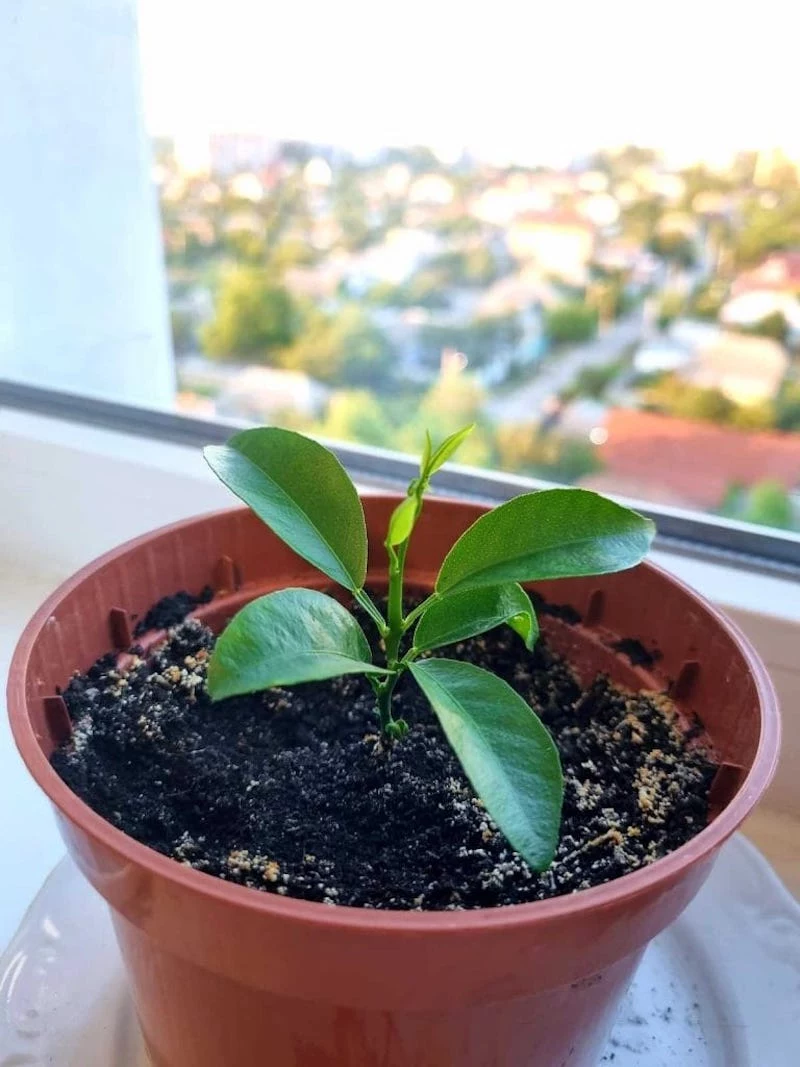
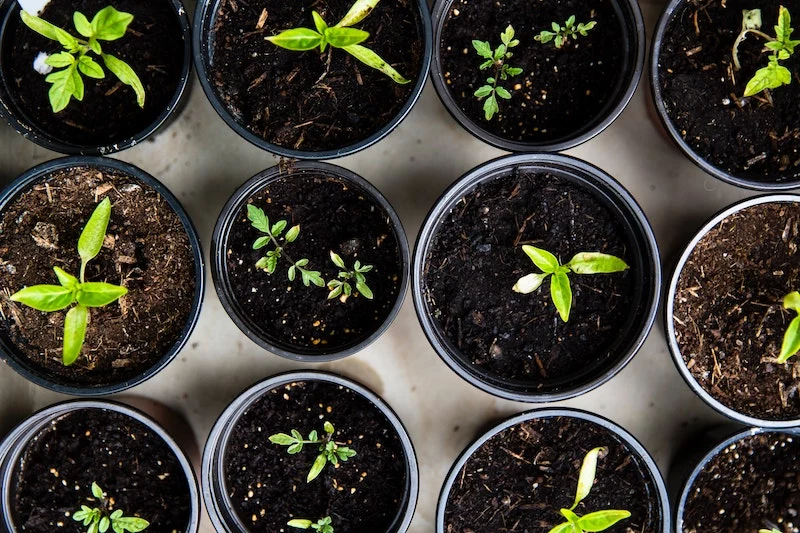
Step 3: Potting Your New Seedlings
Once you have a healthy-looking taproot, it’s time to move your sprout to its first real home. Go easy here; that new root is incredibly fragile.
The Right Home and a Good Meal
For the first pot, think small—a 3 or 4-inch pot is perfect. A pot that’s too big holds too much water and can lead to root rot, the number one killer of seedlings. And I can’t stress this enough: it MUST have drainage holes.
For soil, that citrus-specific potting mix is your best bet. If you want to mix your own, a great blend is one part peat moss (or coco coir), one part perlite for drainage, and one part compost for nutrients. Please, never use heavy soil from your garden; it gets rock-hard in pots and chokes the roots.
When you’re ready, fill your pot with moist soil, poke a small hole, and gently place the sprout inside with the root pointing down. The seed itself should be just under the surface. Firm the soil around it, and give it a good watering until it runs out the bottom.
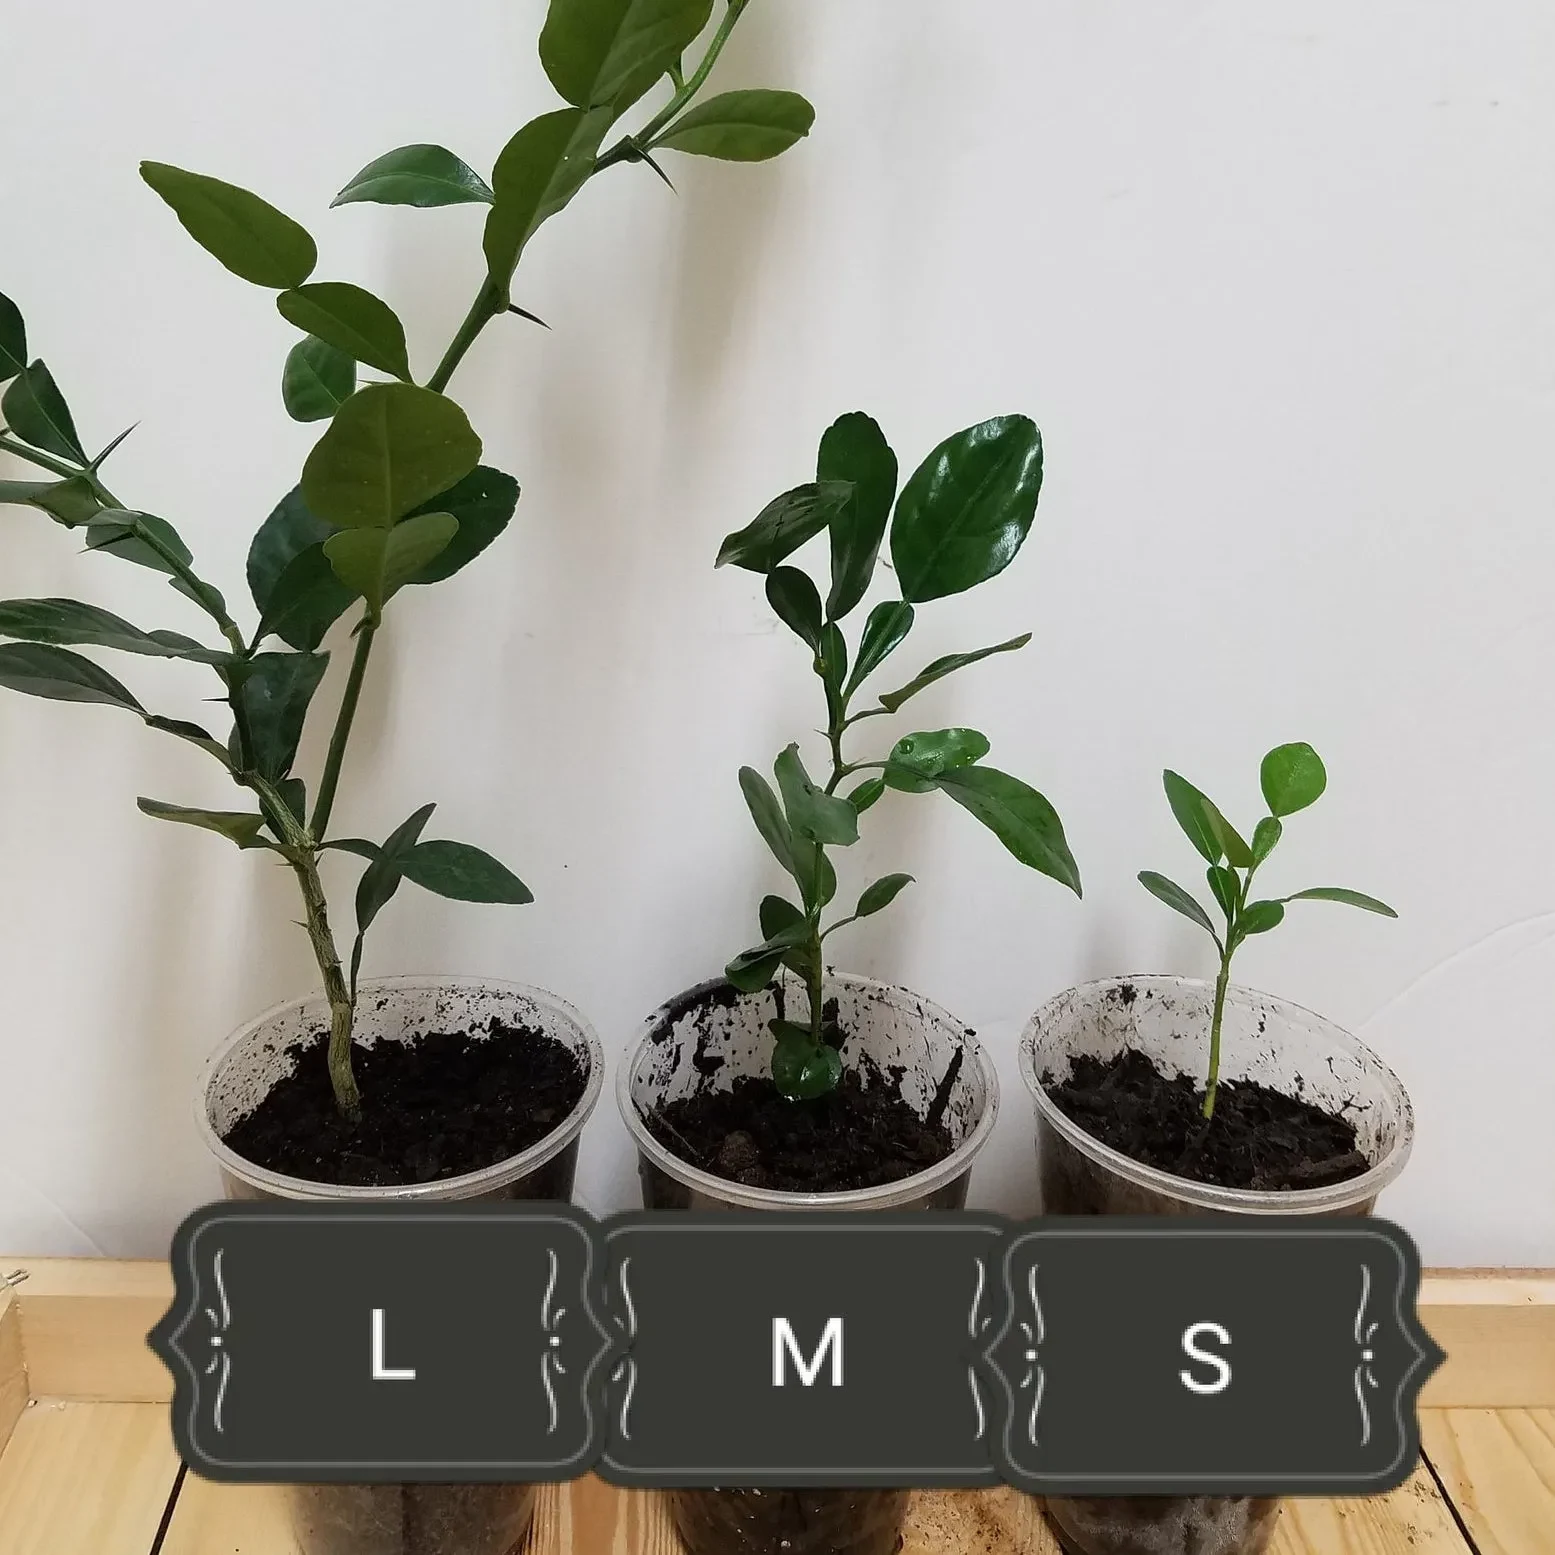
Step 4: Choosing Your Champion
A few weeks after planting, you might see something cool: more than one shoot coming from a single seed! This is that polyembryony we talked about in action. It’s a great sign.
Usually, the nucellar seedlings (the clones) are the most vigorous. They’ll look stronger, grow faster, and just seem healthier. The zygotic seedling (the genetic lottery) is often the runt of the litter. Your job is to play favorites. Choose the strongest-looking sprout and snip the others at the soil line with small scissors. Don’t pull them out! Their roots are all tangled up, and you’ll damage the one you want to keep. It feels a bit ruthless, but it channels all the energy into your most promising plant.
By the way, what if you only get one sprout? That’s perfectly fine! It happens. It just means you don’t have to make a choice. It could be a clone or a genetic mix-up, and part of the fun is seeing what you get.

Step 5: Keeping Your Young Tree Happy
Now begins the marathon. Getting the basics right—light, water, and food—is everything.
Light, Light, and More Light
Citrus trees are sun-worshippers. They need at least 8 hours of bright, direct sunlight a day. A south-facing window is ideal. If you don’t have that, a grow light isn’t just a nice-to-have; it’s a necessity. Yellowing leaves and long, spindly growth are classic signs of a tree that’s starving for light.
The Watering Dance
The golden rule is to water deeply, then let the top inch or two of soil dry out completely before watering again. The finger test is the best way: stick your finger in the soil up to the first knuckle. If it’s dry, it’s time to water. If it’s damp, wait. When you do water, soak it until water runs out of the drainage holes. Heads up! If your tap water is really chlorinated, it’s a good idea to let it sit out in an open container for 24 hours before using it. This allows most of the chlorine to evaporate.
Food for Growth
Citrus trees are hungry plants, especially in spring and summer. A fertilizer made for citrus is the best choice. Here’s a good timeline for a brand-new seedling: wait until your little tree has a few sets of “true leaves” (the second set of leaves that look like actual citrus leaves). For its first few feedings, use the fertilizer at half-strength to avoid burning the delicate new roots. After that, you can feed it every 4-6 weeks during the growing season, and then cut back in the fall and winter.
A Few Common Mistakes to Sidestep
Everyone makes mistakes, but here are the three big ones you can easily avoid:
- Overwatering: It’s the most common cause of death for potted plants. Remember the finger test!
- Not Enough Light: If your tree looks sad and pale, it’s probably begging for more sun or a grow light.
- Using Heavy Garden Soil: Stick to a light, airy potting mix designed for containers.
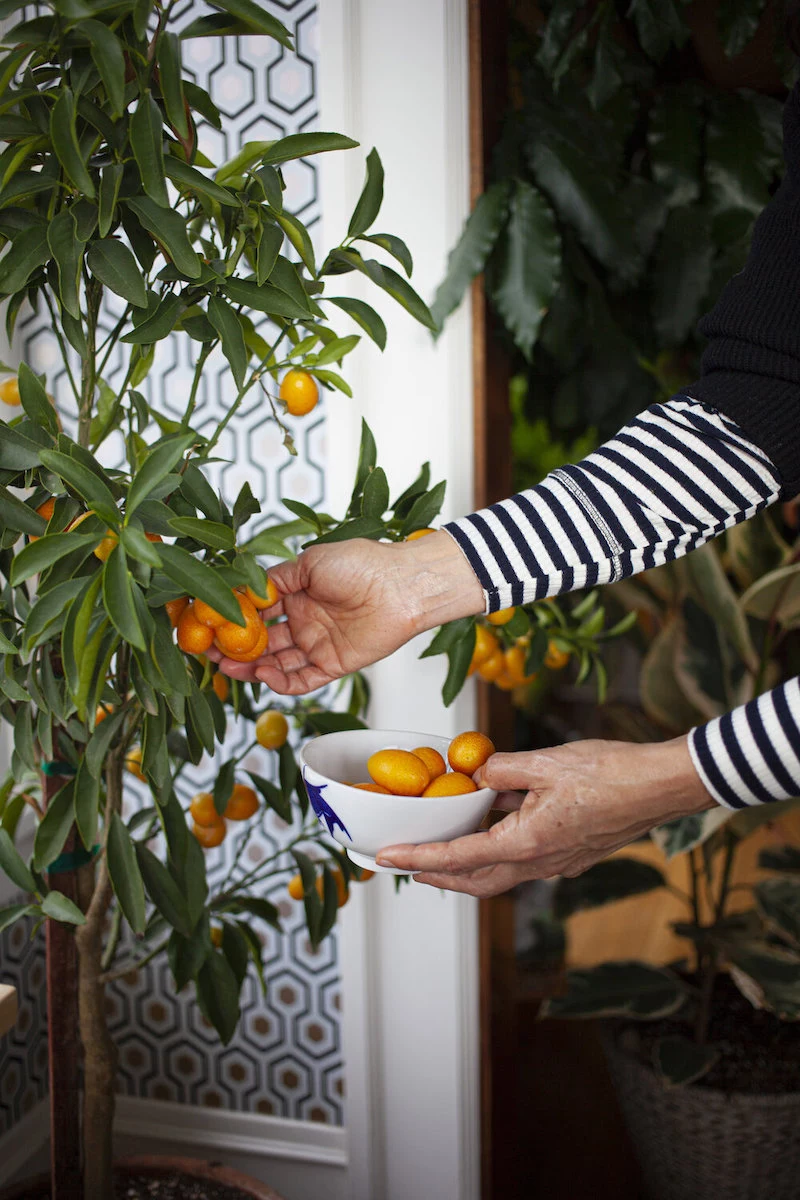
The Big Question: What About Fruit?
Okay, let’s talk about the fruit. Even if you’ve got a perfect nucellar clone, it will still take a very, very long time to fruit on its own—we’re talking 7 to 15 years. In the commercial world, nobody grows citrus from seed for fruit production. They use a technique called grafting.
Grafting is where you take a cutting from a mature, proven fruit-producing tree and attach it to a vigorous young rootstock. And guess what? That healthy seedling you’ve been growing would make a perfect rootstock. Grafting guarantees the fruit type and can slash the time to fruiting down to just 2 to 4 years. It’s a more advanced skill, but something to keep in mind for the future if you get really serious.
A Quick Heads-Up on Pests and Rules
Finally, a couple of important points. Indoor citrus can sometimes attract pests like spider mites or scale. Check the undersides of leaves regularly. If you see bugs, you can often just wipe them off with a cotton swab dipped in rubbing alcohol. For bigger issues, insecticidal soap or neem oil works well.
And be aware: many young citrus trees have thorns, so handle with care!
This is critical if you live in a citrus-growing state like California, Florida, or Texas. These areas have strict quarantine laws to stop the spread of devastating plant diseases. It’s often illegal to move citrus plants or even leaves across county lines. Growing a seed from a grocery store fruit is usually fine, but be very aware of your local regulations before you ever think about moving or selling the plant.
Growing an orange tree from a seed teaches patience more than anything else. It connects you to your food and the quiet, steady rhythm of nature. Enjoy the journey, care for your plant, and you’ll have a beautiful, fragrant friend in your home for years to come.
Inspirational Gallery
Don’t be surprised if more than one sprout pops up from a single seed! This cool phenomenon, called polyembryony, is common in citrus. Here’s what to do:
- Let them grow until they have a few sets of true leaves.
- Gently separate the seedlings, being careful with the delicate roots.
- Choose the strongest-looking sprout to be your main tree and pot it separately.
- You can pot the others too – they make great gifts for fellow plant lovers!
Did you know? The fragrant oil in orange leaves is called petitgrain. When you brush against the leaves of your growing tree, you’re releasing the same essence used in high-end perfumes and aromatherapy for its calming properties.
Do I need to refrigerate my orange seeds before planting?
Unlike apple seeds, orange seeds don’t require a period of cold stratification to germinate. The best approach is to plant them while they’re still fresh and moist, right after you’ve enjoyed the fruit. If you let them dry out completely, their viability drops significantly. So, skip the fridge and get them straight into the soil!
The number one rookie mistake: Overwatering. Citrus roots hate being waterlogged and are prone to rot. Before you even think about reaching for the watering can, stick your finger about an inch into the soil. If it feels moist, wait another day or two. Let the top layer dry out completely between waterings. Your seedling will thank you for this tough love.
Standard Potting Soil: It’s a decent start, but often retains too much water and can become compacted, suffocating the delicate roots of a citrus seedling.
Specialized Citrus Mix: This is the pro choice. Mixes like Espoma Citrus! Potting Mix are formulated to be more acidic and have superior drainage thanks to ingredients like perlite, sand, or pine bark fines.
For a project this long-term, investing in the right soil from the start gives your tree the best possible foundation.
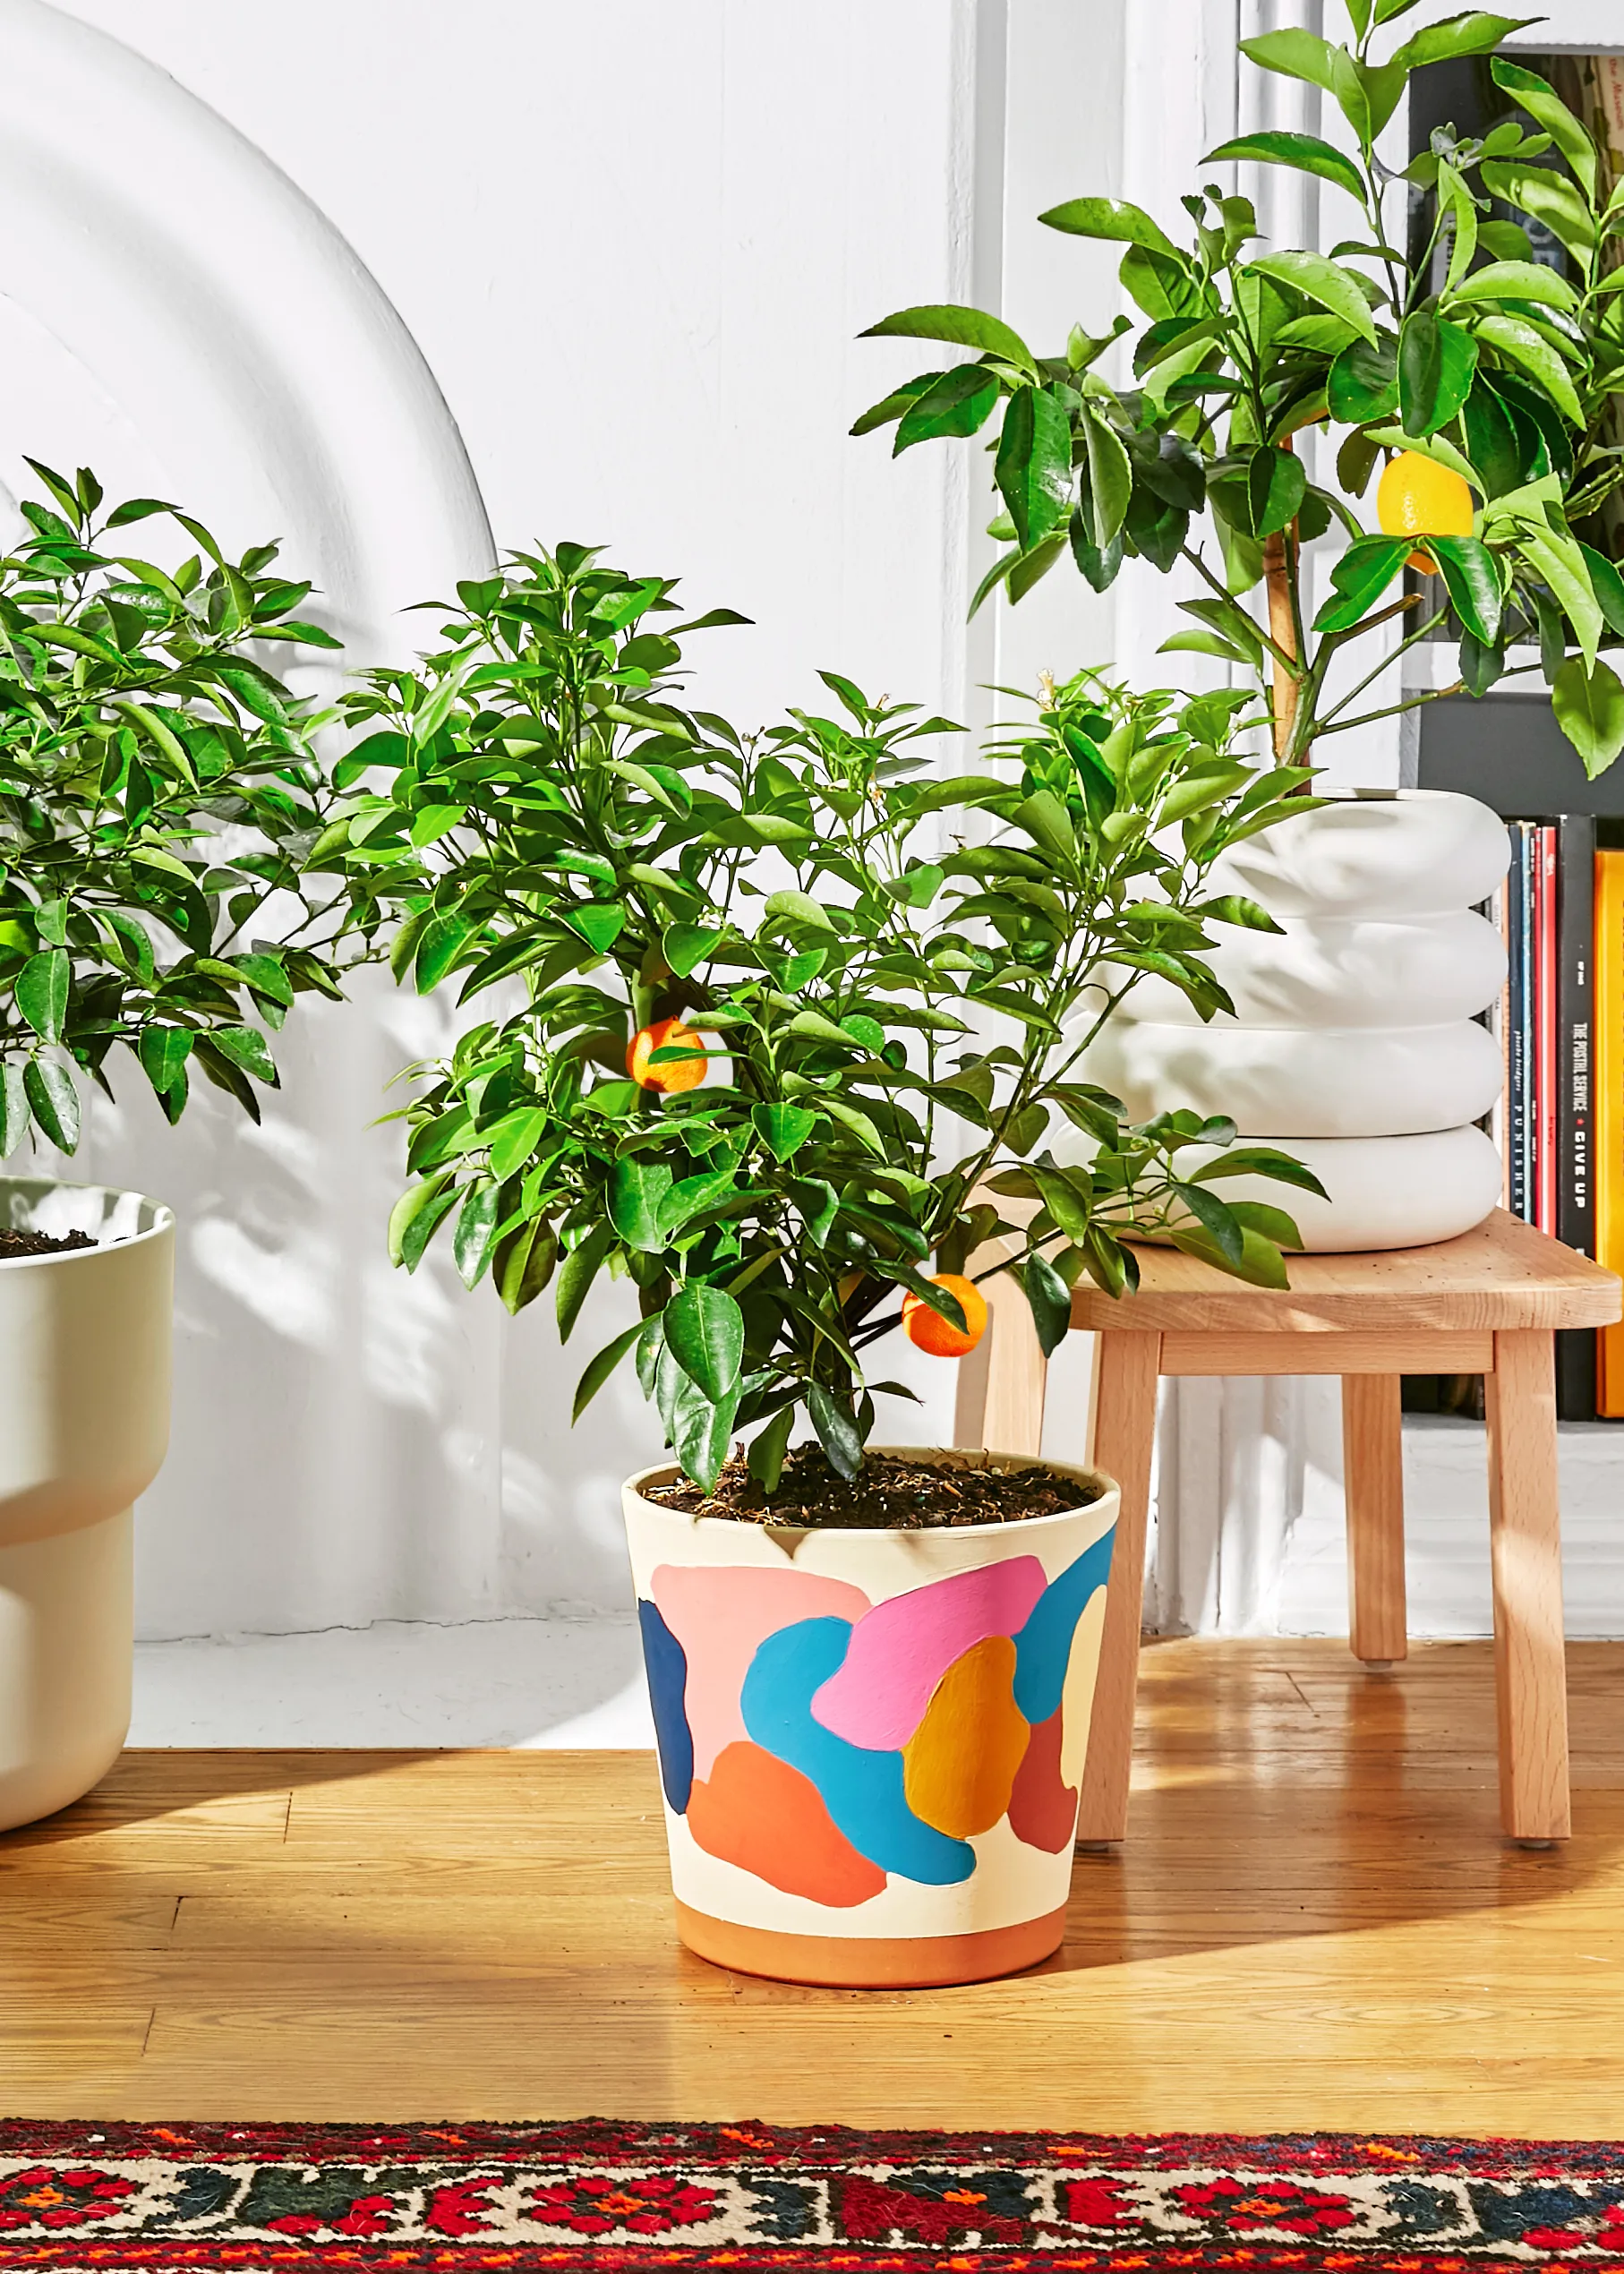
The choice of pot is more than just functional; it’s your tree’s first home and a decorative accent. A classic unglazed terracotta pot is an excellent choice. Its porous material allows the soil to breathe and dry out more evenly, reducing the risk of root rot—a common issue for citrus. Plus, its warm, earthy tone provides a beautiful, rustic contrast to the vibrant green of the leaves.
- Faster, more reliable germination.
- Consistent warmth for the delicate seed.
- Increased humidity that mimics a tropical environment.
The secret? Create a mini-greenhouse. Simply place a clear plastic sandwich bag over the top of your pot, secured with a rubber band. This simple trick traps moisture and heat, creating the perfect microclimate to coax your orange seed to life. Remove it once the sprout appears.
In the 17th century, the Orangerie at the Palace of Versailles housed over a thousand orange trees in ornate silver tubs, a symbol of ultimate royal wealth and power.
When you nurture your tiny seed, you’re taking part in a long and noble history. Citrus trees were once treasures of the aristocracy, prized not just for their fruit but for their beauty and exotic fragrance. Your windowsill project connects you directly to the grand gardens of European history.
Hold off on the fertilizer! A common mistake is feeding a brand-new seedling. The seed itself contains all the nutrients the sprout needs for its first few weeks of life. Adding fertilizer too early can burn the incredibly delicate new roots. Wait until your tree has developed several sets of true leaves before introducing a heavily diluted, balanced liquid fertilizer.
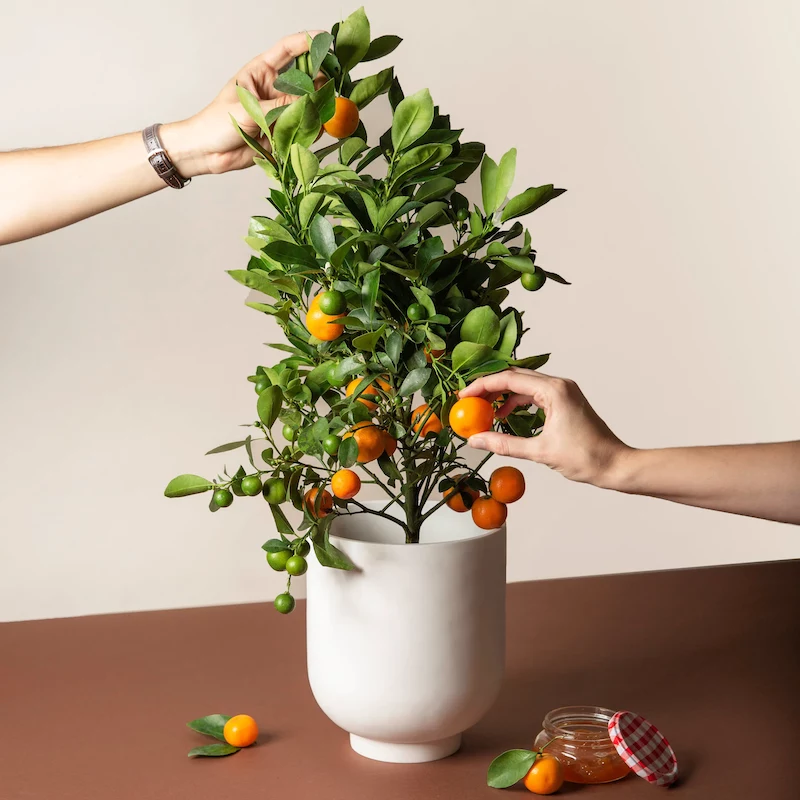
What if you want a guaranteed small, manageable tree for your apartment? While a seed from a store-bought navel orange will grow into a large tree, you can seek out other options for a true container citrus experience:
- Calamondin Orange: These are naturally small, prolific fruiters, and are often sold as houseplants.
- Meyer Lemon: A hybrid that is smaller and more cold-tolerant than other lemons.
These are typically bought as young, grafted plants, which is the fast track to getting fruit in a small space.


