How to Actually Grow a Mango Tree From a Pit (The Honest Guide)
For years, I’ve been elbows-deep in tropical fruits, from running commercial groves to teaching beginners in my own little nursery. And you know the number one question I get? “Can I really grow a mango from the pit I got at the grocery store?”
In this article
The answer is a big, enthusiastic YES. It’s an amazing project that connects you to your food in a way that’s hard to describe. But here’s the first thing I tell everyone: you need to know what you’re planting. The tree you grow probably won’t give you that same perfect, fiber-free mango you just ate. It’s a total genetic lottery. Still, the process of coaxing a tree from that leftover seed is a fantastic lesson in itself.
This isn’t about magic tricks; it’s about a solid method. I’m going to walk you through the exact steps I use with my trainees. We’ll cover the cool science hiding inside that pit, the pro techniques for getting it to sprout, and the real-world realities of keeping that little tree happy. The real reward isn’t just a potential mango in eight years—it’s the beautiful, lush tree you grew from scratch.
The Big Secret: Not All Mango Pits Are the Same
Okay, before you grab a pot and some dirt, you need to understand this one critical thing. That mango “pit” is actually a tough, woody shell. The real seed is tucked inside. And this is where it gets interesting: mango seeds come in two very different types.
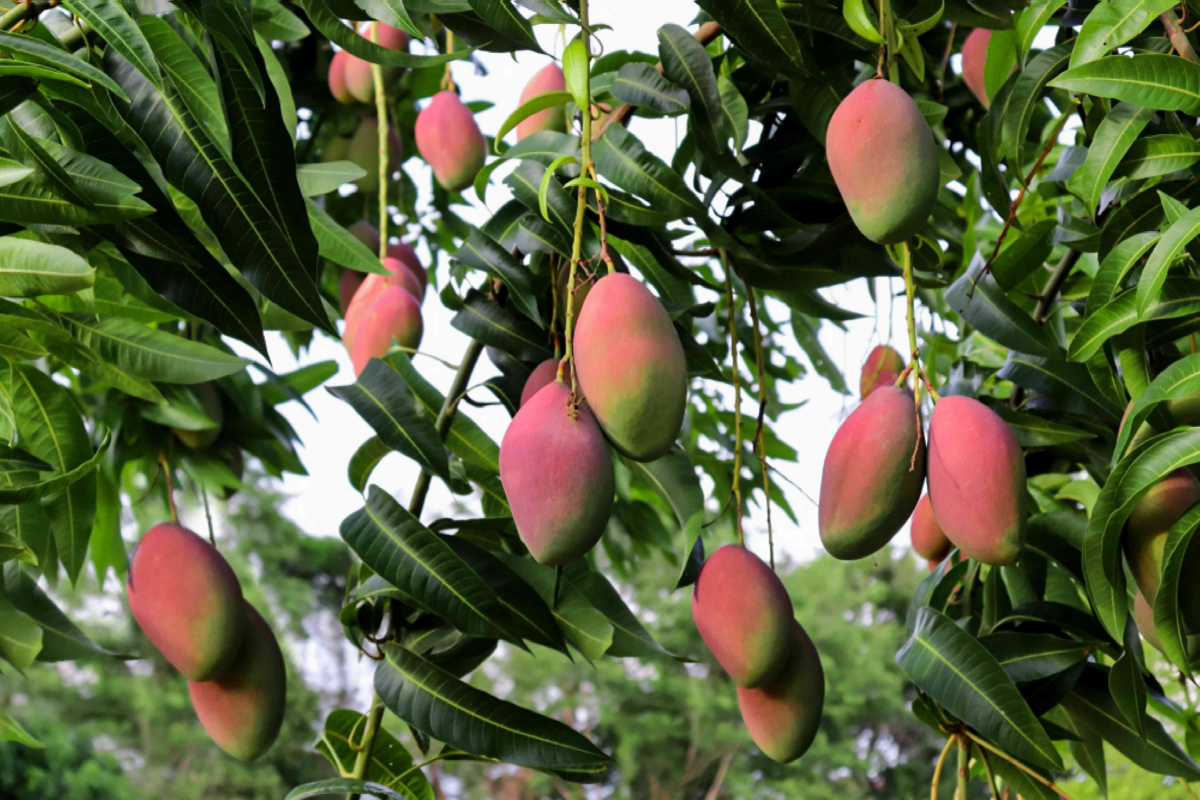
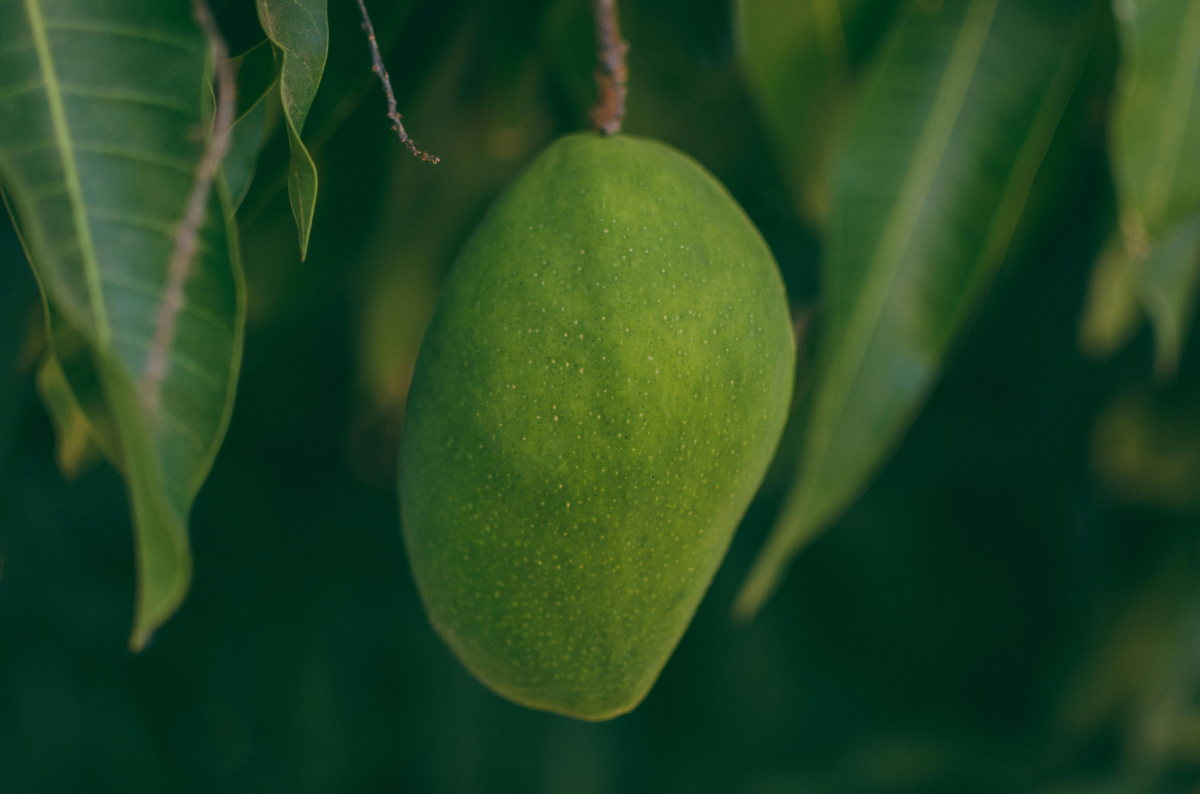
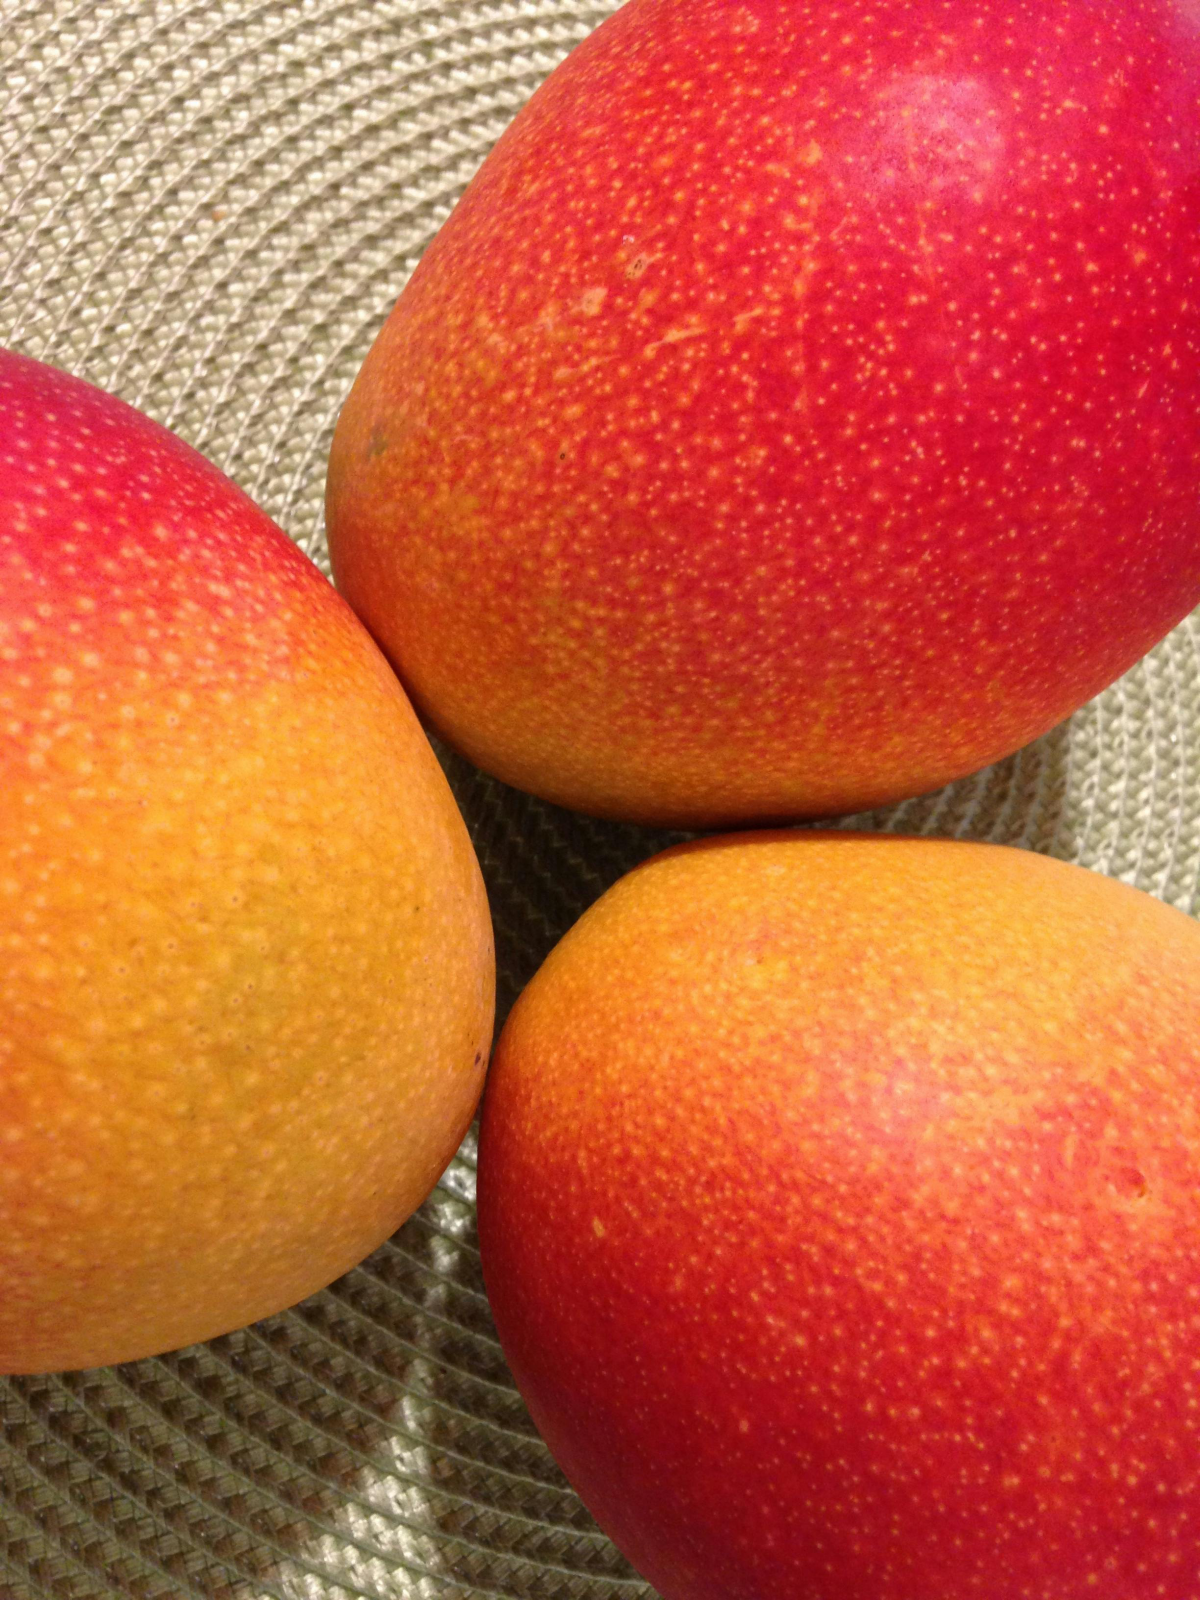
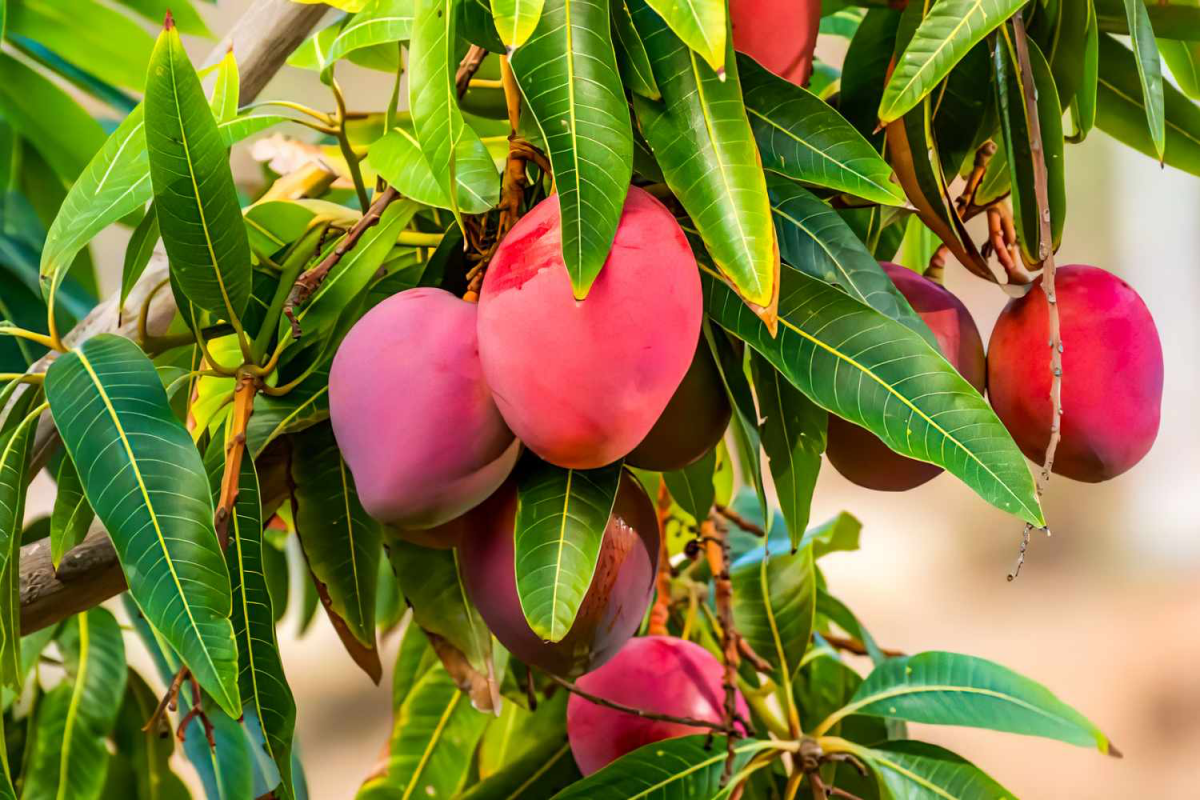
First, you have monoembryonic seeds. Think of the big, round, red-and-green mangoes you see everywhere. These seeds have one single embryo inside, which is a genetic mix of its parent tree and whatever other mango tree the bees visited. This means the tree it grows into will be a complete surprise! It’s like having a kid—it won’t be a clone of its parents. The fruit could be amazing, or it could be stringy and sour. You just don’t know.
Then you have the really exciting ones: polyembryonic seeds. These are common in the small, yellow, kidney-shaped mangoes often called “honey” or “champagne” mangoes. These are the goldmines for home growers. Why? Because they contain multiple embryos. One is a random genetic mix like the other type, but the rest are perfect clones of the mother tree. This means that if you plant one, you have a very good chance of growing a tree that produces the exact same delicious fruit you ate.
Your mission, should you choose to accept it: Next time you’re at the store, grab one of those ripe honey mangoes. That’s it. You’ve just secured yourself a polyembryonic seed with a great chance of success!
Getting Your Sprout On: The Step-by-Step
Alright, let’s get this project started. Getting a mango seed to germinate isn’t hard, but a few key steps make a huge difference between success and a moldy pit.
Step 1: Prep the Pit (and Your Shopping List)
First, you need a pit from a super-ripe, healthy mango. Once you’ve enjoyed the fruit, your job is to clean that pit like you mean it. Scrape off every last bit of sugary flesh with a stiff brush or the back of a knife. Sugar just invites mold, which will kill your seed. Let it dry on a counter for a day or two—you just want the surface dry, not the whole thing.
By the way, here’s what you’ll need. This whole project is pretty cheap, which is awesome.
- A ripe mango (often $1-$3)
- A 4 to 6-inch pot with drainage holes (usually $2-$5)
- A small bag of seed-starting mix (about $5-$10 from any garden center)
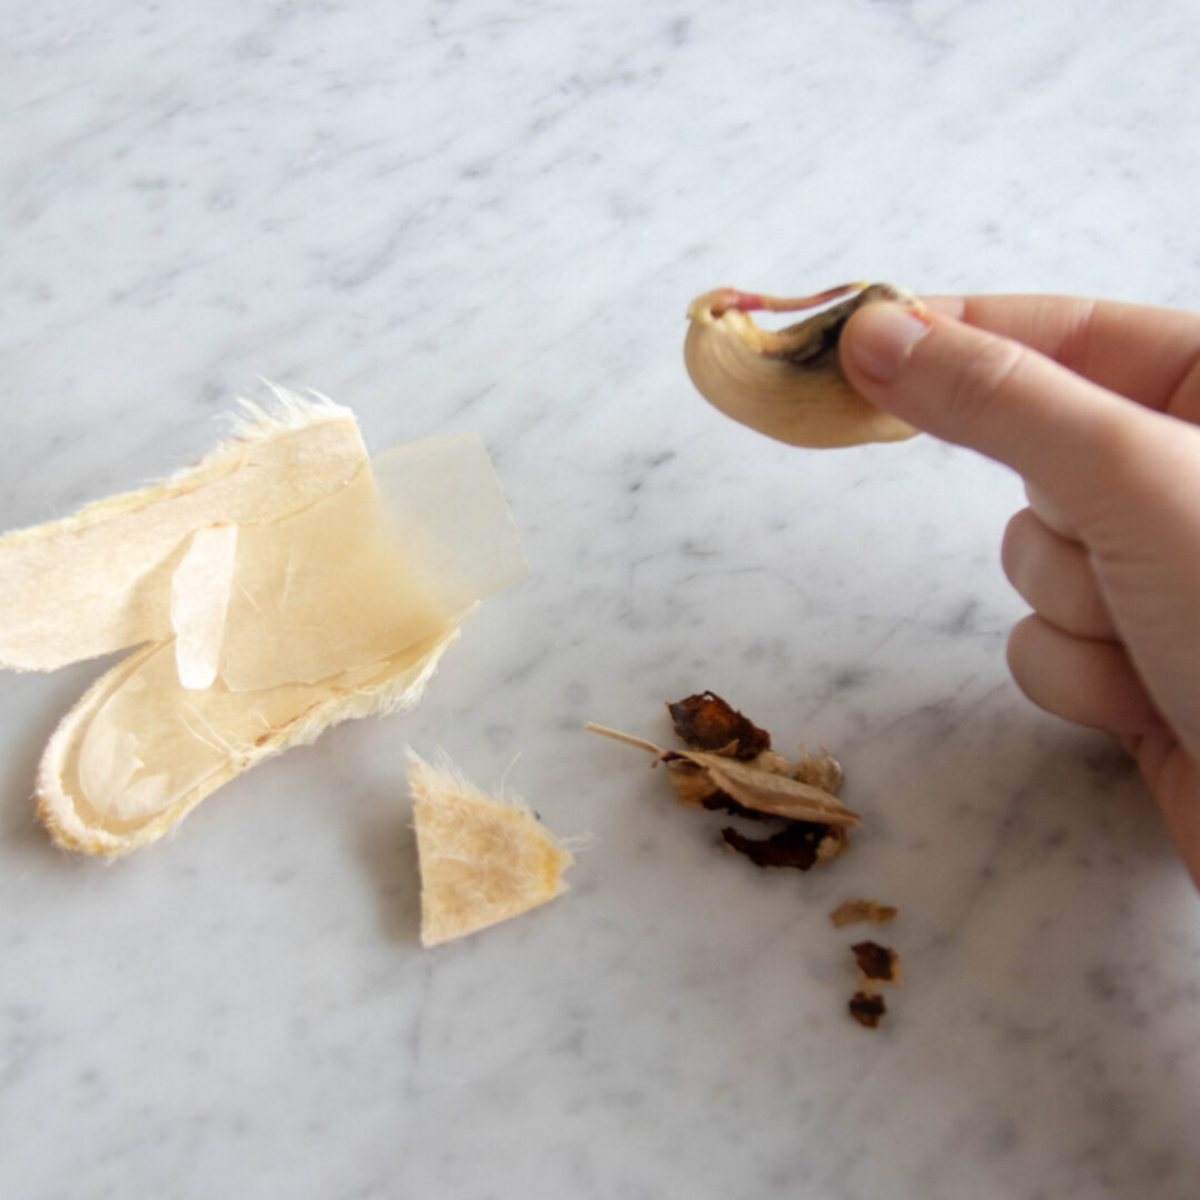
Step 2: The Husk-Opening Trick (Carefully!)
This is a step most people skip, but it’s a game-changer for speeding up germination. That woody husk is tough. We’re going to help it along.
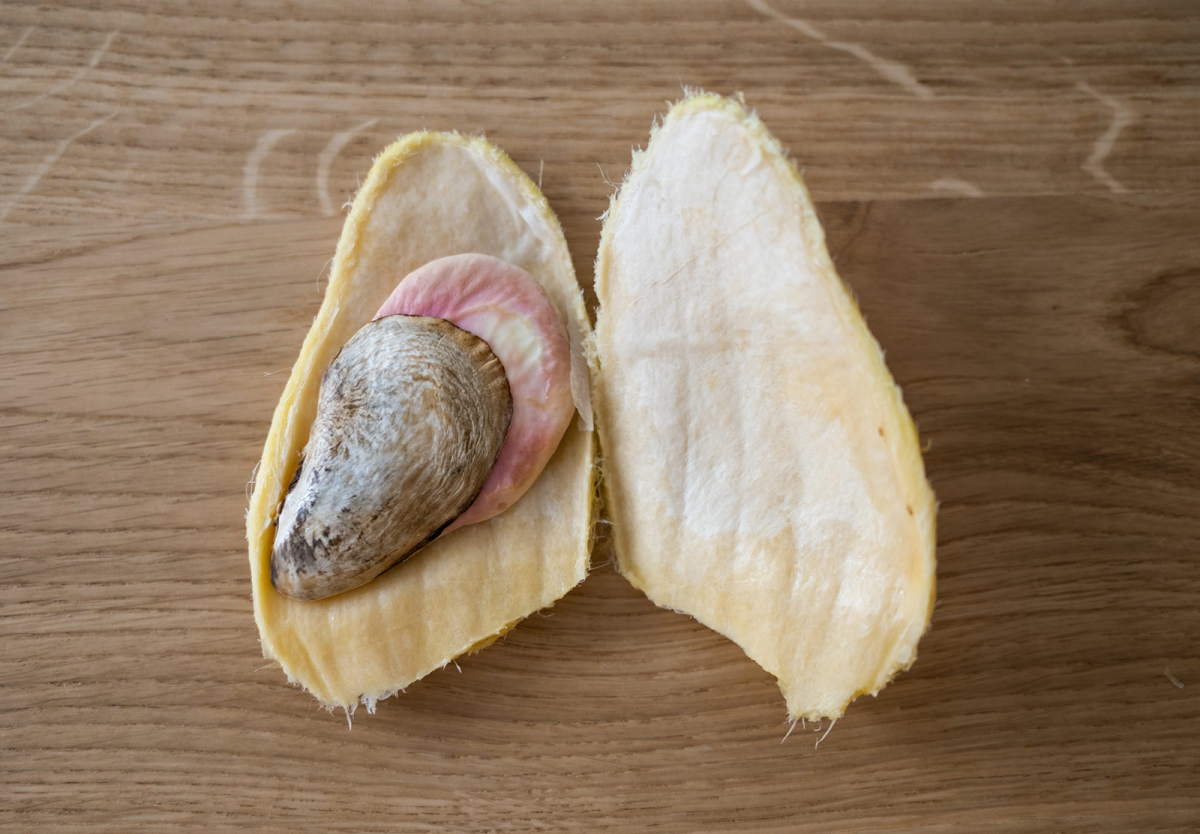
Heads up: Be really, REALLY careful here. Do not use a sharp, pointy knife. Trust me, I learned that lesson the hard way years ago and almost took off a fingertip! Instead, grab a pair of sturdy snips or kitchen shears. Hold the pit on its thin edge and carefully snip a little bit off the corner, away from the fat, round end. Once you have a small opening, you can usually pry the husk open with your fingers. It should pop open like a clamshell.
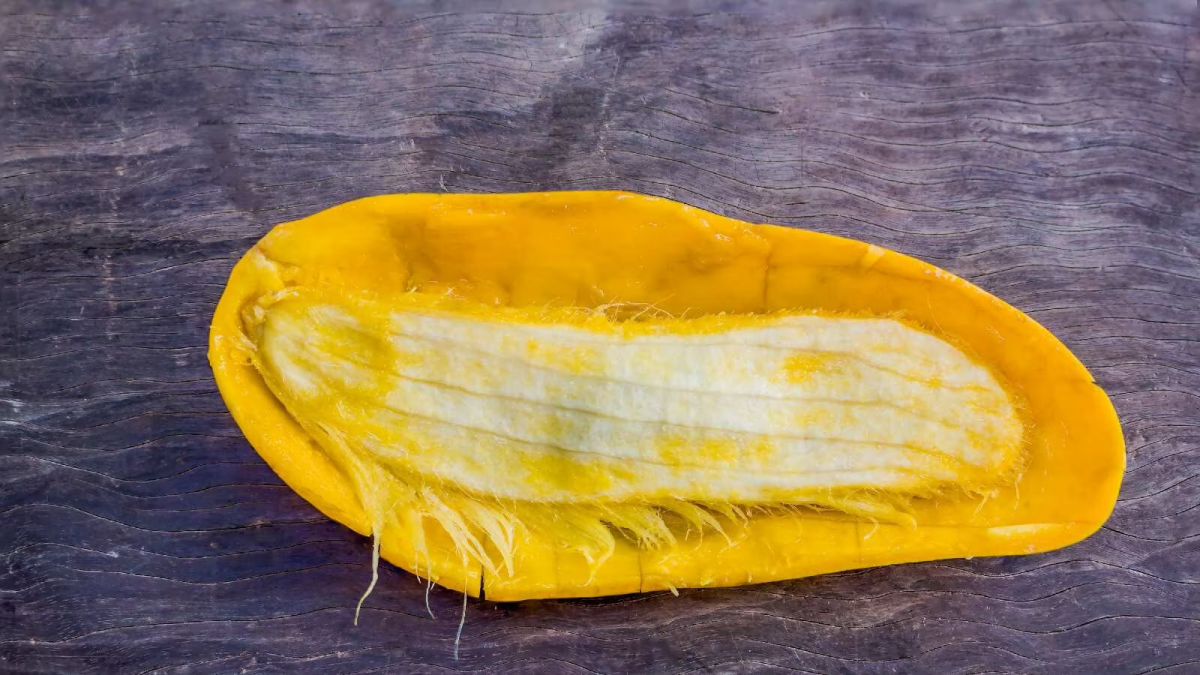
Inside, you’ll find the seed, which looks like a giant lima bean. It should be plump and cream-colored. If it’s black or shriveled, toss it and start over.
Step 3: Planting for Success
Some people love the damp-paper-towel-in-a-baggie method. It’s cool because you can see the root pop out. But honestly, I find it risky. The delicate root can grow into the paper, and it’s easy to damage it when you move it. Plus, it’s a prime spot for mold.
What if your seed gets moldy in the bag? Toss it. Mold means it was too wet, and the seed is likely dead. Start again, and maybe try planting directly in soil this time.
I prefer to plant the seed directly in its first pot. No transplant shock. Fill your small pot with a sterile seed-starting mix. Plant the seed about an inch deep with its curved back facing up. Water it well until it drains, then cover the pot with a plastic bag to create a mini-greenhouse. Now, find a warm spot. On top of the fridge is perfect. Mangoes need warmth—ideally around 75-85°F (24-29°C)—to wake up. You should see a sprout in one to four weeks.
The Polyembryonic Advantage: Picking the Clone
If you used a polyembryonic seed, you might see several shoots emerge from the soil. This is where you get to play plant scientist! One of those is the random genetic seedling, but the others are the clones you want.
Let them all grow for a few weeks until they have a few sets of leaves. Then, it’s time to choose the winner. The clones are almost always the strongest growers. Look for the seedling with the thickest stem and the biggest, healthiest-looking leaves. The weaker ones are often the sexual seedlings and can look a bit more spindly.
To separate them, gently tip the whole soil mass out of the pot. Carefully crumble the soil away and tease the root systems apart. It’s okay if you break a few tiny roots, but be gentle. Plant your chosen ‘clone’ seedling back into the pot and discard the others. You’ve just massively increased your odds of growing true-to-type fruit!

Keeping Your New Tree Alive
The first couple of years are all about giving your little tree a strong start.
Watering: Young mangoes need consistent moisture but hate wet feet. The best rule is to stick your finger two inches into the soil. If it’s dry, it’s time to water. Water deeply until it runs out the bottom, then let it dry out a bit before watering again.
Fertilizing: Hold off on fertilizer for the first few months. Once your seedling has a few sets of leaves, you can start feeding it with a balanced liquid fertilizer (like a 10-10-10), diluted to half-strength, once a month during spring and summer. Never fertilize in the winter.
The Scariest Step: Pruning
Okay, this is going to feel wrong, but it’s crucial for a strong tree. When your seedling is a single, spindly stem about two or three feet tall, you need to prune it. Yep, you have to chop the top off.
Take a deep breath and snip off the top 3-4 inches. Before, you had one long, weak stick. A few weeks after you do this, you’ll see a miracle. The tree will be forced to send out three or four new branches just below the cut. This creates a strong, bushy framework instead of a wimpy, tall trunk. It’s the difference between a sad-looking plant and a future powerhouse.
Where You Live Matters: Adapting to Your Climate
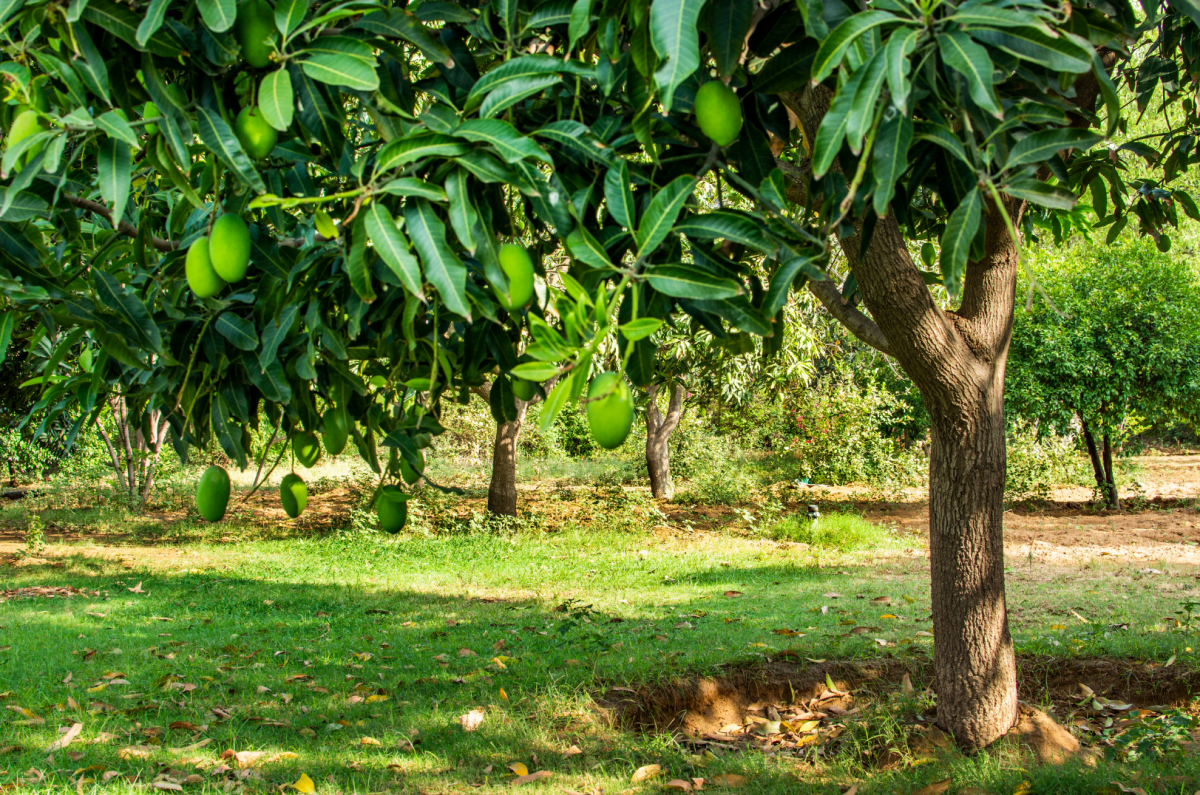
Tropical Paradise (Zones 10-11): If you live in a place like South Florida or Southern California, you can plant your tree right in the ground. Give it a spot with at least six hours of full sun and some protection from strong winds. They love well-draining, slightly acidic soil, so adding some compost to the planting hole is a great idea.
Colder Climates (Container Life): For most of us, this will be a container plant. It will stay much smaller and likely won’t fruit, but it makes a gorgeous houseplant. Use a 10-gallon pot to start, and choose a potting mix designed for citrus, palms, or even cacti—they all have the excellent drainage that mangoes crave. You’ll need to bring it inside when temps drop below 50°F (10°C). Indoors, give it your sunniest window. A grow light can be a huge help in winter, but you don’t need a pro setup. A simple full-spectrum LED bulb from Home Depot, screwed into a basic clamp lamp, can make all the difference.

A Few Final, Honest Truths
I have to say it one more time: unless you started with a polyembryonic seed and chose the clone, your fruit is a mystery box. It can take 5-8 years to even show up, and it might not be great. Grow the tree for the joy of it, and consider any edible fruit a massive bonus.
Quick tip: Mangoes are related to poison ivy. The sap and skin contain the same compound that causes a rash. If you have sensitive skin, it’s a good idea to wear gloves when pruning or handling the leaves.
Ultimately, this journey from a pit to a tree is one of the coolest things you can do. You learn the plant’s language—the bronze flush of new leaves, the slight droop that asks for water. Whether you get a perfect mango in a decade or just a beautiful tree on your patio, you will have absolutely succeeded.
Galerie d’inspiration
My mango sprouted! Can I keep it as a houseplant for a while?
Absolutely! In fact, it’s the best place for it while it’s young and tender, especially if you don’t live in a tropical climate. A young mango tree is stunningly ornamental. Its new leaves often emerge in a flush of bronze, pink, or deep red before hardening off to a glossy green. Place it in your sunniest window—a south-facing exposure is ideal. If your light is limited, a full-spectrum LED grow light (a simple bulb from a brand like Sansi will do) can work wonders. It won’t just be a future fruit tree; it becomes a living piece of tropical decor, a daily reminder of the beautiful project you started.
Did you know? A single, mature mango tree can produce anywhere from 100 to 200 fruits per year, and some exceptional specimens have been known to yield thousands.
While your home-grown tree may take 5-8 years to fruit (if it’s a polyembryonic variety), this gives you an idea of the incredible abundance you’re nurturing from a single pit. This potential is locked inside your tiny sapling, waiting for sun, water, and patience.
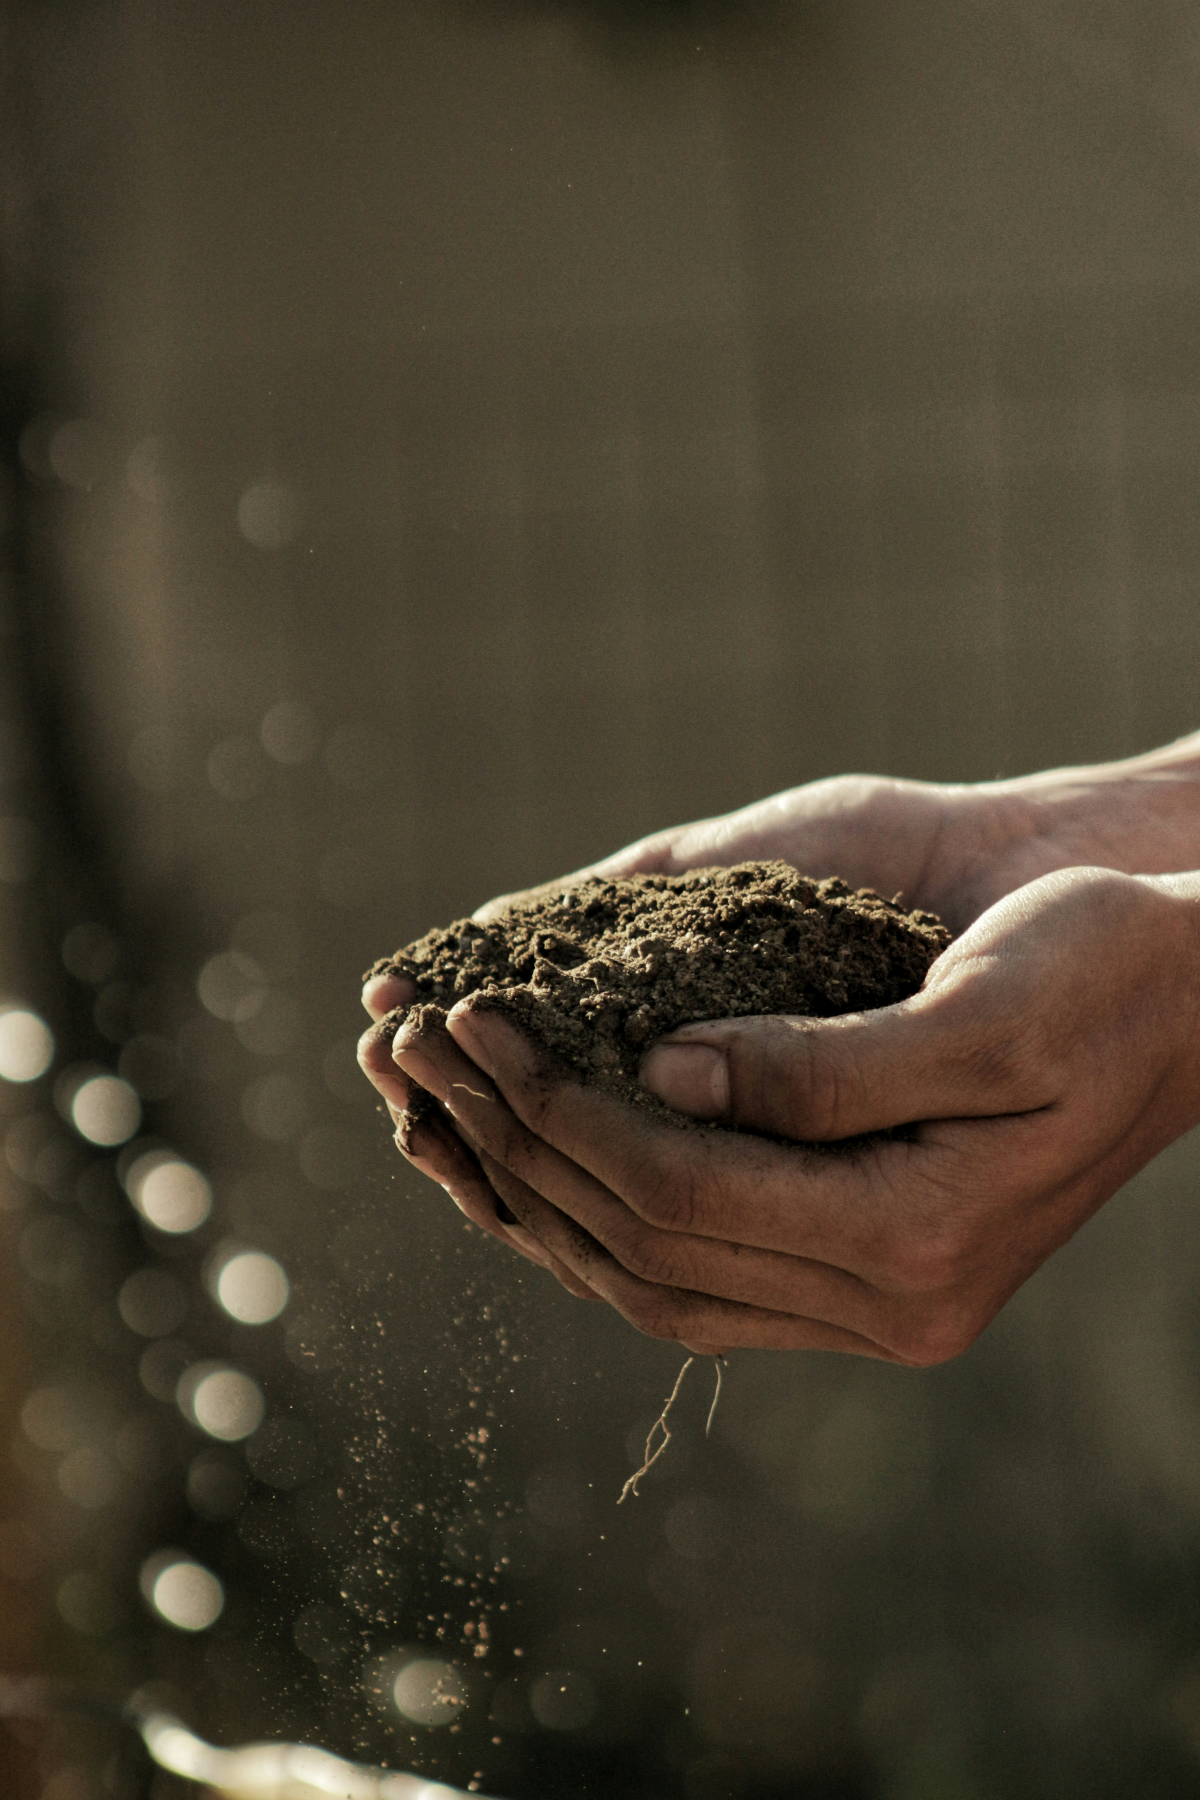
Ready-to-Use Mix: For a no-fuss start, look for a high-quality cactus or palm potting mix. Brands like Espoma or FoxFarm Ocean Forest provide excellent drainage, which is crucial for preventing root rot in young mango taproots.
DIY Tropical Blend: For more control, create your own. A great base is one part standard potting soil, one part peat moss or coco coir, and one part perlite or coarse sand to ensure water flows freely.
Either choice gives your sapling the airy, well-draining home it needs to thrive.


