Don’t Toss That Jar! How to Get Every Last Bit of Wax Out (The Right Way)
As someone who’s poured, wicked, and sold thousands of small-batch candles over the years, I can tell you the number one question I get isn’t about scents. It’s about that last, stubborn half-inch of wax at the bottom of a beautiful glass jar.
In this article
- First, A Little Bit of Science (The Fun Part!)
- Choosing Your Method: A Quick Rundown
- Method 1: The Freezer Method
- Method 2: The Hot Water Bath (The Gentle Giant)
- Method 3: The Double Boiler (The Pro’s Choice)
- Method 4: The Oven Method (For Batch Cleaning)
- The Final Cleanup: Getting That Squeaky Clean Finish
- Don’t Trash That Wax! Make Easy DIY Fire Starters
- Handling Tricky Jars
- Inspirational Gallery with Photos
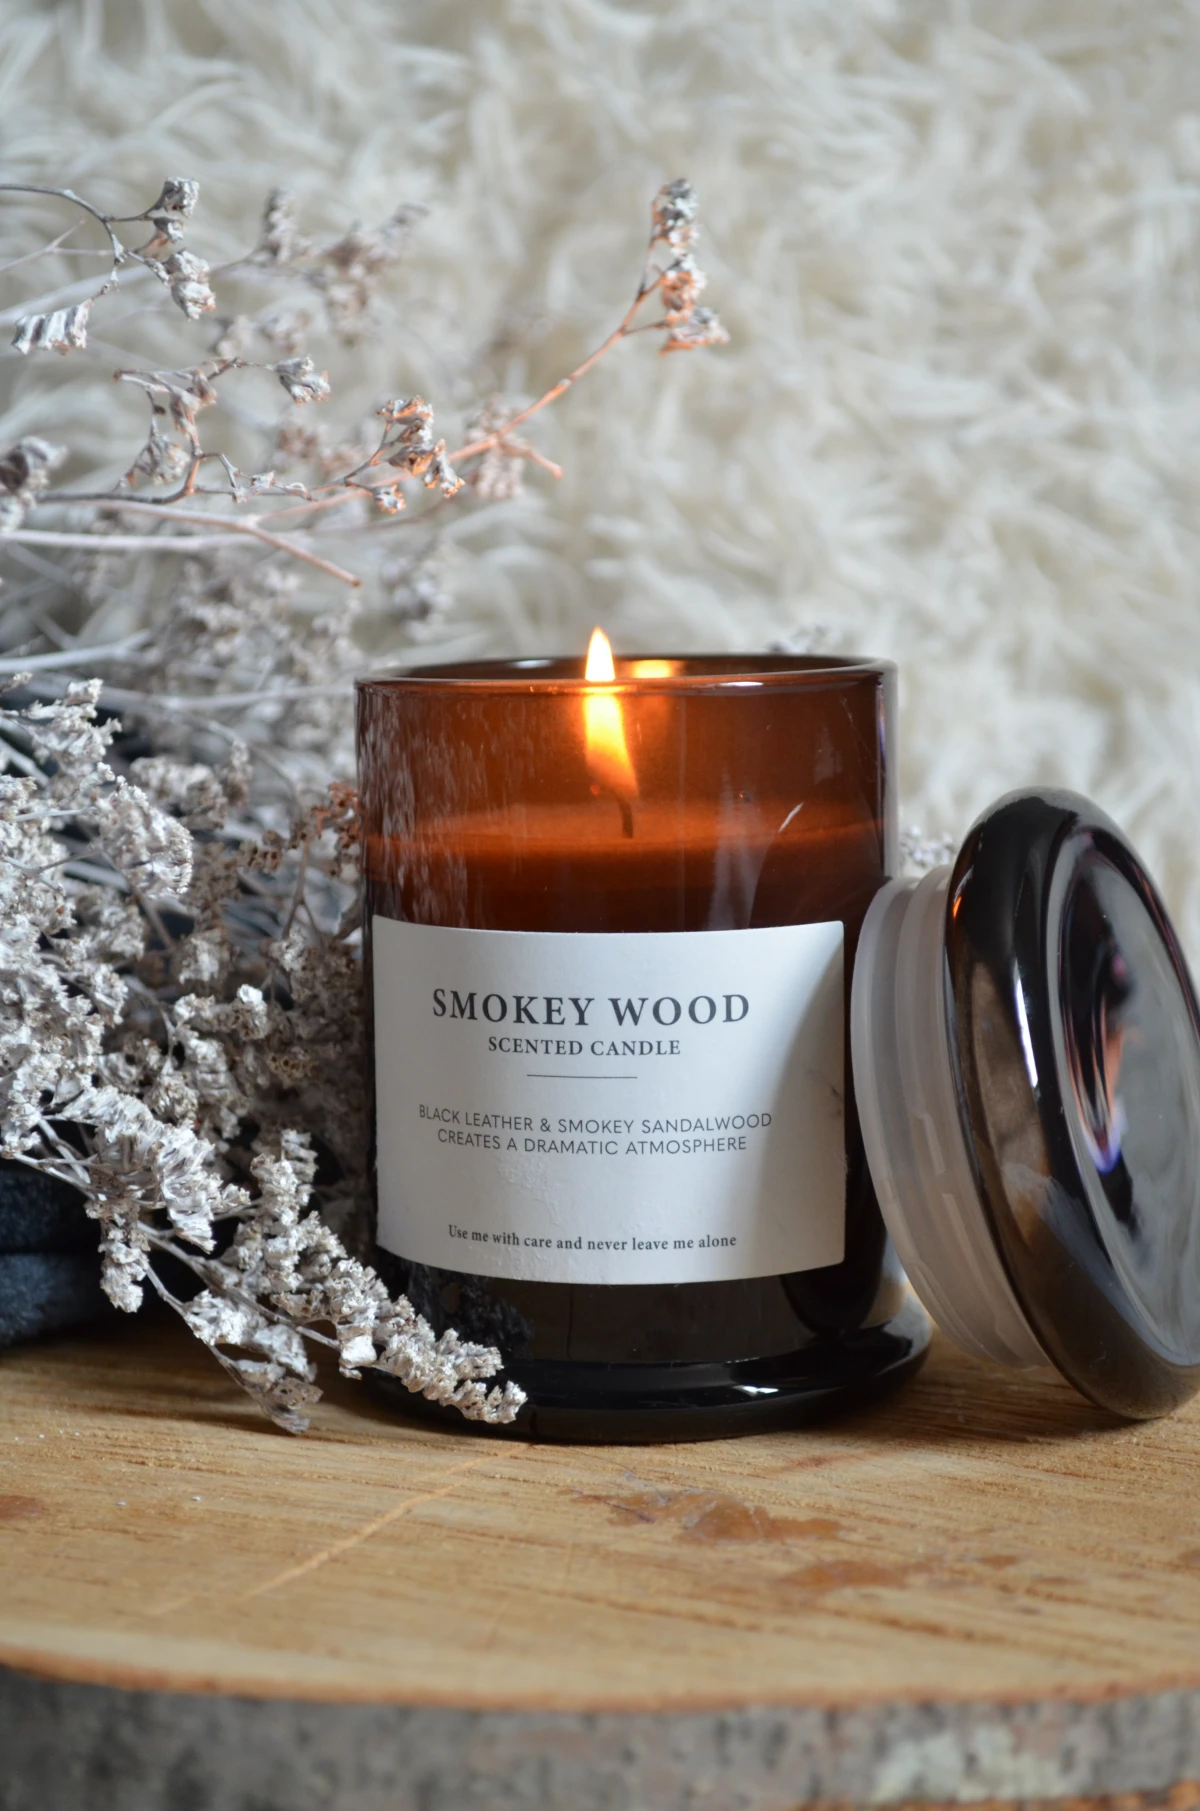
It feels like such a waste to throw it away, right? And it is! That heavy, well-made jar has so much potential for a second life. I have a gorgeous amber glass one that now holds all my makeup brushes, and another is a tiny succulent’s new home. They can be pencil holders, store cotton balls, or organize all those little odds and ends in your junk drawer.
But getting that wax out safely is key. I’ve seen it all—cracked glass from a sudden temperature change and, oh yeah, the dreaded clogged sink drain from someone who thought they could just wash it away. (Heads up: that’s a fast track to a hefty plumbing bill.)
So, this is my brain-dump of everything I’ve learned. We’ll go over the pro methods that work, keep your jars intact, and even save that leftover wax from the trash.
First, A Little Bit of Science (The Fun Part!)
Before you start, it helps to know why these tricks work. It’s all about working with the materials, not fighting them. There are two big ideas at play: thermal expansion and melting points.
Basically, everything expands when it’s hot and shrinks when it’s cold. But here’s the secret: wax shrinks a LOT more than glass does. That’s why the freezer method can make a puck of wax pop right out. On the flip side, heat simply turns the solid wax back into a liquid, letting you pour it out. Easy peasy.
What Kind of Wax Are You Dealing With?
The type of wax is the biggest clue for choosing your method. Most high-end candles will tell you on the label, but what if you tossed the box ages ago? Here’s a quick cheat sheet.

- Paraffin Wax: This is the classic, traditional wax. It feels hard and smooth, not oily. Because it’s so hard and shrinks so well, it’s the absolute best candidate for the freezer method.
- Soy Wax: Super popular these days, this wax is made from soybeans. It feels much softer, almost creamy or oily to the touch. It has a low melting point, so gentle heat methods are your best friend here. Freezing soy wax can just make it brittle and messy.
- Beeswax: This natural wax is dense and often has a faint honey smell. It’s hard like paraffin and shrinks nicely when cold, making the freezer a great option.
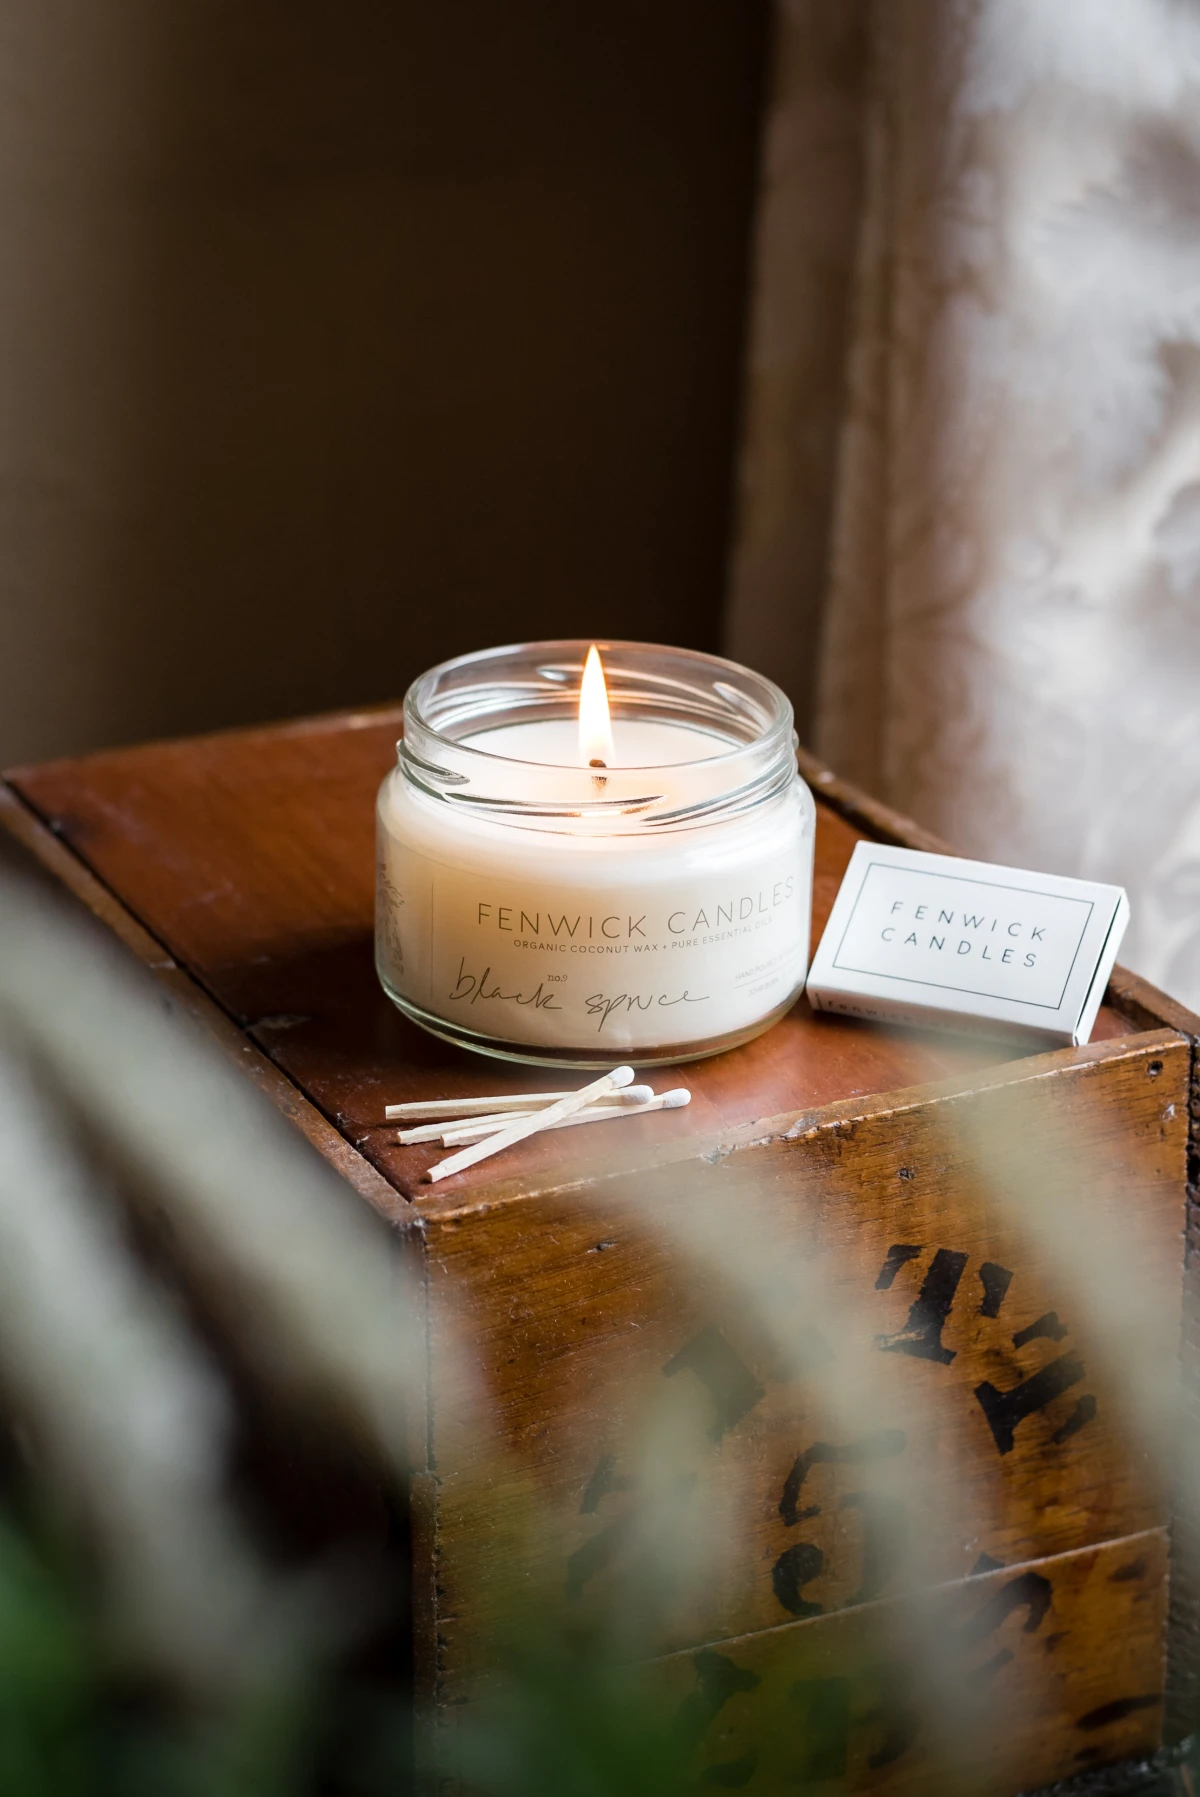
- Coconut Wax & Blends: These are known for being extremely soft, so they’re almost always removed with heat. If your candle wax feels soft, just treat it like soy wax to be safe.
Good to know: Hard waxes will often pop out in one clean piece, while soft waxes melt easily but need a bit more care to avoid a mess.
Choosing Your Method: A Quick Rundown
Okay, so which path should you take? Here’s a quick look at the options before we dive in.
- The Freezer Method: This is the fastest and cleanest option for hard waxes (like paraffin or beeswax). It takes a few hours of waiting, but the active time is just a minute. The only real risk is to very thin or delicate glass.
- The Hot Water Bath: This is your go-to for soft waxes (soy, coconut). It’s incredibly gentle and safe for almost any jar, but it’s a slower process and you have to be careful with disposal.
- The Double Boiler Method: This is the pro’s choice for saving wax to reuse. It gives you total control, works for any wax type, and is super safe for the jar. It’s a bit more hands-on.
- The Oven Method: The champ for cleaning a bunch of jars at once. It’s efficient, but you can ONLY use this with jars you know for a fact are oven-safe.
Method 1: The Freezer Method
This is my favorite for sturdy jars with hard wax. It’s a bit like magic when the wax puck just slides out. The cold does all the work for you.
What You’ll Need:
- Your candle jar
- A little bit of freezer space
- A butter knife or a wooden spoon (just in case)
The Steps:
- First, pop the candle jar into your freezer on a flat surface. I’d give it at least four hours, but honestly, leaving it overnight is even better. You want that wax frozen solid.
- Take the jar out and flip it upside down over a paper towel. More often than not, the wax disk will just fall right out!
- If it’s a little stubborn, give the bottom of the jar a firm tap. Still stuck? Gently wedge a butter knife between the wax and the glass on one side and give it a little nudge. The seal should break and it’ll pop loose.
From my experience, I’ve learned to be careful with this one. I once tried it on a beautiful, thin-walled vintage container and heard a tiny tink sound… which turned into a hairline crack. So now, I stick to using this on heavy, modern jars that can handle the cold.

Heads up! Never, ever put a warm jar in the freezer. That sudden temperature shock is a surefire way to shatter the glass.
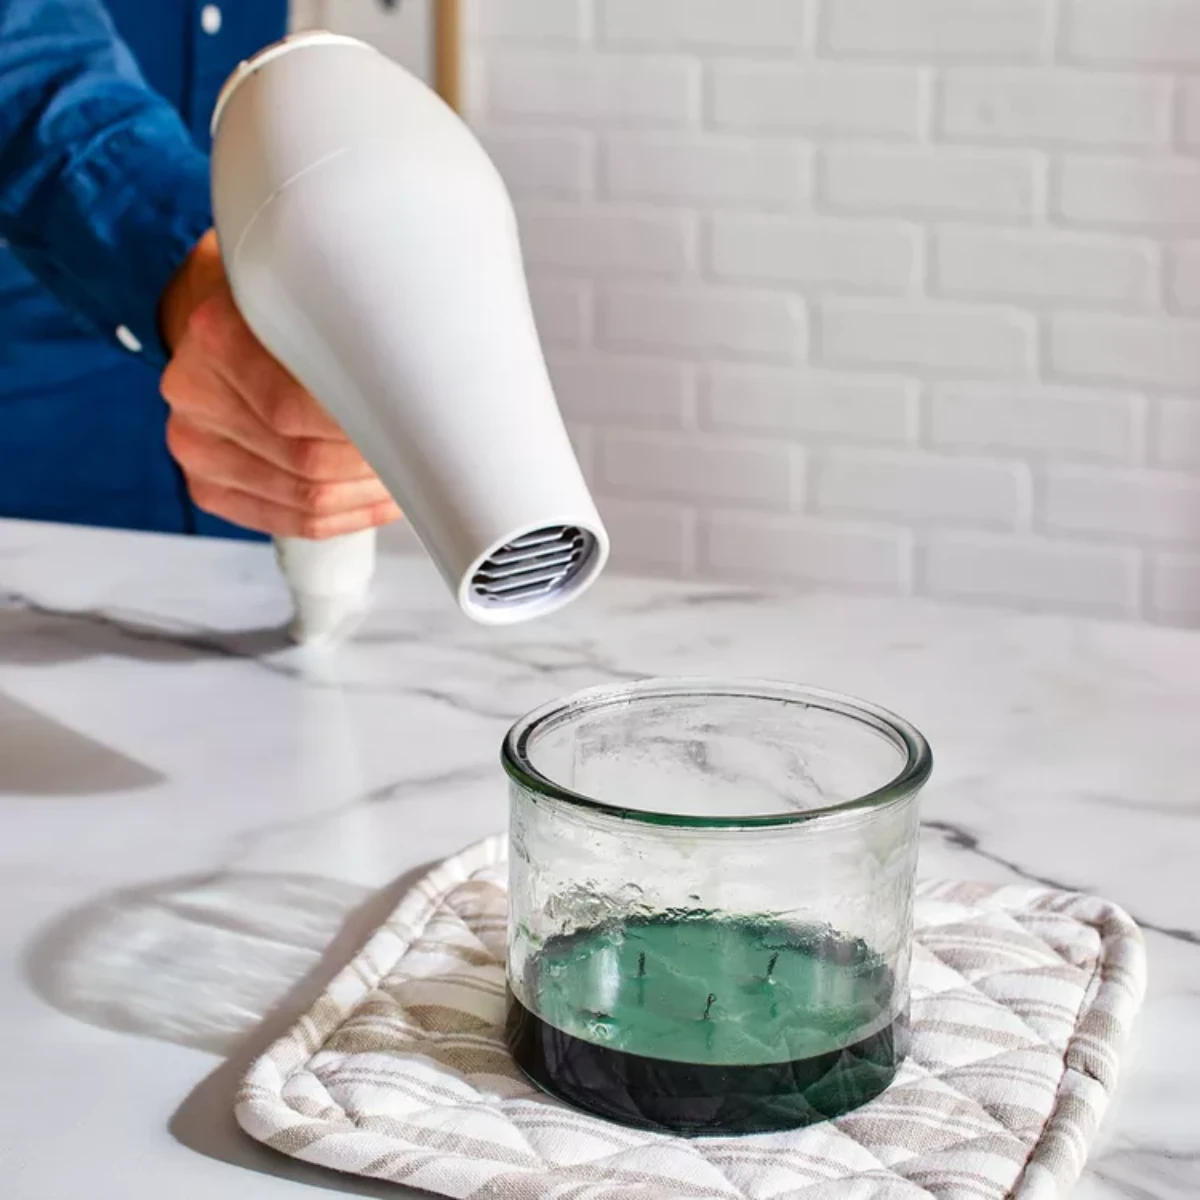
Method 2: The Hot Water Bath (The Gentle Giant)
This method is perfect for those soft soy and coconut waxes. It uses hot tap water—not boiling!—to gently melt the wax without any risk to the jar.
What You’ll Need:
- Your candle jar
- A sink or a large bowl to work in
- A strainer and a paper towel (or coffee filter)
The Steps:
- Place your jar in the sink or a bowl to catch any drips.
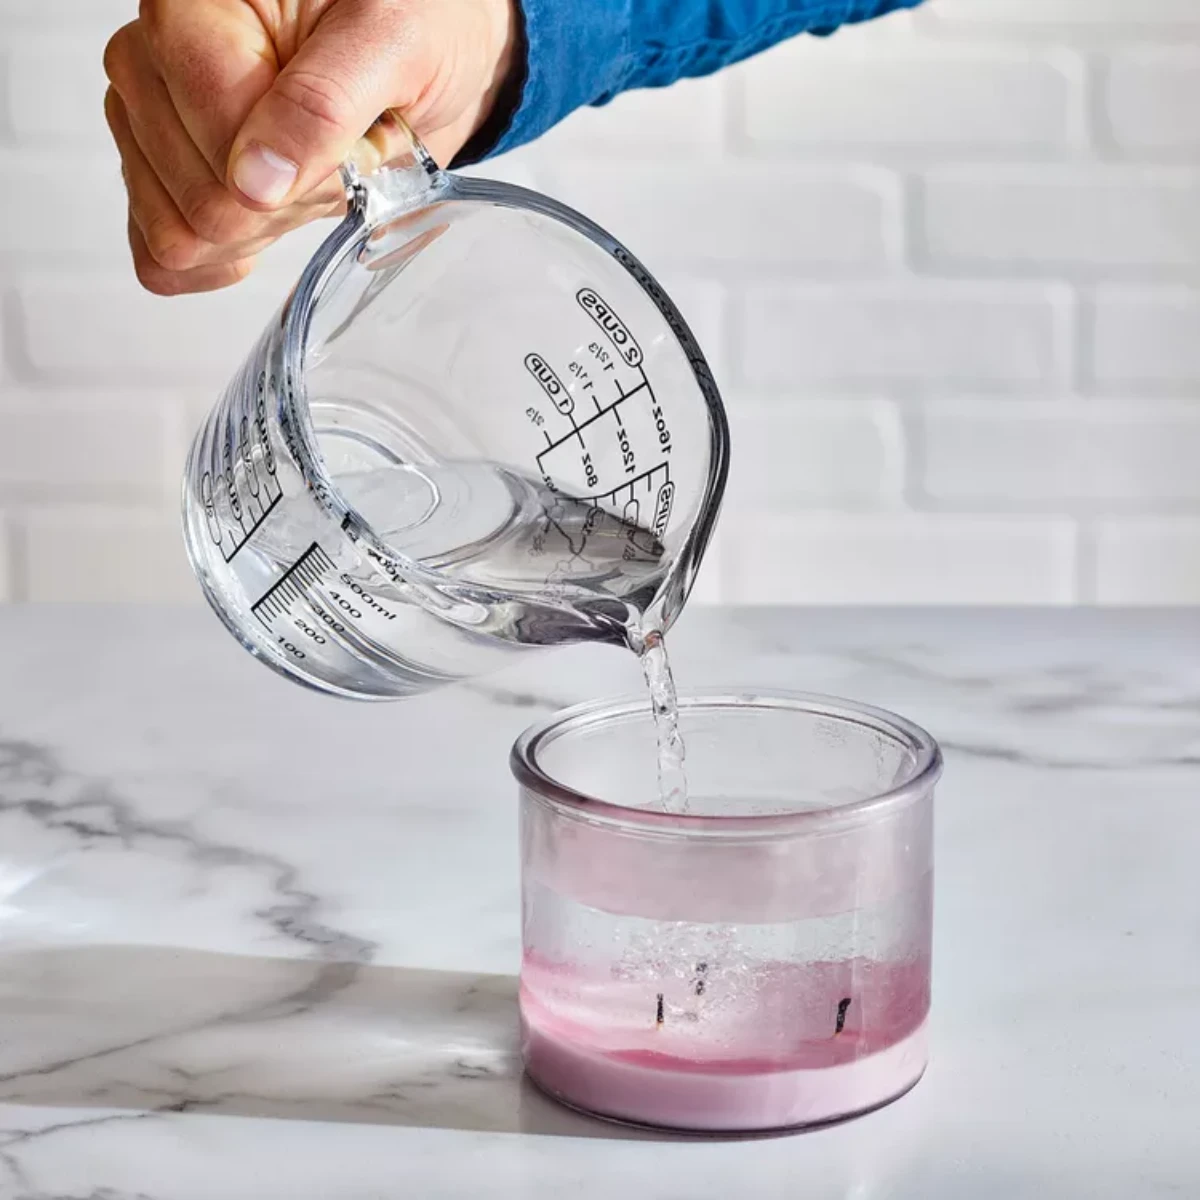
- Carefully pour hot tap water into the candle jar, leaving about an inch of space at the top.
- Now, just wait. Let it sit for 30 minutes to an hour. You’ll see the wax melt and float to the surface. As the water cools, that wax will harden into a thin disk on top.
- Once it’s solid again, you can just lift the wax disk out and pour the water away.
But wait! This next part is CRUCIAL. Do not pour that waxy water down your drain. I’m serious. A friend of mine did this and the wax solidified in his pipes, creating a waterproof clog that cost a fortune to fix. To do it right, place a strainer lined with a paper towel over your trash can or another disposable container, and pour the water through it. The paper towel catches all the little wax bits. Problem solved.
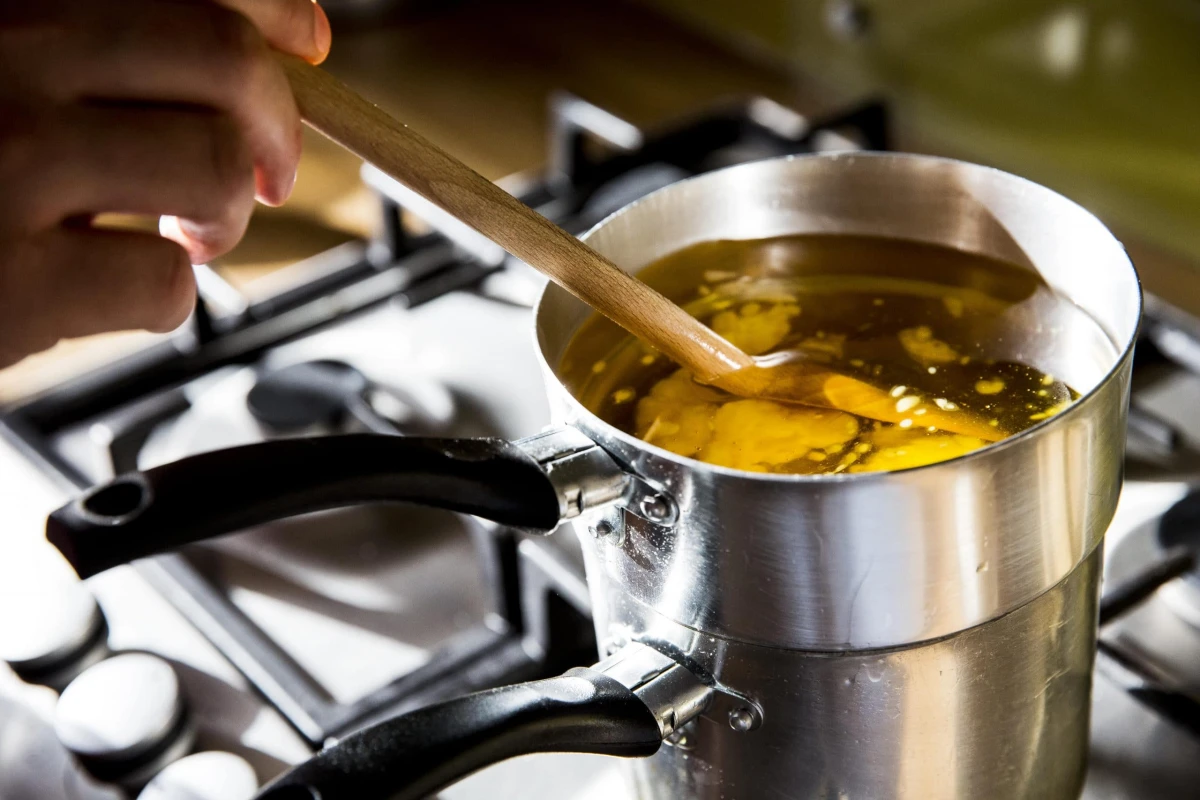
Method 3: The Double Boiler (The Pro’s Choice)
When I want to actually save the wax to make fire starters or new little tealights, this is the only way I do it. It gives you gentle, even heat and it’s safe for pretty much any jar.
What You’ll Need:
- A saucepan
- A small metal rack or canning trivet
- Oven mitts
- A disposable container (like a paper cup)
The Steps:
- You’re basically making a DIY double boiler. Put a metal rack in the bottom of a saucepan (this stops the jar from getting direct, harsh heat). Place your candle jar on top of the rack.
- Add enough water to the saucepan to come about halfway up the sides of the jar.
- Heat it on the stove over low to medium-low heat. You’re aiming for a gentle simmer, not a rolling boil.
- Let the heat do its thing. It’ll take maybe 15-20 minutes for all the wax to melt into a clear liquid.
- Turn off the heat. Using an oven mitt, carefully lift the hot jar out and pour the liquid wax into your disposable container. A paper cup or an empty milk carton you’re about to toss is perfect. And please, don’t pour it into anything you plan to eat from again!
Method 4: The Oven Method (For Batch Cleaning)
Got a whole graveyard of old candles? The oven method is your best bet for clearing them all out in one go. But I can’t stress this enough: only use this for jars that are specifically marked as oven-safe.
What You’ll Need:
- Oven-safe candle jars
- A rimmed baking sheet
- Aluminum foil or parchment paper
- Oven mitts
The Steps:
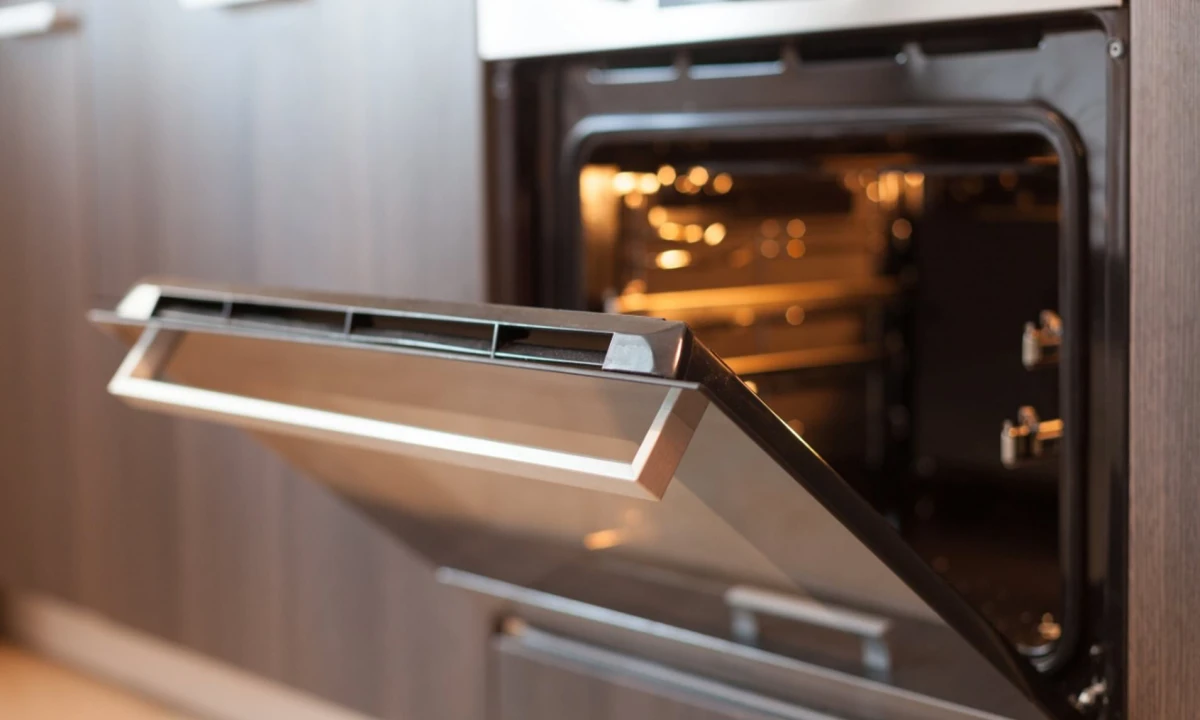
- Preheat your oven to a low temperature, around 180°F (about 80°C). That’s plenty hot to melt wax without stressing the glass.
- Line a rimmed baking sheet with foil. The rim is important for catching the melted wax.
- Place your jars upside down on the foil.
- Put the whole tray in the oven for about 15 minutes. The wax will melt and pool on the foil.
- Using oven mitts, carefully take the hot baking sheet out. Move the hot jars to a safe, heat-resistant spot to cool down.
- Let the wax on the foil cool completely. You can then just fold up the foil and toss it.
And I’m serious about the ventilation here. Open a window BEFORE you start, unless you want your house to smell like your aunt’s potpourri drawer, that pine tree candle from Christmas, and a birthday cake all at the same time. Also, never, ever walk away and leave the oven unattended.
The Final Cleanup: Getting That Squeaky Clean Finish
No matter which method you used, you’ll probably have a greasy film and the little metal wick tab left at the bottom. To get the wick tab out, just use a butter knife to pop it off while the jar is still a bit warm.
For that oily residue, first wipe out as much as you can with a paper towel. Then, give the jar a good scrub with hot water and a strong grease-cutting dish soap. Honestly, something like Dawn is your best bet here; it just cuts right through that waxy film. A bottle brush is a lifesaver for getting to the bottom. Once it’s rinsed and dried, your jar will be sparkling and ready for its new job!
Don’t Trash That Wax! Make Easy DIY Fire Starters
So what about that wax you saved? My favorite thing to do is make super-effective fire starters. It’s a great way to use up every last bit.
It’s incredibly simple:
- First, get your hands on a cardboard egg carton and some dryer lint (or cotton balls). Stuff a bit of lint into each cup of the egg carton.
- Melt down your leftover wax using the Double Boiler method we talked about.
- Carefully pour the hot, liquid wax over the lint in each egg cup, letting it soak in.
- Let it all cool and harden completely. Then you can just tear the individual cups apart.
There you go. Next time you need to start a campfire or light a fireplace, these little guys work like a charm.
Handling Tricky Jars
Every now and then you’ll run into a weird one. If you have a jar with a really narrow neck, the double boiler is your only option since you have to be able to pour the wax out. For dark colored waxes that might leave a faint stain, a little scrub with a baking soda paste can help. And for candles with things like dried flowers or crystals inside, the double boiler will melt the wax and release them so you can save them, too.
At the end of the day, this is all about being a little more thoughtful. You’re giving a well-made object a second chance, and that’s a pretty great feeling.
Inspirational Gallery with Photos
The Pro-Cleaner’s Toolkit: Before you even think about the wax, gather your post-cleanup supplies. Having a thin silicone spatula, a roll of paper towels, and a bottle of Goo Gone on hand will make the final steps a breeze. The spatula is perfect for scraping out soft wax residue, and Goo Gone is unbeatable for dissolving stubborn wick-tab adhesive at the very bottom.
- Create a chic, zero-cost herb garden on your windowsill.
- Organize your bathroom vanity with separate jars for cotton swabs, brushes, and eyeliners.
- Store dry goods like lentils, seeds, or specialty spices in your kitchen pantry.
The secret? Your collection of cleaned-out candle jars! Grouping them by color or size creates an effortlessly organized and aesthetic look.
An estimated 80% of all glass containers recovered for recycling are re-melted in furnaces and used to manufacture new glass containers.
By saving and repurposing that beautiful jar, you’re not just getting a free container; you’re actively participating in a circular economy. It’s a small act that prevents a perfectly usable, high-quality material from ever entering the waste or even the energy-intensive recycling stream.
But what do I do with the leftover wax?
Don’t toss it! Collect the wax scraps from several candles (of similar scent profiles, if you wish). Once you have enough, melt it down in a double boiler and pour it into silicone ice cube trays. You can add a new wick to make mini tea lights or simply use the cubes as wax melts in a warmer. It’s a fantastic way to enjoy every last drop of fragrance you paid for.
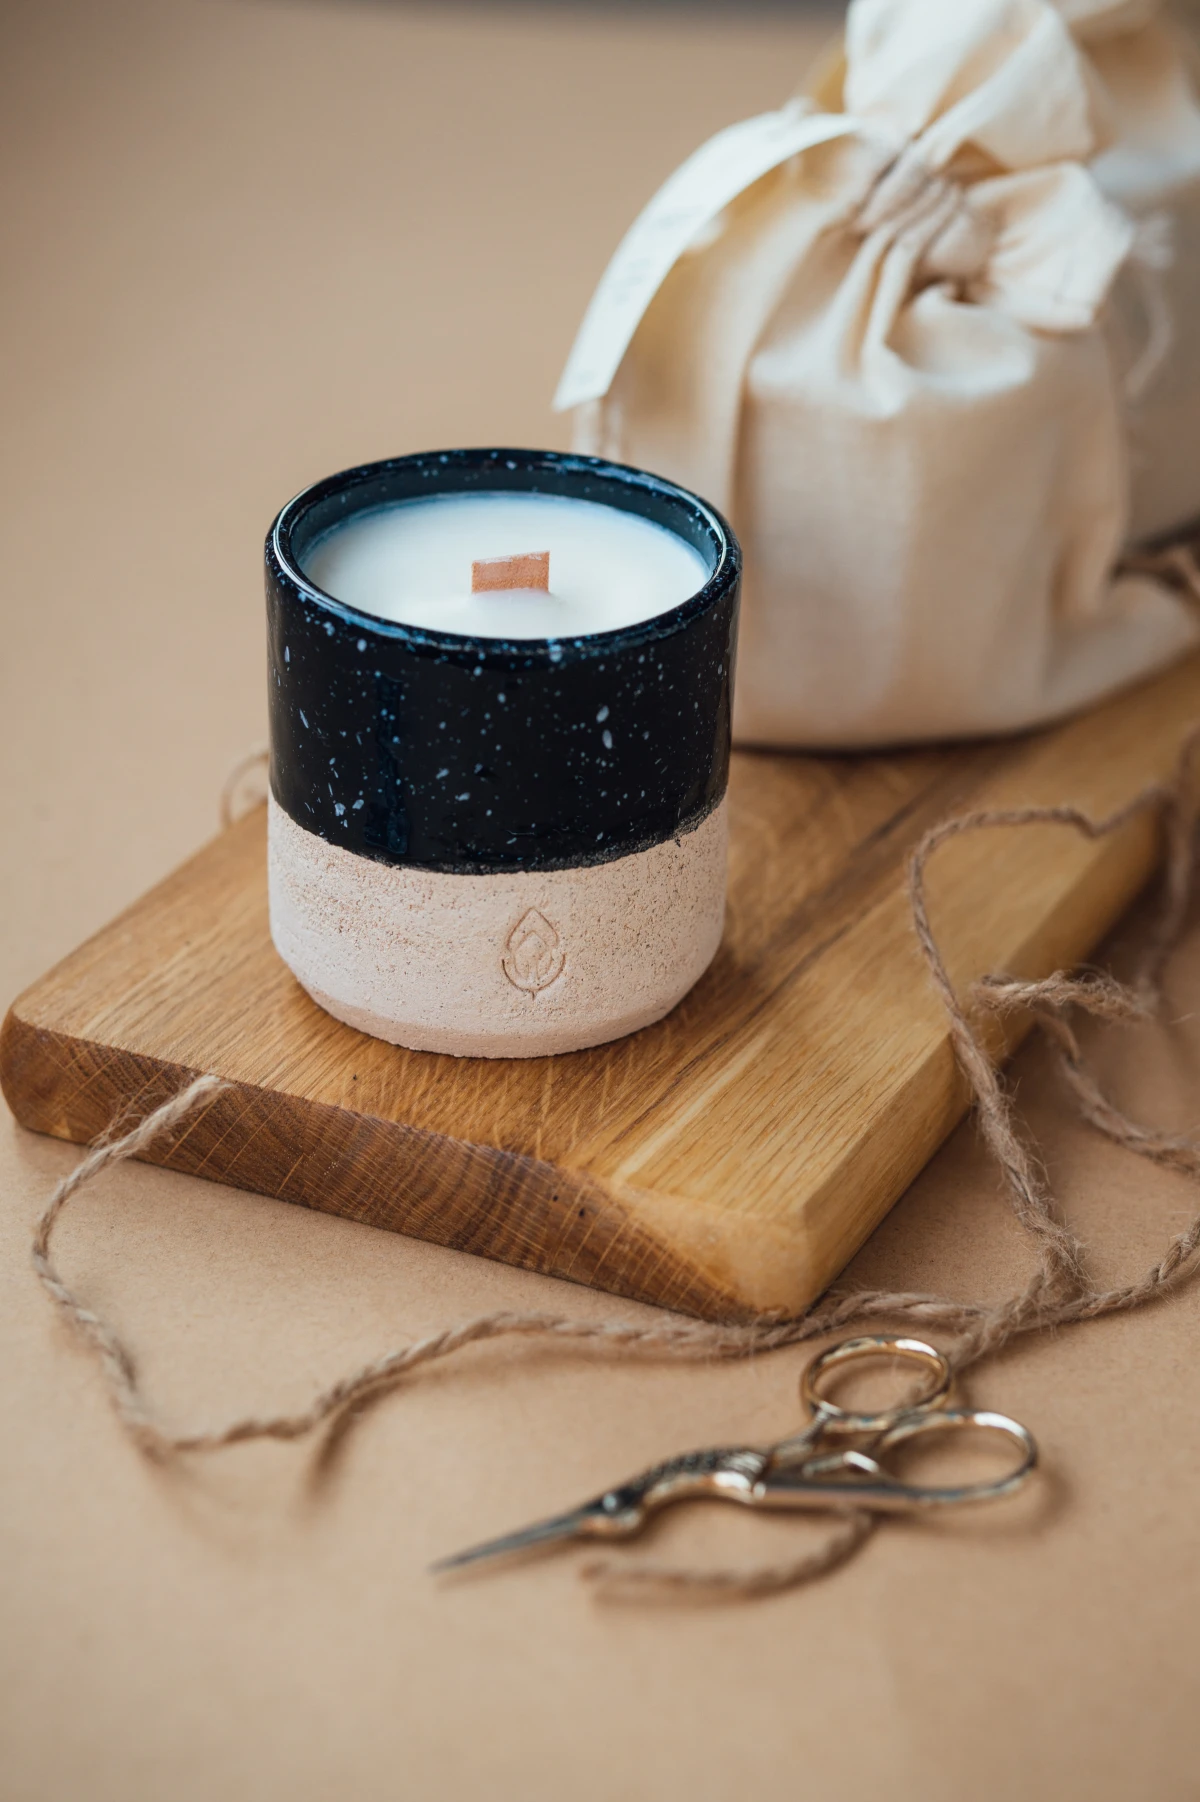
When shopping for a new candle, think about its second life from the start. A minimalist, heavy-bottomed glass vessel from a brand like Le Labo or Byredo is a design object in itself. Their clean lines and iconic labels mean that once the wax is gone, they instantly become stylish pen holders or bud vases that add a touch of quiet luxury to your desk or nightstand.
For the Label-Conscious: Diptyque. The iconic oval label is a status symbol. Keeping it pristine is part of the appeal. These jars are perfect for holding makeup brushes or cotton pads, where the logo remains visible and celebrated.
For the Modern Minimalist: Boy Smells. With their glossy black tumblers and simple, elegant labels, these jars are ideal for creating a cohesive, moody aesthetic. Grouped together, they make a powerful design statement for holding anything from toothbrushes to plant cuttings.
The metal wick tab at the bottom of the jar is often secured with a strong, heat-resistant glue.
This is often the most frustrating part of the cleaning process. After removing the wax, a drop of isopropyl alcohol or citrus-based cleaner left to sit for five minutes will usually dissolve the adhesive. You can then easily pry the metal disc off with an old butter knife or the edge of a spoon without scratching the glass.
Ready for a 5-minute upgrade? Turn your clear glass jar into a high-end decorative object.
- First, thoroughly clean and dry the jar inside and out.
- Grab a can of frosted glass spray paint, like Rust-Oleum’s Frosted Glass Finish.
- In a well-ventilated area, apply a light, even coat to the outside of the jar.
Let it dry completely. The result is a soft, diffused, sea-glass effect that looks stunning on a shelf, especially with a small plant cutting or a single flower stem inside.
The unique shapes of some candle jars make them perfect for specific tasks. The wide, shallow vessels from brands like Jo Malone London are ideal for holding small office supplies like paper clips, binder clips, or even loose change. Their elegant design ensures your desk stays tidy and chic, rather than cluttered.


