So, You Have a Permanent Marker Mess? Here’s How to Actually Fix It
We’ve all been there. That heart-stopping moment when you see a bold, black line of permanent marker on your brand-new countertop, your kid’s favorite shirt, or worse, the living room wall. Your first instinct is probably panic, followed by frantic scrubbing. But I’m here to tell you to take a deep breath. Over years of working in professional cleaning and restoration, I’ve learned one crucial lesson: “permanent” is more of a suggestion than a hard fact.
In this article
The secret isn’t some magic, all-in-one product you see on infomercials. It’s about understanding what you’re up against and using the right tool for the job. We’re going to get that stain out, but we’re going to do it smartly to make sure we don’t damage the item we’re trying to save.
First Off, Why Is Permanent Marker So Stubborn?
To beat the enemy, you gotta know the enemy. Permanent ink has three main parts: a color (pigment), a glue (resin), and a liquid that carries it all (a solvent, usually alcohol). When you write, the alcohol carrier evaporates almost instantly, leaving the pigment and glue behind. That glue, or resin, is designed to laugh at water, which is why a wet paper towel just makes a gray smudge.
So, our mission is simple: we need to find a new solvent that can dissolve that dried-up glue. This brings us to the golden rule of stain removal: “like dissolves like.” Since the original carrier was alcohol, our best bet for breaking down the resin is… you guessed it, more alcohol.
But wait, the surface itself matters just as much. Think about it:
- Non-Porous Surfaces: This is stuff like glass, metal, glazed tile, and sealed countertops. The ink is just sitting on top, which makes removal way easier.
- Porous Surfaces: This is the tricky category. Unfinished wood, fabric, leather, and painted drywall all have tiny pores that the ink soaks into. Getting the stain out means getting the solvent into those pores, which requires more patience.
Knowing which type of surface you have sets you up for success and helps manage expectations. Getting a squiggle off your fridge is a five-minute job; getting it out of a cotton t-shirt is a bit more of a project.

Your Stain-Fighting Shopping List
Before you start, let’s get your toolkit ready. Having this stuff on hand means you can act fast, which is always a plus. You can find everything here for under $15 at a local pharmacy, hardware store, or big-box store like Target.
- Isopropyl Alcohol (Rubbing Alcohol): This is your MVP. I recommend grabbing both 70% and 91% concentrations. They usually cost about $2-$4 a bottle. The 70% has a bit more water, which helps it not evaporate so fast on fabrics. The 91% is stronger and great for hard surfaces.
- Clean WHITE Cloths: This is critical. Old cotton t-shirts or a pack of microfiber towels work perfectly. Using a colored cloth is a classic mistake—you can easily transfer its dye onto whatever you’re cleaning, creating a whole new problem.
- Cotton Swabs and Balls: For getting into small, detailed spots. A buck or two for a whole bag.
- A Soft Brush: An old, clean toothbrush is perfect for working solvent into textured things like upholstery or carpet without damaging them.
- Nitrile Gloves: Seriously, don’t skip these. Solvents will dry your skin out in a second. A box costs around $10 at any hardware or drug store and will last you forever.
A Quick Word on the “Big Guns”…

Sometimes, alcohol just doesn’t cut it. While the pros have access to all sorts of chemicals, there are a couple you might have at home. But please, use these with extreme caution.
Acetone (the main ingredient in most nail polish removers) is a powerhouse solvent. It works wonders on some things but will literally melt certain plastics, ruin wood finishes, and can strip the color right out of some fabrics. It’s a last resort, and you absolutely need to work with windows open because the fumes are no joke.
Denatured alcohol, which you can find at a hardware store, is a step up from rubbing alcohol. It’s more potent but also way more flammable and evaporates in a flash. Honestly, for most household jobs, regular isopropyl alcohol is the safer, smarter choice.
The Golden Rule: Safety and Testing First!
Before a single drop of solvent touches your stain, you need to commit to this. A ruined shirt is one thing; a trip to the ER or a permanently damaged sofa is another.
ALWAYS test your solvent on a hidden spot first. I cannot stress this enough. On a couch, test the fabric on the underside of a cushion. On a shirt, use the inside hem. Apply a little solvent with a cotton swab, wait a minute, and then blot it with a white cloth. Are you seeing any of the fabric’s color on the cloth? Is the texture changing? If you see any change, STOP. This is your sign that the material is too delicate, and it’s time to call a professional dry cleaner. Don’t risk it!
And please, work in a well-ventilated area. Open a window or turn on a fan. These solvents have strong fumes (VOCs) that aren’t good to breathe in. Oh yeah, and they’re flammable, so no working near the stove or any open flames.
Removing Ink from Fabric & Upholstery
Okay, let’s tackle that shirt or couch cushion. The absolute enemy here is rubbing. We want to blot and lift, not scrub and spread.
This method can take a good 10-15 minutes of patient work, so put on some music and settle in.
- Set the Stage: Lay the stained fabric flat and place a thick, folded white towel directly underneath the stain. This towel is going to catch the ink as we push it through the fabric.
- Create a Barrier: Dampen a cotton swab with your 70% isopropyl alcohol and gently dab a circle around the stain first. This creates a little wall of solvent that helps keep the ink from bleeding outward.
- Blot, Blot, Blot: Now, using a fresh, alcohol-dampened cloth, start blotting the stain directly. Press down firmly. The goal is to push the ink through the fabric fibers into the towel below. You’ll see your cloth get inky—keep moving to a clean section of the cloth to avoid reapplying the stain.
- Check and Repeat: Every so often, lift the fabric and check the towel underneath. You should see the ink transferring. Move the garment to a clean spot on the towel and keep blotting. Continue until you’re not seeing any more ink come out.
- Rinse and Wash: Once the stain is gone (or as faded as it’s going to get), rub a little liquid laundry detergent into the spot and rinse it thoroughly with cool water. Check your work. If a faint mark remains, you can repeat the process. But whatever you do, DO NOT put it in the dryer. The heat will set any leftover ink for good.
Heads up: This works great for sturdy fabrics like cotton, linen, and most synthetics like polyester. For delicate stuff like silk or wool, my honest professional advice is to take it to a dry cleaner. They have special tools and chemicals that won’t ruin the fabric.
Tackling Hard Surfaces Like a Pro
Hard surfaces are usually easier, but the risk here is scratching or damaging the finish.
Wood (Finished vs. Unfinished)
For sealed or finished wood, the ink is just on the surface. Gently wipe the spot with a soft cloth dampened with isopropyl alcohol. Don’t let the alcohol sit for too long. If that doesn’t work, a little-known trick is to use basic, white, non-gel toothpaste. The mild abrasive in the paste can gently buff the stain off the finish. Afterward, wipe the area clean with a damp cloth.
Unfinished wood is tough because the ink has soaked into the fibers. Here, you might need to lightly sand the area with very fine-grit sandpaper (220-grit or higher), always moving with the grain. This is more of a restoration project, and you’ll need to re-apply an oil or finish to match.
Plastics and Metal
Most plastics and metals handle isopropyl alcohol just fine. A simple wipe is often all it takes. Be careful with acetone, though, as it can make some plastics sticky or cloudy. Always test first!
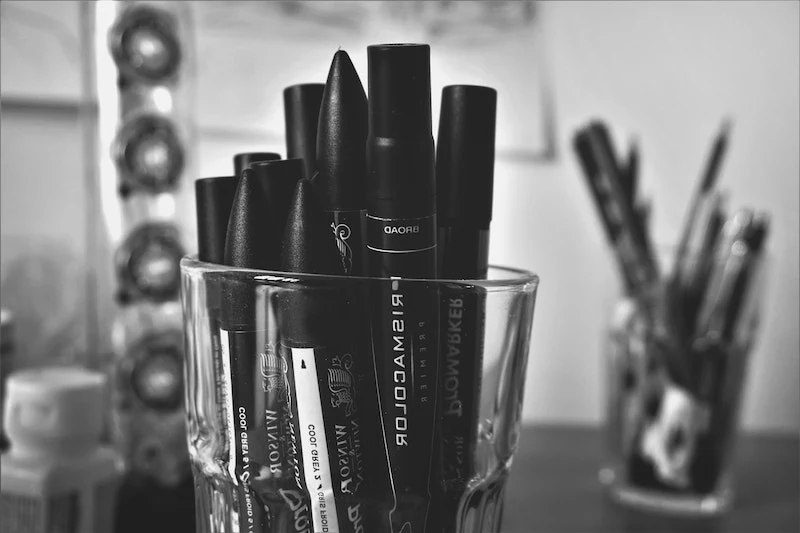
A lesser-known trick for non-porous surfaces like whiteboards, glass, or even your stainless steel fridge: color over the permanent marker stain with a dry-erase marker. The solvent in the dry-erase ink will dissolve the permanent ink. Let it sit for a few seconds, and then wipe both away with a cloth. It sounds crazy, but it works surprisingly often!
Painted Walls
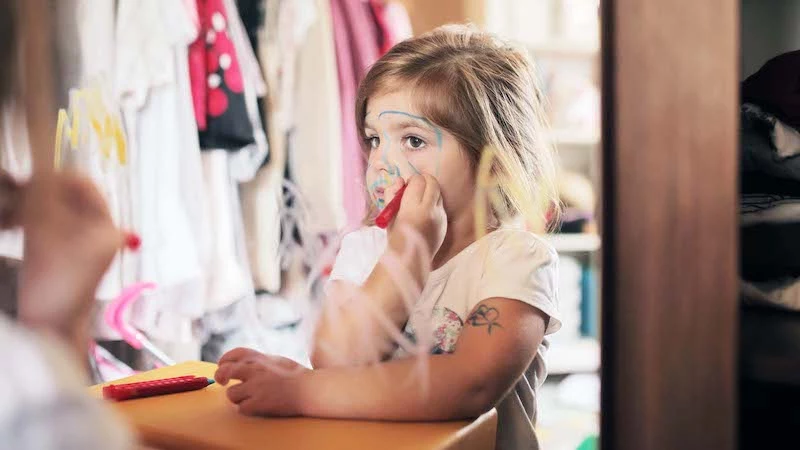
This is a common one, especially for parents. The danger is taking the paint off along with the marker. Start with the gentlest option: a magic eraser. Wet it and gently rub the spot. If that’s not working, you can try dabbing the stain with a cotton ball soaked in isopropyl alcohol. Dab, don’t scrub! You might still lift a tiny bit of paint, but it’s often less noticeable than the marker.
What About Leather?
Leather is basically skin, and alcohol can dry it out badly. This is a delicate operation. Put a tiny amount of isopropyl alcohol on the very tip of a cotton swab. Gently dab only the ink mark. As soon as you’re done, you must apply a good leather conditioner to the area to restore the moisture. And as always, test on a hidden spot first, like the underside of the couch.

Inspirational Gallery

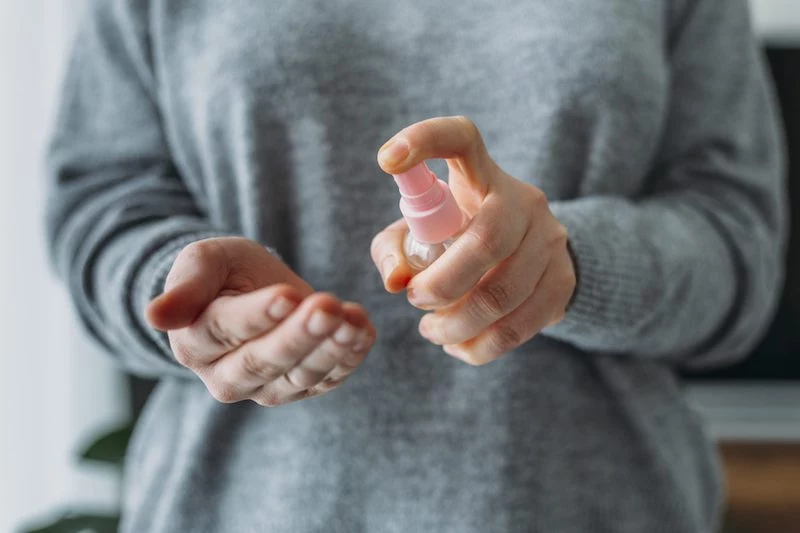
Hand Sanitizer: Its high concentration of ethyl or isopropyl alcohol makes it a fantastic, readily available solvent. The gel consistency helps it cling to the stain without running, giving the alcohol time to work.
Aerosol Hairspray: This is a classic trick, but be careful! Older hairspray formulas were rich in alcohol, which did the cleaning. Many modern formulas are alcohol-free and won’t work. It can also leave a sticky residue.
For reliability, hand sanitizer is the clear winner for quick fixes on non-porous surfaces.

The first Sharpie marker was introduced by the Sanford Ink Company in 1964. It was promoted as the first pen-style permanent marker that could write on almost any surface, from glass to wood.
Will the remover strip the finish from my furniture or fade my clothes?
That’s the million-dollar question. The key is to always perform a spot test on an inconspicuous area first—the inside hem of a shirt, the underside of a wooden table, or a patch of carpet that’s usually under the sofa. Apply a tiny amount of your chosen solvent with a cotton swab and wait a few minutes. Check for any color bleeding on fabric or damage to the varnish or finish. If the test spot is clear, you can proceed with confidence. This one step can save you from turning a small stain into a much bigger problem.

When tackling a stubborn mark on leather goods, gentle precision is everything. Avoid soaking the area.
- First, apply a small amount of isopropyl alcohol to a cotton swab, not directly to the leather.
- Gently dab the ink mark, lifting the swab away after each dab to check your progress. Avoid rubbing, which can spread the ink.
- Once the mark is gone, it’s crucial to rehydrate the area. Immediately apply a quality leather conditioner, like Lexol or Fiebing’s, to restore the oils stripped by the alcohol.

A critical warning: Whatever you do, never apply heat. Using a hairdryer or an iron in an attempt to dry a solvent or lift a stain will have the opposite effect. Heat can permanently set the ink’s pigment into the fibers of fabric or the pores of a surface, making it impossible to remove.
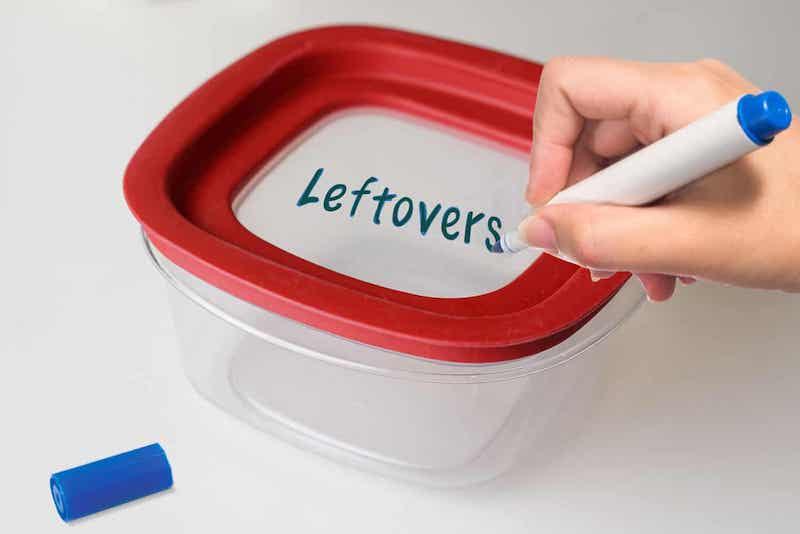
Sometimes, despite your best efforts, a faint ghost of the stain remains. Before you despair, consider a creative cover-up. A stubborn mark on a denim jacket could be the perfect spot for a cool embroidered patch. A dot on a painted wall could become the center of a small, painted flower or be covered by a new piece of art. On a plastic container, a fun, permanent decal could give it a new lease on life. Think of it less as a mistake and more as an unexpected opportunity for personalization.


