So, Those Cute Chipmunks Are Destroying Your Yard. Here’s What to Do.
I once got a call about a beautiful brick patio that had started to sag on one side. The homeowner was convinced it was a drainage problem. Nope. It was chipmunks. Turns out, a huge colony had built a complex network of tunnels right under the patio base. Over a few seasons, they’d washed away all the compacted gravel, creating a void that caused the whole thing to collapse. It was a seriously expensive repair that could have been completely avoided.
In this article
For over fifteen years in wildlife control, I’ve seen this kind of thing happen more times than I can count. It’s easy to see chipmunks as cute, harmless visitors. They’re energetic, they have those chubby cheeks… I get it. But when you own a home, you have to see them for what they are: highly efficient burrowing machines. Their instincts drive them to dig, and when they choose your property, they can cause some real headaches, from undermining foundations and stairs to completely wrecking your garden.
This isn’t about some magic spray or quick fix. This is the long-term, professional approach. It’s about understanding what makes your yard so appealing to them and then, piece by piece, taking away the invitation. My goal is to pass on the practical knowledge I’ve picked up in the field so you can protect your home for good.
First, Think Like a Chipmunk
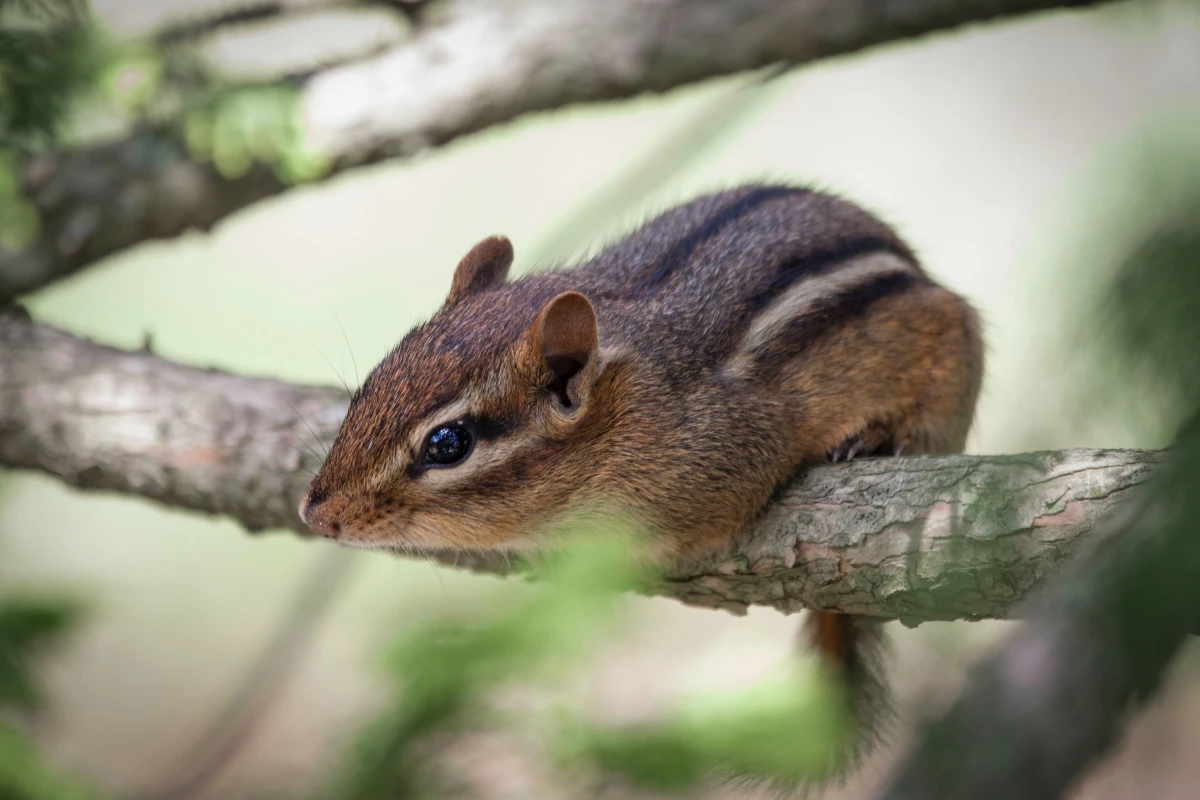
To really get a handle on this, you need to know your opponent. The Eastern chipmunk, which is the one most of us are dealing with, has a lifestyle that’s tailor-made for causing property damage.
A chipmunk’s entire world revolves around its burrow. And this isn’t just some little hole. A single burrow system can be an incredible 30 feet long, with separate rooms for storing food and raising young. The entrance is usually a neat, two-inch hole with no dirt piled up around it. This is a key detail. They actually carry the excavated dirt away in their cheek pouches to hide the entrance from predators like hawks and foxes. Pretty clever, right?
The real problem, though, is how these tunnels interact with water. They essentially create a drainage system you never asked for, funneling rain and runoff right where you don’t want it—against your foundation or under your walkways. In colder climates, this water freezes and expands, a process called frost-heaving, which can exert enough pressure to crack concrete. I’ve seen it lead to leaky basements and retaining walls that are literally pushed over.
Oh, and they’re incredibly productive. Chipmunks can have two litters a year, with four or five babies each time. So that “cute couple” you saw in the spring can easily become a major infestation of a dozen or more by the fall. That’s why acting early is so important.
Do a Walk-Through of Your Own Property
Before you do a single thing, you need to assess the situation like a pro would. So grab a notepad and let’s take a walk.
First, confirm you’re actually dealing with chipmunks. Look for those clean, two-inch holes near cover—along your foundation, under the porch, next to stone walls. It’s different from what other critters leave behind. Voles create shallow, grassy runways across your lawn, and moles leave those classic volcano-shaped mounds of dirt. The best confirmation is seeing them, of course. They’re active during the day, so you’ll likely spot them.
Next, map out their activity. Seriously, draw a little map. Mark every burrow entrance you find and note their favorite travel routes. Chipmunks are creatures of habit and will almost always run along the edge of a wall, a fence, or a garden bed. This map is going to be your secret weapon later.
Finally, get a rough headcount. Are you seeing one or two, or is it a constant flurry of activity? If you’re consistently seeing more than three or four chipmunks at one time, you’ve likely moved past a ‘visitor’ problem and have an established colony on your hands. The scale of the problem dictates your strategy.
Make Your Yard an Unfriendly Place
Honestly, the most permanent solution is to change the environment itself. It’s called habitat modification, and it just means taking away the food, water, and shelter they need. If your yard isn’t a five-star resort for chipmunks, they’ll check out and move somewhere else.
Take Away Their Hiding Spots
Chipmunks are prey animals, so they feel incredibly vulnerable in the open. They love to dart from one hiding spot to another. Your job is to remove that cover.
Start right at your foundation. So many people have dense shrubs or ground cover like pachysandra planted right up against the house. To a chipmunk, that’s a welcome mat. I always advise creating a one- to two-foot-wide ‘dead zone’ around your entire foundation. Clear out the plants and lay down a barrier of decorative stone or large bark mulch. This makes it much harder for them to start a burrow against your home and makes it super easy for you to spot any new digging.

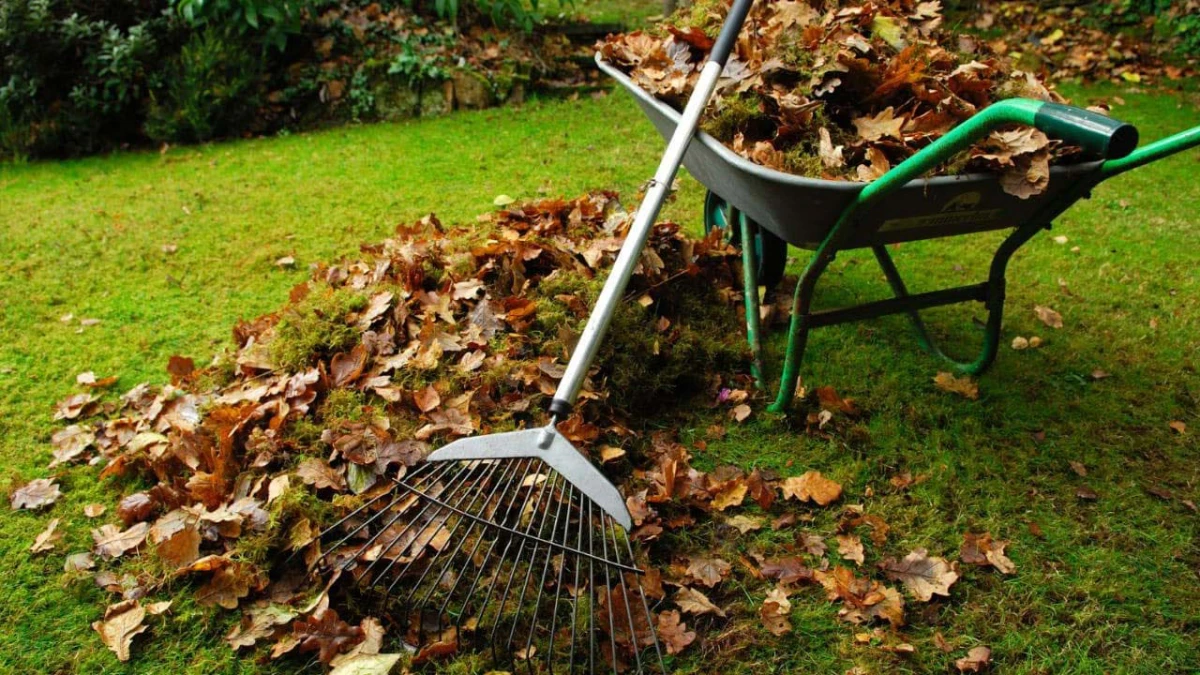
And that woodpile? It’s basically a chipmunk apartment complex. If you need to have one, move it at least 20 feet away from your house, shed, or anything else you don’t want them burrowing under. Same goes for leaf piles or any other debris. A tidy yard is a chipmunk-free yard.
Cut Off the Buffet
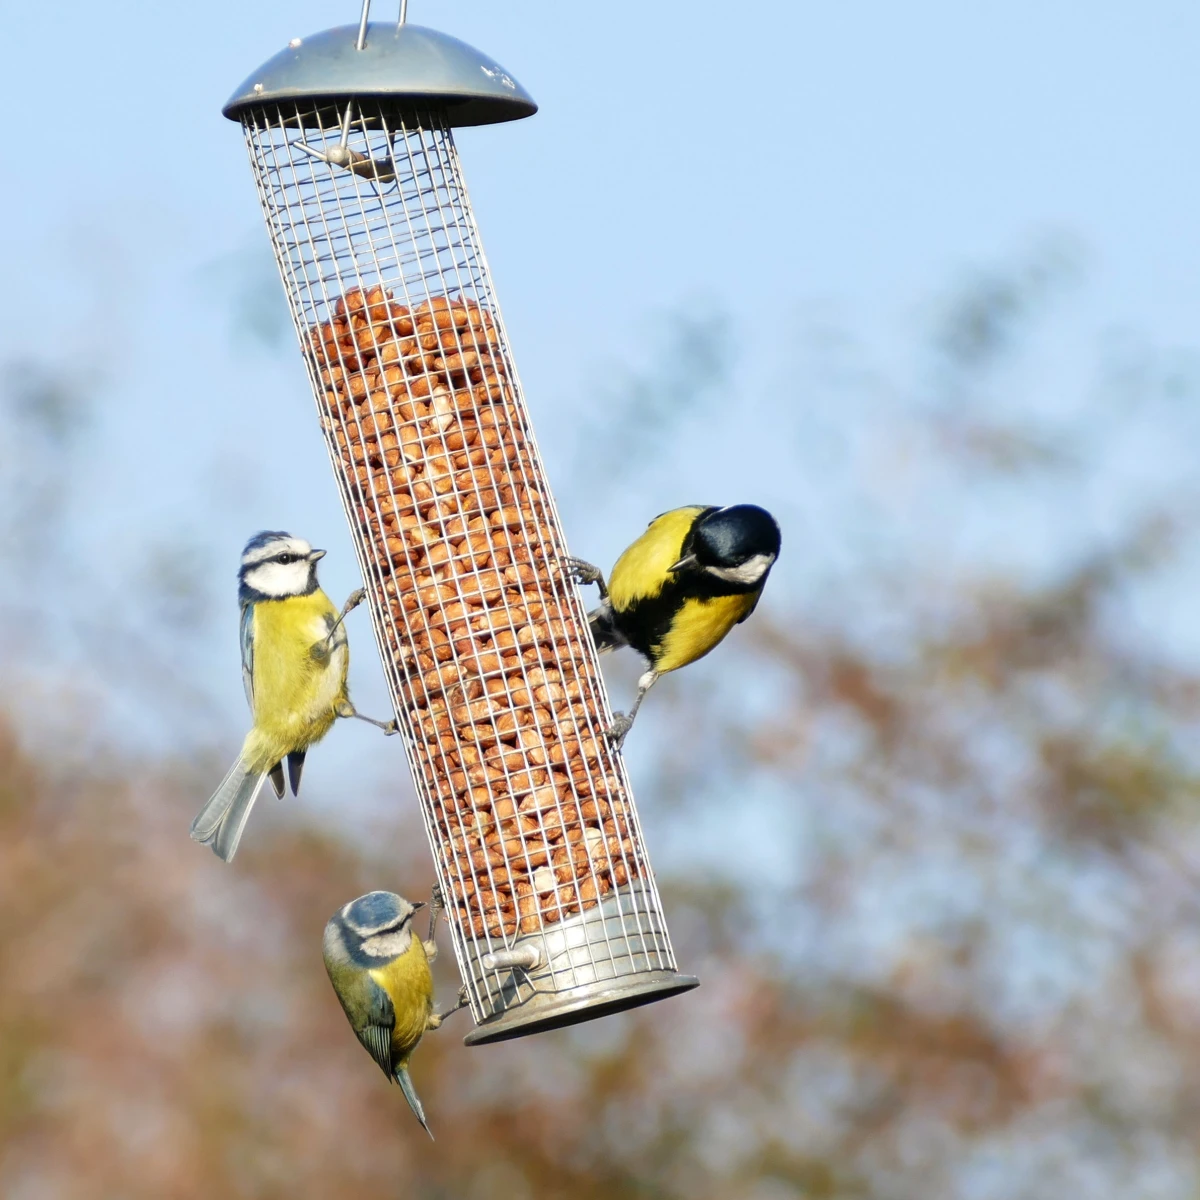
The number one culprit for feeding chipmunks? The bird feeder. I’ve solved countless chipmunk infestations just by dealing with the bird feeder. They don’t climb the pole; they feast on the seeds that messy birds spill on the ground.
A quick win: Go move your bird feeder right now. If it’s within 15 feet of your house, move it out into the middle of the yard. This five-minute task seriously disrupts their favorite food source.
You can also switch to seeds they don’t like. They go crazy for black oil sunflower seeds and cracked corn. They’re much less interested in thistle (nyjer) or safflower seeds. And try to be diligent about sweeping up the spilled seeds daily.
As for your garden, chipmunks love to dig up and snack on tulip and crocus bulbs. When you plant them, you’re basically setting a table for them. A simple trick is to mix sharp, gritty gravel into the soil when you plant. They don’t like digging through it. Even better, plant bulbs they find disgusting, like daffodils, alliums, and hyacinths.
Deciding on Your Plan of Attack
After you’ve made your yard less hospitable, you might still have some stubborn residents. So, which active control method is right for you? It really comes down to a trade-off between cost, effort, and how well it actually works.
-
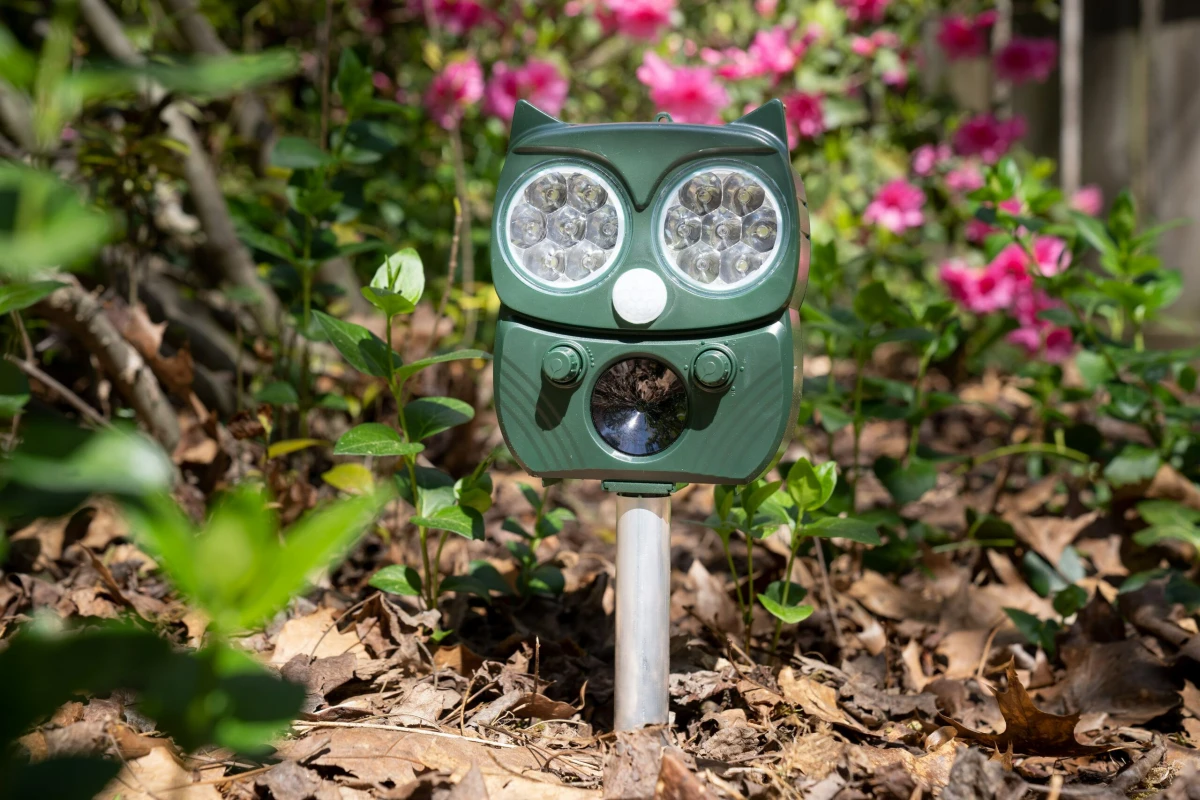
Repellents: Let’s be frank. These are your cheapest and lowest-effort option, usually under $20 for a bag of granules. But their effectiveness is very low. They might keep a chipmunk out of a single flowerpot for a few days, but they won’t protect your whole property, and they wash away with the first rain. As for those ultrasonic plug-in devices? Save your money. I’ve seen them running on properties where chipmunks were happily digging just a few feet away. They simply get used to the noise.
-
Exclusion: This is the gold standard for permanent protection. It involves physically blocking them out. The effectiveness is extremely high, but it’s going to cost you in either sweat or cash. Doing it yourself means a weekend of work and maybe $50 to $100 in materials. Hiring a pro is hands-off but can cost a lot more.
-
Trapping: This is a method of last resort. It’s moderately effective for removing a specific, problem animal. A good live trap will run you about $30. The real cost here is the responsibility that comes with it, and you absolutely must know your local laws before you even consider it.
Getting Hands-On: Exclusion and Trapping
If you’ve decided to take more direct action, here’s how to do it right.
How to Install a Physical Barrier (Exclusion)
Exclusion is the best way to protect structures like decks, sheds, or porches. It’s a permanent fix. Here’s what you’ll need from a hardware store like Home Depot or Lowe’s: a roll of quarter-inch galvanized hardware cloth, a pair of tin snips, and heavy-duty leather gloves (the cut wire is wicked sharp!).
Here’s the process for protecting something like a deck. Plan for at least a solid afternoon of work for a small- to medium-sized deck.
- Dig a trench about 8-12 inches deep around the entire perimeter of the deck.
- Cut the hardware cloth to fit, making sure it’s wide enough to go from the bottom of the deck frame down into the trench.
- Attach the top edge of the hardware cloth securely to the deck frame.
- Run the mesh down into the trench, and then bend the bottom 6 inches outwards, away from the deck, to form an “L” shape. This is called an L-footer, and it stops them from just digging underneath your barrier.
- Backfill the trench with the dirt you removed. Now you have a fortress they can’t breach.

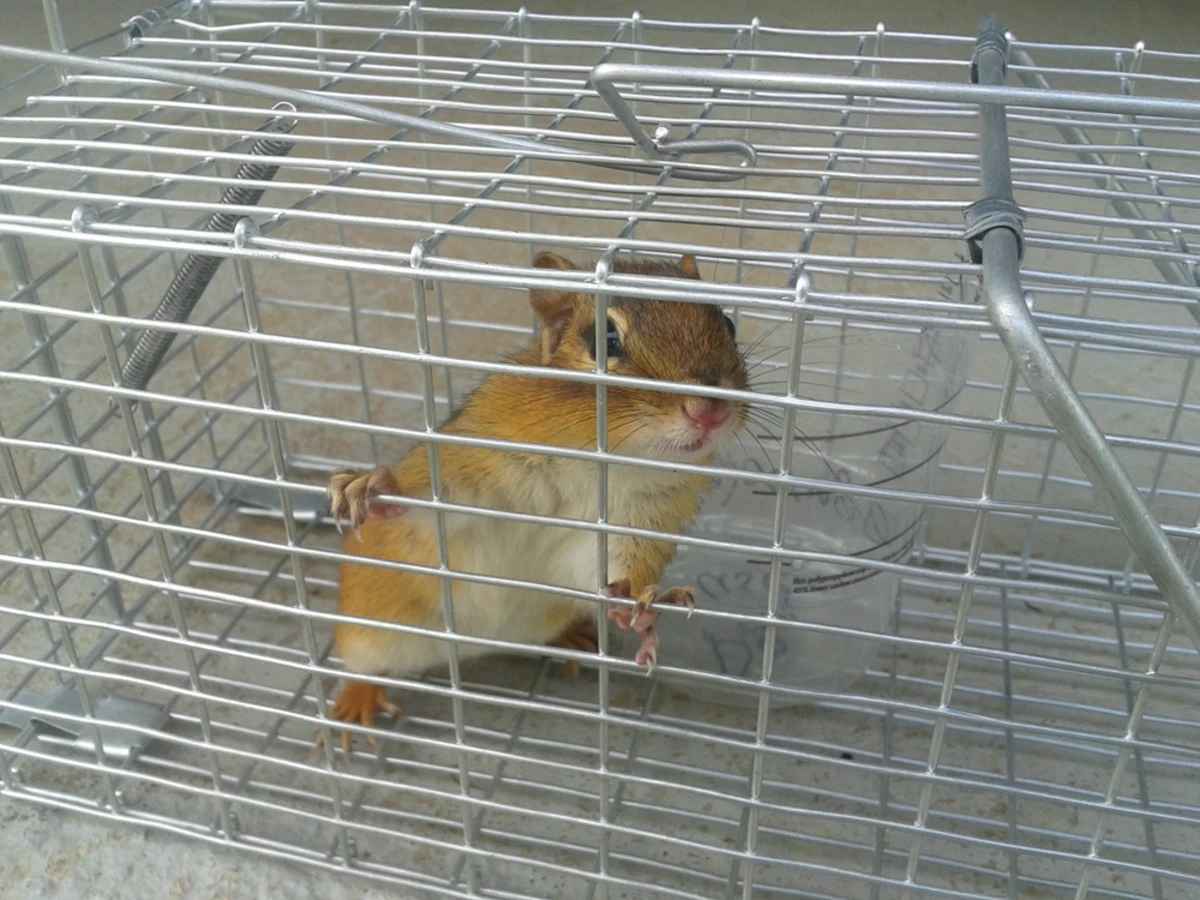
The Hard Truth About Trapping
Trapping should only be used when a chipmunk is causing direct and significant damage and nothing else has worked. Place a live-capture cage trap (about 15-20 inches long is perfect) on a level surface right in one of their known travel paths. Bait it with a tiny smear of peanut butter and a few sunflower seeds behind the trigger plate, so they have to step on it to get the reward.
Now for the most important part. Before you even buy a trap, you MUST check your local and state wildlife regulations. In many areas, it is illegal to trap and relocate wildlife. It sounds like the kind thing to do, but you’re often just dropping a terrified animal into another animal’s territory with no burrow and no food source, where it’s likely to starve or be killed. It can also spread disease. The legal and required option is often humane euthanasia. Your local animal control or state wildlife agency is the only source for this information. Do not skip this step.
What to Do With the Empty Tunnels
Okay, so let’s say your plan worked and the chipmunks are gone. You’re not done yet! You have to deal with the empty burrows. Leaving them as-is can invite new pests (like wasps or snakes) to move in, or the tunnels can collapse later and cause the ground to sink.
Once you are 100% certain the burrows are empty, you should fill them in. Don’t just use dirt, as it will settle over time. The best method is to fill the tunnels with a mixture of gravel and soil. The gravel provides stability and also discourages any new animals from trying to re-excavate the old system.
When You Absolutely Need to Call a Professional
Sometimes, a problem is just too big for a DIY approach. If you see any evidence that chipmunks have gotten inside your house—scratching in the walls, droppings in the basement, or seeing one in your garage—call a professional immediately. They can chew on electrical wiring, which is a massive fire hazard.
Another sign is a huge, well-established colony causing visible structural damage. If you’ve mapped a dozen burrow entrances and your patio is sinking, it’s time for help. A professional wildlife company has the tools and experience to do the job safely and correctly. Expect to pay anywhere from $300 for a simple trapping job to $1,500 or more for major exclusion work around a deck or foundation. It’s an investment, but it’s cheaper than rebuilding a collapsed retaining wall.
Remember, managing chipmunks is an ongoing part of home maintenance. Stay vigilant, keep your yard tidy, and think from their perspective. By taking away the easy food and safe shelter, you’re creating a property that naturally encourages them to go somewhere else. And that’s the most successful approach of all.
Galerie d’inspiration
I’ve heard mothballs are a cheap and easy way to get rid of chipmunks. Is it true?
Absolutely not. This is a persistent and dangerous myth. Mothballs contain either naphthalene or paradichlorobenzene, which are toxic insecticides regulated by the EPA and intended only for use in sealed containers to protect fabric from moths. When used outdoors, these chemicals can contaminate your soil, harm your plants, and pose a serious risk to pets and children. Furthermore, they are largely ineffective in open-air burrows; the concentration simply isn’t strong enough to deter a determined chipmunk. It’s a solution that offers maximum risk for minimal reward.


