That Dry Erase Marker Stain Isn’t Permanent: Here’s How to Actually Get It Out
We’ve all been there. You’re wrapping up a meeting or a lesson, cap a dry erase marker, and then look down to see a big, bold streak of it on your sleeve. It’s one of those uniquely frustrating moments because a tool designed to be temporary suddenly feels very, very permanent on your favorite shirt.
In this article
The confusion makes total sense. These markers wipe off a whiteboard with zero effort, so why do they cling to fabric for dear life? Honestly, it all comes down to the marker’s ink formula and how it behaves on different surfaces. Understanding this little bit of science is the key to getting the stain out without just making it worse.
Forget frantic scrubbing. I’m going to walk you through the real-deal methods the pros use, but adapted so you can do them at home with stuff you can find easily. We’ll cover what you need, how to do it, and most importantly, how to know which method to choose for your specific stain.
First, Why Is This Stain So Stubborn?
Before you attack the stain, it helps to know what you’re up against. Dry erase ink isn’t just colored water. It’s a mix of three main things: a color pigment, a solvent (usually alcohol), and a slippery release agent.
On a super smooth, non-porous surface like a whiteboard, that release agent creates a slick film. When you wipe, you’re just sweeping the pigment off that film. Easy. But fabric is the total opposite—it’s super porous, made of tons of tiny, absorbent fibers.
The moment the marker hits your clothes, the alcohol solvent soaks in instantly, carrying the color pigment deep into the threads. The release agent is useless here. The pigment is now physically stuck. This is why our main strategy is based on a simple principle: like dissolves like. We need to use a new solvent to re-dissolve the ink and flush it out.

Before You Do Anything: The 3 Rules to Not Ruin Your Clothes
What you do in the first few minutes is critical. Seriously, take a breath before you grab a wet paper towel. Haste is the enemy here.
1. DO NOT RUB IT. I can’t say this enough. Your gut instinct is to rub the stain, but this just grinds the pigment deeper into the fibers and makes the stain bigger. Just don’t.
2. DO NOT ADD WATER (YET). Throwing water on a solvent-based stain can set it or cause it to spread. We need to treat it with the right stuff first.
3. DO NOT APPLY HEAT. Heat is the ultimate stain-setter. Never, ever put a stained piece of clothing in the dryer unless you are 100% sure the stain is gone. Always air dry it first and check your work in bright light.
Check the Care Label—It’s Your Best Friend
The method you choose depends entirely on the fabric. A treatment that’s fine for cotton can destroy silk. So, always check the care label first.
- Cotton & Cotton Blends: These are tough and can usually handle rubbing alcohol. They’re very absorbent, though, so work carefully.
- Synthetics (Polyester, Nylon): These are pretty resilient and less absorbent, which often makes stain removal easier. They also handle alcohol well. Heads up, though: stronger solvents like acetone (nail polish remover) can literally melt some synthetics, so stick to the basics.
- Delicates (Silk, Wool, Rayon): Be extremely careful. Alcohol can strip color and ruin the sheen on silk. Honestly, for expensive or delicate items, a trip to a professional dry cleaner is your safest bet. If you must try it yourself, be incredibly gentle.
The All-Important Spot Test
Never, ever use a cleaning solution without testing it on a hidden spot first. Think the inside of a hem or a seam allowance. Dab a tiny bit of your chosen cleaner on with a cotton swab, wait a minute, then blot with a white cloth. If any color from the garment transfers to the cloth, or if the fabric looks weird, STOP. That method is not safe for your garment.
Your Stain-Fighting Shopping List
Good news: you don’t need a bunch of expensive, specialty chemicals. Here’s what you’ll want to have on hand.
- Isopropyl (Rubbing) Alcohol: 70% is perfect. You can find this for about $2-$4 at any pharmacy or big-box store.
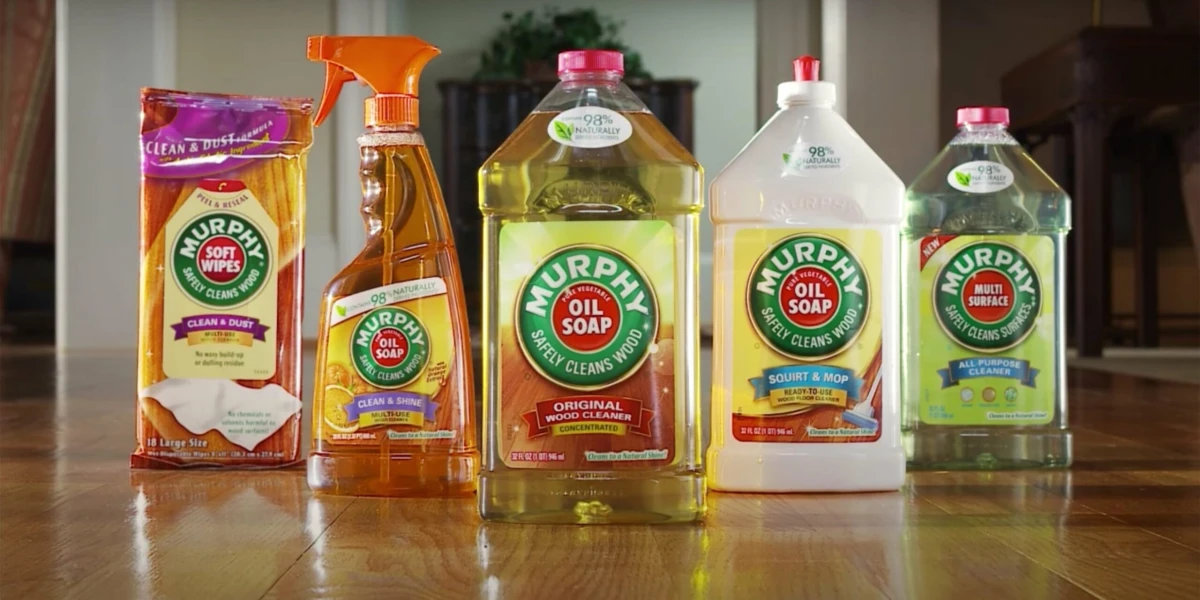
- Murphy’s Oil Soap: A classic for a reason. It costs around $5 and you can find it in the cleaning aisle at most grocery or hardware stores.
- A Good Liquid Laundry Detergent: Look for one with enzymes, as they are great at breaking down stains. Think brands like Tide or Persil.
- Amodex Ink & Stain Remover: This is your secret weapon for really stubborn, set-in stains. It’s a bit more of an investment at around $10-$12, but it’s worth it. You can find it online or sometimes at office supply stores.
- Clean White Cloths: Old t-shirts or microfiber towels work great. Avoid colored cloths that could bleed onto your garment.
The Two Main Methods: Alcohol vs. Oil Soap
So, which one do you choose? Here’s a quick rundown.
Go for the Alcohol Method if: The stain is fresh, the fabric is durable (like cotton or polyester), and the marker color is a standard blue or black. Alcohol is the workhorse because it acts just like the solvent that was originally in the marker.
Try the Oil Soap Method if: The alcohol isn’t quite cutting it, the stain seems a bit greasy or waxy, or you’re dealing with a more stubborn color like red or green. The oil in the soap is fantastic at breaking down the marker’s slick release agent that can sometimes linger.
Method 1: The Alcohol Approach (The Pro’s Go-To)
I’ve personally saved a favorite white shirt from a disaster of blue marker streaks with this exact method. It takes patience, but it works.
1. Prep Your Station. Lay the garment on a flat surface with a folded-up white cloth directly underneath the stain. This backing cloth is super important—it’s going to soak up the ink you’re pushing out. 2. Apply the Alcohol. Don’t pour alcohol right on the stain, as it will just spread. Instead, dampen a different white cloth with alcohol. 3. Blot, Don’t Rub. Press the damp cloth onto the stain. Use a firm dabbing motion. You should see the ink start to transfer from your shirt to the backing cloth underneath. A quick tip: Start blotting from the outer edge of the stain and work your way in. This stops you from accidentally making the stain bigger. 4. Rotate Your Cloths. As the ink lifts, keep moving to clean sections of both your top cloth and the backing cloth. You don’t want to re-apply the ink you just removed. Expect this to take a good 5-10 minutes of patient blotting. The stain will gradually fade. 5. A Common Pitfall: If you see a “ring” forming around the stain, it means you’re using too much alcohol or not blotting effectively. Your cloth should be damp, not sopping wet, and your backing cloth should be doing its job absorbing the liquid. 6. Pre-Treat and Wash. Once the stain is gone (or nearly gone), rub a small amount of liquid laundry detergent into the damp area and let it sit for about 15 minutes. Then, wash the garment according to the care label. Remember: AIR DRY and inspect before you even think about the dryer.

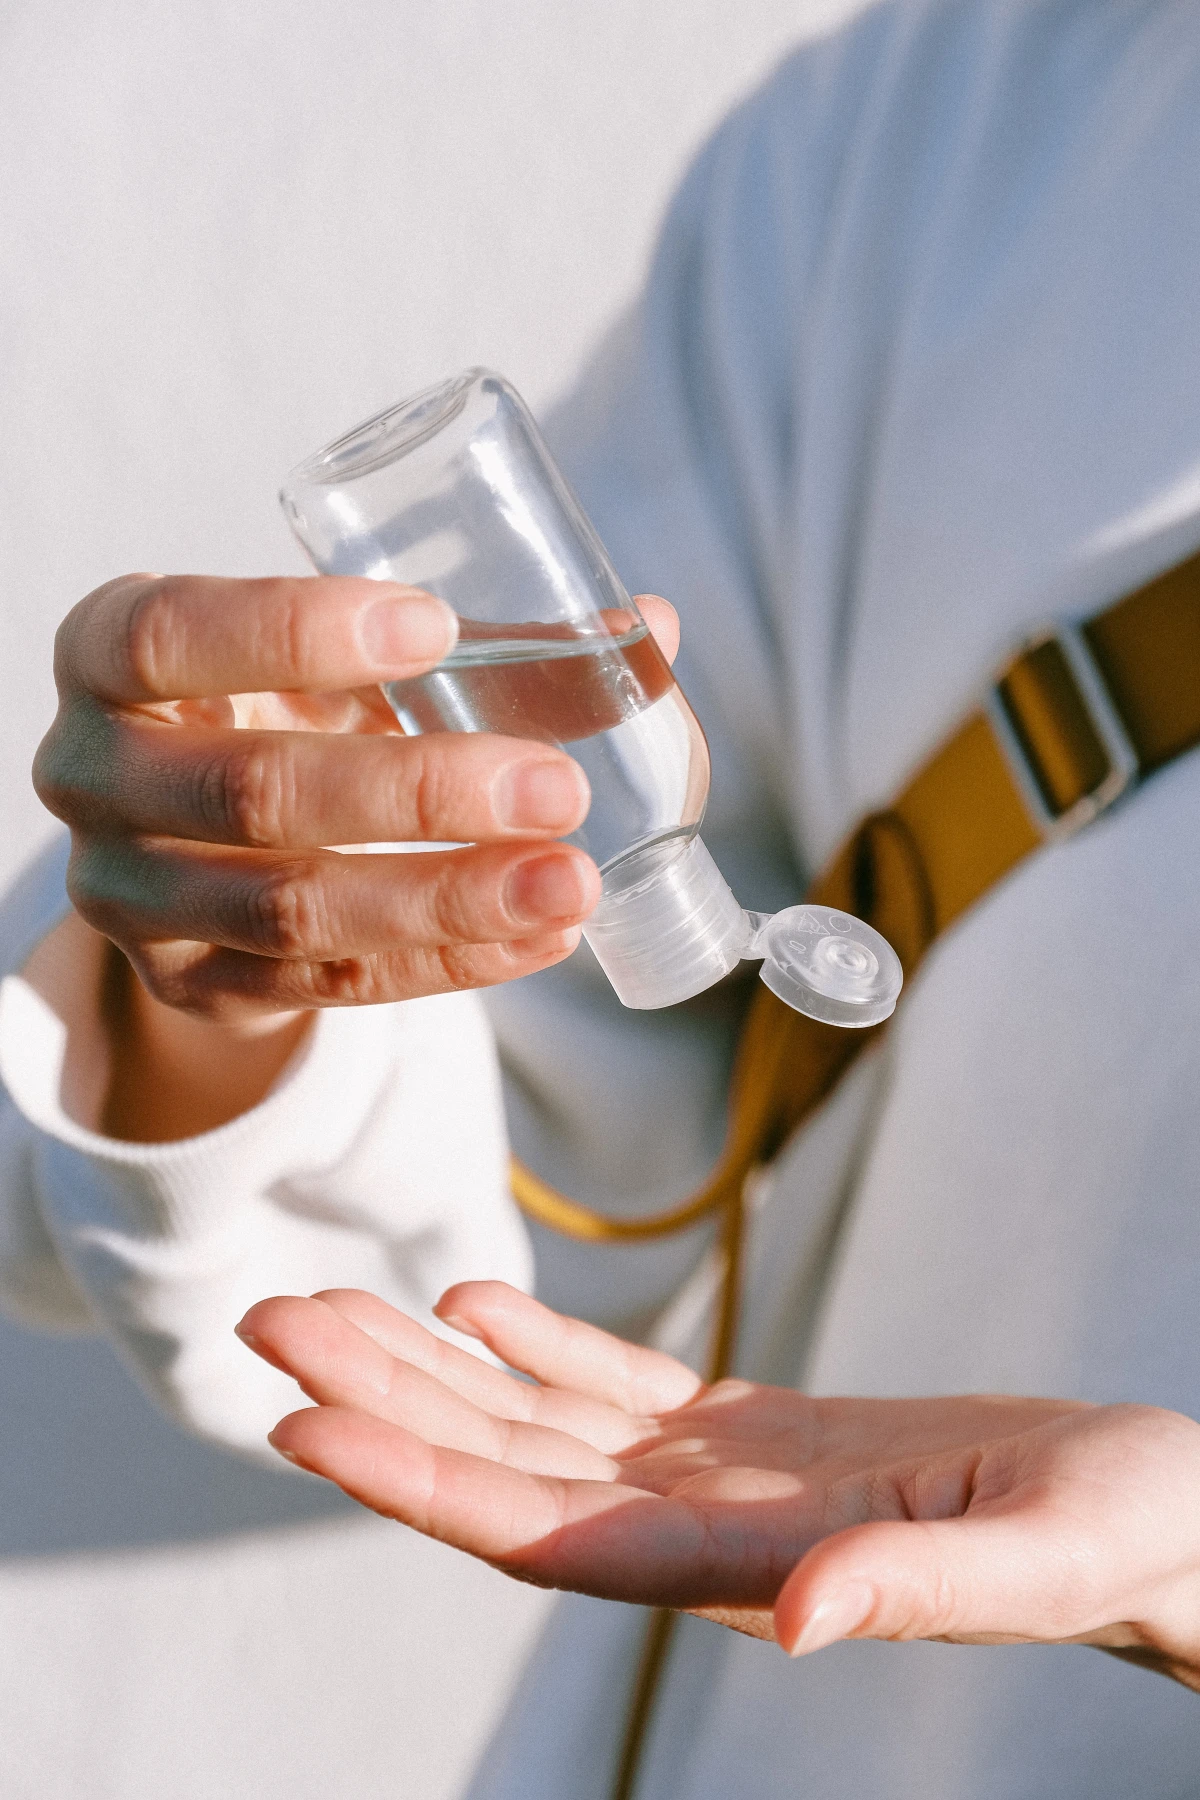
Quick Fix When You’re Out and About: Got a fresh stain? Hand sanitizer is your friend! Most are alcohol-based. Put a dab on the stain, let it sit for a minute, then blot firmly with a napkin. This can lift a ton of ink and make it much easier to remove completely when you get home.
Method 2: The Oil Soap Solution (An Old-School Trick)
This is a classic trick I learned along the way, and it’s surprisingly effective, especially when the oily part of the ink is being stubborn.
1. Set Up. Just like before, place a backing cloth under the stain. 2. Apply the Soap. Put a small amount of oil soap directly on the stain. 3. Work It In. Use a soft-bristled brush (an old toothbrush is perfect) to gently work the soap into the fibers with a circular motion. Be gentle! You should see the soap start to change color as it lifts the ink. 4. Let It Sit. Give the soap about 20-30 minutes to really penetrate and break down the ink. 5. Rinse and Wash. Rinse the area thoroughly with warm water, preferably from the back of the fabric to push the soap and ink out. Then, wash as usual and check your work before drying.
What About Set-In Stains or Delicate Fabrics?
Okay, what if you found the stain after it went through the dryer? The heat has set it, making it way tougher. It’s not always possible, but you can still try. For a set-in stain, use one of the methods above, but give the solvent a lot more time to work—maybe an hour or more. You might have to repeat the process a few times. If it’s still there, this is when I’d bring out the big guns like Amodex.
And for delicates like silk or wool, I have to be blunt: it’s risky. If you absolutely must try at home, do a very careful spot test and use the alcohol method sparingly with a cotton swab. But my professional advice? Take it to a dry cleaner. It’s not admitting defeat; it’s being smart. For valuable or sentimental items, it’s always the right call.
At the end of the day, removing a dry erase marker stain is about being patient and working smart, not hard. By using the right solvent and a little know-how, you can save a garment you thought was a goner. And that’s a pretty satisfying feeling.
Inspirational Gallery with Photos
Hairspray vs. Rubbing Alcohol: The old advice was to use hairspray, but modern formulas often lack the high alcohol content that made them effective. They can also leave a sticky residue. Rubbing alcohol (70% or higher isopropyl) is the purer, more effective choice. It acts as a direct solvent for the ink’s pigment without adding other chemicals into the mix.
Not all marker colors are created equal. Darker pigments, like those in black or blue markers, are often more concentrated and can be tougher to lift than red or green ones.
This means you might need a bit more patience and a second application of your chosen solvent for those stubborn dark streaks. Don’t give up if it doesn’t vanish on the first try!
What about a stain that has already been through the wash?
It’s tougher, but not always impossible. The key is to avoid the dryer. If a washed garment is still damp, you can treat it. Place a clean, white towel under the fabric, apply isopropyl alcohol directly to the stain, and let it soak for several minutes to break down the set-in pigment. Then, blot firmly and treat with a pre-wash spray like OxiClean MaxForce before re-washing in cold water.
- Prevents the stain from spreading into a bigger mess.
- Stops the pigment from setting deeper into the fibers.
The secret? The blotting technique. Always work from the outside edge of the stain inward. This corrals the dissolving ink toward the center, making it easier to lift out with your cloth instead of pushing it into clean fabric.
For anyone who works with these markers daily, consider creating a desk-side ‘Stain Emergency Kit’. It takes up almost no space.
- Individually wrapped alcohol prep pads.
- A small, powerful stain remover pen like Amodex Ink & Stain Remover.
- A couple of folded, thick paper towels.
Critical step: Before laundering, always flush the area you treated with cold water. This helps rinse out both the dissolved ink and the solvent (like alcohol or hand sanitizer) you used to treat it. Pushing it straight into the wash without this step can sometimes leave a faint ring behind.
For parents or teachers, the ultimate solution is preventative. Crayola’s Ultra-Clean Washable Dry-Erase Markers are specifically formulated to wash out of clothing, making them a stress-free alternative for classrooms and playrooms.
If you’re dealing with a delicate or expensive fabric like silk, wool, or rayon, pause before reaching for the alcohol. These fibers can be damaged by harsh solvents. This is the time to invest in a specialized, pH-neutral stain remover designed for all fabrics or to entrust the garment to a professional dry cleaner.
One solvent you should NOT use is nail polish remover (acetone). While it’s a powerful solvent, it can be too aggressive for many fabrics, potentially discoloring or even dissolving synthetic materials like acetate and rayon. Stick to isopropyl alcohol for a much safer and equally effective result.
Ever notice a faint, oily-looking spot after the color is gone? That could be residue from the marker’s release agent. To tackle this, apply a small amount of clear dish soap (like Dawn) to the spot, gently work it in with your fingers, let it sit for ten minutes, and then rinse before washing as usual. The soap is designed to break down grease and oils.


