How to Get Chapstick Out of Clothes (Even After the Dryer!)
I’ve been in the fabric care world for a long time, and let me tell you, I’ve seen it all. But one of the most common—and frankly, most frustrating—problems that walks through my door comes from that tiny little tube of lip balm in your pocket.
In this article
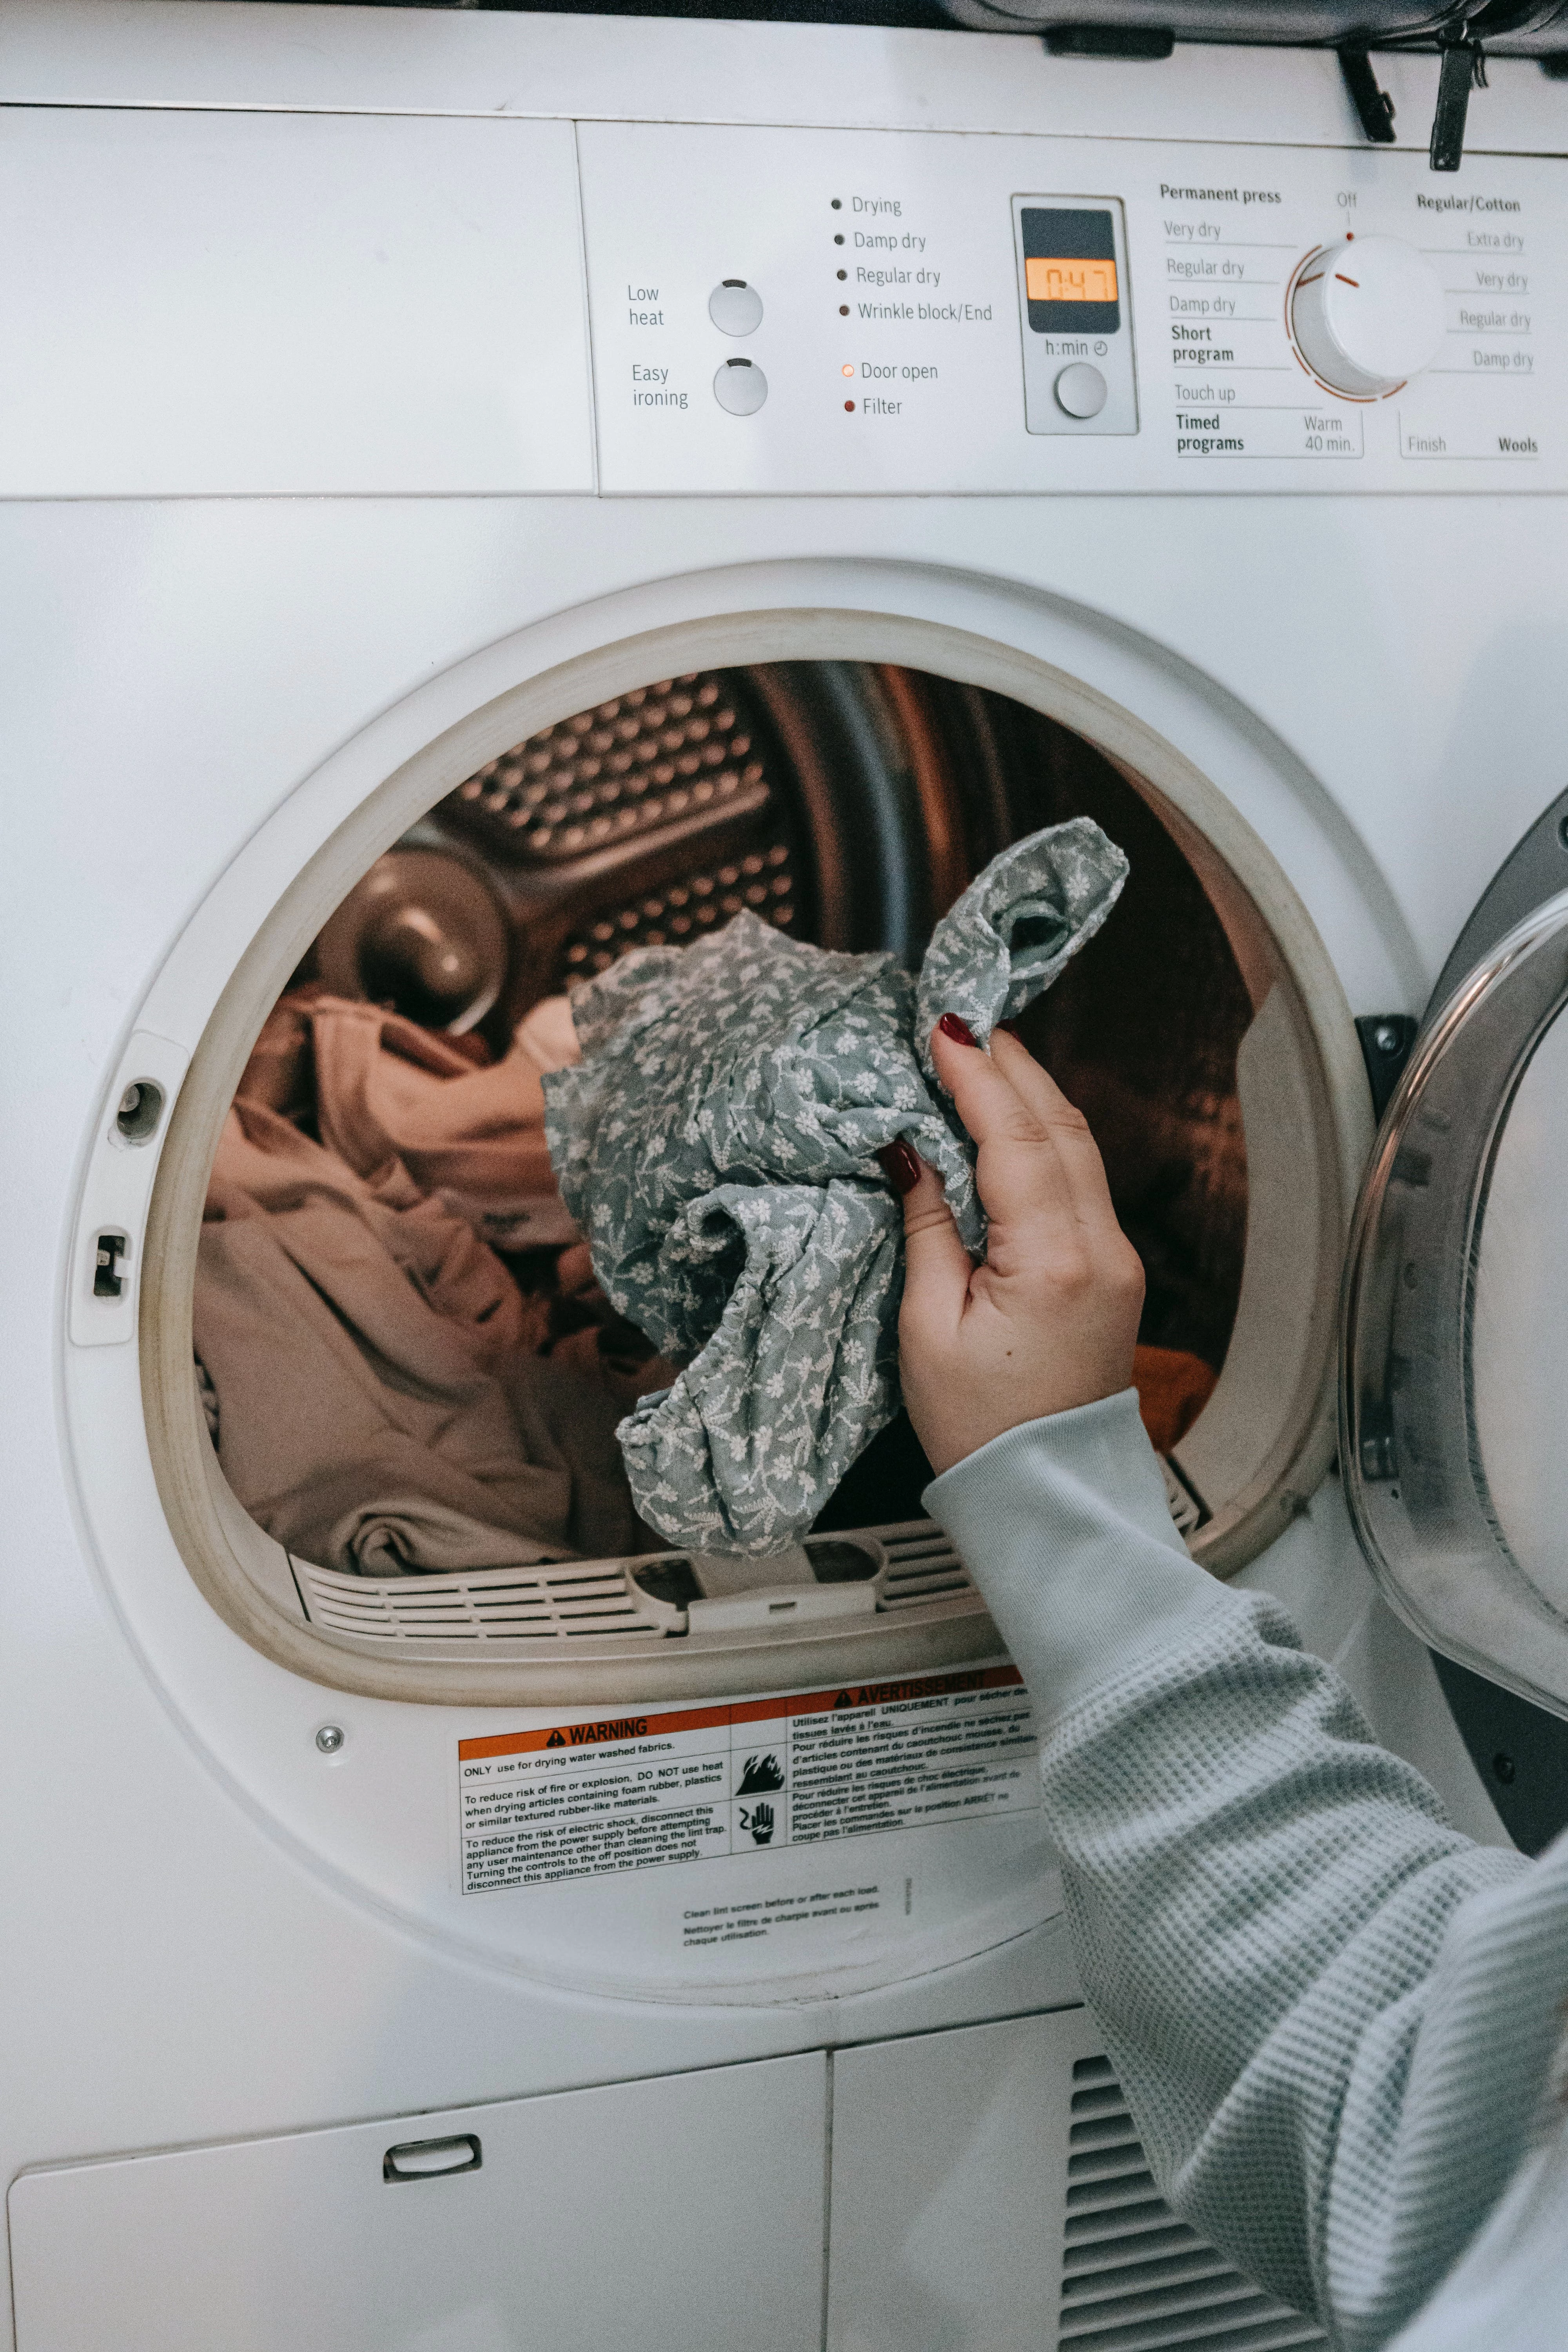
I’ll never forget a new client who came in, just devastated. She’d pulled a fresh load of laundry from the dryer, and a single tube of cherry chapstick had gone through the whole cycle. Every single piece of clothing was peppered with these small, pink, greasy spots. She was convinced the entire load was a write-off because she’d already made the biggest mistake you can make: she applied high heat from the dryer.
That day, we managed to salvage most of her cotton t-shirts, but the polyester blend workout shirts? A lost cause. And here’s why: the intense heat from the dryer literally melted the wax and oil into the plastic-based fibers of the polyester, basically making the stain a permanent part of the fabric. This, and so many experiences like it, taught me that getting chapstick out is a science. The first lesson is always to check your pockets. The second is what to do when you inevitably forget.

Why Is Chapstick Such a Pain to Get Out?
To beat the stain, you have to understand your enemy. Lip balm seems innocent, but it’s a stubborn mix of ingredients specifically designed to repel water and stick around. That’s why just tossing it in the wash usually fails.
Most chapsticks have three main components:
- Waxes: Things like beeswax or carnauba wax give the balm its solid shape. They melt when warm, seeping deep into fabric fibers, and then harden again as they cool, trapping everything else with them.
- Oils & Butters: This is the moisturizing part—petrolatum, coconut oil, shea butter, etc. These ingredients are what we call hydrophobic, meaning they repel water. This is why they create that dark, greasy-looking spot that water just rolls off of.
- Pigments & Dyes: If you’re a fan of tinted lip balm, you’ve got an extra layer of trouble. The colorants are a separate stain that can only be tackled after you’ve dealt with the waxy, oily mess that’s protecting it.
Did you know? The wax in lip balm is engineered to repel water, pretty much like the wax on a high-quality rain jacket. That’s the real reason a simple wash cycle doesn’t stand a chance. You have to break down that protective barrier first.
First Steps: Don’t Make It Worse
What you do in the first few minutes is critical. Seriously, don’t panic and start rubbing the stain—that’s the fastest way to grind the waxy oils deeper into the fabric, making your job ten times harder.
1. Scrape Away the Excess: Your first move is to get any solid gunk off the surface. Grab something with a dull edge; a butter knife, the side of an old credit card, or a plastic putty knife are all perfect. The goal is to lift the chapstick off without snagging the fabric. Gently scrape from the outside of the stain toward the center. This keeps you from accidentally making the spot bigger.
2. Check the Care Label: This is non-negotiable. That little tag is your roadmap. It tells you the fabric type (cotton, polyester, silk?) and, most importantly, the highest temperature the fabric can handle. Ignoring this is a total gamble.

Heads up! If the tag says “Dry Clean Only,” your job just got easier. Don’t try to treat it at home with water—you risk shrinking wool or leaving water spots on silk. Just scrape off any excess you can and take it to a professional cleaner. Be sure to point out the stain to them so they can give it the right treatment.
The Foolproof Method for Washable Clothes
For most everyday fabrics like cotton, linen, and durable synthetics, this is the process the pros use. Don’t skip any steps! Before you start, let’s get your gear together.
What You’ll Need:
- A dull edge tool (old credit card, butter knife)
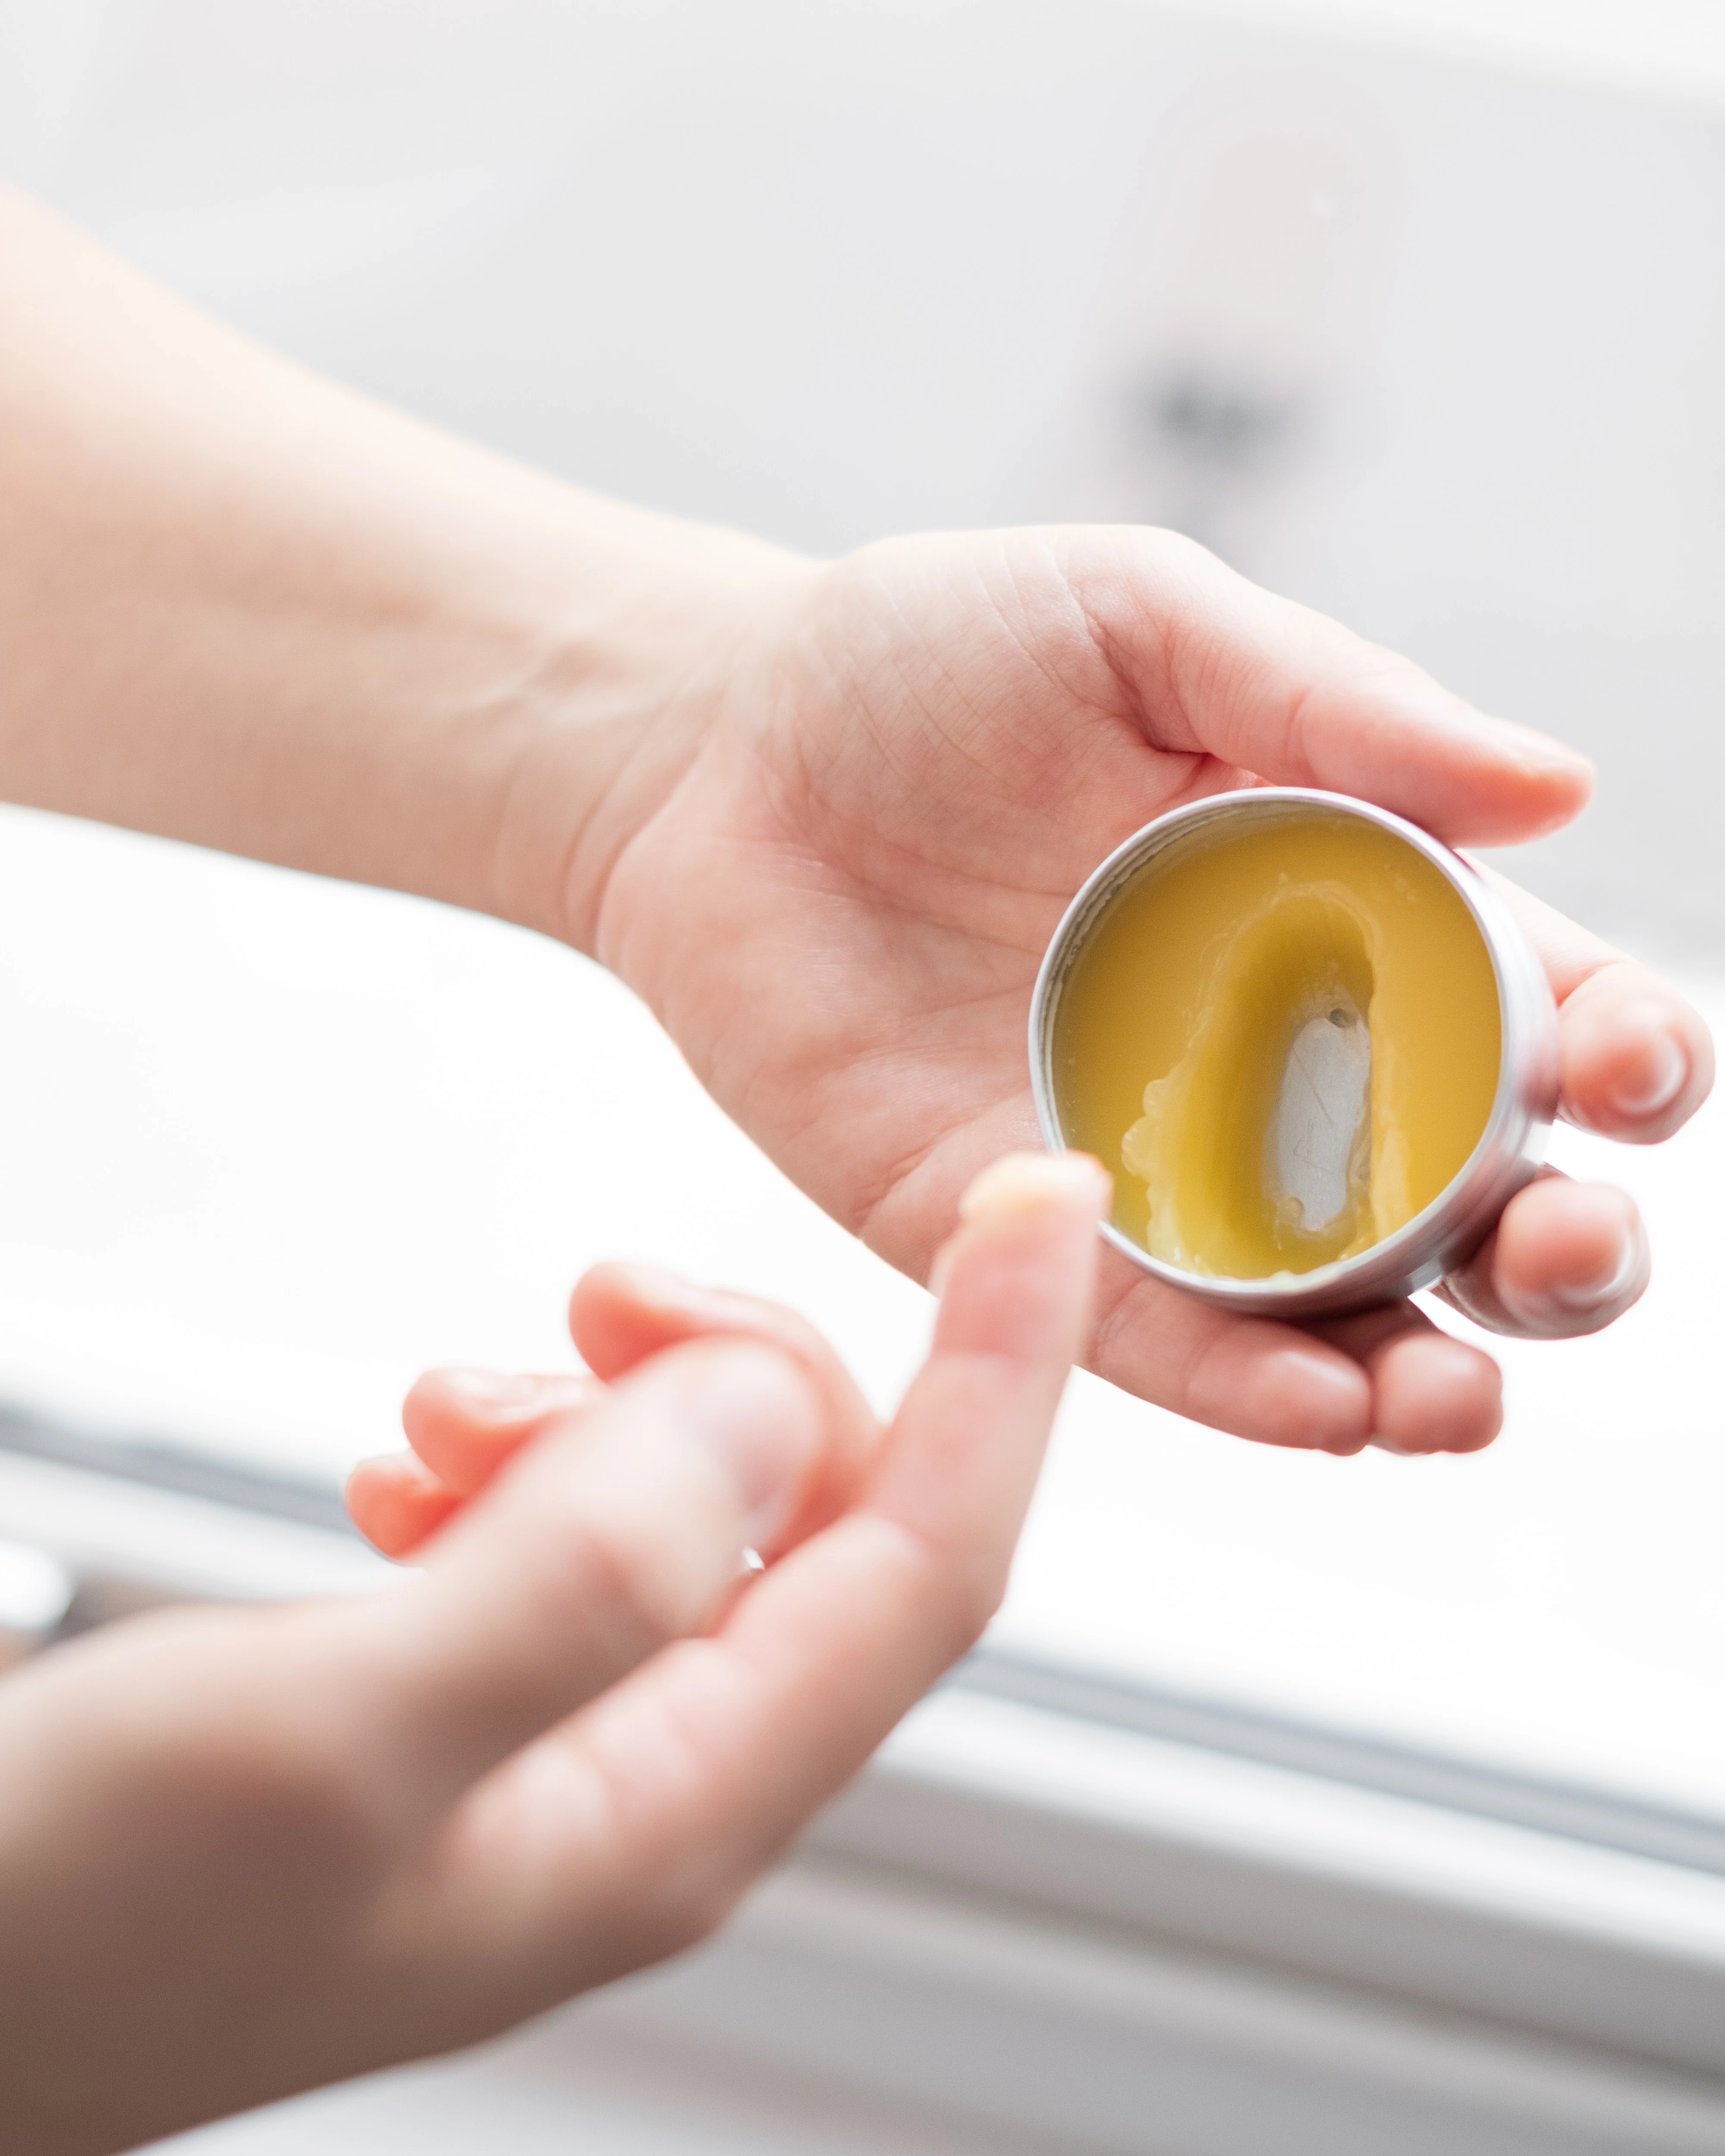
- An absorbent powder (Cornstarch is my favorite, but baking soda or even baby powder works. Probably costs $2-$3 at any grocery store.)
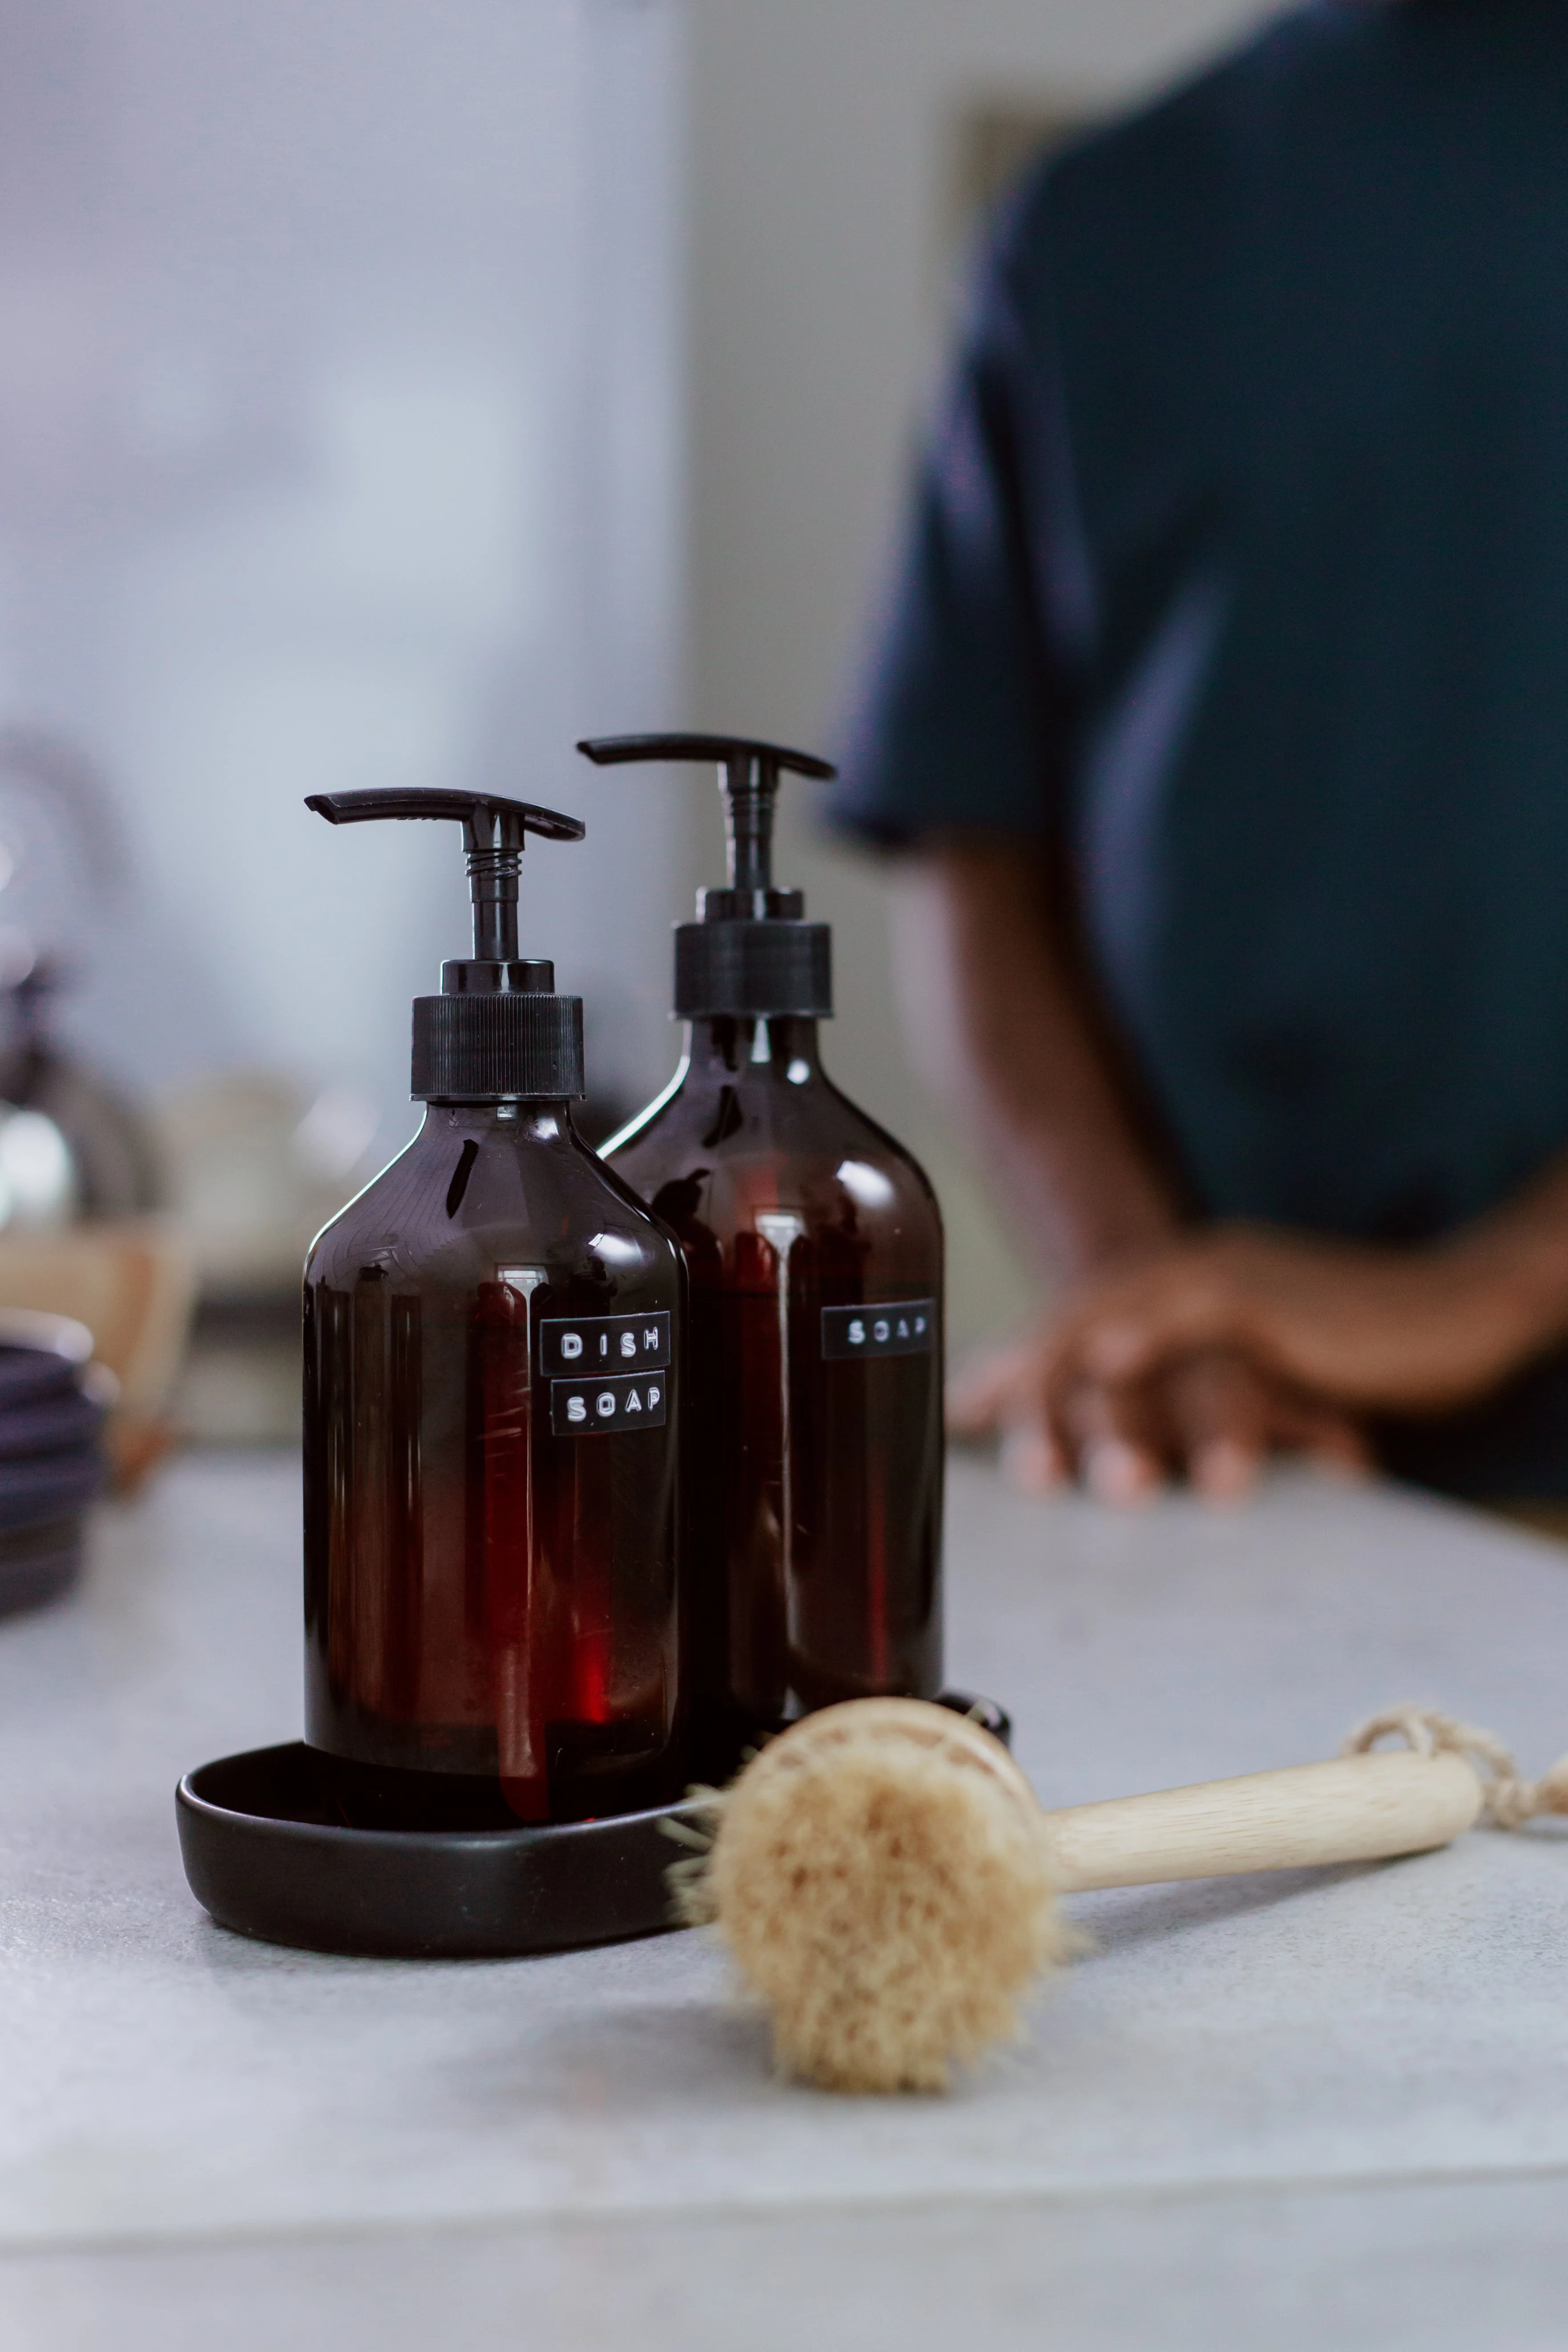
- High-quality liquid dish soap (The classic blue Dawn is fantastic for this. A bottle is around $3-$4.)
- An old toothbrush or soft-bristled brush
- Heavy-duty liquid laundry detergent
- Optional: Oxygen-based bleach (like OxiClean, which runs about $8-$12 for a tub that will last you ages)
Phase 1: Absorb the Oil
Before you get the fabric wet, you need to pull out as much of that grease as possible. Lay the stained spot flat and pile on your absorbent powder. Don’t be shy—you want a thick layer, maybe an eighth of an inch. Pat it down gently and just let it sit for at least an hour. For a really nasty stain, I’ve let things sit for half a day. You’ll see the powder get clumpy and dark as it soaks up the oil. That’s a great sign! Afterward, just brush or scrape the oily powder into the trash.
Phase 2: Pre-Treat the Greasy Residue
Now that the worst of the oil is gone, it’s time to tackle what’s left. This is where your dish soap comes in. Apply a small amount directly to the stain—think a pea-sized drop for a small smear or a dime-sized amount for a larger spot. Use your finger or an old toothbrush to gently work it into the fibers, always moving from the outside-in. Let it sit for at least 15-30 minutes.
Phase 3: The Wash Cycle
Time to let the machine do the heavy lifting. Use the warmest water that the garment’s care label allows. Heat is your friend here; it helps melt any remaining wax. Use a good, heavy-duty liquid detergent. For an extra boost, especially with tinted balms, throw a scoop of oxygen-based bleach into the wash. It’s generally safe for colors but double-check that label.
Phase 4: The Golden Rule – AIR DRY!
I cannot say this enough: DO NOT PUT THE GARMENT IN THE DRYER. The heat will cook any leftover oil into the fabric, setting it for good. Pull the item out of the wash and inspect it in good light. An oily stain will often look like a faint, dark, or wet spot. If you see any trace of it, don’t worry! Just repeat the pre-treatment and washing steps. Patience is key. Once you’re sure the stain is 100% gone, you can let it air dry completely.

Tackling the Really Tough Stuff
Sometimes you’re dealing with a laundry emergency that goes beyond a simple spot treatment. Here’s how to handle the worst-case scenarios.
Help! It Already Went Through the Dryer!
Okay, take a deep breath. It’s tough, but not always impossible. You need to re-liquefy the set-in stain. Place the stained area between a few layers of clean paper towels or a brown paper bag. Use an iron on a low heat setting—think the setting for silk or synthetics—and make absolutely sure the steam is OFF. Press the iron onto the top paper towel for a few seconds. The heat will melt the wax and oil, and the paper will absorb it. Keep lifting the iron and using fresh sections of paper towel until no more oil is coming out. After that, the stain should be faint enough to treat with the full method described above.
The “Whole Load” Disaster
If a whole tube exploded and you have dozens of little greasy spots over multiple items, treating each one individually is a nightmare. This calls for a bulk approach. Fill a basin, tub, or your washing machine with the hottest water your clothes can handle. Add a healthy dose of a grease-fighting detergent and about a cup of your oxygen bleach. Let the whole load pre-soak for at least a few hours, or even overnight. This will loosen up most of the stains at once. After the soak, run the load through a normal wash cycle and, of course, inspect each piece carefully before air-drying.
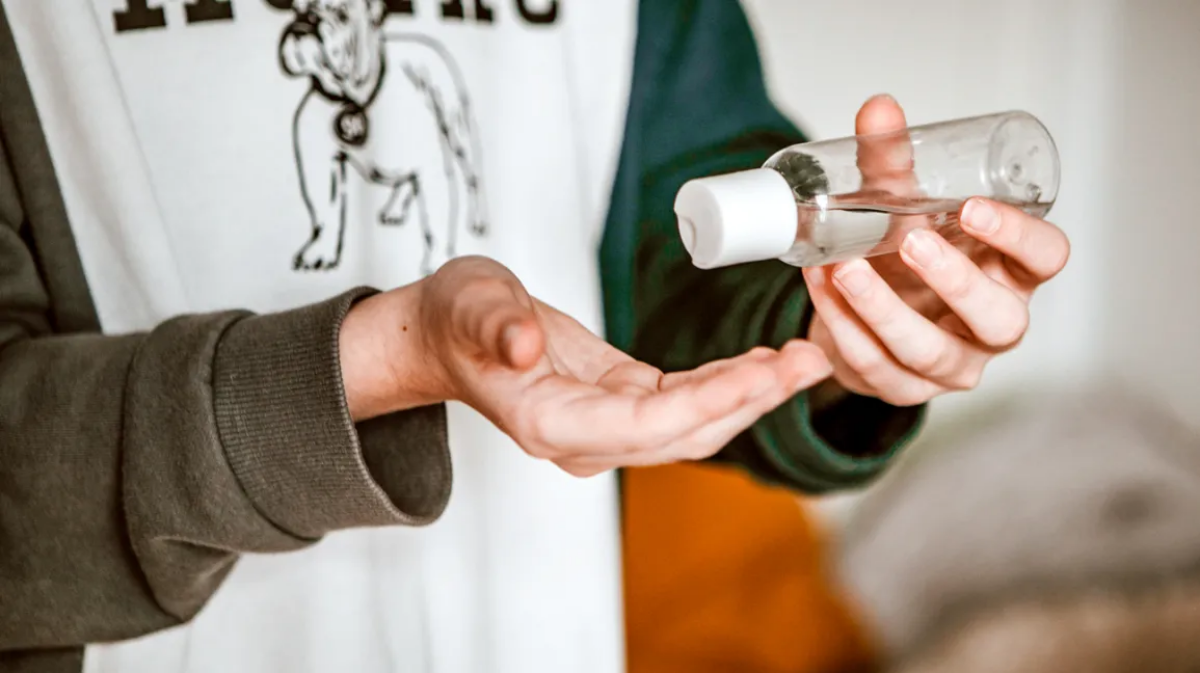
Quick Win for Minor Stains: In a hurry? If you catch a tiny, fresh smear, you might be able to get away with a shortcut. Scrape off the excess, work in a single drop of dish soap with your finger, and rinse just that spot thoroughly under warm running water. Blot it with a towel and let it air dry. Good as new!
Galerie d’inspiration
What if the stain is old and set-in?
Don’t despair. For a chapstick stain that has gone through the dryer, you need a more powerful approach than just soap. Your secret weapon is a solvent-based stain remover designed for grease and oil. Look for products like Goof Off Pro Strength Remover or even simple rubbing alcohol. Apply a small amount directly to the stain from the back of the fabric to push it out, not in. Let it sit for 5-10 minutes to break down the hardened wax and oil. Then, work a bit of heavy-duty liquid laundry detergent into the spot before washing in the hottest water the fabric can safely handle. This one-two punch of solvent and detergent is often what it takes to dissolve a ‘permanent’ stain.


