Your Go-To Guide to Dehydrating Fruit (Without the Headaches)
I’ll never forget my first attempt at dehydrating apples. My wife had given me a simple stackable dehydrator for my birthday, and I was excited to dive in. I sliced the apples way too thick, didn’t bother with any pre-treatment, and pulled them out way too early. The result? A sticky, brown, frankly gross mess that was covered in mold within a week.
In this article
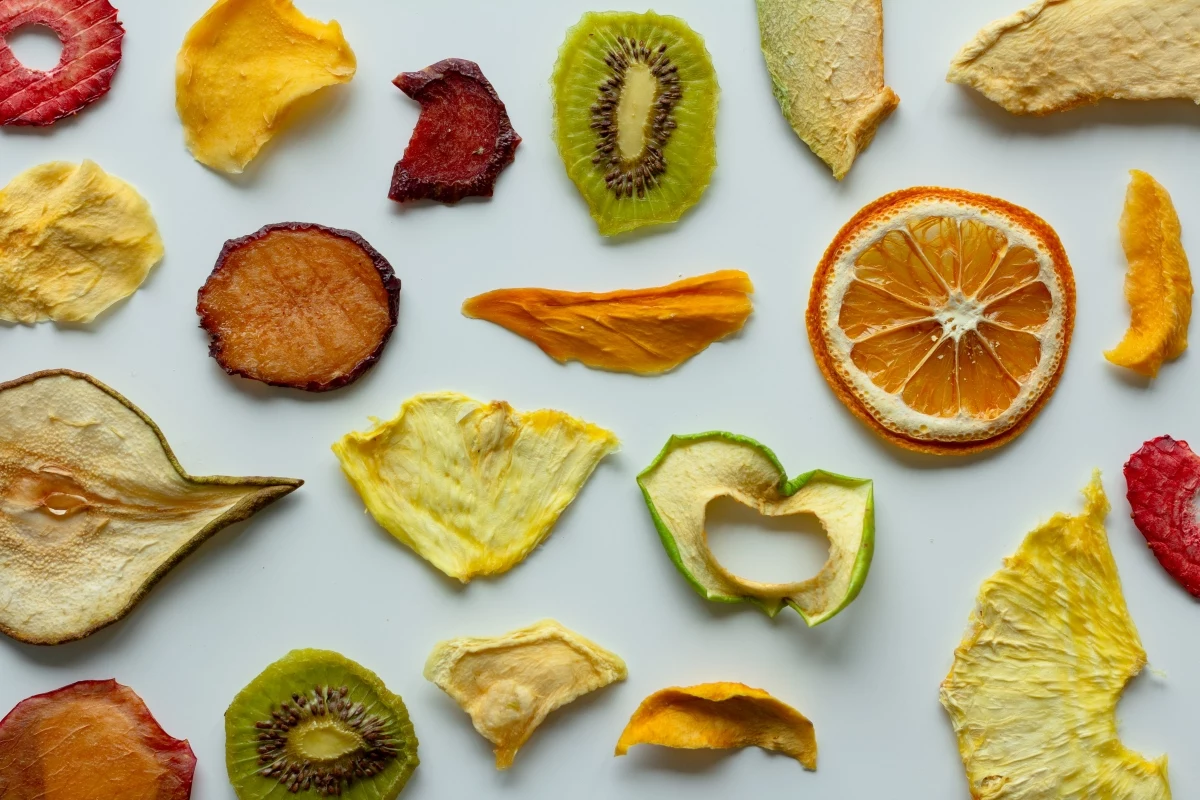
That failure taught me something crucial: dehydrating fruit is a real craft. It’s not just about sucking the water out; it’s about concentrating all that amazing flavor, locking in nutrients, and creating something delicious that will last. It’s a science you can really get a feel for.
Since that disaster, I’ve probably dried hundreds of pounds of fruit, from sweet summer peaches to mountains of persimmons. This guide is basically everything I’ve learned, boiled down. We’re going to get into the ‘why’ behind each step, so you can do more than just follow a recipe—you’ll understand the process, fix problems on the fly, and get fantastic results every time.
The Two Golden Rules of Dehydrating
Before you even touch a knife, it helps to know what’s actually happening inside the fruit. At its core, dehydration works by lowering the amount of available water. Fresh fruit is mostly water, making it a paradise for bacteria, yeasts, and molds. Our job is to kick them out by removing their water source.
To do that right, you need two things: gentle heat and moving air.
1. The Right Temperature: For most fruits, the sweet spot is between 130°F and 140°F (that’s 54°C to 60°C). This is just warm enough for water to evaporate efficiently without actually cooking the fruit. If you crank the heat too high, you get what’s called “case hardening.” The outside of the fruit basically cooks into a hard shell, trapping moisture inside. And that trapped moisture is a one-way ticket to spoilage, even if the fruit feels dry to the touch.
2. Constant Airflow: Moving air is the other half of the equation. A steady breeze whisks moisture away from the fruit’s surface. Without it, you just create a tiny, humid jungle around each slice, and the drying process grinds to a halt. This is exactly why a good dehydrator with a fan is so effective.
Getting Started: Your First Perfect Batch
If you’re brand new to this, the best way to start is with a win. So, for your first time, I’d highly recommend sticking to apples or bananas. They are incredibly forgiving and give you a great feel for the process.
Here’s a simple shopping list to get you going with apples:
- About 3 pounds of firm apples (Gala, Fuji, or Honeycrisp are fantastic)
- A single lemon OR a small jar of ascorbic acid powder (more on that in a bit)
- A large, clean glass jar with a tight-fitting lid for storage
A quick heads-up on what to expect: fruit shrinks… a LOT. It’s mostly water, after all. Those 3 pounds of fresh apples will probably shrink down to fill just about one quart-sized jar when you’re done. Managing expectations is key!
Prepping Fruit for Success
The quality of your dried fruit starts with the fresh fruit you pick. You just can’t make amazing dried apricots from mealy, bland ones.
What to Look For
You want fruit that’s perfectly ripe but still firm. Overripe fruit can turn out mushy, and underripe fruit will lack that concentrated sweetness and flavor. For bananas, look for solid yellow peels with just a few brown freckles. For peaches, you should be able to smell that wonderful peachy perfume, but they shouldn’t be squishy.
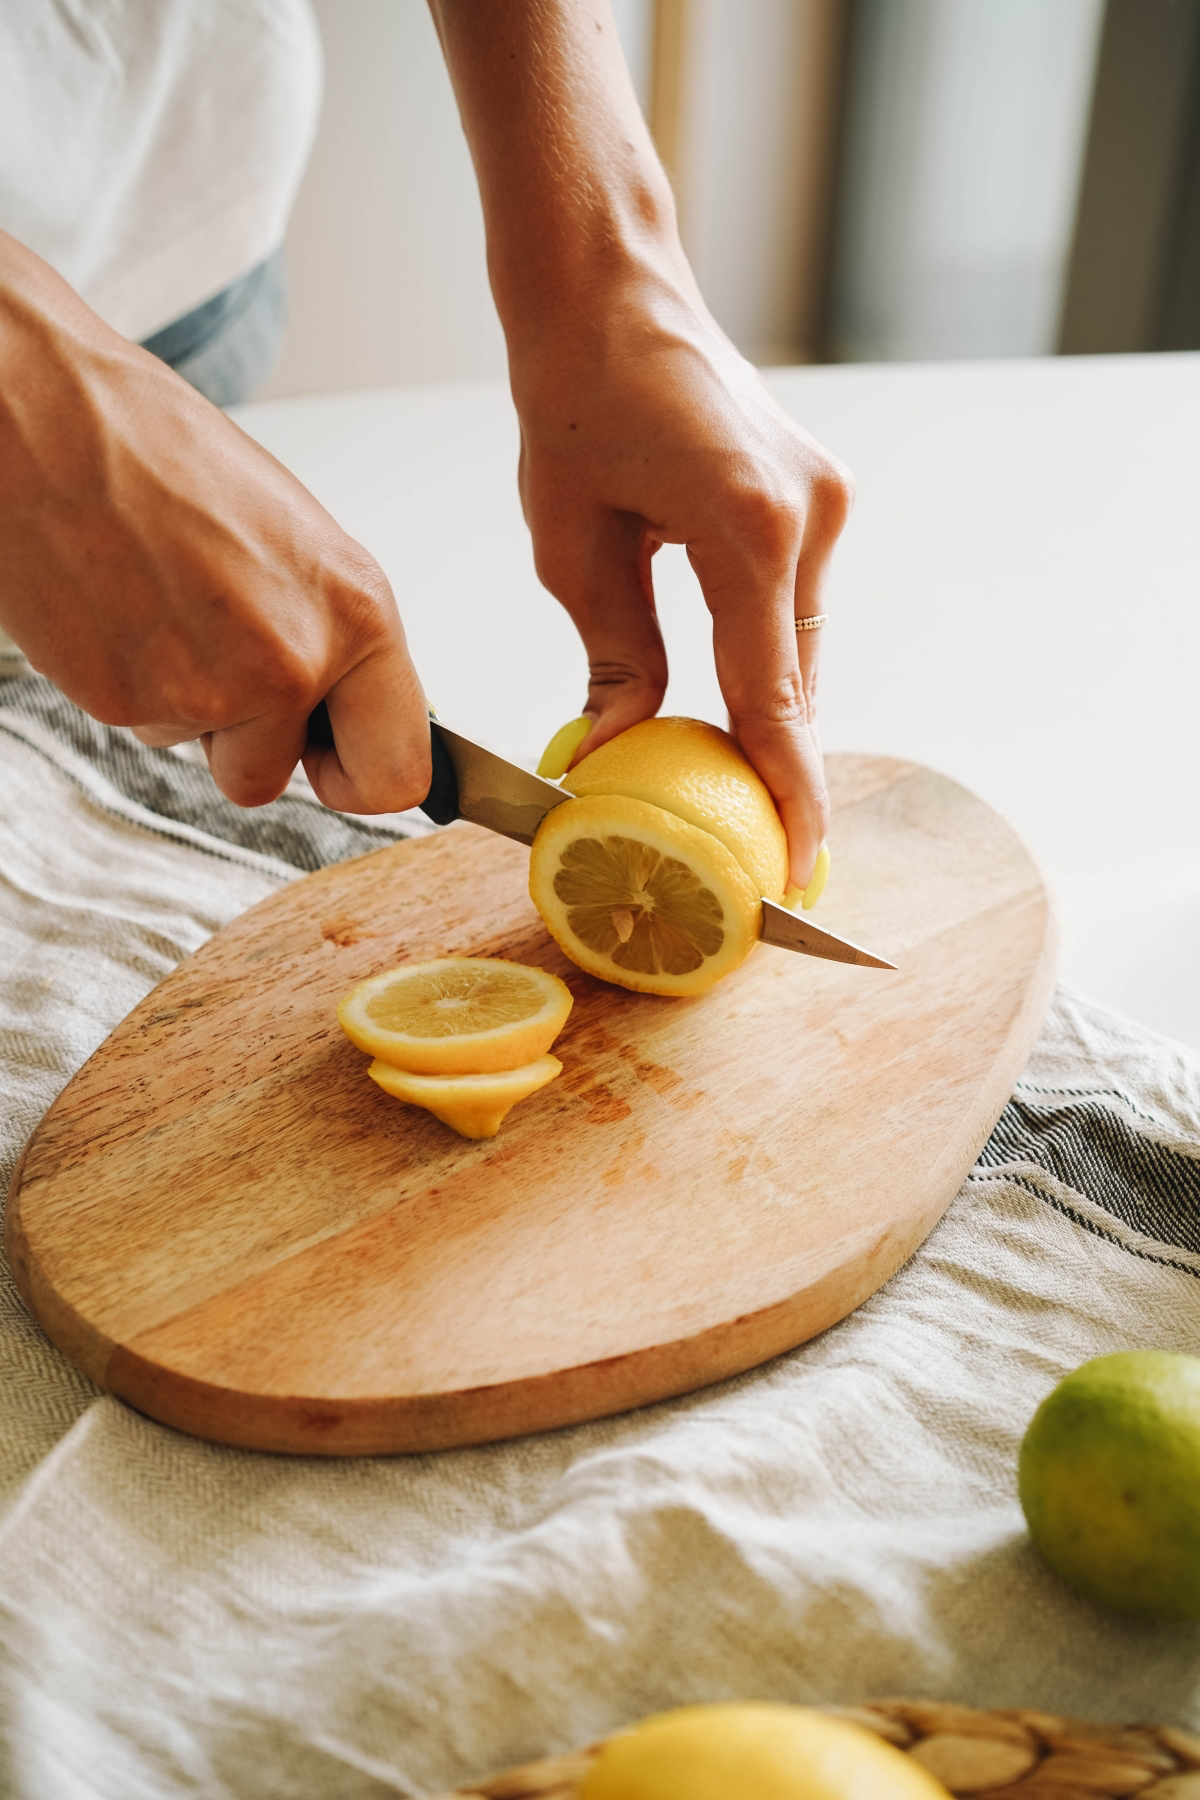
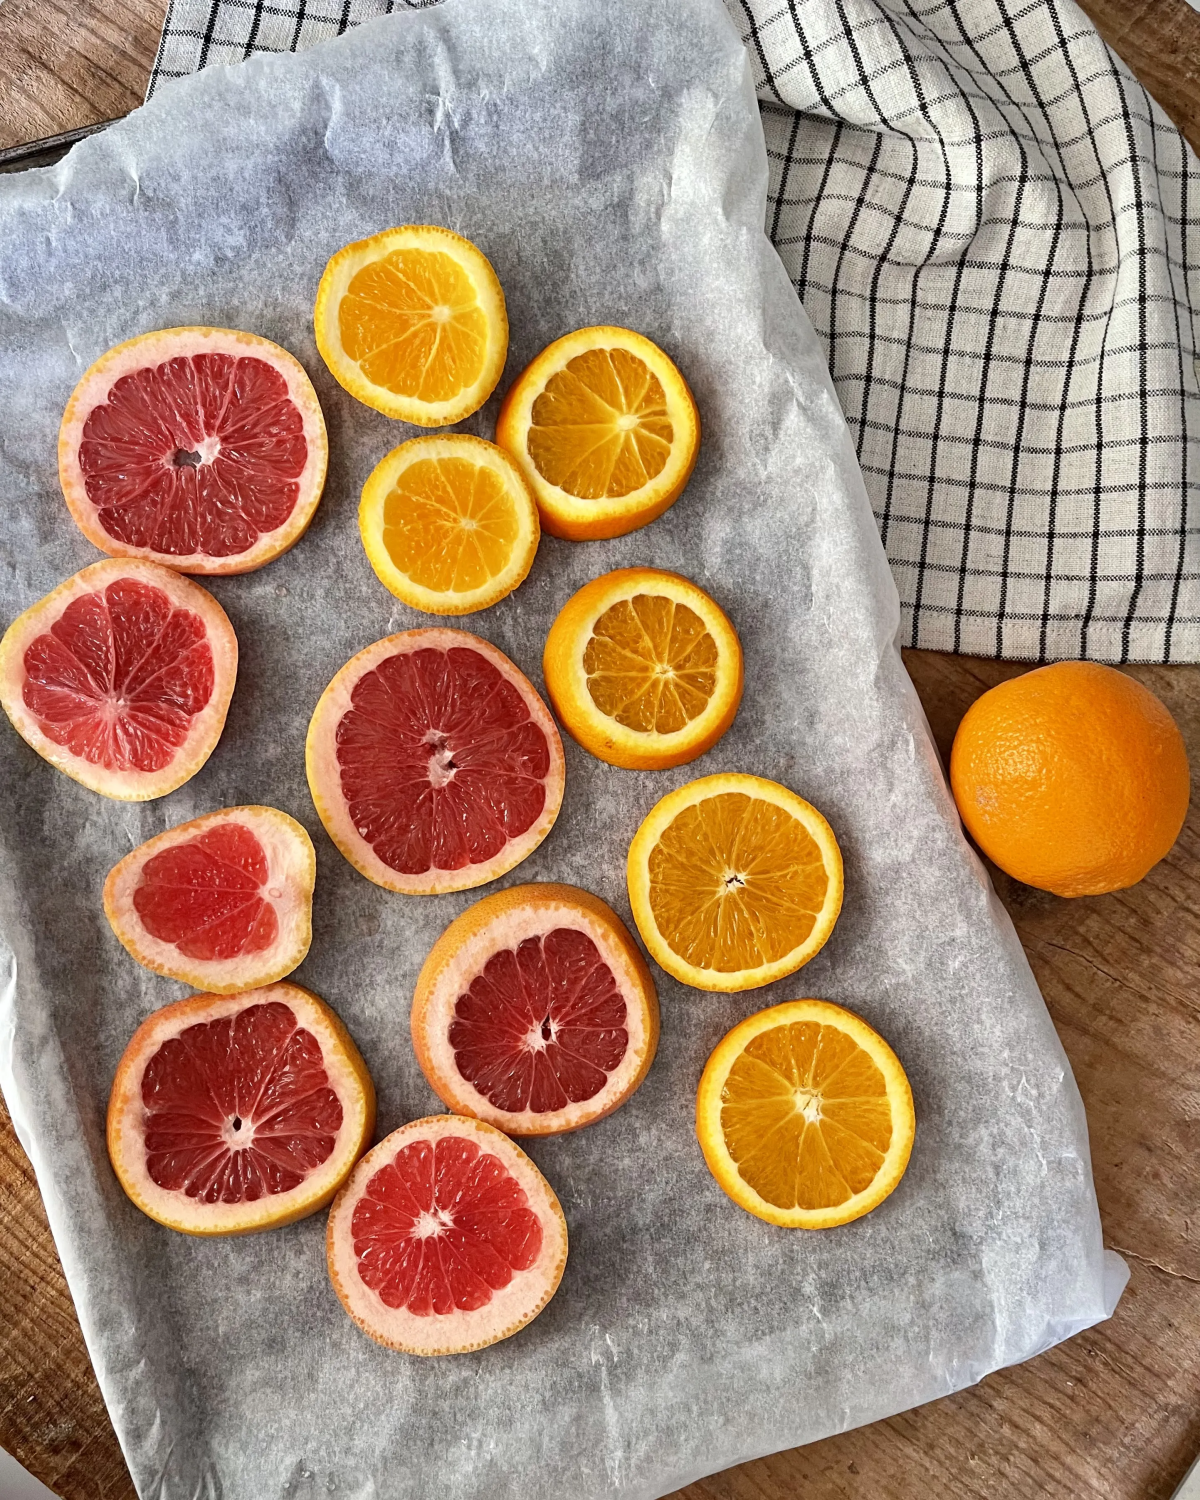
The Secret to Even Drying: Uniform Slices
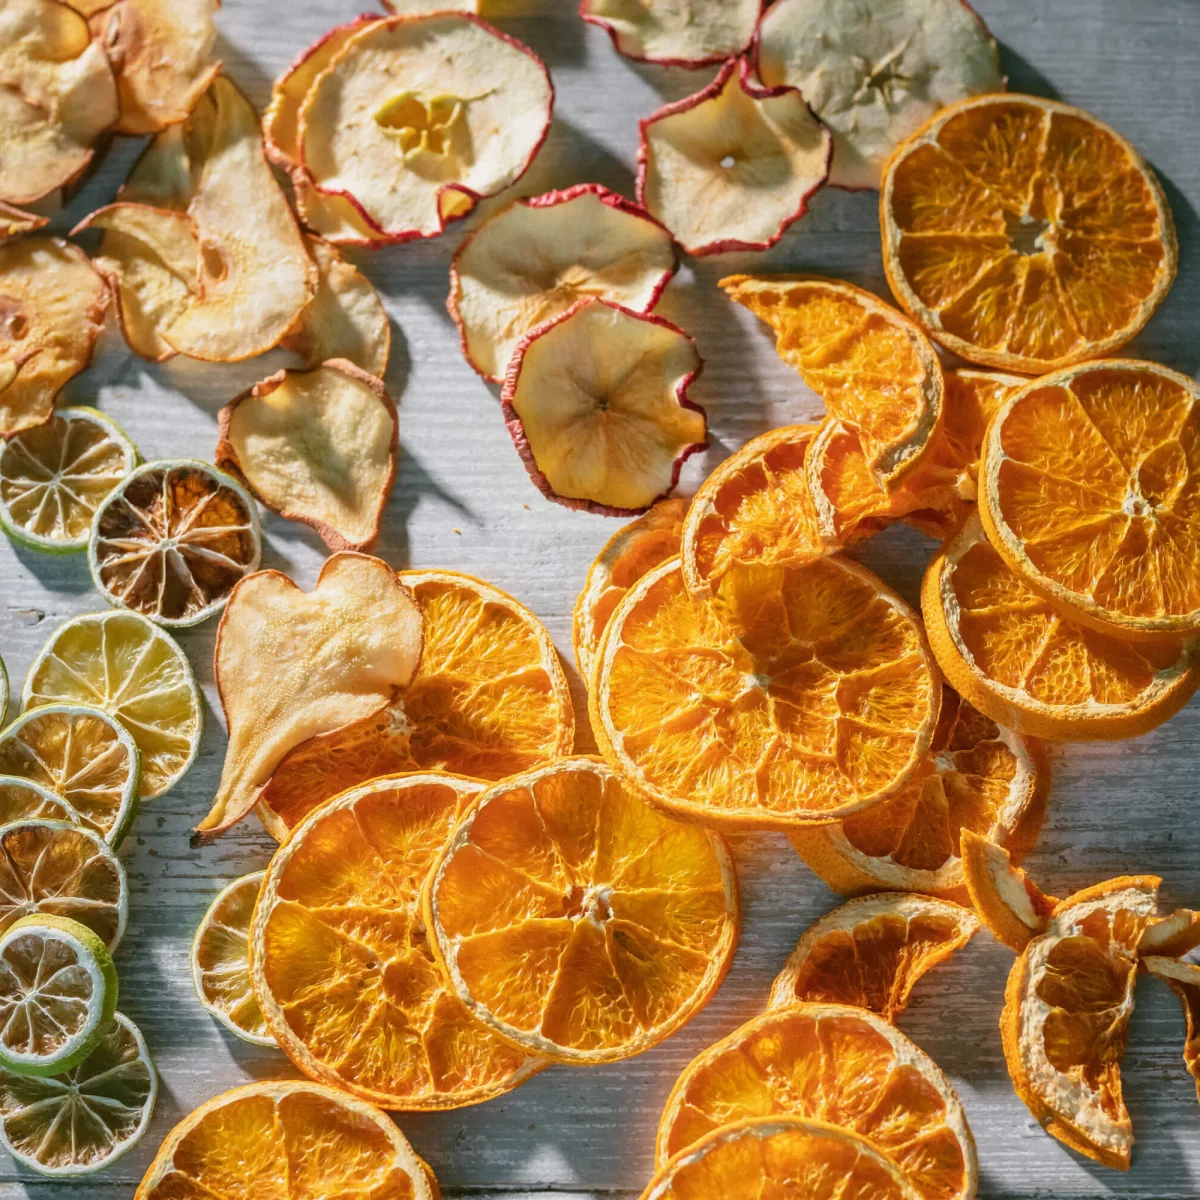
This is probably the most important step for consistent results. If you have thick and thin slices together, the thin ones will turn into brittle crisps while the thick ones are still damp and chewy. My go-to thickness is about 1/4 inch (or 6mm) for most things. For prepping different fruits, it’s pretty straightforward:
- Apples: Core and slice them. No need to peel unless you really want to.
- Peaches & Apricots: Pit and slice.
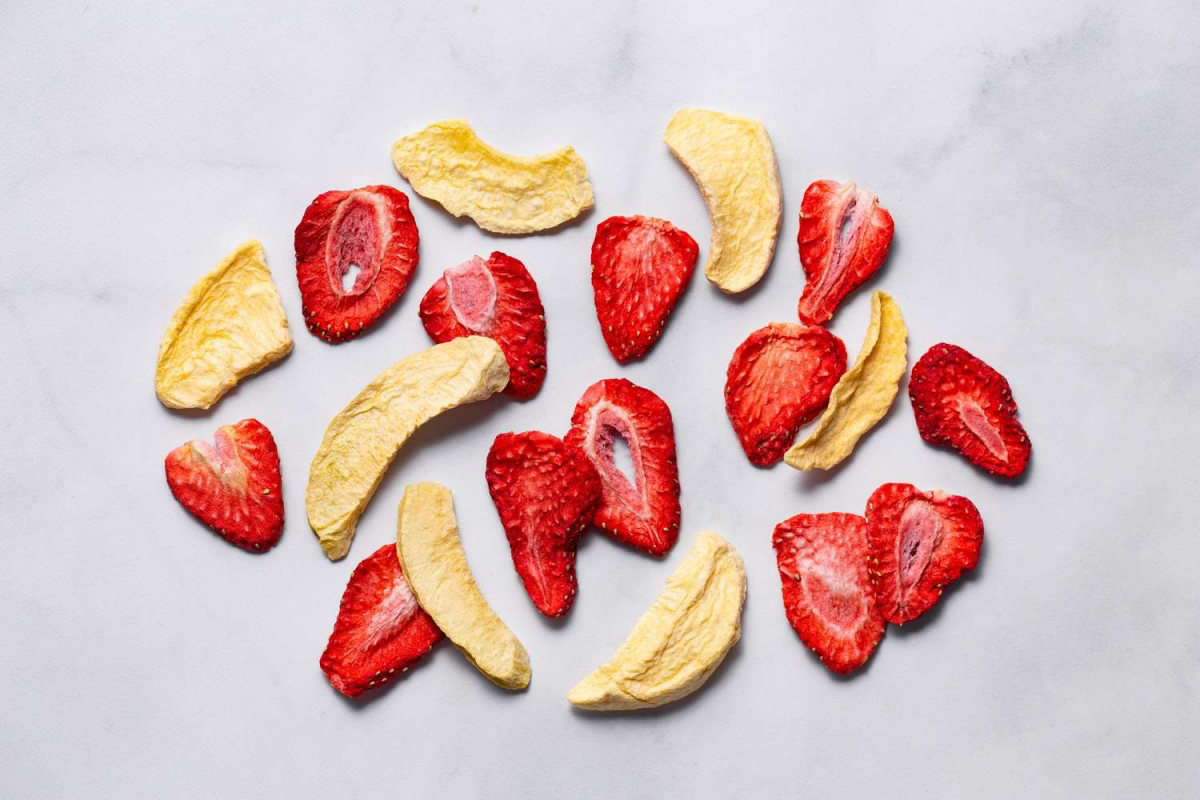
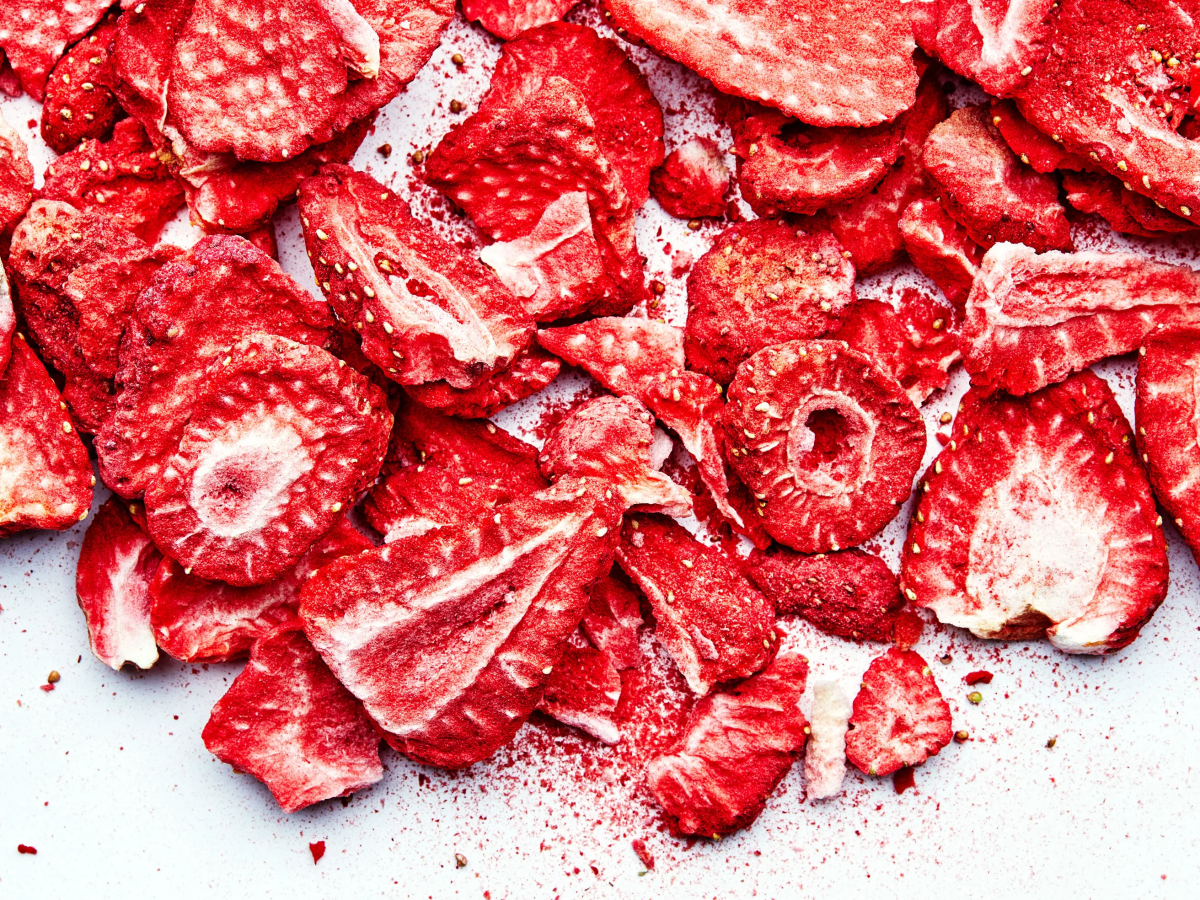
- Strawberries: Hull and slice in half, or into thirds if they’re huge.
- Bananas: Peel and slice into coins.
- Blueberries: This is the tricky one. You have to ‘check’ the skins by blanching them in hot water for 30-60 seconds until the skins split. This gives the moisture a way to escape.
Oh yeah, a quick tip: while a good knife works, a mandoline slicer is a total game-changer for getting perfectly uniform slices in no time. But please, BE CAREFUL. Always, always use the safety guard it comes with. Those blades are no joke.
The Anti-Browning Trick
You know how a cut apple turns brown? That’s oxidation. While it isn’t harmful, it doesn’t look great and can give the fruit a slightly off-flavor. For fruits like apples, pears, peaches, and bananas, a quick acidic dip is the answer.
A lot of people suggest a lemon juice bath, which works okay. But honestly, a solution of ascorbic acid (which is just Vitamin C) is way better because it doesn’t add any lemony taste. You can find it online or in the canning section of stores like Target or Walmart for around $10 a jar, and it lasts forever.
My go-to solution is simple: mix 2 teaspoons of ascorbic acid powder into 4 cups of cold water. Let your fruit slices soak in there for about 3-5 minutes, then drain them before arranging them on your dehydrator trays.
The Gear: Dehydrator vs. Oven
You’ve got a few options for drying, but they definitely aren’t created equal. Your choice here will have a big impact on your final product.
Electric Dehydrators: The Gold Standard
If you think you’ll do this more than once, I seriously recommend investing in a good electric dehydrator. It gives you precise temperature control and guaranteed airflow, taking all the guesswork out of it. There are two main styles you’ll see:
First, you have the stackable, round models. These are often the most affordable, typically running between $75 and $150. They have a fan at the bottom, which works well, but you’ll probably need to rotate the trays halfway through to get everything to dry evenly. Then you have the box-and-shelf models. These are my personal favorite. They have a fan in the back, like a convection oven, that blows air horizontally across all the trays at once. This means super-even drying with no tray-swapping needed. These are more of an investment, usually starting around $250, but they’re workhorses.
Oven Dehydrating: The “I’ll Try It Once” Method

You can definitely use your oven, but it requires babysitting. The challenge is that ovens are built to hold heat in, which is the opposite of what we need. To make it work, set your oven to its lowest temperature—usually around 170°F (75°C), which is a little hot, so be careful. Place your fruit on wire cooling racks on top of baking sheets to let air circulate underneath.
And this part is non-negotiable: you HAVE to prop the oven door open a few inches with a wooden spoon. This lets all that moisture escape. If you have a convection fan, turn it on! Just be prepared—running your oven for 12 hours straight isn’t the most energy-efficient choice and can make a noticeable bump in your electricity bill.
A Quick Warning: Some corners of the internet might mention using a microwave. Please, just don’t. A microwave cooks food by steaming it from the inside out. You’ll get a rubbery, cooked mess, not a properly preserved, shelf-stable product. Avoid it at all costs.
Is It Done Yet? The Feel Test
So, how long does this all take? Honestly, any timetable is just a guess. The real test is how the fruit feels. Your specific dehydrator, the humidity in your house, and the juiciness of the fruit all play a part.
That said, here are some ballpark figures to give you a starting point:
- Apples (1/4-inch slices): Usually take 7-12 hours.
- Bananas (1/4-inch coins): About 8-12 hours.
- Strawberries (halved): These can take longer, from 8-15 hours.
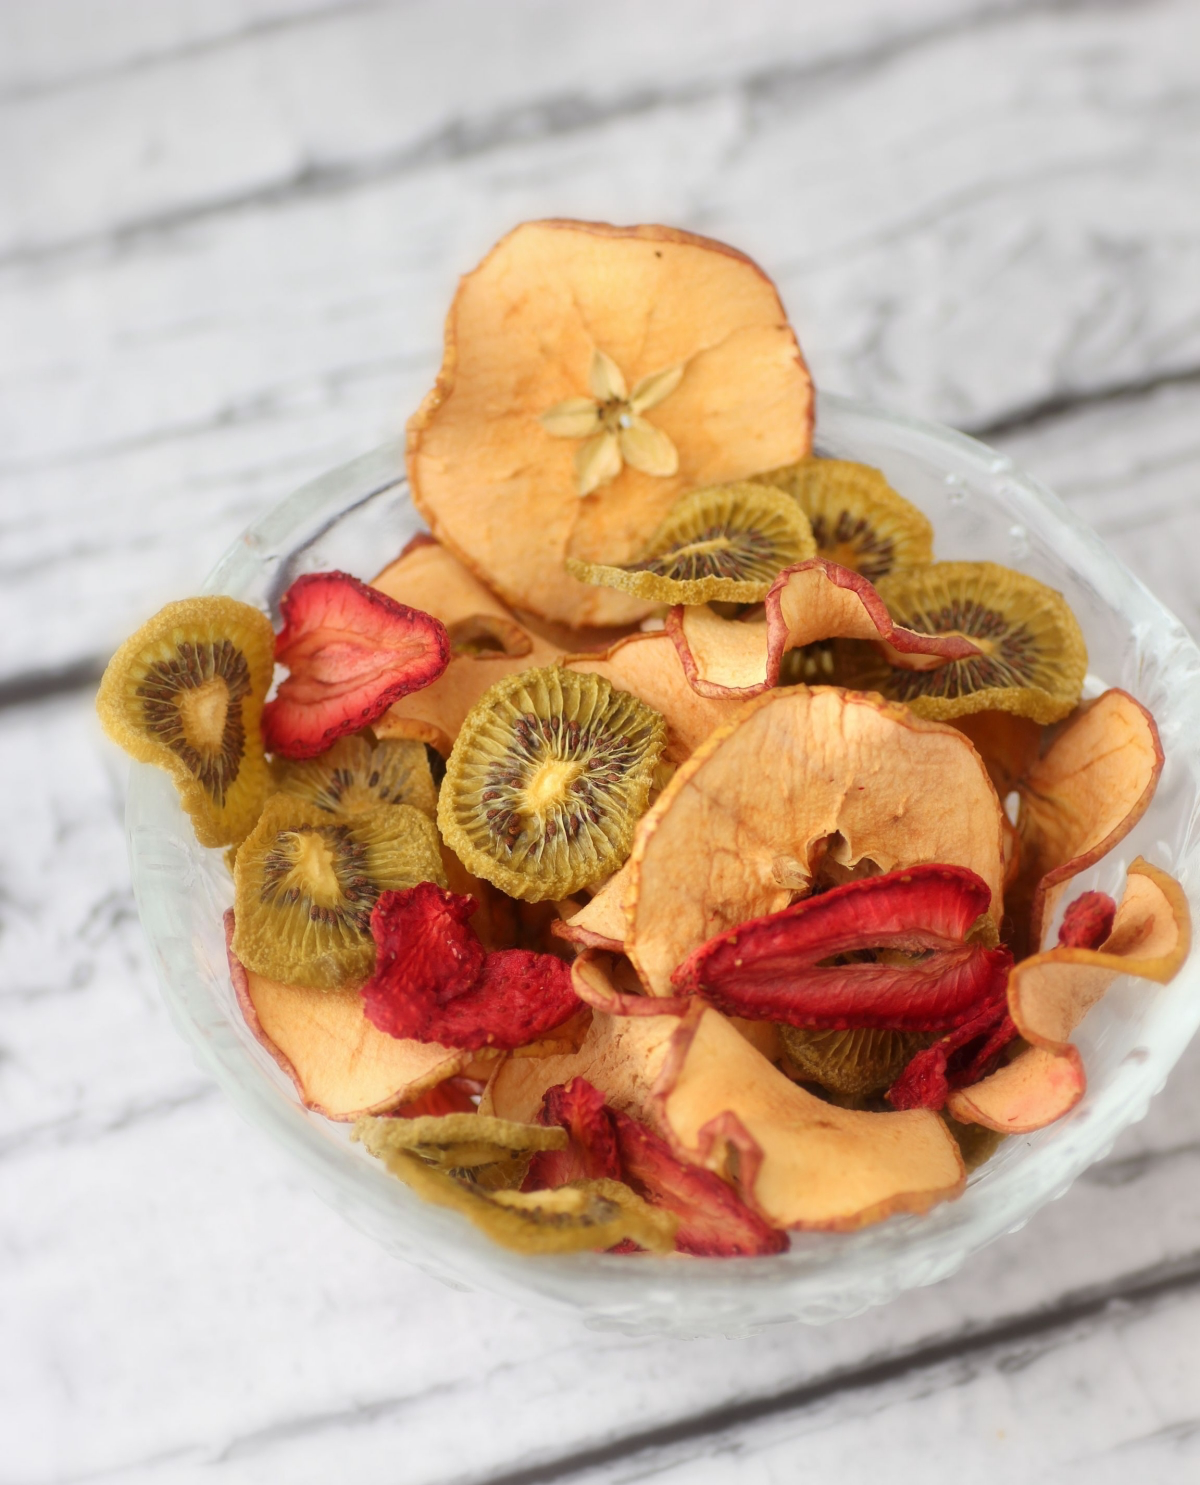
To check for doneness, pull a piece out and let it cool completely for about 10 minutes. Fruit feels much softer when it’s warm. Most fruits, like apples and peaches, should be leathery and pliable. You should be able to tear a piece in half without seeing any visible moisture beads. When in doubt, it’s always better to over-dry a little than to under-dry. A little extra time won’t hurt, but a little extra moisture will ruin the whole batch.
The Final Step Everyone Skips (But Shouldn’t!)
Okay, listen up, because this is the most critical step for making sure your hard work doesn’t end up covered in mold. It’s called “conditioning.” Even if you’re super careful, some pieces will be slightly more moist than others. Conditioning equalizes that moisture throughout the batch.
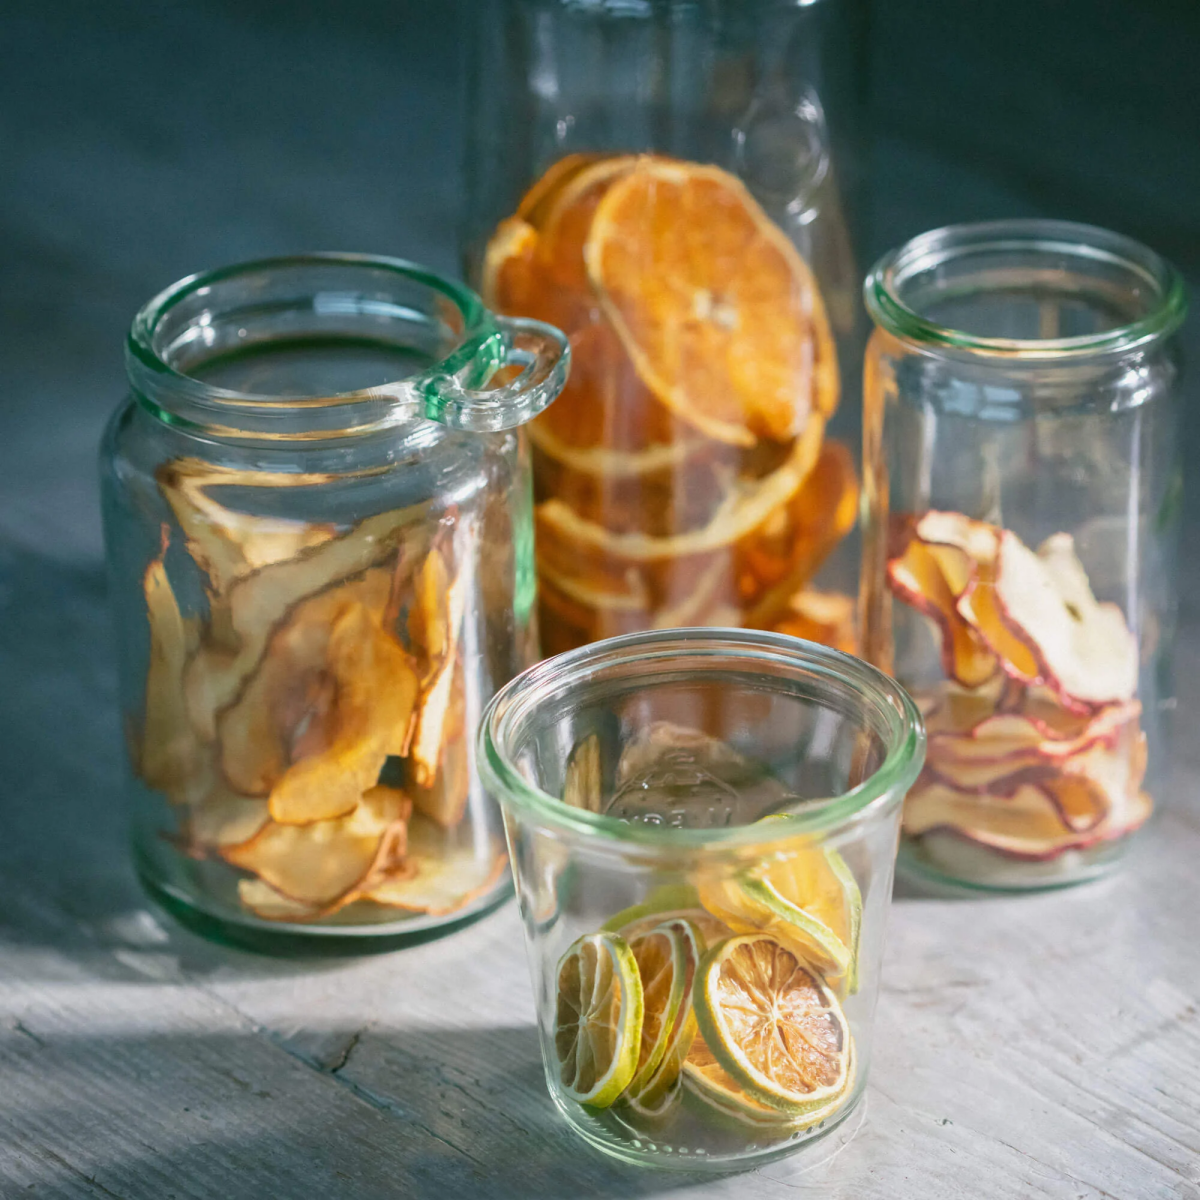
Here’s how you do it: once the fruit is completely cool, pack it loosely into large glass jars, filling them only about two-thirds full. Seal them and leave them on your counter for about a week. Shake the jars once a day and look closely for any condensation on the inside of the glass. If you see ANY moisture, that’s your red flag. The fruit isn’t dry enough. Dump it back in the dehydrator for another hour or two. If there’s no condensation after a week, you’re golden! Your fruit is ready for long-term storage.
For storing, airtight glass jars are perfect for the pantry. If you’re serious about long-term preservation, Mylar bags with an oxygen absorber are what the pros use. Just keep them in a cool, dark place.
Leveling Up and Fixing Problems
Once you’ve got the basics down, you can have some fun.
Making Fruit Leathers: This is the best way to use up slightly overripe fruit. Just puree the fruit until it’s smooth (add a squeeze of lemon juice to keep the color) and spread it on a solid fruit leather sheet for your dehydrator. Aim for a thickness of about 1/8 to 1/4 inch. Dry at 135°F (57°C) until the center isn’t tacky anymore. Roll it up in parchment paper and enjoy!
Troubleshooting Common Issues:
- The Problem: My fruit turned super dark or black.
The Fix: You either skipped the anti-browning pre-treatment, or your temperature was too high and scorched it. - The Problem: My fruit is all sticky and clumped together in the jar.
The Fix: It wasn’t dried long enough. If you just finished, pop it back in the dehydrator. If it’s been stored for a bit, move it to the fridge and plan to use it up quickly. - The Problem: I found mold in my storage jar.
The Fix: This is a tough one, but for safety’s sake, the entire batch has to be thrown out. You can’t just pick out the visible mold; the microscopic roots have likely spread throughout the whole jar. It’s a harsh lesson, but one you only need to learn once.
Dehydrating takes a little patience, but the payoff is huge. When you open a jar of dried peaches in the dead of winter and that blast of concentrated summer fills your kitchen, you’ll know it was all worth it. You haven’t just made a snack—you’ve preserved a season.

Inspiration:
Struggling to get truly dehydrated fruit from your oven? If your fruit slices feel more steamed than dried, the culprit is trapped moisture.
Unlike a dedicated dehydrator, your oven is built to retain heat and humidity. The secret weapon? A simple wooden spoon. Prop the oven door open just a crack with the spoon’s handle. This small gap allows the humid air to escape, creating the steady, dry airflow needed to perfectly dehydrate your fruit without cooking it. If you have a convection setting, now’s the time to use it for an extra boost of air circulation!


