Your Kettle is Lying to You: The Real Way to Get Rid of Limescale
I’ve spent a lot of time in people’s kitchens, fixing appliances that they thought were completely broken. And honestly, one of the most common culprits is something you can’t even see from the outside: limescale.
In this article
I can’t tell you how many times I’ve heard this story: “My kettle is brand new, but it takes forever to boil and it rumbles like a freight train!” Nine times out of ten, the problem isn’t a busted part. It’s a thick, chalky jacket of mineral buildup wrapped around the heating element. This scale acts like an insulator, forcing the kettle to work way harder and use more electricity just to do its job. After a good cleaning, the difference is night and day. Suddenly, it’s silent, boils in under three minutes, and the coffee tastes clean again.
So, let’s talk about how to deal with it. Getting rid of limescale isn’t just about looks. It’s about performance, saving energy, and making your kettle last longer. And, of course, a better-tasting morning brew without those gritty, chalky flakes.
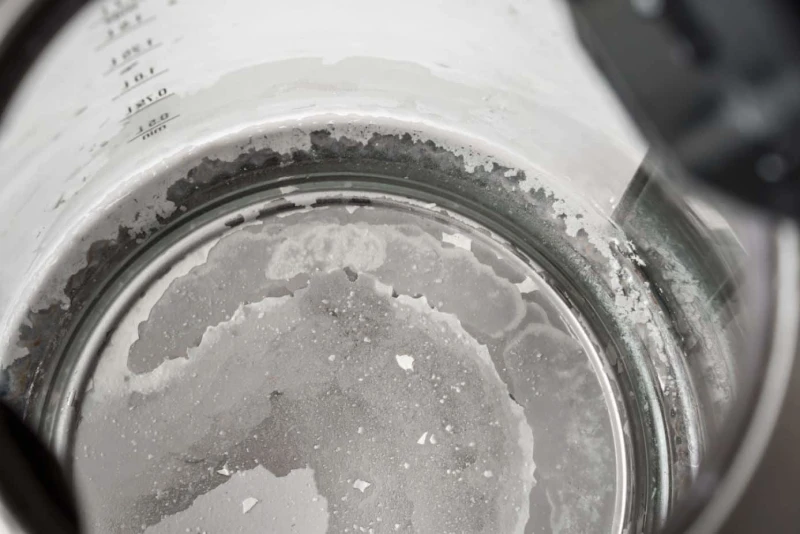
First Off, What Is This Gunk Anyway?
Before you can fight the enemy, you have to know it. Limescale isn’t just random dirt; it’s a mineral deposit, mostly calcium carbonate. The whole thing starts with your tap water, especially if you live in a “hard water” area.
Hard water is packed with dissolved minerals like calcium and magnesium. They’re totally harmless to drink, but when you heat the water, a little science experiment happens. Some of those invisible minerals become solid, chalky bits that cling to the hottest surface they can find—your kettle’s heating element or base plate.
Curious about your own water? A quick search for a “water hardness map” for your country can give you a general idea. For a precise number, your local water supplier’s website usually has an annual quality report. Here’s a rough guide to what the numbers mean:
- Soft to Slightly Hard: 0-60 PPM
- Moderately Hard: 61-120 PPM
- Hard: 121-180 PPM
- Very Hard: Over 180 PPM
If you’re over 120 PPM, you’re going to be fighting this battle regularly. It’s not about being unclean; it’s just your local geology. Knowing this helps you stay ahead of the game.
Take a Peek Inside: Your Pre-Cleaning Game Plan
Before you grab a cleaner, take a second to assess the situation. The type of kettle you have and how bad the buildup is will change your approach.
What’s your kettle made of?
- Stainless Steel & Glass: These are the champs. They’re tough, non-reactive, and can handle acidic cleaners like vinegar or citric acid without any issues. Glass is especially nice because you can see the scale disappear in real time. Heads up on glass, though: avoid pouring cold water into a very hot, empty kettle to prevent thermal shock.
- Plastic: Lightweight and affordable, but they have one major flaw. Plastic can absorb odors. If you use white vinegar, you might be drinking vinegar-scented tea for a week. To be frank, for plastic kettles, I only recommend using citric acid. It’s odorless and rinses clean.
- Variable Temp Kettles: These fancy models often have delicate temperature probes inside. These can be damaged by harsh chemicals or aggressive scrubbing. Soaking is the only way to go here. Whatever you do, don’t try to scrape or chip away at the scale.
Choosing Your Weapon: A Pro’s Guide to Descalers
You can buy a dozen different products, but the best tools for the job are probably already in your pantry. Here’s how they stack up.
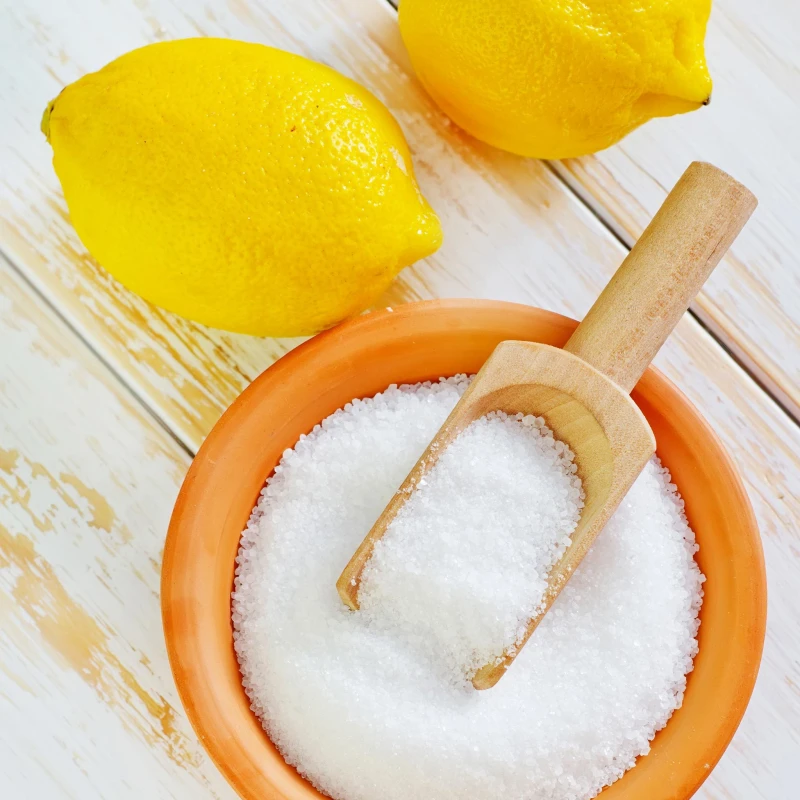
1. Citric Acid (The Pro’s Choice)
This is my go-to for about 90% of jobs. It’s an organic acid that just demolishes limescale. It’s also food-safe, completely odorless, and rinses away perfectly. The acid reacts with the chalky scale and dissolves it with a satisfying, gentle fizz. It’s best for pretty much any kettle, but it’s a non-negotiable for plastic models. As for cost, a little shaker in the baking aisle might run you $3, but the pro move is to grab a 1-pound bag from a homebrewing store or online for about $10. It’ll last you for ages.
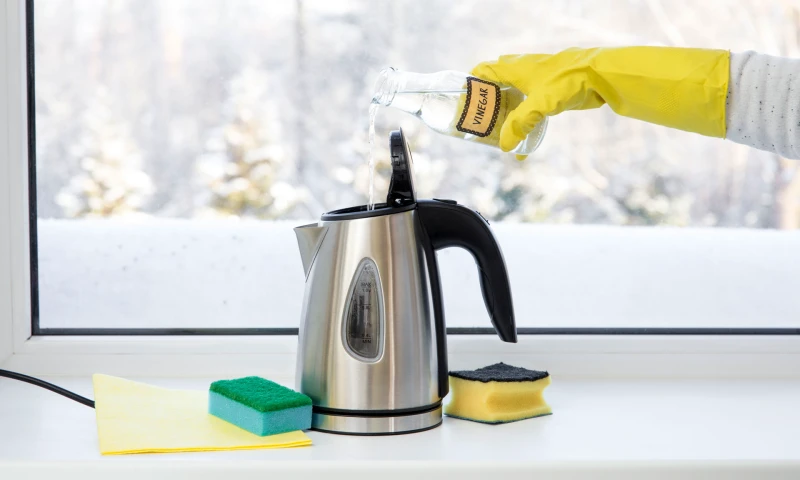
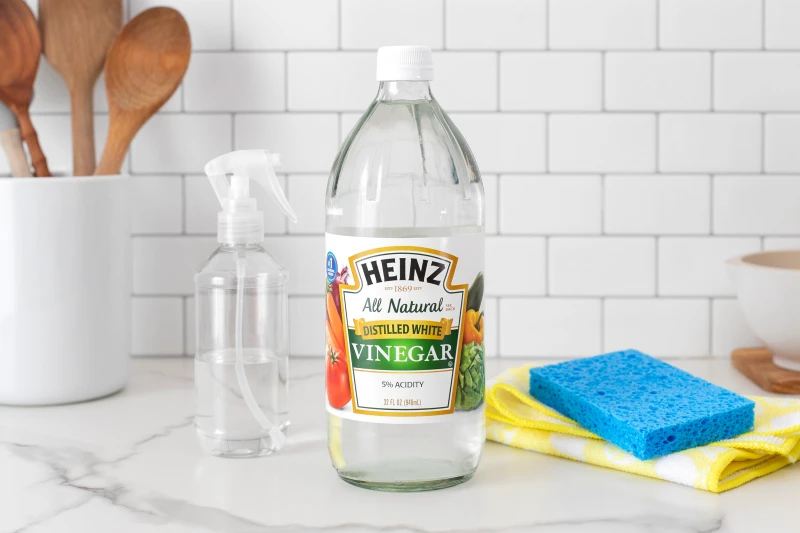
2. White Vinegar (The Old Standby)
Vinegar is cheap, available everywhere, and its acetic acid does a great job. It’s best for stainless steel or glass kettles when you’re in a pinch. The huge downside? The smell. It’s strong, it lingers, and it can really get into any plastic or silicone parts. If you use it, be prepared to rinse, rinse, and rinse again. Oh, and open a window when you boil it—those fumes can be pretty irritating.
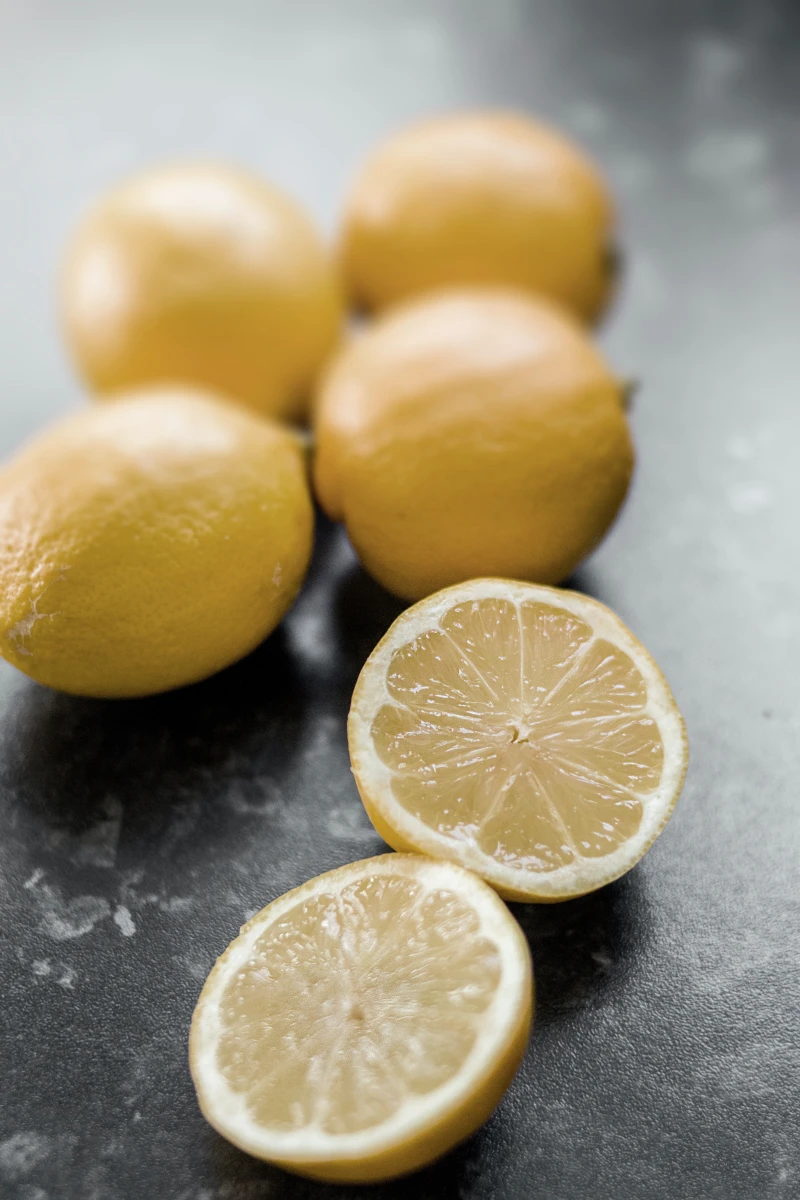
3. Lemon Juice (The Gentle Option)
Works on the same principle as citric acid, just much weaker. This is a decent choice for very light, preventative cleaning, and it leaves a nice fresh scent. But for any serious buildup, it just doesn’t have the muscle, and it’s more expensive than the other options.
4. Commercial Descalers (The Heavy Hitters)
These products are formulated to work fast. Most are based on strong acids and are very effective. The downside is the cost and the fact that you need to be more careful. If I have to use one, I always look for a product that is NSF-certified, which means it’s been tested and approved for food equipment.
And a Quick Word on Internet Hacks…
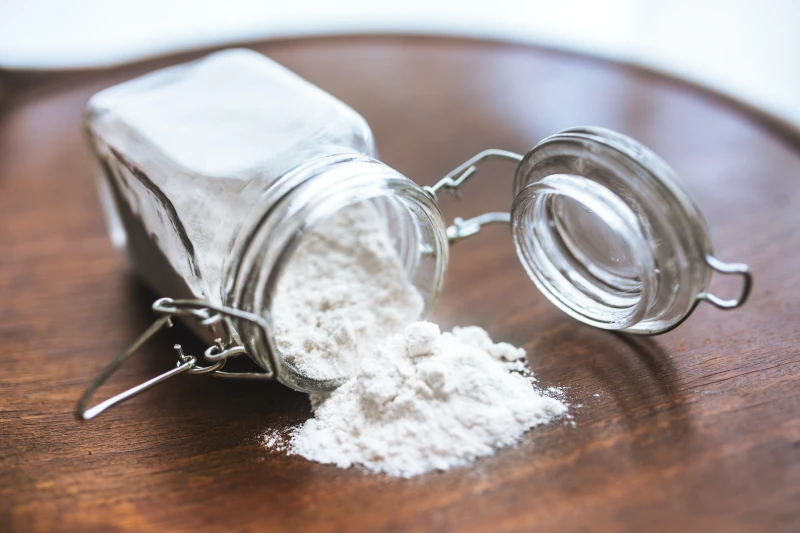
You’ve probably seen tips about using baking soda or cola. I wouldn’t recommend either.
- Baking Soda: It’s an alkali, not an acid, so it can’t chemically dissolve limescale. It’s a mild abrasive, but you should never, ever use abrasives on your kettle’s heating element.
- Cola: Yes, it contains phosphoric acid, but it also contains a ton of sugar and coloring. You’ll just trade a scale problem for a sticky, messy problem. Stick to the simple stuff.
- Those Metal “Kettle Fish”: What about those little metal balls or fish you drop in the kettle? They are designed to attract scale to themselves instead of the kettle floor. They can help a bit by passively collecting some minerals, but they are absolutely not a replacement for a proper descaling. Think of them as a helper, not a solution.
The Step-by-Step Process to a Spotless Kettle
Ready to get it done? Here’s the exact process I use. It’s safe, thorough, and leaves no weird aftertaste. We’ll use citric acid for this example.
Estimated Time: About 30 minutes (mostly just waiting!)
Step 1: Safety First! Unplug It.
I know it’s obvious, but I have to say it. Before a single drop of water goes in, unplug the kettle from the wall. Never get the electrical base wet.
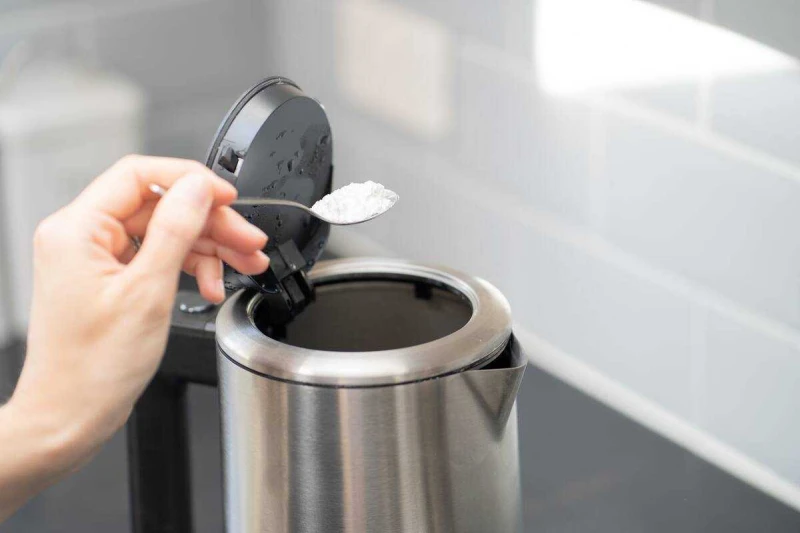
Step 2: Mix Your Solution
Pour out any old water. Fill the kettle about halfway with fresh water. For a standard 1.7-liter kettle, that’s about 3-4 cups. Add 1 to 2 level tablespoons of citric acid powder right into the water.
Step 3: Heat It and Let It Sit
Plug it back in and bring the water to a boil. As soon as it clicks off, unplug it again. The heat kickstarts the reaction, but the magic happens while it soaks. Let it sit for a good 20-30 minutes. You should see little bubbles fizzing up from the bottom—that’s the acid doing its work!
Step 4: Empty and Inspect
Carefully pour the solution down the drain. (By the way, it’ll give your sink drain a little cleaning, too). Look inside. The bottom should be shiny and clean. If a few stubborn spots are left, they should be soft enough to wipe away.
Step 5: The Crucial Rinsing Boils
This is the step everyone skips, and it’s the #1 reason for a funny-tasting first cup. You have to remove every trace of the cleaning solution. Fill the kettle with fresh water, boil it, and dump it out. I always do this twice. Quick tip: After the second rinse, do a quick smell test. If you can smell anything other than water (especially if you used vinegar), do a third rinse. Your morning coffee will thank you.
Heads Up: The Biggest Mistakes I See People Make
You can save yourself a lot of grief by avoiding these common pitfalls.

- Scraping the Element. Never use steel wool, a knife, or a scouring pad to chip away at heavy scale. You’ll create tiny scratches on the surface that will actually make scale build up faster in the future. Patience and soaking are your only tools here.
- Using Vinegar in a Plastic Kettle. I mentioned it before, but it’s worth repeating. The smell can get into the plastic and taint your water for days. If you’ve already made this mistake, try letting a solution of baking soda and water sit in it overnight to help neutralize the odor.
- Mixing Cleaners. This is a major safety warning. Never, ever mix an acid-based cleaner (like vinegar or citric acid) with anything containing chlorine bleach. The combination creates toxic chlorine gas, which is incredibly dangerous.
The Best Fix Is Prevention
The easiest way to deal with limescale is to not let it get bad in the first place. Here’s how.
- The Quickest Win: The single best thing you can do is empty your kettle completely after each use. Don’t let water sit in it. This takes five seconds and makes a huge difference.
- Descale on a Schedule: If you’re in a hard water area, do it once a month. For softer water, every 2-3 months is fine. Set a calendar reminder.
- Use Filtered Water: If your tap water is basically liquid rock, using water from a simple filter pitcher will dramatically cut down on minerals and save you a ton of work.
And finally, know when to say goodbye. If you see actual rust inside, if a non-stick coating is flaking off (it will look like dark paint chips, not white scale), or if the body is cracked, it’s time for a new kettle. A good one should last years, and with this routine, you can make sure you get every last one of them.
Inspiration:
Does the material of your kettle actually matter when it comes to limescale?
It matters more for aesthetics and awareness than for prevention. A glass kettle, like those popular from brands like Cosori, acts as an honest broker—you can’t ignore the chalky film as it forms, which encourages regular cleaning. In contrast, a stainless steel kettle, whether it’s a design-forward Smeg or a workhorse Breville, hides the buildup on its opaque floor. You might forget about the scale until your kettle starts rumbling. The enemy is the same, but your battle strategy changes: glass demands visual upkeep, while steel requires a disciplined cleaning schedule.


