The Real Deal on Thawing Chicken: Pro Tips to Keep It Safe & Delicious
I’ll never forget the day a tough-as-nails chef stopped the entire kitchen because of me. I was a young cook, and I’d left a package of chicken on the counter to thaw, thinking I was being efficient. He gathered everyone around and, without raising his voice, explained how what I was doing wasn’t just lazy—it was dangerous. That lesson was burned into my brain. Handling chicken the right way isn’t just about making it taste good; it’s a fundamental responsibility for anyone cooking for themselves or their family.
In this article
- First, Let’s Talk About the ‘Danger Zone’
- So, Which Thawing Method Is Right for You?
- Method 1: The Refrigerator (The Gold Standard)
- Method 2: The Cold Water Bath (The Speedy & Safe)
- Method 3: The Microwave (The Emergency-Only)
- Kitchen Safety 101: Your Essential Toolkit
- The Final Rule: When in Doubt, Throw It Out
- Inspiration:
Thawing chicken seems straightforward, but getting it wrong can turn your dinner plans into a disaster. Let’s walk through the right ways to do it, why they work, and the one thing you absolutely must understand to keep your food safe.
First, Let’s Talk About the ‘Danger Zone’
Okay, this is the most important part. In the food world, there’s something we call the ‘Temperature Danger Zone’ (TDZ). It’s the temperature range between 40°F and 140°F (that’s 4°C to 60°C). Inside this zone, nasty bacteria that can make you seriously sick can double their numbers in as little as 20 minutes. Yikes.
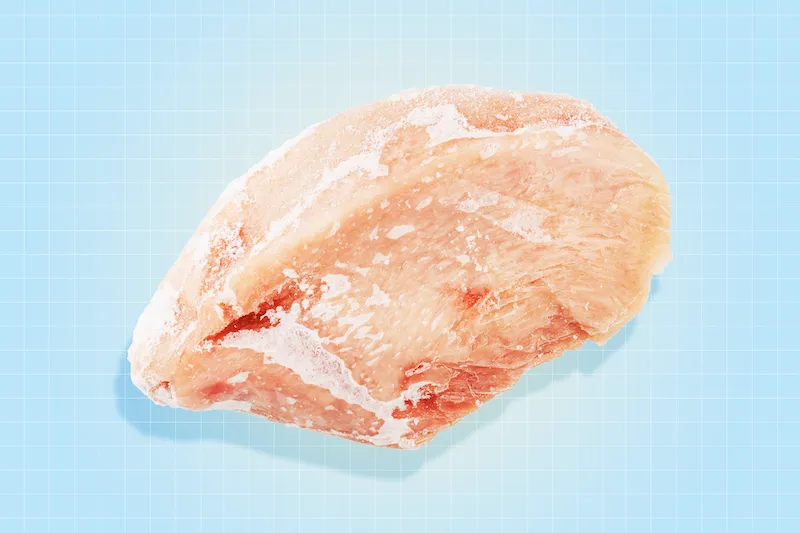
Freezing doesn’t actually kill these bacteria; it just puts them to sleep. As soon as that chicken starts to warm up past 40°F, they wake up and start multiplying. The whole goal of safe thawing is to get the chicken from frozen to ready-to-cook while spending the absolute minimum amount of time in that danger zone. This is precisely why just leaving it on the counter is a huge no-no—the outside of the meat can hang out in the TDZ for hours while the inside is still a block of ice.
So, Which Thawing Method Is Right for You?
Honestly, it depends on how much time you have. There are three safe ways to do this, and each has its pros and cons. Here’s the quick and dirty breakdown so you can choose your own adventure:
- The Refrigerator Method: This is the undisputed champion for safety and quality. It takes zero effort, but you have to plan ahead—sometimes a full day or more. The chicken thaws slowly and gently, staying out of the danger zone the entire time.
- The Cold Water Bath: This is your go-to when you need chicken thawed in an hour or two. The quality is still excellent, but it’s an active process. You can’t just set it and forget it; you have to babysit it a bit.
- The Microwave Method: I call this the “Oh crap, I forgot to thaw the chicken!” method. It’s the fastest by far, but it’s a last resort because it can seriously mess with the texture, sometimes making it rubbery. It requires immediate cooking.
Method 1: The Refrigerator (The Gold Standard)
This is the method every professional kitchen uses for planned meals. It’s foolproof and gives you the best-tasting, juiciest results because the slow thaw helps the meat retain its moisture.
But you can’t just toss it in there. You have to be smart about cross-contamination. Raw chicken juice is no joke.
Here’s how to do it right:
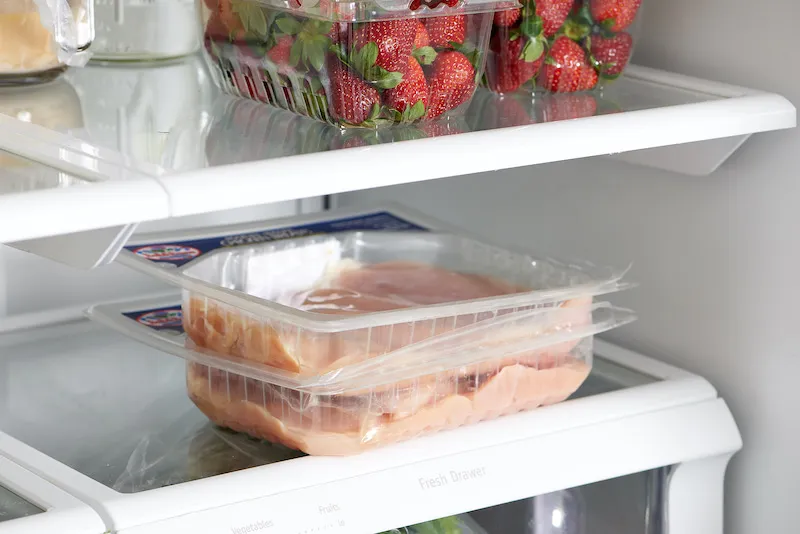
- Contain It: Place your frozen chicken—still in its packaging—into a container with sides, like a baking dish or a deep plate. This is to catch any potential leaks. Trust me, you don’t want to be cleaning raw chicken juice out of your produce drawer.
- Put It on the Bottom Shelf: This is a cardinal rule of food safety. Always, always, always put raw meat on the bottom shelf of your fridge. That way, if it does leak, it can’t drip down and contaminate everything else.
The only catch is the timing. A pound of boneless chicken breasts will need a full 24 hours. A whole chicken needs about 24 hours for every 4-5 pounds. You have to plan ahead.

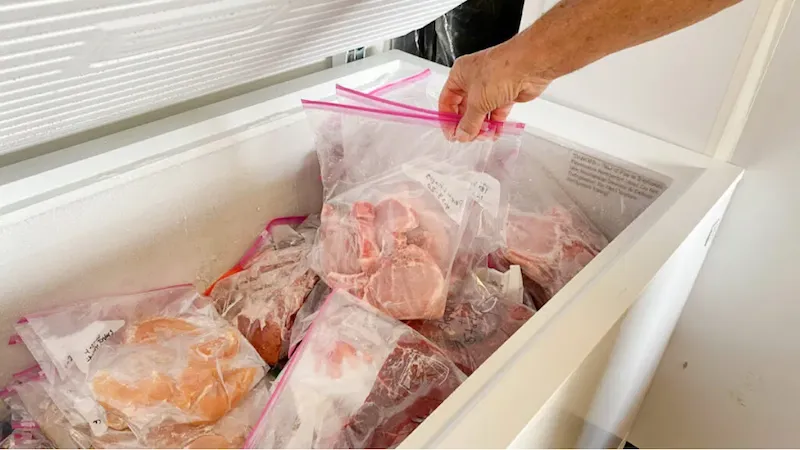
Your Quick Win Today: Go move one package of chicken from your freezer to a plate on the bottom shelf of your fridge RIGHT NOW. Boom. You’ve just prepped for dinner tomorrow the safest way possible.
Once it’s thawed, the chicken is good in the fridge for another day or two. By the way, if your plans change, chicken thawed this way is the only kind that can be safely refrozen. It might be a little drier when you eventually cook it, but it’s perfectly safe.
Method 2: The Cold Water Bath (The Speedy & Safe)
Forgot to move the chicken to the fridge? No worries, this is your best bet. It’s way faster because water transfers heat much more efficiently than air.
The technique is critical here:
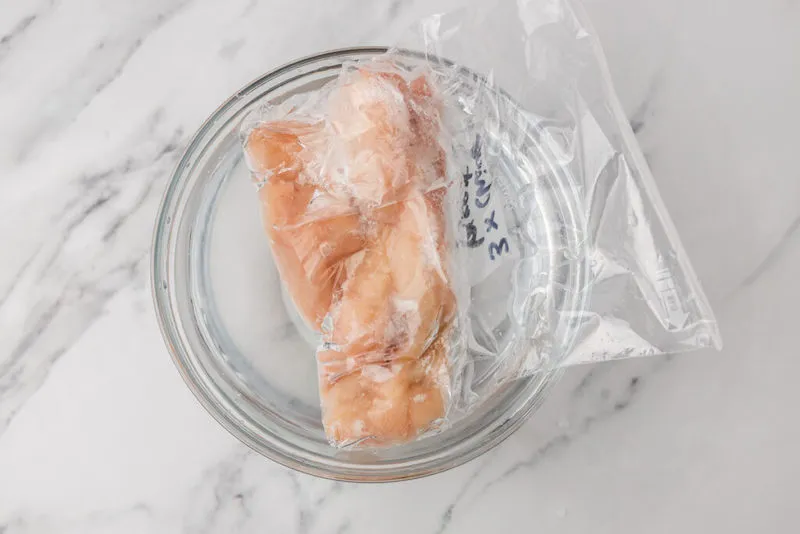
- Get a Leak-Proof Bag: This is non-negotiable. If the original packaging has any rips, put the chicken in a sturdy, sealed zip-top bag. Squeeze all the air out. If water gets in, it’ll make the chicken waterlogged and gross.
- Submerge in COLD Water: Put the bagged chicken in a big bowl or a clean sink and cover it with cold tap water. And I mean COLD. Using warm or hot water will kick-start that bacterial growth on the surface.
- Change the Water: This is the active part. Every 30 minutes, dump the water and refill with fresh, cold water. This keeps the surface of the chicken safely chilled as it thaws.
A pound of chicken might take an hour, while a bigger package could take 2-3 hours. And a quick tip: if your chicken pieces are frozen together in a giant block, submerge the whole thing. After that first 30-minute soak, you should be able to pry the pieces apart. Separate them, put them back in the bag, and continue—they’ll thaw much faster individually.
Heads up! Chicken thawed this way must be cooked immediately. No storing it for later. And definitely don’t refreeze it.
Method 3: The Microwave (The Emergency-Only)
I’m going to be honest, I really dislike this method. Microwaves heat things unevenly, creating hot spots that start to cook while other parts are still frozen. This is a recipe for rubbery, tough chicken. Use this only if you are in a real bind.
If you must, here’s how to minimize the damage:
- Unwrap It Completely: Take the chicken out of all its store packaging. And yes, that means taking it completely off that styrofoam tray and peeling off that weird absorbent pad underneath. You don’t want to melt that onto your dinner!
- Use the ‘Defrost’ Setting: Place it on a microwave-safe plate and use your microwave’s specific defrost function, which usually prompts for weight. If you don’t have one, use a low power level (like 30%) and defrost in short bursts, rotating or flipping the chicken every couple of minutes.
The most common fail here is ending up with chicken that’s cooked on the edges and an ice-rock in the middle. If that happens, your best bet is to cut it into smaller, more uniform pieces and start cooking immediately, using a thermometer to make sure every single piece hits that safe internal temp.
And I can’t say this enough: COOK IT IMMEDIATELY. No exceptions. Those warm spots are a playground for bacteria.
Kitchen Safety 101: Your Essential Toolkit
Proper thawing is only half the battle. Preventing the spread of germs is just as crucial. Here’s what I consider non-negotiable for any kitchen where chicken is cooked.
- A Digital Instant-Read Thermometer: Stop guessing! This is the only way to know for sure if your chicken is cooked to a safe 165°F. It’s the best $15-$25 you’ll ever spend on your kitchen. You can grab a good one from any big-box store or online.
- A Dedicated Cutting Board: To avoid cross-contamination, use a cutting board just for raw poultry. A simple set of color-coded plastic boards is a great, affordable option (usually under $20) and much easier to sanitize than wood.
After you’re done prepping, wash your hands thoroughly and sanitize everything the raw chicken touched: the board, your knife, the counter, and the sink.
The Final Rule: When in Doubt, Throw It Out
Listen, I know throwing out a $10 package of chicken feels awful. But a trip to the ER costs way more. If you’re ever unsure about your chicken, trust your senses. Beginners are often nervous about this, so here’s what to look for: spoiled chicken doesn’t just smell a little chicken-y; it has a distinctively sour, ammonia-like, or just plain foul odor. The texture might be unpleasantly slimy even after you rinse it, and it could have a grayish or greenish tint.
If you see, smell, or feel any of that, or if you accidentally left it on the counter for hours, just toss it. It’s not worth the gamble. Mastering these simple skills is what separates a good cook from a great—and safe—one.
Inspiration:

So, your dinner plans suddenly changed and that chicken you carefully thawed is now just sitting there. Can you refreeze it?
The answer is a classic


