Finally Breathe Easy: A Real-Life Guide to Clearing Your Sinuses for Good
I’ve spent a long, long time dealing with sinus pressure. It started as this constant, dull ache behind my eyes that just wouldn’t quit. I honestly tried everything I could find. Over the years, and with some solid guidance from ear, nose, and throat specialists, I finally learned what actually works. And here’s the secret: there are no magic cures.
In this article
It’s all about understanding what’s really going on inside your head and then using simple, consistent techniques to manage it. So this isn’t just another list of remedies. Think of this as a practical guide built on a whole lot of trial and error, and grounded in solid principles. My goal is to share what I’ve learned so you can find real relief without wasting your time or money.
First, Why Do Your Sinuses Get So Clogged?
Before you can fix the problem, it helps to know what you’re up against. Your sinuses aren’t just solid bone; they’re actually a system of hollow, air-filled cavities in your skull—behind your forehead, cheekbones, and nose. These cavities are lined with a soft, pink tissue that produces mucus.

Normally, this mucus is thin and does a great job trapping dust, pollen, and other gunk. Tiny little hairs called cilia constantly sweep this mucus to the back of your throat to be swallowed. When it’s working right, you don’t even notice it. The trouble begins when that lining gets inflamed, a condition known as sinusitis. This can be triggered by a cold, allergies, or other irritants. The swelling blocks the tiny openings, trapping the mucus. It thickens up and becomes a breeding ground for germs. That’s what causes that all-too-familiar pressure and pain. Our goal with any home treatment is simple: thin the mucus, soothe the inflammation, and help those cilia get back to work.
The Single Most Effective Thing You Can Do: Saline Rinsing
If you only do one thing from this entire guide, make it this. Saline rinsing, or nasal irrigation, is the undisputed champion of at-home sinus relief. I’ll admit, I was skeptical at first. The idea of pouring water through my nose sounded… weird. But after my specialist insisted, I gave it a shot. The relief was immediate and, honestly, pretty profound.

It works by physically flushing out thick mucus, allergens, and other irritants. It also moisturizes your nasal passages, which helps everything function better. Before you start, here’s a quick shopping list to get you set up.
Your Sinus Relief Starter Kit:
- A Rinse Device (Neti Pot or Squeeze Bottle): You can find these at most drugstores like CVS or Target, or online. They typically cost between $10 and $20.
- Non-Iodized Salt: Look for canning salt, pickling salt, or pure sea salt. A big box costs maybe $3 and will last you forever. Regular iodized table salt will sting, so skip that.
- Distilled Water: You can grab a gallon for $1-$2 at any grocery store. This is a safety must-have, which we’ll get to in a minute.
- (Optional) Humidifier: A good one will run you between $30 and $60. It’s a great long-term investment for sinus health.
Neti Pot or Squeeze Bottle?
So, which device should you get? There are two main options. A Neti pot looks like a tiny teapot and uses gravity for a very gentle flow of saline solution. It’s perfect for sensitive noses or if you’re new to rinsing. Then you have the sinus rinse squeeze bottle, which gives you a more forceful (but still gentle) stream. A lot of people prefer the squeeze bottle when they’re really congested because it has a bit more power to clear stubborn blockages.

There’s no wrong answer here; it’s all about personal preference. I started with a Neti pot because it felt more controlled, but now I keep both on hand and use whichever one feels right that day.
The Perfect (and Sting-Free) Saline Recipe
You can buy pre-made saline packets, and they’re super convenient. But making your own is incredibly easy and costs next to nothing. Getting the salt-to-water ratio right is key to preventing any burning or stinging sensation.
Here’s the standard, medically-approved formula:
- 1 cup (8 ounces or 240 ml) of sterile water.
- 1/2 teaspoon of non-iodized salt.
- A pinch (about 1/4 teaspoon) of baking soda. This is optional, but I highly recommend it. It buffers the solution and makes it much gentler on your nose.
Just mix everything until it’s completely dissolved. You want the water to be lukewarm, around body temperature. A quick drop on your wrist will tell you if it’s too hot or cold.

CRITICAL SAFETY WARNING: Your Water Source Matters Most
Okay, lean in for this part, because it’s the most important piece of advice in this whole article. NEVER use water straight from the tap for nasal rinsing.
Tap water, while safe to drink, can contain tiny microorganisms that can cause a rare but potentially fatal infection if they get into your sinuses. This isn’t a scare tactic; it’s a non-negotiable safety rule that all health authorities and doctors stand by.
Always, always use one of these safe water sources:
- Distilled or sterile water you buy from the store.
- Water that’s been boiled for at least one minute and then cooled to a lukewarm temperature. I just boil a kettle every morning and use what I need.
- Water passed through a special filter with an absolute pore size of 1 micron or smaller. Heads up: most pitcher filters don’t meet this standard.

The Rinsing Technique (Without Making a Mess)
Let’s be real, the first time I tried this, it was a disaster. I snorted half of it and ended up choking on salty water. It was a mess. But I promise, once you get the hang of it, it’s as natural as brushing your teeth. Here’s how to do it right:
- Lean over a sink and tilt your head sideways at about a 45-degree angle.
- Breathe through your open mouth. This is the key! It closes the connection to your throat.
- Gently place the spout of the pot or bottle into your top nostril to create a seal.
- Pour or squeeze the solution into your nostril. The water will flow through your nasal cavity and come out the other nostril. It’s a strange but satisfying feeling.
- Use about half the solution, then gently blow your nose. Don’t pinch your nostrils shut—just blow gently through both.
- Repeat on the other side.

Help, This Feels Weird! (Common Problems & Fixes)
- Problem: It stings! You probably need to double-check your salt-to-water ratio or make sure the salt is fully dissolved. When it’s right, you shouldn’t feel anything.
- Problem: Water went down my throat! Totally normal at first. Try leaning forward a bit more and really focus on breathing through your mouth. It closes the hatch, so to speak.
- Problem: I feel like water is stuck in my ear or sinus! After you finish, bend forward from the waist and gently tilt your head from side to side. This helps drain any leftover solution. And remember, don’t blow your nose too hard!
When I’m actively congested, I rinse once or twice a day. For general maintenance, especially during allergy season, a few times a week works wonders.
Need Relief in the Next 15 Minutes? Try This.
If you’re feeling miserable right now and need a quick win, here’s my emergency go-to routine. First, do a full saline rinse to clear out the major gunk. While you’re doing that, have some water heating up on the stove. Pour the steaming (not boiling!) water into a large bowl, add two or three drops of eucalyptus oil, and drape a towel over your head. Breathe in that steam for a solid 10 minutes. The combination physically flushes and then soothes everything. It’s a lifesaver.

Harnessing Warmth and Humidity
Dryness is the enemy of happy sinuses. Warmth and moisture are your best friends for thinning mucus and soothing irritated tissues. A hot shower is a great start, but for more targeted relief, a warm compress is fantastic. Just soak a washcloth in warm water, wring it out, and lay it over your nose and cheeks for 10-20 minutes. It feels incredible when your head is throbbing.
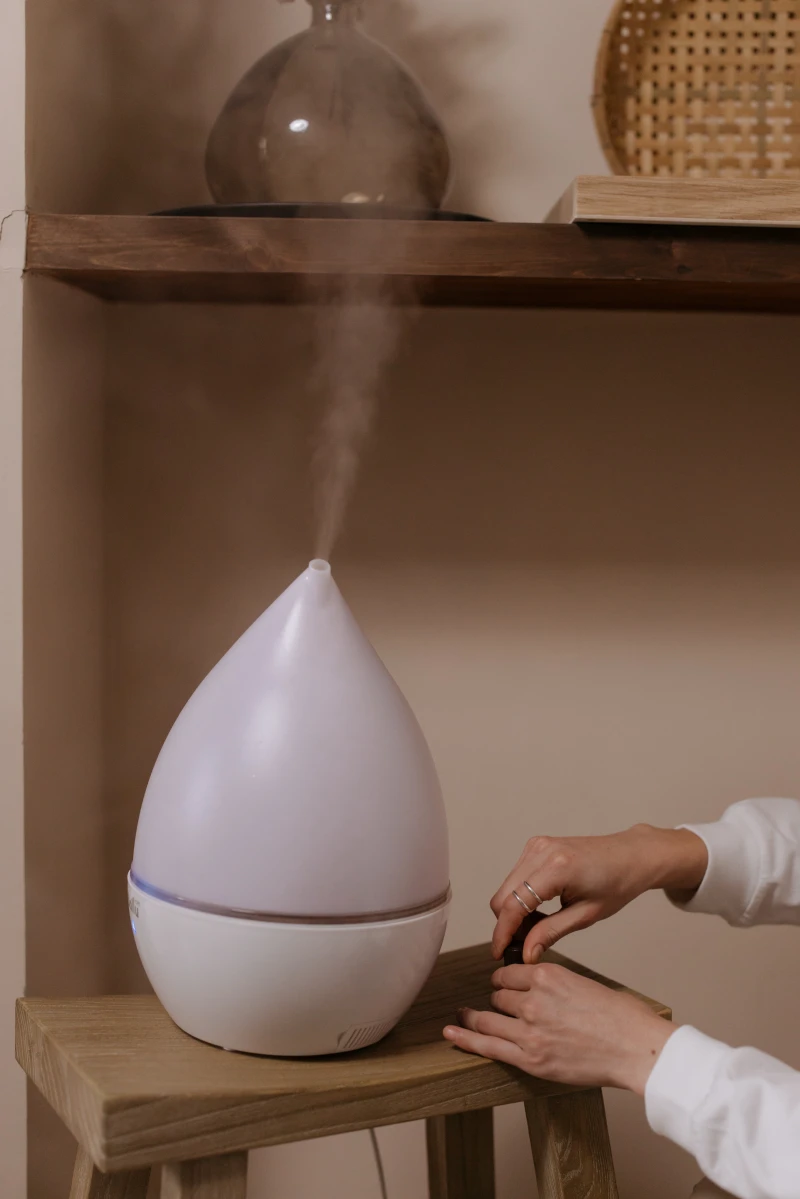
For long-term help, especially if you live in a dry climate or run the heat a lot, a humidifier is a game-changer. It adds moisture to the air while you sleep, preventing your nasal passages from drying out. A cool-mist one is generally recommended for safety, but the most important thing is to clean it religiously.
I learned this the hard way. One winter my sinuses were just not getting better. It turns out my humidifier tank had grown a thin layer of that dreaded pink slime. Gross, I know. My daily routine now is a quick rinse of the tank with hot, soapy water, letting it air dry completely. Then, once a week, it gets a full vinegar soak. It takes five minutes and ensures the machine is helping, not hurting.

Small Lifestyle Tweaks with Big Payoffs
A few small changes can make a surprising difference. Propping your head up with an extra pillow or a wedge pillow at night uses gravity to help your sinuses drain while you sleep. And don’t forget to stay hydrated! Drinking plenty of water, herbal tea, or clear broth thins mucus from the inside out.
By the way, if you like spicy food, you’re in luck. The capsaicin in things like chili peppers or wasabi can temporarily make your nose run, helping to clear out thicker mucus. It’s not a cure, but it can definitely open things up for a bit.
When It’s Time to Call in the Pros
These home remedies are fantastic for managing uncomplicated sinus issues. But they aren’t a substitute for professional medical care. It’s crucial to know when you need to see a doctor.
Give a healthcare professional a call if you experience any of these red flags:

- Symptoms that last more than 10 days without improving.
- A high fever (over 101°F or 38.3°C).
- A severe headache that doesn’t respond to over-the-counter pain meds.
- Any vision changes, like double vision.
- Swelling or redness around your eyes.
- A stiff neck.
- Symptoms that get better and then suddenly get way worse (a classic sign of a secondary infection).
A doctor can figure out if you need antibiotics or if there’s something else going on, like nasal polyps or a deviated septum, that might need a specialist’s attention. By using these at-home tools consistently and safely, you can take real control of your sinus health and finally breathe easier.
Inspiration:

The Classic Neti Pot: A small, teapot-like vessel, the neti pot uses gravity to create a gentle, low-pressure stream of saline solution that flows through your nasal passages. It’s an ancient Ayurvedic technique valued for its meditative and soothing quality. Perfect for daily maintenance or mild congestion.
The Modern Squeeze Bottle: Brands like NeilMed have popularized the flexible plastic bottle. This method allows you to control the pressure, creating a more forceful stream to dislodge stubborn mucus and debris. It’s often recommended by ENTs for its effectiveness during colds or serious allergy flare-ups.
The best choice often comes down to personal preference. If you’re new to nasal rinsing, the gentle neti pot can be a less intimidating start. For more significant blockages, the power of a squeeze bottle is hard to beat.


