Your TV Screen Is Filthy. Here’s How to Clean It Without Ruining It.
In my two decades working in audio-visual installation, I’ve seen some things that would make you cry. I’m talking about brand new, multi-thousand-dollar OLED TVs ruined by someone with good intentions and a bottle of window cleaner. A simple mistake creates a permanent, cloudy haze that just can’t be fixed. It’s heartbreaking.
In this article
The thing is, a modern TV screen isn’t just a sheet of glass anymore. It’s a really sensitive piece of optical equipment. So I’m going to share the exact method we use in the field. It’s not about buying some overpriced, gimmicky kit. It’s about understanding what you’re cleaning and using a simple, safe technique that will protect your investment and keep your picture looking perfect.
First, Understand What You’re Wiping
To clean something right, you have to know what it is. And your flat screen is way more complex than you think. Unlike the thick, durable glass on an old tube TV, the surface you touch on a modern screen has very delicate coatings.
For most TVs (like LCD, QLED, and LED models), that top layer has an anti-glare coating. This is a super thin, micro-textured layer designed to break up reflections from lights and windows. It’s amazing for your viewing experience, but it’s incredibly sensitive to chemicals. The alcohol and ammonia found in most household cleaners will literally eat away at this coating, causing what we call “crazing”—a network of tiny cracks that looks like a permanent oily film.
And if you have an OLED screen? It’s even more delicate. Those screens often feature advanced anti-reflection layers to make the picture pop. The same rule applies: harsh chemicals are the enemy and will cause permanent damage.
By the way, rubbing your screen with the wrong thing, like a paper towel, creates a massive static charge. It basically turns your TV into a dust magnet. You wipe it clean, and five minutes later, it’s covered again. Our method helps minimize this, so your screen actually stays cleaner, longer.
The Only Toolkit You’ll Ever Need
Forget those fancy “screen cleaning kits” you see at the electronics store. They’re usually just a tiny bottle of distilled water and a cheap cloth sold for a 10x markup. For years, I’ve used the same simple and cheap items. Here’s your entire shopping list:
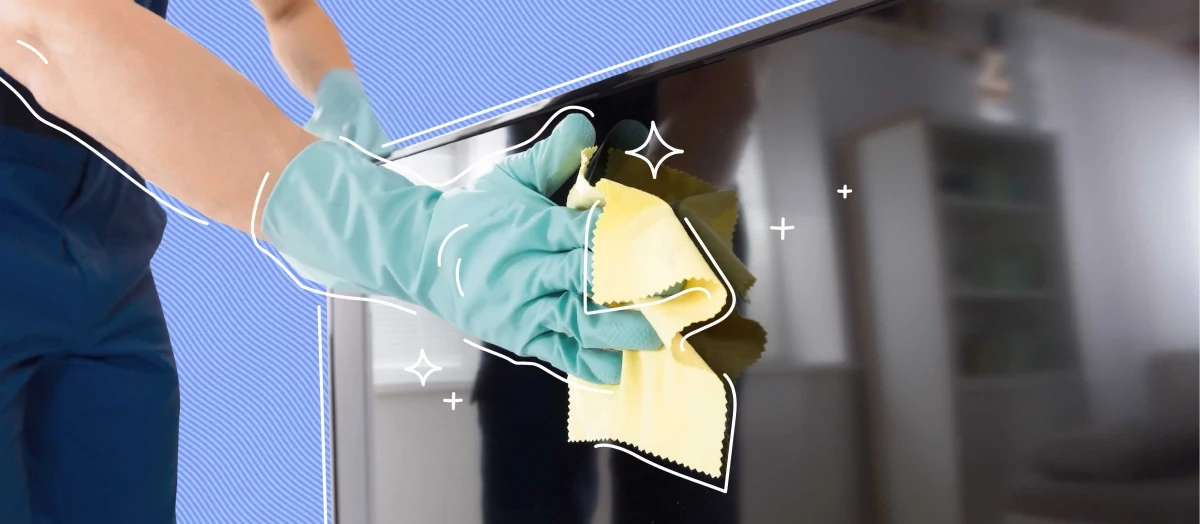
- High-Quality Microfiber Cloths (at least two): This is your most important tool. Do not, under any circumstances, use a paper towel, your t-shirt, or a dish rag. Those materials are abrasive and will leave thousands of micro-scratches that dull your screen over time. You need a good quality, split-fiber microfiber cloth. A quick tip: you can find some of the best ones in the automotive detailing section of stores. Search online for “300 GSM edgeless microfiber towels.” A good multi-pack will only set you back about $5 to $10.
- Distilled Water (in a spray bottle): It has to be distilled, not tap or filtered water. Tap water is full of minerals, and when it dries, it leaves all those minerals behind as streaks and white spots. Distilled water is pure H2O, so it evaporates without leaving a trace. A whole gallon costs about $1.50 at any grocery store and will last you for ages.
- A Fine-Mist Spray Bottle: You need a bottle that can create a very fine, controllable mist. You can find one at a dollar store or the travel-size aisle for about $3.
- A Soft-Bristle Brush: This is for getting dust out of the vents and ports. A clean, soft-bristled paintbrush or even a large, soft makeup brush works perfectly.
Heads up! A crucial step for your cloths: After you use them, you have to wash them correctly. Tossing them in with your bath towels is a bad idea. Fabric softener will clog the microfibers and cause nasty streaks on your screen. Wash them separately or with other lint-free synthetic items. Use a simple detergent with NO fabric softener, and then either air dry them or tumble dry on low heat. I keep my clean TV cloths in a sealed zip-top bag to make sure they stay pristine.
The 5-Minute Professional Cleaning Method
This is the exact process I teach every new technician. Follow these steps, and you can’t go wrong.
Step 1: Power Down and Let It Cool. First, turn the TV completely off. To be extra safe, I always recommend unplugging it. A black screen makes it a hundred times easier to see all the dust and smudges. Plus, a running TV is warm, and cleaning a warm surface causes liquid to evaporate too fast, which is the #1 cause of streaks. Give it 15 minutes to cool down to room temperature.
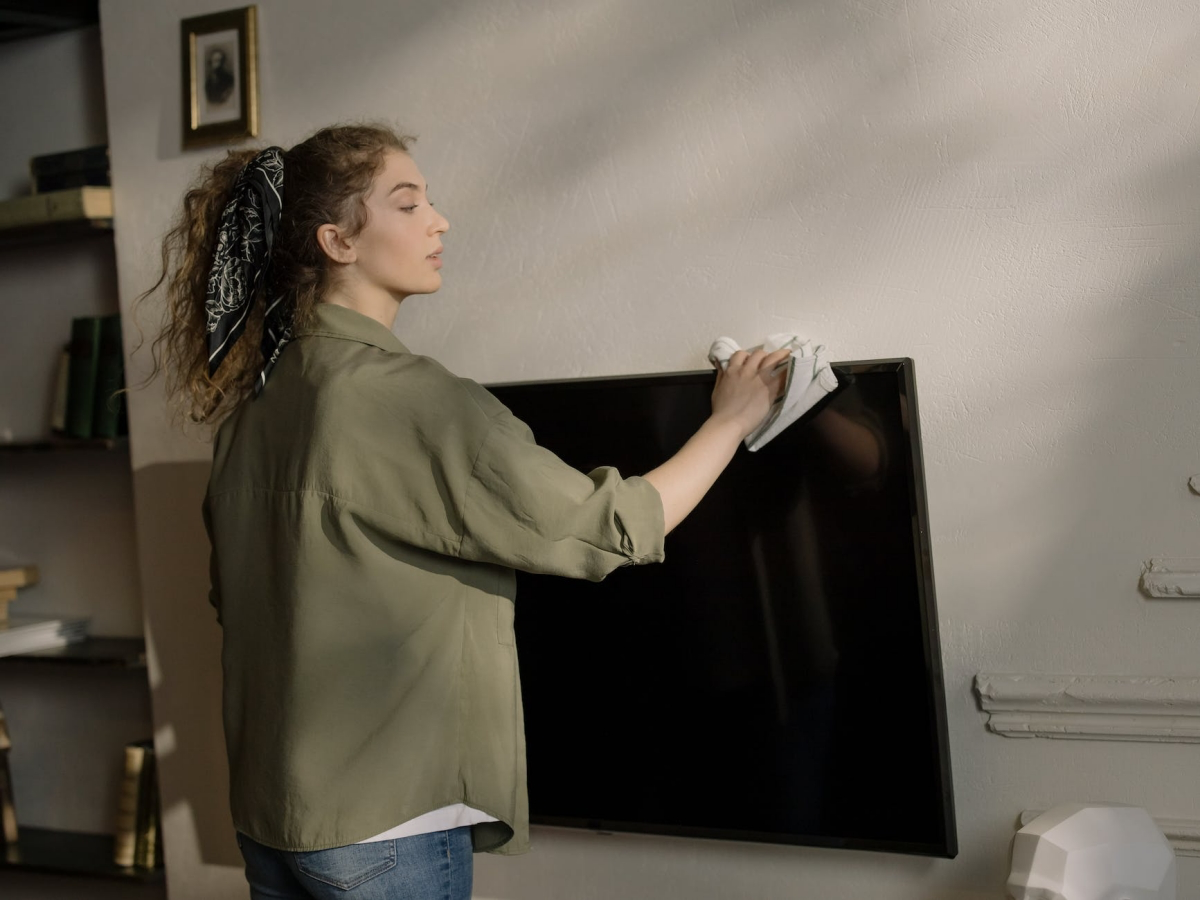
Step 2: The Gentle Dry Pass. Take one of your clean, dry microfiber cloths and fold it into a padded square. Starting at the top corner, gently wipe across the screen in a straight line. Use ZERO pressure. Seriously, the weight of the cloth itself is enough. The goal here is just to lift loose dust. Overlap your passes as you work your way down the screen, kind of like mowing a lawn. This ensures you cover every inch instead of just pushing dust around.
Step 3: Check Your Work. Look at the screen from an angle. Is it perfectly clean? If so, you’re done! Don’t over-clean. If you still see fingerprints or smudges, move on to the next step.
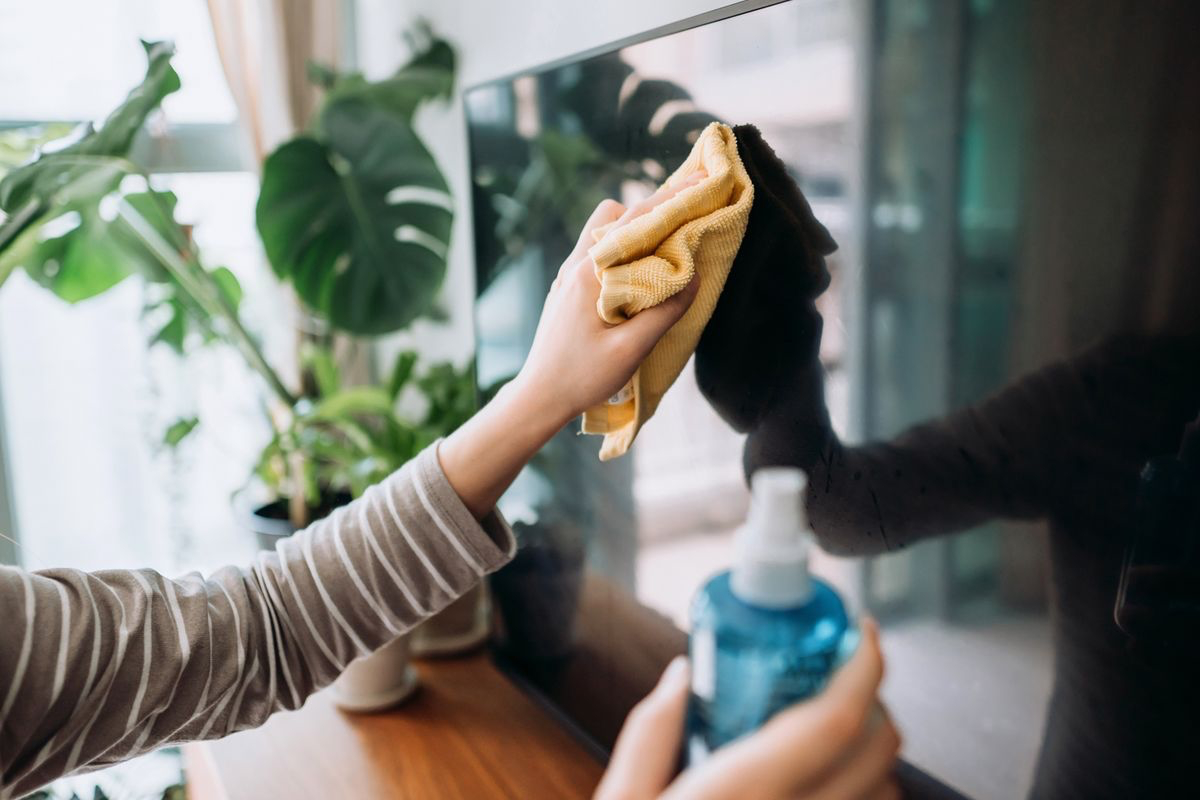
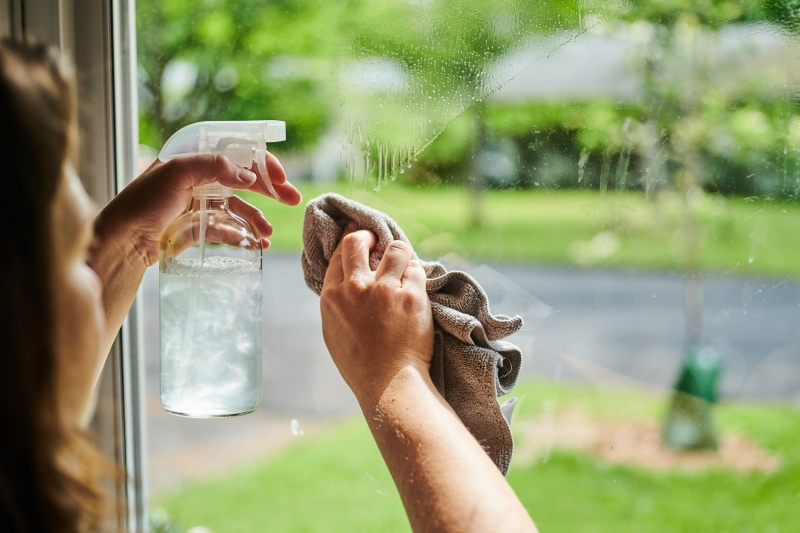
Step 4: The Targeted Damp Wipe. This is where people get into trouble, but it’s easy if you do it right. Take your spray bottle of distilled water and lightly mist a clean corner of your other microfiber cloth. I cannot stress this enough: NEVER spray anything directly onto the TV screen. Liquid can drip down into the frame and fry the electronics inside. The cloth should be barely damp, not wet. If you squeeze it and a drop of water comes out, it’s too wet.
Now, using only the damp part of the cloth, gently wipe the smudges. A small, circular motion works best. For a stubborn spot, like a kid’s greasy fingerprint, just hold the damp cloth on the spot for 10-15 seconds. This lets the water dissolve the oils without you needing to scrub.
Step 5: The Instant Buff-Dry. Immediately after you wipe a spot with the damp cloth, flip to a completely dry section of the cloth and gently buff the area dry. This removes the moisture before it has a chance to evaporate and leave a streak. This two-part, damp-then-dry technique is the real secret to a perfect, streak-free finish.
Don’t Forget the Grossest Part: The Remote!
Oh yeah, while you’re at it, you should probably clean the germiest item in your living room. Pop the batteries out of your remote. Dampen a cloth (a different one!) with a bit of 70% isopropyl alcohol and give the whole thing a good wipe-down. The alcohol disinfects and evaporates quickly. For the gunk that builds up between the buttons, a cotton swab or a simple wooden toothpick works wonders.
So, How Often Should You Bother?
This is a great question. You don’t want to be constantly rubbing on your screen. Here’s a good rule of thumb:
- Weekly: Perform a quick, gentle dry-pass (Step 2) to get rid of the weekly dust accumulation. This takes about 30 seconds.
- As Needed: Only use the damp-wipe method (Steps 4 & 5) when you actually see fingerprints or smudges that bother you. For most people, this is maybe once a month, if that.
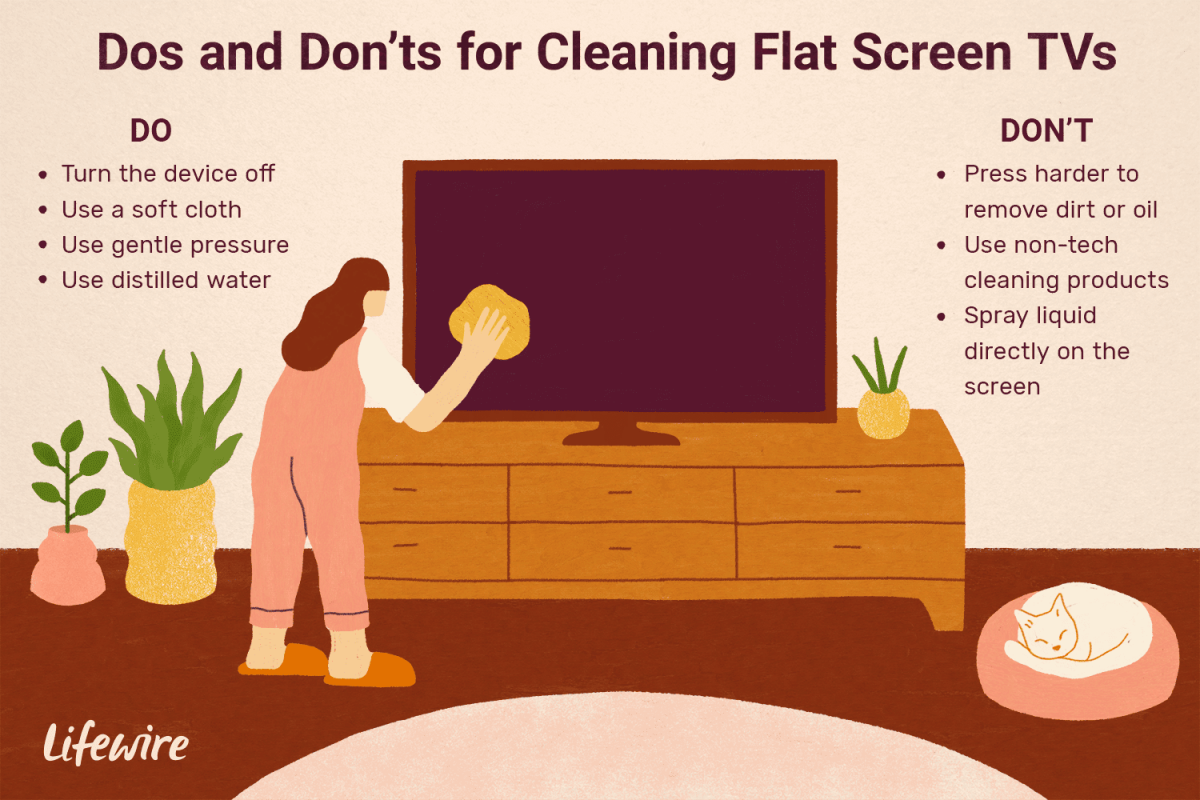
The Quick-and-Dirty Rules to Remember
If you forget everything else, just remember this. It’s the simple DO vs. DON’T list that will save your TV.
What you SHOULD use: – A clean, high-quality microfiber cloth. – A tiny bit of distilled water, and only on the cloth. – Very light, gentle pressure.
What you should NEVER, EVER use: – Paper towels, toilet paper, or tissues (they’re made of wood pulp and are abrasive). – Any kind of window or glass cleaner. – Any all-purpose cleaner, soap, or detergent. – Any product containing ammonia, alcohol, acetone, or any other solvent. These will destroy your screen’s coating, period.
From my experience, almost every damaged screen I’ve seen was caused by improper cleaning, not a faulty product. This simple process costs maybe $15 in supplies that will last for years, and it takes five minutes. It’s a small price to pay to protect a device that costs hundreds or even thousands. Go take a look at your screen right now while it’s off—I bet it’s dustier than you think! Give this a try and see the difference for yourself.
Inspiration:
Why does my TV seem to attract dust from across the room, even when it’s off?
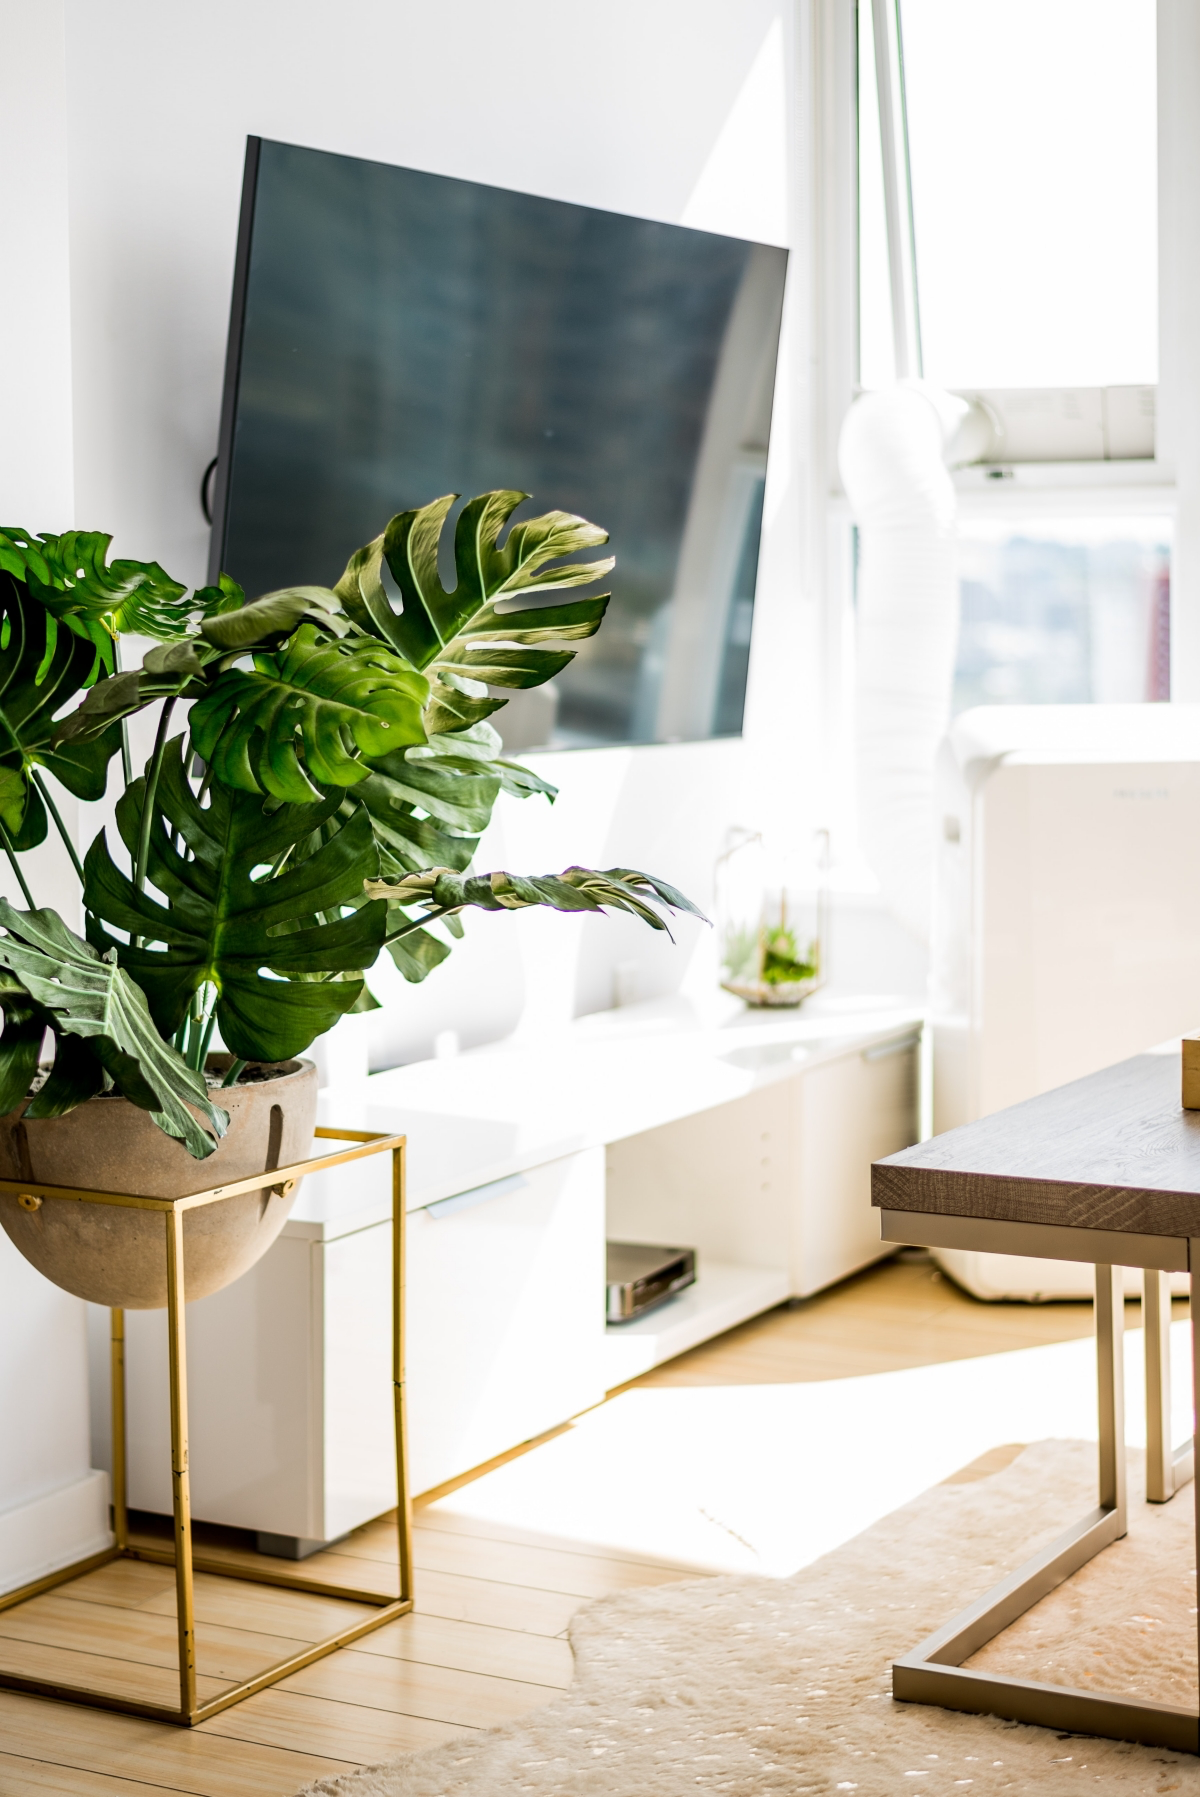
It’s not your imagination. The plastic housing of most modern TVs generates a significant static charge, actively pulling in airborne particles like dust, pollen, and pet dander. This effect is magnified in dry indoor air. Running an air purifier with a HEPA filter in the room can dramatically reduce these particulates, meaning you’ll need to clean your screen and vents far less often.
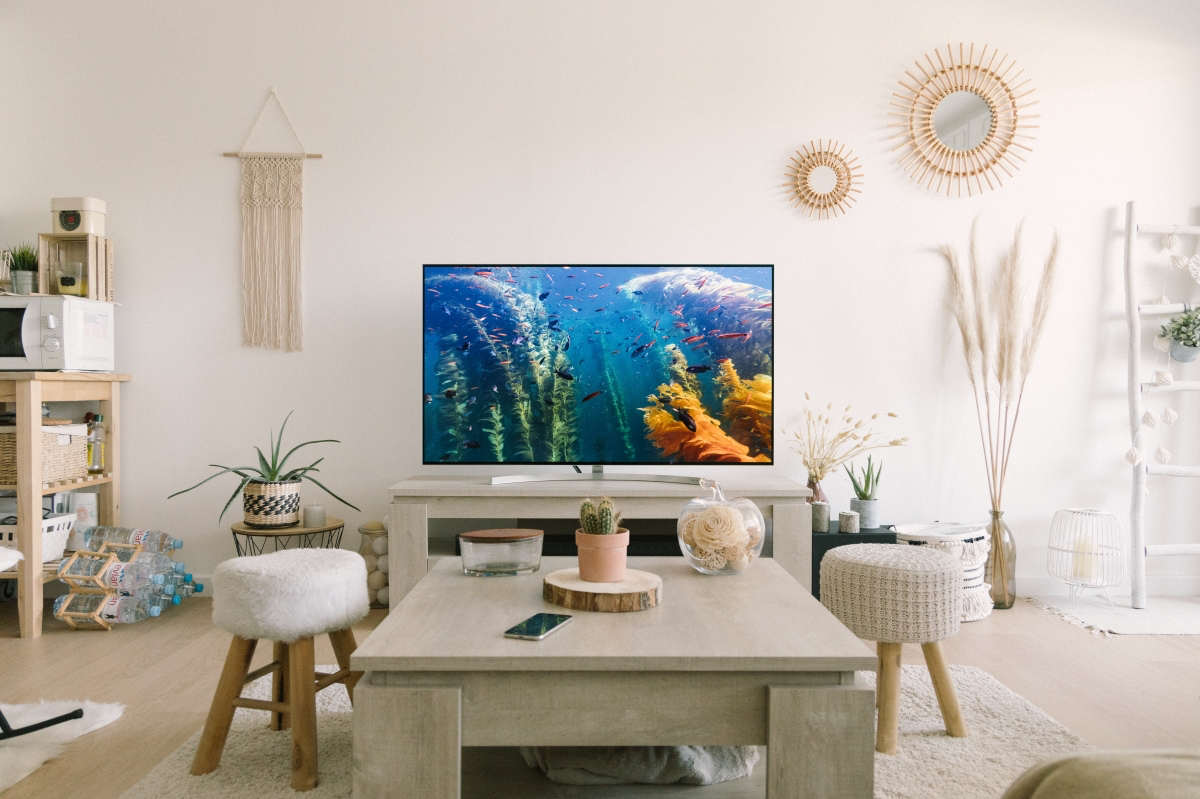
More than 8 million pixels on a 4K screen are working to create your image. A single fingerprint or smudge can obscure thousands of them at once.
This is why a clean screen isn’t just about aesthetics; it directly impacts picture fidelity. Oily smudges refract light, reducing sharpness and causing a localized blur that your eyes notice, even if you don’t consciously register it. Keeping the screen pristine ensures every pixel delivers the color and detail the manufacturer intended.
A pristine screen on a dusty frame is only half the job. Don’t forget the other parts where dust can accumulate and even affect performance. For a complete clean:
- The Frame & Stand: Use a separate, dry microfiber cloth to wipe down the bezel and base. For glossy plastic that shows every print, a slightly damp cloth (distilled water only) will work wonders.
- The Vents & Ports: Overheating shortens a TV’s life. Gently use a soft-bristled brush or short bursts from a can of compressed air to clear ventilation slots and input ports on the back.
- The Remote Control: Often the grimiest part! Use a proper electronics wipe, or a cloth lightly dampened with a 70% isopropyl alcohol solution, being careful not to let liquid seep between the buttons.


