I’ve spent the better part of my life with my hands on silver. My workshop has been a hospital for everything from delicate family heirlooms to those heavy, ornate serving platters you see in fancy old hotels. And after all this time, I can tell you one thing for sure: caring for silver is actually pretty simple, but it has to be done right.
The internet is overflowing with so-called “hacks” and quick fixes. Honestly, a lot of them are just plain wrong, and I’ve been paid good money to try and fix the permanent damage they cause. So, my goal here is to show you the methods the pros actually use every day. This isn’t about some magic shortcut; it’s about really understanding the beautiful material you’re holding.
When you get why silver tarnishes and how different cleaners work, you can care for your pieces with confidence. You can make sure they last for the next generation. This is exactly what I teach my apprentices, and now I’m sharing it with you.
First, What Even Is Tarnish?
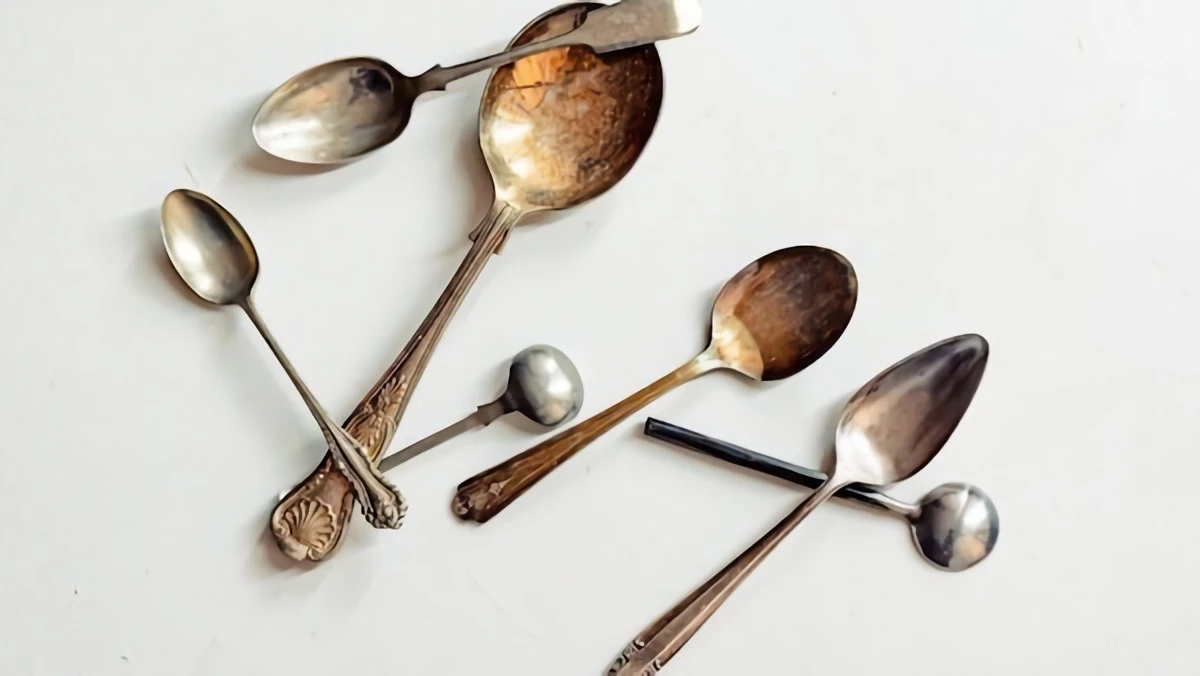
Before you start scrubbing, you need to know what you’re up against. That dark, gloomy layer on your silver is called tarnish, and it’s not just grime. It’s a chemical reaction. The silver on the surface of your piece is reacting with sulfur in the air, creating a new compound called silver sulfide. That’s the black stuff hiding the shine.
And where does this sulfur come from? Oh, it’s everywhere. It’s in the air from pollution, in that wool sweater you might be storing jewelry in, and even in foods like eggs and onions. A heads-up: it’s also released from rubber, which is why you should NEVER bundle your silverware with a rubber band. The mark it leaves is a nightmare to remove.
The good news? A tarnished piece isn’t ruined. It just needs that silver sulfide layer dealt with correctly.
Know Your Silver Before You Touch It
Okay, this is critical. Before you pick a cleaning method, you have to know what you’re working with. Using the wrong technique can be a costly mistake. I can’t tell you how many beautiful plated trays I’ve seen stripped bare by someone who thought they were polishing solid sterling.
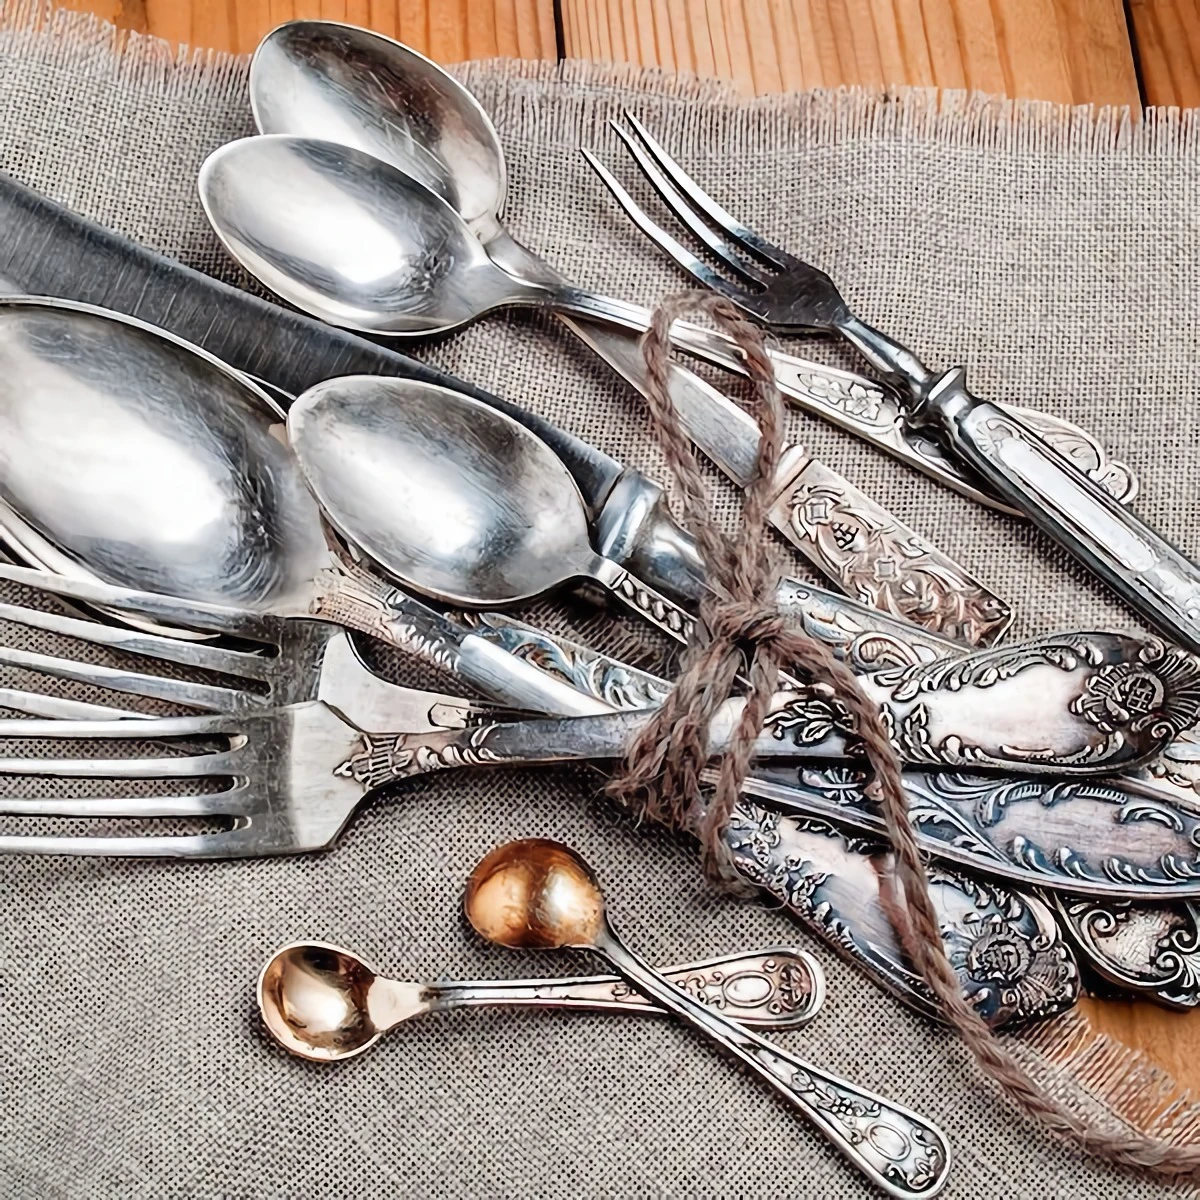
Sterling Silver: This is the good stuff. It’s the standard for high-quality silver. Look for a tiny stamp on it that says “.925,” “Sterling,” or “STER.” This guarantees it’s 92.5% pure silver. Sterling is tough and can be polished for a lifetime if you’re gentle. It’s the most forgiving type to work with.
Silver Plate: These pieces have a super thin layer of pure silver coated over a base metal like copper or brass. They can be stunning, but that silver layer is finite. Every single time you polish, you’re removing a microscopic amount of it. Aggressive polishing will wear right through it, exposing the yellowish or grayish metal underneath. Once that happens, the only fix is professional replating. Be warned, that’s not cheap—you could be looking at anywhere from $100 to over $500 for a large tray.
Antiques and Patina: Got something really old? Be extra careful. The dark areas in the recessed parts of an intricate design are often there on purpose. That’s called patina, and it adds character and value. Wiping it all away can literally destroy the piece’s worth. For antiques, a very light polish on the high points is all you want. When in doubt, just don’t.
Jewelry with Gemstones: This is a huge one. Many cleaning methods, especially dips and chemical baths, will absolutely ruin certain stones. Porous gems like pearls, turquoise, opals, and coral will soak up chemicals and get discolored or even crack. When cleaning jewelry with these stones, you have to clean only the metal, carefully working around the gems.
The Pro Polishing Method I Swear By
For almost everything that comes into my shop, the best approach is a careful hand polish with a quality cream polish. It gives you the most control and, frankly, the best finish. It’s a gentle process that keeps the silver healthy for years.
Your Toolkit: What to Buy and What It Costs
Getting the right supplies is half the battle, and it’s not expensive. Here’s what you’ll need:
A Quality Silver Polish: Skip the all-in-one metal polishes. You want something made specifically for silver. A tub of a trusted brand like Wright’s Silver Cream will run you about $5 to $8 at places like Home Depot, Target, or online, and it’ll last you for ages. These use very fine abrasives that do the job without scratching.
Soft Cloths: Do not use paper towels or old t-shirts! Paper towels have wood fibers that scratch. Get a pack of 100% cotton flannel cloths or good microfiber towels. You’ll need one for applying the polish and a separate clean one for buffing.
Soft Brushes: For all those fancy details and patterns, a very soft brush is key. An old, super-soft toothbrush can work, but only if it’s never seen toothpaste.
Gloves: A simple pair of nitrile or cotton gloves will keep finger oils off your silver and the polish off your skin.
The Step-by-Step Polishing Process
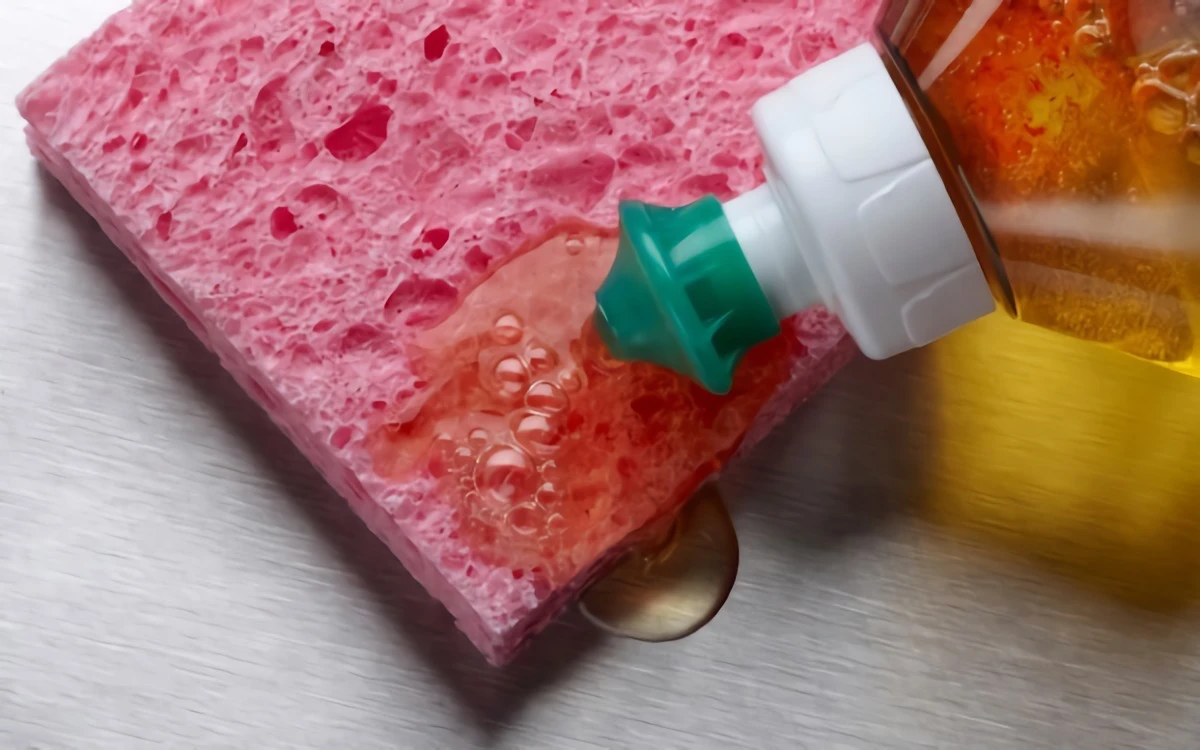
Prep: Lay a soft towel on your work surface. If your piece is dusty or greasy, give it a quick wash with warm water and a drop of mild dish soap first. And make sure it’s completely dry before you polish.
Apply Polish: Shake the polish well, then put a small, coin-sized dab on your cloth, not directly on the silver. This gives you way more control.
Polish with Care: Rub the polish onto the silver using gentle, straight, back-and-forth motions. NEVER rub in circles. This creates tiny swirl marks that are really obvious in the light. From my own painful experience, the first time I polished in circles, I spent an hour trying to buff out the scratches I’d just made. Never again. Straight lines only! You’ll see black stuff coming off on your cloth—that’s the tarnish, and it’s totally normal.
Work in Sections: On a big piece like a tray, work in small, manageable sections. This keeps the polish from drying out, which makes it a pain to remove. A full-sized serving tray might take you a good 30-45 minutes of focused work, so be patient.
Handle the Details: For crevices, put a tiny bit of polish on your soft brush and gently work it into the details. Just enough to clean, not to scrub.
Buff to a Shine: Let the polish haze over for about a minute. Then, take your clean buffing cloth and wipe away all the residue. Again, use straight strokes. This is where the magic happens and the shine comes through.
The Final Wash (Don’t Skip This!): This is the step everyone forgets, but it’s critical. You have to remove every last bit of polish residue. Wash the piece by hand in warm water with a little mild dish soap. Use your soft brush to gently clean out any polish left in the nooks and crannies. Rinse it well.
Dry Immediately: Water spots will tarnish. Use a soft, clean cloth to dry the piece completely. For intricate items, a hairdryer on the low, cool setting works wonders.
What About Those At-Home Cleaning “Hacks”?
Look, I get the appeal of using stuff you already have in the kitchen. Some of these methods do work, but they come with serious risks. It’s important you understand them.
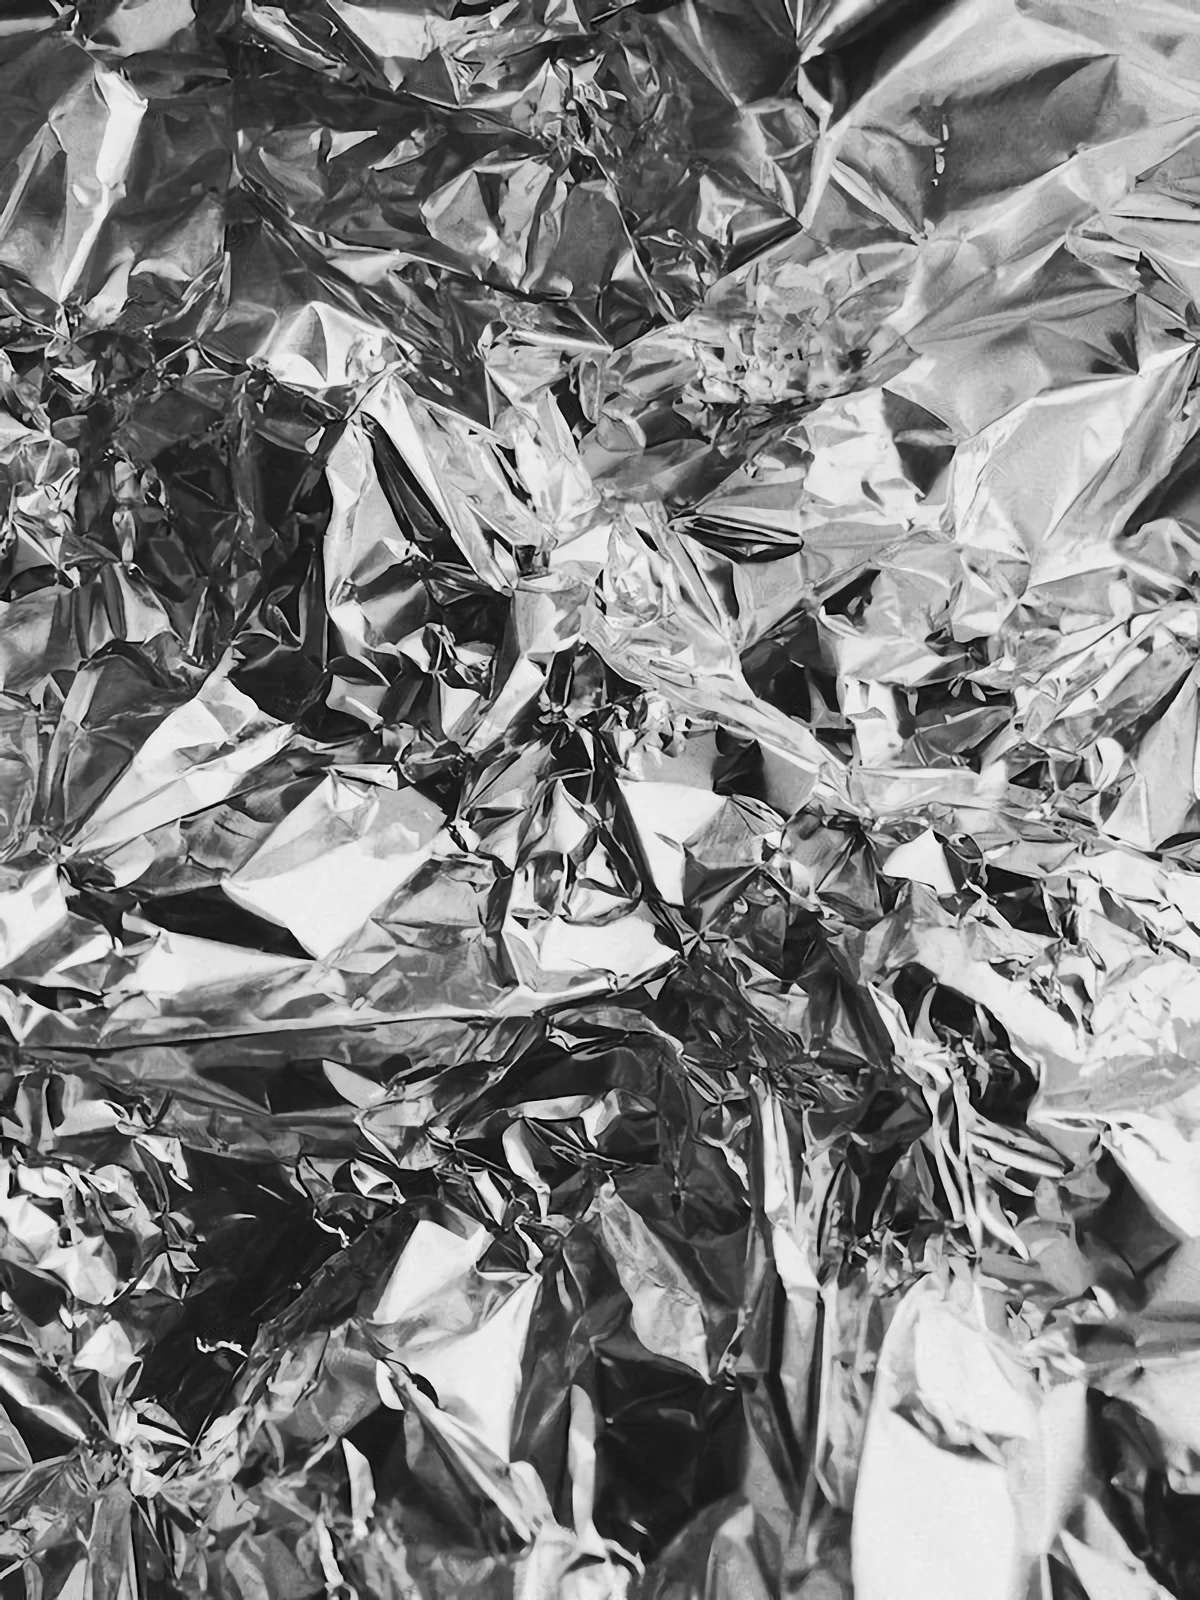
The Foil & Baking Soda Bath
This is that popular trick where you line a bowl with aluminum foil, add hot water and baking soda, and soak your silver. It works by chemically converting the tarnish back into silver without removing any metal.
The Good: I might use this for something with an incredibly complex pattern, like a chainmail purse, where polishing every link is impossible. It gets tarnish out of deep crevices.
The Bad: It’s indiscriminate—it removes ALL tarnish, including the valuable patina on antiques. It can also leave the silver with a dull, slightly yellowish finish that needs polishing anyway. Plus, the process creates a rotten egg smell, so you need good ventilation.
Silver Dips
You’ll see bottles of chemical “silver dip” on the shelf right next to the creams. My advice? Steer clear. These are very harsh chemical baths that can work too quickly, stripping away desirable patina and potentially pitting the surface of the silver over time. They are way too aggressive for most situations.
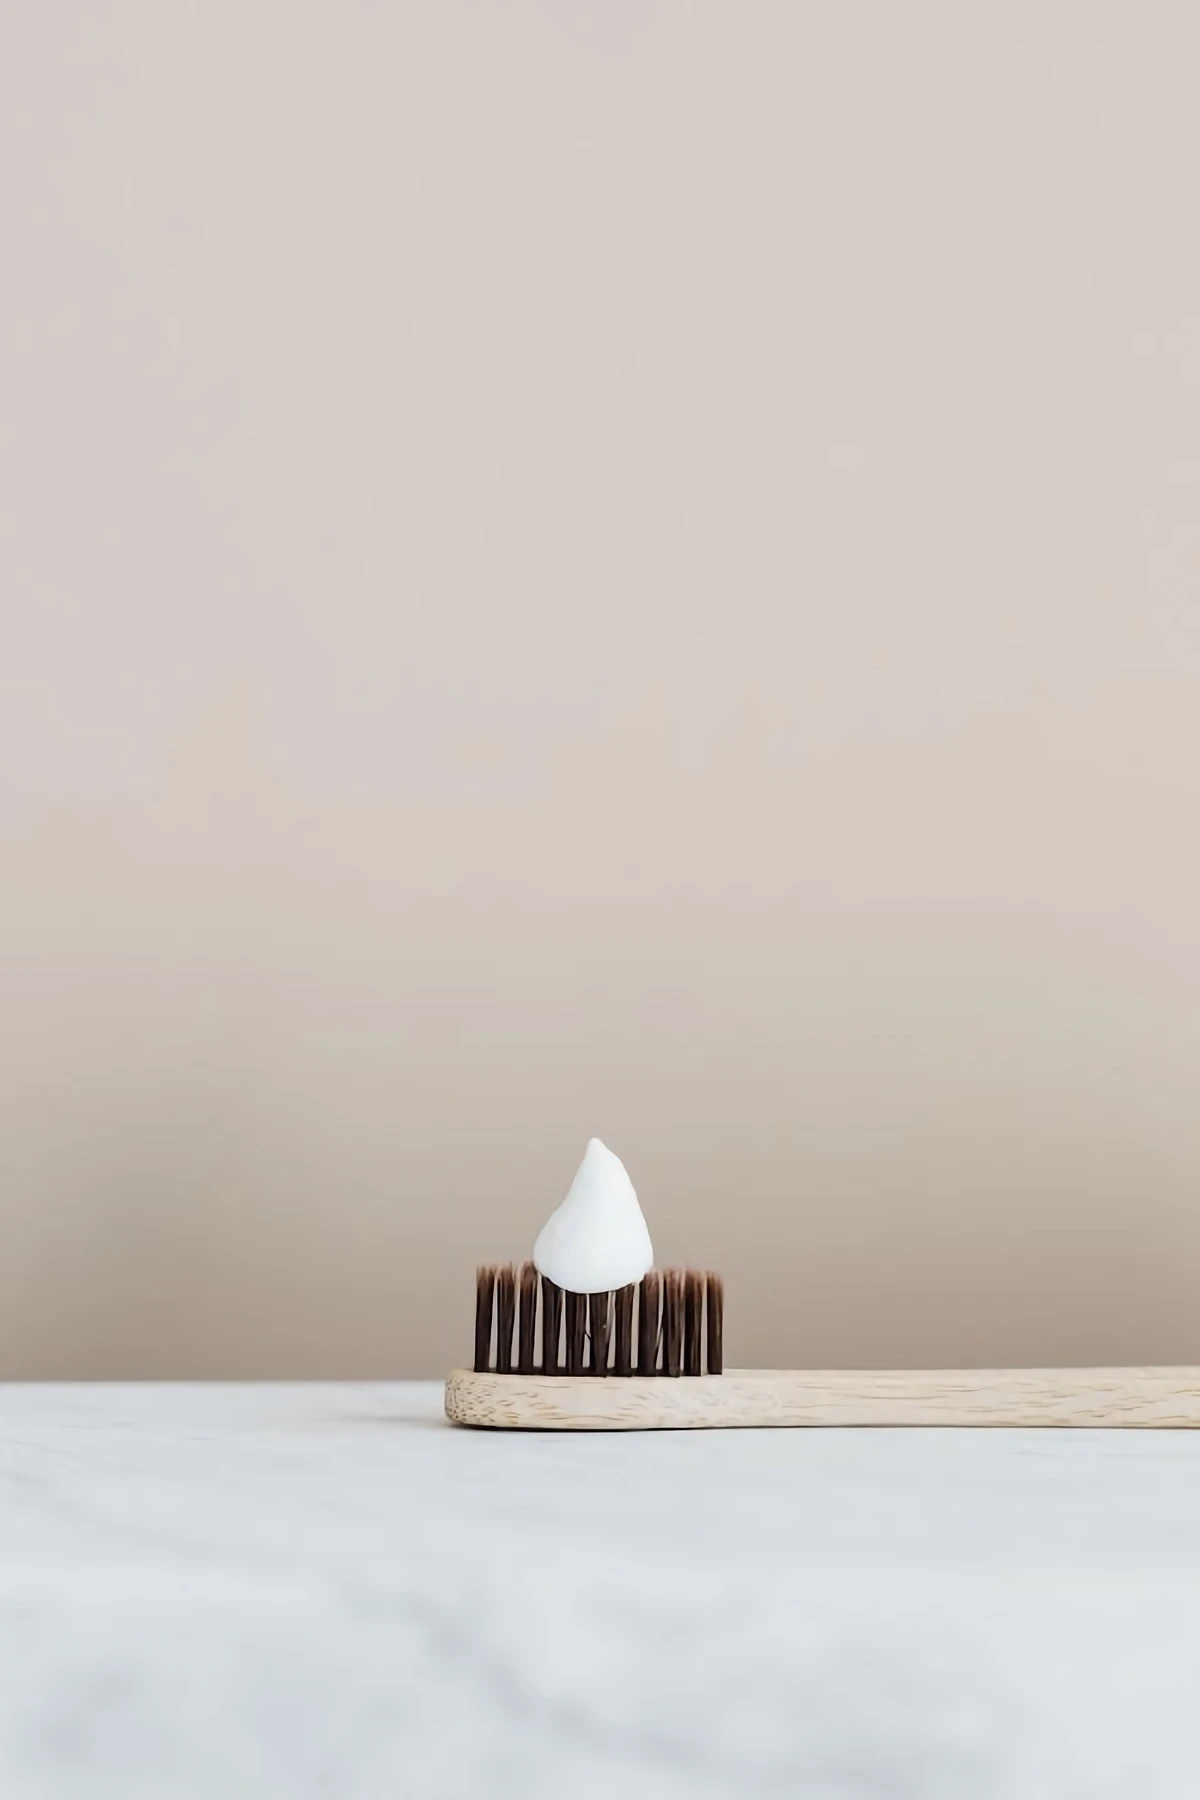
Toothpaste: The
1 Enemy of Silver
Please, I am begging you, never use toothpaste. It’s designed to scrub tough tooth enamel, and its abrasives will cover your soft silver in a network of fine scratches. The only way to fix that is with professional buffing wheels, which removes a significant layer of the silver itself.
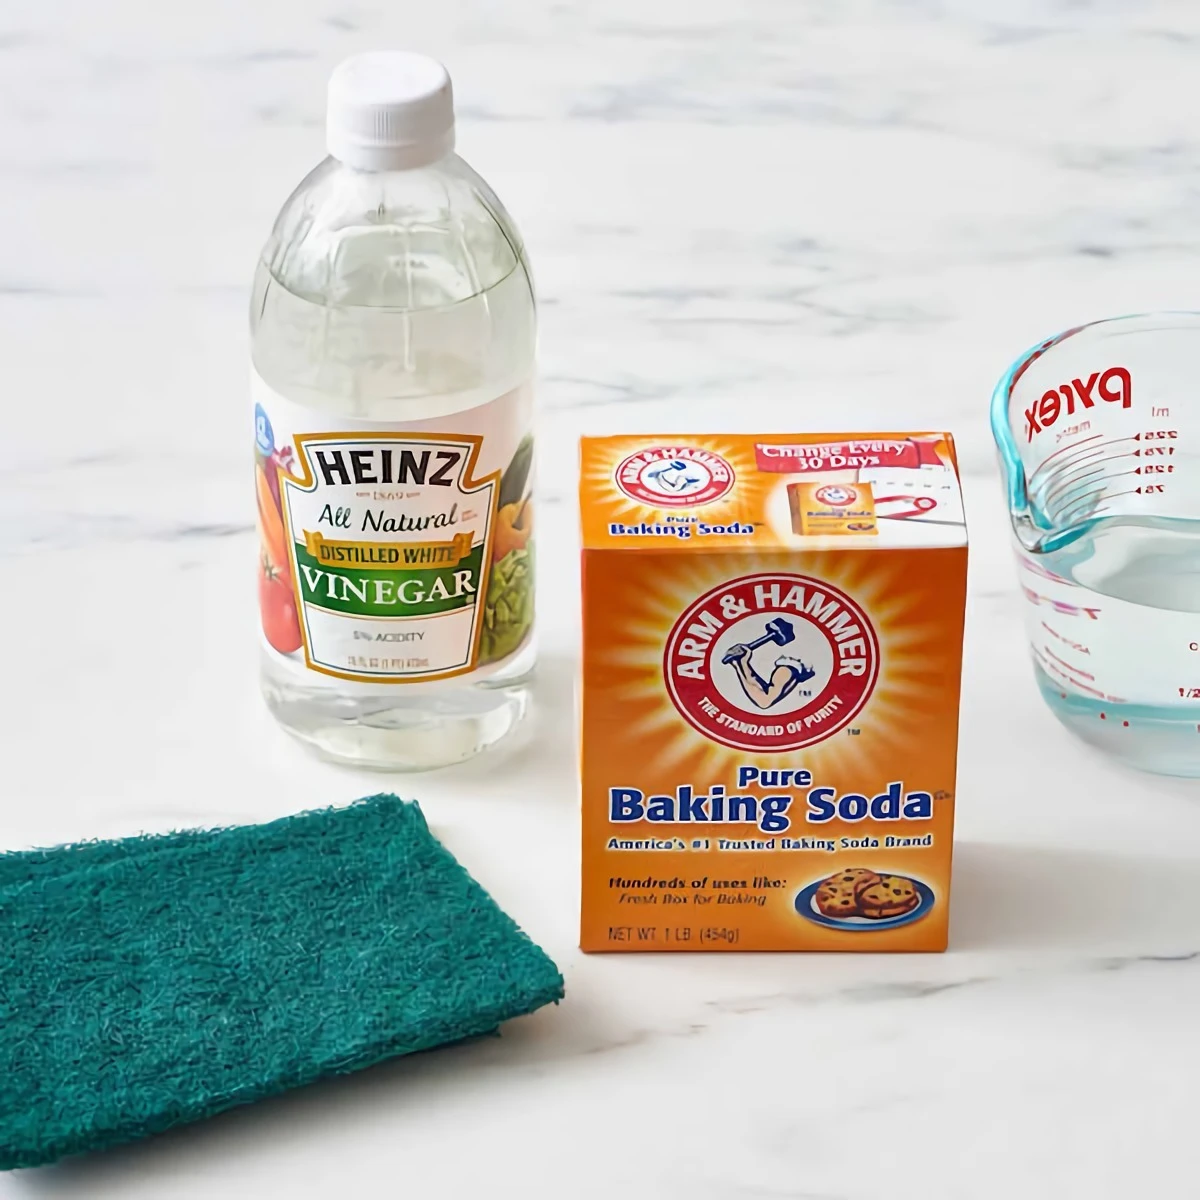
Baking Soda Pastes, Lemon Juice, Ketchup…
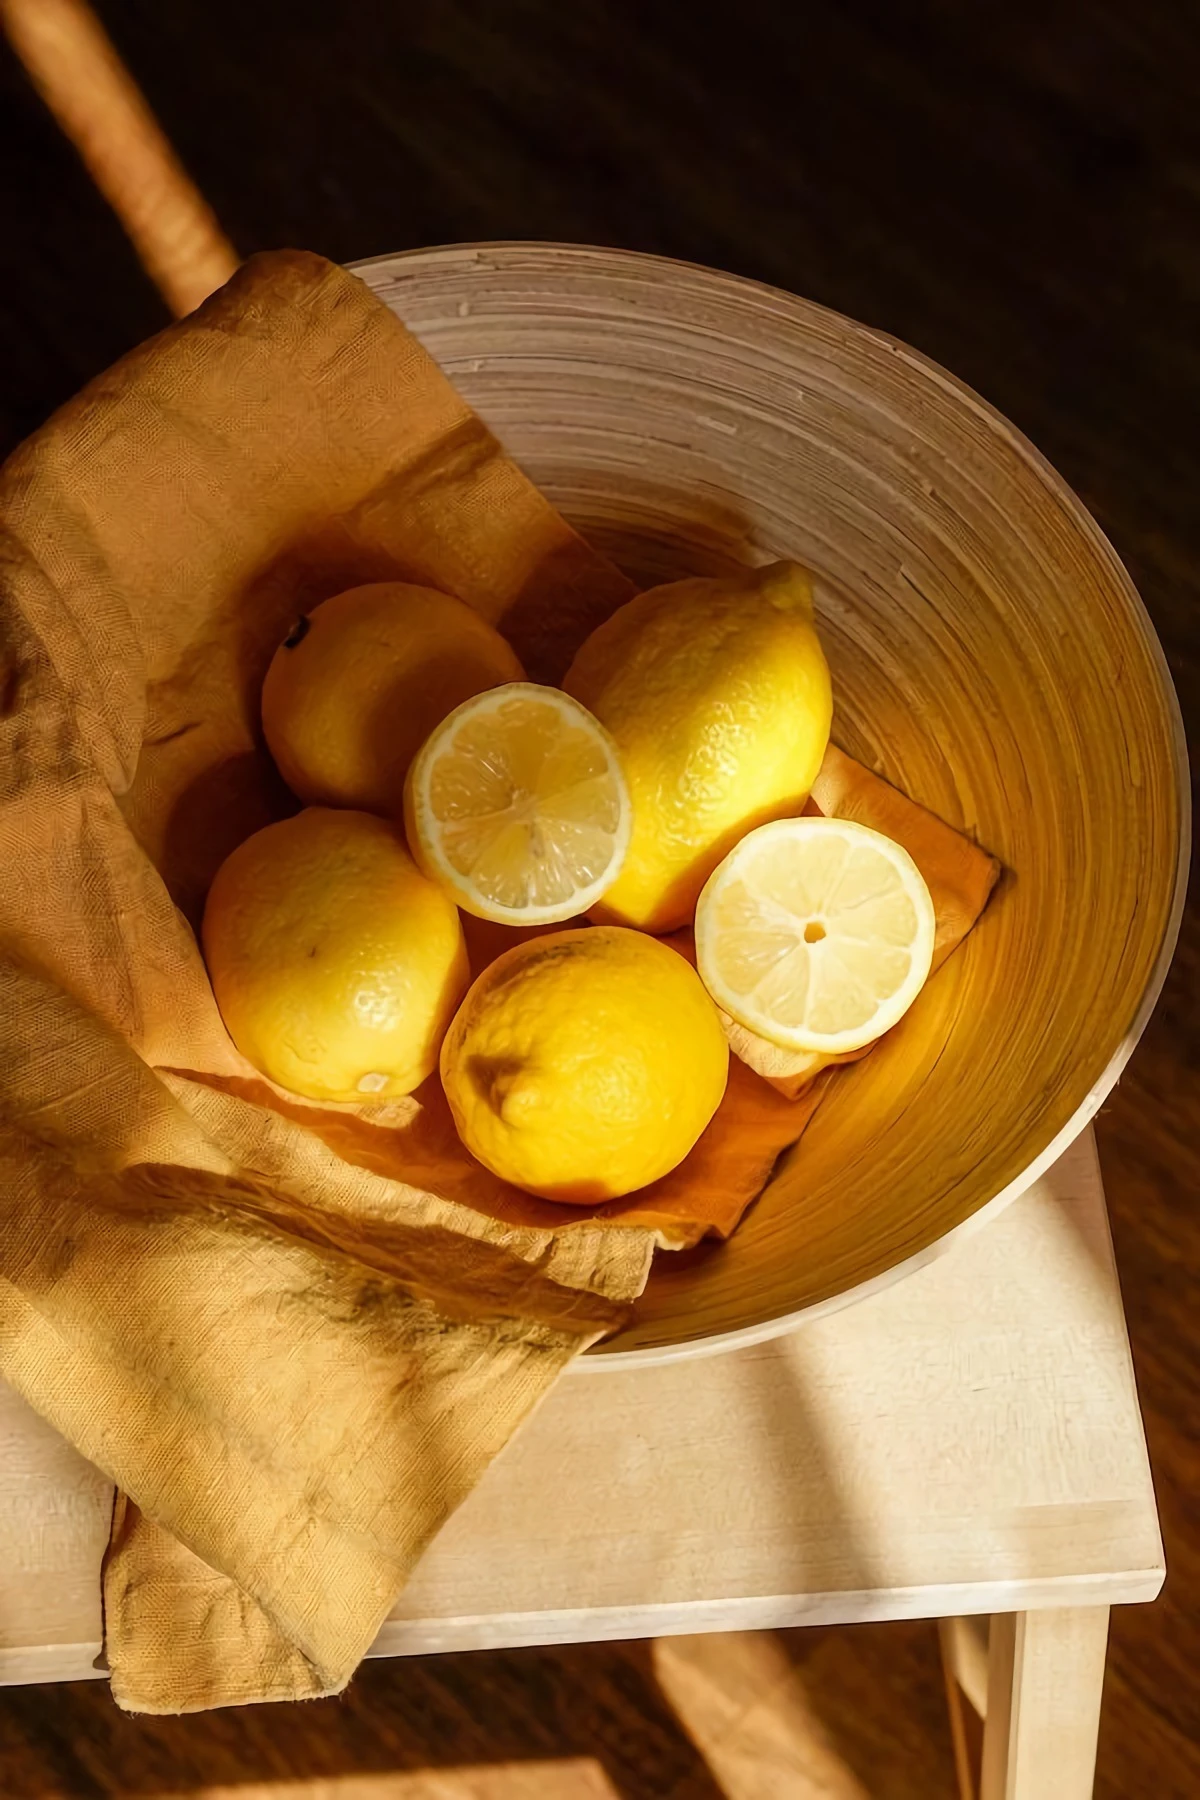
Just don’t. Baking soda is a harsh abrasive with sharp crystals that scratch. Adding an acid like lemon juice or vinegar just creates a fizzy, scratchy, acidic mess. Ketchup is messy, and the acid can damage stones and the metal’s surface. A client once brought me a locket with tiny seed pearls that were completely dissolved by a lemon juice bath she tried. It’s just not worth the risk.
How to Prevent Tarnish in the First Place
Honestly, the easiest way to deal with tarnish is to stop it before it starts. Proper storage is everything.
Store It Right: Wrap clean silver in acid-free tissue paper or, even better, anti-tarnish flannel cloth bags.
Use It! If you have silver flatware, the best thing you can do is use it regularly. The simple act of using it and gently washing it with soap and water afterward is one of the best ways to keep it bright.
Buy Some Strips: For pieces in a display cabinet, buy some 3M Anti-Tarnish Strips. They’re little paper tabs that absorb airborne sulfur. You can get a pack for under $10 online. Toss one in the cabinet and change it every six months. It makes a huge difference.
Quick Win Tip: If you have no time for a full polish, just remember step
7 from above. Simply washing your silver with mild soap and water after you use it will prevent 90% of the heavy tarnish from ever building up.
Knowing When to Call a Pro
If a piece is broken, has loose stones, shows signs of worn plating, or is just too valuable or sentimental to risk, it’s time to call a professional. Don’t be afraid to seek expert advice—I still do for especially rare items.
You can find reputable experts by searching online for professional silversmith guilds or societies in your area. A consultation is a small investment to protect a priceless heirloom. After all, you’re not just cleaning a piece of metal; you’re taking care of a piece of history.
Inspiration:
What’s the secret to keeping silver dinner-party-ready with minimal effort?
It’s all about smart storage. Forget tossing your forks in a drawer. The professional choice is a dedicated chest or drawer lined with a specialized tarnish-preventing fabric. This material, often called Pacific Silvercloth, is embedded with microscopic silver particles that trap airborne sulfur before it can react with your silverware. For individual serving pieces or jewelry, sealable anti-tarnish bags from brands like Hagerty offer the same protection on a smaller scale. This preventative step saves you hours of polishing down the line.
A silversmith’s rule: Toothpaste is for teeth, not treasures.
John combines 12 years of experience in event planning, interior styling, and lifestyle curation. With a degree in Visual Arts from California Institute of the Arts and certifications in event design, he has styled luxury weddings, corporate events, and celebrity celebrations. John believes in creating memorable experiences through innovative design and attention to detail.
To provide the best experiences, we use technologies like cookies to store and/or access device information. Consenting to these technologies will allow us to process data such as browsing behavior or unique IDs on this site. Not consenting or withdrawing consent, may adversely affect certain features and functions.
Functional
Always active
The technical storage or access is strictly necessary for the legitimate purpose of enabling the use of a specific service explicitly requested by the subscriber or user, or for the sole purpose of carrying out the transmission of a communication over an electronic communications network.
Preferences
The technical storage or access is necessary for the legitimate purpose of storing preferences that are not requested by the subscriber or user.
Statistics
The technical storage or access that is used exclusively for statistical purposes.The technical storage or access that is used exclusively for anonymous statistical purposes. Without a subpoena, voluntary compliance on the part of your Internet Service Provider, or additional records from a third party, information stored or retrieved for this purpose alone cannot usually be used to identify you.
Marketing
The technical storage or access is required to create user profiles to send advertising, or to track the user on a website or across several websites for similar marketing purposes.