Your Pandora Bracelet’s Dirty Little Secret (And How to Clean It Safely)
From my time behind the jeweler’s bench, I can tell you that every piece of jewelry has a story. But charm bracelets are different, aren’t they? They aren’t just accessories; they’re wearable scrapbooks of memories, milestones, and inside jokes. I’ve seen them all—fixed them, shined them, and helped people find that one perfect charm. So trust me, I get how important it is to keep them looking amazing. Their real value has nothing to do with the price tag.
In this article
- First, Know What You’re Working With
- The Only At-Home Cleaning Method You Need
- Cleaning vs. Polishing: They Aren’t the Same Thing
- How to Handle Delicate and Special Materials
- Tarnish Prevention: The Best Way to Keep it Clean
- Warning: The Cleaning “Hacks” That Can Ruin Your Jewelry
- When to Skip the DIY and See a Pro
- Inspirational Gallery
So many people come in worried about tarnish or grime, often mentioning some cleaning “hack” they saw online. And honestly, it makes me cringe. Some of that advice can cause irreversible damage. My goal here is simple: to share the professional, safe methods we use in the workshop so you can protect your investment and the memories attached to it.
We’ll cover why your bracelet gets dirty in the first place, the only cleaning method you’ll ever need, and—this is important—what common tricks to avoid at all costs.

First, Know What You’re Working With
Before you even think about cleaning, you have to know what your bracelet is made of. Different materials need different care, and mixing them up is where things can go wrong.
Classic Sterling Silver
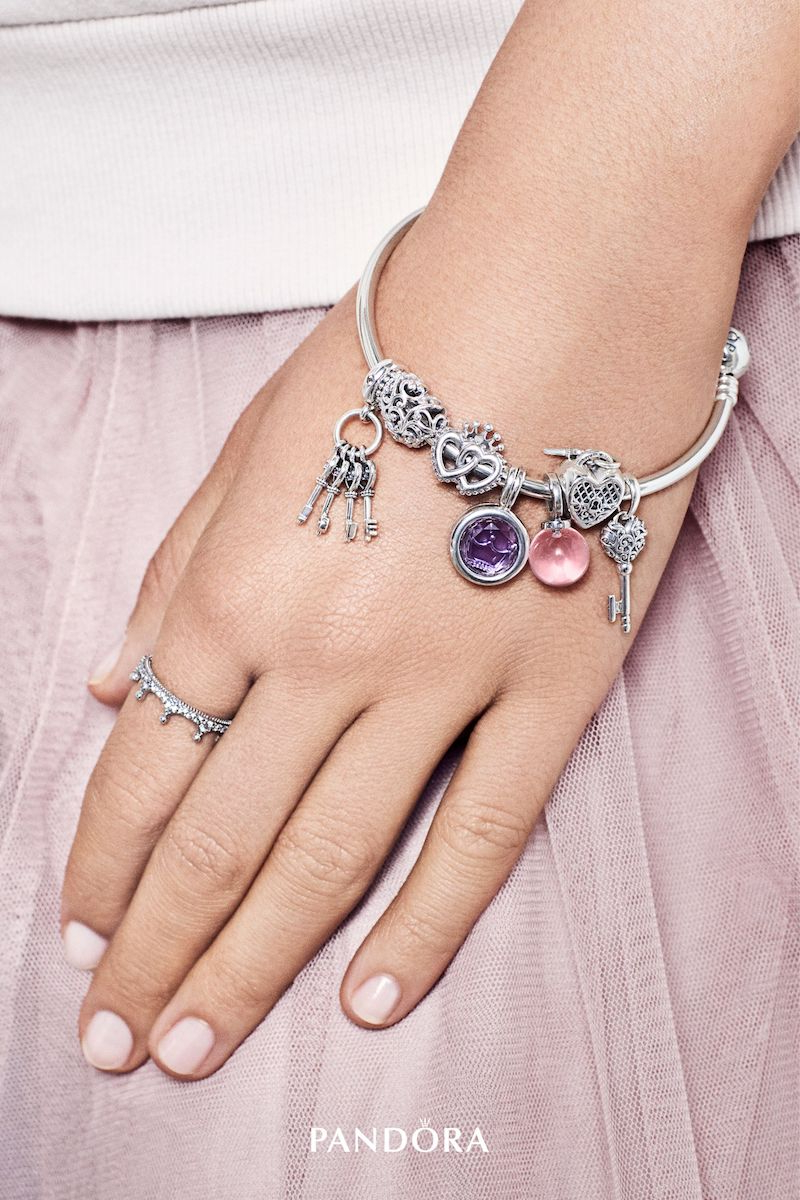
Most of these bracelets and charms are sterling silver. If you squint, you’ll see a tiny “S925” stamp on them. This is the industry standard, meaning the piece is 92.5% pure silver mixed with other metals (usually copper) to make it durable. Pure silver is just too soft for everyday wear.
The biggest challenge with silver is tarnish. Let’s be clear: tarnish isn’t dirt. It’s a chemical reaction. When silver meets sulfur in the air, it creates silver sulfide, which looks black. Things like humidity, pollution, lotions, perfumes, and even your own skin’s oils can speed this up. It’s totally natural.
Heads up! Some charms have intentionally darkened areas to make the details pop. This is a design feature called oxidation. If you get too aggressive with cleaning or polishing, you can scrub this beautiful contrast right off and ruin the look of the charm. Gentle is the name of the game.

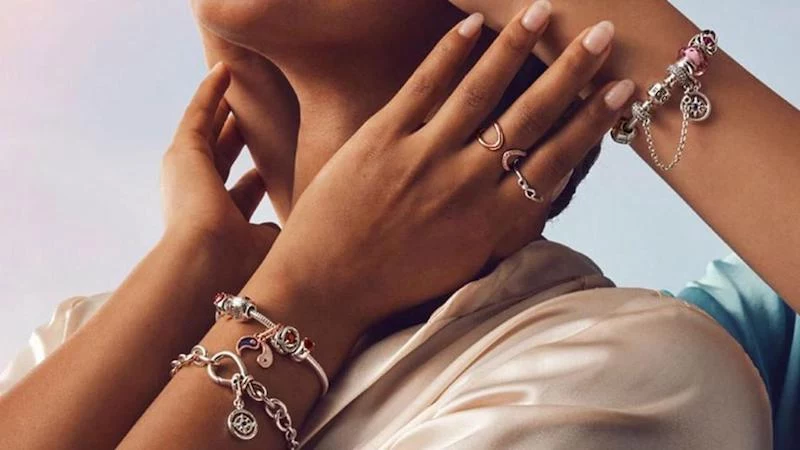
The Plated Beauties: Rose and Shine
Those gorgeous pieces with a warm pink or brilliant gold hue are a little different. They have a core made of a unique metal blend (for the rose) or sterling silver (for the gold) that’s been plated with a thin layer of 14k rose gold or 18k gold. That plating is what you see, but it’s incredibly thin—we’re talking microns.
This means any harsh scrubbing, abrasive materials, or chemical soaks can wear that beautiful layer away, exposing the different-colored metal underneath. Plated jewelry requires the most delicate touch of all.
The Only At-Home Cleaning Method You Need
In the workshop, this is our go-to for pretty much everything. It’s safe, cheap, and uses stuff you probably already have. This whole process should only take you about 15-20 minutes!
Your Pro-Level Cleaning Kit (for under $10!)
- A small bowl. Any clean one will do.
- Lukewarm water. Never hot—it can damage some stones.
- Mild, phosphate-free dish soap. A few drops of original blue Dawn (~$3) is perfect because it cuts through skin oils without being harsh.
- A super-soft brush. A baby toothbrush is ideal. You can find one at any pharmacy for about $2.
- A soft, lint-free cloth. A microfiber or old cotton cloth works great (around $5 for a pack).
The Step-by-Step Guide
- Mix Your Solution: Fill the bowl with lukewarm water and add just a couple of drops of the dish soap. Give it a little swirl to create a gentle, bubbly bath.
- Soak for a Bit: Pop your bracelet and charms in the water and let them soak for 5-10 minutes. This is just to loosen up any surface grime, lotion, or oils. No need to leave it for hours.
- Gentle Brushing: Take the bracelet out and use your baby toothbrush to gently scrub it. Focus on the little nooks and crannies in the charms and around the clasp. You’re just trying to dislodge dirt, not scrub the metal itself. Use very light pressure.
- Rinse Well: Rinse everything under a gentle stream of clean, lukewarm water. Quick tip: Put a small strainer over your sink drain first. It’s a lifesaver if you accidentally drop a charm! Make sure all the soap is gone, or it can leave a dull film.
- Dry Completely: This step is non-negotiable. Lay your jewelry on the soft cloth and gently pat it dry. Don’t rub. Moisture is tarnish’s best friend, so make sure everything is bone dry, especially inside the clasp.
For a bracelet you wear daily, doing this once a month is a great routine. For pieces you only wear on occasion, a cleaning every 3-4 months should be plenty.
Cleaning vs. Polishing: They Aren’t the Same Thing
Okay, this is a super common point of confusion. The soap-and-water bath is for cleaning—it removes dirt, oil, and grime.
Polishing, on the other hand, is for removing tarnish. You do this with a special jewelry polishing cloth, which is usually a two-part system with an inner, treated cloth for removing tarnish and an outer cloth for buffing. You can find these online or at most jewelry counters for $8-$15.
Here’s the breakdown:
- For Sterling Silver: Go ahead and use a polishing cloth, but do it gently! Remember those beautiful oxidized details? A light buff is all you need to restore shine without stripping the character from your charms.
- For Plated Rose and Shine Jewelry:DO NOT use a polishing cloth on these. Ever. The mild abrasives in the cloth will rub the thin gold plating right off over time. The gentle soap-and-water bath is the only safe way to care for them at home.
How to Handle Delicate and Special Materials
What about those other bracelet types? They need a completely different approach. Absolutely no soaking!
- Leather & Fabric Bracelets: These are organic materials. Simply wipe them with a clean, soft, slightly damp cloth to remove surface dirt. Don’t use any soap or chemicals, and let them air dry completely before wearing.
- Pearls & Enamel Charms: Both of these are sensitive. After cleaning your main bracelet, you can wipe these charms with a separate, damp cloth. Avoid soap and brushes. Pearls are especially porous and can be damaged by chemicals.
Tarnish Prevention: The Best Way to Keep it Clean
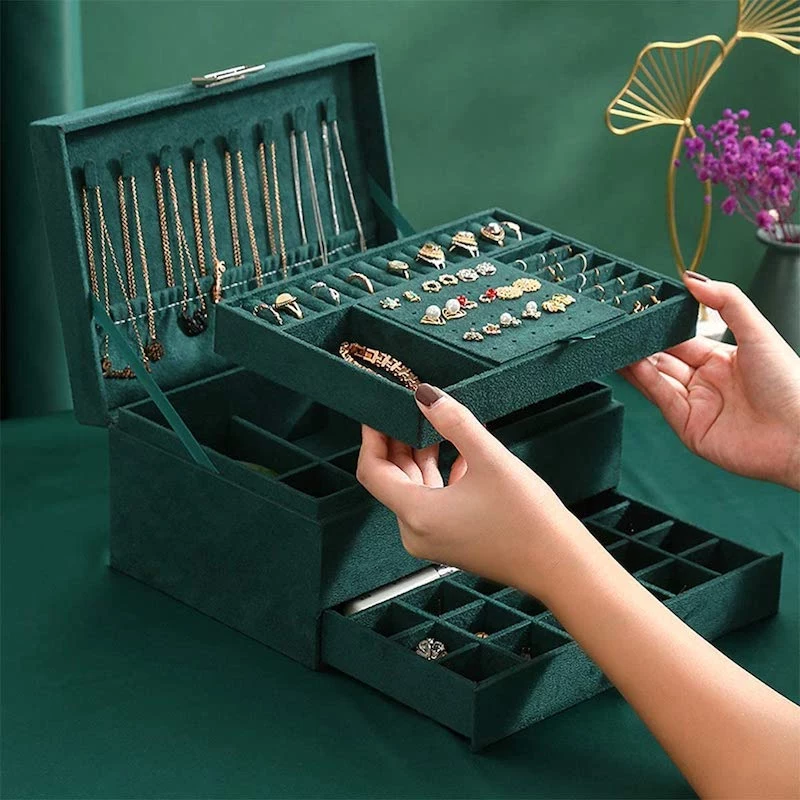
Want to clean less often? It all comes down to storage. Tarnish happens because of exposure to air and humidity. The easiest way to fight it is to limit that exposure.
When you’re not wearing your bracelet, store it in an anti-tarnish pouch or a small, airtight ziplock bag. Seriously, a simple plastic baggie with the air squeezed out works wonders. Storing it this way can slow down the tarnishing process by months. Keeping it out on a dresser is pretty much a guaranteed way to make it tarnish faster.
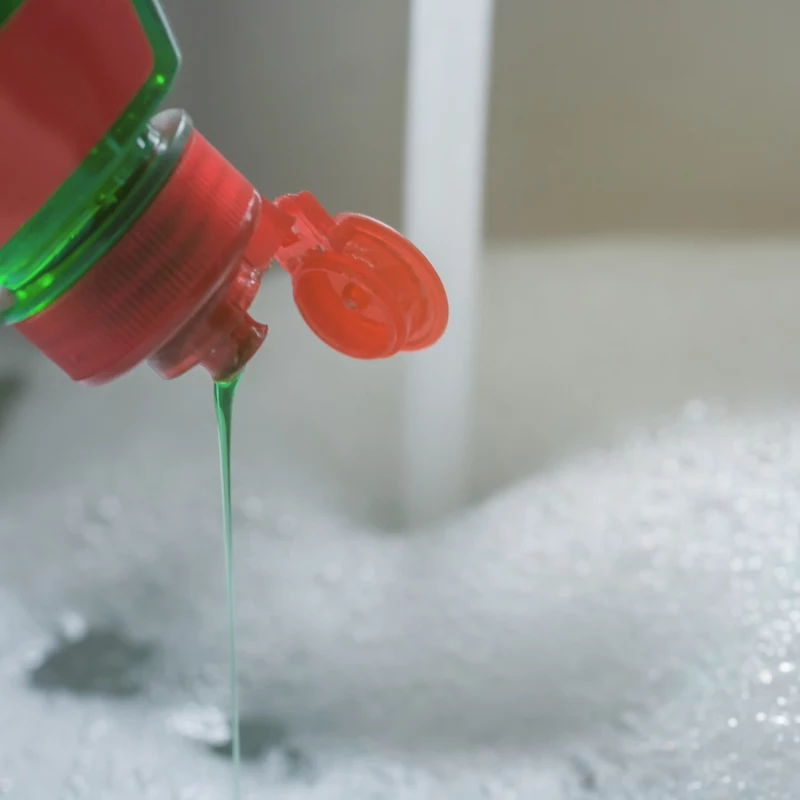
Warning: The Cleaning “Hacks” That Can Ruin Your Jewelry
Please, I’m begging you, stay away from the DIY cleaning recipes you see online. They are way too harsh for fine jewelry.
From my experience, here are the worst offenders:
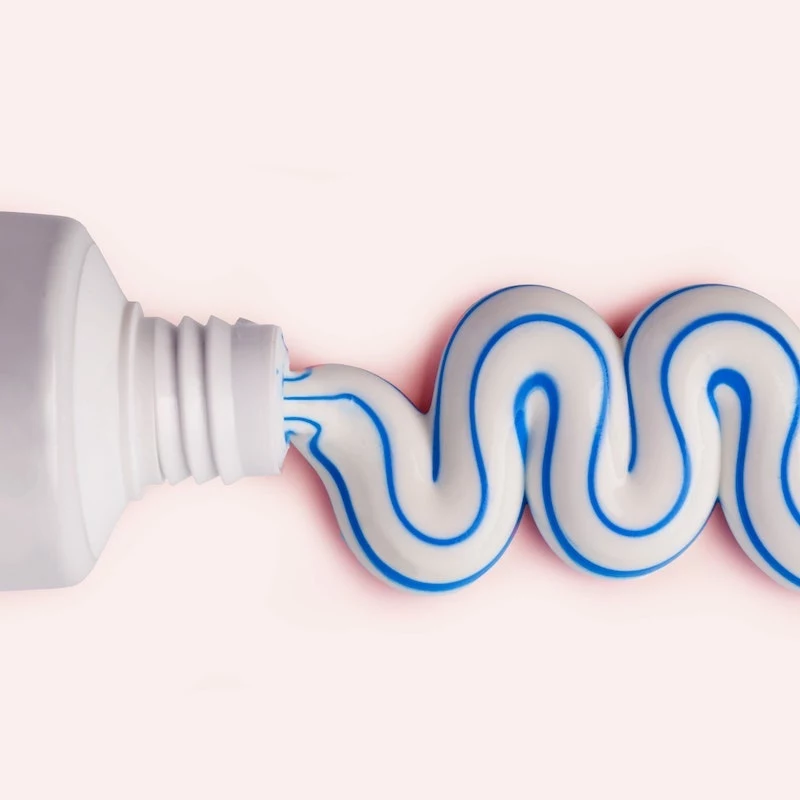
- Toothpaste: It’s designed to be abrasive to scrub your teeth. It will leave thousands of tiny scratches all over your silver, dulling its finish permanently.
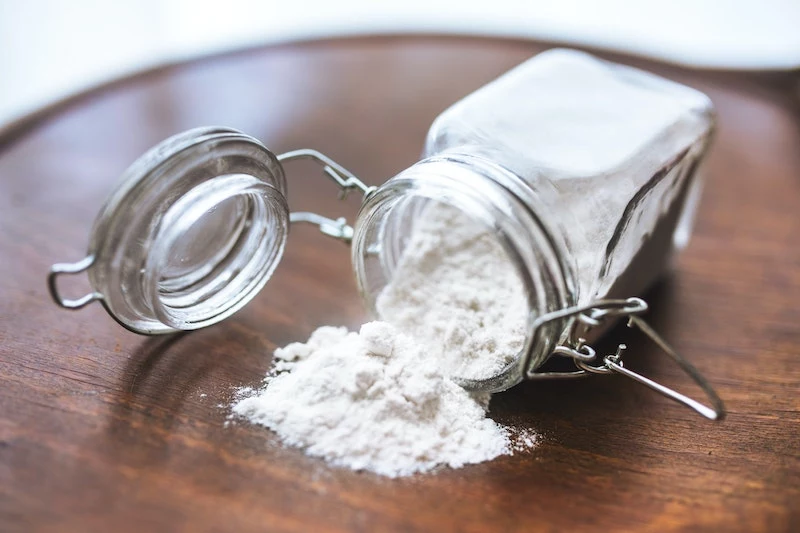
- Baking Soda Paste: Just like toothpaste, this is way too abrasive. It will scratch silver and can strip the plating off Rose and Shine pieces in a heartbeat.
- Chemical Silver Dips: These are the absolute worst. I once had a customer bring in a bracelet she’d put in a silver dip. The charm came out looking flat, sterile, and lifeless because the dip had stripped off all the beautiful, intentional dark details. It ruined the piece. Stick to soap and water—it’s gentle and it works.
When to Skip the DIY and See a Pro
Sometimes, you just need a professional. Don’t try to be a hero if you run into these issues. Take it to a reputable local jeweler.
- Deep scratches or gouges in the metal.
- A broken or faulty clasp.
- A gemstone that feels loose in its setting.
- Extremely heavy, stubborn tarnish that a polishing cloth won’t fix.
A professional cleaning and polish at a jeweler can work wonders, and it’s usually not too expensive—often between $25 and $50. It’s worth it for peace of mind and to keep your memories safe and sparkling.
Inspirational Gallery
How do I safely clean charms with delicate details like enamel or Murano glass?
This is a common concern, and caution is key. While Pandora’s official mild cleaning solution is designed to be safe for all their materials, you should adapt your technique. Use only lukewarm (never hot) water and a very soft-bristled brush, like a child’s toothbrush. Gently dab and swirl around the enamel or glass parts rather than scrubbing. The goal is to lift grime without risking chipping or scratching these artistic features. Always rinse thoroughly with clean water and pat completely dry with a soft cloth.
More than 90% of jewelry repair issues, aside from accidental breakage, stem from improper cleaning or long-term exposure to chemicals found in everyday cosmetics.
This highlights why your daily routine matters as much as periodic cleaning. Make your Pandora bracelet the last thing you put on after lotions, perfumes, and hairspray have settled, and the first thing you take off before showering or swimming. This simple habit dramatically reduces chemical buildup and tarnish.
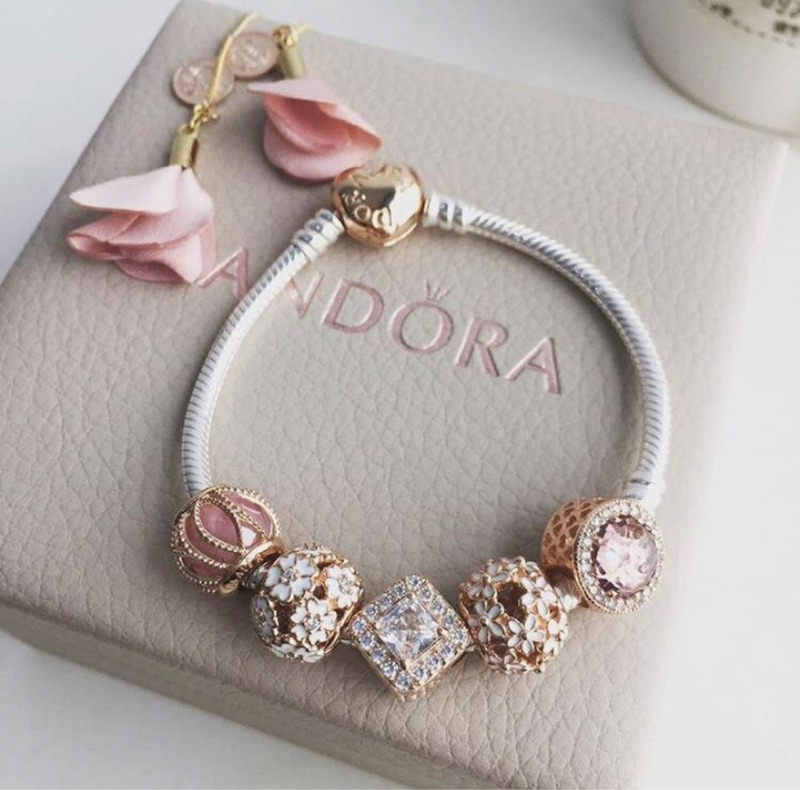
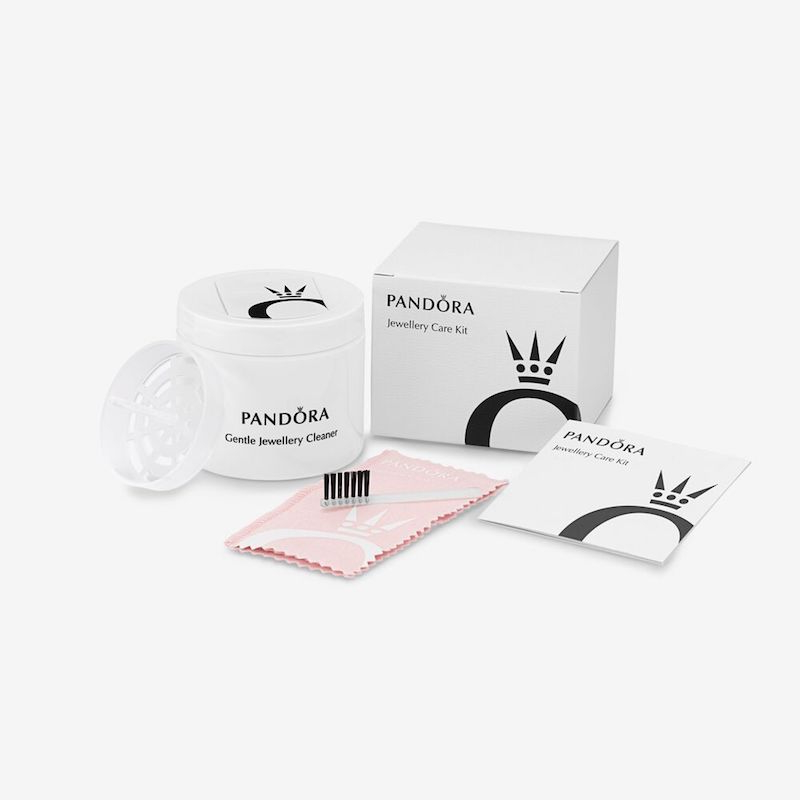
Pandora Polishing Cloth: Designed specifically for their jewelry, this two-part cloth is foolproof. The white side, impregnated with a gentle cleaning agent, is for polishing the sterling silver or 14k gold. The pink side is untreated and perfect for buffing plated pieces like Pandora Rose and Shine without stripping the finish.
Professional Jeweler’s Cloth (e.g., Sunshine® Cloth): These are industry-standard cloths that are more potent, embedded with micro-abrasives. They work wonders on heavily tarnished sterling silver but can be too aggressive for plated jewelry if used with pressure. Reserve for silver-only pieces that need extra help.
There’s a quiet satisfaction in the ritual of caring for your bracelet. As you gently buff each charm, you’re not just removing grime, you’re revisiting a memory—the graduation, the trip abroad, the inside joke it represents. It’s a five-minute act of mindfulness that reconnects you with your own story, making your bracelet shine from the inside out.
- Your charms will stay brighter for much longer.
- You’ll drastically reduce the frequency of deep cleanings.
- The delicate clasp and threads are protected from dust and damage.
The secret? Proper storage. When you’re not wearing it, keep your bracelet in a lined, anti-tarnish jewelry box or even its original Pandora fabric-lined pouch. The worst place for it is on a bathroom counter, where humidity accelerates the tarnishing process.
Warning: These household items are jewelry’s worst enemies. Despite what internet hacks suggest, never use toothpaste (it’s abrasive and can scratch), baking soda pastes (too harsh for plated finishes and can get stuck in crevices), or any kind of bleach or chlorine-based cleaner. These can cause irreversible pitting and discoloration, especially to sterling silver and plated metals.
A tangled chain or a scratched charm is the last thing you want from a vacation. To travel smart with your Pandora bracelet:
- Use a dedicated travel jewelry roll with individual compartments to prevent charms from knocking against each other.
- For a quick DIY solution, you can thread the bracelet through a sturdy drinking straw and fasten the clasp to keep the chain from kinking.
- Always pack it in your carry-on luggage, never in your checked bag.


