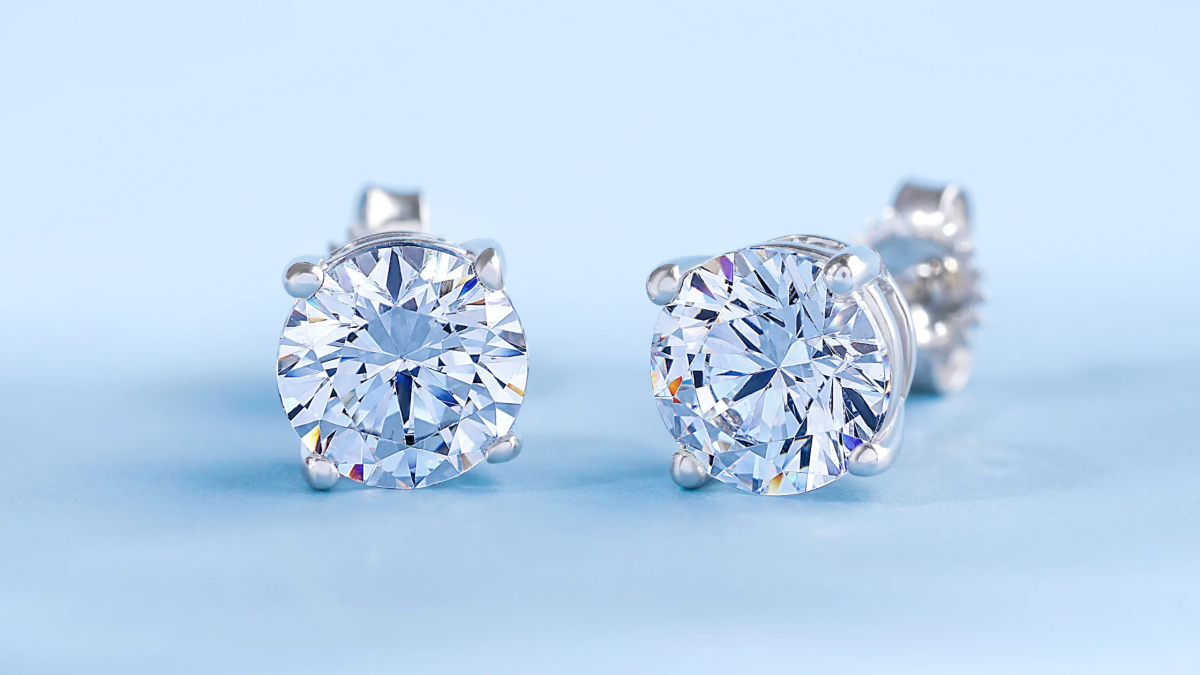
Your Diamond Earrings Look Dull? Here’s How to Make Them Sparkle Again
After years spent working at a jeweler’s bench, I can tell you the one piece of jewelry that loses its magic the fastest: diamond earrings. It’s not your fault! It’s just life. Think about it—hairspray, face lotion, your skin’s natural oils, and everyday dust all conspire to create a thin, grimy film over the stones. And when light can’t get in and out properly, that brilliant sparkle you love just disappears.
In this article
- Why That Sparkle Fades (A Quick Science-Free Explanation)
- Your At-Home Pro Cleaning Kit (For Under $25)
- The Jeweler’s Step-by-Step Soaking Method
- When a Soak Isn’t Enough: Advanced Options
- A Quick Word on Metals and Other Gemstones
- The Jeweler’s Blacklist: NEVER Use These
- The Annual Pro Check-Up: Your Best Investment
- Galerie d’inspiration
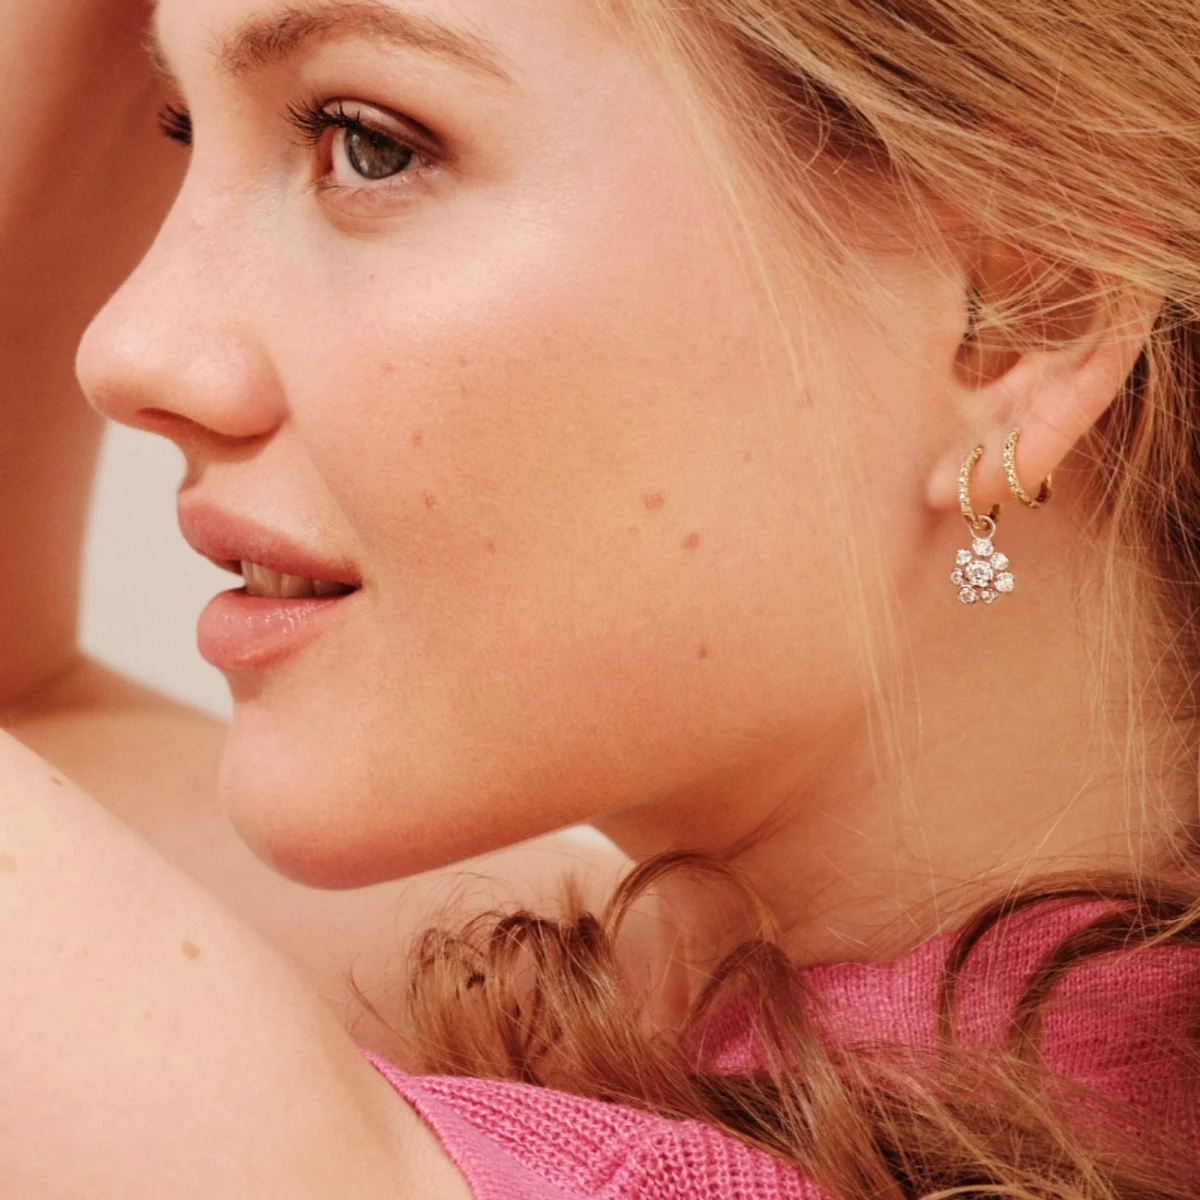
A diamond’s whole job is to play with light. I wish I could show you a before-and-after picture, but just imagine the difference between a dusty car windshield and one that’s been freshly cleaned. That’s the kind of incredible pop we’re going for.
Now, everyone knows diamonds are tough—they’re the hardest natural thing on the planet. But their sparkle is surprisingly easy to mess up. While cleaning them isn’t rocket science, doing it safely is what really matters. The internet is full of weird cleaning hacks, and frankly, some of them can permanently damage the gold or platinum settings holding your precious stones. So, let’s skip the myths and get right to the trade-secret method that keeps your jewelry safe and sparkling.
Why That Sparkle Fades (A Quick Science-Free Explanation)
Here’s the deal: a diamond doesn’t make light, it just bends it in the most spectacular way. Light goes in the top, bounces around a series of perfectly angled internal mirrors (called facets), and shoots right back out at your eye. This is what creates that intense fire and brilliance.
The problem is that diamonds are basically oil magnets. The technical term is oleophilic, which just means they love to attract and hold onto grease. When a layer of oil from your skin or products coats the diamond, it smothers the light. Instead of crisp, clean rays bouncing around inside, the light gets fuzzy and weak. A lot of it just leaks out the back of the stone, never making it to your eye. This is why cleaning the back of the diamond is just as important as the front!
Your At-Home Pro Cleaning Kit (For Under $25)
You don’t need fancy equipment to get a professional-level clean. The key is using the right stuff, which is where most people go wrong. You can build this entire kit for less than $25, and you probably have some of it already.
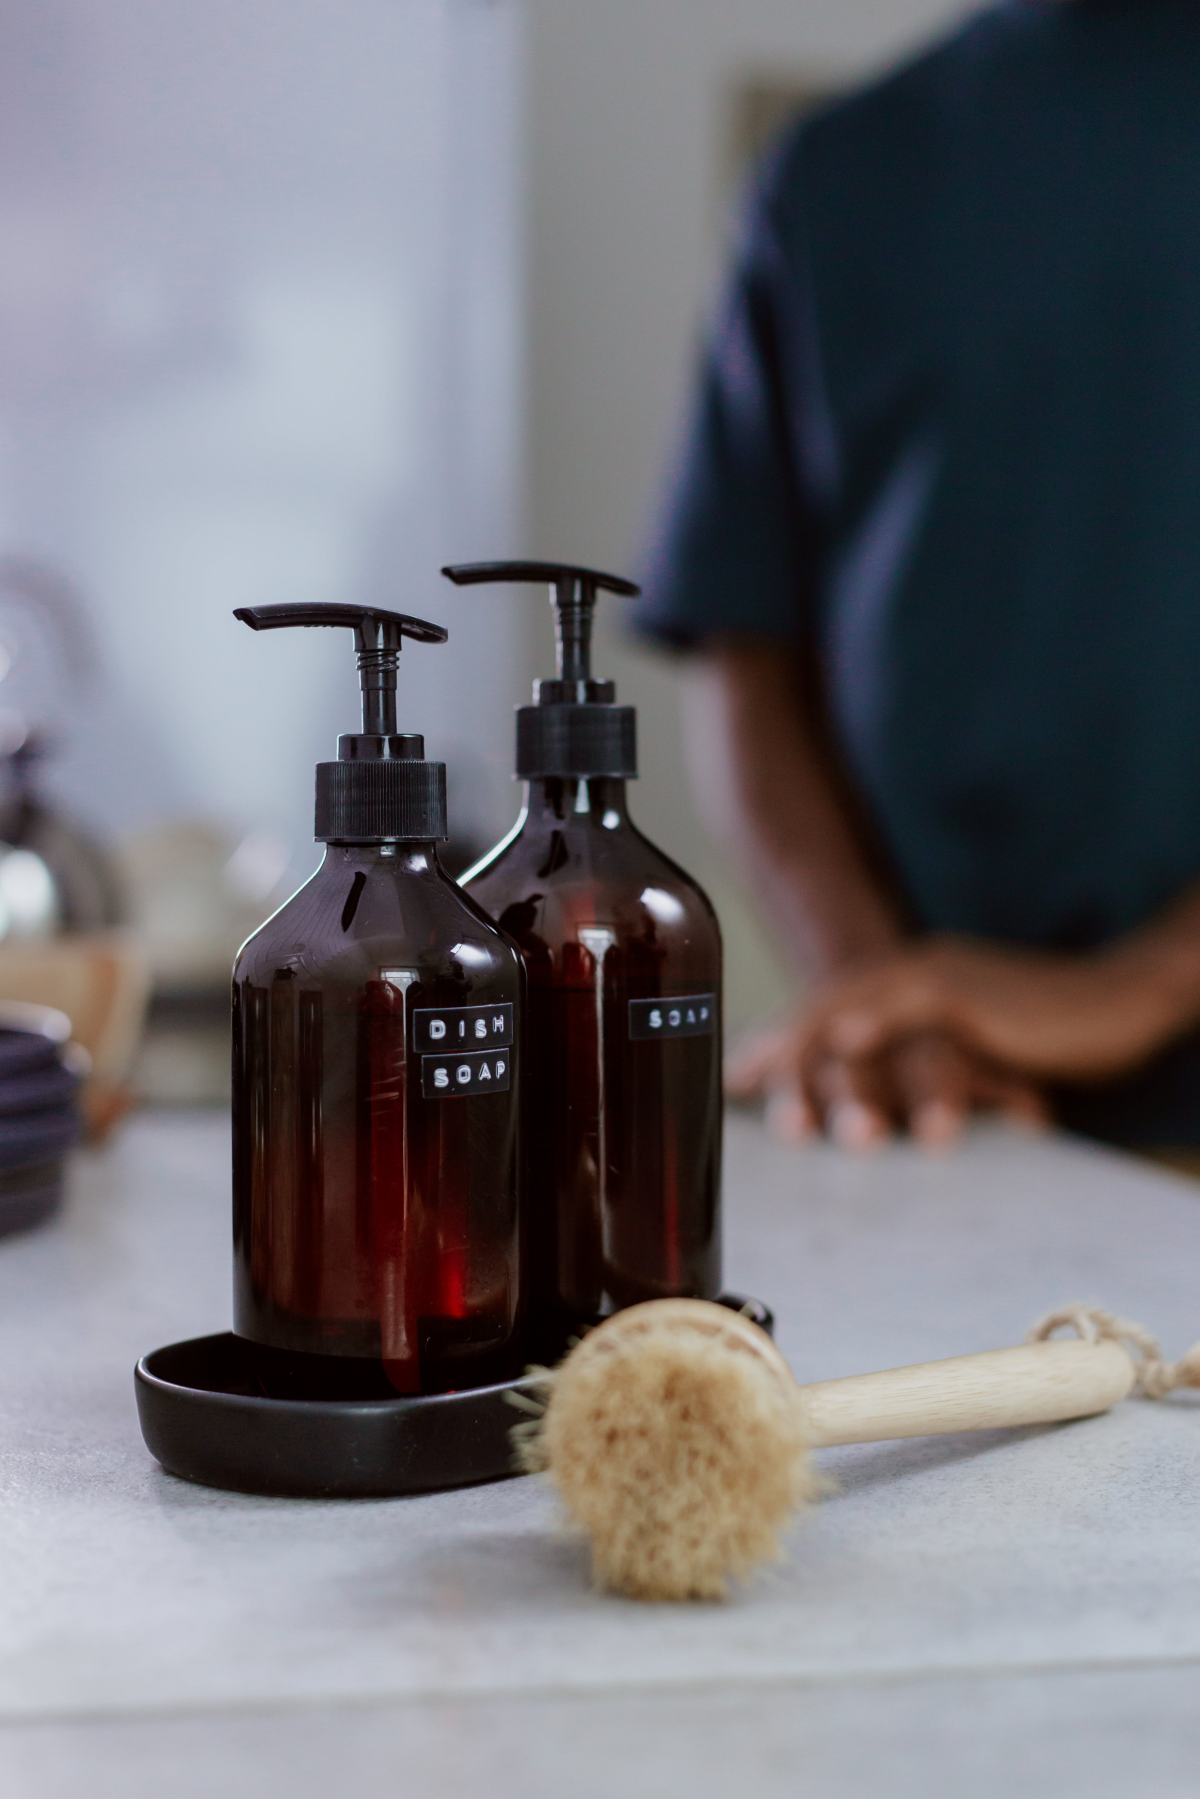
- The Cleaner: Mild Dish Soap. The trade secret is original blue Dawn. Its formula is amazing at breaking down oils without being harsh. Avoid anything with moisturizers, fragrances, or dyes. A big bottle is maybe $3-$4.
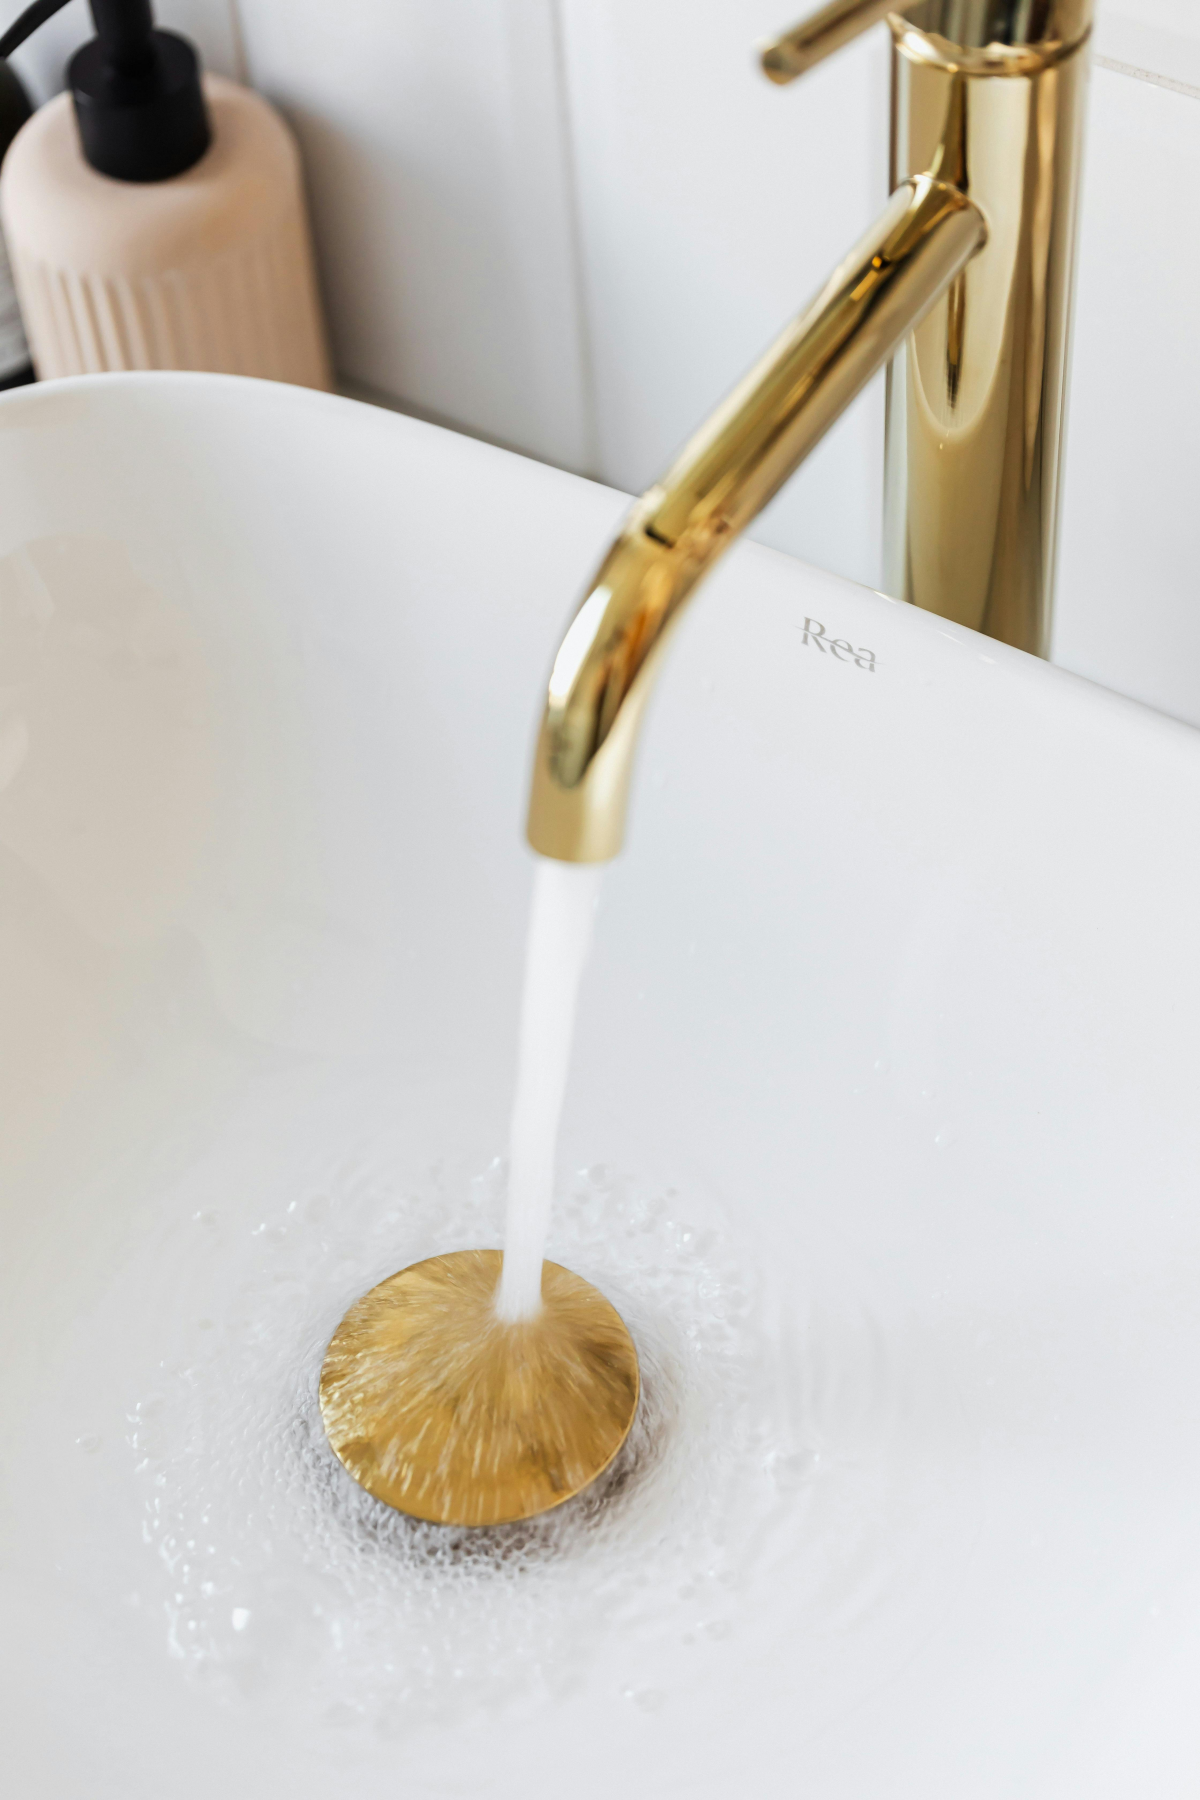
- The Water: Warm & Distilled. Use warm, not hot, water to avoid any risk of thermal shock to the stone. And if you have hard tap water, using distilled water is a pro move. It costs about $2 a gallon and prevents the mineral film that tap water can leave behind, which would undo all your hard work.
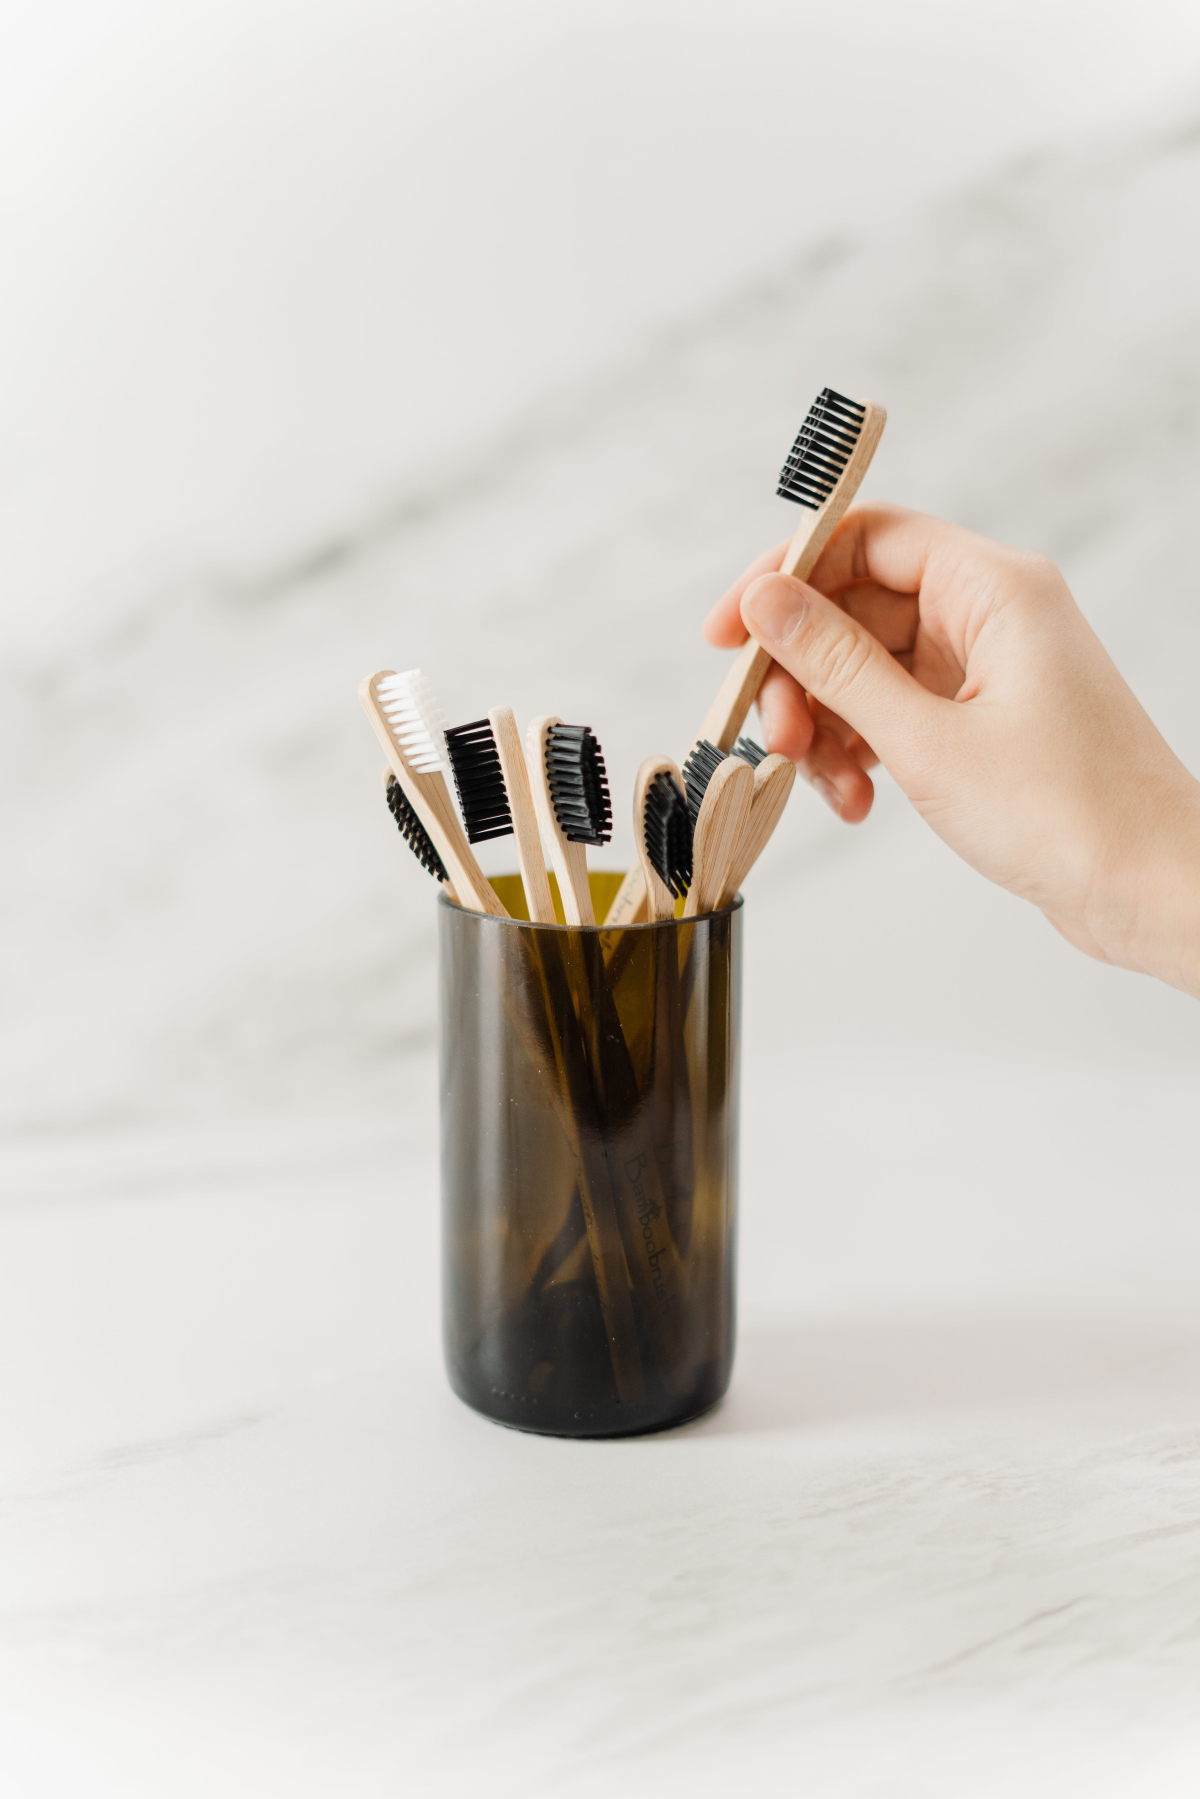
- The Brush: Baby-Soft Bristles. This is critical. You need an ultra-soft brush. A new baby toothbrush is perfect and costs around $3-$5. NEVER use a regular adult toothbrush; the bristles are too stiff and can scratch the metal over time, especially white gold.
- The Bowl: Glass or Ceramic. Just a small bowl. Don’t use a metal one—it’s too easy to scrape a prong and scratch the setting.
- The Safety Net: A Tea Strainer. This is your non-negotiable insurance policy. A small, fine-mesh tea strainer, which you can get for $5-$10, will prevent a very expensive accident. I’ve heard too many horror stories of earrings lost down the drain.
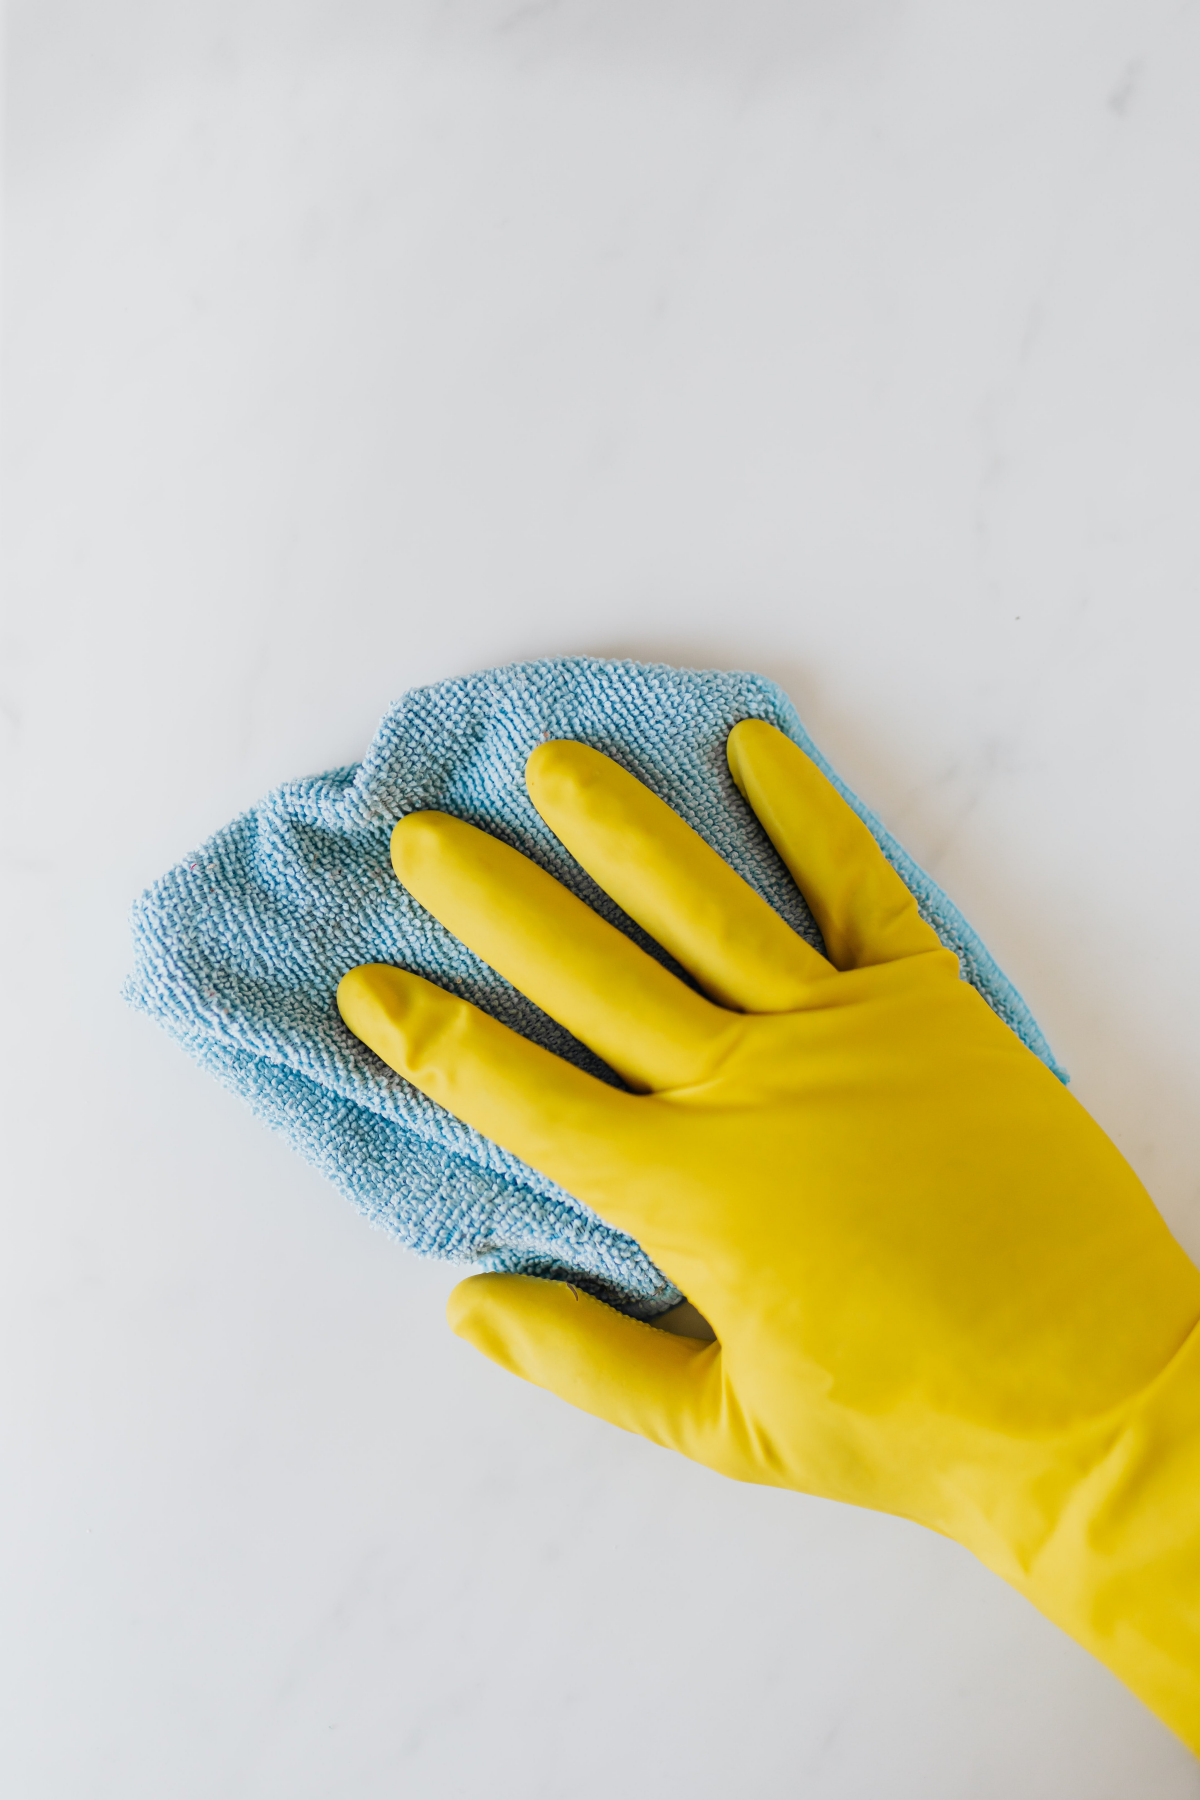
- The Drying Cloth: Lint-Free. A dedicated jewelry polishing cloth or a high-quality microfiber cloth (like for glasses) is ideal. A clean, old, 100% cotton t-shirt also works. Absolutely no paper towels or tissues—they shred and leave fibers caught in the prongs.
The Jeweler’s Step-by-Step Soaking Method
This is the gold standard for safe, effective cleaning. Plan to do this every few weeks to keep your earrings looking their best. Give yourself about 30-45 minutes so you’re not rushing.
Heads up! SAFETY FIRST! Before you do anything else, remember these two rules:
1. Check for loose stones. Gently tap the earring near your ear. Hear a tiny rattle? Use a wooden toothpick (never metal!) to gently press on the diamond. If it wiggles at all, STOP. The prongs need to be tightened by a jeweler. Cleaning a loose stone is the fastest way to lose it.
2. NEVER clean over an open drain. Seriously. Put the sink stopper in, use your tea strainer, or work with two bowls far away from the sink.
Okay, let’s get started.
Step 1: Prep the Soaking Solution
In your glass bowl, pour about a cup of warm distilled water. Add just two or three drops of the dish soap and give it a gentle swirl. You want a soapy solution, not a mountain of bubbles.
Step 2: The Soak (15-30 Minutes)
Carefully place your earrings in the solution and let them soak. If they’re just a little dull, 15 minutes is fine. If they’re really grimy, give them a full 30 minutes. This does all the heavy lifting for you, gently breaking down that oily film.
Step 3: Gentle, Smart Brushing
Take one earring out and place it in your palm. Dip your baby toothbrush in the soapy water. Now, you’re not scrubbing a floor; you’re just dislodging the loosened grime. Use light, circular motions. The most important spot is underneath the diamond and inside the setting (we call this the gallery). That’s where 90% of the gunk hides. Gently brush the back of the stone, around the prongs, and then give the top a quick pass.
Step 4: The Safe Rinse
Place your tea strainer in the sink drain and put your earring inside it. Rinse it thoroughly under a gentle stream of warm water. Roll it around to make sure you get all the soap off, otherwise it will dry to a dull film.
Step 5: Pat and Air Dry
Place the earring on your lint-free cloth and gently pat it dry. Don’t rub! You could snag a prong. Let it air dry the rest of the way for about 15 minutes to make sure no water is trapped in the tiny crevices.
In a Rush? The 5-Minute Pre-Party Polish
Okay, so sometimes you don’t have 30 minutes. If you’re heading out the door and notice your earrings look a bit sad, here’s a quick-and-dirty fix. Dip your soft brush in a bit of the soap solution and give the front and, most importantly, the back of the diamond a quick, gentle scrub for about 30 seconds. Rinse it carefully in your cupped hand (with the drain CLOSED!) and pat dry with a lint-free cloth. It won’t be as deep a clean, but it will restore a lot of sparkle in a pinch.
When a Soak Isn’t Enough: Advanced Options
If it’s been a while, you might need something more powerful. Here’s a quick rundown of the next-level methods, but proceed with caution.
The first option is a home ultrasonic cleaner. These gadgets use high-frequency vibrations to create tiny bubbles that implode against the jewelry, blasting dirt from every nook and cranny. This is great for deep, stubborn grime. However, the vibrations can be risky. DO NOT use an ultrasonic on pavé settings (those with lots of tiny diamonds), as it’s famous for shaking them loose. And here’s the big one: if you don’t have the original grading report for your diamonds or you inherited them, just stick to the soap soak. If a stone has major internal flaws, the vibrations could potentially damage it. It’s just not worth the risk.
The second option is an ammonia-based solution. This is an old-school trick for cutting through serious grease. A quick 10-minute soak in a solution of one part clear ammonia to six parts water can work wonders. The risk here is chemical. You need good ventilation, and you should never use it on certain metals or any jewelry with an antiqued finish. It’s generally safe for platinum and 14k or 18k gold, but it’s a harsh chemical that demands respect.
A Quick Word on Metals and Other Gemstones
Your earring’s metal matters. Platinum is a beast—it’s super durable and all these methods are safe. Gold (in all its colors) is softer, so a gentle touch is key. For white gold, remember it’s plated with a bright white metal called rhodium. Abrasive brushing will wear that plating away, revealing the slightly yellowish gold underneath, which then needs to be replated by a jeweler.
Oh yeah, and what if your earrings have other gems? Good news: if they’re accented with other tough stones like sapphires or rubies, these cleaning methods are perfectly safe. But if they feature softer, more porous stones like emeralds, opals, tanzanite, or pearls—STOP. Those require very specific care, and it’s best to leave them to a pro.
The Jeweler’s Blacklist: NEVER Use These
I’ve seen some real damage from bad advice. To protect your jewelry, please promise me you’ll never let these things anywhere near your diamond earrings:
- Harsh Chemicals: Bleach, acetone, and chlorine will destroy your jewelry. Chlorine, especially, can make gold prongs brittle enough to snap off without warning.
- Abrasives: Toothpaste, baking soda, and powdered cleansers will absolutely scratch and dull the beautiful finish on your gold or platinum settings.
- Weird Kitchen Hacks: Ketchup, beer, vinegar… just don’t. They’re ineffective and can leave a sticky residue that just attracts more dirt.
- Boiling Water: The extreme temperature shock can actually cause a diamond to fracture if it has certain types of internal flaws.
The Annual Pro Check-Up: Your Best Investment
No matter how well you clean your earrings at home, you should take them to a trusted jeweler once a year. Think of it as preventative care. We have tools you don’t, like high-pressure steamers that blast away every last bit of film and microscopes to inspect the prongs for wear and tear.
Many jewelers offer this as a complimentary service. If they do charge, a fair price for a professional steam clean and a full security inspection is usually between $25 and $50. Honestly, it’s a small price for the peace of mind. A five-minute inspection can spot a cracked prong and save a priceless heirloom from being lost forever.

Your diamond earrings are more than just accessories; they’re symbols of important moments. Taking a little time to care for them is a small act that keeps them, and the memories they represent, shining bright.
Galerie d’inspiration
- They remain brilliant for weeks, not days.
- The gold or platinum setting is protected from accidental scratches.
- You’ll never have to frantically search for a lost earring back again.
The secret isn’t just cleaning; it’s smart storage. After each wear, give your earrings a quick wipe with a microfiber cloth and place them in a fabric-lined jewelry box with dedicated compartments. Tossing them onto a hard nightstand or into a shared dish is the fastest way to invite dust and micro-scratches, dulling both the diamond and the metal.


