How to Clean Construction Dust Like a Pro (Because Your Shop-Vac Is Lying to You)
I’ve been in the building and remodeling game for a long, long time. And if there’s one truth I’ve learned, it’s this: the job isn’t done when the last nail is in or the paint is dry. Nope. It’s over when you can run a white glove over a windowsill and it comes back clean. Construction dust is the final boss on every single project. It’s sneaky, it gets everywhere, and it’s a whole different beast than regular house dust.
In this article
I remember one of my first big jobs, a massive gut renovation. The crew did stunning work, but when they packed up, the entire house was coated in this fine, ghostly powder. We figured a simple cleanup would do the trick. So we swept, fired up the shop vac, and wiped everything down. The next morning? The dust was back. It was like it had multiplied overnight. That job taught me a brutal lesson: you can’t fight construction dust with household tools. You need a system, the right gear, and a little bit of patience.
This is the exact system I teach my own crew. There are no magic tricks here, just a solid strategy that will save you a ton of time and, more importantly, protect your health. Let’s get that new space of yours truly ready to live in.
First, Know Your Enemy: Why This Dust Is So Stubborn
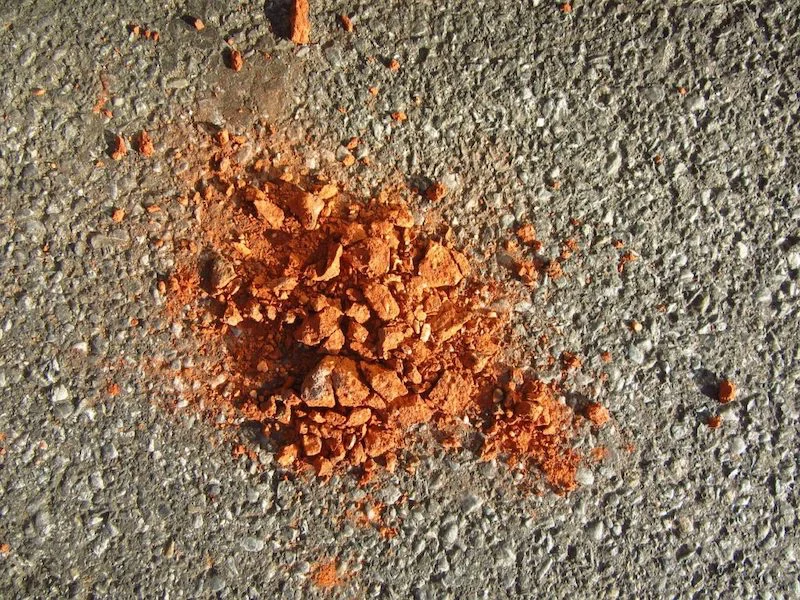
To win this battle, you have to understand what you’re up against. Construction dust isn’t just old dirt. It’s a nasty cocktail of drywall (gypsum), wood particles, concrete dust (which contains silica), insulation fibers, and maybe even tiny metal shavings. It’s mineral-based, not organic like house dust, and that’s why it behaves so differently.
The real issue is particle size. The dust you see is the big, clumsy stuff. The real troublemakers are the microscopic particles, so tiny they can hang in the air for days. When you walk into the room or your furnace kicks on, you stir them right back up. That’s why you can clean a room until it shines, only to find a new layer of dust the next day. The dust on the surfaces is just what’s settled… for now.
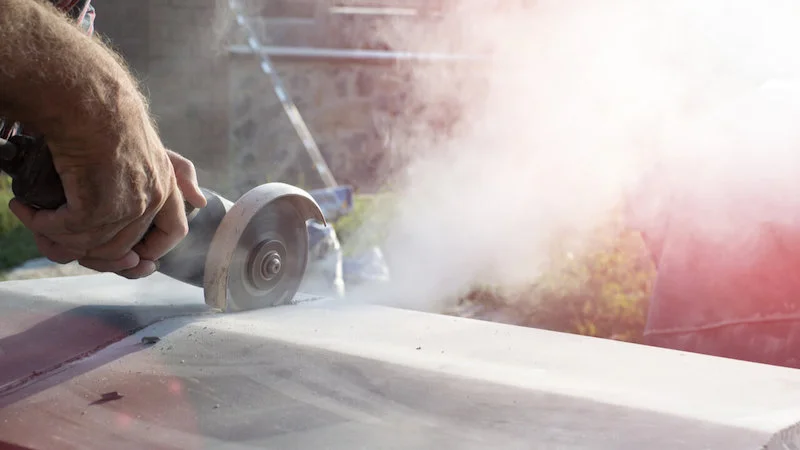
Heads up! We have to talk about silica. Dust from cutting concrete, brick, or stone contains something called respirable crystalline silica. This stuff is seriously bad news for your lungs and is heavily regulated on professional job sites for a reason. Even on a small DIY project, you have to take it seriously. This isn’t just about making things look pretty; it’s about your long-term health.
Your Gear-Up Guide: What You Need and What It’ll Cost
Your success here is all about the tools. A feather duster is just going to give the dust a free ride to a new spot. This is where you need to invest a little, either by renting or buying. Don’t skimp here!
- A True HEPA Vacuum: This is your number one weapon. Let’s be clear: your standard shop-vac, or even your fancy household vacuum, is probably making things worse. They spit the finest, most dangerous particles right out of their exhaust back into the air. You need a vacuum with a certified HEPA filter, which captures 99.97% of particles down to an incredibly small size. Crucially, look for a “sealed system.” A lot of vacuums slap a HEPA filter in but leak dusty air from the casing, defeating the whole purpose. You can rent a professional-grade HEPA vac from a tool rental shop (like at Home Depot or a local place) for about $50-$80 a day. If you do a lot of projects, buying a good one from a brand like Rigid, with a certified HEPA filter, might run you $200-$400, while high-end pro models can cost much more.
- Air Scrubber (Optional but Recommended): For big jobs or if anyone in your home has allergies or asthma, an air scrubber is a game-changer. It’s basically a big box that sucks in all the air in a room, filters it through a HEPA filter, and blows out clean air. Running one of these for a day or two after your main cleanup will catch all that lingering airborne dust. Renting one usually costs around $70-$100 per day.
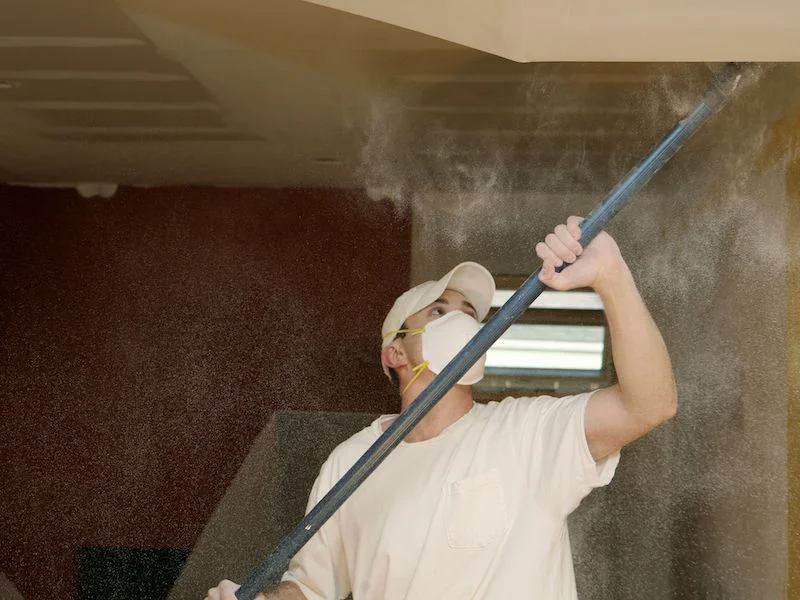
- The Right PPE (Non-Negotiable): I don’t even let my crew look at a dusty room without this stuff. At a minimum, you need an N95 respirator mask, but a P100 is even better. It has to form a TIGHT seal on your face to work. A quick tip: put your mask on and see if you can smell your coffee. If you can, it’s not sealed right. Also, grab some basic safety glasses and disposable nitrile gloves. Your total PPE cost should be under $50.
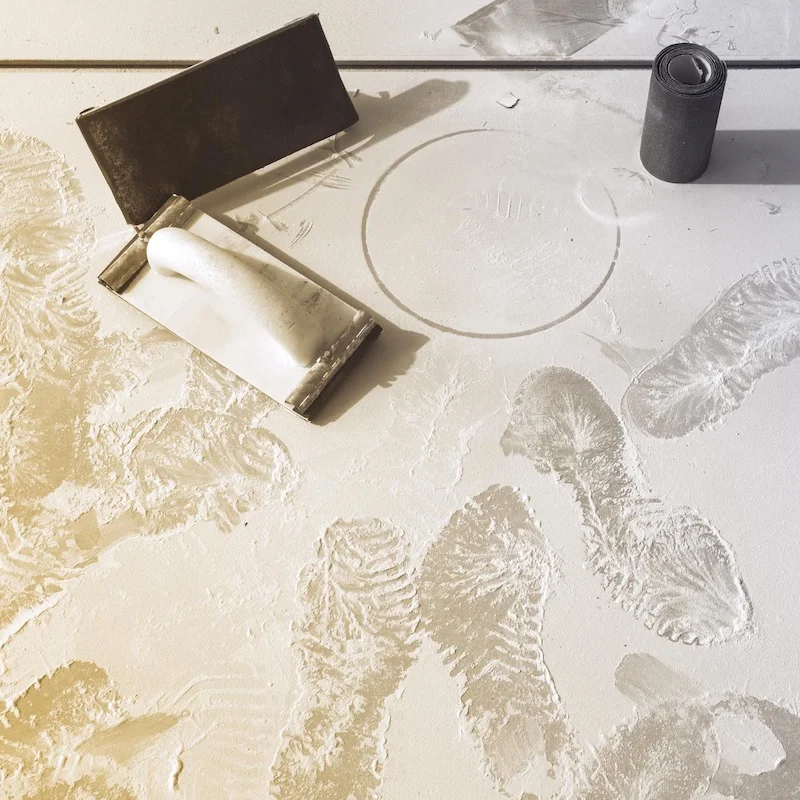
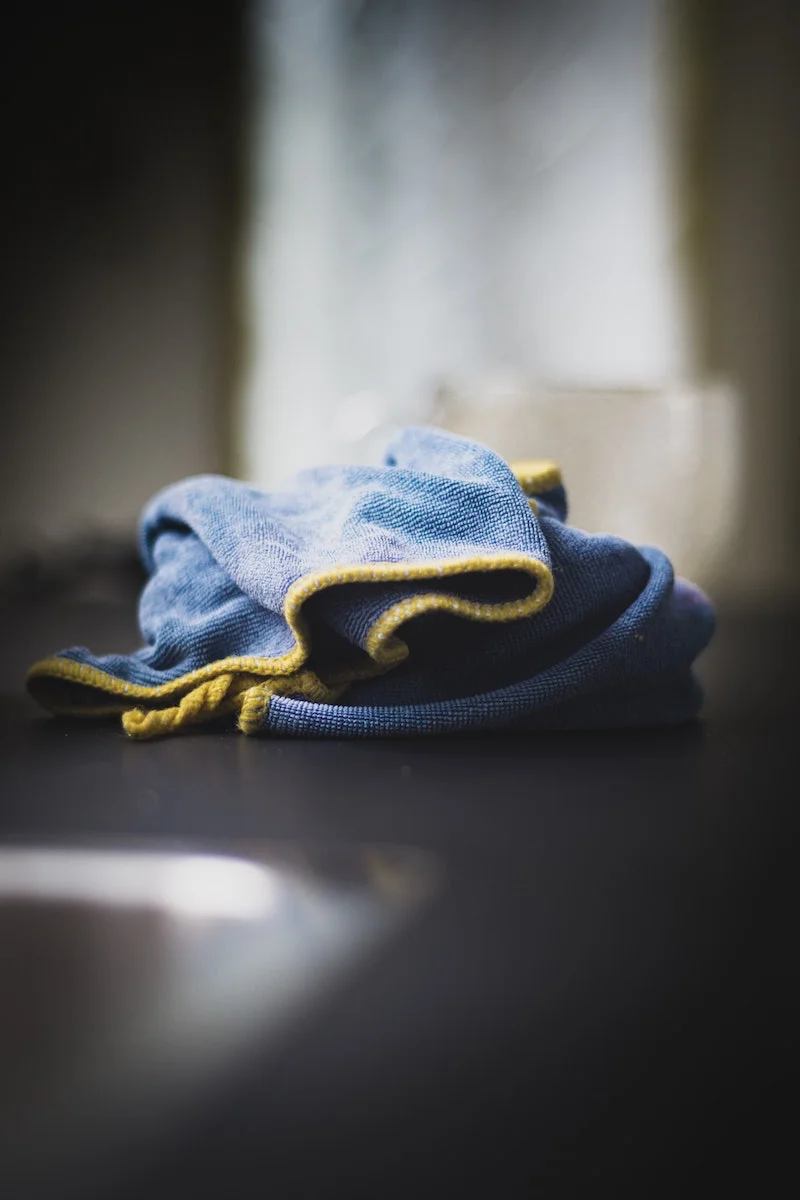
- Microfiber, Microfiber, Microfiber: Ditch the cotton rags. Microfiber cloths are designed to attract and trap dust. Buy a big, cheap pack of them (maybe $15-$20 online or at a big-box store). For floors, a microfiber flat mop is your best friend. A traditional string mop just makes muddy water.
The Three-Phase Assault: My Top-to-Bottom System
Okay, here’s the battle plan. The golden rule is simple: always work from top to bottom, and from dry to wet. How long will this take? For a standard-sized room, plan on a solid 4-6 hours for the deep cleaning in Phase 2, not including the 24-hour waiting period.
Phase 1: The Bulk Takedown
The goal here isn’t perfection; it’s just getting the big stuff out of the way. First, turn off your HVAC system completely. You don’t want it sucking dust in and blasting it all over the house. Seal the doorway with plastic and tape if you can. Then, pick up the big debris and do a rough sweep with a broom, shoveling it all into a heavy-duty contractor bag.
Now you can do a first pass with a regular shop-vac to get the remaining grit. We’re just removing volume at this point.
Phase 2: The Top-to-Bottom Detail Clean
This is where the real work happens. Remember, top to bottom!
- Start High (Dry HEPA Vac): Using a brush attachment on your HEPA vacuum, slowly vacuum the ceiling, the walls (from top to bottom), and the tops of all your window and door frames. Get the light fixtures and fan blades, too.
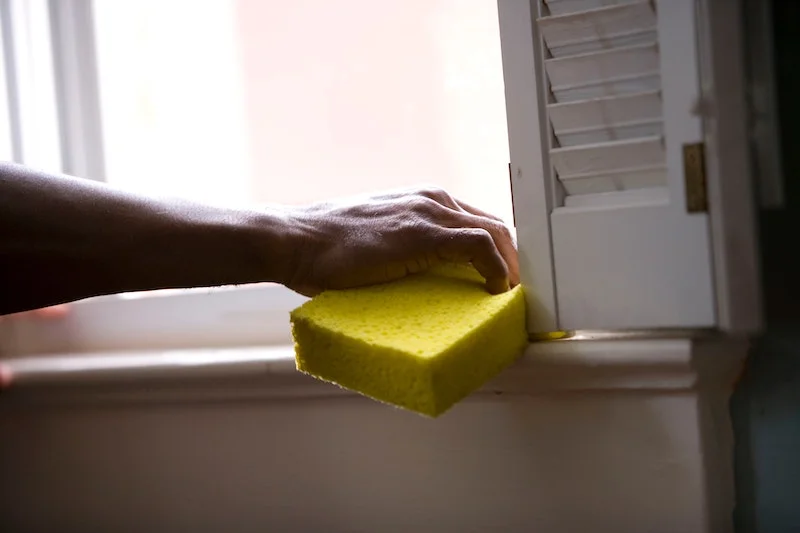
- Wipe Down (Damp, Not Wet): Now, grab two buckets. One with clean, cool water, and one that’s empty for wringing. Dip a microfiber cloth in the clean water and wring it out until it’s BARELY damp. If it’s too wet, you’ll just turn drywall dust into a smeary, paste-like mess. Wipe down the walls and all your trim. After a few wipes, rinse the cloth in the empty bucket, wring, then re-dampen in the clean water. Change your clean water the second it starts looking cloudy. Tedious? Yes. Necessary? Absolutely.
- All Horizontal Surfaces: Work your way down. Wipe countertops, windowsills, shelves, light switches, doorknobs—everything. Open cabinets and drawers and wipe the inside. Dust is a master of infiltration.
- The Final Floor Vacuum: With every other surface clean, it’s time for the floors. Use your HEPA vacuum with the proper floor head. Go slowly in overlapping, crisscrossing rows to make sure you get everything. Use the crevice tool along all the baseboards.
- The Final Mop: For hard floors, finish with a damp microfiber mop. Use clean water with a tiny bit of a pH-neutral cleaner. (For most floors, a few drops of basic dish soap works; for hardwood, use a dedicated product like Bona). Again, rinse the mop pad often.
Phase 3: Clear the Air & Final Check
You’re almost there. This is the step that makes all the difference.
- Wait It Out: Leave the room sealed and undisturbed for 24 hours. This lets all that stubborn airborne dust finally settle. If you rented an air scrubber, this is when it does its best work.
- The White Glove Test: After a day, go back in with a clean, dry microfiber cloth and do one last wipe of your flat surfaces. You’ll be shocked at what you pick up.
- Deal with the HVAC: Now it’s safe to turn your system back on. But FIRST, you must replace the furnace filter. The old one is choked with dust. Get a high-quality one (MERV 11 rated or higher). For a whole-house reno, I strongly recommend getting your ducts professionally cleaned. It’s an extra cost, but it’s worth it to not be breathing that stuff for years.
Don’t Make These Rookie Mistakes
I’ve seen it all, and these are the most common face-palm moments. Avoid them!
- The Indoor Leaf Blower: I once saw a new guy try this to
Inspiration:

The Pro-Level Mistake: Forgetting the HVAC system. You can clean every surface, but if you don’t address your heating and cooling system, you’re just waiting for the dust to return. Before you turn it back on, change the furnace filter. Then, cover all supply and return air vents with cheesecloth or inexpensive filter material, securing it with painter’s tape. Run the system’s fan (not the heat or AC) for an hour to circulate air and catch a significant amount of remaining airborne dust. You’ll be shocked at what you find on those temporary vent covers.
According to OSHA, prolonged or high-level exposure to respirable crystalline silica can lead to serious, sometimes fatal, lung diseases.
That fine, powdery dust from cutting concrete, brick, or tile isn’t just a nuisance; it’s a genuine health hazard. The microscopic silica particles can lodge deep in the lungs, causing permanent scarring. This is why a simple paper mask is insufficient. Always use a well-fitting respirator with an N95 or, even better, a P100 rating, like those from 3M or Honeywell. Your lungs will thank you for it years down the line.
What’s the final step before the furniture comes back in?
It’s the tack cloth pass. After you’ve vacuumed and damp-wiped everything, there’s still an invisible layer of ultra-fine dust on smooth surfaces like trim, windowsills, and countertops. A tack cloth—a sticky, resin-impregnated cheesecloth available at any hardware store—is the secret weapon. A light, single-direction wipe with one of these will pick up the last stubborn particles that microfiber cloths can leave behind, leaving a truly pristine, dust-free surface.


