Tired of Grimy Car Seats? Here’s How a Pro *Actually* Cleans Them
I’ve spent more than a decade detailing cars, and if there’s one thing I’ve learned, it’s that car seats have seen it all. I’m talking about everything from a Monday morning coffee spill in a brand-new sedan to the unforgettable aftermath of a sick toddler in the family minivan. And the first lesson you learn isn’t about some magic spray; it’s about respecting what you’re cleaning.
In this article
Your car’s upholstery isn’t just cloth and foam. It’s a carefully engineered textile built for durability, comfort, and safety. Cleaning it the right way is about preserving that investment, not just wiping away a stain.
So many guides give you a basic vacuum-spray-scrub routine. And while that’s not totally wrong, it’s like telling a chef to just “heat food.” The real magic is in the details—knowing which cleaner to use on which fabric, how hard you can actually scrub, and why some methods work while others can cause permanent, expensive damage. I’ve seen beautiful leather seats ruined by the wrong chemical and cloth seats turned into a moldy mess from improper drying.
This is where we go beyond the basics. I’m going to walk you through the methods I use in my own shop. Forget the quick and dirty; we’re going to learn how to work smarter for results that truly last.
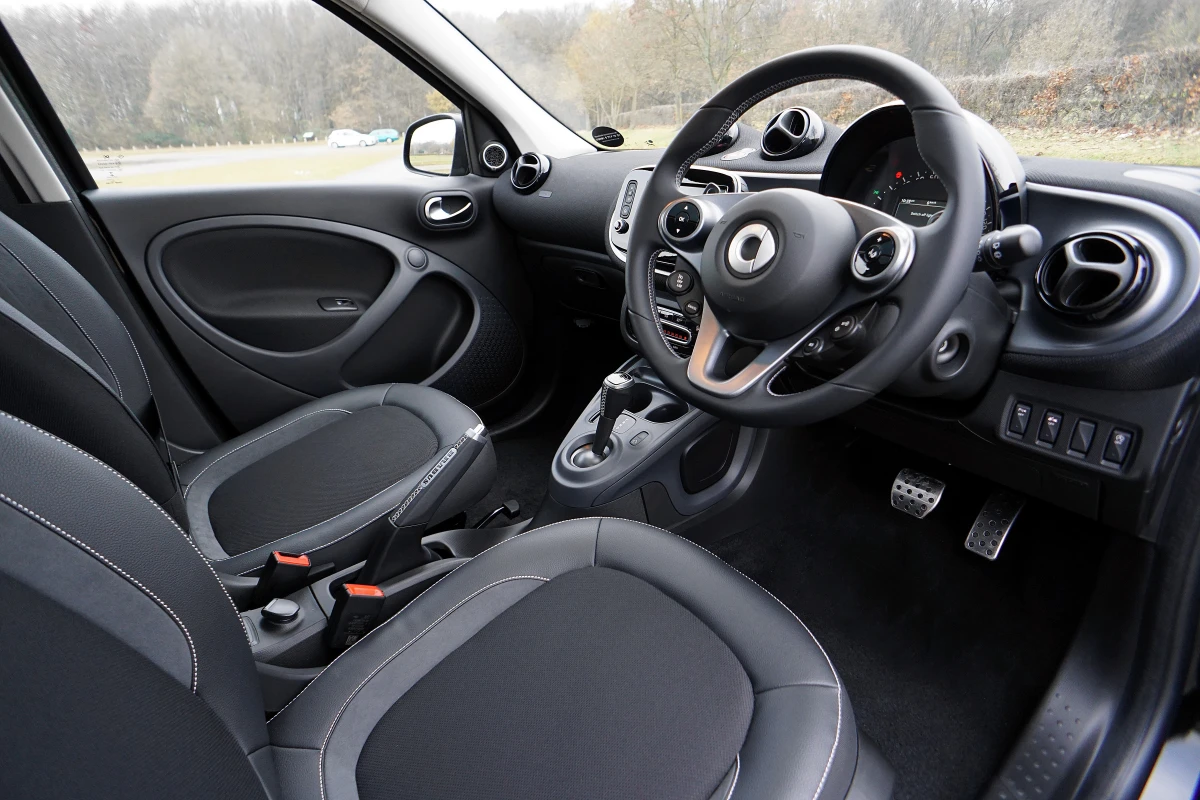
First, Know Your Material: Not All Seats Are the Same
Before you even think about spraying anything, you have to know what you’re working with. This is the most common mistake people make, and it can be a costly one. Using a harsh degreaser on leather can strip its finish, while using a leather conditioner on cloth is just a waste of time and money.
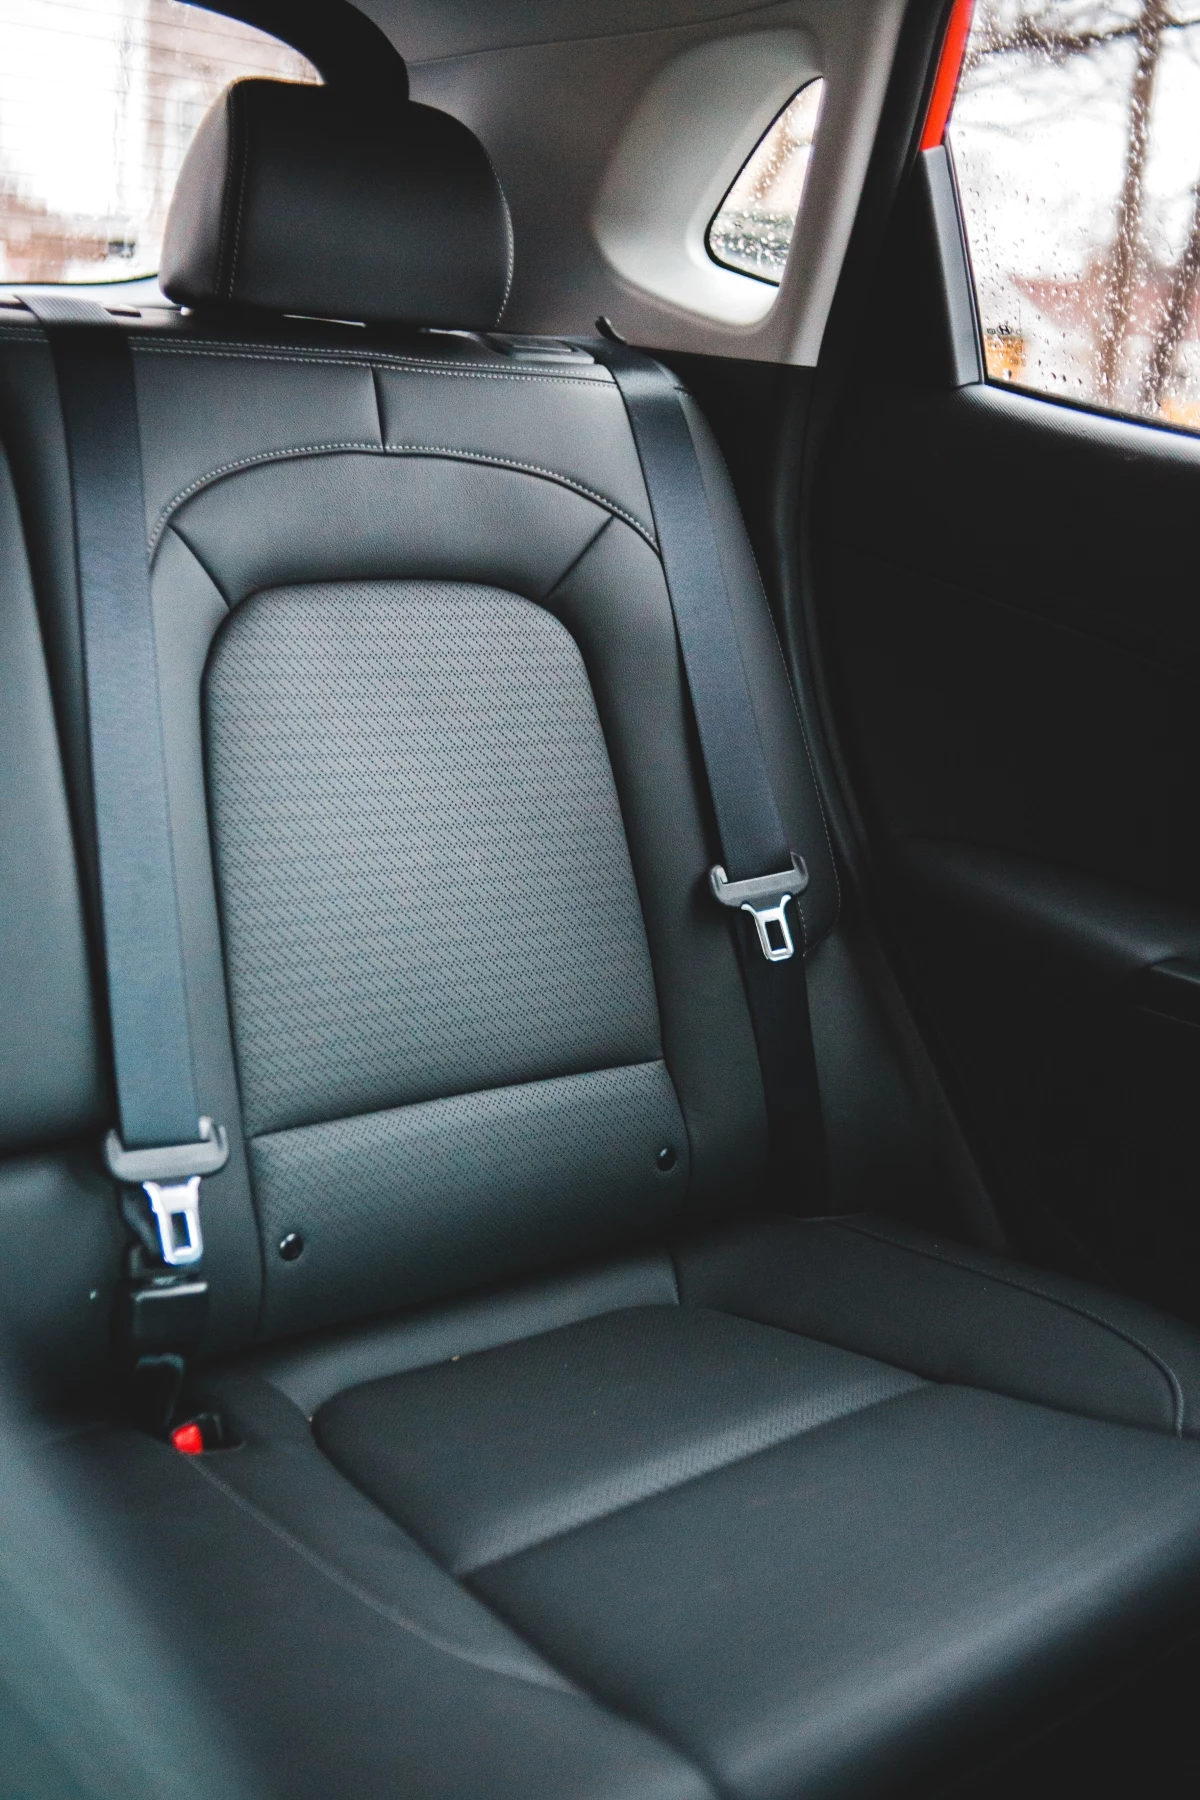
- Cloth (Fabric) Upholstery: This is the workhorse of car interiors. It’s usually a tough synthetic like polyester or nylon. The upside is it’s durable; the downside is it’s porous and soaks up spills like a sponge. The key here is to lift stains out of the fibers, not push them deeper into the foam cushion below. On a difficulty scale, I’d rate cleaning cloth a 3 out of 5—it’s not hard, but it requires patience.
- Leather Upholstery: Oh yeah, everyone loves leather. But what you’re cleaning isn’t usually the raw hide. In over 95% of modern cars, the leather has a protective urethane coating, like a clear coat on your paint. Good to know: You can test this easily. Put a single drop of water in a hidden spot. If it beads up, you have coated leather, which is great news because it’s relatively easy to clean. If the water soaks in and darkens the spot, you likely have high-end aniline leather. If so, I’d honestly recommend calling a pro. It’s incredibly sensitive. For standard coated leather, cleaning difficulty is about a 2 out of 5.
- Vinyl and Faux Leather: Super common in work trucks or on the side panels of leather seats. Vinyl is a non-porous plastic, which makes it the easiest of all to clean—a solid 1 out of 5 on the difficulty scale. It laughs at most stains. The only catch? It can get brittle and crack over time if you don’t keep it protected from the sun.
- Alcantara (Microsuede): If you’re in a sports or performance car, you might have this. People often think it’s suede, but it’s a synthetic microfiber. It feels great but it’s delicate. It absolutely hates too much water or aggressive scrubbing. Cleaning Alcantara is a high-stakes game, a definite 4 out of 5 for difficulty, requiring a gentle touch.

Your Detailing Toolkit: From a Shoestring Budget to the Full Pro Setup
You don’t need to spend a fortune, but a few smart purchases will make a world of difference. Here’s what I’d recommend.
The Beginner’s Driveway Kit (Under $50):
You can get surprisingly good results with just the basics. You can find all of this at Walmart, an auto parts store like AutoZone, or online.
- A good All-Purpose Cleaner (APC): Look for one that says it’s safe for interiors. A bottle of Meguiar’s or Chemical Guys APC will run you about $10-$15.
- A set of detailing brushes: Don’t use an old dish brush! You need one with medium-stiff bristles for cloth and a separate, very soft brush (like horsehair) for leather. A good set costs around $15.
- Microfiber towels: Get a decent-sized pack for about $20. You’ll need separate ones for cleaning, rinsing, and drying.
- A good vacuum: Your household vacuum with a crevice tool and brush attachment will work just fine to start.
Stepping Up Your Game (The Enthusiast’s Gear):

If you’re serious about getting pro results, a couple of extra tools are worth the investment.
- A Wet/Dry Shop Vacuum: This is a game-changer for sucking up the dirty water from cloth seats. You can get a solid one from Home Depot for under $100.
- A Hot Water Extractor: This is the pro’s secret weapon for cloth. It sprays hot water and cleaning solution into the fabric and immediately sucks the grime out. You can even rent them from many tool supply shops for a day, which is a fantastic option for a deep annual clean.
- A Steam Cleaner: Steam is amazing for killing bacteria and breaking down stubborn, greasy stains without chemicals. Heads up! Steam is dangerously hot and can damage sensitive plastics or electronics if you’re not careful.
My Go-To Methods for Showroom-Clean Seats
Alright, you’ve identified your material and got your tools. Now for the fun part. Here are the step-by-step methods I use every day.
My 5-Step Method for Reviving Cloth Seats
Plan for at least 2-3 hours for this, plus several more for drying. Don’t start this an hour before you need to drive somewhere!
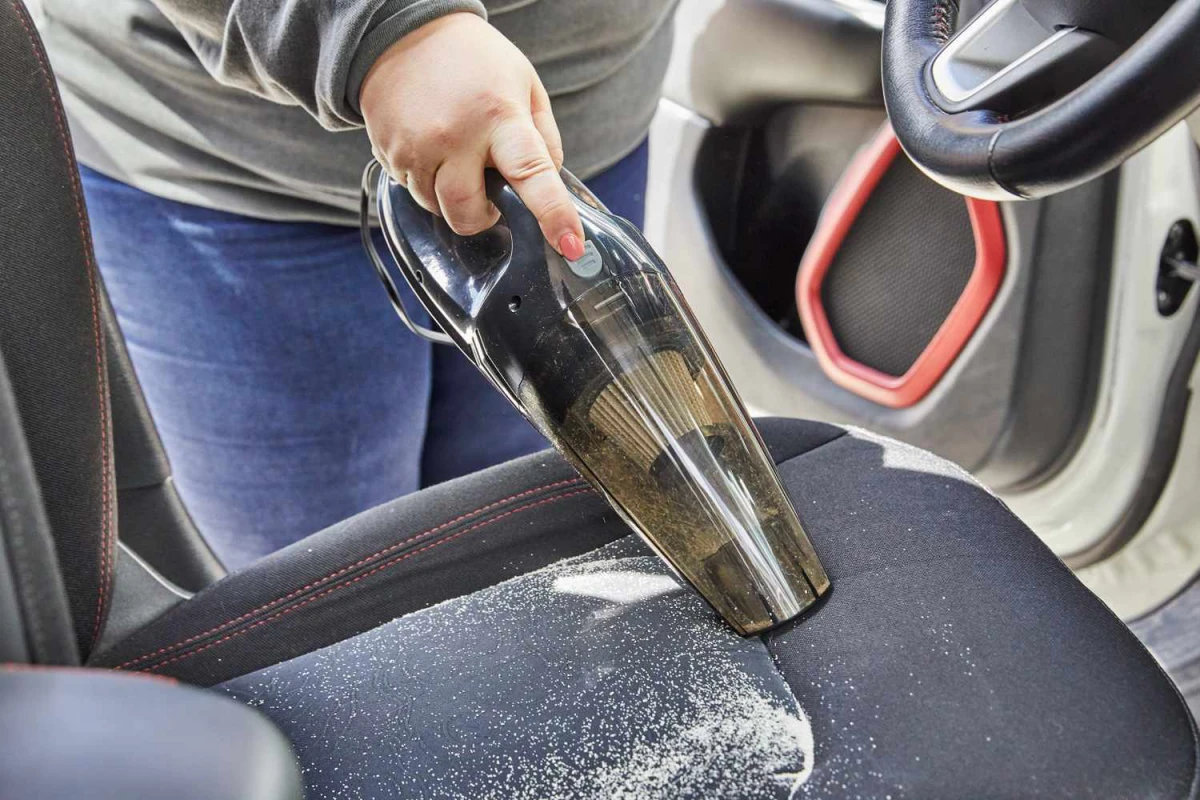
- Thorough Vacuum: This is the most important step. Vacuum every square inch. Use your crevice tool to get deep into the seams and your brush attachment to agitate and lift embedded debris.
- Pre-Treat Stains: Got specific stains? Hit them first. For a common coffee or soda spill, a simple 50/50 mix of white vinegar and water in a spray bottle works wonders. Let it sit for a few minutes.
- Spray and Agitate: Lightly mist a section of the seat (don’t soak it!) with your diluted upholstery shampoo or APC. Use your medium-stiff brush to scrub the area in gentle, overlapping circles. You should see a light foam start to form and lift the dirt.
- Extract the Grime: Now, you need to get that dirty solution out. If you have a wet/dry vac or extractor, this is its time to shine. If not, use a clean, slightly damp microfiber towel to blot the area, then press a dry towel down firmly to absorb as much moisture as possible. This is where the story of the sick toddler comes in—an extractor was the only thing that truly removed the stain and the smell from deep within the foam. It’s that powerful.
- Let It Dry COMPLETELY: This is crucial for preventing mold and mildew. Roll the windows down, aim a fan at the seats, or let the car sit in the sun for a few hours. The seats must be bone dry before you close the car up.
The Right Way to Clean and Condition Leather
This is much quicker—plan for about 30-45 minutes. The key is being gentle.
- Vacuum First: Dirt and grit are the enemy of leather. They act like sandpaper when you start scrubbing. Use a soft brush attachment to get everything out of the seams.
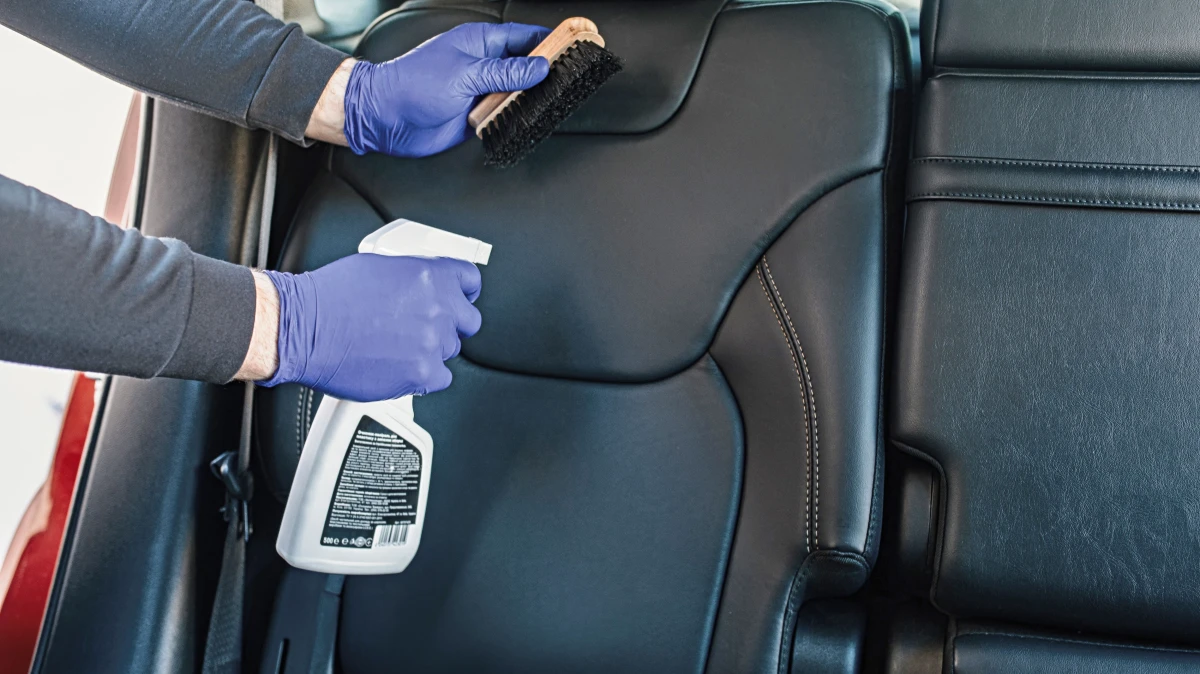
- Clean Gently: Spray a pH-neutral leather cleaner onto your soft brush or microfiber towel, not directly on the seat. Gently wipe the leather, section by section. This avoids oversaturating the surface and getting cleaner into the perforated holes.
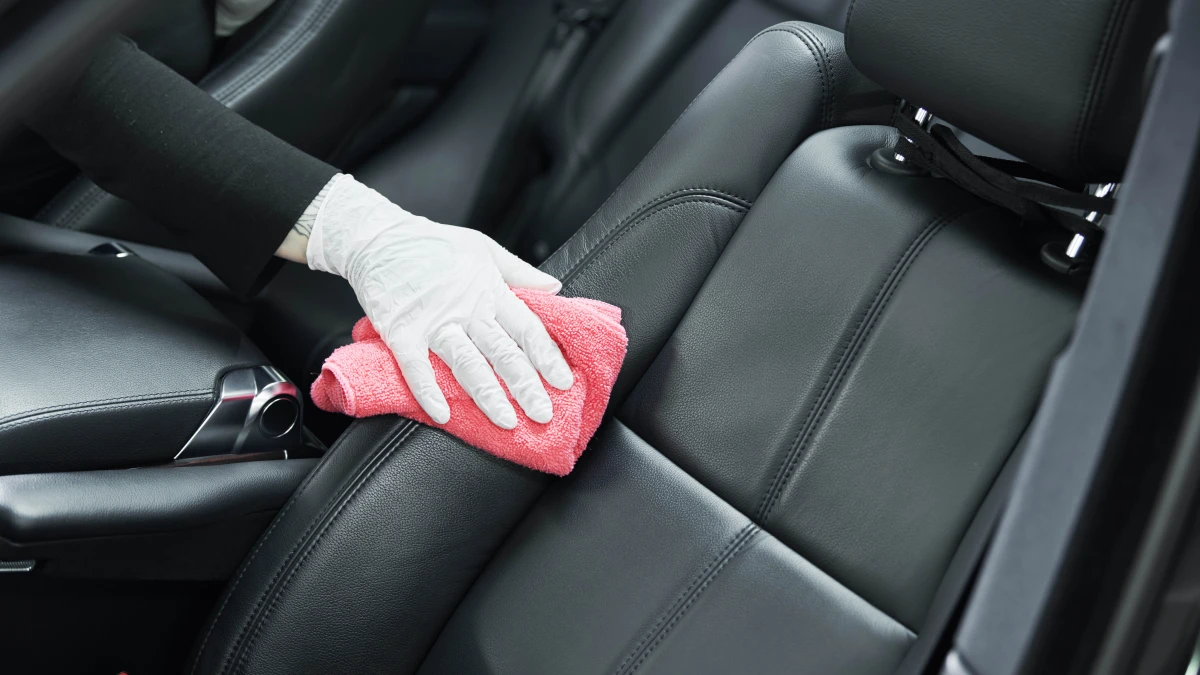
- Wipe Away Residue: Use a separate, clean microfiber towel lightly dampened with water to wipe away any cleaner residue.
- Condition and Protect: Apply a small amount of a quality leather conditioner to an applicator pad. Massage it into the leather in a thin, even layer. This isn’t about making it greasy; it’s about feeding that protective top coat and keeping it flexible. Let it sit for a few minutes, then buff off any excess with a clean, dry microfiber towel.
Don’t Have Time for a Deep Clean? The 15-Minute Seat Refresh
Life is busy. I get it. If you just want to make a big impact fast, here’s my quick-win recipe.
Start with a thorough vacuum—seriously, don’t skip this. Get into all the nooks and crannies. Then, take a clean microfiber towel and lightly mist it with a diluted, interior-safe All-Purpose Cleaner. Wipe down all your upholstery surfaces—cloth, leather, and vinyl. It won’t remove deep stains, but it will lift surface dust, oils, and grime, instantly making the whole interior look and feel cleaner. Done. It’s the best 15 minutes you can spend on your car’s interior.
Galerie d’inspiration
The stains are gone, but a faint, funky smell remains. What’s the pro secret to truly eliminating it?
That lingering odor is often trapped deep in the seat’s foam cushion, where surface cleaners can’t penetrate. The solution is an enzyme-based cleaner. Unlike standard formulas that just mask scents, products like Meguiar’s Carpet & Upholstery Cleaner contain active enzymes that chemically break down and destroy the organic compounds causing the smell—be it old coffee, sweat, or pet accidents. For truly stubborn cases, detailers use an ozone generator, but for a DIY job, a quality enzyme cleaner is the most effective weapon against phantom odors.
More than 75% of tough-to-remove interior stains are set permanently not by the spill itself, but by using the wrong cleaner or applying heat (like a steam cleaner) too early.
This is why a


