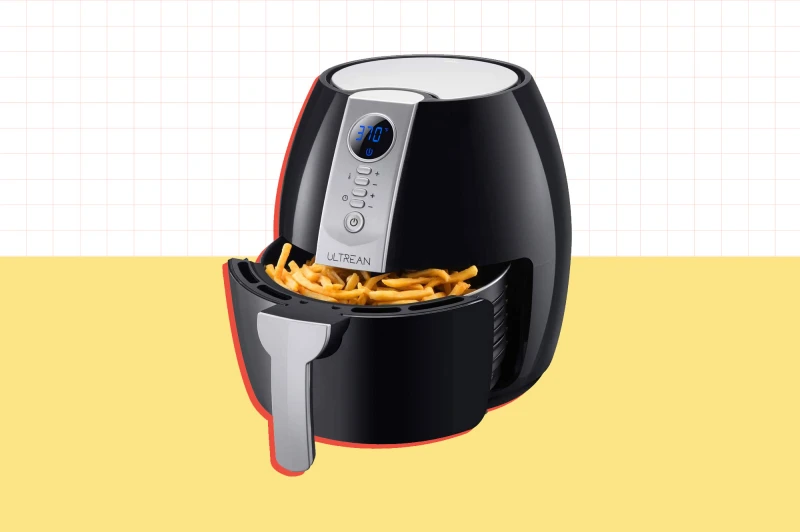
Your Air Fryer Is Gross. Here’s How to Actually Clean It.
I’ve been around air fryers since the very first, clunky models showed up. In test kitchens and cooking classes, I’ve seen them all—the loved, the abused, and the totally neglected. And you know the number one reason they fail? It’s not a broken fan or a wonky timer.
In this article
It’s grime.
A dirty air fryer doesn’t just look bad; it makes your food taste off, shortens the machine’s life, and can even be a safety hazard. This isn’t about some quick hack. It’s about understanding what’s really going on inside your appliance and using the same straightforward methods the pros use. A few minutes of care after you cook will save you from an hour-long scrubbing nightmare later. Trust me.
First, Let’s Talk About the Gunk
To really clean your air fryer, you have to know what you’re fighting. That machine is basically a mini convection oven on steroids. It uses a super hot heating element and a powerful fan to blast air around, which is what gives you that amazing crispy texture. But that same fan also blows tiny droplets of oil and food particles into every single nook and cranny.
The real enemy here is something called polymerized oil. Ever see that sticky, brown-black film on your basket that just laughs at regular soap? That’s it. When oil gets heated over and over, its molecules link together and form a hard, plastic-like coating. It’s the same thing that seasons a cast-iron pan, which is great for cast iron, but a total disaster for your air fryer’s non-stick surface. It creates a sticky layer that food loves to weld itself onto.
And if you’re cooking with sugary sauces or marinades, like for BBQ wings, that sugar caramelizes. If it gets too hot, it turns into carbon—a hard, almost glassy residue that’s a real pain to get off. A simple soak just won’t cut it.
Your Most Important Habit: The Daily Clean
Honestly, the best advice I can possibly give you is this: clean the basket and drawer after every single use. It sounds like a chore, but it takes less than five minutes, and it’s the single biggest factor in making your appliance last.
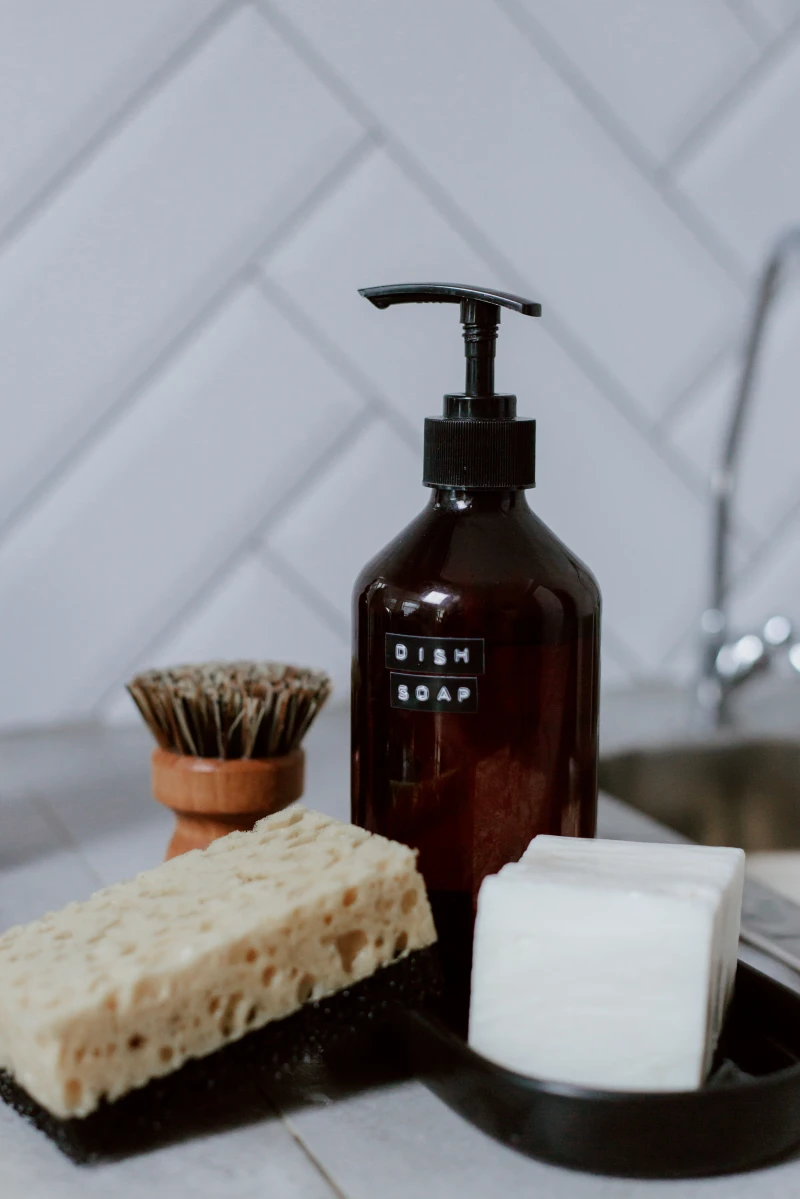
You don’t need a bunch of fancy stuff. Here’s what you actually need, and you can get it all for under $15 at any supermarket.
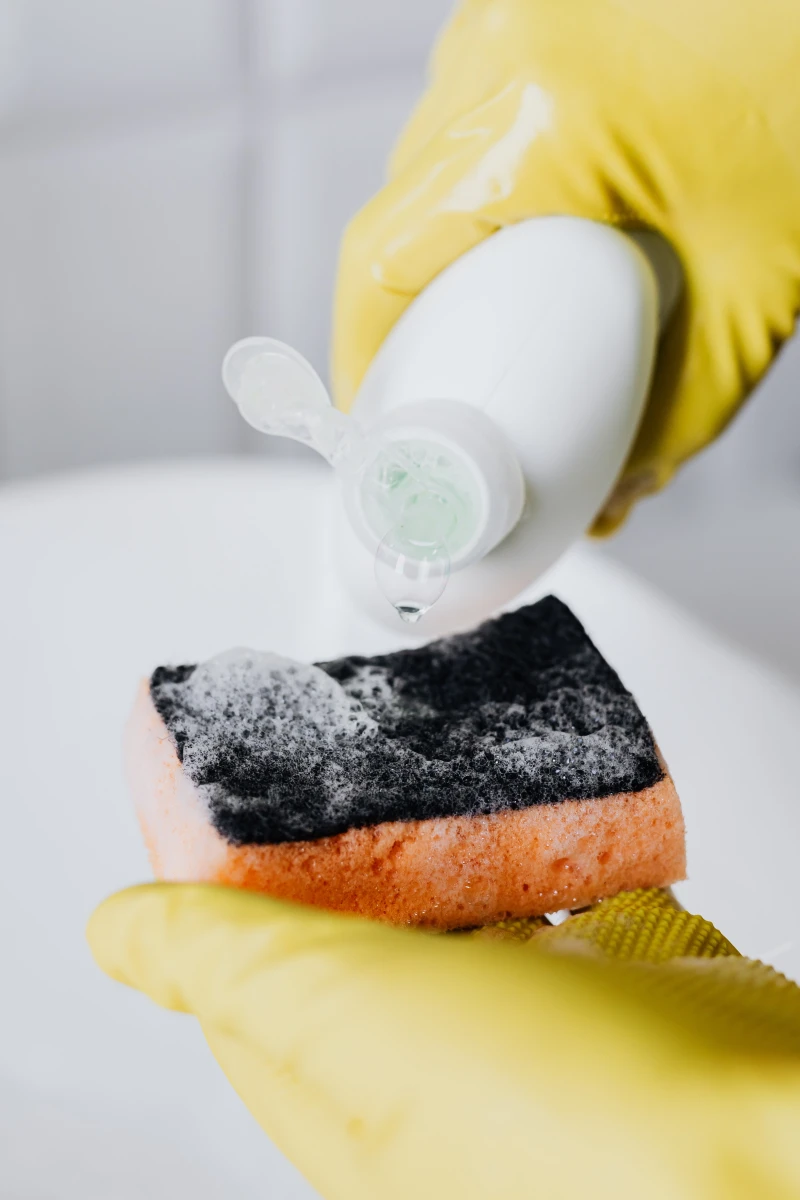
- A solid degreasing dish soap. I swear by something like Dawn Powerwash for this. It just melts grease without a ton of scrubbing. A good concentrated dish soap works too.
- A non-abrasive sponge. This is critical. You have to protect that non-stick coating. Never, ever use steel wool or the green scratchy side of a regular sponge.
- A soft-bristled brush. A simple bottle brush is perfect for getting into the corners and through the basket’s grates. An old toothbrush is also a secret weapon for detail work.
- Microfiber cloths. Keep a couple on hand for wiping and drying.
The 5-Minute Daily Method
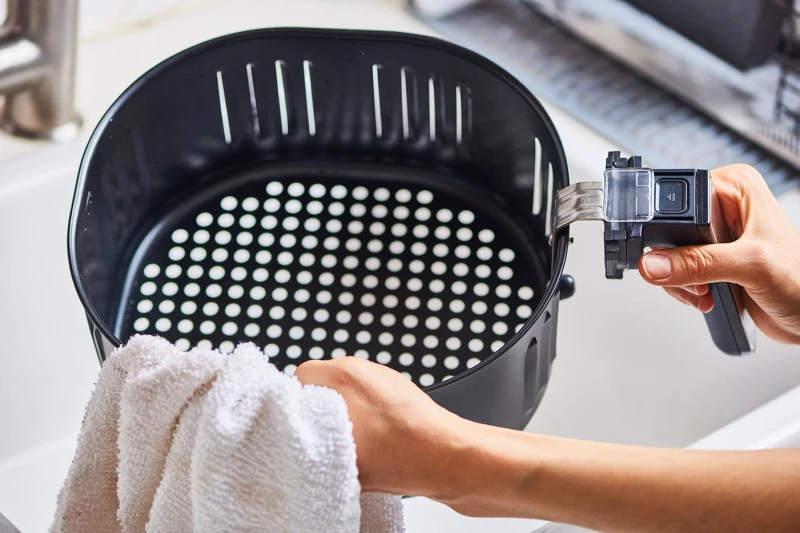
- Unplug and Cool Down. First thing’s first: unplug the machine. Let it cool for at least 30 minutes. Putting a hot basket in cool water can warp the metal over time.
- Disassemble and Soak. Pull out the drawer and basket. Put them in your sink, give a good squirt of dish soap, and fill with hot tap water until the messy parts are covered.
- Let It Sit. Now, go do something else for 10-15 minutes. This is where the magic happens. The hot, soapy water does most of the heavy lifting for you by softening all the fresh gunk.
- Wash Gently. Pour out the water. Now, that loosened residue should wipe away easily with your soft sponge or brush.
- Rinse and Dry. Rinse everything really well. Leftover soap can burn and make your next meal taste funky. Let it air dry or wipe it down before putting it back together. While it’s drying, use a damp cloth to quickly wipe down the inside of the main unit, especially around the heating element.
The Deep Clean: Erasing Baked-On Nightmares
Even with daily cleaning, you’ll want to do a deep clean every few weeks, or right after you’ve cooked something extra messy. This is when we go after that stubborn, polymerized oil.
The Baking Soda Paste Attack
This is my go-to for that sticky, baked-on layer.
- Make a Paste. Mix about half a cup of baking soda with a few tablespoons of water. You want a thick, spreadable paste, kind of like toothpaste.
- Apply and Wait. Slather that paste over the stubborn spots in the basket and drawer. Let it sit for at least 30 minutes; an hour is even better for tough jobs.
- Scrub Gently. Use a soft brush (an old toothbrush is great here) and a little warm water to scrub in a circular motion. You’ll feel the grime start to break down.
- Rinse Well. Rinse it all off. If some spots are still there, it’s better to repeat the process than to get aggressive and risk scratching the coating.
Cleaning the Heating Element
This is the part everyone forgets, but it’s often the source of smells and smoke. Heads up! Make sure the air fryer is unplugged and totally cold. This part is delicate, and you can break it if you’re too rough.
Turn the air fryer upside down on a towel. Gently wipe the coil with a damp sponge and a tiny bit of dish soap. For really stuck-on bits, use that baking soda paste with a toothbrush. Then, wipe it all clean with a fresh, damp cloth until no residue is left. Let it dry completely before using it again.
Quick tip: To get rid of lingering smells from things like fish, put a small, oven-safe bowl with a half-cup of water and a few lemon slices inside the basket. Run the air fryer at 400°F for about 3-4 minutes. It works wonders.
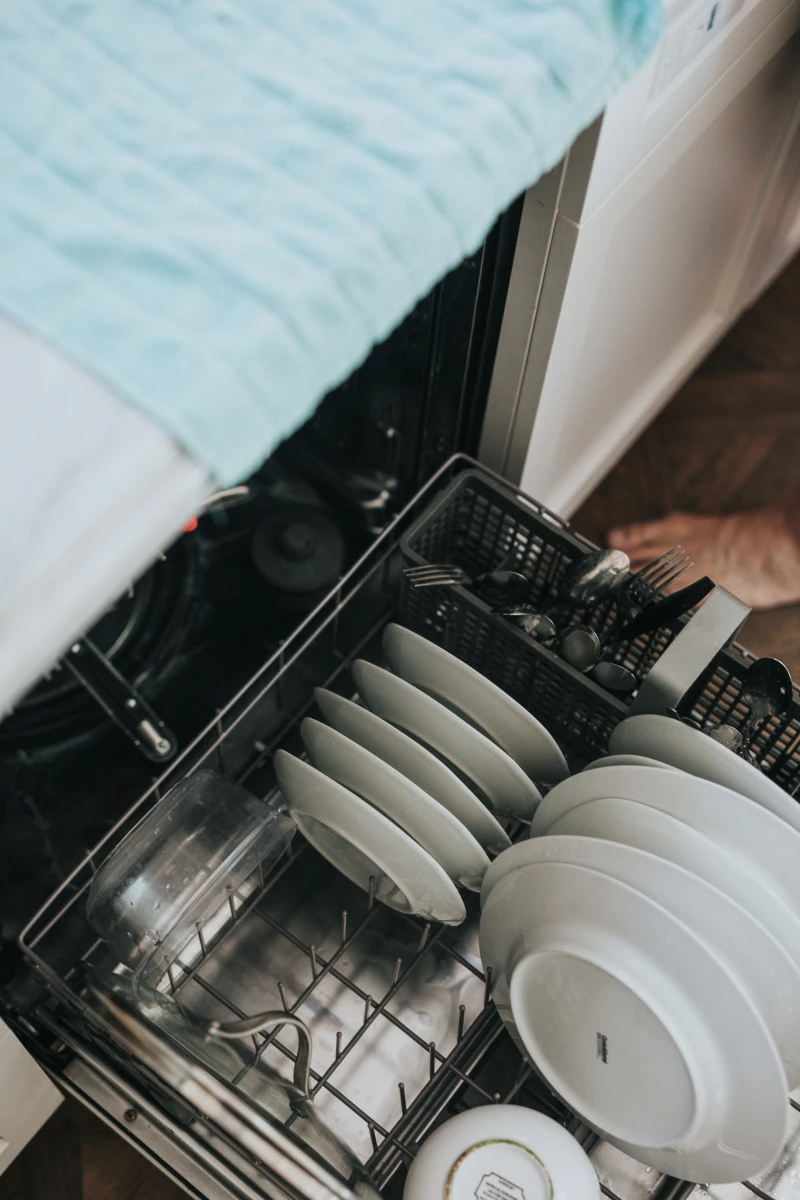
Let’s Talk About the Dishwasher…
So many manufacturers say their baskets are “dishwasher safe.” Technically, they might be. But from my experience, it’s a terrible idea. I strongly advise against it.
Why? Dishwasher detergents are incredibly harsh and will strip that non-stick coating over time. The high-heat drying cycle can also degrade the coating and even warp plastic parts. To be frank, it just doesn’t do a good job cleaning all the nooks and crannies anyway.
Think about it this way: a new replacement basket can set you back anywhere from $25 to $50. Is saving three minutes of handwashing really worth that risk? Just wash it by hand. It’s faster in the long run and way more effective.
What About Using Liners?
Oh yeah, let’s get into liners. Those parchment paper or silicone liners you see everywhere can be a lifesaver for cleanup, especially with sticky things like glazed salmon or saucy wings. They can be great.
But there’s a catch. Air fryers work by creating a vortex of hot air. When you put a solid liner in the bottom, you block that airflow. This can mean your food doesn’t get as crispy, and you might have to cook it longer. So there’s a trade-off: easier cleanup for slightly less effective cooking.
My personal take? I use them strategically. For super messy recipes, absolutely. For things where I want maximum crispiness, like french fries or chicken wings? I leave the liner out and just commit to the 5-minute clean afterward.
Troubleshooting Common Headaches
Ran into a problem? It happens. Here are a few common ones I see all the time.
- Problem: There’s a persistent stinky or plastic smell. For that new-appliance plastic smell, run the air fryer empty at 400°F for 10-15 minutes, maybe with some lemon or vinegar in an oven-safe dish inside. For lingering food smells, the lemon water trick I mentioned earlier is your best friend.
- Problem: White smoke is pouring out! This usually happens with fatty foods like bacon or burgers. The fat drips down, gets super-heated, and smokes. A quick fix is to add a tablespoon or two of water to the drawer under the basket. The water prevents the grease from smoking.
- Problem: My non-stick coating is already scratched and peeling. What now? Okay, don’t panic. If it’s just a few minor scratches, it’s probably fine. If it’s actively flaking off into your food, it’s time for a change. You have two options: buy a replacement basket (check the manufacturer’s website, they usually cost between $25 and $50), or just commit to using parchment paper or silicone liners every single time to create a new barrier between your food and the damaged surface.
And there you have it. It’s not about being perfect; it’s just about getting into a simple routine. Take care of your machine, and it’ll keep cranking out amazing food for you for years to come. Happy cooking!

Inspirational Gallery with Photos
The Most Neglected Spot: Everyone focuses on the basket, but the real danger zone is the heating element above it. Unplug your (completely cool!) air fryer and shine a light up there. See that greasy film on the coil? That’s what can start to smoke and give your food a burnt, stale flavor. Carefully wipe it with a damp cloth and a drop of dish soap, then wipe again with a clean, damp cloth. Never spray cleaner directly onto it.
According to consumer reports, improper cleaning that damages the non-stick coating is one of the top reasons people replace their air fryers within two years.
That chipping, peeling surface isn’t just ugly—it’s inefficient. Food sticks, requiring more oil and creating more mess, creating a vicious cycle. Protecting the basket’s coating with non-abrasive tools is the key to your appliance’s longevity.
What about that lingering smell of last night’s salmon or spicy wings?
Food odors can penetrate the plastic and metal components. To neutralize them, try this trick: mix a half-cup of water with a half-cup of white vinegar. Pour it into the drawer, pop it in the air fryer, and run it for 2-3 minutes at 400°F (200°C). Let it cool, then wash as usual. The vinegar’s acetic acid works to break down the odor-causing particles.
- Prevents scratching that leads to rust and sticking.
- Cuts through baked-on grease without harsh chemicals.
- Deodorizes and removes stubborn food residue.
The secret? A simple DIY paste. Mix two parts baking soda with one part water. Apply it to the tough spots on your cooled basket, let it sit for 15 minutes, then gently scrub with a non-abrasive sponge. It’s a powerful, coating-safe solution.
For Light Grease: A quick wipe with a microfiber cloth and warm, soapy water is all you need. It’s gentle and effective for daily cleaning.
For Stubborn, Polymerized Grime: You need a surfactant-based degreaser. A product like Dawn Powerwash is specifically designed to break down these tough oil bonds on contact, letting you wipe them away with minimal scrubbing. Choose your weapon based on the enemy.
Think of your air fryer’s non-stick basket like a high-performance pan. To protect it and make cleanup a breeze, avoid these common mistakes:
- Never use metal utensils to remove food. Stick to silicone or wooden tools.
- Avoid abrasive scrubbers like steel wool or scouring pads. A soft-bristle brush or a Scrub Daddy sponge is a far better choice.
- Don’t put a hot basket into cold water. The thermal shock can cause the coating to warp and peel over time.
That sticky, tacky film inside your air fryer isn’t just ‘dirt’—it’s a new chemical substance created by heat. It’s more like a varnish than a food stain.
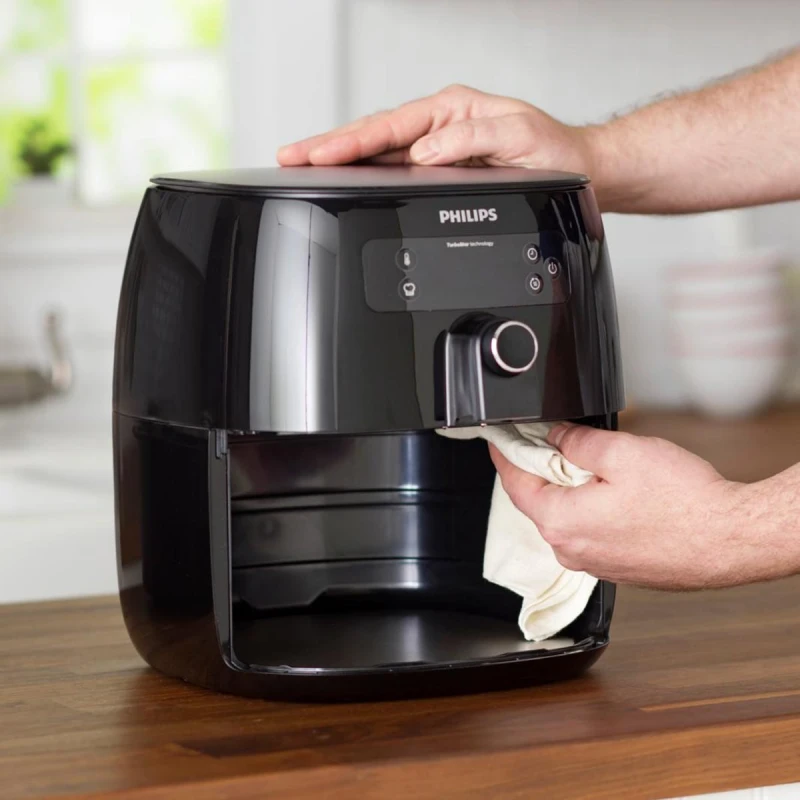
Beyond the basket, the exterior of your air fryer deserves attention too. Fingerprints, dust, and kitchen splatters can make an otherwise clean kitchen look grimy. Simply unplug the unit and wipe the entire outer body and controls with a damp, soft cloth—a microfiber one works best. For stubborn spots, use a little soapy water, but never spray cleaner directly onto the machine, especially near vents or the control panel.
Even the best air fryers from brands like Ninja or Philips can have their performance hampered by poor maintenance. A clean fan and heating element ensure optimal air circulation—the very principle of air frying. When they are clogged with grease, the machine has to work harder, which can lead to uneven cooking and, over time, shorten its lifespan. A 5-minute clean is a small price for perfectly crispy results every time.


