Your Mousepad Is Gross. Here’s the Pro-Level Guide to Cleaning It.
Let’s be honest, we’ve all looked down at our mousepad and had a moment of silent judgment. It’s more than just a coaster for your mouse; it’s a precision tool that directly impacts everything you do on your computer. A grimy, sticky, or inconsistent surface can absolutely wreck your aim in a game or make detailed design work a total nightmare. And yeah, it’s also a magnet for bacteria, skin cells, and that Cheeto dust from last week.
In this article
Over my career working with all sorts of computer gear, from entire office floors to high-end gaming rigs, I’ve seen the damage people do with good intentions. They’ll toss a nice pad in the washing machine and wonder why the rubber base is peeling off, or they’ll grab a harsh cleaner that completely destroys the surface glide. It’s a tragedy!
So, I put together this guide to share the methods the pros use. This is the stuff I learned through a whole lot of trial and error, talking with material specialists, and just plain fixing other people’s mistakes. We’ll cover pretty much any type of mousepad you own, from basic cloth to fancy glass ones, and get it clean without destroying it.
First, How Often Should You Clean It?
This is a big one. It really depends on how you use your setup. There’s no single right answer, but here’s a good rule of thumb:
- The Quick Wipe-Down (Weekly): If you have a hard-surface pad, a quick wipe with a damp cloth once a week is a great habit. For cloth pads, just taking it outside and giving it a few good whacks to knock out crumbs and dust can work wonders.
- The Light Clean (Monthly): For most of us, this is the sweet spot. A more intentional wipe-down with a slightly damp microfiber cloth can lift off surface-level oils and grime before they get embedded. This takes 5 minutes and keeps things feeling fresh.
- The Deep Clean (Every 3-6 months or as needed): This is the full-on bath we’re about to cover. You’ll know it’s time when you can see discolored patches where your wrist sits, or when your mouse starts feeling sluggish or sticky in certain spots. If you’re a heavy gamer or you eat at your desk a lot, you might need to do this more often.
Understand What You’re Working With
Before you get your pad wet, it helps to know what’s going on under the hood. Your mouse’s sensor, whether it’s optical or laser, works by taking thousands of tiny pictures of the surface every second to track movement. When your pad is dirty, you’re basically throwing a chaotic mess into that system.
Every pad has a certain feel—some are ‘control’ pads with more friction for steady aim, while others are ‘speed’ pads with less friction for fast swipes. When dirt, skin oils, and spilled drinks build up, they create random sticky spots. That’s the inconsistency we’re trying to fix. The oils from your skin are particularly bad, as they saturate the cloth fibers and can mess with how the sensor reads the surface.
Know Your Materials: A Quick Breakdown
Using the wrong method for your pad’s material is the #1 way to ruin it. Here’s what you’re likely dealing with:
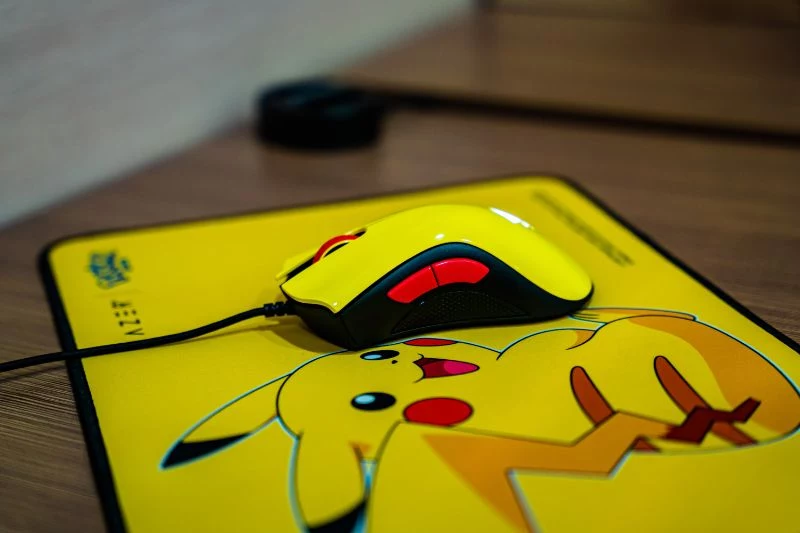
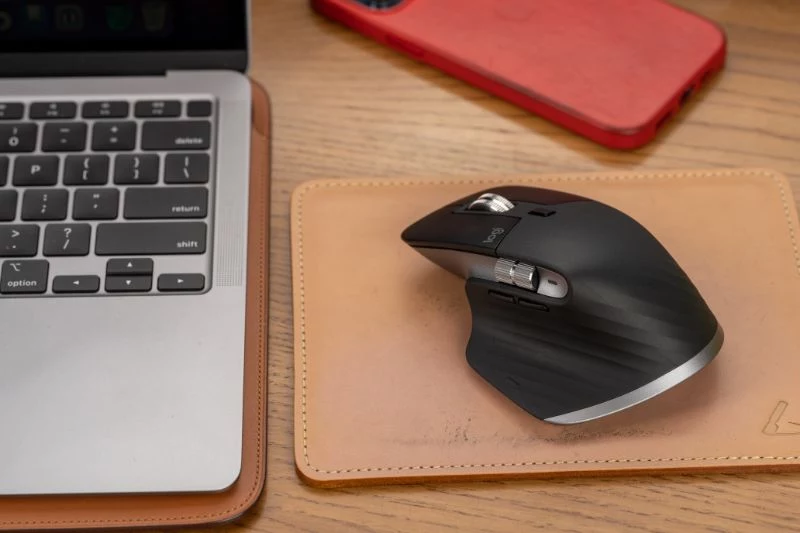
- Standard Cloth: The most common type. It’s usually a fabric top glued to a rubber base. Super durable, but they act like a sponge for grime.
- Hard Surface: These are often made of plastic, polycarbonate, or aluminum. They offer a fast glide and are easy to wipe down since dirt just sits on top.
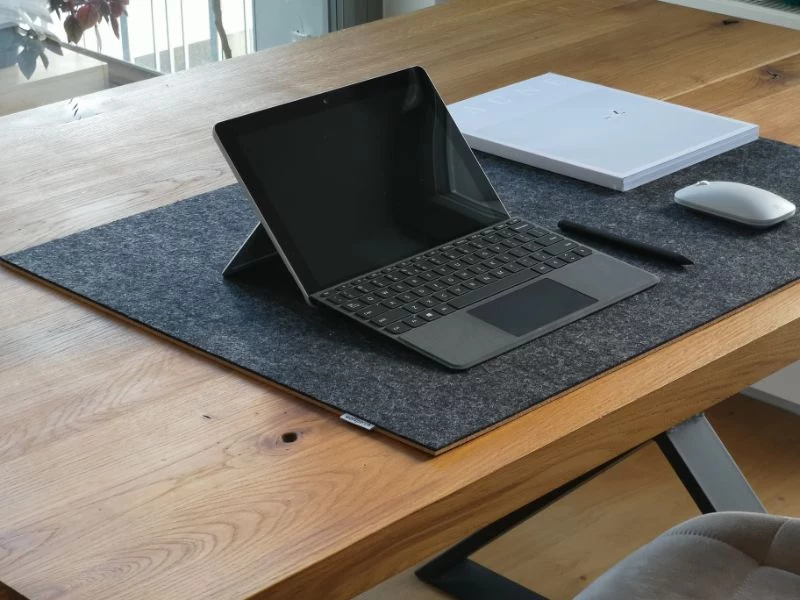
- Hybrid: These are a mix of cloth and plastic, often using tightly woven synthetics. They try to give you the comfort of cloth with the speed of a hard pad, and they resist moisture better than standard cloth.
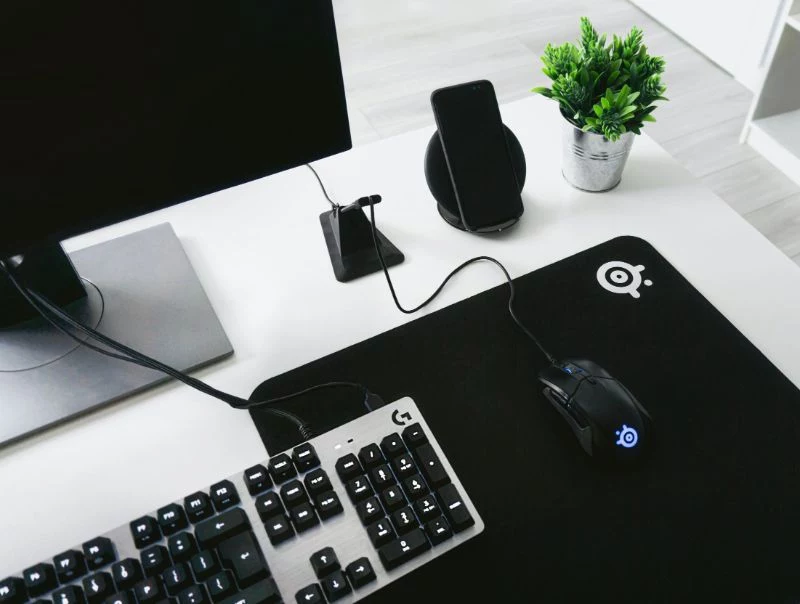
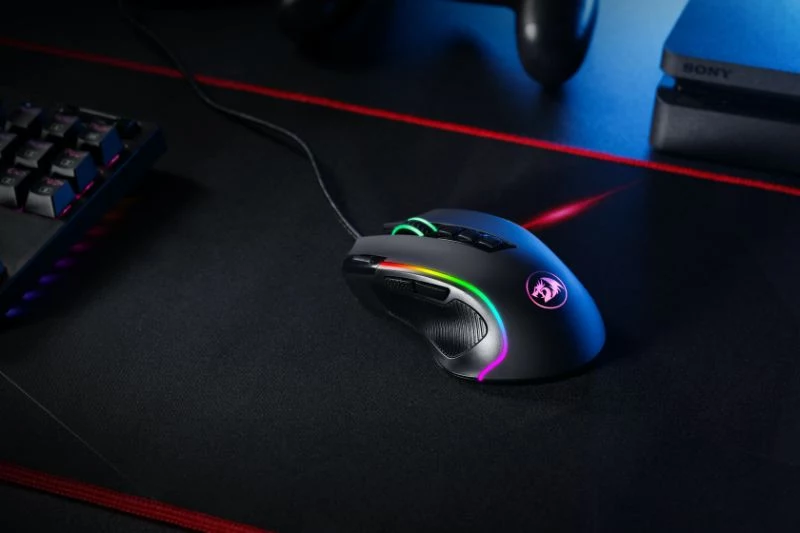
- RGB Pads: Essentially a cloth or hybrid pad with built-in electronics for lighting. The key here is the electronics—these can NEVER be submerged in water.
- Glass: A newer trend for enthusiasts. Made from tough tempered glass, they offer insane speed and durability. They are super easy to clean, but humidity from your hand can be a factor.
Your Mousepad Cleaning Toolkit (For Under $20)
Good news: you don’t need a bunch of expensive, specialized stuff. This simple kit will handle 99% of all mousepad cleaning jobs, and you can get everything you don’t already have for cheap.
- Mild Dish Soap: A bottle of basic Dawn is perfect. It’s designed to break down grease and oil but is gentle enough for most fabrics. You can grab a bottle for about $3.
- Soft-Bristle Brush: A mushroom brush, a dedicated nail brush, or even a new, soft-bristle toothbrush works great. The goal is to gently scrub the fibers, not tear them up. You can find one for around $5.
- Microfiber Cloths: Have at least two on hand. They’re amazing for lifting dirt and moisture without leaving lint behind. A pack of them is usually less than $10 at any big-box store or online.
- A Basin or Sink: You just need something big enough to lay the mousepad flat. Your kitchen sink or bathtub is ideal.
Heads Up! What to NEVER Use
I’ve seen so many pads destroyed by these items. Please, avoid them at all costs.
- The Washing Machine & Dryer: I know some guides say it’s okay, but I strongly advise against it. I’ve seen the aftermath. The heat and tumbling can separate the cloth from the rubber base, fray the edges, and leave permanent creases. It’s a high-risk gamble. The dryer is even worse—it will literally melt and warp your pad into a useless piece of plastic.
- Harsh Chemicals: Stay away from bleach, all-purpose kitchen sprays, glass cleaners with ammonia, and any kind of solvent. They can discolor the graphics, eat away at the rubber, and ruin the fabric’s texture.
- Direct Heat: Trying to speed up the drying process with a hairdryer or by leaving it in direct sunlight is a classic mistake. Just like a clothes dryer, this direct heat will damage the rubber base and cause warping. Patience is key!
Step-by-Step Cleaning Methods for Every Pad
Alright, let’s get to it. The right method really depends on your pad. For most cloth pads, we’re doing a full deep clean that needs about 24-48 hours to dry. For RGB or hybrid pads, it’s a careful surface wipe that’s dry in an hour or two. And for hard or glass pads, it’s a super-fast 2-minute refresh. When in doubt, always test your cleaning solution on a tiny, hidden corner first.
Method 1: The Deep Clean for Cloth Mousepads
This is the workhorse method for standard cloth pads. It’s what you’ll use for most popular gaming and office pads.
Time Estimate: 15 minutes of work, 24-48 hours to dry.
- Initial Prep: Take the pad outside and smack it against a railing a few times. You will be shocked at how much loose dust and hair comes out.
- Prepare the Bath: Fill your sink or a basin with cool to lukewarm water. Never use hot water, as it can weaken the adhesive. Add a few drops of your mild dish soap and swish it around.
- The Soak: Submerge the mousepad completely and let it soak for about 10-15 minutes. This gives the soap time to start breaking down all those embedded oils.
- The Gentle Scrub: Lay the wet pad on a flat surface. Put a small drop of dish soap directly on the pad and use your soft-bristle brush to gently scrub the surface in small, circular motions. You’ll see a dirty lather form—that’s a good sign! Focus on the grimiest spots. By the way, this deep clean is also a miracle worker for getting rid of any funky smells that have built up over time.
- Heads up for giant desk mats: If your pad is too big for the sink, the bathtub is your new best friend. The cleaning steps are exactly the same, just on a larger scale!
- The Rinse: This part is critical. You have to get ALL the soap out, or you’ll be left with a sticky residue. Hold the pad under a gentle stream of cool water and gently squeeze it like a sponge until you don’t see any more soap bubbles.
- Removing Excess Water: Lay the pad on a clean, dry towel. Place another dry towel on top and press down firmly (or roll the whole towel-pad sandwich up). This squeezes out most of the water without twisting or damaging the pad.
- The Drying Phase: Now for the test of patience. Lay the pad flat on a drying rack or hang it from a clothesline, away from any direct heat or sunlight. It needs to air dry completely, which can take a full day or two depending on humidity. Quick Tip: You can speed this up! Point a regular room fan (on a cool, low setting) at the drying pad to improve air circulation. It can cut the drying time down significantly.
Method 2: The Careful Wipe-Down for RGB and Electronic Pads
Water and electronics are not friends. This is a surface-level clean only.
Time Estimate: 5 minutes of cleaning, 1-2 hours to dry.
- Safety First: UNPLUG the mousepad. Always.
- Prep Your Tools: Mix a single drop of soap in a small bowl of warm water. Get one microfiber cloth for cleaning and one for drying.
- The Damp Wipe: Dip a cloth in the soapy water and wring it out until it is BARELY damp. No drips! Gently wipe the surface, avoiding the plastic housing for the electronics.
- The Rinse Wipe: Rinse the cloth with clean water, wring it out completely, and wipe the pad again to remove any soap residue.
- Drying: Lay it flat to air dry. Since you used so little water, it should be ready in an hour or two. Don’t plug it back in until you’re 100% sure it’s dry.
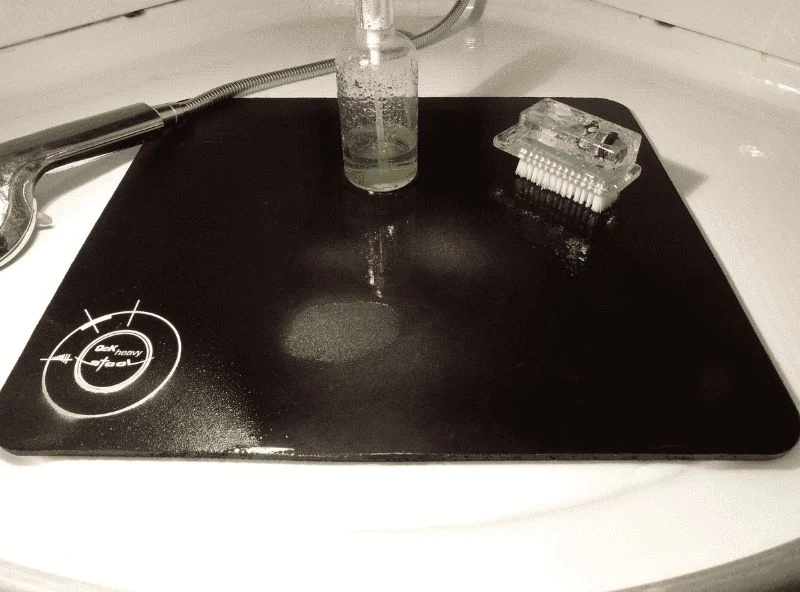
Method 3: The Surface Refresh for Hard, Hybrid, and Glass Pads
This is the 2-minute quick win. Dirt just sits on top of these, so cleaning is a breeze.
- For Hard Plastic/Hybrid: Use the same damp microfiber method as the RGB pad. A light wipe with a soapy cloth, a rinse wipe with a clean damp cloth, and you’re done. For really stubborn smudges, a tiny bit of Isopropyl Alcohol on a cloth can work, but always test it on a corner first.
- For Glass Pads: These are the easiest. Grab an ammonia-free glass cleaner, spray it onto your microfiber cloth (not the pad itself), and wipe it down. Immediately buff it dry with a clean, dry microfiber cloth for a perfect, streak-free glide.
Pro Fixes for Common Problems
Sometimes you run into weird issues. Here are a few tricks I’ve learned for dealing with them.
- Fixing Frayed Edges: If your stitched edges are getting fuzzy, the safest bet is to buy a product called Fray Check. It’s a type of fabric glue you can find at most craft stores or online for about $5-$7. A tiny bit applied along the edge will seal it up nicely. For the more adventurous, there’s an expert-level trick: you can quickly pass the flame from a lighter along the frayed threads to melt and seal them. But seriously, be EXTREMELY careful if you try this. It’s easy to melt the actual pad surface.
- Tackling Stubborn Stains: For a greasy food stain, pre-treat it by working a single drop of dish soap into the spot with your finger. Let it sit for 10 minutes before you start the deep clean.
- My Pad is Curling! Don’t panic, this can happen after a deep clean. While the pad is still a little damp, lay it on a flat, hard floor and place some heavy books evenly across the surface. Let it finish drying under the weight, and it should flatten right out.
Knowing When It’s Time to Say Goodbye
Even the best mousepad is a consumable item. It won’t last forever. It’s time for a replacement if:
- The cloth top is peeling away from the rubber base.
- The rubber base is cracked, crumbly, or no longer grips your desk.
- There are permanent worn-out spots or divots in the surface.
- Even after a perfect cleaning, the glide just isn’t there anymore. The fibers are likely worn down.
Taking a few minutes to clean your gear is simple maintenance that pays off big time. It makes using your computer more enjoyable, keeps your desk more hygienic, and protects the money you spent on good equipment. Follow these methods, and you’ll keep your pad feeling brand new for as long as possible.
Inspirational Gallery
A word of warning on drying: Never use a hairdryer, radiator, or direct sunlight to speed things up! The intense heat can melt the adhesive that binds the cloth to the rubber base, causing it to peel and warp. Patience is key—let it air dry completely, flat on a towel, for at least 24-48 hours before use.
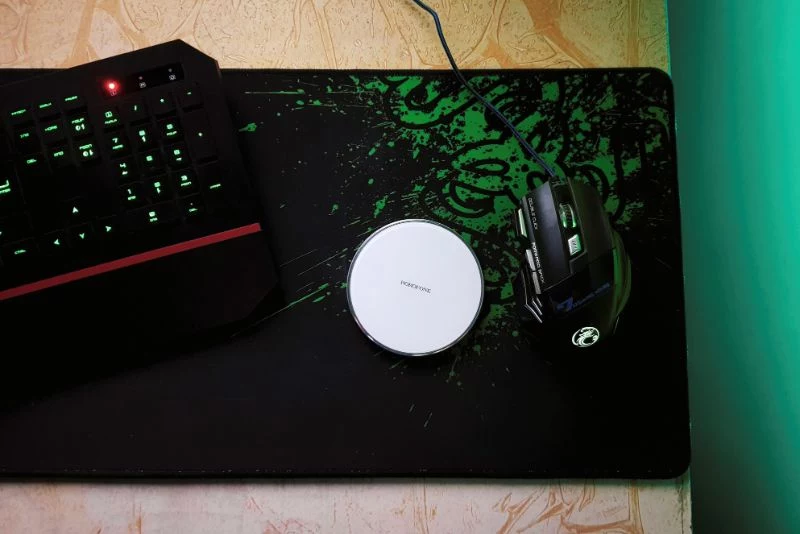
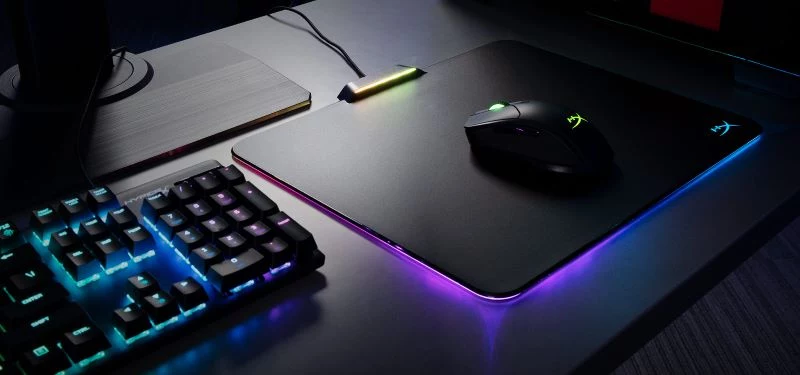
What about my RGB mousepad? Can I really submerge it?
Absolutely not! For pads with integrated lighting like the Razer Goliathus Chroma or SteelSeries QcK Prism, water and electronics are a disastrous mix. The key is to clean it in place. Unplug the pad first. Use a slightly damp microfiber cloth with a tiny drop of dish soap, and gently wipe the surface, staying well away from the USB port and lighting controller. Use another clean, damp cloth to “rinse” and then pat dry. Never soak it.
Your desk can be a hotspot for germs, harboring over 400 times more bacteria than a toilet seat, according to research from the University of Arizona.
Since your hand and wrist are in constant contact with your mousepad, it’s a major contributor to that germ count. Regular cleaning isn’t just for performance; it’s a basic part of a hygienic workspace.
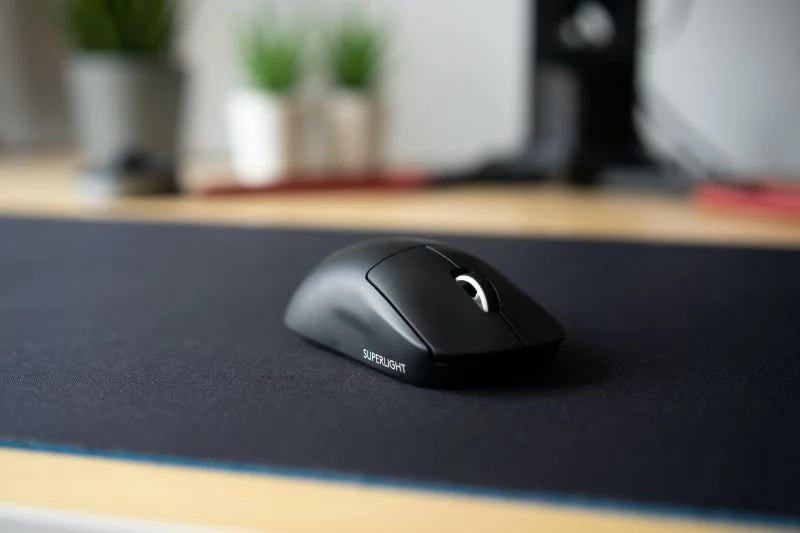
Cordura Pads: Known for durability and a speedy glide (popularized by brands like Endgame Gear), these pads resist abrasion but can trap fine dust. A soft brush and gentle wipe-down are usually enough. They are water-resistant but not waterproof, so deep cleaning should be done carefully.
Glass Pads: The ultimate for speed (think SkyPAD or Pulsar Superglide), these are the easiest to clean. A quick wipe with a microfiber cloth and a bit of glass cleaner removes oils and dust instantly. Their non-porous surface means zero staining.
For low-maintenance speed, glass wins. For a more controlled, durable fabric feel, Cordura is king.
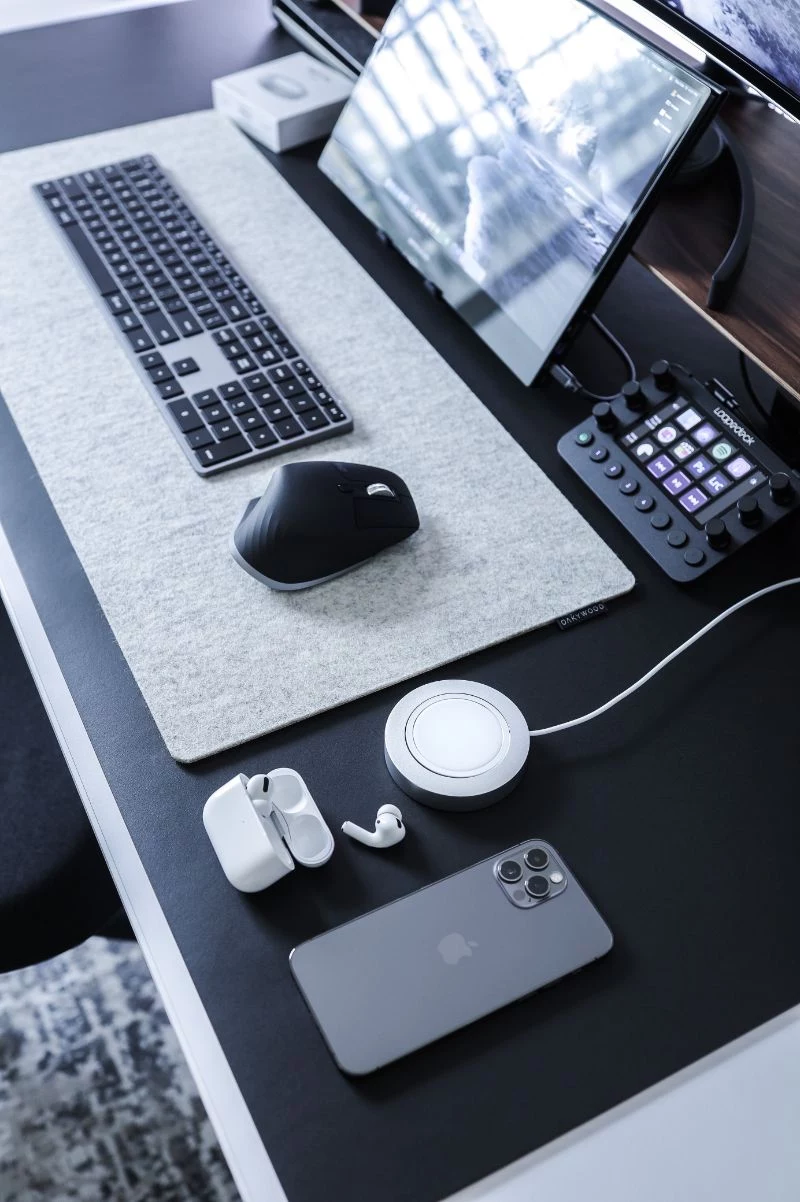
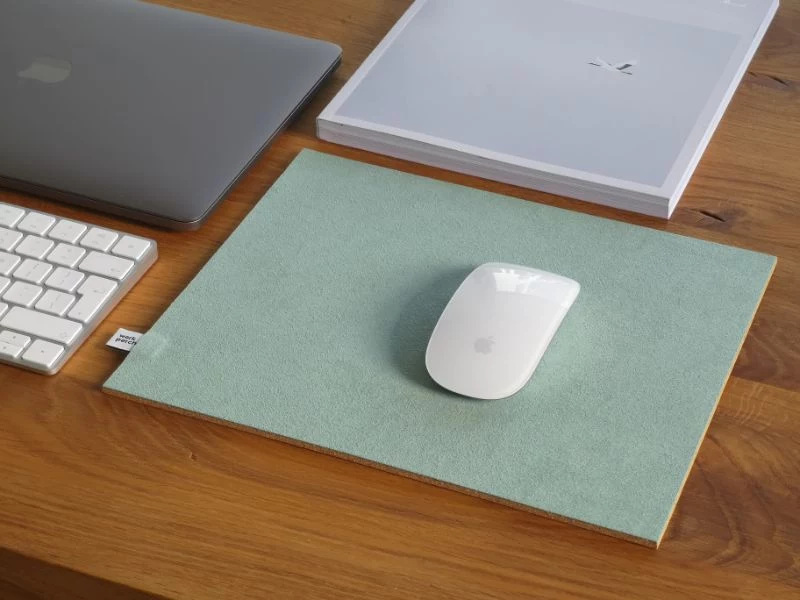
There’s a unique satisfaction in that first mouse movement across a freshly cleaned pad. The glide is effortless, silent, and perfectly consistent. Your cursor lands exactly where you intend, with no unexpected friction or sticky spots. It’s a small change that resets your entire interaction with your computer, making work feel more precise and gaming more responsive.
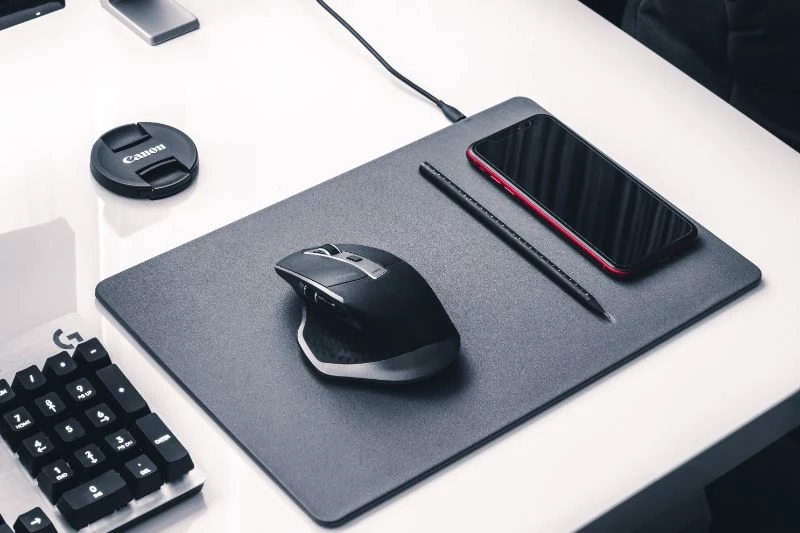
That dreaded moment: a splash of coffee or soda lands right on your pristine cloth pad. Don’t panic, but act fast to prevent a permanent stain.
- Immediately blot the spill with a paper towel. Don’t rub, as this will push the liquid deeper into the fibers.
- For sugary drinks, use a cloth dampened with cool water to gently dab the area, working from the outside-in to prevent the stain from spreading.
- If an oily stain remains, a tiny amount of dish soap on a damp cloth can help break it down before your next full deep clean.
In professional esports, teams often have a stack of identical mousepads for their star players, swapping them out before a big match to guarantee a flawless surface.
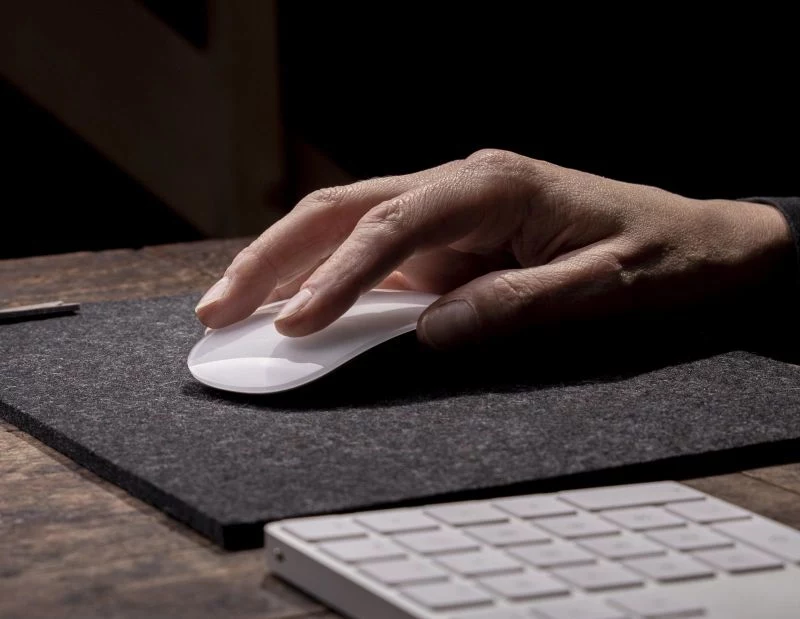
- Enjoy a slicker, more consistent glide.
- Create a barrier against future spills and sweat.
The secret? After your pad is 100% clean and dry, consider a light misting of a fabric protectant spray like Scotchgard Fabric Water Shield. Always test on a small, inconspicuous corner first and allow it to fully cure as directed. This can add a hydrophobic layer, making future clean-ups a breeze.
Your basic cleaning toolkit doesn’t need to be fancy. Most items are likely already in your home:
- A soft-bristle brush (an old toothbrush works great) for loosening embedded grime.
- A quality microfiber cloth that won’t leave lint behind.
- Mild, dye-free dish soap (like original Dawn) – it’s designed to cut through grease and oil without harsh chemicals.
- A basin or sink large enough for the pad to lie flat.


