Your Mouse Pad is Gross. Here’s How to Clean It The Right Way.
Let’s be honest for a second. When was the last time you actually cleaned your mouse pad? If you’re like most people, the answer is probably… never. We spend a fortune on fancy gaming mice with hyper-sensitive sensors and then let them drag across a surface caked in dust, skin oils, and that one time you spilled a little coffee.
In this article
- Why a Filthy Pad Messes With Your Mouse
- Your Pro Cleaning Kit (For Under $20)
- How Often Should You Clean It? A Simple Schedule
- The Quick Clean: A 5-Minute Refresh
- The Deep Clean Method for Cloth Mouse Pads
- A Word on Washing Machines…
- Cleaning Hard-Surface and RGB Pads
- Quick Fixes for Common Problems
- Knowing When to Say Goodbye
- Inspirational Gallery with Photos
A dirty pad isn’t just an eyesore; it’s actively sabotaging your mouse’s performance. I once helped a graphic designer who was convinced her expensive mouse was broken. The cursor kept skipping and lagging. I took one look at her stained mouse pad, gave it a deep clean using the exact method I’m about to share, and poof—the mouse worked perfectly. She almost spent $150 on a new mouse when the real problem was a $20 fix.
Cleaning a mouse pad is simple, but there’s a right way and a very, very wrong way to do it. It’s all about using the right stuff to get the gunk out without wrecking the fabric, the adhesive, or the rubber base. So, let’s get your gear back to that fresh-out-of-the-box glide.
Why a Filthy Pad Messes With Your Mouse
So what’s the big deal? Your mouse, whether it’s optical or laser, is basically taking thousands of tiny pictures of the surface every second. An internal brain analyzes these pictures to see how you’re moving. For that to work, the surface needs a consistent, predictable texture.
When your pad gets dirty, you’re smearing a nasty paste of dust, sweat, and oils all over it. This gunk fills in the tiny woven valleys of the fabric or creates smudges on a hard surface. To your mouse’s sensor, these grimy patches are like potholes on a highway. The sensor sees a sudden change in texture and light reflection, which causes the cursor to stutter or skip. You might blame your computer, but nine times out of ten, it’s just the pad.
And you can’t just use any cleaner. Most cloth pads have a fabric top that’s glued to a rubber base. Harsh chemicals can eat that glue for lunch, causing the cloth to peel away from the rubber. That’s a one-way ticket to a new mouse pad.

Your Pro Cleaning Kit (For Under $20)
You don’t need a bunch of expensive, specialized products. In fact, some of the worst damage I’ve seen comes from people using aggressive bathroom cleaners. Stick to the basics. You can get everything you need for less than twenty bucks.
Your Shopping List:
- Mild Dish Soap (~$3): This is your secret weapon. But not just any soap! You want something simple, like the original blue Dawn or a “Free & Clear” version. Avoid anything with added moisturizers, bleach, or heavy-duty degreasers. The simple stuff is perfect for breaking down oils without being harsh.
- A Soft-Bristle Brush (~$5): This is a must-have for cloth pads. A mushroom cleaning brush, a soft nail brush, or even a brand-new, soft toothbrush works great. The goal is to gently scrub the fabric, not tear it to shreds.
- Microfiber Cloths (~$8 for a pack): Get at least two. They’re designed to trap dirt without being abrasive. One for cleaning, one for drying. Please, don’t use paper towels—they’ll just leave linty bits all over your nice clean pad.
Heads up! What to AVOID at all costs:
I’m not kidding, these will absolutely ruin your mouse pad. Don’t even think about it.
- Bleach, ammonia-based cleaners, or harsh solvents.
- Abrasive sponges or steel wool (this should be a no-brainer).
- The washing machine and especially the dryer. More on that in a bit.
How Often Should You Clean It? A Simple Schedule
You don’t need to do a deep clean every week. Here’s a good rule of thumb:
- Heavy Use (Gamers, Full-Time WFH): Do a quick spot-clean once a month and a full deep-clean every 3-4 months.
- Casual Use (Everyday browsing): A deep-clean once or twice a year is probably all you need.
Of course, if you spill something, clean it immediately!
The Quick Clean: A 5-Minute Refresh
Don’t have time for a full 2-day drying process? I get it. Here’s a quick refresh for cloth pads that works wonders for minor grime.
- Dip a microfiber cloth in warm water with a single drop of dish soap.
- Wring it out until it’s just damp. It shouldn’t be dripping at all.
- Gently wipe down the entire surface of the pad in one direction to pick up surface dust and oils.
- Rinse the cloth with clean water, wring it out completely, and wipe the pad down again to remove any soap residue.
- Let it air dry for an hour or two. It won’t be a deep clean, but it’s much better than nothing.
The Deep Clean Method for Cloth Mouse Pads
This is the full-on restoration for when your pad is truly grimy. Plan on doing this when you can go without your pad for a day or two, because drying takes time.
Step 1: The Dry Brush (5 mins)
Before getting it wet, lay the pad flat and give it a good brushing with your soft-bristle brush. This gets rid of all the loose crumbs, hair, and dust so you’re not just making mud later.
Step 2: The Wash (15-20 mins)
Fill your sink with lukewarm water—not hot! Hot water can weaken the adhesive. Submerge the pad and let it soak for about 10 minutes to loosen everything up. Then, add about a teaspoon of your mild dish soap to the water and gently scrub the entire surface in small, circular motions with your brush. You don’t need to push hard. You’ll feel the grimy spots offer a bit of resistance, which smooths out as they get clean.
Quick Tip for Giant Desk Mats: If your mat is too big for the sink, the bathtub is your best friend. Just follow the same process in the tub. It feels a little weird, but it works perfectly.
Step 3: The Rinse (5 mins)
This part is critical. Drain the soapy water and rinse the pad under cool, running water. Gently squeeze it (don’t wring it!) until the water runs clear and you don’t see any more soap suds. Leftover soap will make your pad feel sticky and attract dirt faster. NEVER twist or wring out your mouse pad. You’ll stretch the fabric and cause it to peel off the base.
Step 4: The Drying Process (24-48 hours)
Patience is key here. Lay the wet pad on a clean, dry towel. Put another towel on top and press down firmly to blot out most of the water. Then, you need to let it air dry. The best way is to hang it over a shower rod or on a pants hanger, away from direct sunlight or heat vents. Heat will warp the rubber.
It needs to be 100% dry before you use it, which can take a full day or even two depending on how humid it is. A damp core can lead to mildew, and that will permanently ruin the pad (and smell awful). By the way, this deep clean usually gets rid of any funky odors, too.
Common Pitfall: Sometimes the edges might curl up a bit as it dries. No big deal. Once it’s fully dry, just lay it on your desk and place a few heavy books on the edges for a few hours. It’ll flatten right out.
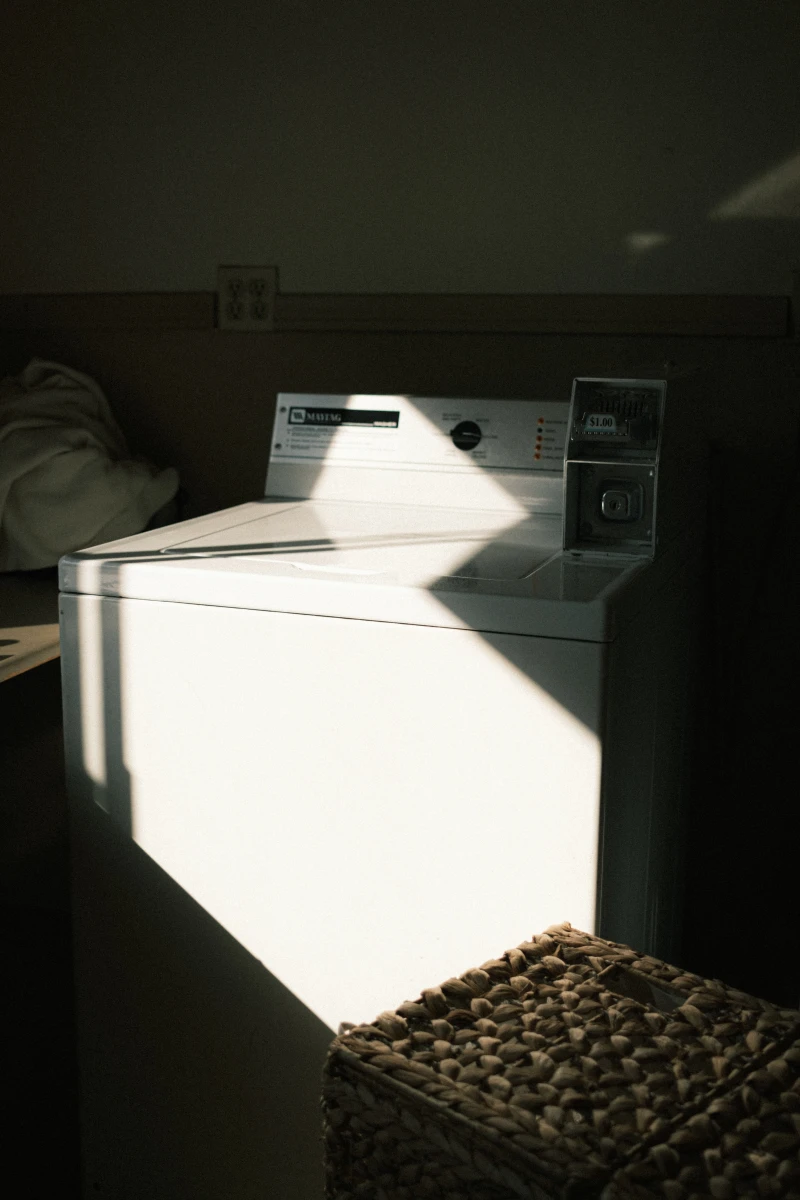
A Word on Washing Machines…
Look, a lot of guides online say you can toss your pad in the washing machine. As someone who’s seen the aftermath, I strongly advise against it. It’s just too aggressive. But if you have a cheap pad and you’re willing to gamble, use the absolute gentlest ‘Delicates’ or ‘Hand Wash’ cycle with cold water only and a tiny bit of soap. And I’ll say it again for the people in the back: NEVER, EVER PUT A MOUSE PAD IN THE DRYER. It will melt the rubber and delaminate the cloth. It’s a guaranteed kill shot.

Cleaning Hard-Surface and RGB Pads
These pads need a totally different approach since water is the enemy, especially around electronics.
For Hard-Surface Pads (Plastic, Aluminum, etc.):
These are the easiest. Mix a 50/50 solution of 70% isopropyl alcohol and distilled water in a spray bottle. (Using distilled water prevents mineral spots.) Lightly spray the solution onto a microfiber cloth—not directly on the pad—and wipe it down. The alcohol cuts through grease like a champ. Then, buff it dry with a second, clean microfiber cloth.
Oh yeah, and while you’re at it, clean the little feet on the bottom of your mouse! There’s no point cleaning the road if your tires are covered in mud. Gunk on the mouse feet will just smear grime right back onto your pristine pad.
For RGB and Wired Pads:
This is delicate work. First, and this is not optional, UNPLUG THE PAD from your computer. Get a microfiber cloth barely damp with a mix of warm water and a single drop of dish soap. Wring it out until it’s almost dry. Gently wipe the surface, staying far away from the plastic housing where the USB cable connects. That’s where the electronics live and it’s super vulnerable to water. ‘Rinse’ it with another cloth dampened with just plain water, and then let it air dry for at least 6-12 hours before even thinking about plugging it back in.
Quick Fixes for Common Problems
Problem: My pad feels slow or sticky after cleaning.
Solution: You almost certainly didn’t rinse all the soap out. Give it another thorough rinse in cool, clean water and let it dry completely again. That should fix it.
Problem: A super greasy stain from food.
Solution: Before the full wash, put one drop of undiluted dish soap directly on the spot. Gently work it in with your finger and let it sit for 15 minutes, then proceed with the normal deep clean.
Problem: The stitched edges are fraying.
Solution: Don’t pull the thread! You’ll just unravel it more. Take some small, sharp scissors and carefully snip the loose thread off as close to the edge as you can.
Knowing When to Say Goodbye
Even with perfect care, a mouse pad is a consumable item. It will wear out. You’ll know it’s time for a replacement when the cloth starts bubbling up from the rubber base, the surface feels worn and inconsistent, or the rubber bottom is cracked and won’t grip your desk anymore.
Taking 20 minutes every few months to care for your gear makes a huge difference. It’s a small bit of effort that pays off in better performance and longer life for your equipment. Your mouse will thank you for it.
Inspirational Gallery with Photos
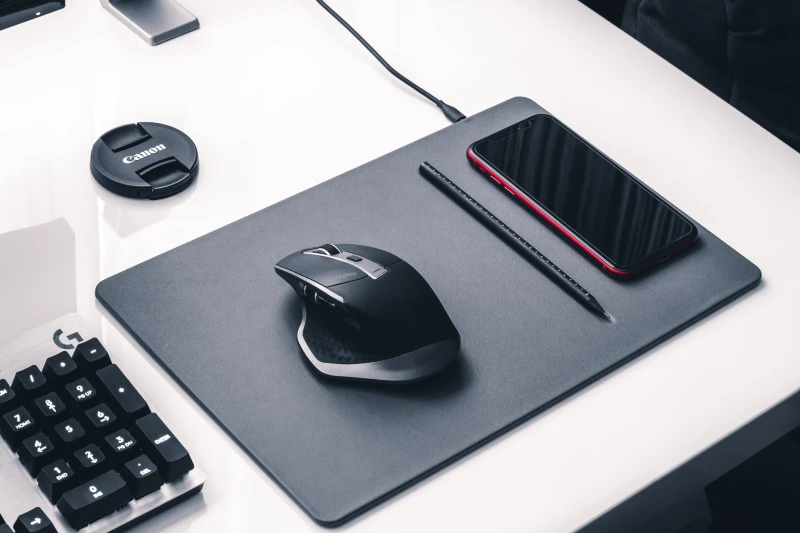
Hard Pad vs. Cloth Pad Cleaning: While the article nails cloth pad care, hard surfaces need a different touch. A hard pad, like the Logitech G440, just needs a wipe with a microfiber cloth and a tiny bit of isopropyl alcohol to dissolve oils. Never use abrasive sponges that can create micro-scratches.
Cloth Pad: Requires a deep-soaking wash to get grime out of the weave.
The key is knowing your material: gentle soaking for fabric, quick wipes for plastic or metal.
A study from the University of Arizona found that the average office desk harbors 400 times more bacteria than the average toilet seat.
And your mouse pad is prime real estate for that bacteria. It’s not just about performance; it’s a matter of basic hygiene. That regular wash with dish soap doesn’t just restore your glide, it obliterates a hidden ecosystem of germs right under your hand.
Patience is a virtue, especially when drying. A botched drying job can ruin a perfectly clean pad. Never, ever use a hairdryer or put it in the clothes dryer.
- Gently press out excess water with a dry towel (don’t wring or twist!).
- Lay it completely flat on a well-ventilated surface, away from direct sunlight.
- Allow a full 24-48 hours to air dry. Using it while still damp can damage the fibers and rubber base.
Wait, my mouse pad has a specific texture for a reason?
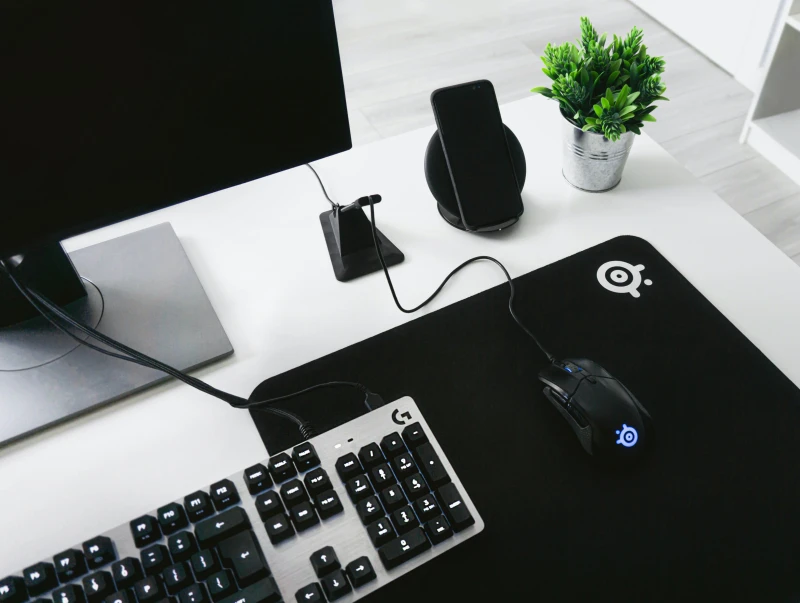
Absolutely. High-performance gaming pads aren’t just one-size-fits-all. A ‘Control’ pad, like the ZOWIE G-SR, has a dense, textured weave to provide maximum friction for precise mouse movements. A ‘Speed’ pad, like many from SteelSeries’ QcK line, has a smoother, silkier surface for fast, effortless glides. Grime and oils clog these specialized weaves, turning your expensive Control pad into a generic, sticky surface and robbing your Speed pad of its signature slickness.
The secret to that ‘like-new’ glide isn’t just the pad. Often, the problem is two-fold. After cleaning your pad, flip over your mouse. The small plastic or PTFE feet (often called skates) get caked with the same gunk. Use a cotton swab with a bit of alcohol to wipe them clean. A clean pad with dirty skates is like driving a sports car with muddy tires.
- A consistent, buttery-smooth glide for your mouse.
- Reduced sensor skips and tracking errors in critical moments.
- A desk that looks and feels professionally maintained.
The trick? It’s not just about washing. The real pro move is rotating your mouse pad 180 degrees every month. Most users have a very specific wrist resting point, causing uneven wear over time. Rotation distributes this wear evenly, dramatically extending the life of the pad’s sweet spot.
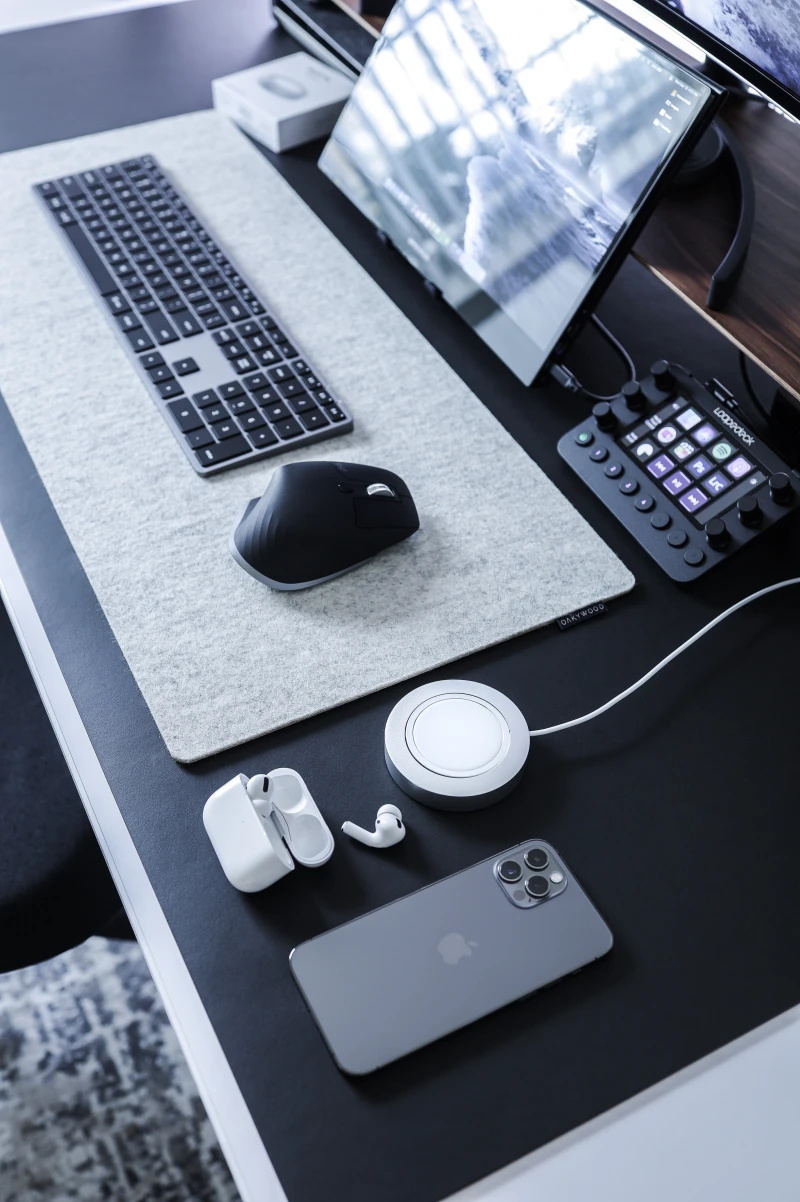
Don’t forget the aesthetic upgrade. The trend of oversized ‘desk mats’ has transformed the humble mouse pad into a centerpiece of desk setups. Brands like Grovemade offer premium wool felt options, while companies like NovelKeys create limited-run artistic designs that cover your entire keyboard and mouse area. Cleaning these is even more critical, as they’re a much larger canvas for spills and dust.
Stuck with a stubborn smell? Sometimes a standard wash won’t eliminate lingering odors from smoke, food, or sweat. For fabric pads, you can try a pre-soak. In a basin of cold water, mix in a quarter-cup of baking soda before adding the dish soap. Let the pad soak for an hour. The baking soda is a natural and gentle deodorizer that neutralizes acidic odors without harming the pad’s materials.
Warning: Never fully submerge a mouse pad with integrated electronics, like those with RGB lighting (e.g., Razer Firefly) or USB pass-throughs.
For these, unplug the device and use a slightly damp microfiber cloth with a drop of soap to gently scrub the surface, carefully avoiding all electronic components and seams. The goal is a surface clean, not a deep soak.


