Stop Ruining Your Monitor: The Right Way to Actually Clean Your Screen
After years of working in IT support and broadcast engineering, I’ve probably cleaned thousands of screens. I’ve seen everything from ancient, dusty monitors in the back of a newsroom to the super high-resolution panels that video editors use today. And honestly, the one thing that never changes is that most people are terrified to clean their monitors.
In this article
And they have a good reason to be cautious! A modern screen isn’t just a piece of glass; it’s a delicate bit of tech. Using the wrong chemical or even the wrong cloth can leave you with permanent, ugly damage.
So, a lot of people just live with the smudges, dust, and fingerprints because they’re scared of making it worse. But a dirty screen is more than just an eyesore. It can cause real eye strain as your vision constantly tries to focus past the grime. For anyone doing creative work, a smudged screen can mess with color accuracy and hide important details. The good news? Cleaning your monitor is actually simple and safe… if you do it right. It just takes the right tools and a little bit of patience. This isn’t about a quick swipe with your t-shirt sleeve; it’s about a professional method that protects your gear.
First, Know What You’re Wiping
To get why the method matters, you need to know what you’re actually cleaning. A modern monitor is a complex sandwich of super-thin layers, and that outermost layer is incredibly vulnerable.
Most matte-finish screens have a special anti-glare (AG) coating. Think of it as a microscopically rough surface that scatters light so you don’t get annoying reflections. This coating is usually a soft polymer that’s super easy to scratch. It can also be dissolved by harsh chemicals like ammonia or alcohol. So when you grab a bottle of household glass cleaner, you’re literally stripping away that essential layer. The result? Permanent cloudy or shiny patches that you can’t fix.
On the other hand, many glossy and touchscreen monitors have an oleophobic coating. This is a fancy way of saying it repels oil, which is why fingerprints wipe off so easily (at first). It’s the same stuff on your smartphone. But this coating also hates alcohol and abrasive cleaners. Wear it down, and suddenly your screen is a sticky fingerprint magnet.

Oh, and one more thing: static. When your monitor is on, it generates a small static field that actively pulls dust out of the air. It’s why a screen can look clean one minute and dusty the next. Turning it off and letting it cool down kills that static charge, making dust much easier to wipe away for good.
Your No-Nonsense Shopping List
You don’t need some fancy, overpriced kit to do this like a pro. In fact, you can get everything you need for under $20. Using the wrong stuff is the #1 mistake, so forget paper towels, old t-shirts, or dish rags.
The Right Cloths (and How to Care for Them)
The most critical tool is a good microfiber cloth. But not all microfiber is created equal. The cheap, flimsy ones you see at the checkout counter just won’t cut it.
Here’s what you should look for:
- Quality Cloths: You want cloths with a high density, often measured in GSM (Grams per Square Meter). Look for something with at least 300 GSM. They’re plush, soft, and super absorbent. Your best bet is to look at an auto detailing shop or search for “optical” or “detailing” microfiber cloths online. A good 3-pack usually costs between $15 and $20. It’s a worthwhile investment.
- Two is Key: Always have at least two cloths on hand for this job—one for the damp wipe and a second, completely dry one for buffing.
Quick Tip on Washing Microfiber: How you wash these cloths is super important. Throwing them in with everything else can ruin them. Wash them separately in your machine on a warm setting with a gentle, dye-free liquid detergent. And here’s the critical part: NEVER use fabric softener. It completely clogs the fibers and makes them useless. Tumble dry on low heat or, even better, just let them air dry.
The Cleaning Solution: Keep It Simple
For 95% of cleaning jobs, the only liquid you need is distilled water. Not tap water! Tap water is full of minerals that leave behind white spots and streaks when they dry. A whole gallon of distilled water costs about $2 at any grocery store and will last you for ages.
Now, compare that to a tiny $15 bottle of commercial screen cleaner. If you check the label on the good ones (look for brands that explicitly say “alcohol-free” and “ammonia-free”), you’ll find their main ingredient is… deionized or distilled water. You’re basically paying a huge markup for a spray bottle and a tiny bit of a gentle cleaning agent.
For a really stubborn, greasy smudge that water alone can’t handle, you can make your own solution. Mix one part white vinegar with about ten parts distilled water. But honestly, I’d only use this on a really grimy screen without a sensitive coating. It’s not something I’d use for routine cleaning.
Heads up! Absolutely never use rubbing alcohol. Even when it’s diluted, it’s just too aggressive for modern screen coatings.
Other Handy Tools
- A Soft Brush: A simple, clean paintbrush or a soft makeup brush is perfect for getting dust out of the monitor’s frame, stand, and vents. You can find one at a craft or dollar store for a few bucks.
- Canned Air (Use with Caution): This can be useful for blowing dust out of tight spots, but you have to be careful. I’ve seen people ruin equipment with this stuff. Always hold the can perfectly upright to avoid spraying the freezing liquid propellant, keep it at least 6-8 inches away from the screen, and only use short bursts. A soft brush is usually the safer bet.
The Cleaning Method: Quick Clean vs. Deep Clean
Sometimes you just need a quick touch-up, and other times you need the full works. Here’s how to handle both.
The 2-Minute Quick Clean (For Dust)
If your screen is just dusty and has no real smudges, this is all you need:
- Turn the monitor off.
- Take a clean, completely dry microfiber cloth.
- Gently wipe the screen in straight lines to lift the dust. Done.
The Full Deep Clean (The Pro Method)
This is the process I’ve used for years. Don’t rush it—that’s how mistakes happen.
Step 1: Prep and Power Down
- First things first: turn the monitor off and unplug it from the wall. This is a crucial safety step that also gets rid of that static electricity we talked about.
- Let the screen cool down for about 15 minutes. A warm screen makes liquids evaporate too fast, which is a recipe for streaks. Plus, smudges are way easier to see on a cool, black screen.
- Use your soft brush to gently dust the frame, stand, and any vents on the back. Keeping those vents clear helps prevent overheating down the line.
Step 2: The Damp Wipe
Remember this golden rule: NEVER spray any liquid directly onto the screen. I once saw an office that had to replace a dozen expensive monitors because a cleaning crew sprayed cleaner right on the screens. The liquid dripped down into the bottom bezel and fried the electronics. It was a very expensive lesson for them.
- Take your first microfiber cloth and lightly dampen a section of it with distilled water. It should be barely damp, not wet. If you can wring even a single drop out of it, it’s too wet.
- Fold the cloth into a square to create a nice, padded surface. Start at the top of the screen and wipe in a smooth, straight line all the way across. Move down a little, overlap your last pass, and repeat until you reach the bottom.
- Next, do the same thing but with top-to-bottom wipes. Avoid scrubbing in circles—that just pushes grime around and can highlight tiny flaws in the coating. Let the damp cloth do the work with very light pressure.
Step 3: The Immediate Dry Buff
This is the step that guarantees a perfect, streak-free finish. Don’t let the screen air dry!
- Grab your second, completely dry microfiber cloth.
- Immediately after the damp wipe, gently buff the screen using the same pattern (side-to-side, then top-to-bottom). This removes any leftover moisture before it can dry into a streak. Use almost no pressure—just the weight of the cloth is enough.
- Stand back and look at the screen from a few different angles to spot any streaks you missed. If you see one, just give that spot a quick re-wipe and buff.
Once you’re happy and the screen is totally dry, you can plug it back in and power it on.
What About Tough Stains and Different Screens?
Sometimes you’ll run into something more stubborn than a fingerprint.
- For Dried-On Gunk: If you have a dried-on spot (like from a sneeze… it happens), don’t scrub harder! Instead, take your damp cloth and just hold it on the spot for 30-60 seconds. Let the moisture rehydrate the gunk. It should then wipe away easily.
- Matte vs. Glossy Screens: Matte screens are great for anti-glare, but their textured surface can trap oils. You might just need to be a little more thorough with the damp wipe. Glossy screens are smooth and easy to wipe, but they show every single streak, so that final dry buff is non-negotiable.
- Touchscreens: These screens have that special oil-repellent coating. It’s really important to only use distilled water here to make that coating last as long as possible.
By the way, if you ever see dust, a tiny bug, or a hair that seems to be inside the screen panel itself, stop. That means a seal has failed, and you can’t clean it from the outside. Trying to open a modern monitor is a job for a professional, and you’ll almost certainly break it. At that point, you either learn to live with it or take it to a repair shop.
And there you have it. Taking a few minutes to clean your monitor the right way isn’t just a chore; it’s how you protect your gear, reduce eye strain, and make sure what you see on screen is crystal clear. Treat it right, and it’ll serve you well for years.
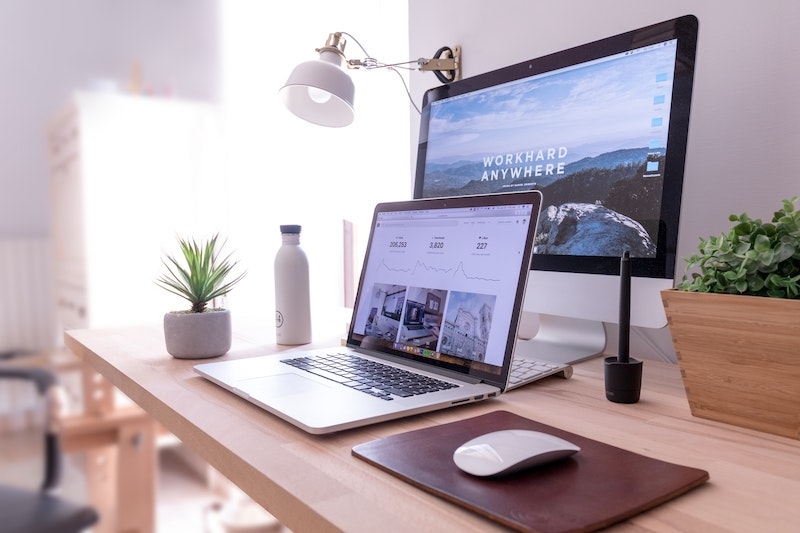
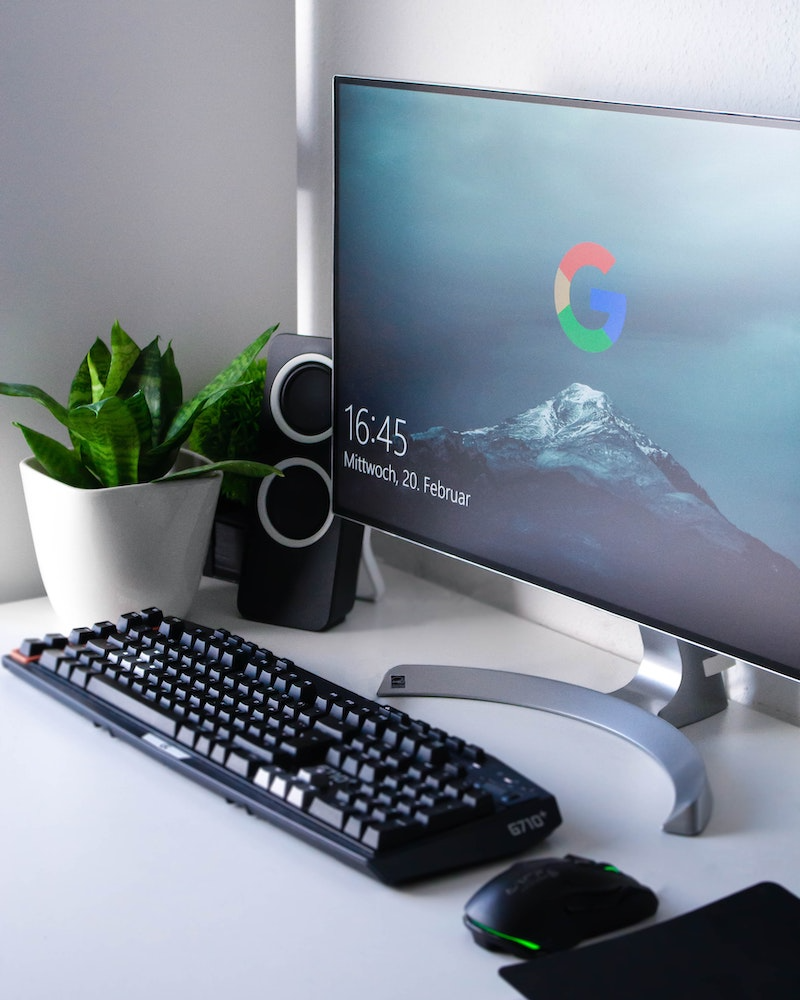
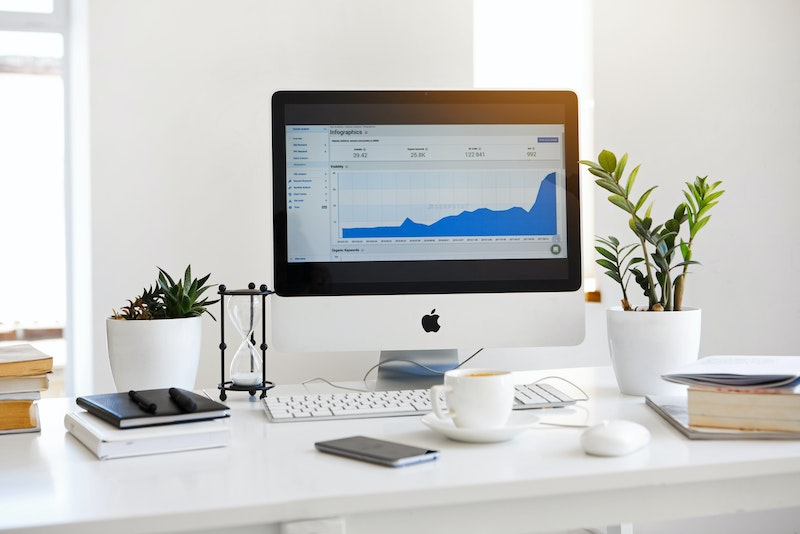
Inspirational Gallery
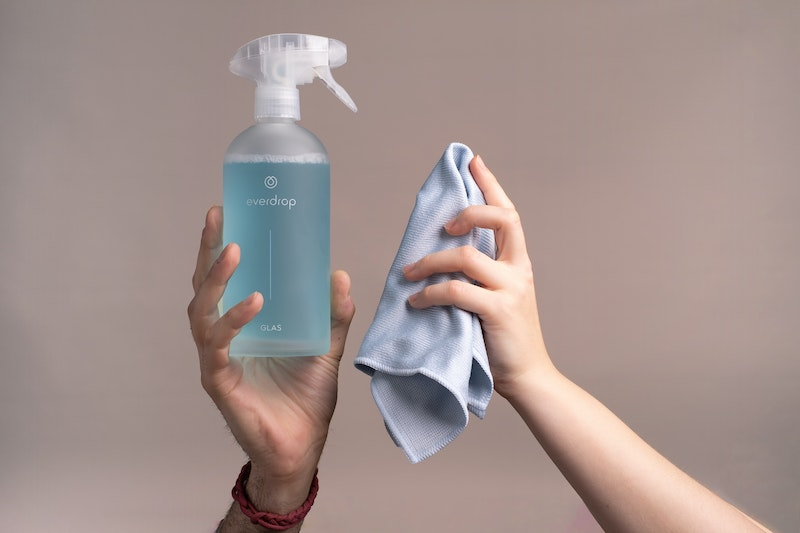
The Golden Rule: Always spray the cleaning solution onto your microfiber cloth, never directly onto the screen. This prevents any liquid from dripping down and seeping into the monitor’s bezel, where it could cause permanent damage to the internal electronics. A light mist on the cloth is all you need.
A powered-on monitor generates a static field that actively attracts airborne dust particles like a magnet.
This is why turning the screen off for at least 15 minutes before cleaning is so effective. It’s not just a safety precaution; it allows the static charge to dissipate, making dust removal significantly easier and preventing new dust from immediately sticking to the surface you just cleaned.
Are those pre-moistened screen wipes a safe shortcut?
It’s a gamble. While convenient, many generic wipes contain alcohol or other harsh solvents that can degrade your screen’s anti-glare or oleophobic coatings over time. They can also be overly saturated, increasing the risk of drips. If you must use them, opt for a brand specifically formulated for delicate electronics, like Zeiss Lens Wipes, and ensure they are merely damp, not dripping wet.
- Deeper, richer blacks in movies and games.
- More accurate and vibrant color representation for photo editing.
- Reduced glare and eye fatigue during long work sessions.
The secret isn’t a new monitor calibration tool. It’s a perfectly clean screen. A thin, almost invisible layer of dust and grime scatters light, effectively washing out the image and reducing its dynamic range. A proper cleaning restores the panel to its peak performance.
Don’t neglect your cleaning tools. A high-quality microfiber cloth is essential, but it loses effectiveness when dirty. Wash your cloths separately in cool water with a gentle, dye-free detergent. Most importantly, never use fabric softener or dryer sheets. Their waxy residue will clog the fibers and leave horrible streaks on your screen. Air drying is the best way to preserve their cleaning power.
Distilled Water: The safest and cheapest option. It’s free of minerals that could leave white spots and is perfect for removing simple dust and fresh fingerprints.
Professional Cleaner (e.g., WHOOSH!): A specially formulated solution that is alcohol- and ammonia-free. It often contains polymers that resist fingerprints and anti-static agents to repel dust for longer. Ideal for more stubborn or oily smudges.
For most weekly cleans, distilled water is all you need. Save the professional cleaner for a deep clean or for particularly stubborn spots.
While you’re at it, perform a
The American Optometric Association reports that up to 90% of computer users experience symptoms of Digital Eye Strain.
A dirty screen is a direct contributor. Smudges, dust, and fingerprints force your eyes to constantly refocus, increasing fatigue and causing headaches. A two-minute clean is one of the easiest ergonomic improvements you can make to your workstation.
For cleaning the very edges and corners of the screen where the bezel meets the panel, a soft-bristled artist’s brush or a new, clean makeup brush works wonders. It can gently sweep out trapped dust that a cloth can’t reach without applying too much pressure to the delicate edges of the screen.


