Your Keyboard Is Gross. Here’s How to Clean It (The Right Way).
I’ve been building and fixing computers for a long time, and I can tell you one simple truth: most keyboards are secretly disgusting. I’ve seen it all. Office keyboards that rattle like a maraca because they’re full of crumbs and staples. High-end gaming boards that took a direct hit from a can of soda. Even old-school mechanical keyboards, yellowed with age, just begging for a careful restoration. Through all this, I’ve learned that a clean keyboard isn’t just about appearances. It’s about how it feels, how it performs, and how long it lasts. It’s a tool, and it deserves proper care.
In this article
- Why Do Keyboards Get So Nasty, Anyway?
- First, Know Your Keyboard Type
- Building Your Cleaning Kit (On a Budget)
- Routine 1: The 5-Minute Weekly Wipe
- Routine 2: The Monthly Deep Clean (No Removal Needed)
- Routine 3: The Quarterly Keycap-Off Clean (Mechanical Keyboards)
- Routine 4: The Annual ‘Like New’ Overhaul (Mechanical Keyboards)
- Emergency! What to Do After a Liquid Spill
- Final Thoughts
- Inspiration:
A lot of people think a quick blast of canned air and a swipe with a wet wipe is enough. Honestly, that can sometimes make things worse by pushing all the gunk deeper inside. To do it right, you need to know what kind of keyboard you have and what level of cleaning it actually needs.

So, let’s walk through it all. We’ll start with the simple weekly wipe-down, move to a more thorough monthly clean, and even cover the full teardown for when things get really serious. This is the exact process I’ve shown to countless clients and new techs over the years.
Why Do Keyboards Get So Nasty, Anyway?
Before we start, it helps to understand the enemy. It’s not just about spilling your coffee. The plastic parts in your keyboard naturally build up a bit of a static charge as you type. This charge is like a magnet for airborne dust, pet hair, and all the other tiny particles floating around your room. Then there are your fingers, which transfer skin oils and sweat onto the keycaps. This oily, dusty mixture creates a sticky film that grime just loves to cling to.
Did you know? Some studies have found that the average office keyboard can have more bacteria than a toilet seat. Yeah. So that weekly wipe isn’t just for looks!
This gunk does more than just look bad. On a standard membrane keyboard, it can get under the keys and make them feel mushy or unresponsive. On a mechanical board, dirt and hair can fall right into the switch itself, causing a scratchy feeling, a key that sticks, or even total failure. See why a surface wipe just doesn’t cut it?
First, Know Your Keyboard Type
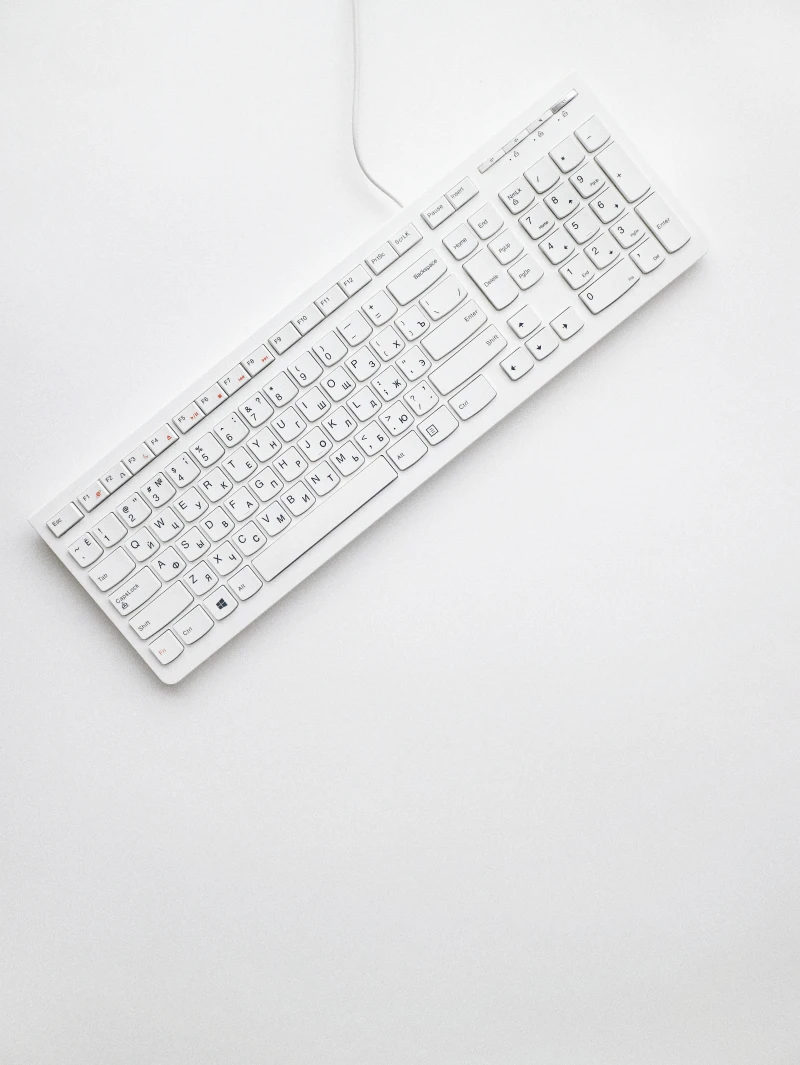
Using the wrong cleaning method can cause real damage, so let’s quickly identify what you’re working with. They generally fall into one of three camps.
- Membrane Keyboards: This is probably what came with your desktop computer. They’re affordable and work by pushing a key down onto a single sheet of rubber domes. They’re pretty quiet but can feel a bit soft. Because of that single rubber sheet, they’re decent at resisting dust. The biggest risk? If liquid gets in, it can spread under that whole sheet and fry the circuits. It’s a nightmare to clean properly without taking the whole thing apart.
- Mechanical Keyboards: A favorite of gamers and writers for their satisfying feel and durability. Each key has its own individual switch. The best part for cleaning is that the keycaps are designed to be popped right off, giving you amazing access to clean the deck underneath. The downside is that those individual switches are open to the elements, so dust and crumbs can fall right in, messing with performance.
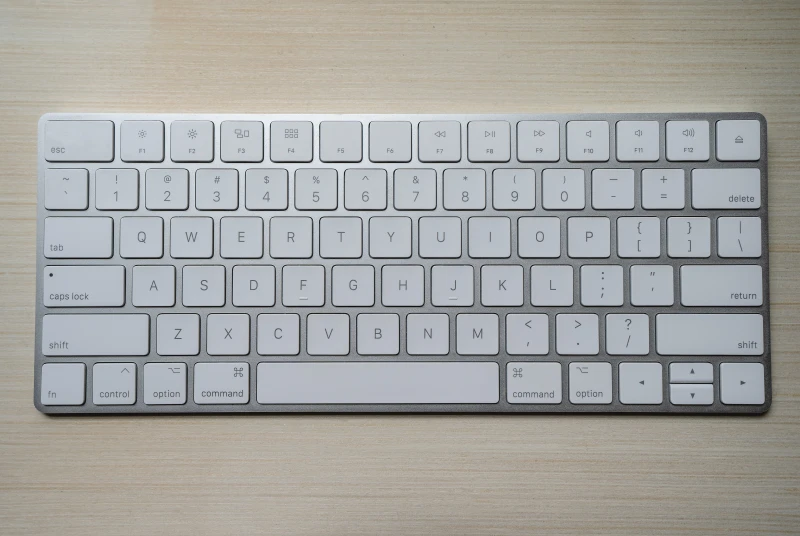
- Laptop Keyboards: These are the most delicate of all. They use fragile “scissor” or “butterfly” mechanisms to stay super thin. I’m telling you right now: do not try to pop these keycaps off unless you know exactly what you’re doing and are prepared for them to break. On top of that, all your computer’s sensitive guts are right underneath. Any liquid spill is a potential catastrophe. Cleaning these requires the most care and the least amount of liquid.
Building Your Cleaning Kit (On a Budget)
You don’t need a high-tech lab, but having the right tools makes the job safer and way more effective. Here’s my go-to kit, with an eye on your wallet.
- Isopropyl Alcohol (IPA): Get the 99% stuff. The 70% version from the drugstore has too much water, which can cause corrosion. You can find 99% IPA online or at an electronics store for about $8-$12 a bottle. Heads up: Never use bleach, acetone, or harsh cleaners—they can literally melt your keycaps.
- Pressurized Air: A can of compressed air works, but you have to keep it upright or it’ll spray freezing liquid propellant. A can will run you about $5. If you clean electronics a lot, consider an electric duster. It’s a one-time investment of $50-$100 but gives you endless, filtered air without the chemicals.
- Brushes: A cheap set of small, soft-bristled paint or detailing brushes is perfect. I like natural hair ones because they tend to be anti-static. You’ll want a wider one for surfaces and a smaller, stiffer one for getting between keys.
- Microfiber Cloths: Lint-free is the only way to go. Paper towels just leave more mess behind. Grab a multi-pack for a few bucks.
- Keycap Puller (for mechanical boards): This is NOT optional if you have a mechanical keyboard. Get a wire-style puller. The cheap plastic ring-style ones can scratch the sides of your keycaps. The bad ones look like a little plastic ring you snap over the key; the good ones look like two little whisks you slide under it. A good wire puller costs around $5-$8 and is worth every penny.
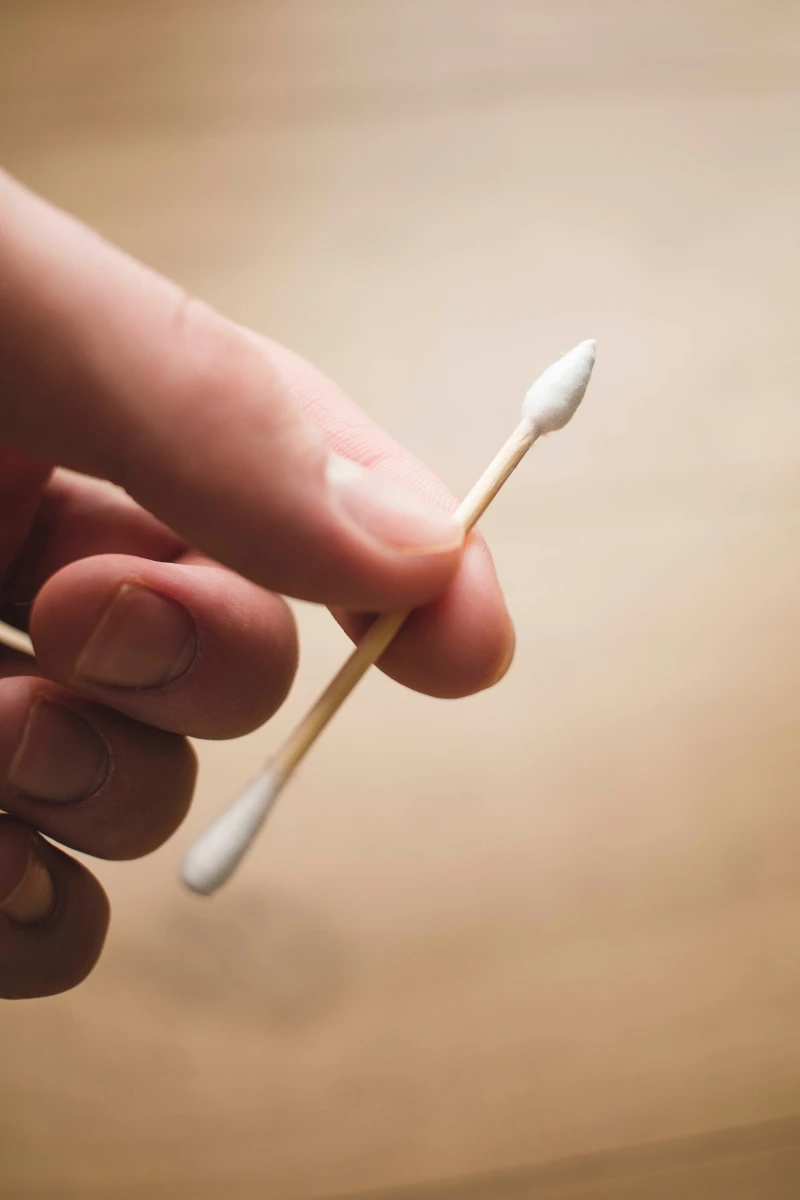
- Optional Goodies: Cotton swabs are great for details. Cleaning putty or slime can also be great, but be careful. Some cheap, off-brand putties can leave a greasy, colored residue. A trusted brand like Cyber Clean is a safer bet, usually costing around $7-$10.
Routine 1: The 5-Minute Weekly Wipe
This is basic hygiene that prevents that sticky film from building up. It takes almost no time.
- Power Down. Always the first step. Unplug your keyboard or turn it off. If it’s a laptop, shut it down completely.
- Turn and Tap. Flip the keyboard upside down over a trash can and give it a few gentle shakes. Don’t go crazy and bang it on the desk. You’ll be surprised what falls out.
- Wipe Down. Lightly dampen a microfiber cloth with your 99% IPA. It should be damp, not dripping wet. Wipe the tops of the keys and the case to cut through oils and disinfect everything.
- Final Polish. Use a dry microfiber cloth to buff it all and pick up any leftover dust.
Routine 2: The Monthly Deep Clean (No Removal Needed)
This is for getting the gunk that’s trapped between the keys. For most people, once a month is perfect. It’s safe for all keyboard types because we aren’t removing anything.
- Prep Your Area. Disconnect the keyboard and take it somewhere you can make a bit of a mess, like outside or over a tiled floor.
- Invert and Tap. Again, start by shaking out all the loose, heavy stuff.
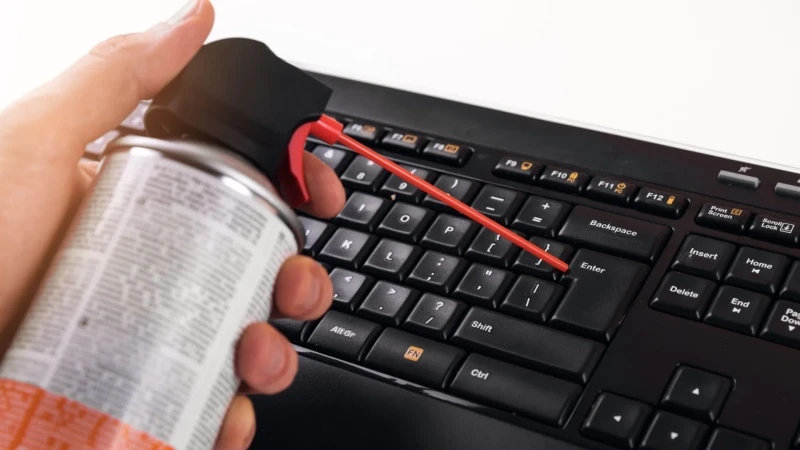
- Use Compressed Air. Grab your air can or electric duster. Using short, controlled bursts, blow the debris out from between the keys. Work from one side to the other, aiming the straw at an angle to lift the dirt up and out, not push it deeper in.
- Brush It Out. Now use your soft brush to sweep out what’s left. Use a smaller brush for the narrow channels between key rows. Brush it all toward one edge where you can easily wipe it away.
- Detail Work. For stubborn sticky spots on the sides of keys, use a cotton swab lightly dampened with IPA.
- Final Wipe. Finish with a full wipe-down with your IPA cloth to sanitize the whole surface.
Routine 3: The Quarterly Keycap-Off Clean (Mechanical Keyboards)
Okay, for you mechanical keyboard owners, this is the satisfying middle ground. It’s more thorough than the monthly clean but avoids the more complex steps of a full teardown. Plan for about an hour of work, plus drying time.
- Take a Reference Photo! Before you pull a single key, take a clear picture of your keyboard with your phone. Trust me. You will not remember where the Pause/Break key goes.
- Pull the Keycaps. Using your wire keycap puller, gently slide the wires under opposite corners of a keycap and pull straight up with a gentle wiggle. Set them aside in a bowl. Be careful with larger keys like the spacebar and Shift—they have extra support wires called stabilizers. Gently unclip them.
- Wash the Keycaps. Fill a bowl with warm (not hot!) water and a few drops of dish soap. Let the keycaps soak for an hour. Afterwards, scrub them gently with a soft cloth. Then rinse them thoroughly in a colander.
- Here’s the critical part: Are your keycap legends safe? If you have a high-end keyboard, you likely have “doubleshot” or “dye-sublimated” keycaps. The letters are part of the plastic itself and will never fade. You can scrub away. If you have a more common or budget keyboard, the letters are likely pad-printed or laser-etched on top. Be gentle with these to avoid wearing them off. When in doubt, just let them soak and use a soft cloth with minimal pressure.
- Clean the Deck. While the caps are soaking, clean the now-exposed top plate of your keyboard. Turn it upside down to shake out debris, then go to town with your compressed air and brushes. Finish with a wipe-down using your IPA-dampened cloth.
- Dry and Reassemble. Lay the keycaps out on a towel to dry. They must be 100% dry inside and out. Give them at least 24 hours, and flip them over halfway through. One drop of water in a keycap stem can kill a switch. Once they’re bone dry, press them back on, using your photo for reference.

Routine 4: The Annual ‘Like New’ Overhaul (Mechanical Keyboards)
This is the full spa treatment. I only recommend this for mechanical keyboards, and only if you’re comfortable with some light disassembly. Be warned, this could void your warranty.
You’ll follow all the steps from the Quarterly Clean, but we’ll add one pro-level step.
Pro Tip: Stabilizer Maintenance.
After you’ve cleaned the keyboard deck (while the keycaps are still off), take a look at the wires for the big keys. You’ll likely see some old, dirty grease.
Carefully wipe that old gunk off the wires and the plastic parts with a cotton swab and some IPA. Then, apply a tiny amount of fresh lubricant. Dielectric grease (from an auto parts store) is a cheap and amazing option. Specialized keyboard lubes also work great. You only need a thin film. Quick tip: Just put a tiny dab where the metal wire clips into the plastic parts. This small step makes your spacebar and other large keys feel incredibly smooth and eliminates annoying rattles.
After that, dry and reassemble your keycaps as described before. When you’re done, plug it in and use a free online keyboard tester (just search for one) to press every single key and make sure they all work perfectly.
Emergency! What to Do After a Liquid Spill
A spill is every keyboard owner’s nightmare. Your actions in the first 30 seconds determine whether it lives or dies.
- UNPLUG IT. NOW. Don’t even think about it. Don’t try to type to see if it works. Every second it has power, liquid is shorting out the electronics. Pull that cord. For a laptop, hold the power button to force a shutdown and unplug the charger.
- FLIP IT OVER. Turn the keyboard completely upside down on a towel to let gravity help you and stop the liquid from seeping deeper.
- ASSESS THE DAMAGE. Plain water is bad. Sugary drinks, coffee, or milk are a death sentence if not dealt with. The sugar is corrosive and leaves a sticky residue that will destroy the circuits and switches.
If it was a minor spill of just water, you might get lucky by letting it dry upside down for 48-72 hours. But for any significant spill, especially a sugary one, a full teardown and cleaning of the internal circuit board with 99% IPA is the only real fix. If you’re not up for that, your best bet is to get it to a professional repair shop immediately.

Final Thoughts
Honestly, the best policy is just prevention. Try not to eat and drink directly over your keyboard. Washing your hands before a long typing session also cuts down on the oil transfer. If you have pets or a dusty workspace, a simple acrylic dust cover for when you’re not using it works wonders.
Your keyboard is your most direct link to your digital life. Taking a little time to care for it will make it last longer and feel so much better to use every day. It’s a simple bit of maintenance that pays for itself in pure satisfaction.
Inspiration:
Canned Air: The classic choice for a quick dust-out. It’s cheap and widely available. However, the propellant can sometimes spit out a freezing liquid that can damage sensitive electronics or discolor plastics. Plus, it’s a recurring cost and not very eco-friendly.
Electric Air Duster: A higher initial investment, with models like the MetroVac DataVac Electric Duster being a long-time favorite among pros. It provides a more powerful, continuous, and dry stream of filtered air. Over time, it’s more cost-effective and environmentally sound, with no risk of chemical residue.
For occasional light cleaning, a can is fine. For enthusiasts or anyone with multiple devices, an electric duster is a game-changing upgrade.
A 2018 study by CBT Nuggets found that an office keyboard can harbor 20,000 times more bacteria than a toilet seat.
This shocking fact isn’t just about surface germs. The combination of skin oils, food crumbs, and dust creates a sticky biofilm on keycaps and inside the keyboard’s case. This grime can make keys feel sluggish and even cause mechanical switches to fail prematurely. A simple wipe doesn’t penetrate this buildup, which is why a deeper clean is essential not just for hygiene, but for performance and longevity.


