The Honest Guide to Cleaning Your Humidifier (So You Don’t Breathe Gunk)
Over my years working with home air systems, I’ve seen the two extremes of humidifier ownership. I’ve walked into rooms where a simple, cheap humidifier was an absolute game-changer for a kid’s allergies. And I’ve been called to homes where that same device was the source of a funky, musty smell that was making everyone feel crummy. The difference, every single time, boils down to how you clean it.
In this article
- What’s Actually Growing in There?
- The Cleaning Game Plan: The Pro Method
- First, Your Shopping List (It’s Cheaper Than You Think)
- Safety First, Always
- Step 1: Take It All Apart
- Step 2: The Vinegar Soak (for the Crusties)
- Step 3: Time to Scrub
- Step 4: The First Rinse
- Step 5: The Disinfecting Step (for the Slime)
- Step 6: Final Rinse & The MOST Important Part: Drying
- Step 7: A Word on Wicks and Filters
- The Great Water Debate: Tap vs. Distilled
- From My Notebook: Troubleshooting Common Headaches
- Galerie d’inspiration
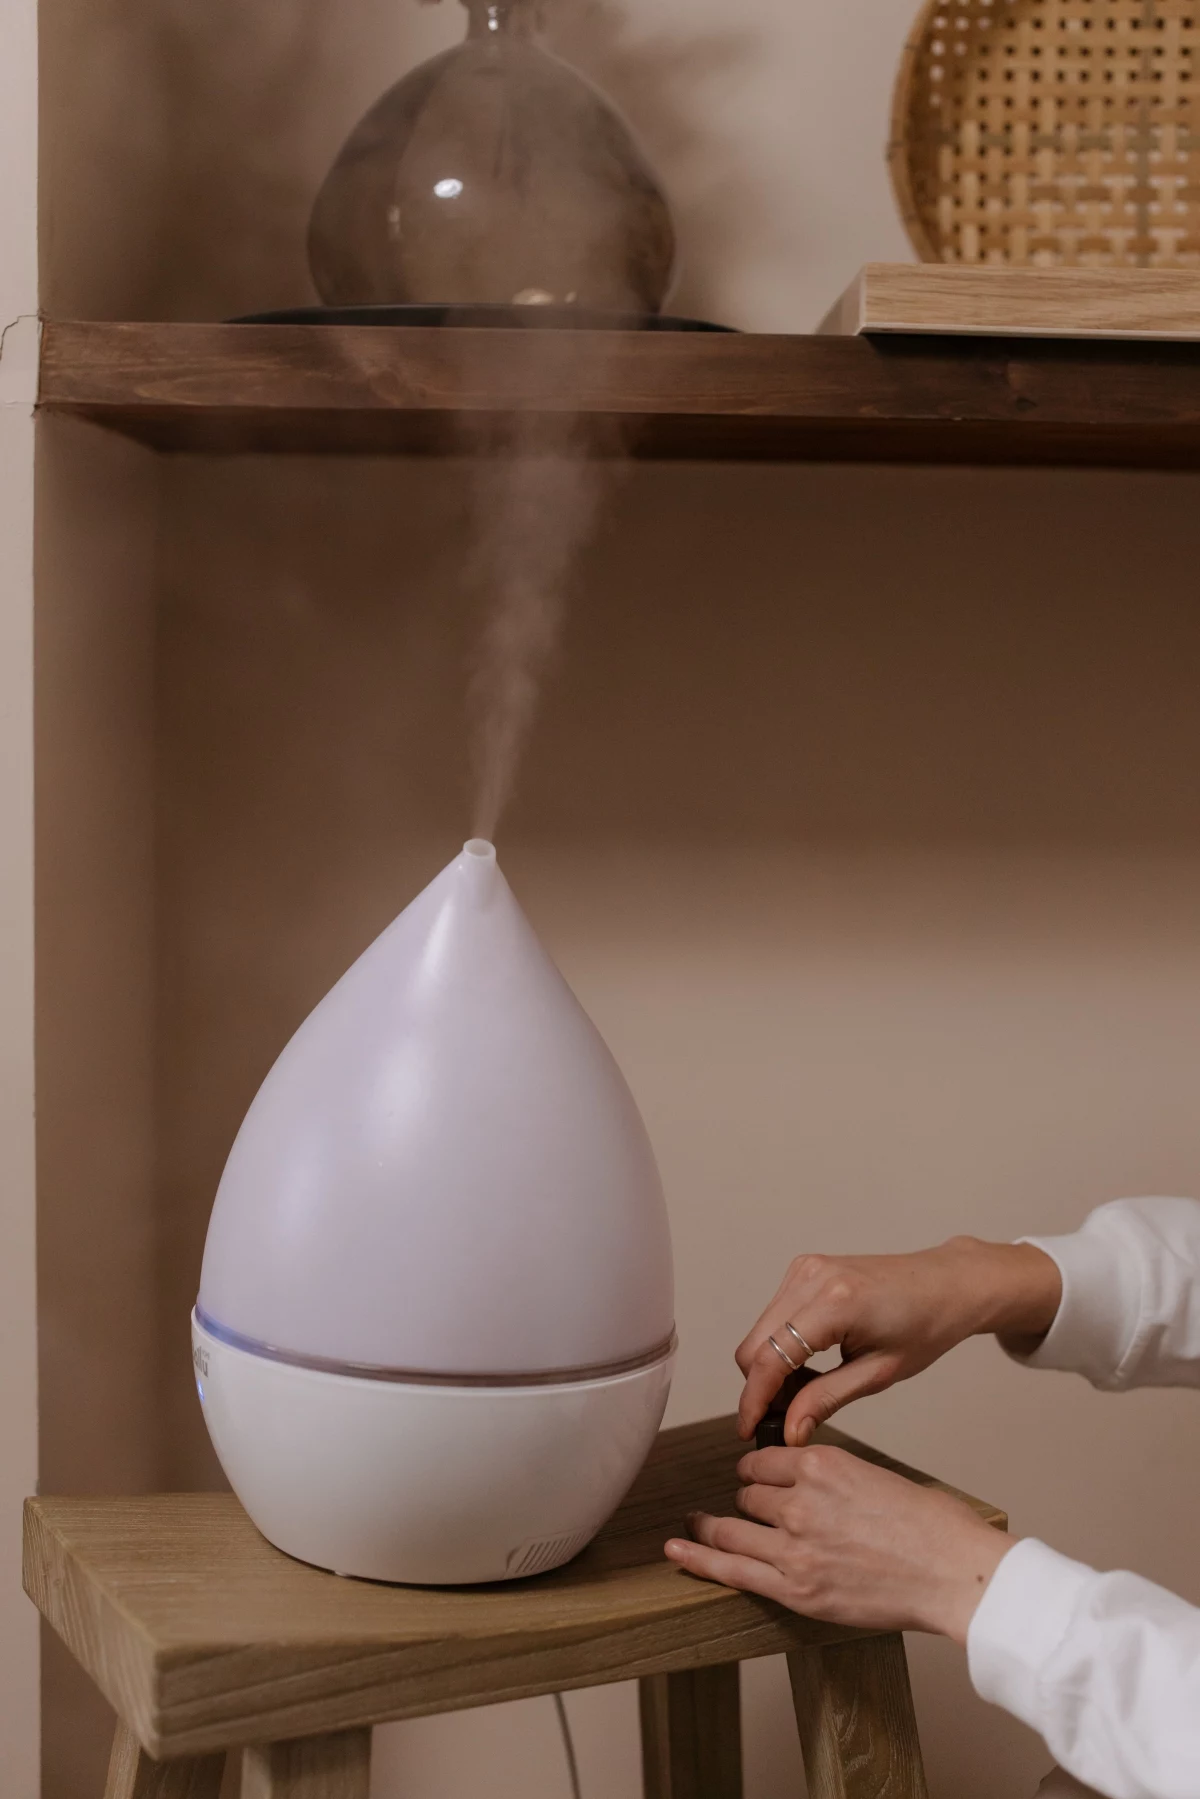
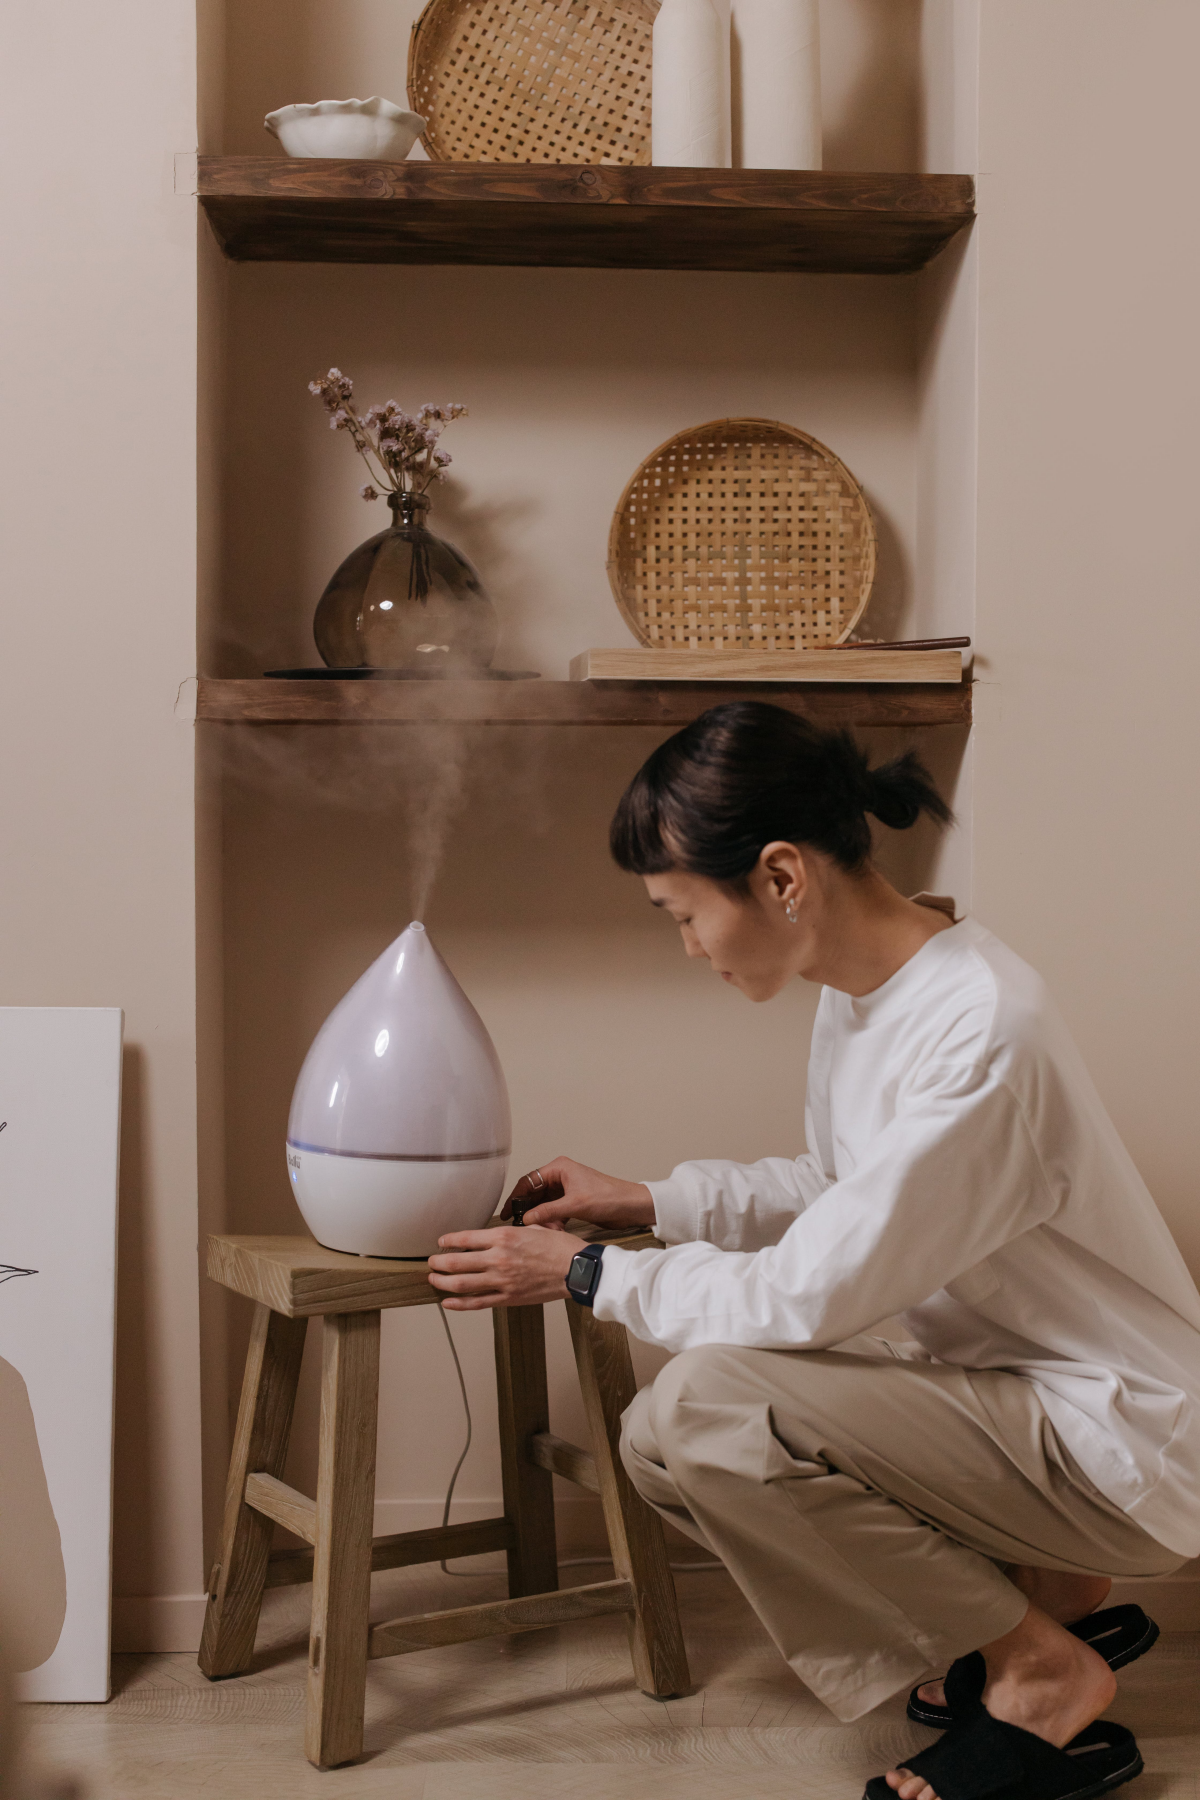
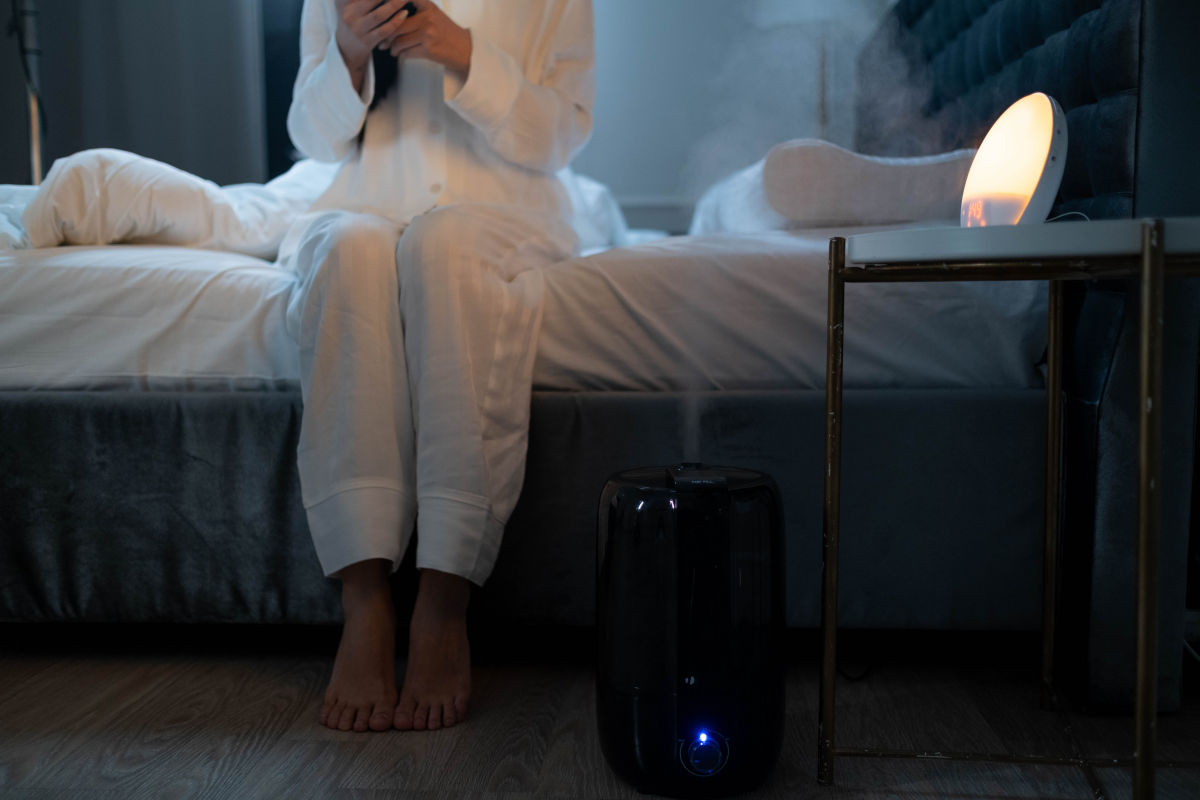
Let’s be real: a humidifier isn’t just a quiet little appliance that sits in the corner. It’s actively changing the air you breathe by pumping a fine, invisible mist directly into the room. When the water and the machine are clean, that mist is wonderfully soothing for dry skin and sinuses. But when it’s dirty? You’re essentially breathing a microscopic soup of whatever is growing in that stagnant water. It’s a direct delivery system for mold spores, bacteria, and mineral dust right into your lungs.
Lots of people skim the manual, but they don’t get the ‘why’ behind the steps. Understanding what you’re up against makes all the difference. This isn’t just about keeping an appliance running; it’s about making sure your air is actually healthy.
What’s Actually Growing in There?
To clean your humidifier right, you need to know your enemy. You’re fighting a two-front war against mineral scale and microbial gunk.
First up is the mineral buildup, or scale. If you use regular tap water, you’re also adding minerals like calcium and magnesium. This is especially true if you have ‘hard water.’ As the water turns to mist, those minerals get left behind, forming a crusty white or grayish layer. This limescale clogs up filters and, in ultrasonic models, can get blasted into the air as that annoying ‘white dust’ that coats your furniture. But more importantly, that rough, crusty surface is the perfect real estate for germs to latch onto and grow.
And that brings us to the second, and honestly, more serious enemy: microbial growth, also known as biofilm. A humidifier’s water tank is a five-star resort for microbes. It’s dark, wet, and stays at a cozy room temperature. Mold spores and bacteria, which are just floating around in the air all the time, settle in and start a family. Go ahead, run your finger on the inside of your tank right now. If it feels even a little bit slippery or slimy, that’s biofilm. That’s what you’re breathing.
Oh, and here’s a fun fact to keep you motivated: in the right conditions, some bacteria in standing water can double their population in just 20 minutes. That’s why my number one rule is to NEVER just top off old water.
The Cleaning Game Plan: The Pro Method
This is a system. You have to do it in this order—descale first, then disinfect—or you’re just wasting your time. I tell all my clients to do this weekly. It sounds like a lot, but once you get the hang of it, it’s a quick routine.
First, Your Shopping List (It’s Cheaper Than You Think)
You don’t need fancy, expensive cleaners. The best stuff is probably already in your pantry or can be bought for pocket change.
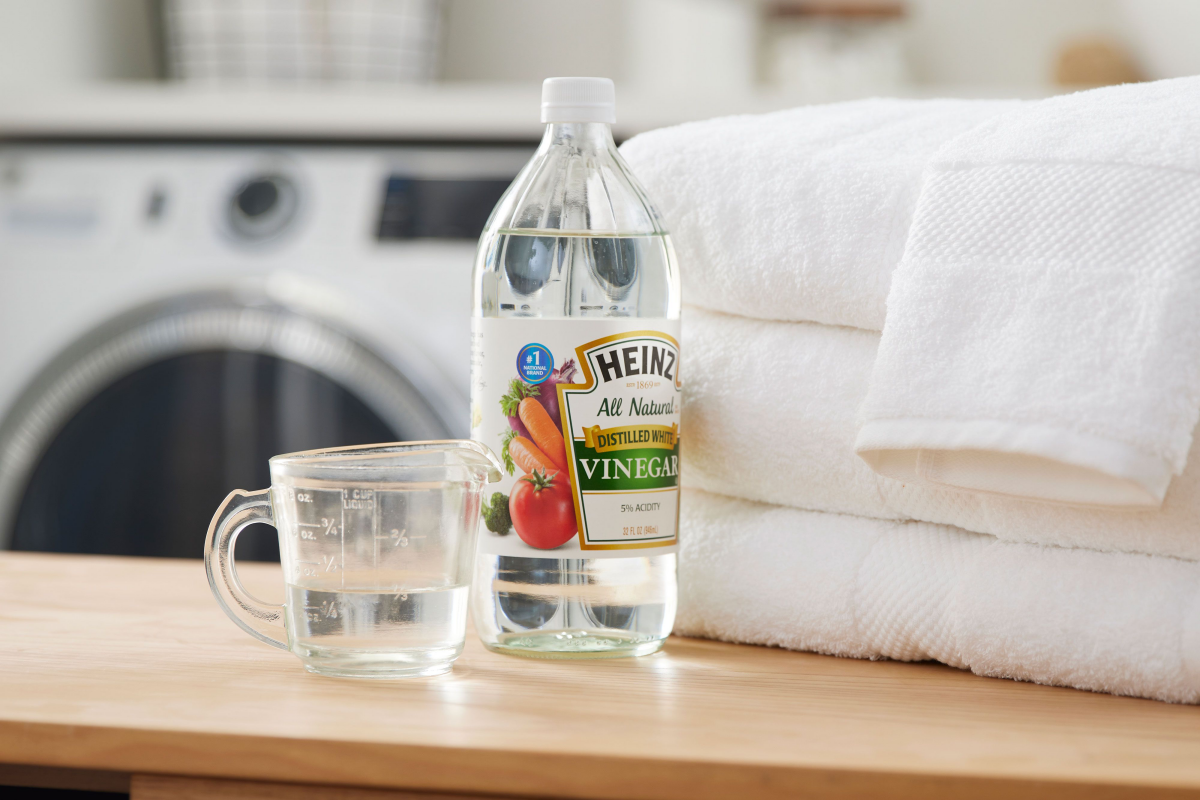
- Distilled White Vinegar: A big gallon jug costs around $3 to $5 at any grocery store.
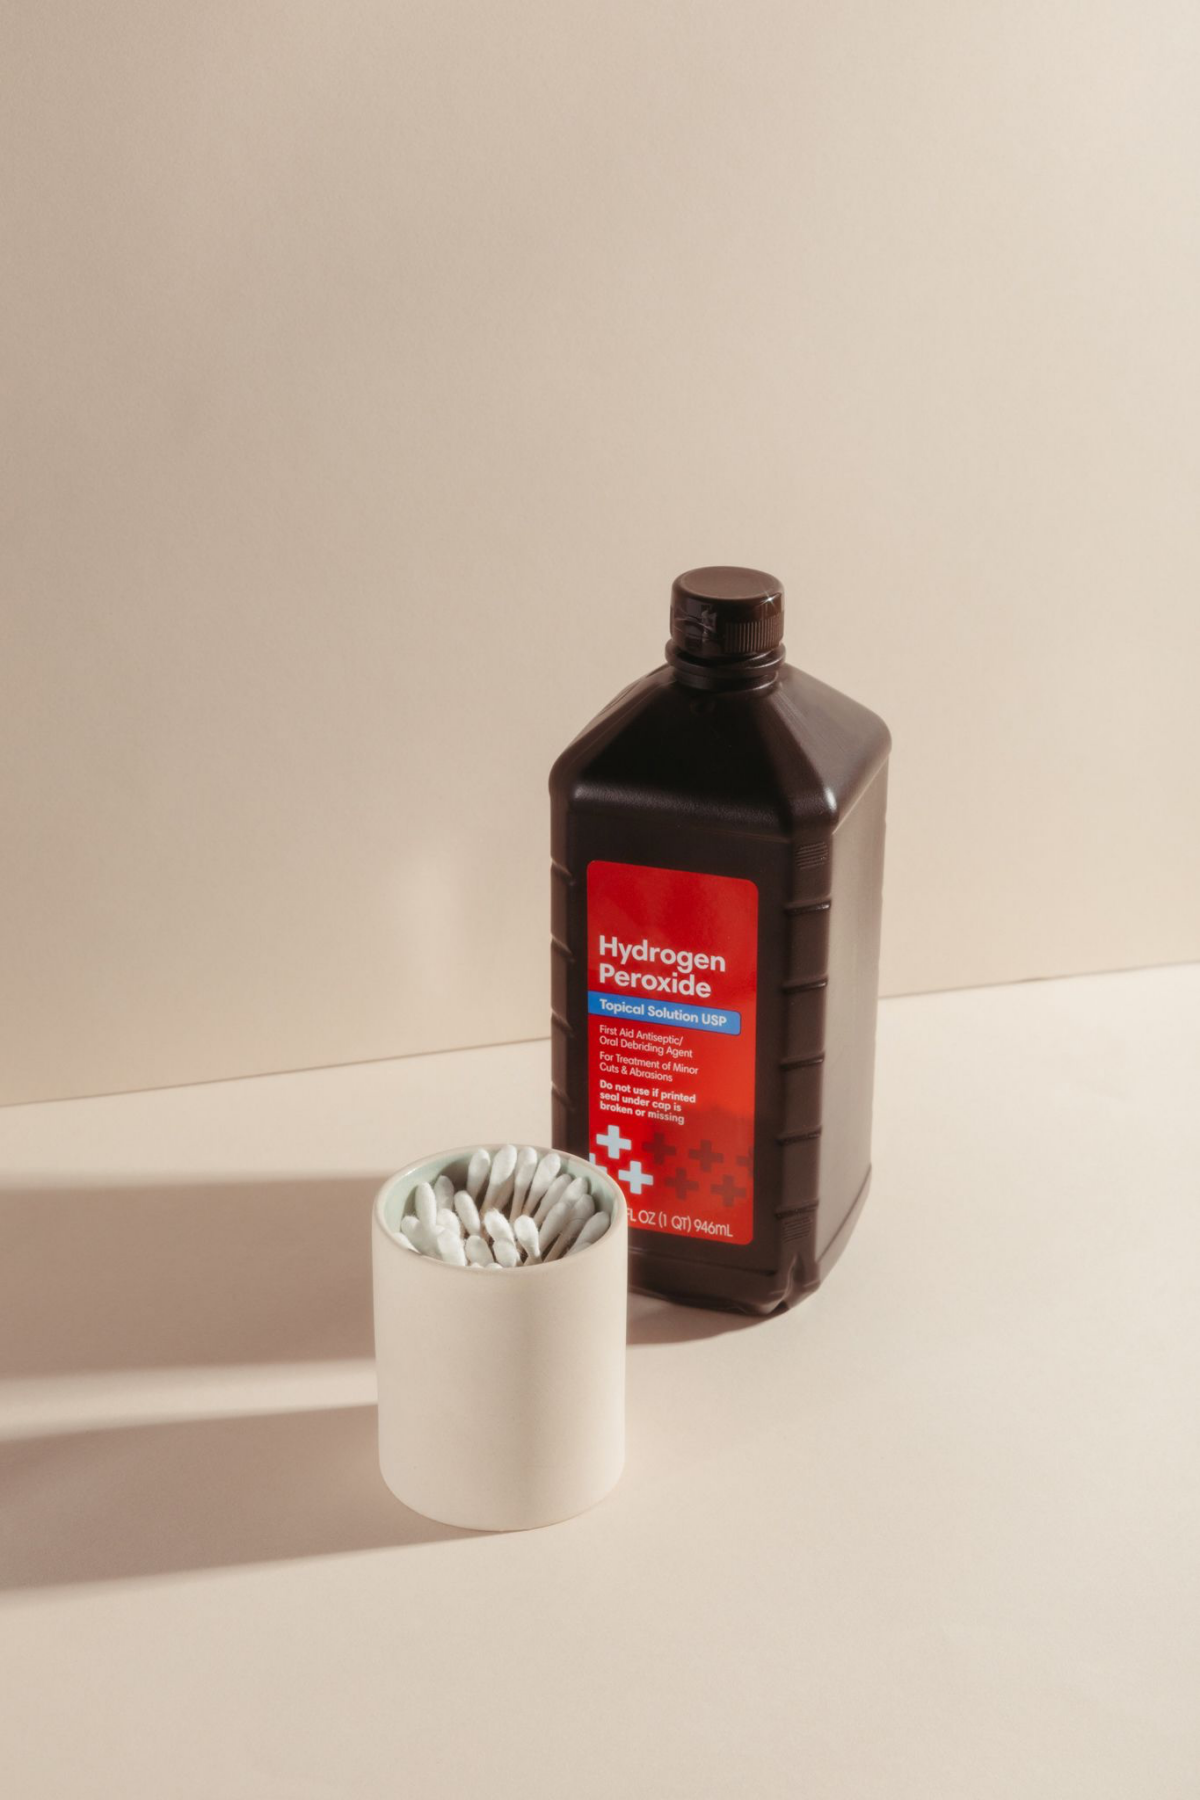
- 3% Hydrogen Peroxide: You can grab a 32 oz bottle for about $1 to $2 from the first-aid aisle at any pharmacy or supermarket.
- A Humidifier Brush Kit: This is a great investment. A set with various small brushes to get into nooks and crannies will run you about $8 to $15 online. A dedicated, clean toothbrush can work in a pinch, but the kits are better.
- Rubber Gloves: Always a good idea.
Safety First, Always
Before you start, just a couple of quick but non-negotiable safety steps.
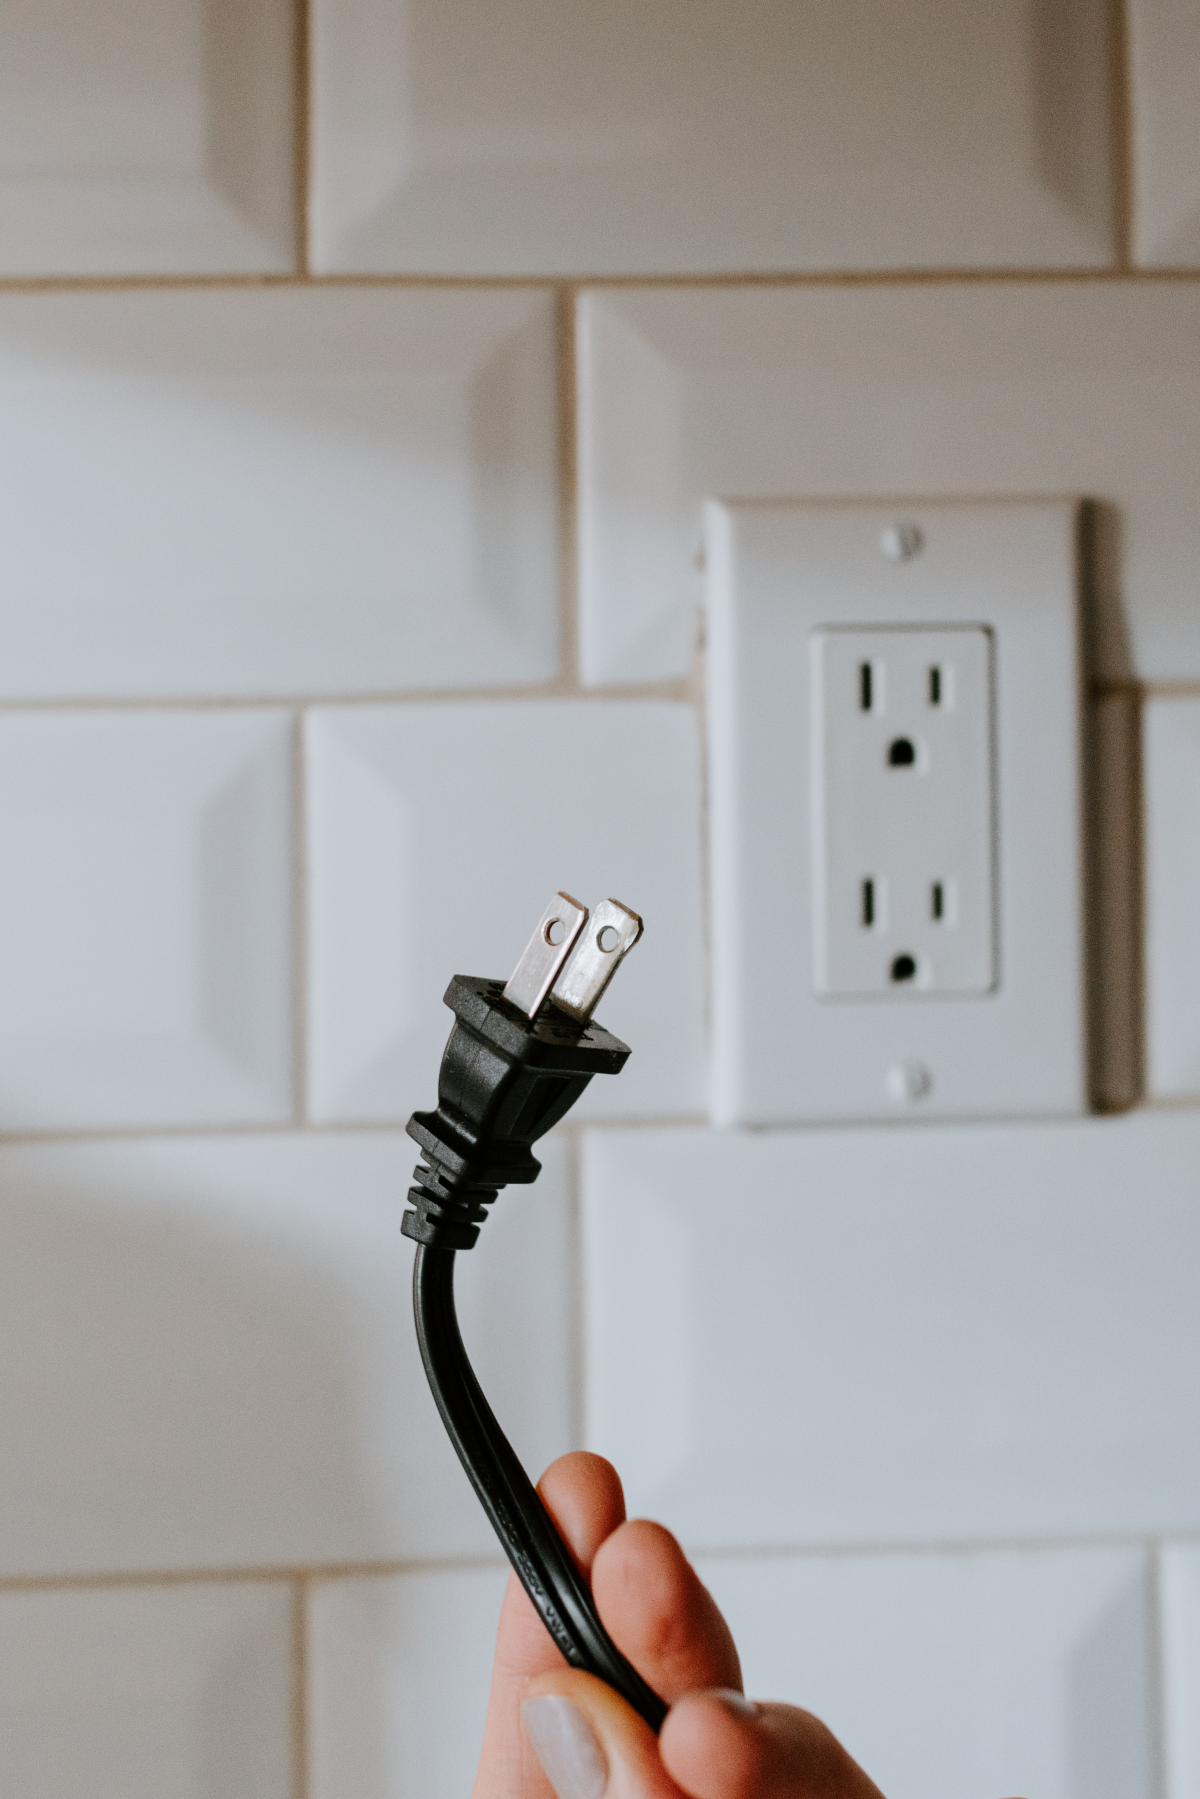
1. Unplug the Unit. Seriously. Water and electricity are not friends. Unplug it right from the wall.

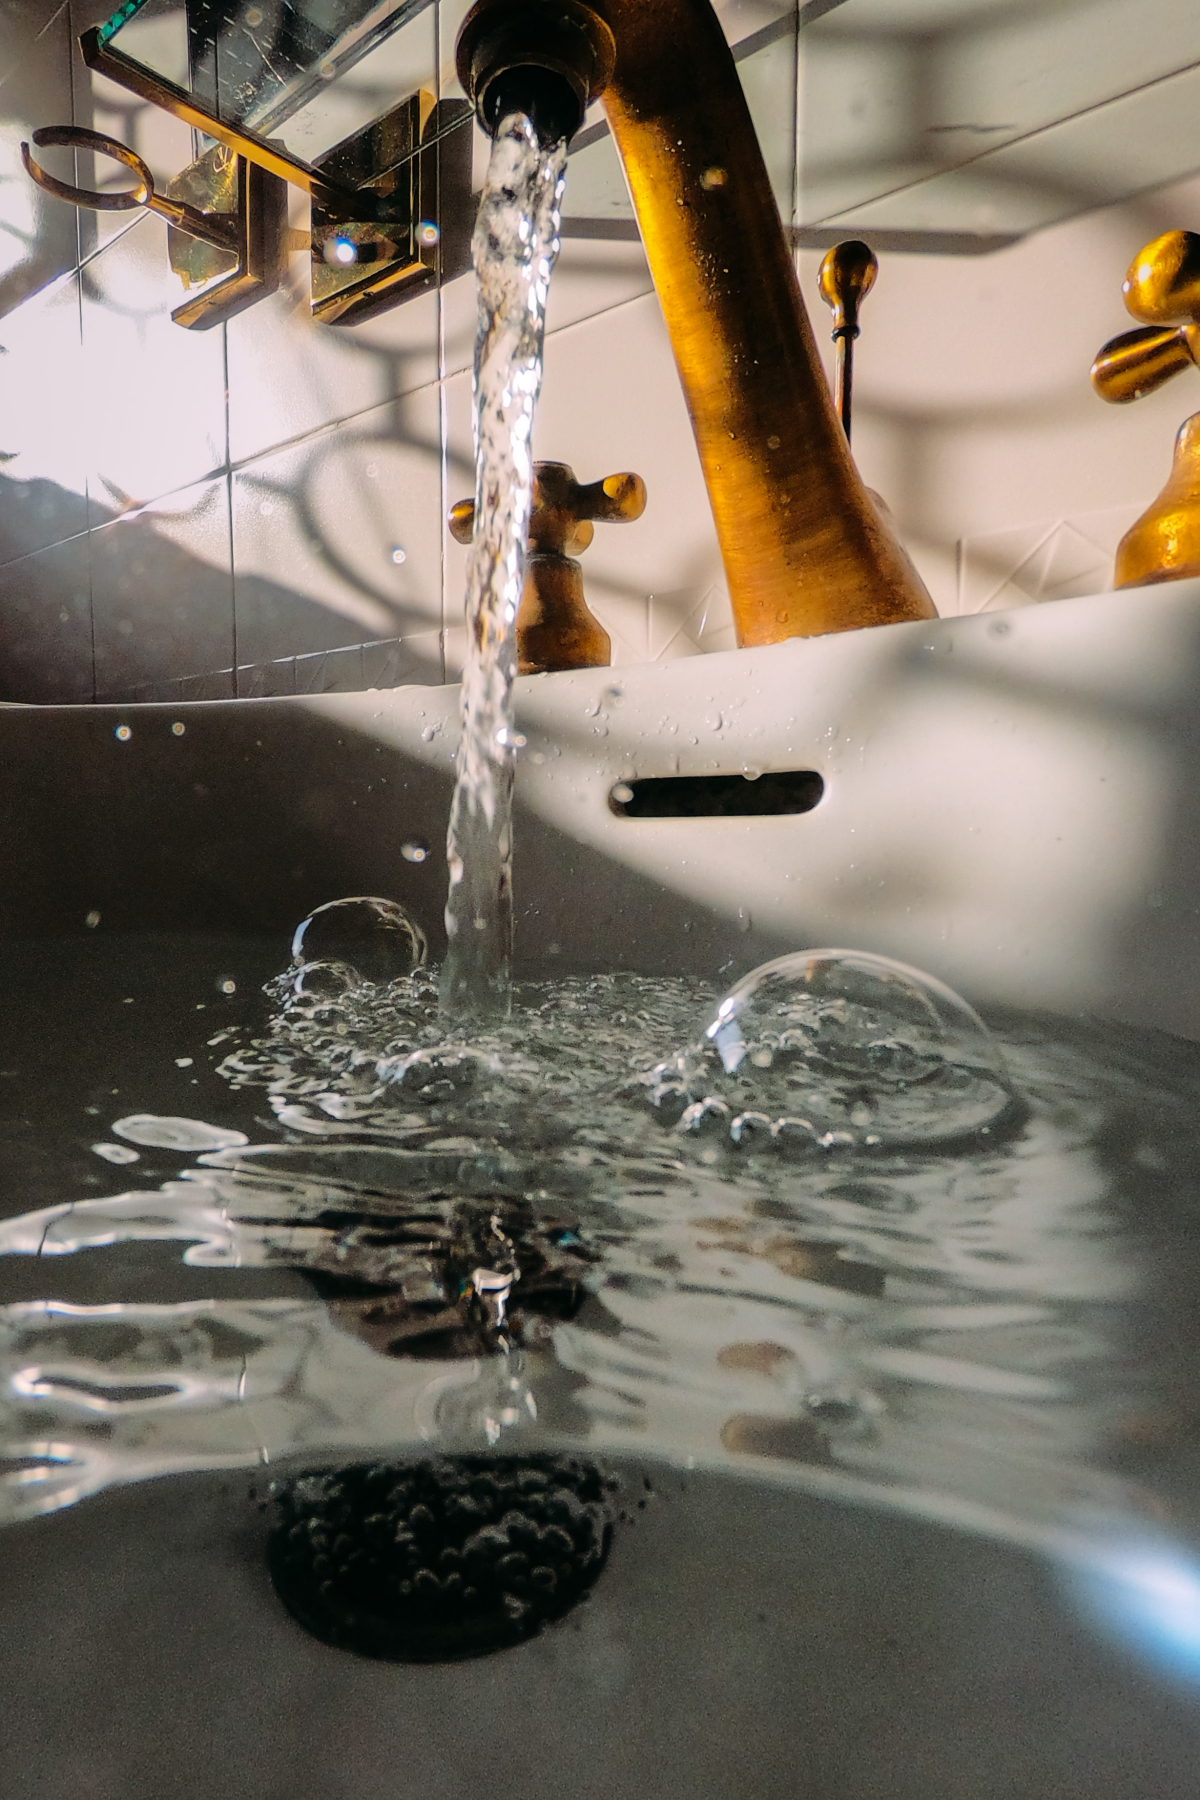
2. Find a Good Workspace. Take the whole thing to a sink or bathtub. You’re going to be splashing around, so protect your counters if you’re working in the kitchen.
3. Get Some Airflow. Open a window or flip on the bathroom fan. The cleaners we’re using are mild, but good ventilation is always smart.
Step 1: Take It All Apart
You can’t clean what you can’t reach. Pop off the water tank, the cap, the mist nozzle—every single part that touches water. Lay everything out on a towel so you can see it all. People always forget the little mist chimney, and that’s a prime spot for mold to hide.
Step 2: The Vinegar Soak (for the Crusties)
We start with vinegar because disinfectant can’t kill germs hiding under a thick mineral crust. Plain old white vinegar works wonders.
- For the tank and base: Pour in a solution of one part water and one part white vinegar. You don’t need to fill it to the brim, just enough so you can swish it around and coat all the surfaces, or submerge the smaller parts in the base.
- Let it all soak for at least 30 to 60 minutes. If the buildup is really bad, you can let it sit for a few hours. Don’t be surprised if you see some light fizzing—that’s the acid doing its job on the minerals.
Heads up! Never, ever mix vinegar with bleach. It creates toxic chlorine gas. We only use one cleaner at a time, followed by a very good rinse.
Step 3: Time to Scrub
The soak loosened everything up; now you need to physically scrub it away. Use your brush kit or toothbrush to scrub every surface that was soaking. You’re aiming to get rid of any rough or slimy textures. The surface should feel perfectly smooth when you’re done.
Step 4: The First Rinse
Rinse every single piece with cool water until the vinegar smell is completely gone. If you can still smell it, rinse again. You don’t want that smell in your air.
Step 5: The Disinfecting Step (for the Slime)
Now that the surfaces are physically clean, it’s time to kill any lingering microbes. I strongly prefer 3% hydrogen peroxide for this. It’s a fantastic disinfectant that breaks down into just water and oxygen, making it much safer to use here than bleach.
Wipe or spray all the surfaces with the hydrogen peroxide, making sure to coat everything. Let it sit for about 10-15 minutes. This contact time is critical—don’t just wipe and rinse. The peroxide needs that time to work and kill the germs.

Step 6: Final Rinse & The MOST Important Part: Drying
Rinse every part again to remove all the hydrogen peroxide. Then, and this is the step everyone messes up, you have to let every component air dry completely. Shake out the excess water, lay the parts on a clean towel, and walk away. A damp humidifier is an open invitation for mold to move right back in. Let it dry for at least 4-6 hours until it’s bone dry.
A little pro tip: If letting it air dry for hours is a pain because you need it nightly, see if you can buy a second tank for your model. It’s a total game-changer. You can have one tank in use while the other is completely drying out. It makes the whole process so much easier to keep up with.
Step 7: A Word on Wicks and Filters
If you have an evaporative model, that wick filter is a consumable item, like a coffee filter. It’s designed to trap minerals. Once it’s saturated, it’s done. A fresh wick is soft and pliable. An old, clogged wick is often stiff, crunchy, and might be yellow or brown. If it feels like cardboard, it’s time to toss it. Plan on replacing it every 30-60 days. This is a recurring cost of ownership, usually between $10 and $25 depending on the brand.
The Great Water Debate: Tap vs. Distilled
The water you use makes a huge difference. Using tap water is cheap and easy, no doubt. But if you have hard water, get ready for a constant battle with mineral buildup and that fine white dust. You’ll be scrubbing more often and, for evaporative models, buying new wicks all the time.
Using distilled or demineralized water is the secret weapon. Yes, it costs more—usually about $1.00 to $1.50 a gallon at the grocery store. But it virtually eliminates mineral scale and white dust. Cleaning becomes infinitely faster, and your wicks will last much longer. For many people, the money saved on wicks actually balances out the cost of the water.
From My Notebook: Troubleshooting Common Headaches
After you’ve done this a few hundred times, you start to see the same problems pop up.
“Why is there pink slime in here?”
That’s a very common airborne bacteria that just loves damp places. It’s not necessarily dangerous, but it’s a clear sign you’re not cleaning often enough or not letting the unit dry completely between cleanings.
“My furniture is covered in white dust!”
This is a classic sign of using an ultrasonic humidifier with hard tap water. It’s the minerals from your water being launched into the air. The only way to stop it is to switch to distilled water. No amount of cleaning will fix this.
“It still smells musty, even after I cleaned it.”
This usually means mold has gotten deep into a porous part. The first thing to check is the wick—if it’s old, throw it out. If the smell is still there with a new wick, the plastic body itself may have absorbed the odor. Honestly, with older or cheaper units, it’s often safer and smarter to just replace the whole machine.
“The big one: Can’t I just put the parts in the dishwasher?”
Ah, the tempting shortcut. I get asked this all the time. The answer is almost always no. The high heat can warp the plastic parts and degrade the rubber seals, causing leaks. Plus, the dishwasher’s water jets can’t get into all the tiny channels and hidden corners where biofilm loves to grow. It might look clean, but it’s not the deep, sanitized clean you get from scrubbing by hand.

At the end of the day, trust your senses. If your humidifier looks or smells bad, it is bad for you. A clean one is a health benefit; a dirty one is a genuine risk. Don’t hesitate to replace a unit that you can’t get fully clean—it’s just not worth it.
Galerie d’inspiration
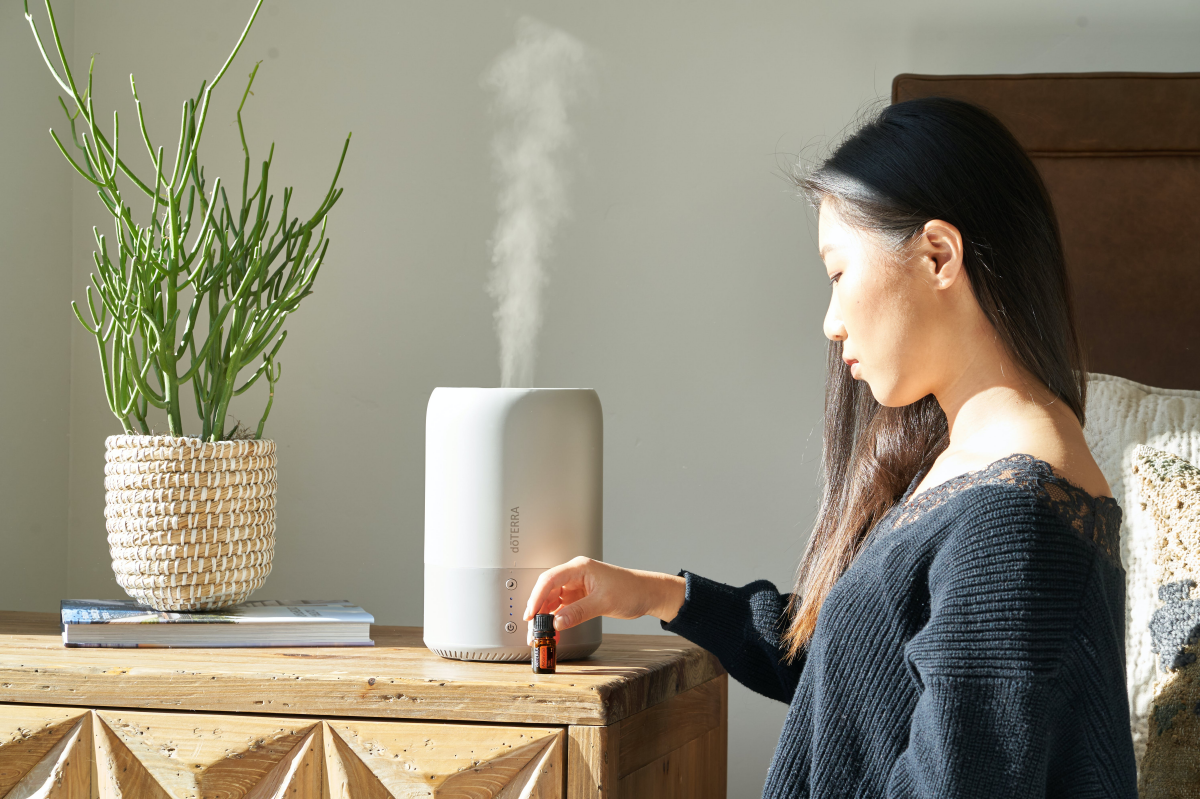
Tempted to add a few drops of lavender essential oil for a relaxing aroma?
Resist the urge, unless your humidifier is specifically designed as an aroma diffuser. Most standard humidifiers, especially ultrasonic models, are made with plastics (like ABS) that can be degraded by potent oils. The oil can break down the tank’s plastic, ruin the delicate vibrating membrane, and void your warranty. Worse, aerosolizing undiluted oils can be irritating to the respiratory system of people and pets. For a safe scent, use a separate essential oil diffuser designed for that purpose.
According to the EPA, microorganisms can be dispersed into the air with the water droplets from cool mist humidifiers.
This is where your humidifier’s wicking filter plays a crucial role, especially in evaporative models. Think of it as the gatekeeper. High-quality filters, like Protec’s antimicrobial-treated wicks, are designed not just to draw water up for evaporation but also to trap mineral deposits from the water *before* they can be turned into airborne dust. Ignoring a crusty, discolored filter is like asking for trouble; it becomes less efficient and can even start to harbor the very gunk you’re trying to avoid. Change it regularly—your lungs will thank you.
Tap Water: The most convenient and cheapest option, but its mineral content is the primary cause of white dust and limescale buildup. This scale can damage your unit’s internal components and become a breeding ground for bacteria.
Distilled Water: The gold standard. Since all minerals have been removed, it produces a clean mist with no white dust and significantly reduces scale buildup, making your cleaning routine much easier and more effective.


