Your Hairbrush Is Probably Gross. Here’s Exactly How to Clean It.
So, you’ve spent a small fortune on fancy shampoos, leave-in conditioners, and that hair mask everyone’s raving about. I get it. After years behind the chair as a hairstylist, I’ve seen clients invest heavily in their hair. But they almost always miss the most basic tool they use every single day: their hairbrush.
In this article
Honestly, one of the first things we teach new stylists isn’t some complex cutting technique. It’s sanitation. A clean tool gives you a great result. A dirty one? It just creates problems.
Think of your hairbrush like a sponge for washing clean dishes. If the sponge is dirty, you’re just smearing old gunk back onto a clean plate. It’s the same with your hair. A dirty brush moves grime right back onto your clean hair and scalp. Learning how to properly clean your brushes isn’t just about being tidy—it’s a core part of getting healthy, amazing-looking hair. Once you get this down, you’ll wonder how you ever went without it.
What’s Really Hiding in Your Brush? (It’s Not Just Hair)
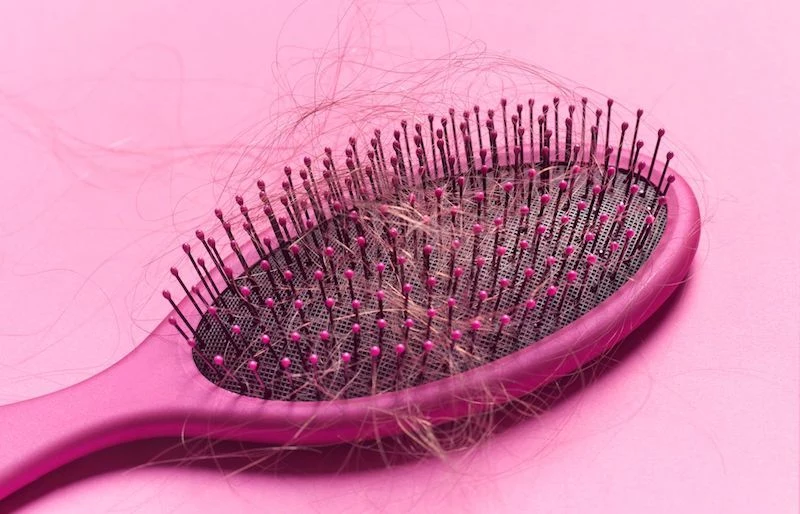
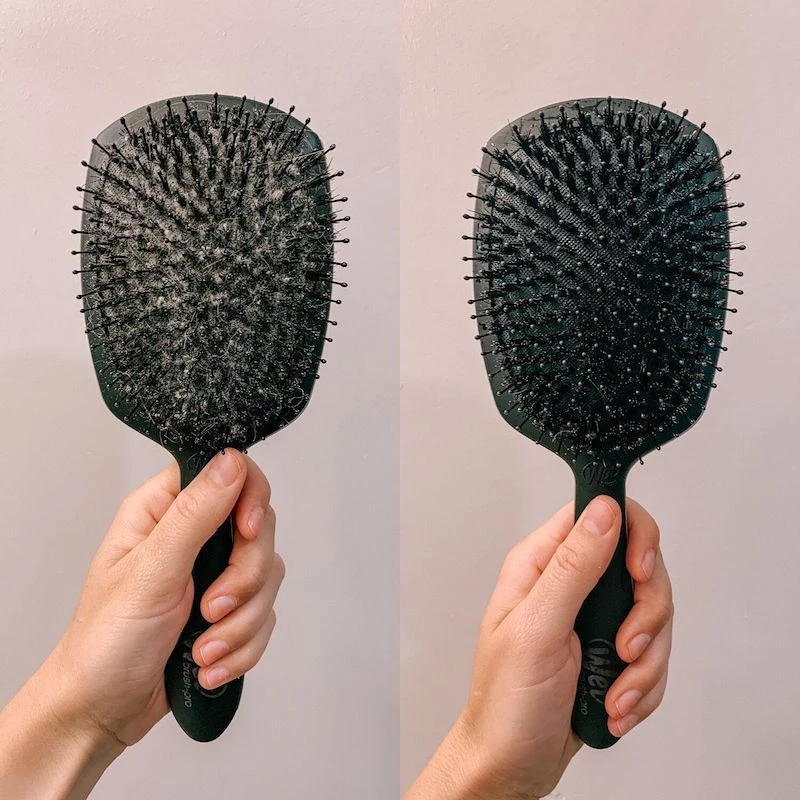
To really get why this matters, you need to know what that gray, fuzzy stuff at the base of the bristles actually is. It’s not just a tangled mess of hair. It’s a lovely little collection of stuff that creates its own ecosystem on your brush. It’s a bit gross, but knowing what you’re up against is half the battle.
- Old Scalp Oil (Sebum): Your scalp naturally produces oil to keep itself and your hair moisturized. That’s a good thing! But when it builds up on your brush, it gets old, sticky, and oxidizes. It acts like glue, trapping everything else, and can even start to smell a little… funky. That smell can transfer right back to your hair.
- Dead Skin Cells: Your scalp sheds dead skin all the time. Totally normal. But when those cells get packed into your brush, they become food for tiny microorganisms to feast on. Yikes.
- Product Buildup: All those wonderful products—dry shampoo, hairspray, gels, creams—leave a residue. This film transfers to your brush and builds up into a tough, sticky layer that stops the bristles from gliding through your hair, which can cause friction and breakage.
- Little Critters: A warm, sheltered brush is a perfect home for bacteria and yeast to multiply. One common yeast, which is linked to dandruff, loves to hang out there. If you have dandruff and use a dirty brush, you’re basically re-applying the problem to your clean scalp every time you brush.
- Dust and Gunk: Plain old dust, lint, and pollution from the air settle on your brush, too. This stuff adds to the grime and can make your hair look dull and dirty, even if you just washed it.
When you see it all laid out, it’s pretty clear why a quick rinse under the tap isn’t going to cut it. You need a method that actually breaks down all that gunk.
Your New Cleaning Schedule: The When and How
In a salon, we have to disinfect tools between every single client. At home, you can be a bit more relaxed, but you still need a routine. I recommend a simple two-part approach.
The 60-Second Quick Win (Do This Weekly)
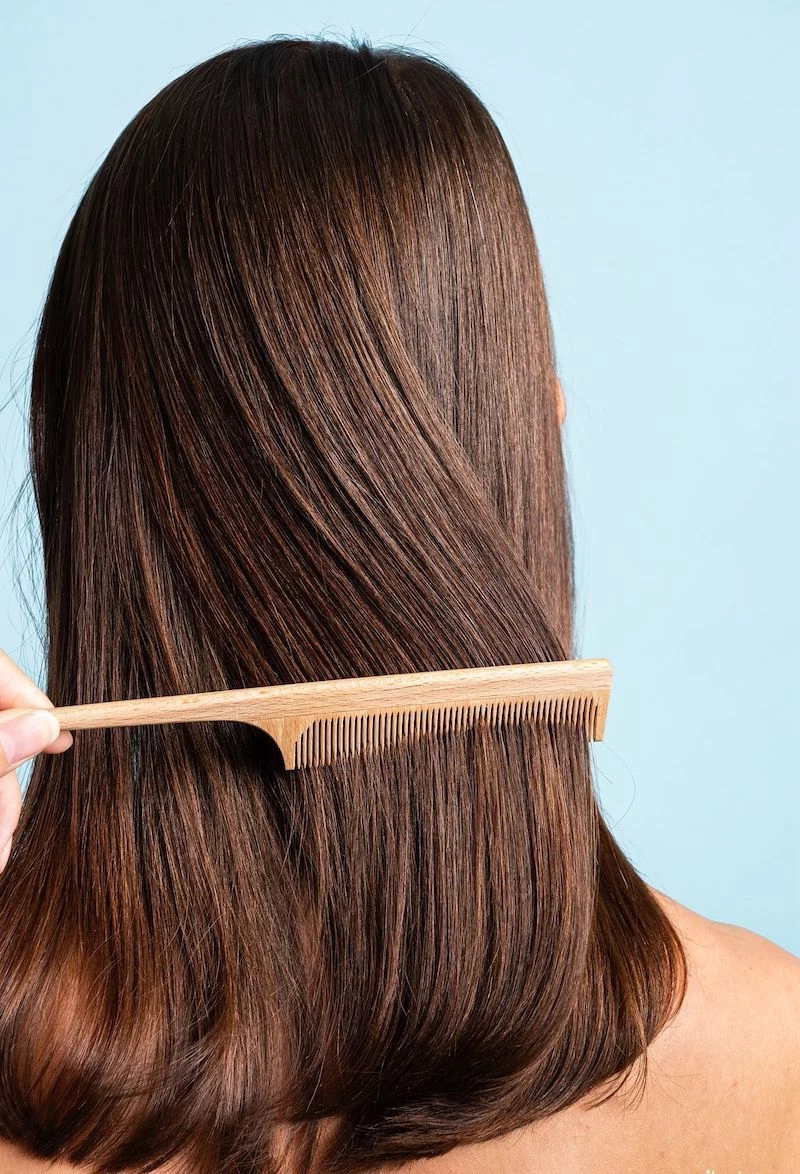
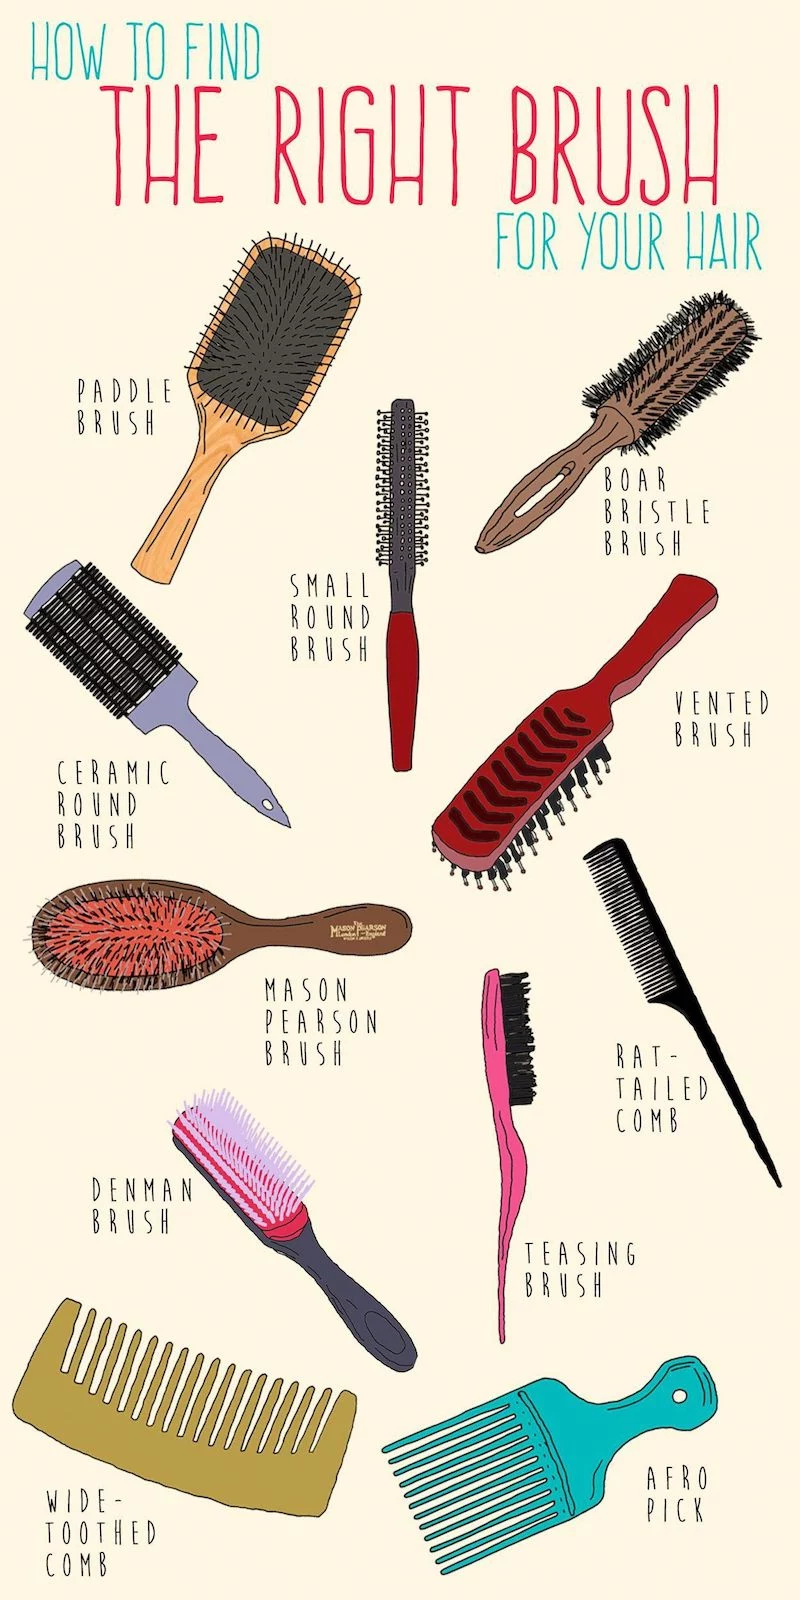
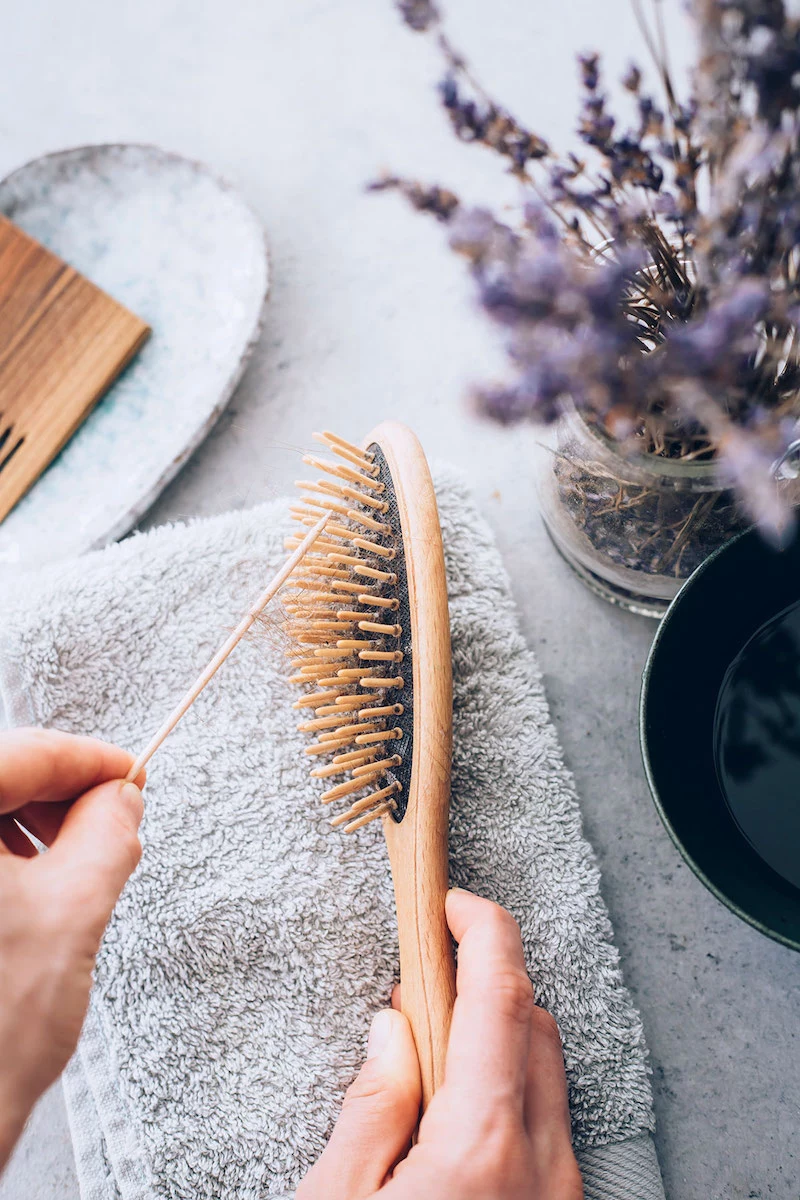
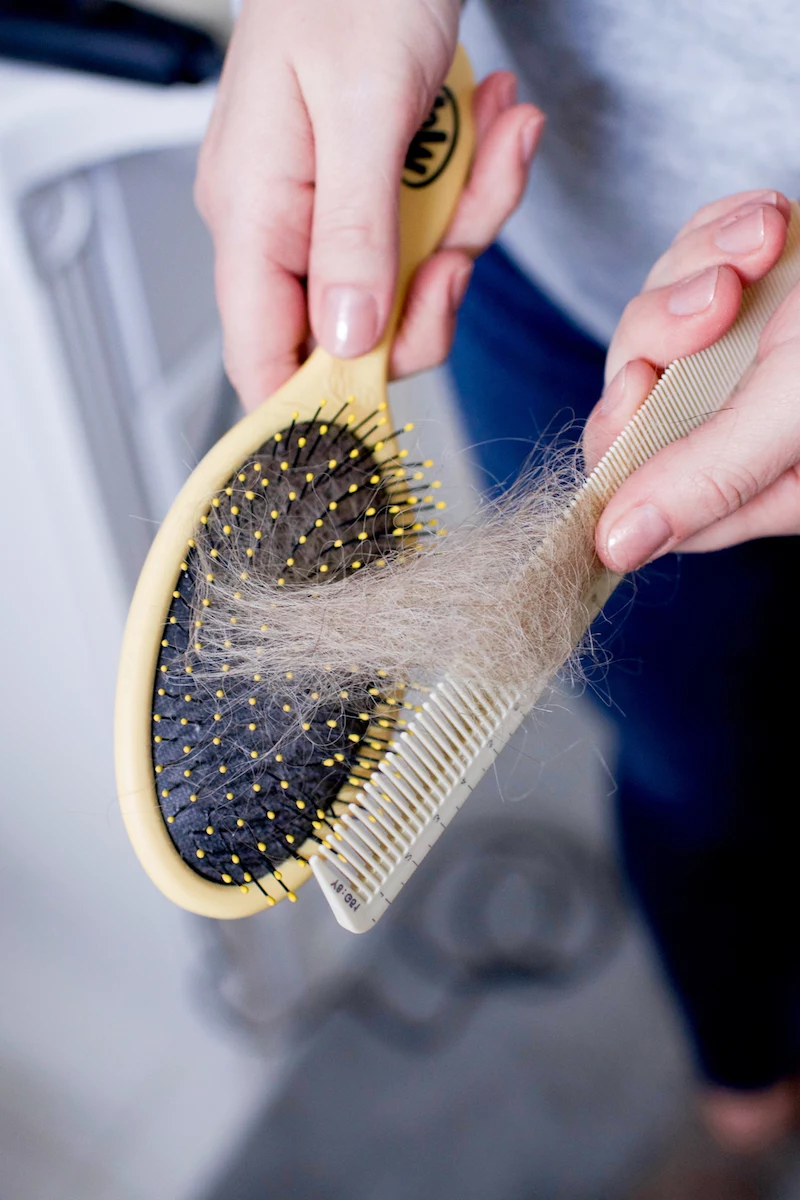
This is your basic upkeep. Seriously, if you do nothing else, just do this. Once a week, take a minute to pull all the loose hair out of your brush. A rat-tail comb is perfect for this—the pointy end gets right under the hair mat and lifts it out. No comb? The end of a pen or a sturdy toothpick works in a pinch. Doing this takes less than a minute and makes the deep clean so much easier.
The Deep Clean (Every 2-4 Weeks)
This is the full wash and sanitize. How often you do it depends on your hair and habits.
- If you use a lot of products (think daily dry shampoo, hairspray, or texturizing sprays), you’ll want to do this every two weeks. That buildup is no joke.
- If you have an oily scalp or deal with dandruff, every two weeks is your magic number, too. It helps keep things from getting out of hand.
- If you use minimal products and have a normal scalp, you can probably stretch it to every three or four weeks.
Know When to Say Goodbye: Replacing Your Brush
Even the best brush won’t last forever. Using a worn-out brush can actually cause damage. So, during your deep clean, give your brush a quick inspection. Here’s what to look for:
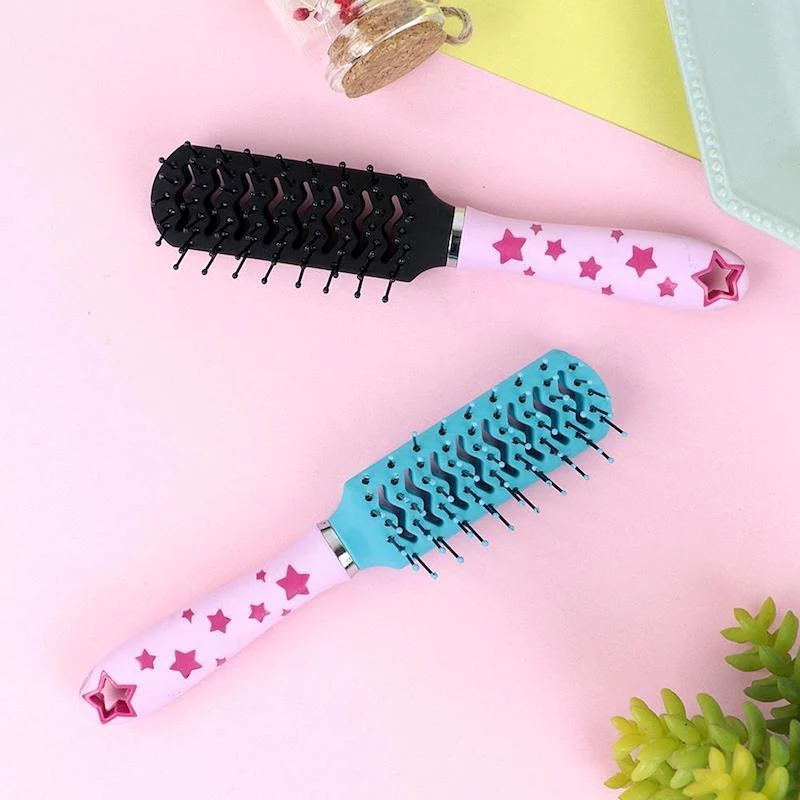
- Missing or Bent Bristles: Gaps mean the brush isn’t working correctly, and bent bristles will snag and tear your hair.
- Melted Bristle Tips: Do you use your brush with a blow dryer on high heat? Check the little nubs on the end of the bristles. If they’re melted, sharp, or gone, they’re scratching your scalp and shredding your hair. I once traced a client’s mysterious split ends back to a paddle brush with melted tips she’d been using for years.
- A Cracked Cushion: That soft pad the bristles are set in can get brittle and crack. Those cracks trap water and gunk, becoming a breeding ground for mold you can’t clean out.
- A Musty Smell: If the brush still smells funky after you’ve cleaned it, that’s a red flag. It usually means moisture got trapped inside and mold is growing. There’s no saving it—toss it immediately.
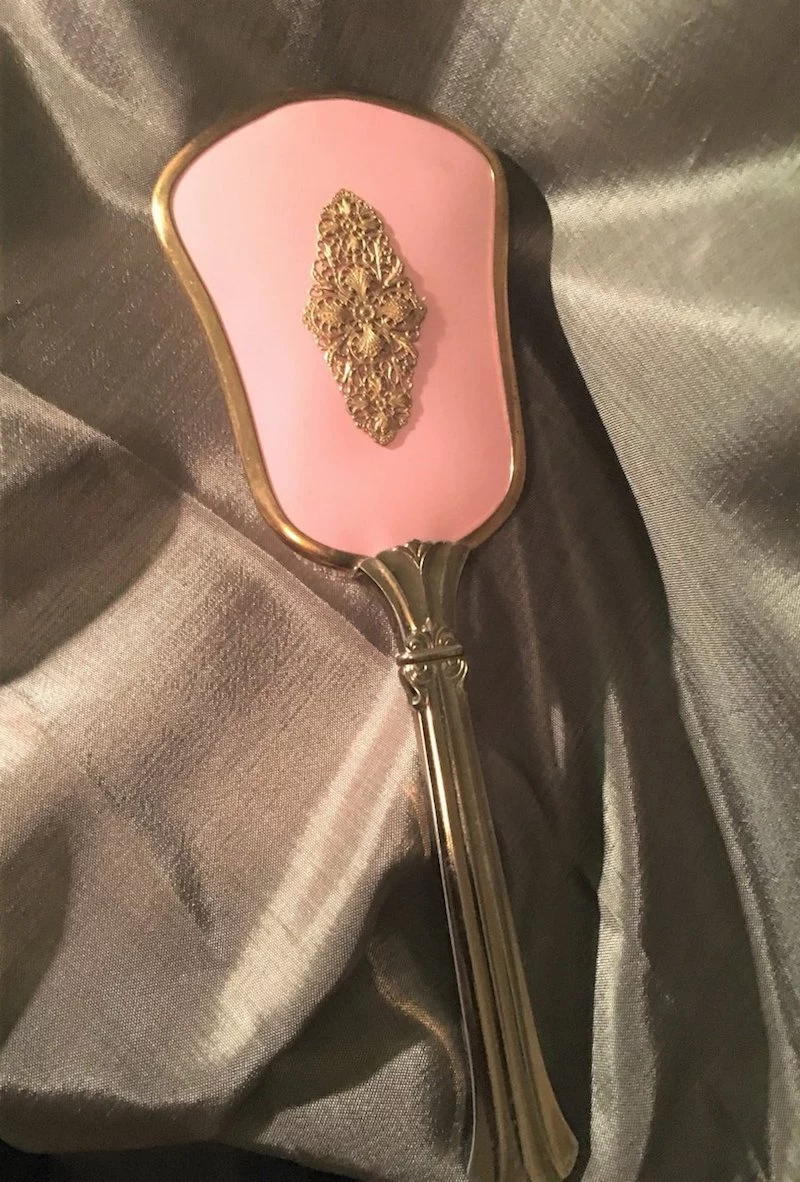
- Worn-Out Wooden Handle: If the finish is peeling off and the wood is splintering, it’s time for a new one.
Good to know: A basic drugstore brush might cost you between $10 and $20 and last about a year. A higher-end, professional-quality brush could be $30 or more but might last for several years with proper care. It’s a trade-off between cost and longevity.

The Pro Method: How to Actually Wash Your Brush
Okay, let’s get to it. Here’s the step-by-step method I’ve perfected over the years. The most important thing is to know what your brush is made of, because what works for plastic will destroy a wooden brush.
Your Cleaning Toolkit
You don’t need a bunch of fancy stuff. Here’s your simple shopping list:
- A basin or a sink with a stopper.
- A rat-tail comb (around $3) or a dedicated brush cleaning tool (usually under $10 online or at a beauty supply store).
- An old toothbrush for scrubbing.
- Clarifying shampoo. This is my go-to because it’s designed to cut through product buildup and oil. A bottle costs about $8 at the drugstore and will last you forever for this.
- A clean towel.
Step 1: The Dry Removal (For All Brushes)
Before any water touches that brush, get all the dry stuff out. Use your comb or tool to rake through the bristles and lift out all the trapped hair and lint. For a really stubborn mat of hair, you can take a small pair of scissors and carefully snip vertically into the hair (between the bristle rows) to loosen it up. Get at least 95% of it out before moving on.
Step 2: The Wash (Pay Attention to Your Brush Type!)
This is where you need to be careful. How you wash depends entirely on the material.
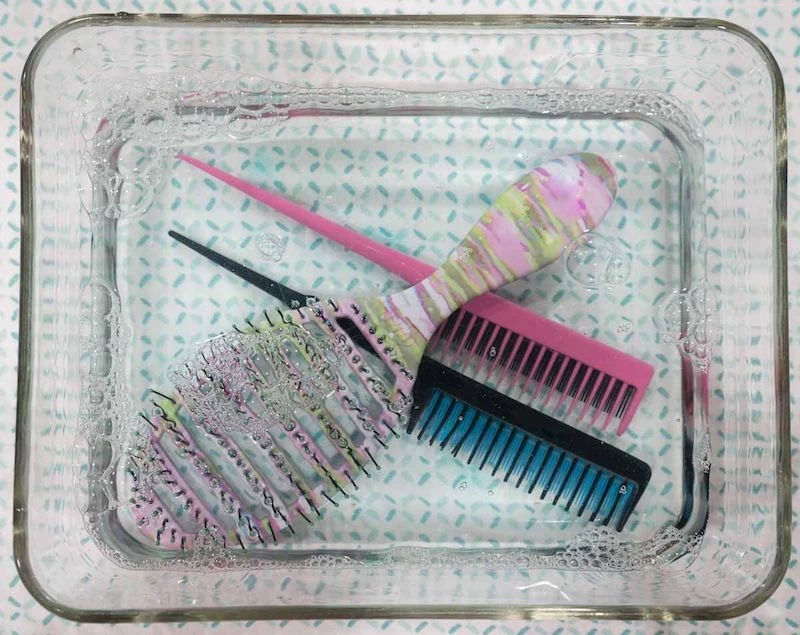
For Fully Plastic, Metal, or Ceramic Brushes:
These are the toughest and easiest to clean. Fill a basin with warm (not hot!) water and add a few drops of clarifying shampoo. Swish it around to make a soapy bath. You can drop the whole brush in and let it soak for about 15-20 minutes to loosen all the grime.
For Padded or Cushion Brushes:
These often have a little air hole in the cushion, which is great for flexibility but a nightmare for cleaning because water gets trapped inside. So, follow the steps above, but try to avoid fully submerging the brush. Just dip the bristle side in. If water does get in, you’ll have to squeeze it out over and over again at the end until it stops dripping. This is crucial to prevent mold.
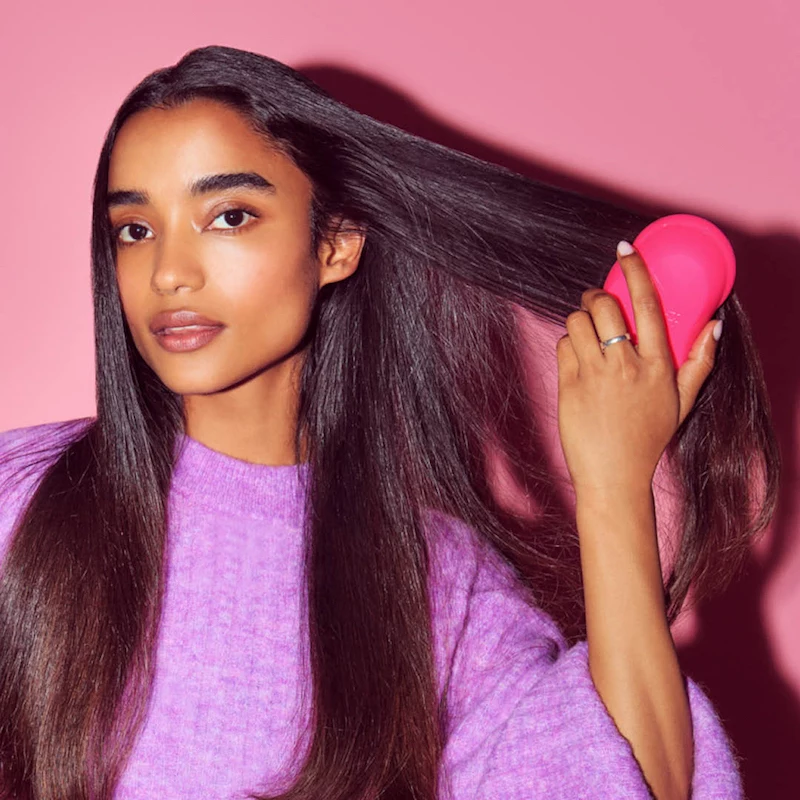
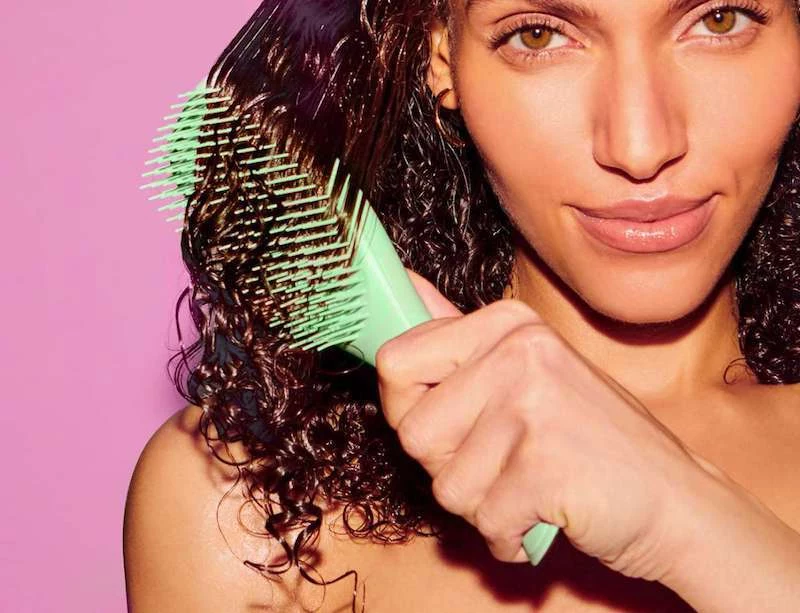
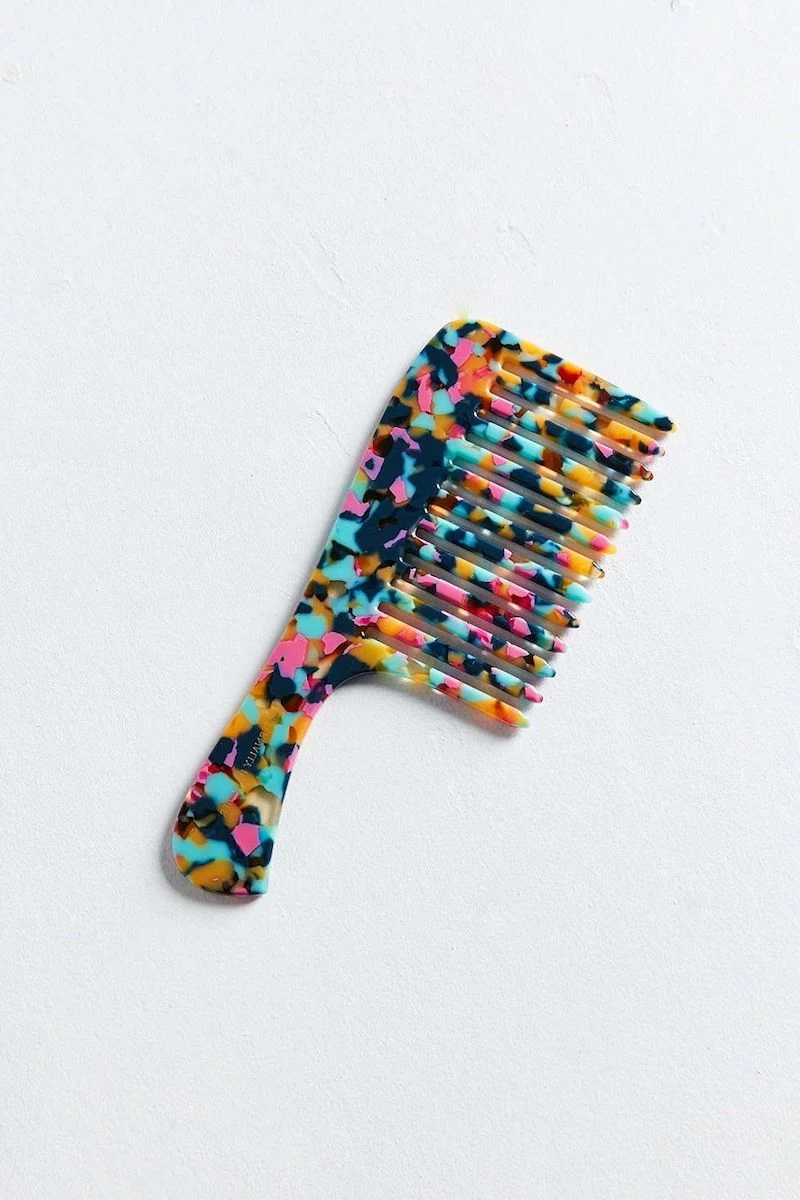
Heads up for those popular, flexible plastic detanglers that don’t have traditional bristles—treat them like a cushion brush. Don’t submerge them, or water can get trapped in the body!
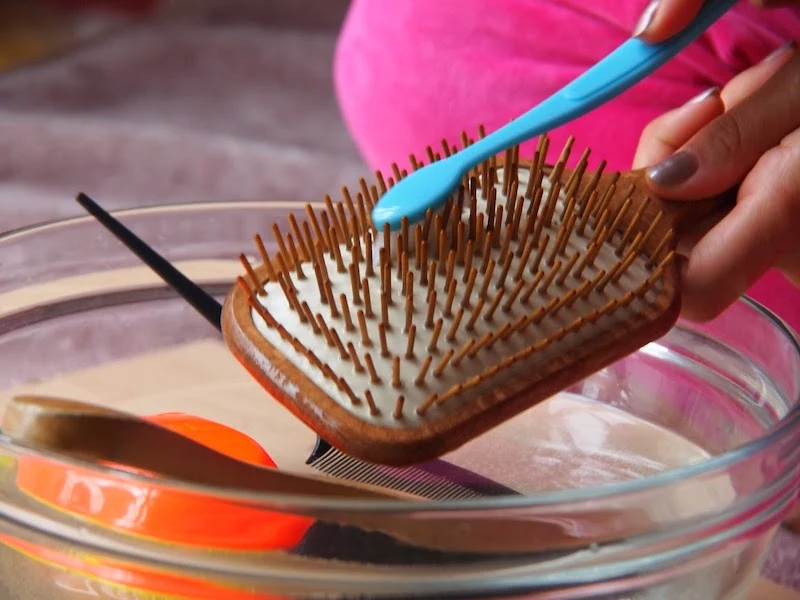
For Wooden Handles or Natural Boar Bristles:
NEVER soak these brushes. Ever. Water will cause the wood to swell, crack, and ruin the finish, and it can weaken the natural bristles over time. Trust me, I learned this the hard way. I once soaked a beautiful, expensive wooden paddle brush, and the handle swelled and cracked as it dried. A $40 mistake! Instead, dip your toothbrush into the soapy water, hold the hairbrush with the bristles facing down, and gently scrub the base and bristles. The downward angle prevents water from running into the handle.
Step 3: The Detail Scrub (For All Brushes)
After the soak or initial wash, take your soapy toothbrush and get to work. Gently scrub the base of the brush between every row of bristles. This is where the most stubborn gunk lives. You’ll see the last bits of grime just melt away.

Step 4: The Rinse (For All Brushes)
Rinse the brush really well under cool running water. For wooden brushes, remember to keep the bristles pointing down. Make sure all the soap is gone, otherwise it’ll leave a film on your clean hair.
Step 5: The Drying Process (Super Important!)
Proper drying is just as important as washing. Don’t even think about using a blow dryer or putting it on a radiator—you’ll melt the bristles and warp the body.
Shake out the excess water, then lay the brush on a clean towel with the bristles facing DOWN. This is the key! It lets all the water drain out and away from the cushion and handle, preventing damage and mold. Let it air-dry completely, which can take 12 to 24 hours. Don’t use it until it’s 100% dry to the touch.
A Few Final Words of Wisdom
Just a couple of things to keep in mind, from one hair enthusiast to another.
First, please don’t share hairbrushes. It’s the fastest way to pass along things like lice or scalp infections. Everyone in your home should have their own.
And remember, if you have a persistent scalp issue like severe dandruff or psoriasis, a clean brush is a huge help in managing it, but it’s not a cure. That’s a job for a dermatologist.
Taking a few minutes to care for your tools is a small thing that makes a huge difference. It’s an easy upgrade that supports all the other money and effort you put into your hair, and it’s one of the best things you can do for your hair and scalp health. Happy brushing!
Inspirational Gallery
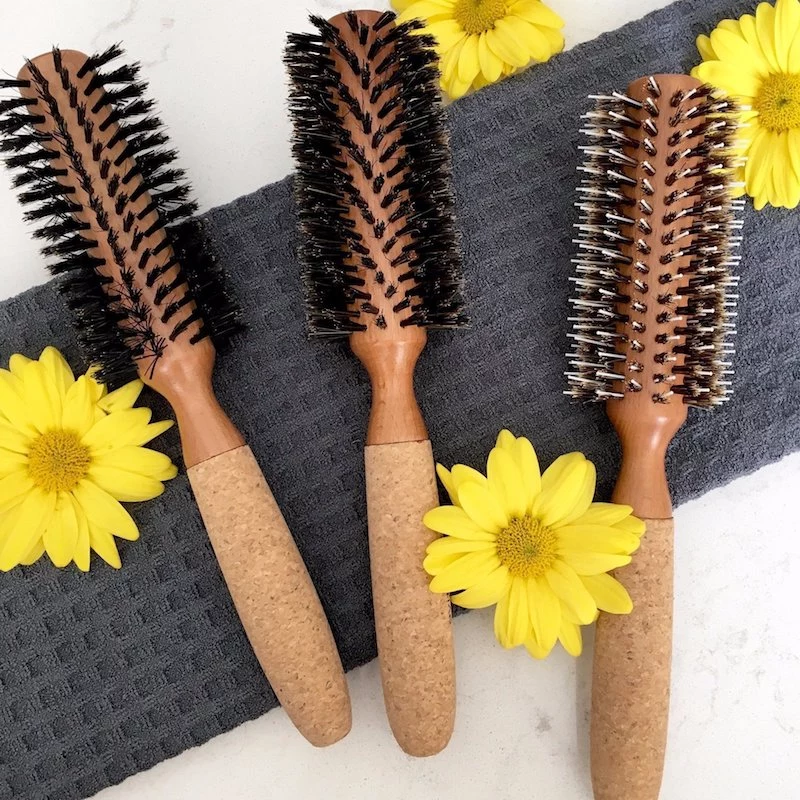
The Boar Bristle Challenge: Natural boar bristles are fantastic for distributing your scalp’s natural oils, but they’re delicate. Avoid harsh detergents which can strip and damage them. Instead, use a gentle, sulfate-free shampoo or a few drops of Dr. Bronner’s Castile Soap in lukewarm water. This cleans effectively without making the natural bristles brittle.
- Prevents mold and mildew from forming in the cushion or wood.
- Stops metal components from rusting over time.
- Ensures bristles return to their original shape without bending.
The secret? After washing, always lay your brush bristle-side down on a towel. This allows water to drain away from the base and handle, drastically increasing its lifespan.

A 2016 study found that the average hairbrush can harbor nearly 3,500 colonies of bacteria per square inch.
This is often more than you’d find on a bathroom sink drain. Regularly removing the physical debris is just the first step; a weekly disinfecting soak is what truly tackles this invisible buildup and protects your scalp health.
Can you just use your regular shampoo to clean your brushes?
Yes, and it’s often a great choice! Your shampoo is already formulated to break down the specific oils and product residue from your own hair. For a brush caked with heavy styling products like waxes or pomades, consider using a clarifying shampoo once a month for a deeper clean. It’s designed to cut through stubborn buildup more effectively than a standard daily shampoo.
Don’t overlook the humble toothpick or a metal-tipped tail comb. While tweezers are great for big clumps, these finer tools are perfect for meticulously scraping out the packed-in lint and debris that gets wedged right at the base of the bristles, especially on a dense paddle brush.
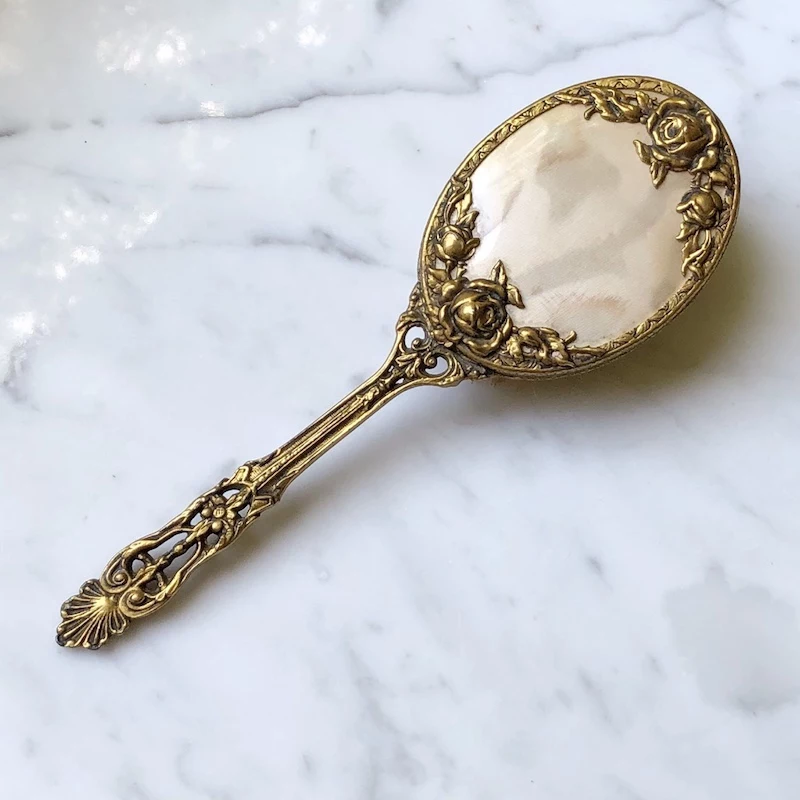
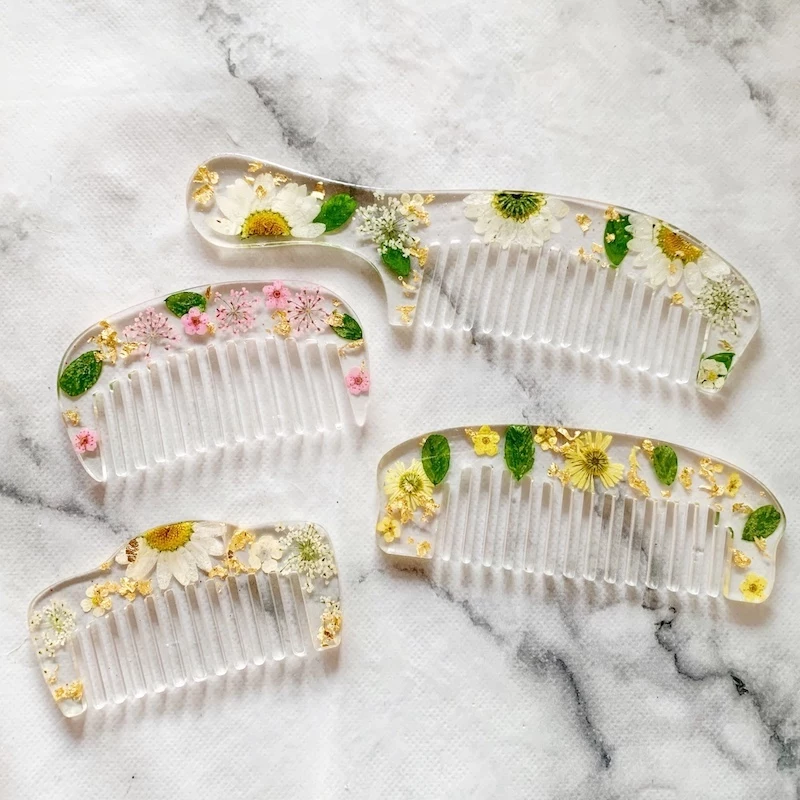
Wooden Handle: Feels luxurious and can be anti-static. However, it should never be fully submerged in water, as this can cause the wood to swell, crack, or lose its finish. A quick wash and careful drying are key.
Plastic Handle: More durable and waterproof, making it easier to soak and deep clean without worry. A brand like Wet Brush often uses plastic for this reason.
For longevity with a premium feel, wood is great, but for easy, no-fuss deep cleaning, plastic is the winner.
The fuzzy grey layer in your brush isn’t just dust; it’s a magnet for airborne pollutants, especially if you live in a city. Every time you brush, you’re potentially redepositing microscopic particles of grime from the environment onto your clean hair, dulling its shine and weighing it down.
- An old, clean toothbrush for scrubbing the base.
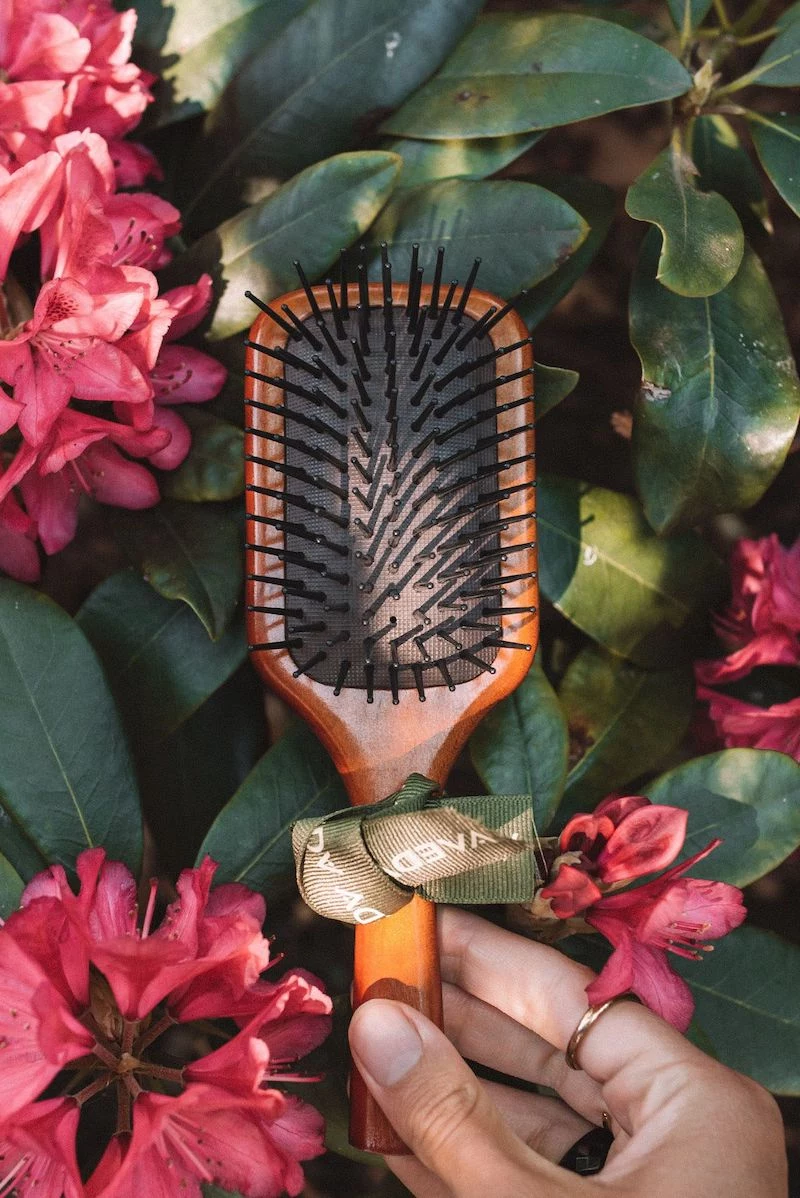
- A small brush cleaning rake (like the one from Denman) to lift hair effortlessly.
- A pair of small scissors to snip through matted hair for easier removal.
- A microfiber cloth for drying without leaving lint behind.
For a quick, natural disinfectant step after cleaning, create a simple mist. In a small spray bottle, mix a cup of distilled water with 5-7 drops of tea tree oil, known for its antimicrobial properties. Lightly spritz the bristles (avoiding the wooden handle), let it sit for a few minutes, then allow it to air dry completely.
A common mistake: Forgetting to clean the cleaner. If you use a comb or a special brush-cleaning tool to remove hair, make sure you wash that tool as well! Otherwise, you’re simply transferring oil and residue from one brush to the next time you use it. A quick wash with soap and water is all it takes.
The satisfying glide of a truly clean brush through your hair is a small, everyday luxury. There’s no snagging from product residue, no faint, musty smell, just smooth bristles and the knowledge that you’re treating your hair and scalp with the care they deserve. It transforms a routine chore into a moment of self-care.
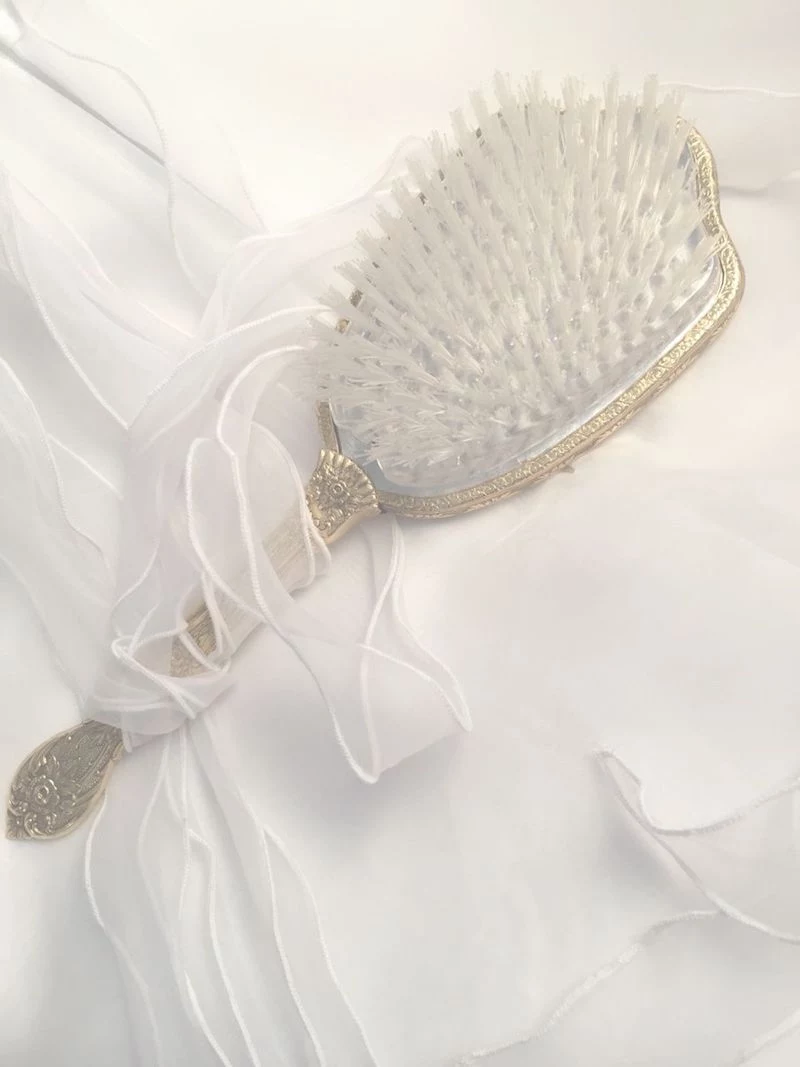
Investing in a quality brush, like a classic Mason Pearson, feels extravagant, but proper cleaning is what protects that investment. Their iconic rubber cushion pad is designed for longevity, but soaking it can trap water inside, leading to mold and deterioration. Their own cleaning brush is specifically designed to handle this task dry, preserving the integrity of the tool for decades.
Round thermal brushes, with their hollow cores and intricate bristle patterns, are notoriously difficult to clean. Product buildup and melted hair can get fused near the barrel.
- First, use a tail comb to pick out as much hair as possible.
- For stubborn, melted-on residue, gently heat the brush with a hairdryer for a few seconds. This can soften the gunk, making it easier to wipe off with a cloth (be careful, it will be hot!).
- Use an old toothbrush and soapy water to scrub between the bristle rows and through the ventilation holes.

Think of your hairbrush as a part of your skincare routine. You wouldn’t use a dirty makeup sponge on your face, so why use a dirty brush on your scalp?
Light User: If you use minimal product and have fine hair, a quick dry clean weekly and a deep wash monthly is plenty.
Heavy Product User: If you love your dry shampoo, hairspray, and serums, you need to be more vigilant. A quick clean every few days and a full wet wash every 1-2 weeks is essential to prevent buildup from ruining your style.
Don’t have a special tool? An afro pick is surprisingly effective for cleaning paddle brushes. The long, sturdy, widely-spaced tines are perfect for getting under the mat of trapped hair and lifting it out in one or two goes, much faster than picking at it with your fingers.
Your travel bag is a minefield of dust, makeup powder, and potential spills. Tossing your brush in unprotected means it arrives at your destination dirtier than when you left. A simple cloth pouch or a dedicated hard-case for your brush keeps it pristine and ready to use, so you aren’t brushing travel grime into your vacation hair.
- Soaking a wooden brush, which can cause it to swell and crack.
- Using boiling water, which can melt plastic bristles and dissolve the glue holding them in place.
- Pulling hair out in a way that bends or breaks the bristles. Always lift from the base.
- Forgetting to rinse thoroughly, leaving a soap film that will transfer to your hair.
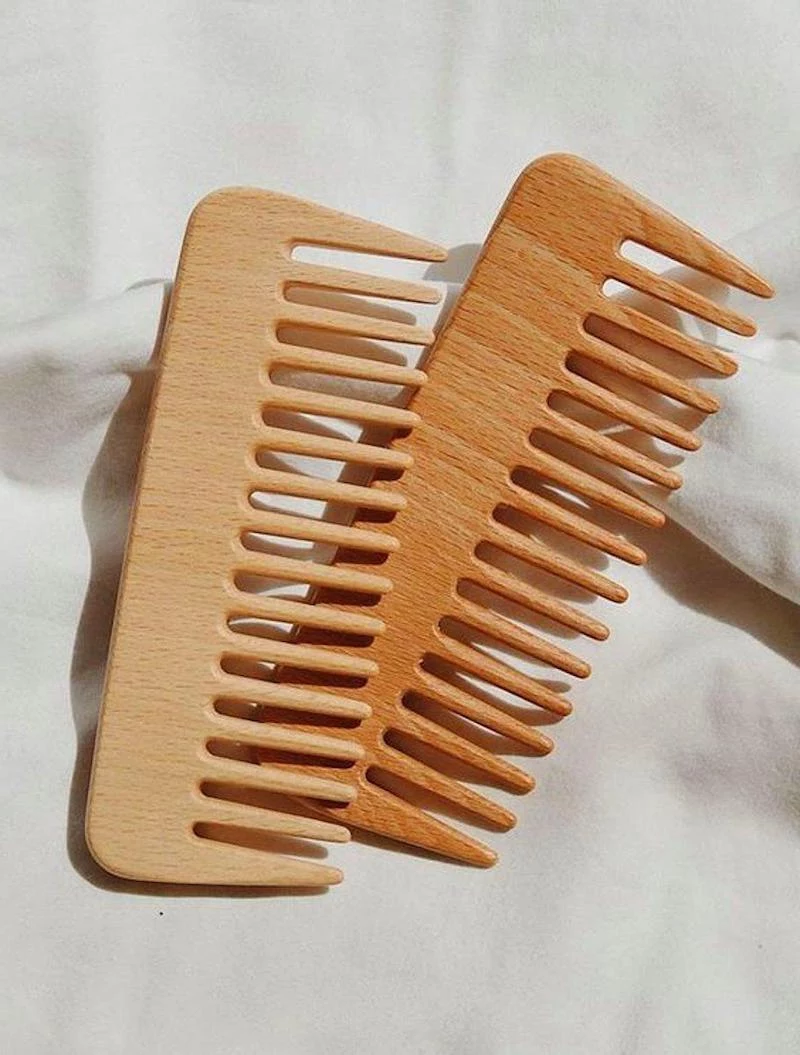
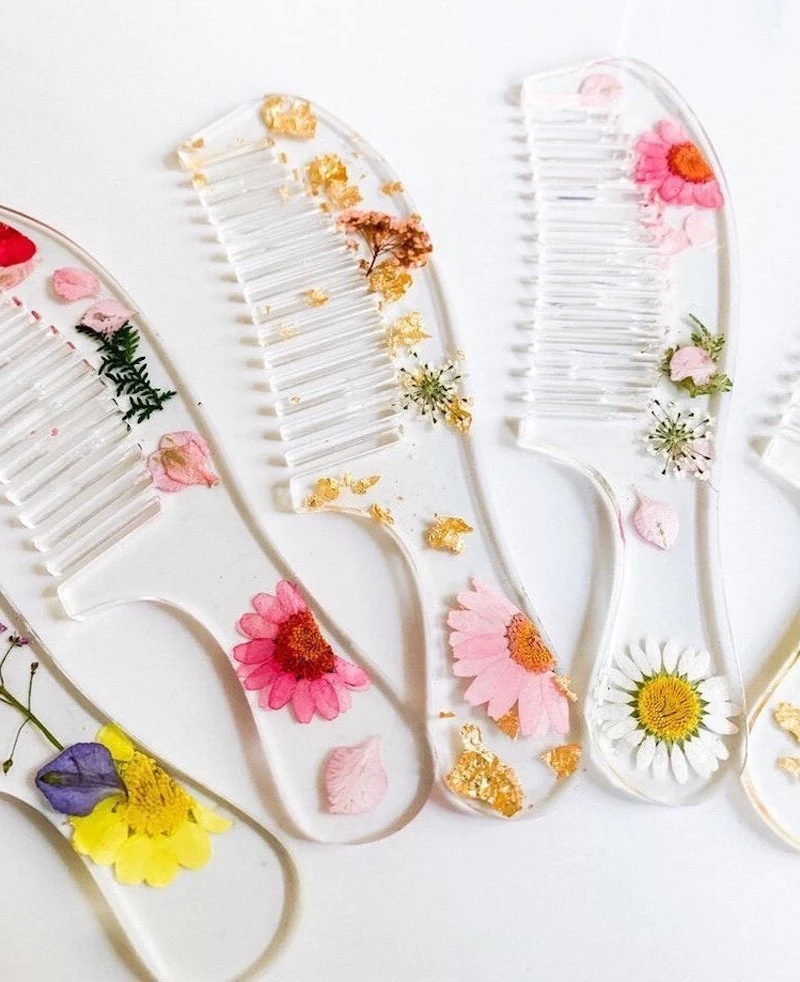
For an eco-conscious clean, look beyond the soap. Brands like Tek from Italy create brushes with 100% FSC-certified wood handles and natural rubber cushions. To care for them sustainably, use a biodegradable soap and lukewarm water, and avoid any harsh chemicals. A well-maintained, high-quality wooden brush can last for years, reducing plastic waste from cheap, disposable alternatives.
Struggling with static and flyaways, especially in winter?
Your dirty brush could be the culprit. A layer of dust, lint, and old product acts as a conductor for static electricity. A clean brush, especially one with natural bristles like boar or wood, helps to smooth the hair cuticle and neutralize static charge, leaving your hair smoother and more manageable.


