Your Hairbrush Is Probably Gross. Here’s Exactly How to Clean It.
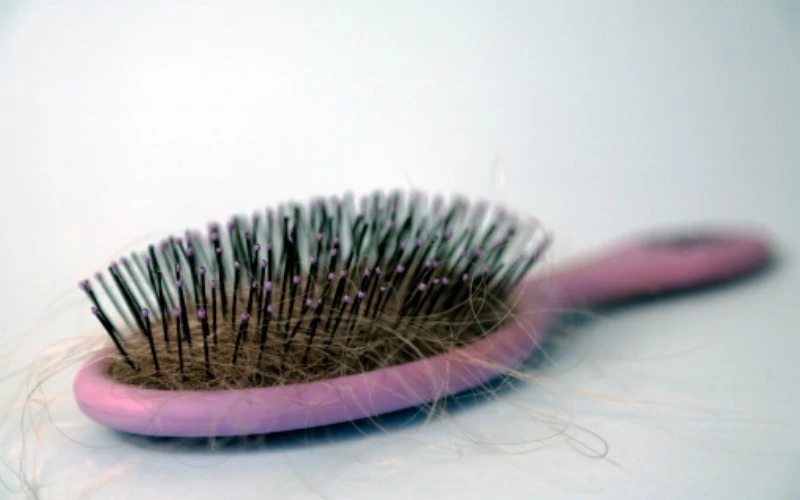
I’ve been a hairstylist for a long, long time. And over the years, I’ve seen people spend a fortune on fancy cuts, vibrant color, and high-end treatments. But then they go home and use a brush that’s, frankly, disgusting. It’s one of the first things they taught us in cosmetology school, and it had nothing to do with scissors. My instructor held up a brush completely clogged with hair and gray lint and said, “This isn’t a tool. This is a problem. It will make clean hair dirty and undo all your hard work.”
In this article
That lesson was a game-changer for me. A dirty hairbrush isn’t just an eyesore; it’s actively working against you. Think about it: it’s just redistributing old styling products, scalp oils, and environmental gunk right back onto your freshly washed hair. This is why your hair might feel weighed down, look dull, or even why your scalp gets irritated. Taking a few minutes to clean your brushes is one of the best things you can do for your hair and scalp health.

Ready for a quick win? Pause reading for a second. Go grab your hairbrush and a pen or a tweezer. Spend just 60 seconds pulling out all the loose hair. See? It’s already 50% better. Now, let’s get it truly clean.
First Off, What Are We Even Cleaning?
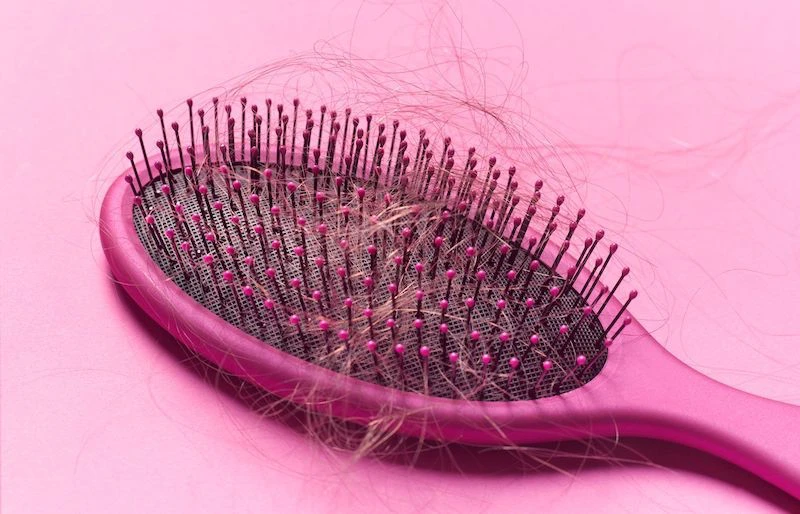
Before we can tackle the grime, it helps to know what it is. That gray, linty stuff that gets wedged at the base of the bristles is a pretty complex concoction. It’s not just hair.
It’s a mix of a few things:
- Sebum: This is just the natural oil from your scalp. It’s totally normal, but it’s sticky, acting like glue for everything else.
- Dead Skin Cells: Your scalp sheds constantly, and those tiny flakes get trapped in the brush.
- Product Buildup: That hairspray, mousse, or leave-in conditioner you love? It leaves behind a film of polymers and silicones on your brush.
- Dust and Lint: Your hair picks up all sorts of airborne stuff throughout the day, which then gets transferred to your brush.
Honestly, this buildup can become a breeding ground for bacteria and yeast, which is sometimes linked to issues like dandruff. When you use a dirty brush, you’re basically painting this lovely mixture back onto your head. So yeah, this is about health, not just looks.
How to Clean Your Brush Without Ruining It
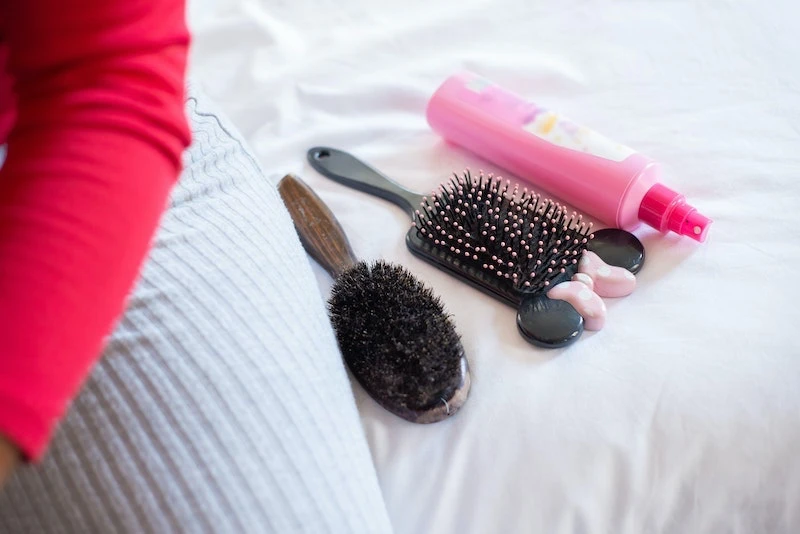
Okay, this is important. You can’t treat all brushes the same way. The material of your brush completely changes the game, and using the wrong method can wreck a perfectly good tool. I’ve seen it happen!
- Plastic & Synthetic Brushes: These are the workhorses and the easiest to clean. The body and bristles (usually nylon) are non-porous, so they can handle a good soak. Heads up, though! That soft, squishy cushion base often has a tiny air hole. If water gets in there, it’s almost impossible to get out and can lead to a nasty, mildewy smell.
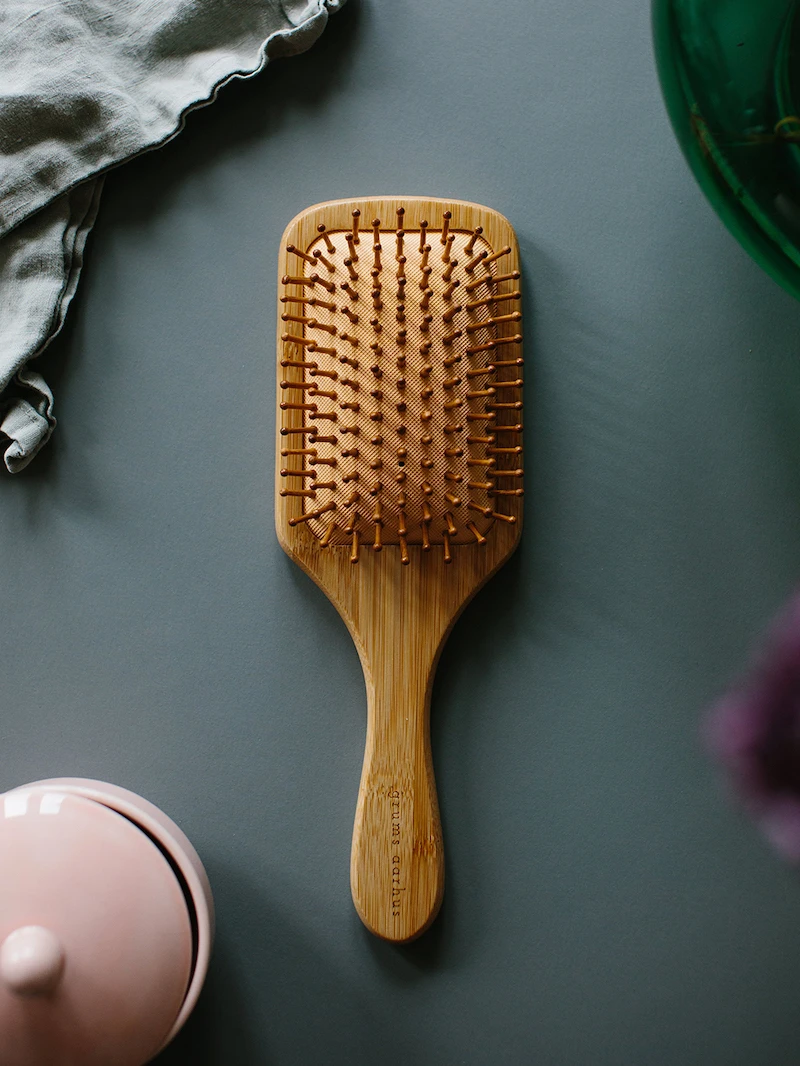
- Wooden or Bamboo Brushes: Here’s the golden rule: Do. Not. Soak. Wood. It’s porous, and submerging it in water will cause it to swell, warp, and crack as it dries. Trust me on this—I once destroyed a beautiful $50 wooden paddle brush by forgetting it in the sink. Learn from my expensive mistake! These require a much lighter touch.
- Natural Bristle Brushes (like Boar Bristle): These are fantastic for making hair shiny and smooth because the bristles are structurally a lot like our own hair. That also means they’re porous and need to be treated gently, just like your hair. Harsh soaps will make them brittle and sad.
Your Pro Cleaning Toolkit (With Budget Options)
You don’t need a bunch of fancy gear. Most of this stuff you probably already have, or it’s super cheap to get.
- A Pintail Comb: The long, skinny metal tail is a lifesaver for lifting hair out of bristles. You can grab one for $2-$5 at any beauty supply store or online. A great alternative if you don’t have one? A bamboo skewer, a knitting needle, or even the skinny handle of a makeup brush works in a pinch.
- Small Scissors: Essential for round brushes where hair gets wound on super tight. Just be careful to only snip the hair, not the bristles.
- A Clean Sink or Two Bowls: One for washing, one for rinsing. Rinsing in the same dirty water kind of defeats the purpose, you know?
- Gentle Clarifying Shampoo: Now, people always ask, “Can I just use dish soap or my regular shampoo?” Here’s the deal: a clarifying shampoo is best because it’s designed to bust through product buildup without leaving its own coating behind. A small bottle might cost you $5-$10 and will last you ages for this. In a real pinch, a drop of Dawn dish soap can work, but it can be a bit harsh over time, especially on natural bristles. Regular shampoo often has conditioning agents that will just add more residue.
- Baking Soda: This is my secret weapon. It’s a fantastic, gentle abrasive that helps scrub away stubborn gunk and deodorizes the brush. A box is, what, a dollar?
- An Old Toothbrush: Perfect for getting into all the nooks and crannies. Just make sure it’s reserved only for cleaning tasks!
- A Clean Towel: A dry, absorbent towel is key for the final step. Microfiber towels are especially great for this.
The Go-To Method for Plastic & Synthetic Brushes
This is your basic technique and works for most common paddle brushes and detanglers. I’d recommend doing this every 2-4 weeks, depending on how much product you use.
- Step 1: The Dry De-Gunk. First things first, never dunk a brush full of hair in water. You’ll just make a clumpy mess. Use your pintail comb (or skewer) to slide under the matted hair and lift it out. It should come out in a satisfying sheet.
- Step 2: Mix Your Cleaning Bath. Fill a basin or your sink with warm—not hot—water. Hot water can soften the glue holding the bristles in. Add a squirt of clarifying shampoo (about a teaspoon) and a tablespoon of baking soda. Swish it all together.
- Step 3: The Soak. Place the brush bristle-side down in the water. Try to only submerge the bristles and not the cushion pad, especially if it has that air hole. Let it soak for about 15-20 minutes. Any longer doesn’t really help and just increases the risk of water getting trapped.
- Step 4: The Scrub-Down. Pull the brush out. The water should be pretty murky (a good sign!). Dab a little more shampoo directly on the bristles and get to work with your toothbrush. Use small, circular motions and pay extra attention to the base of the bristles where the gunk really lives.
- Step 5: The Rinse. Drain the dirty water and rinse the brush under a gentle stream of cool water. Keep rinsing until you don’t see any more suds. Leftover soap will just attract more dirt later.
- Step 6: The All-Important Drying Stage. This is the step everyone messes up. Shake the brush firmly over the sink a few times. Then, lay it on a clean towel with the BRISTLES FACING DOWN. This is critical. Gravity will pull any remaining water out of the base instead of letting it pool inside and get mildewy. Leave it in a well-ventilated spot to dry for at least 12-24 hours. And please, don’t use a hairdryer on it; the heat can melt the bristles or warp the base.
Special Care for Wood & Natural Bristle Brushes
These fancier brushes need a more delicate approach. The goal is the same, but the technique is all about minimal water contact.
For a Wooden or Bamboo Brush:
Remember my sad story about the warped brush? Don’t repeat my mistakes. Start with the same dry hair removal. Then, instead of a bath, mix a few drops of shampoo and a little water in a small bowl. Whisk it with your toothbrush until you have a nice foam. Use just the foam to scrub the bristles and base. Then, take a clean, damp (not wet!) cloth and carefully wipe all the foam away. Immediately dry the whole brush with a towel and lay it bristle-side down to finish air-drying.
For a Boar Bristle Brush:
Treat these bristles like fine hair. After the dry hair removal, use a very mild, sulfate-free shampoo. Give the bristles a quick dip—don’t soak—in a bowl of soapy water. Use your fingers to gently work the lather through from base to tip. Rinse thoroughly under a cool, gentle stream of water. Shake it out and lay it bristle-side down on a towel for a full 24 hours. A common mistake is trying to “condition” the bristles; don’t do it! It just leaves a film that stops them from properly distributing your hair’s natural oils.
When Things Get… Complicated
Sometimes you need to do more than just clean.
Sanitizing vs. Cleaning
Cleaning removes dirt; sanitizing kills germs. For home use, a good clean is usually enough. But if you’ve been sick, had a scalp issue, or (and I can’t stress this enough) someone else used your brush, you need to sanitize. For plastic brushes, after cleaning, you can do a quick 10-minute soak in one part white vinegar to two parts water. It’ll smell like vinegar for a bit, but it fades. For wood or natural bristle brushes, sanitizing without damage is tough. If you’ve dealt with something contagious like lice, my professional advice is blunt: just throw the brush away. It is not worth the risk of reinfection. A new plastic brush can be properly sanitized, but porous materials are a no-go.
What If It’s Moldy?
If you see little black or green spots on the cushion base, that’s mold from being dried improperly. Don’t even try to clean it. Throw it out immediately. The cost of a new brush (maybe $15-$30 for a good one) is nothing compared to the potential scalp irritation and allergies from mold spores.
When Is It Time to Say Goodbye?
Even the best brush has a lifespan. It’s time for a replacement if you see any of these signs:
- Missing or Broken Bristles: Gaps mean the brush isn’t working evenly.
- Melted or Bent Bristle Tips: If the little protective balls are gone from the ends of nylon bristles, the sharp tips can scratch your scalp and damage your hair.
- A Cracked Base or Handle: These cracks can snag hair and harbor bacteria.
- A Dead Cushion: If the pad feels stiff and has lost its springiness, it’s done.
- Any Sign of Mold: As I said, this is non-negotiable. It goes straight to the trash.
And that’s it! A clean brush is a simple thing, but it makes a huge difference. It’s a small bit of maintenance that protects your hair, your scalp, and the money you spend on both. Your hair will thank you.


