Your Dryer Is a Hidden Fire Hazard. Here’s How to Fix It.
I’ve been an appliance tech for a long time, and let me tell you, I’ve seen some things. I’ll never forget one service call to a young family’s house. Their dryer was taking three, sometimes four cycles just to dry a load of towels. They were convinced the machine was busted and ready to drop hundreds on a new one.
In this article
So, I pulled the dryer away from the wall, disconnected the vent, and this solid, five-foot-long tube of lint just… plopped out onto the floor. It was so dense you could have leaned it against the wall. The family was floored, but honestly, they were incredibly lucky. A clog like that is a full-blown fire hazard just waiting for a spark.
And that’s not a rare story. Safety experts will tell you that the number one cause of dryer fires is simply a failure to clean them. This isn’t just about being tidy; it’s a critical safety task for your home. On the plus side, a clean dryer runs way more efficiently, which saves you real money on your energy bill and helps your clothes last longer. I want to walk you through the professional method I use, from the easy weekly stuff to the deep clean that’ll give you peace of mind.
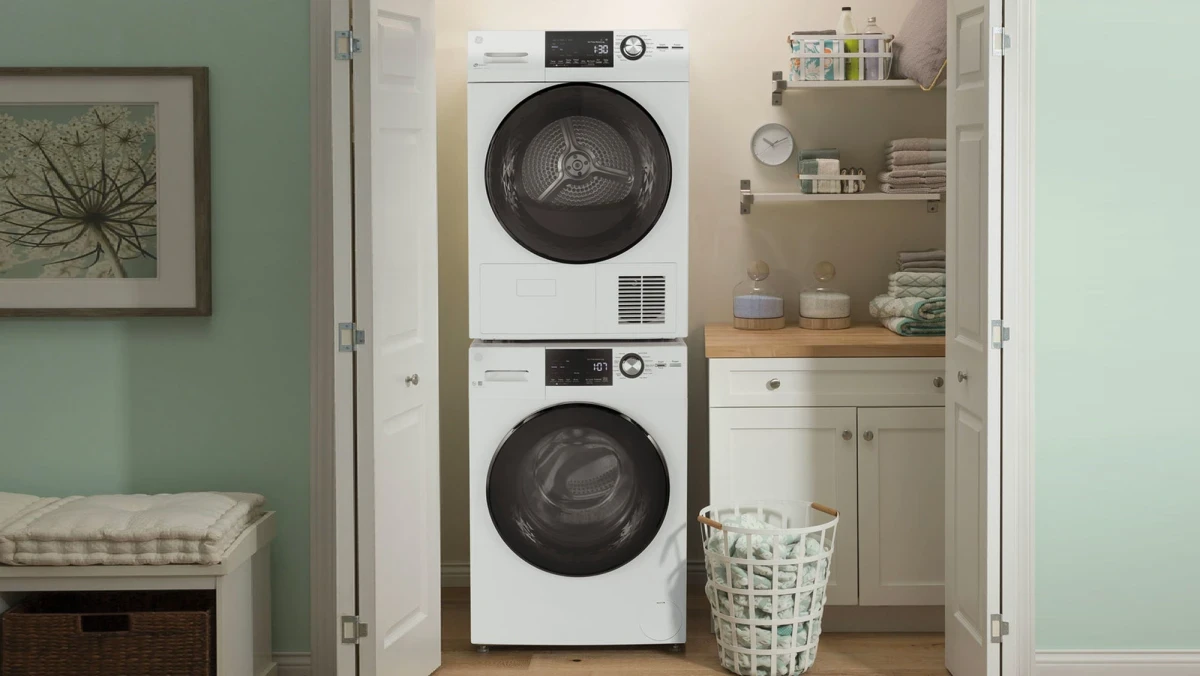
Why Airflow Is the Secret to Everything
Before we get our hands dirty, you need to understand one thing about your dryer: airflow is king. It’s a surprisingly simple machine. You’ve got a motor that turns the drum, a heater, and a fan to move air. That’s pretty much it.
The magic isn’t the heat; it’s the movement of hot, moist air away from your clothes. The dryer pulls in cool air from the room, heats it up, and tumbles it through the wet laundry. Then, that hot, humid air has to escape. It gets pushed through the lint screen and out the vent to the outside of your house. If any part of that path gets blocked, the whole system grinds to a halt.
Lint, a fluffy and highly flammable collection of clothing fibers, is the sworn enemy of airflow. When it clogs the vent, that hot air gets trapped. Heat starts building up inside the duct and the dryer itself, creating the perfect conditions for a fire. The first sign is usually your clothes coming out damp. That extra run time doesn’t just waste energy; it puts a ton of stress on your dryer’s parts, leading to costly repairs.
By the way, you can often smell the problem. A struggling dryer has a distinct, musty, slightly burnt smell. That’s the scent of trapped, overheating lint. If you smell that, it’s time for a deep clean, ASAP.
Gathering Your Gear: The Pro’s Toolkit
Having the right tools makes this job go from a major headache to a manageable weekend task. You don’t need a pro’s van full of equipment, but a few key items are non-negotiable for doing it right.
- A Shop-Vac. Honestly, your regular household vacuum probably won’t cut it. A shop-vac has the raw power to pull out heavy, caked-on lint from a long vent. The hose and crevice tool are your best friends here.
- Dryer Vent Brush Kit. This is the most important tool. Don’t just get a little handheld brush. You want a kit with flexible, screw-together rods that can reach the entire length of your vent. For around $20 to $40 at Home Depot or online, you can get a great drill-powered brush kit. It’s worth every penny. Just make sure it’s for a standard 4-inch vent.
- Nut Driver (or Screwdriver). Most vent clamps use a 1/4-inch or 5/16-inch hex-head screw. A nut driver makes getting them on and off in tight spaces way easier than a flathead screwdriver.
- Proper Foil Tape. Do not, I repeat, DO NOT use standard gray duct tape. The dryer’s heat will cook the adhesive, and it’ll fail, leaking hot air (and carbon monoxide, for gas dryers) into your home. You need UL 181A-P rated aluminum foil tape from a hardware store.
- Basic Safety Gear. I never do this without gloves, safety glasses, and a decent dust mask. You really don’t want to be breathing in years of dust and detergent residue.
- Old Towels or a Tarp. You will be shocked by the sheer volume of lint that comes out. A tarp makes cleanup a breeze.
Heads up for Gas Dryers! If your dryer runs on gas, safety is even more serious. A blocked vent can cause deadly carbon monoxide (CO) to back up into your home. Before you move anything, you must turn off the gas. Find the small pipe leading to the dryer and turn the shut-off valve handle so it’s perpendicular to the pipe. This is not optional. I also strongly recommend having a CO detector in your laundry area, period.

Level 1: The Every-Load Habit
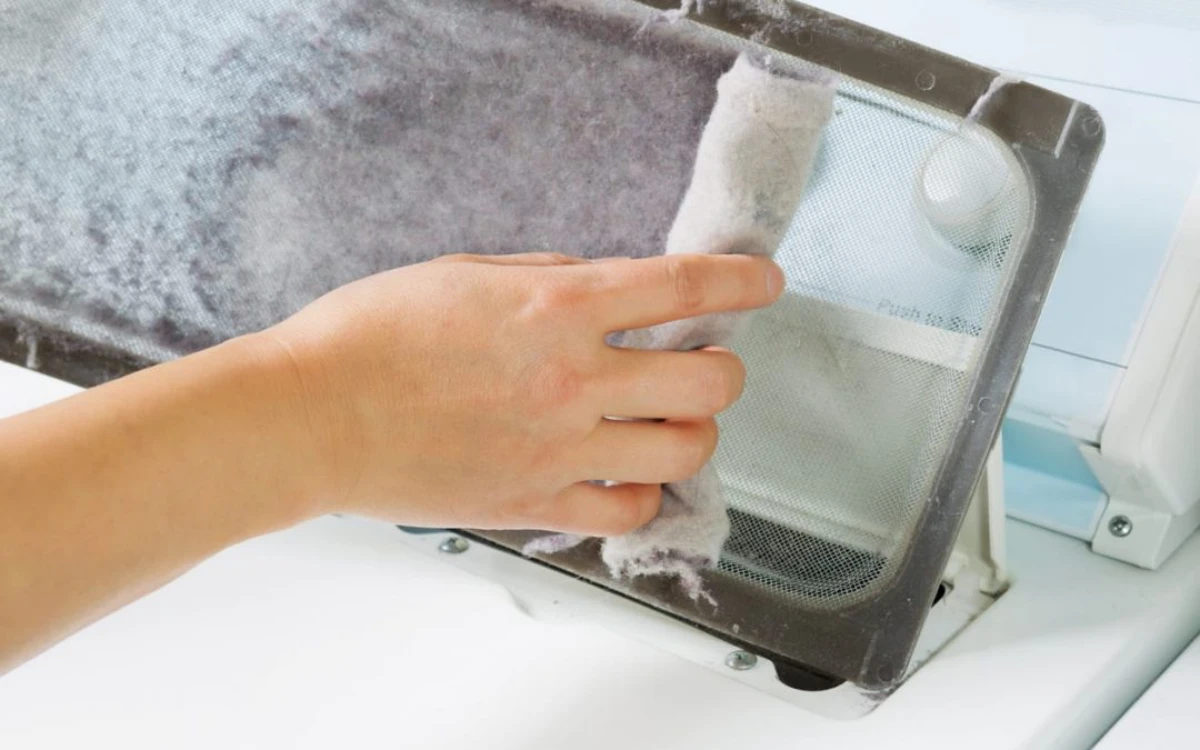
This is the easiest part, but it’s the foundation of a safe dryer. You know to pull the lint off the screen after every load, right? But there’s a secret problem most people miss: a nearly invisible film from dryer sheets and fabric softener.
Try this right now: Go grab your lint screen and run it under the sink. Does the water bead up and pool on the surface instead of flowing right through? If so, you’ve found a hidden clog! To fix it, just scrub the screen gently with a soft brush, hot water, and a bit of dish soap. Rinse it well and let it air dry completely before popping it back in. I tell my clients to do this once a month.
While the screen is out, grab your vacuum’s crevice tool and suck out all the crud from the lint trap housing. A surprising amount of lint bypasses the screen and gets stuck down there.
Level 2: The Monthly Check-Up
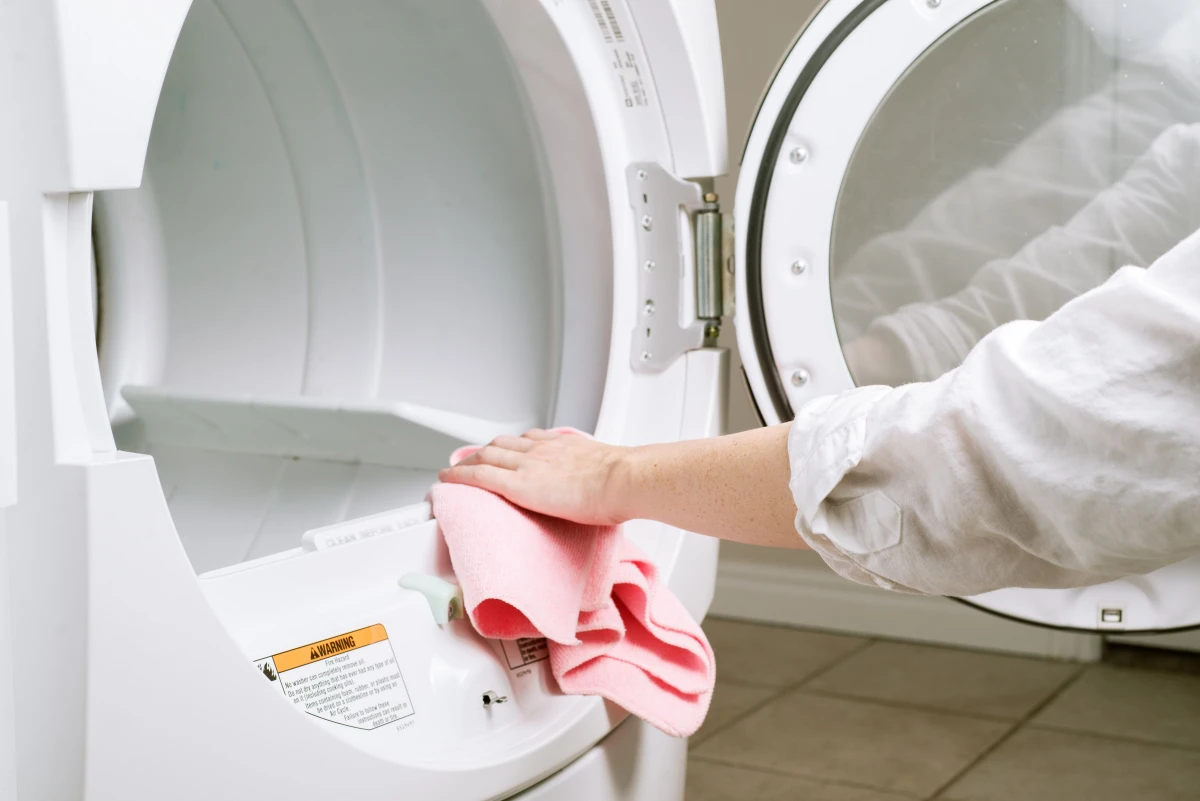
Once a month or so, it pays to give the inside of the dryer a quick once-over. The drum itself can get coated in that same waxy film, which can transfer back onto your clean clothes. Wipe it down with a soft cloth dampened with a 50/50 mix of white vinegar and water. (Important: For gas dryers, never use flammable cleaners. Stick to a non-flammable household cleaner or just soapy water). Then, wipe with a clean, damp cloth and toss in a few dry towels on an air-fluff cycle to dry it out.
While you’re in there, find the two metal strips inside the drum. These are the moisture sensors for your auto-dry cycles. If they get coated with that same residue, they can’t tell when your clothes are dry, so the dryer just keeps running and running. A quick wipe with a cotton ball and some rubbing alcohol will make them work like new again. This one little trick solves a ton of “dryer runs too long” complaints.
Level 3: The Annual Deep Clean (The Big One)
Alright, this is the main event. Plan for 1-2 hours for this, especially if it’s your first time. I recommend every homeowner do this at least once a year—or every six months if you have a big family or furry pets.
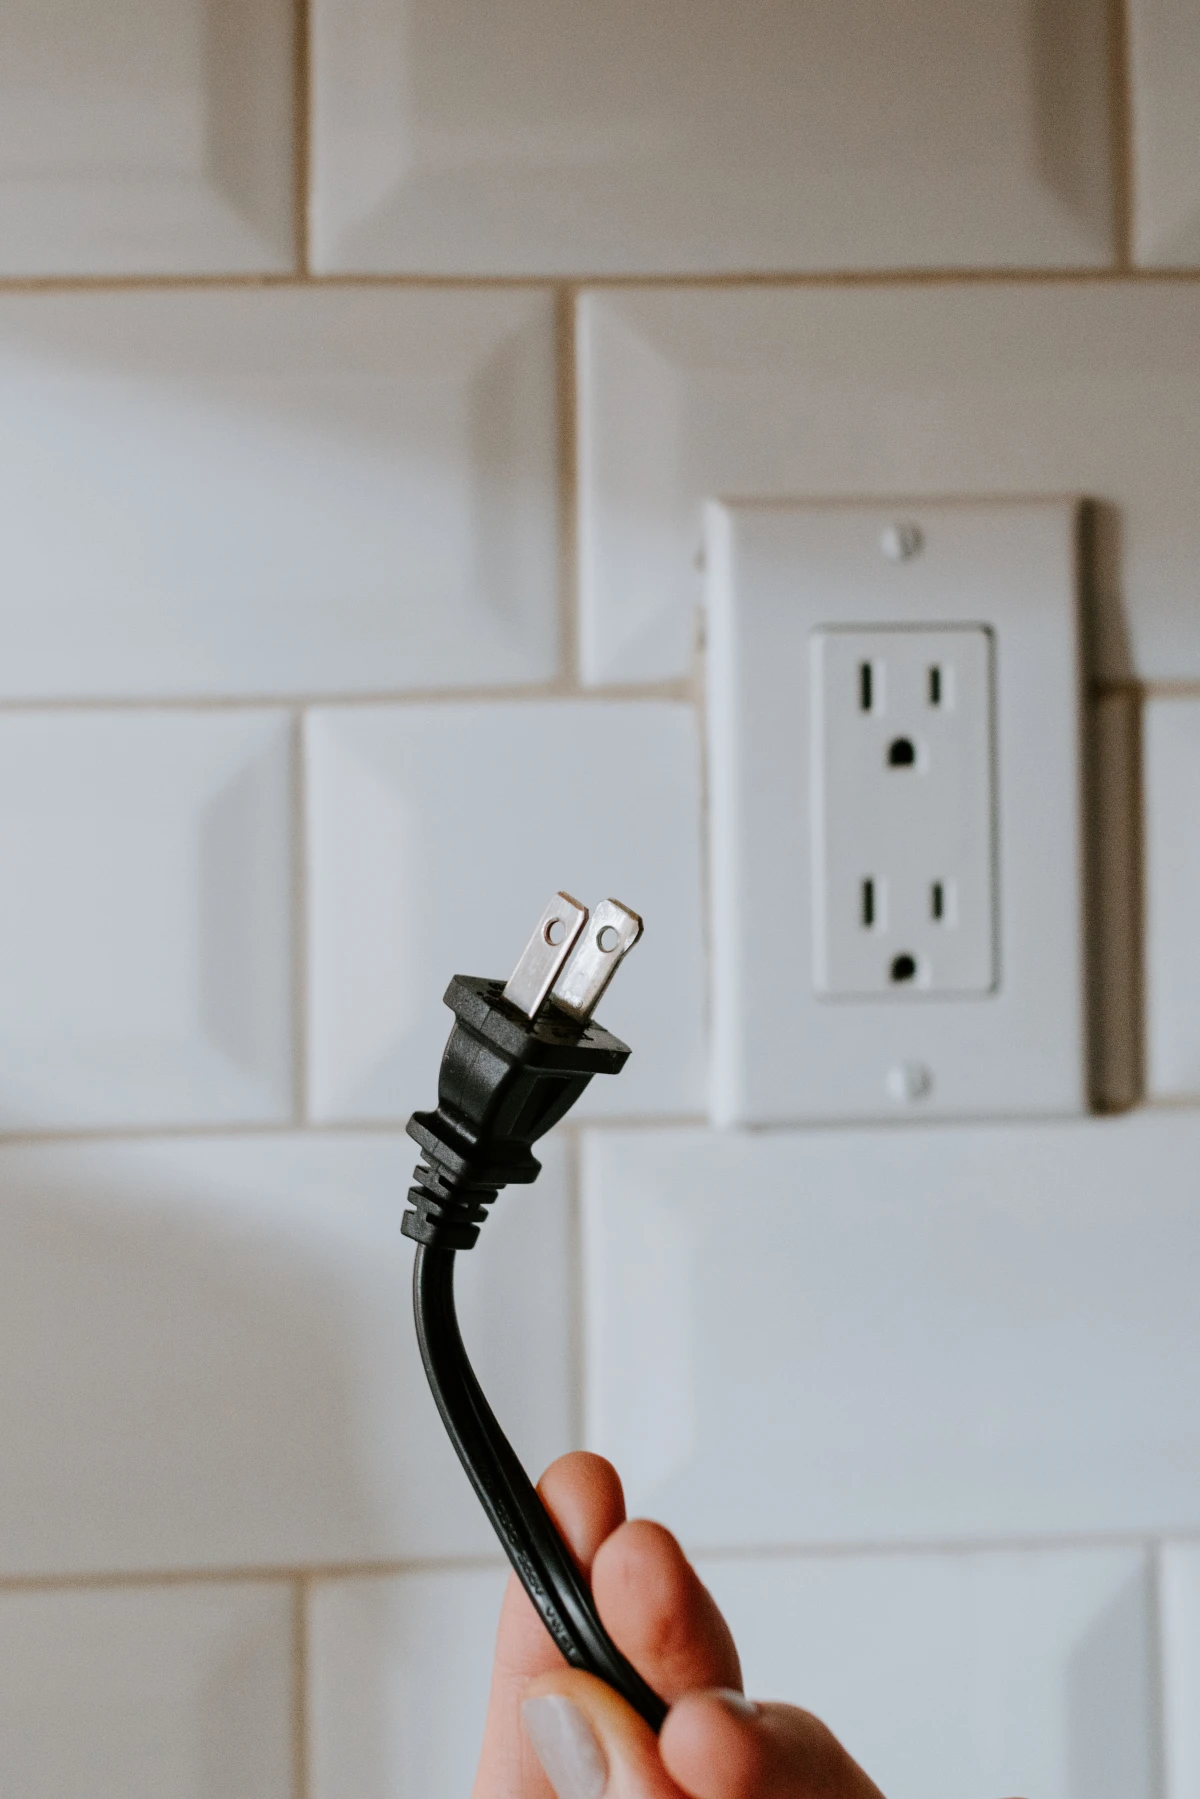
First, unplug the dryer and shut off the gas if you have it. Carefully pull the machine away from the wall. Don’t just yank it; be gentle with the cords and lines. If you’re doing this solo, furniture moving sliders under the dryer feet can be a lifesaver.
Now, take a look at the vent connecting your dryer to the wall. What you find is critical.
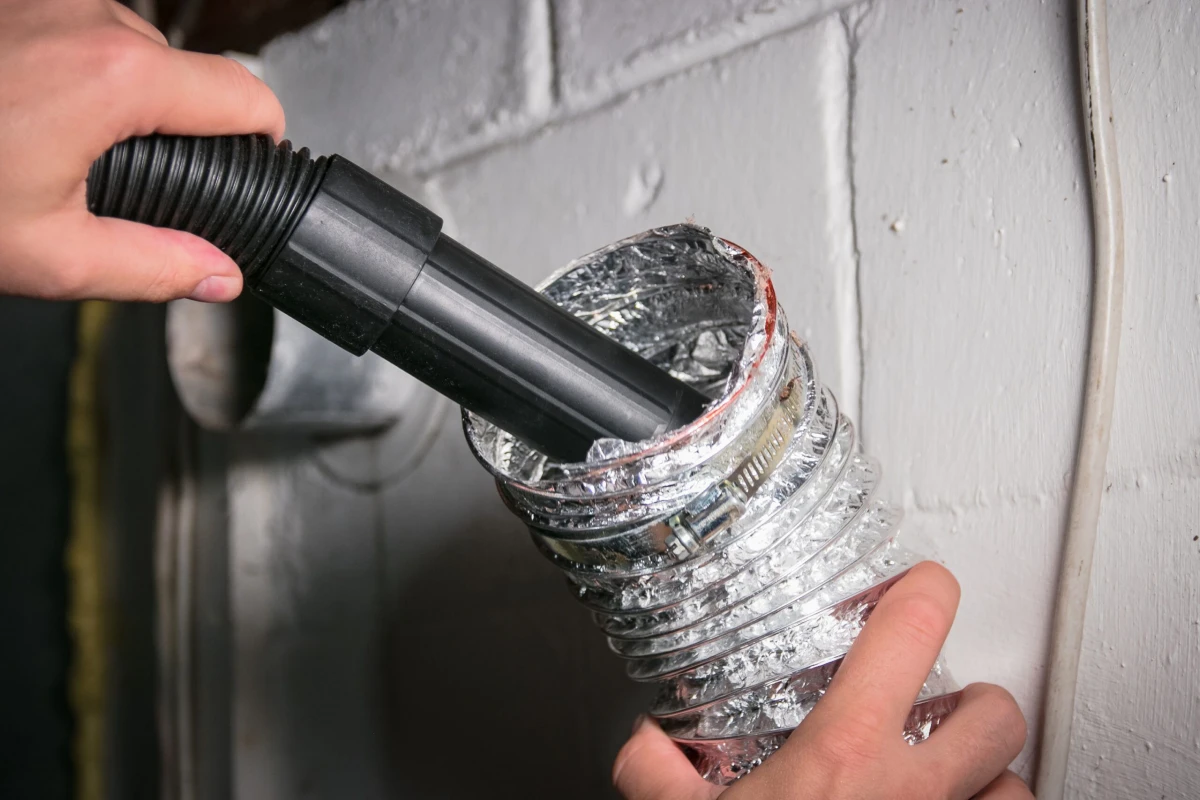
- The Bad: White Vinyl Duct. If you see that thin, white, plastic-slinky-looking tube, you need to replace it. Yesterday. Its ridges trap lint like crazy, it crushes easily, and it’s a known fire risk. Modern building codes don’t even allow it anymore.
- The Better: Semi-Rigid Aluminum Duct. This is the flexible, crinkly metal tubing. It’s a much safer choice for the short transition from your dryer to the wall pipe because it has a smoother interior.
- The Best: Rigid Metal Duct. This is the gold standard—a smooth, solid pipe. It offers the least resistance to airflow and is the easiest to clean. This should be used for the entire long run inside your walls.
Disconnect the vent from the dryer and the wall. Have your shop-vac running to catch the initial fallout. Now, grab your vent cleaning brush kit. It’s best to work from the outside of your house inward. Open the exterior vent cap, insert the brush, and start pushing it in while rotating it.
CRITICAL TIP: If you’re using a drill-powered brush, always keep the drill spinning CLOCKWISE, both when pushing in and pulling out. If you reverse the drill, the rods can unscrew from each other and get stuck deep inside your vent. Trust me, that’s a bad day and an expensive fix.
Keep adding rod sections until you’ve cleaned the whole run. You’ll see a blizzard of lint come out. To finish, you can have a helper hold the shop-vac over the inside vent opening to suck out any remaining loose debris. A little pro-tip: a leaf blower on the inside opening can also blast everything out with impressive force.
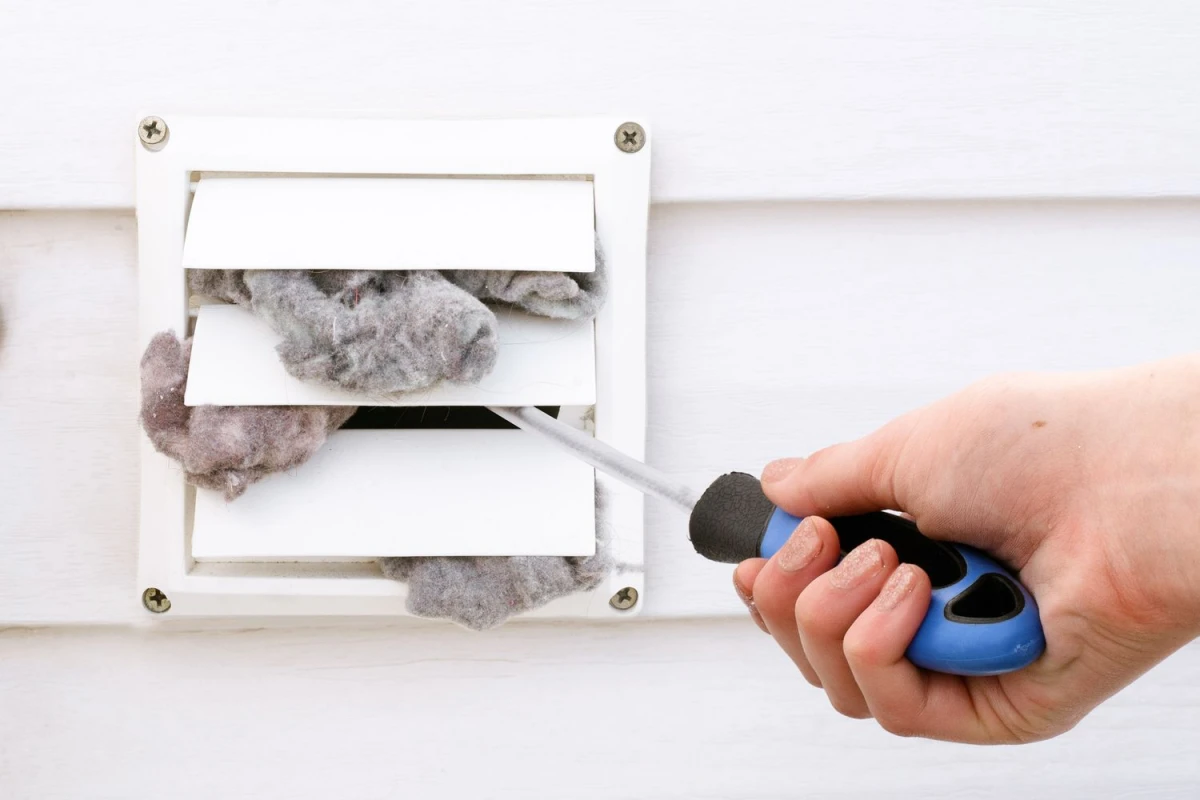
Finally, clean the exterior vent cap itself. Birds love to build nests in there, and the flap can get caked with lint and stick shut. Make sure the flap or louvers can move freely. To stop critters from coming back, you can pick up a “pest guard” or “bird guard” for a few bucks at any hardware store that fits right over the opening.
What If My Setup Is… Complicated?
Not all vent runs are simple. Dryers are designed for a maximum vent length of about 25-35 feet. But here’s the kicker: you have to subtract 5 feet for every 90-degree turn and 2.5 feet for every 45-degree turn. For example, if your vent goes up 8 feet, makes a sharp 90-degree turn, and then runs another 15 feet to the wall, you’re not at 23 feet of length. You’re at 8 + 5 (for the turn) + 15 = 28 feet. And just like that, you can be over the limit, meaning the dryer’s fan can’t push the air out effectively.
If you have a super long run, you might need a professional to install a booster fan inside the ductwork. This is not a DIY job.
When to Just Call a Professional
I’m a big believer in DIY, but sometimes it’s smarter to call in the pros. Expect to pay somewhere between $100 and $250 for a professional service, and it’s money well spent if:
- Your vent exits on the roof. The risk of falling is not worth it.
- You suspect the vent is damaged or disconnected inside a wall.
- You have that white vinyl ducting and want it replaced with proper rigid metal.
- You’ve done a thorough cleaning, and the dryer still isn’t drying properly. The issue is likely mechanical at that point.
Putting It All Back Together
Once everything is clean, reattach the vent ducting. Use that special foil tape to seal the joints at the wall and the dryer. This is so important for preventing leaks. Push the dryer back carefully, making absolutely sure you don’t crush or kink the vent hose—a kink is just as bad as a clog!
Plug it in, turn the gas back on (if applicable), and run a test cycle. Go outside and feel the air coming out of the vent. You should feel a strong, steady stream of warm air. That’s the feeling of success—and a much safer home.
Inspiration:

Is your dryer vent hose a hidden danger?
Not all dryer vents are created equal, and the type connecting your dryer to the wall is critical for safety. Many homes have the white, vinyl, or foil accordion-style ducts because they are cheap and flexible. However, fire marshals and appliance technicians universally advise against them. The ribbed interior is a perfect trap for lint, and the material itself can be flammable. The safer, professional-grade choice is a rigid or semi-rigid metal duct. Its smooth interior surface allows lint to pass through easily, drastically reducing buildup and the risk of fire. It’s a small upgrade that makes a huge difference in your home’s safety.
According to the National Fire Protection Association (NFPA), the leading cause of home clothes dryer fires is a failure to clean them.
While you might be diligent about removing the fluff from your lint screen after every load, dryer sheets can create a hidden problem. They leave behind a thin, waxy film on the screen’s mesh that’s often invisible. This film blocks airflow just as effectively as lint, causing your dryer to overheat. The simple test: run the screen under a faucet. If water pools instead of passing through, it’s clogged. A quick scrub with a soft brush, hot water, and a bit of dish soap will dissolve the residue and restore proper airflow.


