Your Chalkboard Is Filthier Than You Think. Here’s How to Clean It Right.
I’ve spent more than my fair share of time in building maintenance, working on everything from historic school buildings to trendy new cafes. And I’ll tell you, I’ve seen chalkboards treated like priceless artifacts and others like disposable junk. The biggest mistake people make? Thinking a chalkboard is just a slab of wood with black paint on it. It’s absolutely not.
In this article
A proper chalkboard is a purpose-built surface, and knowing how to clean it is a real skill. It’s the one thing that determines if a board will look great for a few months or for decades.
I once worked on a project in a beautiful old schoolhouse. The administration was ready to tear out these massive, original slate chalkboards. They were covered in what we call “ghosting”—faint, stubborn images of old lessons that no amount of erasing would touch. They looked completely worn out. But I knew that underneath all that grime was natural slate, one of the most durable materials you can find. It took some serious work, but we stripped away years of caked-on residue from improper cleaning and revealed the gorgeous, dark gray stone beneath. That job really drove it home for me: you have to understand the material before you can care for it.

So, this guide isn’t about quick, temporary fixes. It’s about the professional methods I actually use. We’ll get into what your board is actually made of, the right tools for the job, and how to fix everything from chalk dust to, yes, even crayon stains.
First Things First: What Kind of Chalkboard Do You Have?
Before you even think about grabbing a wet rag, you need to know what you’re dealing with. There are two main types, and treating them the same is a recipe for disaster.
Not sure which one you have? Here’s a quick test. Find a small, hidden corner of the board and try to make a tiny prick with a pin. If it feels like stone and doesn’t give way, it’s likely slate. If the pin sinks in a little or flakes off a bit of paint to reveal a wood-like fiberboard underneath, you’ve got a painted surface.
1. Natural Slate Chalkboards
This is the classic, old-school material. Slate is a type of rock that has a natural, subtle texture called “tooth,” which is perfect for grabbing chalk particles. It’s incredibly dense, durable, and non-porous, meaning it doesn’t easily absorb water or stains. You find these in older institutions and some high-end custom homes. They feel cool to the touch and are seriously heavy. Because it’s stone, slate can handle more aggressive cleaning, but it can still be scratched or cracked by a sharp impact.
2. Painted Chalkboard Surfaces
Honestly, most chalkboards you’ll find today are this type. They’re typically made from a slab of MDF (Medium-Density Fiberboard) coated with a special chalkboard paint. This paint is engineered to dry with a hard, gritty finish that mimics slate’s tooth. It’s way more affordable, but it’s also more delicate. The biggest weakness is the fiberboard underneath. If water seeps in through a scratch or along the edges, the board can swell, bubble, and basically disintegrate. Most boards you can buy online or at a craft store for under $100 are painted.
Why Erasing Isn’t Enough
Here’s the deal with chalk. It’s a soft mineral (usually calcium carbonate). When you write, the board’s gritty surface grinds off tiny chalk particles that get lodged in its microscopic pores. A dry eraser just skims the surface, brushing away the loosest particles. The stuff packed deep inside is what causes that annoying ghosting effect. To get that out, you need a wet wash. The water gets into the pores, dissolves the chalk, and allows a cloth to lift it all away for good.
The Pro’s Chalkboard Cleaning Toolkit
Your results are only as good as your tools. Forget that one dusty eraser and an old t-shirt. Here’s what you actually need, and the good news is, it’s all pretty cheap.
- Two Felt Erasers: Why two? One for everyday dry erasing, and a second one that you keep perfectly clean for the final dry wipe after a wet wash. A clean eraser is key. A good one costs about $5.
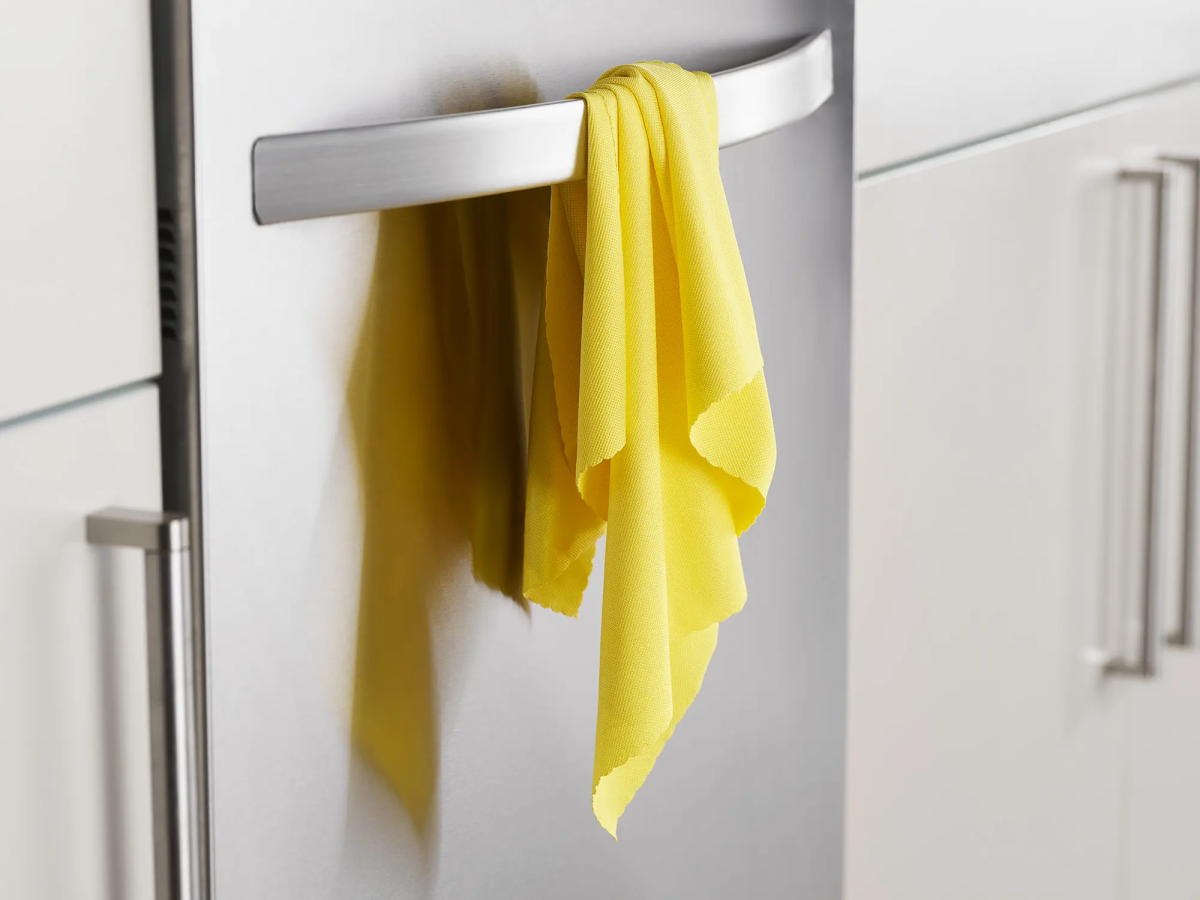
- Microfiber Cloths: These are non-negotiable. Their tiny fibers trap and lift chalk dust instead of just smearing it around. A pack of 6-10 high-quality cloths will run you about $10-$15.
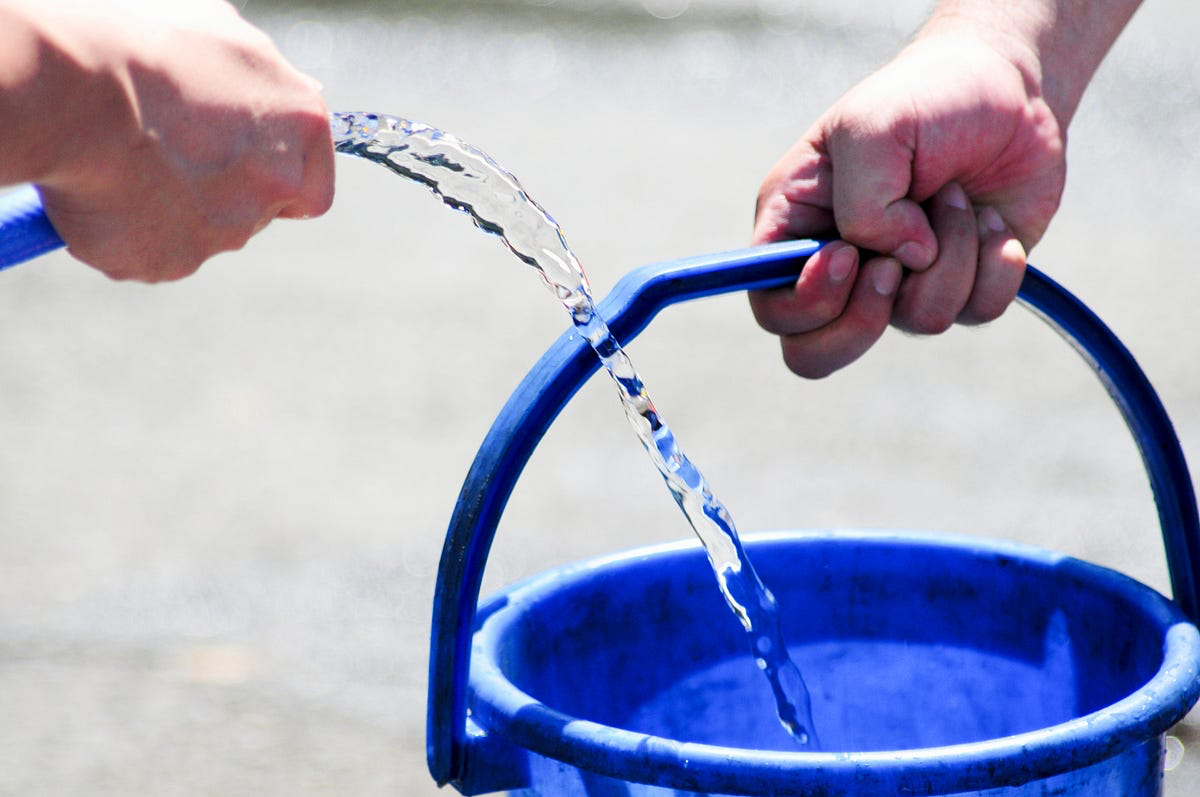
- Two Buckets: This is a classic pro cleaning move. One bucket is for your cleaning solution, and the second is for clean rinse water. It stops you from wiping dirty water right back onto the board.
- Small Squeegee: For larger boards, a small, soft-bladed window squeegee (around $8) is a game-changer. It pulls all the water off in one clean pass for a streak-free finish.
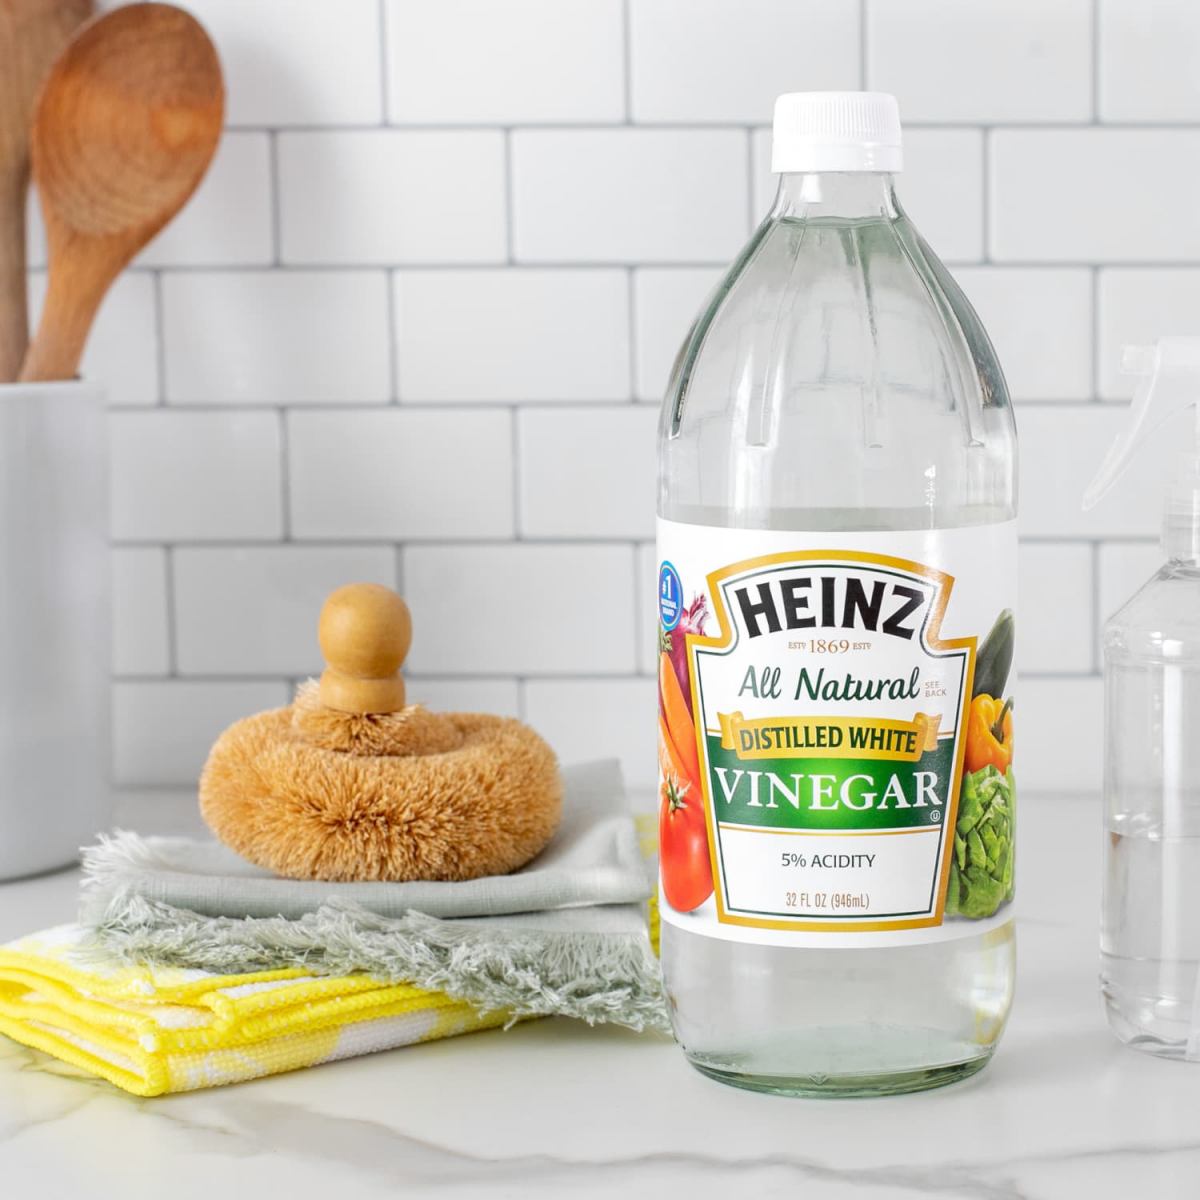
- Distilled White Vinegar: Your secret weapon. The mild acid is perfect for breaking down chalk residue. A whole gallon is only about $3 at any grocery store.
- pH-Neutral Dish Soap: Just a single drop can help lift greasy residue. Make sure it’s pH-neutral to avoid damaging painted surfaces.
Quick Win for Today: Go grab your felt eraser. It’s probably disgusting. Take it outside and smack it against a brick wall or the sidewalk until dust stops puffing out. Congrats, you just made your next erasing session 50% more effective in about 30 seconds.
The Right Way to Clean: Step-by-Step
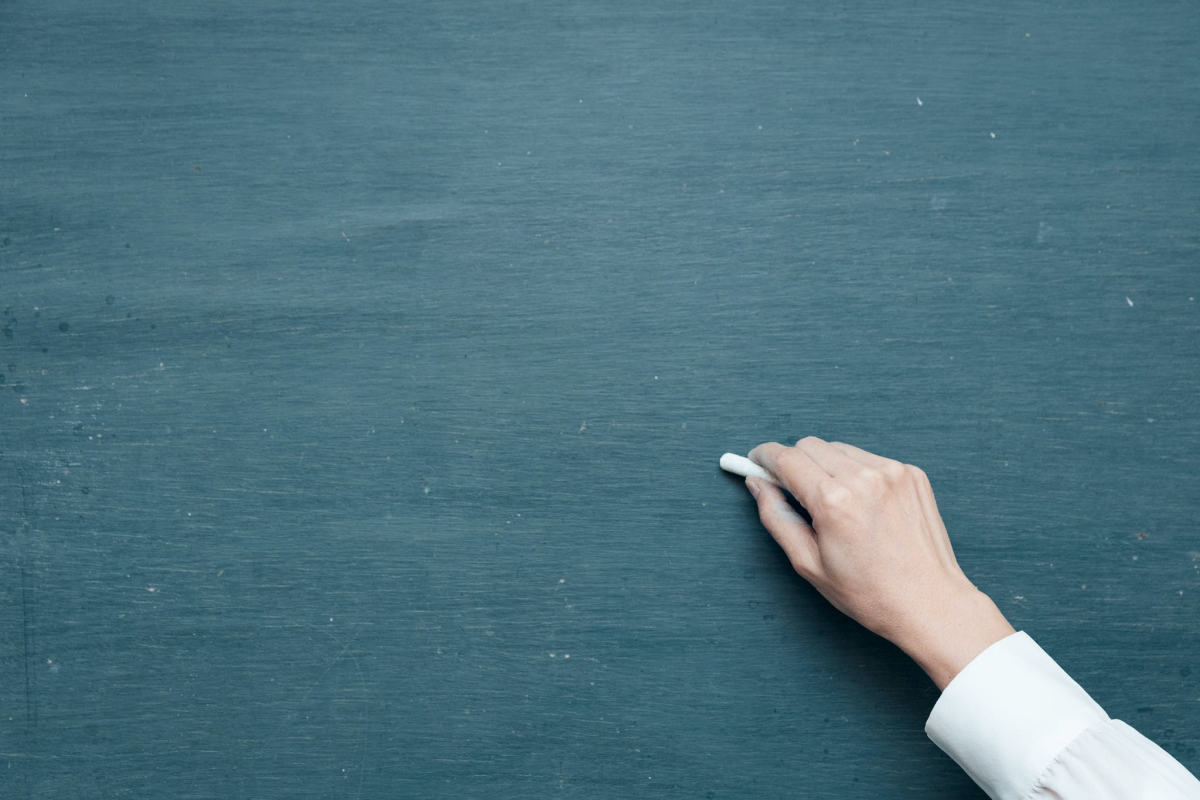
The Daily Dry Wipe
For fresh chalk, always start at the top of the board and wipe in one direction (top-to-bottom or side-to-side). Whatever you do, don’t scrub in frantic circles—that just grinds the dust deeper into the pores. A clean, directional wipe pulls the dust down into the chalk tray where it belongs.
The Weekly (or Monthly) Wet Wash
This is how you get rid of ghosting. Do it once a week for heavily used boards or once a month for lighter use.
Step 1: Prep. First, give the board a thorough dry wipe to get all the loose chalk off. Now, prepare your two buckets. In bucket one, mix your cleaning solution: about a half-cup of white vinegar per gallon of cool water. For super grimy boards, you can add ONE drop of pH-neutral dish soap. Bucket two gets nothing but clean, cool water.

Heads up! Always use cool or lukewarm water. Hot water can sometimes soften the binders in chalkboard paint, making the surface sticky.
Step 2: The Wash. Dip a microfiber cloth into your vinegar solution and wring it out until it’s just damp, NOT dripping wet. This is critical for painted boards to prevent water damage. Start at the top-left and wipe horizontally, working your way down and overlapping each stroke slightly. Let the solution do the work—no need to scrub.
Step 3: The Rinse. Grab a second, clean microfiber cloth, dip it in your rinse bucket, and wring it out completely. Wipe over the same section to remove the vinegar and all the suspended chalk dust. You’ll probably see your rinse water get cloudy pretty fast. That’s why you have it—so you’re not just smearing dirty water around!
Step 4: The Dry. You can use a third, dry microfiber cloth to wipe the board dry. Or, if you have a squeegee, now’s its time to shine. Hold it at a 45-degree angle and pull from top to bottom, wiping the blade after each pass. The board should be perfectly dry and streak-free in minutes.
Troubleshooting: Common Chalkboard Problems
Problem: Stubborn Ghosting
If a weekly wash isn’t cutting it, you can try a slightly stronger solution, maybe one part vinegar to four parts water. Let it sit on the surface for a minute before wiping and rinsing. If that fails on a painted board, it might be time to repaint.
Problem: Waxy or Oily Stains (from Crayons!)
It happens. A kid uses a wax crayon or oil pastel on the board. Don’t use water—it will just spread the oily mess. First, gently scrape off any surface wax with a plastic putty knife or an old credit card. Then, put a small amount of isopropyl (rubbing) alcohol on a cloth and gently dab the stain. The alcohol should dissolve the oil. But please, test this on a tiny, hidden corner first, as it can sometimes affect the paint.
Hold On… What About Liquid Chalk Markers?
Oh yeah, this is a big one. Liquid chalk markers are a completely different animal and can permanently ruin a standard painted chalkboard if you’re not careful.
Here’s the deal: Many liquid chalk markers are not chalk-based at all; they use an acrylic or oil-based paint that becomes permanent on porous surfaces (like most painted chalkboards). They are really designed for non-porous surfaces like glass, metal, or specialty vinyl chalk-receptive boards.
To clean them, you often need the exact opposite of what I just told you. An ammonia-based cleaner like Windex is frequently recommended. But ALWAYS test your cleaner on a small, hidden spot first! If you use a liquid marker on a regular painted board, there’s a good chance it has stained the surface for good, and repainting will be your only option.
When It’s Time to Repaint Your Board
Sometimes, a board is just too far gone. If it’s covered in deep scratches or the paint has worn so thin that chalk won’t write clearly, it’s time for a fresh coat.
I’ve repainted hundreds of these, and I can tell you that rushing the job is a waste of time. Here’s how to do it right:
1. Prep is Everything. Clean the board thoroughly with the vinegar and water method. Once it’s bone dry, you HAVE to lightly sand the entire surface with fine-grit sandpaper (220-grit works well). This scuffs up the old finish so the new paint has something to grip. Wipe away all the sanding dust with a damp microfiber cloth.
2. Get the Right Paint. Don’t just use any black paint. You need a paint specifically formulated for chalkboards. A quart of a solid brand like Rust-Oleum Chalkboard Paint will run you about $15-$20 at a hardware store and is more than enough for most projects. I recommend rolling it on with a high-density foam roller for the smoothest finish.
3. Thin Coats are Key. The biggest mistake is globbing on one thick coat. It will never dry properly. Apply two or three very thin, even coats. Let each coat dry completely between applications (usually a few hours).

4. Let It Cure! (The Step Everyone Skips). The paint might feel dry in an hour, but it hasn’t cured. Curing is the chemical process where the paint hardens to its final, durable state. Most chalkboard paints need to cure for at least 3 days, and some recommend a full week. I once got impatient and wrote on a board after just one day—the letters carved right into the soft paint, and I had to sand the whole thing down and start over. A painful lesson. Don’t touch it!
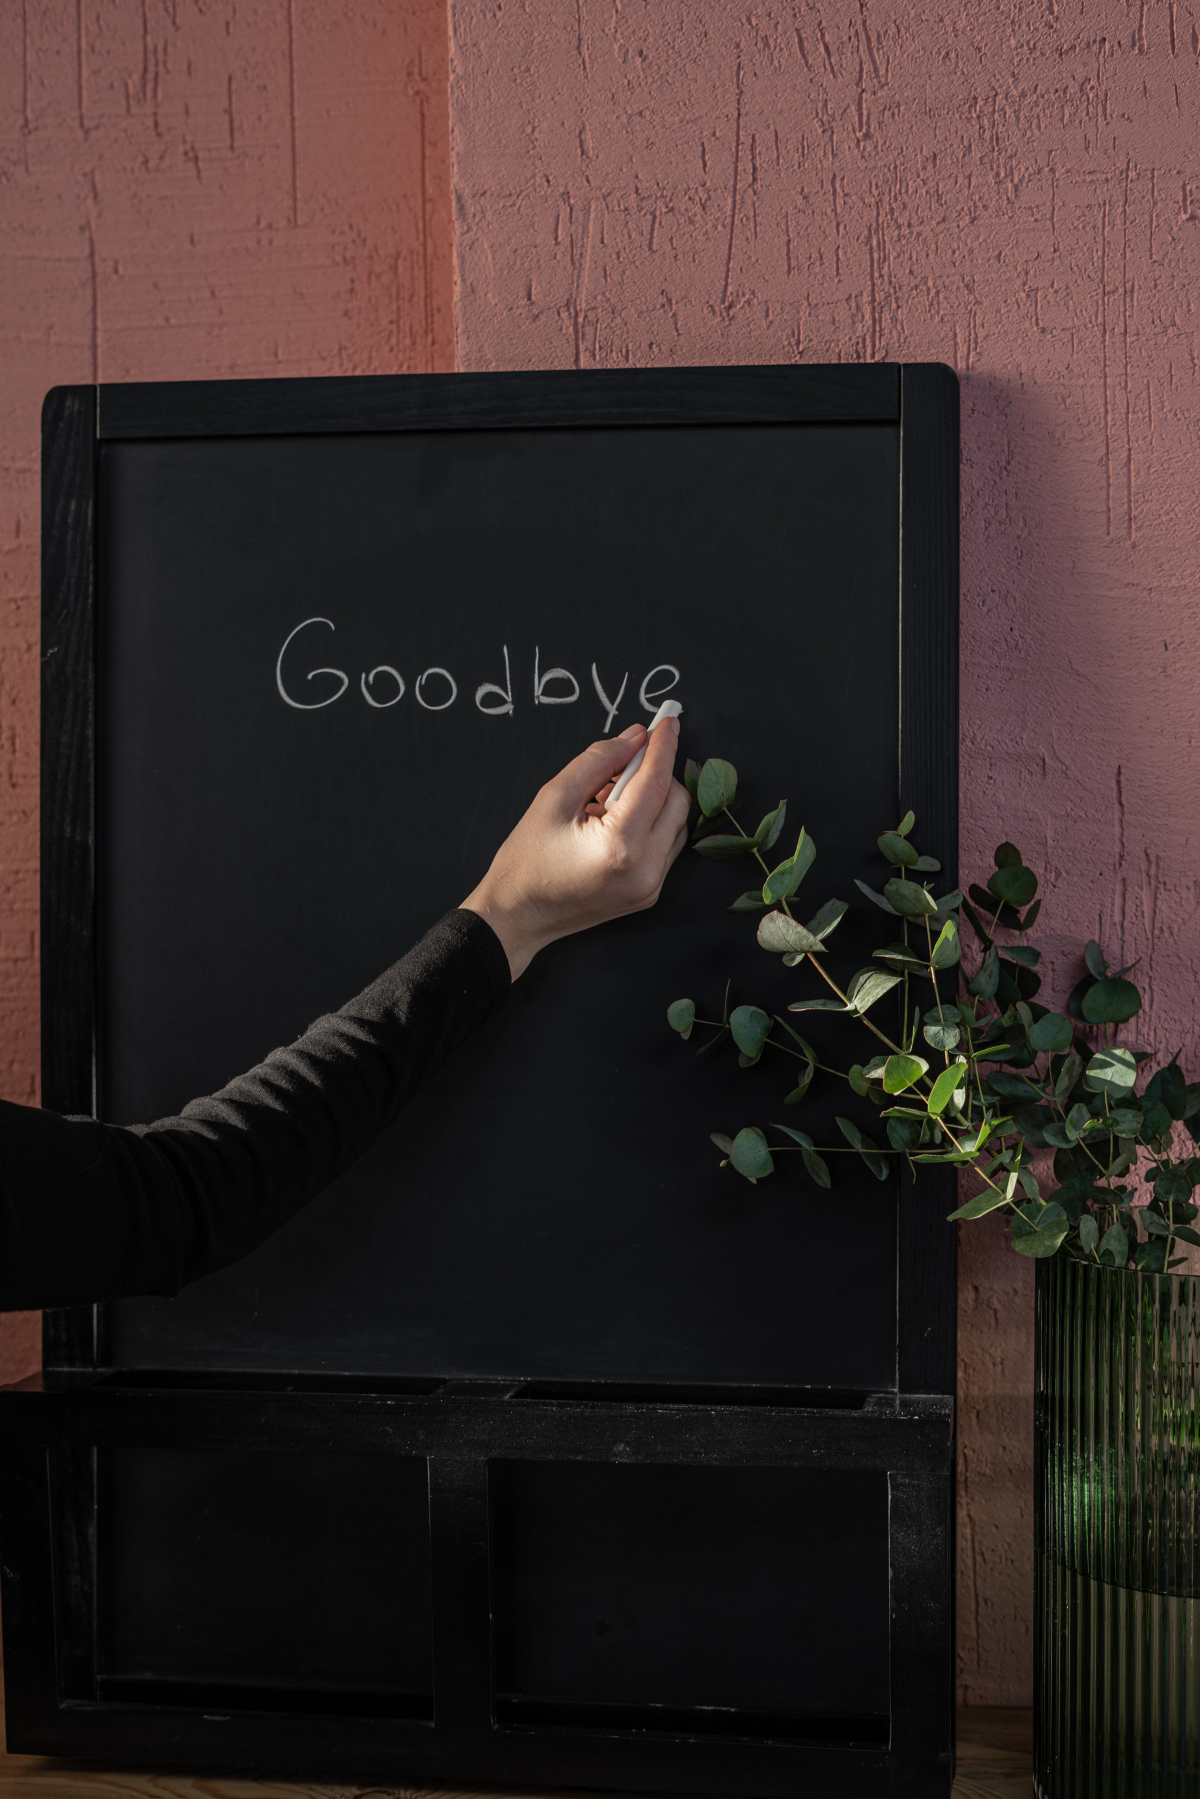
The Final, CRITICAL Step: Seasoning
Once your paint has fully cured, you must season the board. This prevents your first drawing from “burning” a permanent ghost image into the fresh paint. Just take a piece of chalk, lay it on its side, and rub it over the entire surface until it’s completely covered in dust. Then, use a clean, dry felt eraser to wipe it all off. The board will look a little gray and dusty—this is exactly what you want. It’s now ready for use.
Inspirational Gallery
The crucial first step is seasoning: A brand-new or freshly deep-cleaned chalkboard isn’t ready for writing. Lay a piece of chalk (like a classic Crayola stick) on its side and rub it over the entire surface, first vertically, then horizontally. Wipe it clean with a dry cloth or felt eraser. This initial chalk layer fills in the microscopic pores, preventing the first words you write from ‘burning’ into the surface permanently.
Traditional Chalk: Offers that classic, soft look and is easy to erase daily. It’s perfect for slate boards, as its particles gently interact with the stone’s ‘tooth’.
Liquid Chalk Markers: Provide bold, vibrant, and dust-free lines, ideal for non-porous surfaces like glass or chalkboard vinyl. However, on traditional porous chalkboards, their liquid pigments can seep in and cause permanent staining, making them a risky choice for vintage slate.
Can’t I just use a bit of dish soap and water?
It’s a common temptation, but a damaging one. Soaps and household detergents leave behind an invisible, slick residue. This film clogs the board’s porous ‘tooth,’ making it difficult for new chalk to adhere. Over time, this buildup creates a greasy, streaky mess that’s much harder to remove than the original chalk dust.
Natural slate, the material of classic chalkboards, can have a lifespan of over 100 years when properly maintained.
Creating your own chalkboard surface is a fantastic weekend project. For a durable, high-quality finish, look for specialized paints designed for the job.
- Start with a smooth, well-primed wall. Any bumps will show.
- Apply two to three thin coats of a product like Rust-Oleum Chalkboard Paint, letting each coat dry completely as per the can’s instructions.
- Before you write on it for the first time, remember to season the entire surface!
There’s a unique satisfaction in the sound and feel of chalk gliding across a properly cleaned and seasoned slate board. It’s a low-friction whisper, a tactile feedback that connects thought to hand. This sensory experience is a world away from the screech of chalk on a dirty or improperly treated surface—a small reward for taking the time to care for your board correctly.
- It grabs more dust with each pass.
- It reduces ghosting from daily use.
- It keeps your board’s surface healthy.
The secret? Ditching the old, caked-on felt eraser for a microfiber cloth. A high-quality, dry microfiber cloth is far more effective at lifting fine chalk particles out of the board’s pores without smearing them.
So-called ‘dustless’ chalk isn’t actually dust-free; it’s made from calcium sulfate (gypsum) and formulated to create heavier particles that fall straight down rather than floating in the air.
This makes brands like Hagoromo a favorite among teachers and artists for keeping the air and surrounding surfaces cleaner. While great for reducing airborne mess, these denser particles can sometimes require a bit more pressure to wipe away, making a damp cloth cleaning session more frequently necessary than with standard chalk.
To preserve your chalkboard’s finish, especially a painted one, never let these touch its surface:
- Magic erasers (they are a fine abrasive and will sand off the finish)
- Windex or glass cleaners (the ammonia can damage the paint)
- Furniture polish or waxy cleaners
- Anything with oil, which will create permanent dark spots
Look closely at the menu boards in high-end coffee shops or bistros. That beautiful, professional lettering isn’t just talent; it’s a testament to a pristine surface. Artists who do this for a living know that a perfectly clean, non-greasy board is their canvas. They often use a combination of techniques, starting with a deep clean to remove all ghosting, followed by meticulous seasoning. This allows them to blend and shade chalk for 3D effects and use sharp, fine-tipped chalk for crisp lettering. Your home chalkboard, whether for menus or doodles, is capable of the same artistic potential once it’s truly clean.


