The Secret Language of Pumpkins: How to Pick the Perfect One Every Time
You know the feeling. You walk up to a giant cardboard bin, and there are a hundred pumpkins staring back at you. Most people just grab the roundest, most orange one they can find. And honestly, there’s nothing wrong with that! But if you want to find a pumpkin that carves like a dream, or one that’ll make the richest pie you’ve ever tasted, you need to learn their language.
In this article
- First Things First: What’s This Pumpkin For?
- The Universal 5-Point Inspection
- In a Rush? Here’s the One Thing to Remember
- You Got It Home… Now What?
- My Foolproof Method for Roasting a Sugar Pumpkin
- Bonus Tip: Are Pie Pumpkin Seeds Better for Roasting?
- For the Pumpkin Nerds: Cool Varieties to Look For
- Galerie d’inspiration
It’s not about luck; it’s about knowing what to look for. After years of sorting through countless pumpkins—and seeing the disappointment when a perfect-looking one collapses into mush days before Halloween—you start to pick up a few things. So, let’s go beyond just finding a pretty face and learn how to pick the right pumpkin for the right job.
First Things First: What’s This Pumpkin For?
Before you even lay a hand on a pumpkin, you have to answer one simple question: are we carving a masterpiece or cooking a meal? This is the number one mistake people make. They buy a huge, beautiful pumpkin meant for the porch and then get frustrated when its stringy, watery guts won’t work for a pie.
Think of it like apples—you wouldn’t bake a pie with a Red Delicious, right? Same deal here. Pumpkins are bred for different jobs.
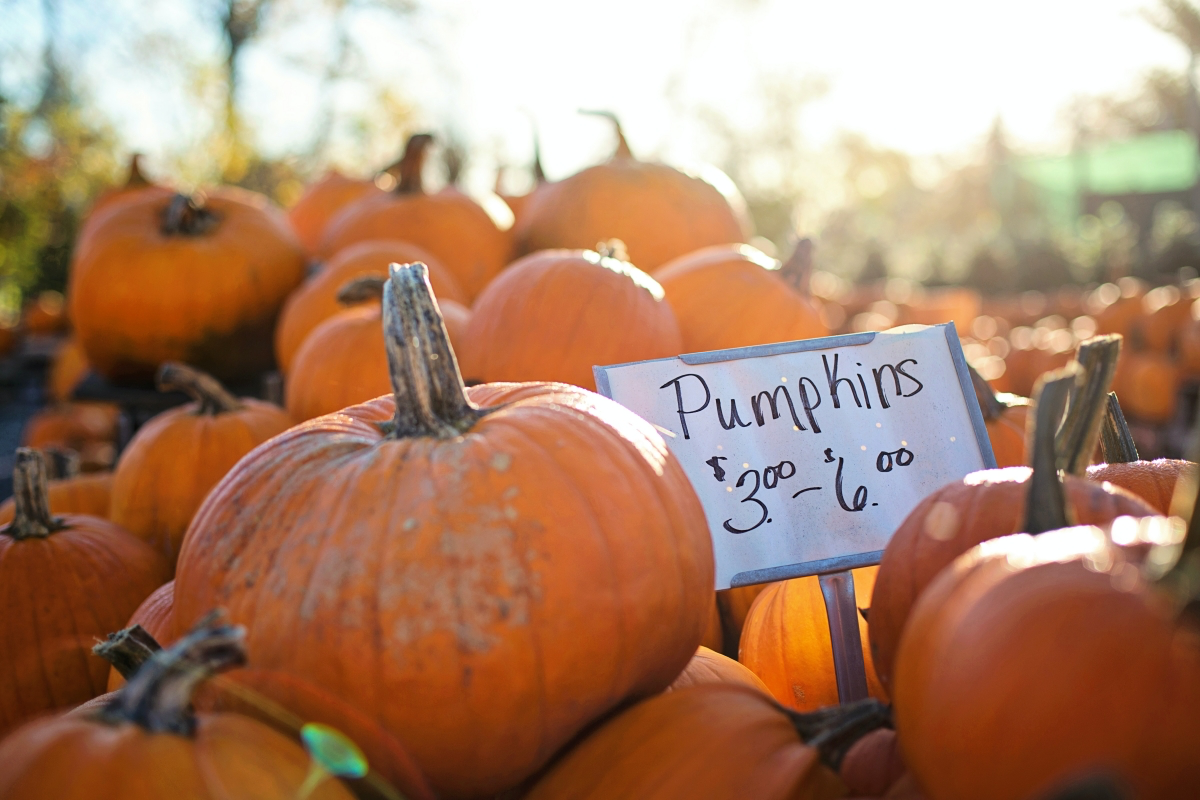
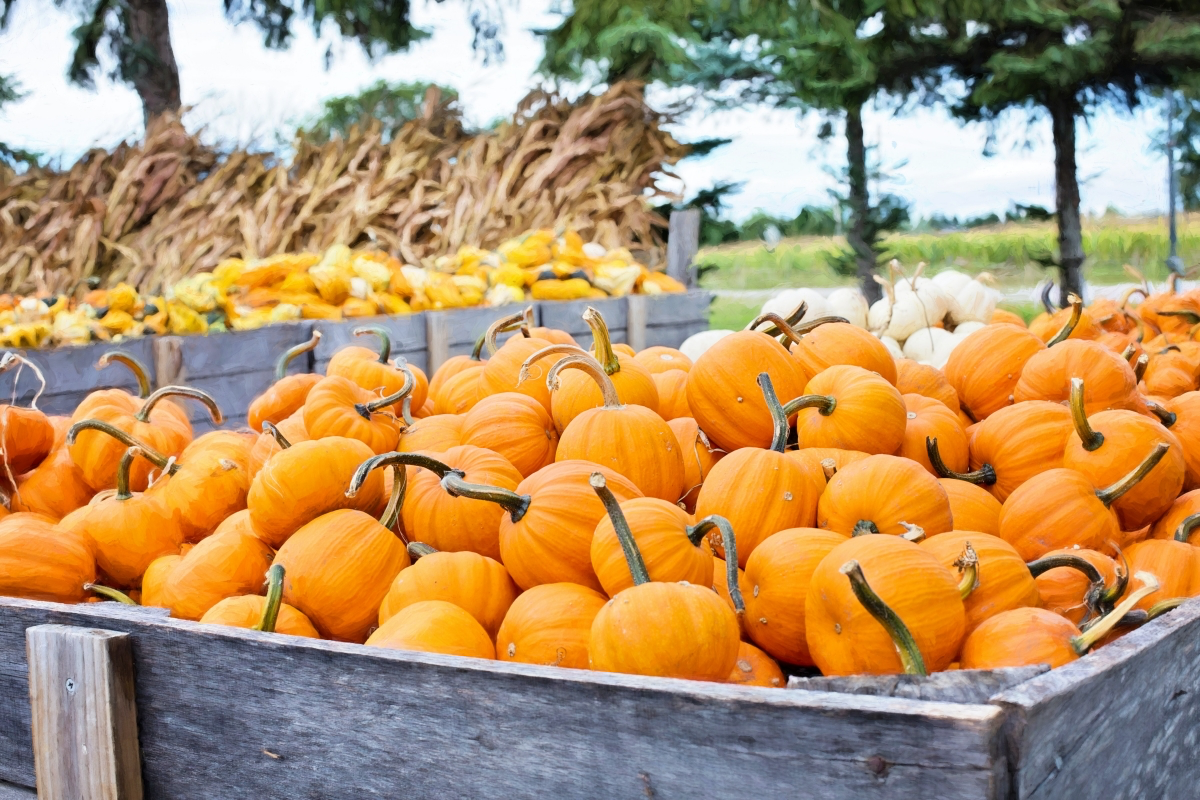
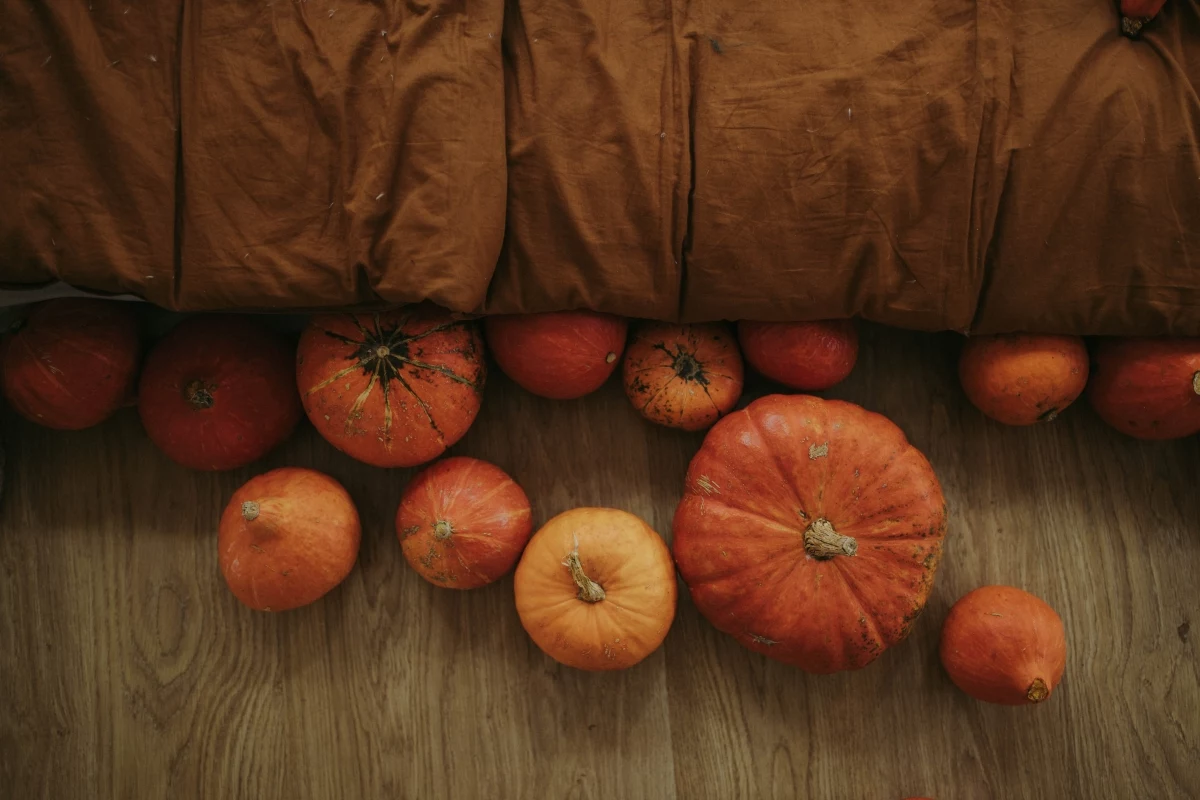
For Carving and Decorating: You’re looking for what the pros call a “jack-o’-lantern” or “field” pumpkin. These are the big, classic Halloween pumpkins. They’re bred to have relatively thin walls (usually about an inch thick) and a nice, big hollow cavity, which makes them way easier to carve. The flesh is usually pale and watery, so it’s not great for eating. At the store or patch, these are typically sold by weight, often somewhere around $0.60 to $0.90 per pound.
For Cooking and Baking: This is where you want a “sugar” or “pie” pumpkin. They are much smaller, denser, and feel surprisingly heavy for their size. Their flesh is thick, dry, and has a much higher sugar content. This is your ticket to rich, flavorful pies and soups that aren’t watery and bland. You’ll usually find these sold for a flat price, maybe $3 to $6 each. Quick tip: If it feels heavy for its size, you’re getting your money’s worth in delicious pumpkin meat!
The Universal 5-Point Inspection
Okay, once you know which type of pumpkin you’re after, it’s time for a quick hands-on inspection. This five-step check has rarely failed me, whether I’m picking for my own kitchen or just helping a neighbor at the market.
1. Check the Stem
Never, ever pick a pumpkin without looking at its stem first. The stem is the pumpkin’s lifeline, not a handle! A healthy, mature pumpkin will have a dry, hard, and firmly attached stem. Look for one that’s at least an inch or two long—the longer, the better.
If the stem is soft, mushy, or completely missing, put it back. A missing stem is an open wound where bacteria and mold can get in, causing the pumpkin to rot from the inside out. A critical warning here: Do not carry your pumpkin by the stem! I see this all the time, and it makes me cringe. It’s the fastest way to snap it off. Always cradle your pumpkin from the bottom with both hands.
2. Examine the Rind
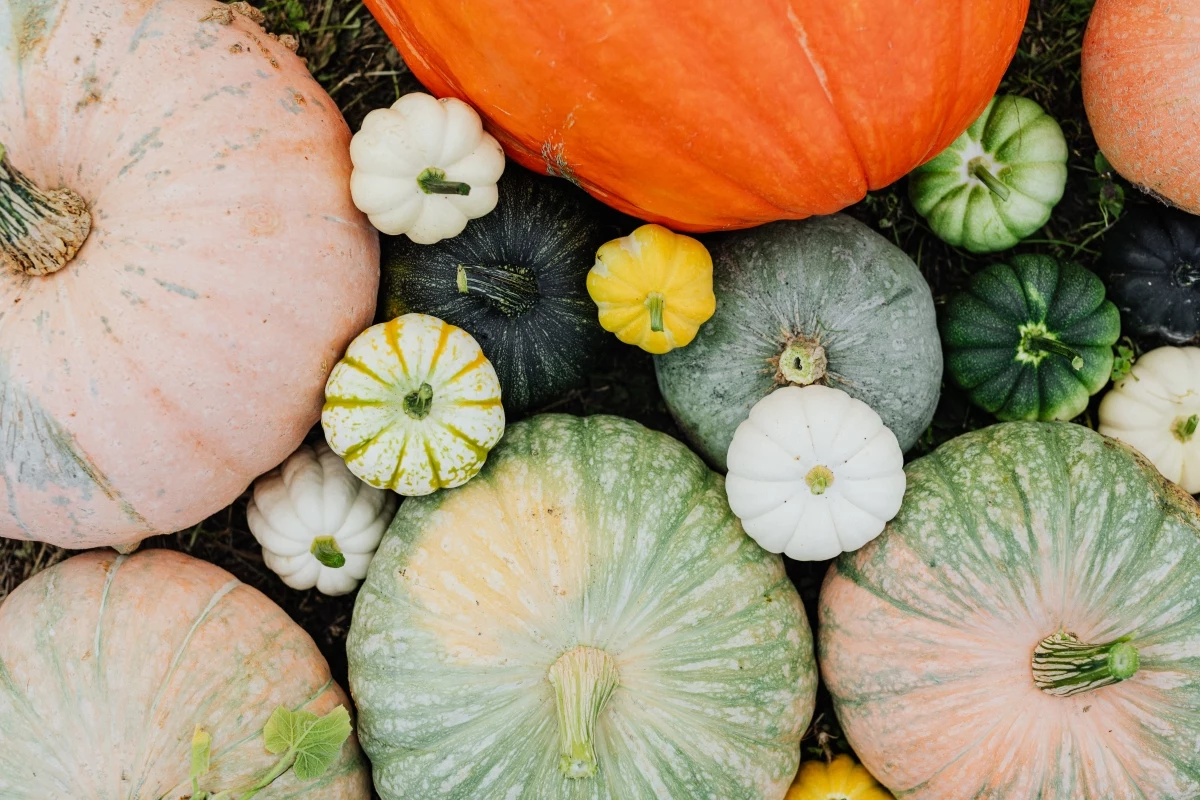
The pumpkin’s skin is its coat of armor. It should be firm and solid all over. The color should be deep and consistent for its type. (Some awesome heirloom varieties are blue or tan, and that’s totally normal!)
Here’s the real test: Gently press your thumbnail into the skin. If it easily dents or pierces the rind, the pumpkin is too soft and won’t last. A good, hard rind that resists your nail is a sign of a properly “cured” pumpkin. By the way, “curing” just means the pumpkin was left to sit in the sun for a bit after being picked. This toughens up the skin, heals any small cuts, and is the secret to a long shelf life.
3. Give it a Good Thump
This one is simple. Hold the pumpkin up and give it a firm knock with your knuckles, like you’re knocking on a door. A good, healthy pumpkin should have a deep, hollow sound. If it sounds dull or dead, it could be a sign of soft spots or stringy insides. Move on to the next one.
4. Flip it Over and Check the Bottom
This is a step most people skip, but it’s crucial. Pumpkins often sit on damp ground in the field or in the bottom of a bin. Flip your choice over and carefully inspect the base. Press gently. You’re looking for any soft, mushy, or discolored spots. If the bottom is soft, that’s where rot will start. A little surface scarring is fine, but any softness is a dealbreaker.
5. Consider the Shape and Balance
This might sound silly, but make sure the pumpkin has a flat bottom and can sit upright without wobbling. There’s nothing more annoying than getting your perfect pumpkin home only to discover it wants to roll right off your porch. Give it a little test on a flat surface before you commit.
In a Rush? Here’s the One Thing to Remember
If you only do one thing, just pick up a few pumpkins of the same size. Choose the one that feels the heaviest. A heavier pumpkin means denser walls and more flesh, which is the secret to amazing pie filling and a sign of a healthy pumpkin that’ll last longer on your porch.
You Got It Home… Now What?
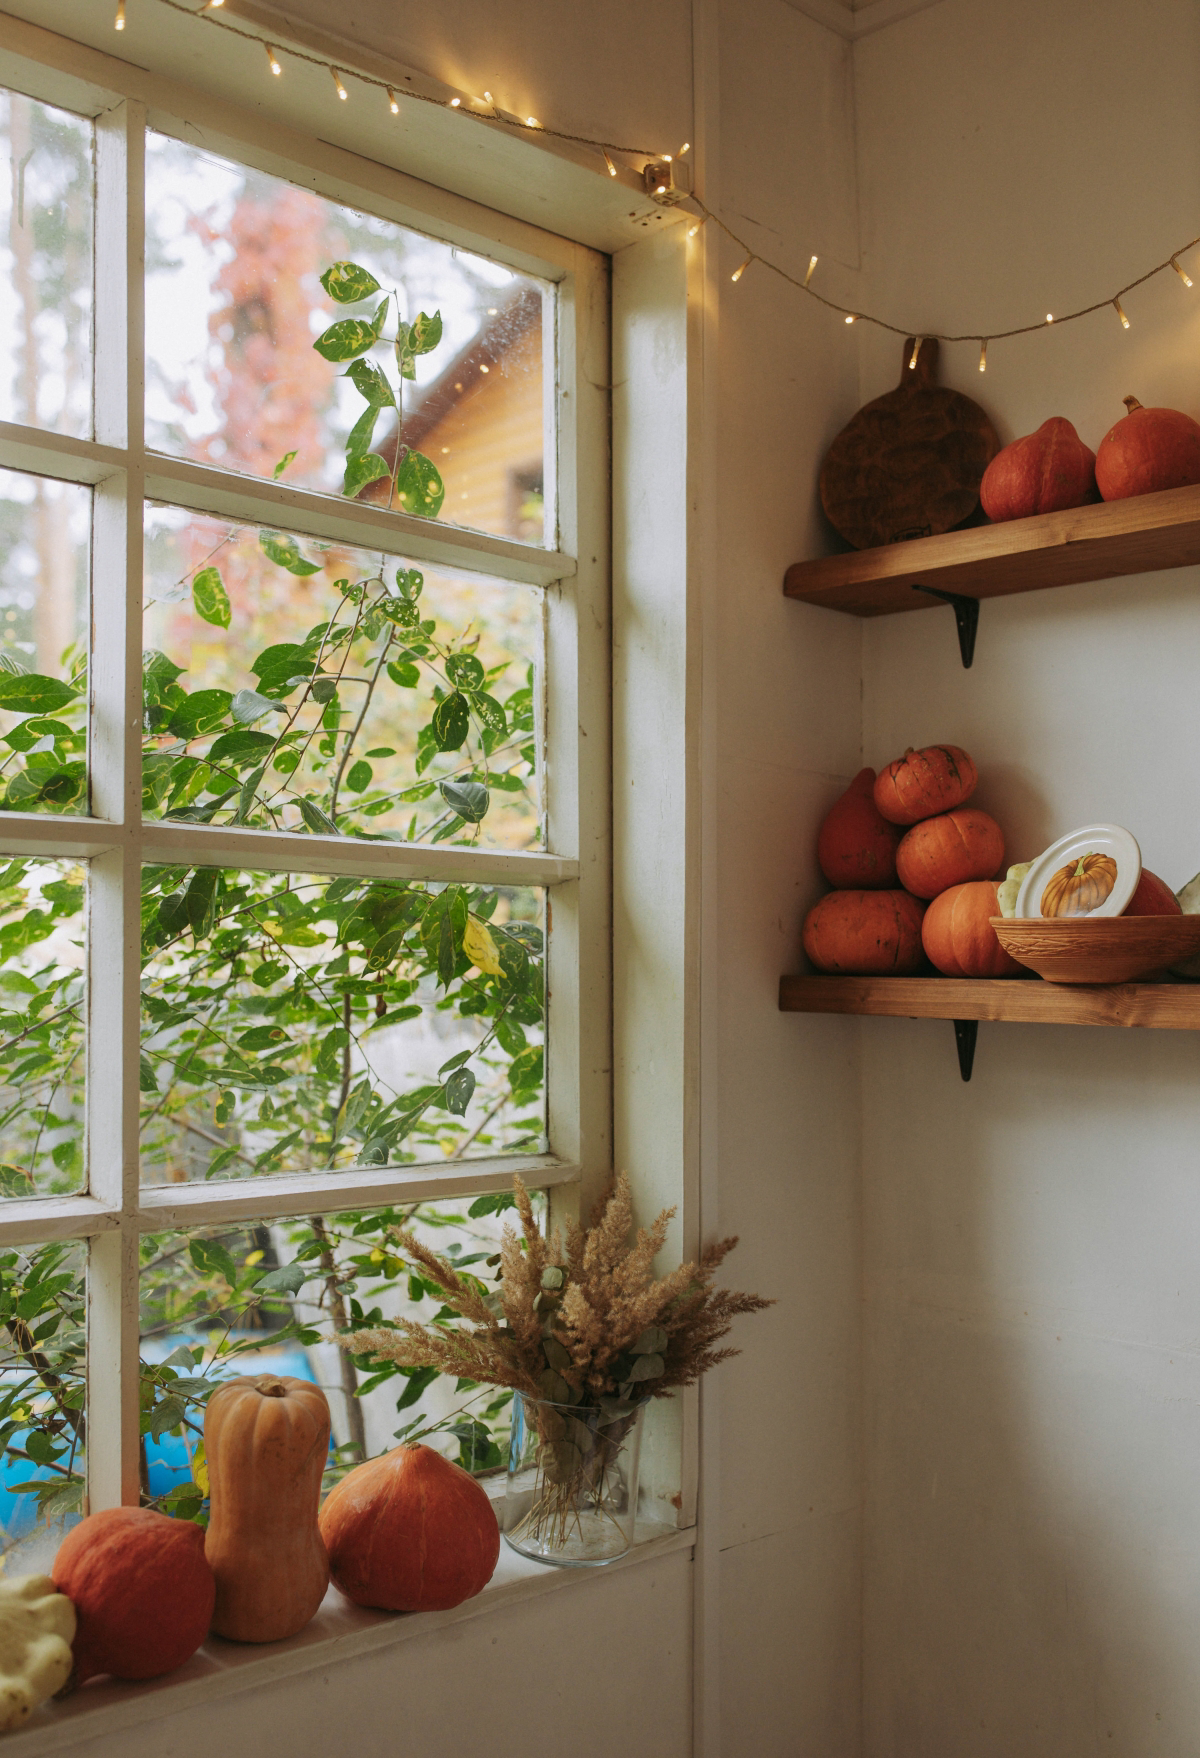
To make your pumpkin last, don’t just plop it down on your concrete steps! Concrete can leach moisture out of it and cause the bottom to rot faster. Place a piece of cardboard or a small wooden board under it. Keep it in a dry, cool spot, and it’ll stay looking great for weeks, sometimes even months.
My Foolproof Method for Roasting a Sugar Pumpkin
Intimidated by cooking a whole pumpkin? Don’t be. It’s so much better than the canned stuff. Seriously, try this once and you’ll be hooked.
1. Prep: Preheat your oven to 400°F (about 200°C). Carefully cut your sugar pumpkin in half from top to bottom and scoop out the seeds and stringy bits. (Don’t throw those seeds away!) 2. Season: Lightly brush the inside flesh with a little olive oil or melted butter and sprinkle with a pinch of salt. 3. Roast: Place the pumpkin halves cut-side down on a baking sheet lined with parchment paper. This is key for easy cleanup! Roast for about 40-50 minutes, or until you can easily pierce the flesh with a fork. 4. Puree: Let it cool, then scoop the roasted flesh out of the skin. Pop it in a food processor or blender and blend until it’s perfectly smooth. That’s it! You now have the best pumpkin puree of your life, ready for pies, soups, or bread.
Bonus Tip: Are Pie Pumpkin Seeds Better for Roasting?
Oh yeah, they absolutely are! Seeds from a sugar pumpkin are often plumper and have more flavor than the ones from a watery carving pumpkin. Just give them a good rinse, toss them with a little oil and your favorite seasonings (I love smoked paprika and garlic powder), and roast them at 300°F until they’re golden brown and crispy. A perfect snack while you’re carving your other pumpkin!
For the Pumpkin Nerds: Cool Varieties to Look For
If you get a chance to visit a farmers market, keep an eye out for some of the more unusual pumpkins. You might find a ‘Jarrahdale,’ which is a beautiful, dusty blue-gray pumpkin from Australia with deep orange, super sweet flesh. Or, if you see a warty, bumpy, salmon-colored pumpkin that looks like it has barnacles on it, grab it! That’s likely a ‘Galeux d’Eysines,’ a French heirloom whose warts are actually a sign of its high sugar content. They are culinary treasures and make for great conversation pieces, too.
Galerie d’inspiration
An estimated 1.3 billion pounds of pumpkin end up in landfills each year in the U.S. alone, much of it after Halloween.
Don’t let your jack-o’-lantern become part of the problem! While a carved pumpkin isn’t safe to eat (due to bacteria and candle soot), it can have a wonderful second life. Simply remove any candle wax, fill the cavity with potting soil, and use it as a biodegradable planter for fall flowers like pansies or mums. When the pumpkin starts to soften, you can plant the entire thing directly into your garden to decompose and enrich the soil.
Tired of the sea of orange? Two heirloom varieties are stealing the spotlight for both their looks and flavor.
Jarrahdale: With its stunning, dusty blue-gray skin and flattened shape, this Australian native is the minimalist’s choice for chic autumn decor. But don’t let its cool exterior fool you; its golden flesh is stringless, sweet, and perfect for roasting or mashing.
Cinderella (Rouge Vif d’Etampes): This is the storybook pumpkin. Its vibrant red-orange hue and whimsical, squat shape are rumored to have inspired Cinderella’s carriage. It’s a showstopper on the porch and its creamy, savory flesh makes for exceptionally velvety soups.


