The Real Deal on Web Images: A Guide to Avoiding Legal and Technical Headaches
I’ve been in the trenches building websites for a long time, and I’ve seen it all. But honestly, one of the most common—and costly—mistakes I see people make is being careless with images. I once had a small business client who grabbed a photo from a quick search, thinking nothing of it. A year down the road, they got a demand letter from a law firm for $2,000. That “free” image was anything but. It was a stressful and expensive lesson in why this stuff matters.
In this article
So, let’s get one thing straight: knowing how to source and prep your images isn’t just about making your site look pretty. It’s a core skill that touches on copyright law, site speed, user experience, and your brand’s reputation. Mess it up, and you could be looking at legal fees, poor search rankings, and visitors who click away in frustration. Get it right, and your work will look polished and professional, and you can sleep soundly at night.

This isn’t another guide about finding artsy pictures. This is my professional workflow, honed over years of practice. We’ll dig into the technical details that actually make a difference, the legal fine print you can’t afford to ignore, and how to pick images that genuinely elevate your content.
First Things First: Understanding Your Image Files
Before you even think about searching for a photo, you need to know what you’re working with. A digital image is a data file, and how that file is built affects its quality, size, and how it looks on different screens. Getting this foundation right is non-negotiable for a fast, pro-looking website.
Pixels vs. Resolution (The Part Everyone Confuses)
People throw around ‘size’ and ‘resolution’ like they’re the same thing, but they’re not. And the difference is crucial.
Pixel Dimensions are simple: it’s the number of pixels wide by the number of pixels tall (like 1920×1080). This is the number that matters most for the web because it defines the actual data in your image.
Resolution, measured in DPI (Dots Per Inch) or PPI (Pixels Per Inch), is about print density. For ages, the advice was “72 PPI for web, 300 DPI for print.” To be frank, that’s outdated advice for web work. Your web browser doesn’t care about the PPI value stored in the file; it displays images based on their pixel dimensions. What really matters is having enough pixels for the space the image will fill. For a high-density “Retina” screen, you just need more pixels (a wider image), not a higher PPI setting.
My rule of thumb? Forget about PPI/DPI for web images. Just focus on getting the pixel dimensions right.
Choosing the Right Tool for the Job: File Formats
The file format you choose has a massive impact on site speed and visual quality. Here’s a quick rundown of the big three, without the grid-style charts you might see elsewhere.
- JPEG: This is your go-to for any photograph. It uses “lossy” compression, which cleverly removes a bit of data to shrink the file size. You can usually choose a quality level from 0-100. I find that saving at 70-80 quality offers a fantastic balance—a small file with no noticeable quality drop. Quick tip: avoid re-saving a JPEG over and over, as it loses quality each time.
- PNG: This format is your specialist. Use it for logos, icons, or any graphic that needs a transparent background. It uses “lossless” compression, so no quality is lost, but the tradeoff is a much larger file size for photos. If you save a photograph as a PNG, it can easily be 5 to 10 times bigger than a comparable JPEG. Only use it when transparency or perfectly sharp lines are a must.
- WebP: This is the modern champion. It’s a newer format that can do it all—lossy or lossless compression, plus transparency. A WebP file is often 25-35% smaller than a JPEG of the same quality. And yes, all major browsers now support it. I use it as my default for all new projects because the performance gains are just too good to ignore.
The Practical Guide to Image Licensing (Don’t Skip This!)
Okay, let’s talk about the single most important part of this whole process. Misunderstanding image licenses is the costliest mistake you can make. If you can’t find a clear license for an image, the rule is simple: DO NOT USE IT.
Heads up! Just because a site bills itself as “free stock photos” doesn’t make every image 100% safe. Sometimes users upload photos they don’t actually own. It’s rare on the big, reputable platforms, but it happens. Your best defense is to stick with well-known sources, and for critical business assets, paid stock is always the safer bet.
Decoding the Fine Print
Here’s what common licenses actually mean for you:
Public Domain (CC0): This is as free as it gets. The creator has waived all rights. You can copy, modify, and use it for anything, even commercially, without asking or giving credit. You’ll often find these in collections from museums or government agencies.
Creative Commons (CC): This is a system where creators set rules for how their work can be used. You absolutely must follow them.
- Attribution (BY): You must give credit. Don’t just wing it. A professional credit looks something like this (feel free to copy and paste this format):
Photo by [Creator's Name] via [Platform Name] ([Link to Photo]), licensed under CC BY 2.0 ([Link to License]). - ShareAlike (SA): If you alter the image, you have to release your new creation under the exact same license. This can get tricky, so be careful using SA-licensed images in commercial work.
- NoDerivs (ND): You can use it, but you can’t change it. Cropping or resizing is usually fine, but adding filters or text is a no-go. When in doubt, leave it alone.
- NonCommercial (NC): You can’t use it for commercial purposes. This is the one that trips people up. “Commercial” doesn’t just mean selling something directly. If your site has ads, promotes a business, or sells a service, that’s commercial use. My advice? Steer clear of NC images for any business-related site.
A Simple System for Tracking Licenses
Saying “keep a record” is good advice, but what does that actually look like? Create a simple spreadsheet. Seriously. Make columns for: Image Description, Source URL (the page you downloaded it from), License Type (e.g., CC0, Unsplash License), Creator Name (for attributions), and Date Downloaded. This little bit of organization can be a lifesaver if a question ever comes up.
Where the Pros Really Look for Images
Knowing where to look is half the battle. If you only use one or two popular sites, your content will start looking like everyone else’s.
First Stop: High-Quality Free Platforms
For blog posts or social media, these are my first stop. Think of the big names: the one known for its artistic and moody photography, the huge all-rounder with tons of photos and videos, and the other large library that also includes illustrations. They offer great photos under very open licenses. My process: I always take a screenshot of the download page showing the license. I save it in my project folder. It’s a simple CYA step that takes five seconds.
When to Pay for a Photo
When an image is for a homepage, a key service page, or an ad, I always recommend spending a little money. A single stock photo from a major paid platform might cost between $10 and $30, and you get more than just a picture.
You’re paying for legal protection. These sites usually guarantee that the image is properly licensed and has the right model releases, and they’ll often back you up legally if a problem arises. Plus, their search tools are way better, and the images are less common, helping your brand look more unique.
Let’s Talk About AI-Generated Images
Oh yeah, and then there’s AI. Tools that generate images from text are incredible, but the legal side is still a bit of a wild west. Currently, works created only by AI can’t be copyrighted in many places. This means you can use it, but you also can’t stop others from using the exact same image. I’d say use it for decorative or conceptual stuff, but maybe hold off on using it for your main logo until the laws catch up.
The Craft of Prepping Images for the Web
Okay, you’ve found and licensed your perfect image. You’re not done yet. Uploading a 5 MB photo straight from your camera will absolutely kill your site’s load time. This part is a craft, but it’s easy once you get the hang of it.
Step 1: Figure Out the Final Size
Look at your website. Where is the image going? A blog post content area might be 800 pixels wide. Your image doesn’t need to be any wider than that. For a full-width banner, you might need something like 1920 pixels wide. To keep things sharp on fancy displays, I usually export images at 1.5x the size of the space. So for that 800px column, I’d make my image 1200px wide.
By the way, if you don’t know the size, here’s an easy trick. In Chrome or Firefox, right-click on the space where the image will go and hit “Inspect.” A code panel will pop up. As you hover your mouse over the lines of code, you’ll see parts of the page highlight. Find the container for your content, and a little box will appear showing you the dimensions. Easy!
Step 2: Crop, Resize, and Compress
Use an image editor—whether it’s professional design software or a free online tool—to crop and resize the image to the dimensions you just found. Then comes the magic step: compression.
I tell everyone to use a free online tool like Squoosh (made by a major search company). It’s a game-changer. You can drag your image in, slide a quality toggle, and see the result and the new file size in real-time. It’s amazing to watch a 2MB photo shrink down to 110KB with almost no visible difference. Doing this for just a few images on your homepage can dramatically improve your Google PageSpeed score.
A Time-Saving Hack: Once you know your standard sizes (e.g., 1200px for blog posts, 1920px for banners), create templates in your image editor. This speeds up the workflow immensely.
What about automation? If you’re on WordPress, you might be tempted to use a plugin like ShortPixel or Imagify. They’re great for automatically compressing images you upload. The pro is convenience; the con is you have less control over the final quality compared to doing it manually. For beginners or those with huge sites, they’re a solid option.
Step 3: Name Your Files and Add Alt Text
Before you upload, rename `IMG_7892.jpg` to something descriptive, like `modern-kitchen-white-cabinets-marble-island.webp`. This helps search engines understand what your image is about.
Then, when you upload it, add Alt Text. This is a short, written description of the image. It’s vital for accessibility (screen readers read it aloud for visually impaired users) and for SEO. Good alt text for that photo would be: “A bright modern kitchen with white cabinets, a marble island, and stainless steel appliances.”
Using Images With Purpose
Pros don’t just fill space. They use images to build trust and guide the eye. This means moving beyond the first decent photo you find and avoiding that generic “stocky” look—you know, the overly happy people in a fake office.
Look for images with natural light, candid moments, and authentic settings. Better yet, build a consistent visual style. Maybe all your images have a warm color tone, or they all have lots of negative space for text. A subtle, consistent treatment can make photos from a dozen different sources feel like a cohesive, professional collection.
When to Bite the Bullet and Hire a Pro
Stock photos have their limits. There are times when hiring a professional photographer is the only right answer. You absolutely need custom photos if you’re showing off your actual team, your office, or a physical product. Using a stock photo on your “About Us” page is a huge red flag to savvy visitors.
So what does that cost? It varies, of course, but for a small business, expect a half-day shoot for your website and marketing materials to run anywhere from $500 to $2,500. Think of it as an investment in authenticity. It’s one of the fastest ways to build trust.
Your 5-Minute Pre-Publish Challenge
Before you hit “publish,” run through a final check. In fact, let’s make this a challenge. Go grab ONE image from your homepage right now and see if you can improve it in five minutes.
- Is the License Confirmed? Do you know for sure you have the right to use it?
- Got Proof? Do you have that screenshot or a note in your spreadsheet?
- Is Attribution Done? If it’s required, is the credit there and formatted correctly?
- Is It Technically Optimized? Is it resized correctly? Is the file size under 150KB? Is it in a modern format like WebP?
- Is It SEO-Friendly? Does it have a descriptive file name and meaningful alt text?
I bet you can make a tangible improvement in just a few minutes. That’s the power of having a solid process.
A quick disclaimer: This guide comes from my professional experience in web design and content strategy, but it isn’t legal advice. If you’re dealing with a high-stakes project or get a scary legal notice, please talk to a lawyer who specializes in this stuff. Your job is to do your own due diligence for every single image.
And that’s the craft of it. It takes a little technical skill and legal awareness, but once you build these habits, you’ll protect yourself from risk and seriously elevate the quality of your work. It’s a skill that pays dividends for years to come.
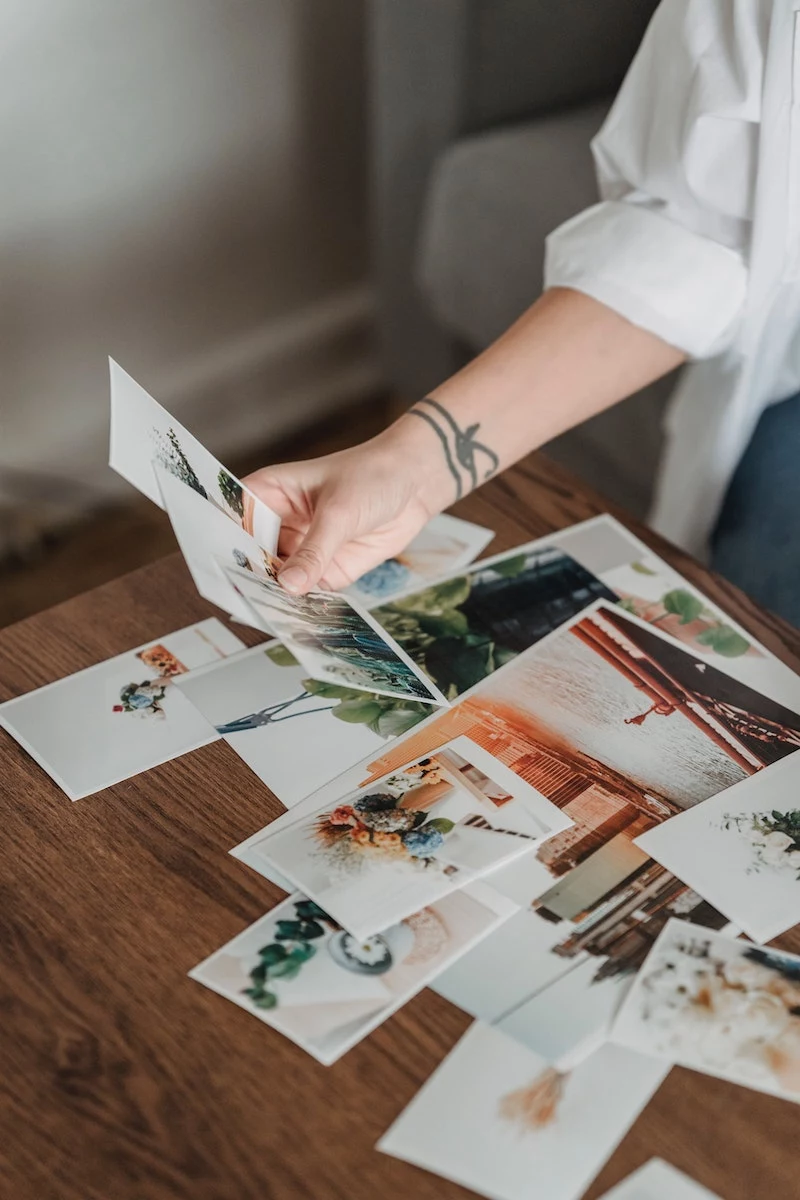
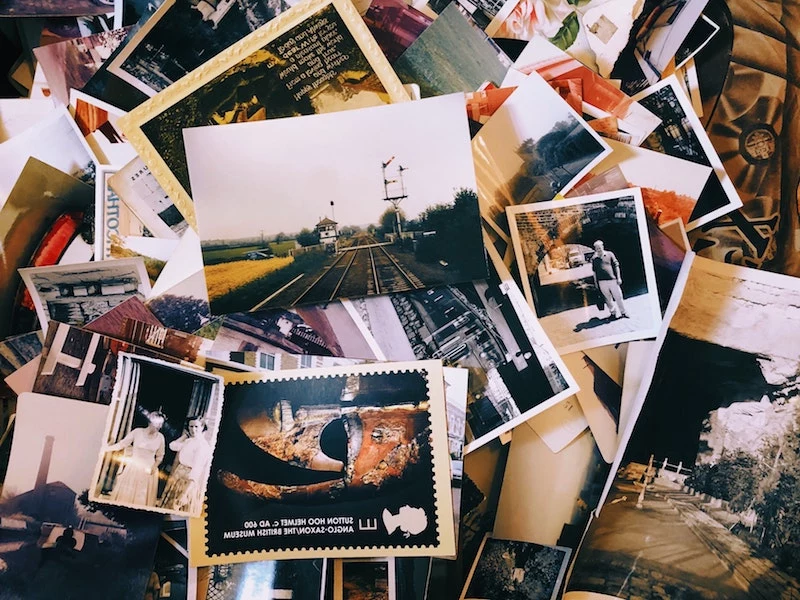
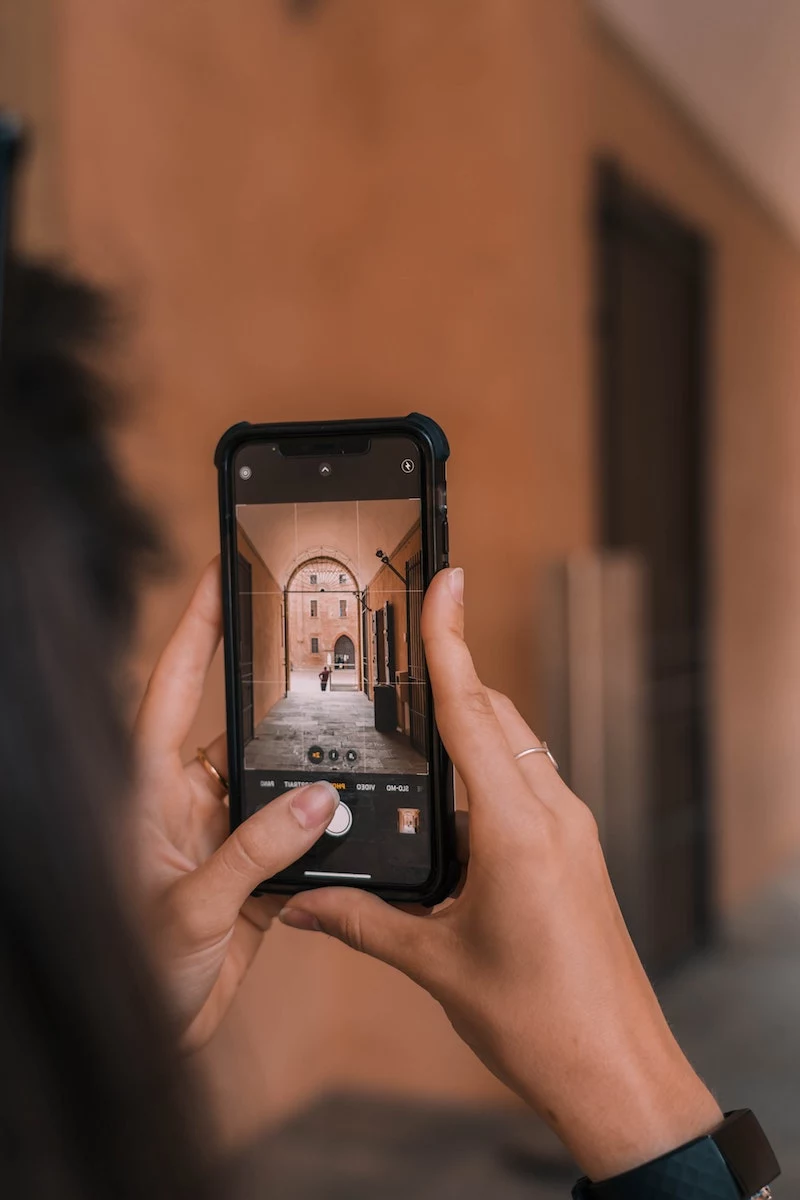
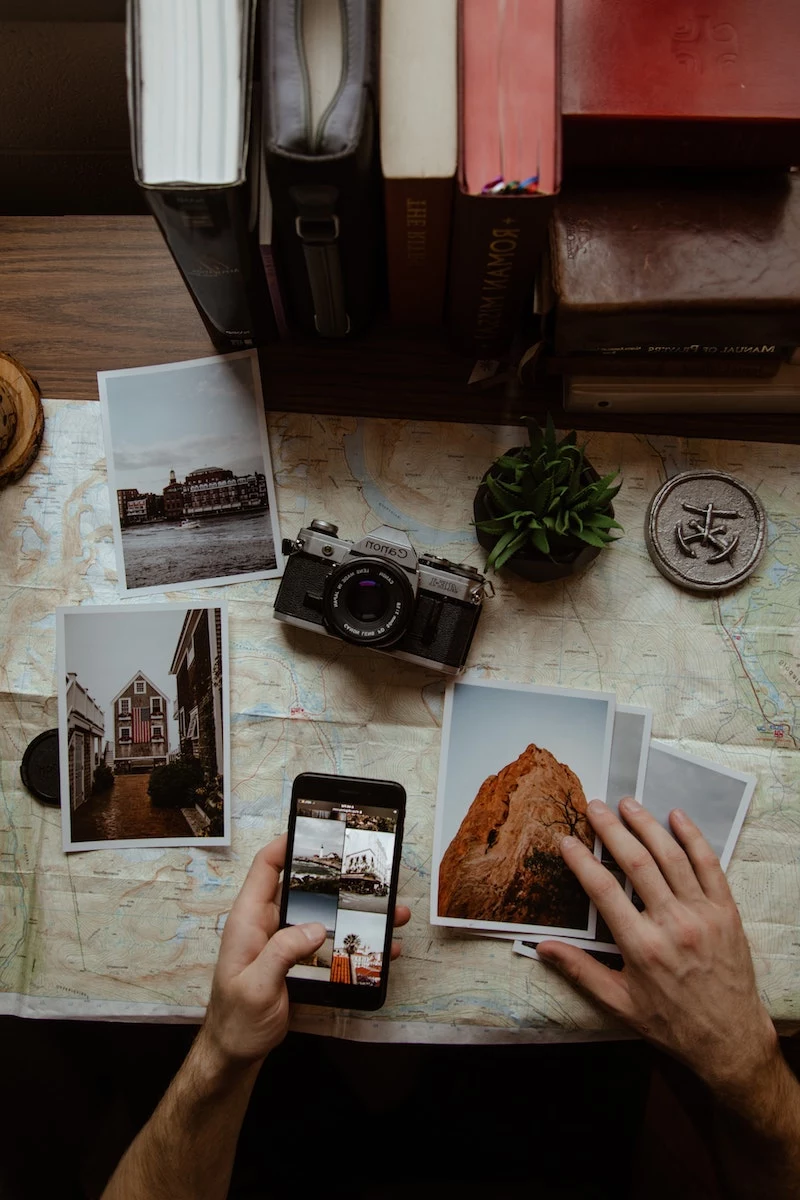
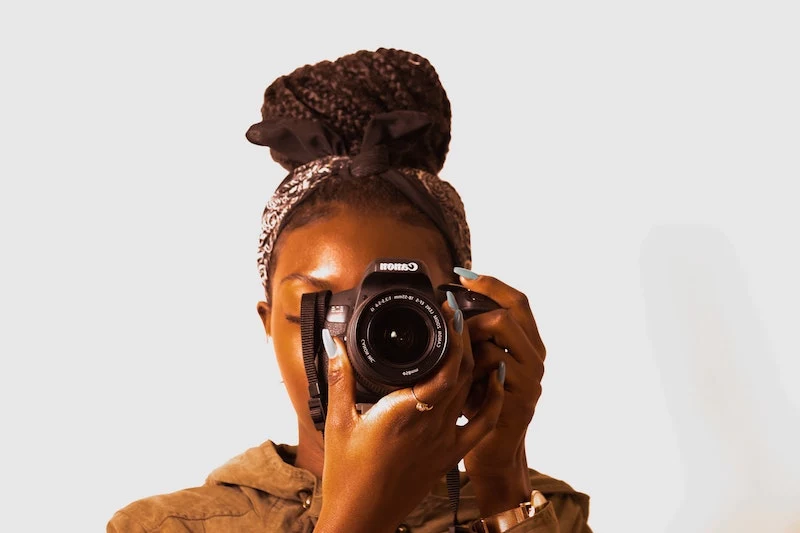
Inspirational Gallery
The forgotten hero: The ‘alt text’ (alternative text) for an image is not optional. It is essential for web accessibility, allowing screen readers to describe the image to visually impaired users. As a bonus, it provides crucial context to search engines like Google, directly impacting your SEO. Always fill it in with a clear, concise description of what the image shows.
According to a 2019 study by Portent, a website that loads in 1 second has a conversion rate 3x higher than a site that loads in 5 seconds.
Unoptimized images are the number one cause of slow-loading pages. Compressing your visuals isn’t just a technical task; it’s a direct investment in your user experience and potential revenue. A few kilobytes saved can mean the difference between a new customer and a lost one.
What is this .WebP file format I keep hearing about?
WebP is a modern image format developed by Google that offers superior compression. A WebP file can be 25-35% smaller than a comparable JPEG file at the same quality level. Most modern browsers support it, and content management systems like WordPress can easily handle them with a simple plugin. Switching to WebP is one of the most effective ways to speed up your site’s image loading times without sacrificing visual quality.
Transform a generic stock photo into a branded asset. Use a free tool like Canva to apply a subtle color overlay using your brand’s palette, add a text quote in your specific font, or crop the image into a unique shape. This simple step can turn a standard image into a custom graphic that reinforces your visual identity and feels uniquely yours.
Even when an image license says attribution isn’t required (like on Unsplash or Pexels), providing it is a professional courtesy. When it *is* required, a proper credit line should include:
- The creator’s name, linked to their profile if possible.
- The source of the image (e.g., Flickr), linked to the original page.
- The specific license used (e.g., CC BY 2.0), linked to the license details.
Free Stock – Unsplash: Known for its high-quality, artistic, and often atmospheric photography. Its license is very permissive for commercial use, making it a favorite among designers and bloggers.
Paid Stock – Adobe Stock: Offers a vast, highly curated library of photos, vectors, and videos. The quality is consistently professional, and its seamless integration with Adobe Creative Cloud apps like Photoshop is a major workflow advantage for pros.
For one-off projects, a free site is perfect. For ongoing content creation, a paid subscription can save time and offer more exclusive options.
- Visually compare different compression levels side-by-side.
- Instantly convert images to next-gen formats like WebP or AVIF.
- Resize images with high-quality algorithms directly in your browser.
The secret? Google’s free and powerful web app, Squoosh. It’s a professional-grade optimization tool that’s incredibly easy for anyone to use.
Hotlinking—displaying an image on your site that is hosted on someone else’s server—is not a clever shortcut. It’s theft of bandwidth.
This practice can slow down or even crash the source website and may result in the image owner replacing the photo with an unpleasant alternative. Always download the image and upload it to your own server.
The new frontier is AI-generated imagery from platforms like Midjourney and DALL-E. While powerful for creating unique visuals, the legal landscape is a minefield. Copyright ownership of AI art is a subject of ongoing debate and court cases. Before using these images commercially, carefully read the terms of service for the specific tool you used, as the rules are inconsistent and evolving rapidly.


