How to Make Grocery Store Flowers Look Incredible: A Pro’s Guide
I spent my first year in a flower shop mostly on my feet, surrounded by that unforgettable smell of damp earth and fresh-cut stems. My hands were perpetually cold from the walk-in cooler, and my main job wasn’t making pretty bouquets—it was processing flowers. Buckets and buckets of them. I learned fast that a stunning arrangement isn’t born in the vase. It all starts with prep work and a real respect for the flowers themselves.
In this article
Honestly, anyone can toss some flowers in water. But making them last, giving them shape and personality? That’s a whole different game. It’s a craft built on a few core ideas: conditioning, mechanics, and layering. Forget just winging it. Let’s build an arrangement the way the pros do, from the ground up.
First, a Little Flower Science (The Not-Boring Version)
Okay, before we get to the fun part, it helps to know what’s going on inside that stem. A cut flower has been separated from its life support system. Your job is to step in and play the role of its roots. The stem has a network of tiny straws (called xylem) that pull water up to the petals. When a stem is cut, an air bubble can get sucked in, blocking water flow like a clog in a pipe. This is why a flower can wilt even when it’s sitting in a full vase—it’s literally dying of thirst.
Bacteria are the other big enemy. They multiply in the vase water, creating a slimy gunk that also clogs the stems. It’s a race against time, and your job is to keep that water clean and flowing. Oh yeah, and then there’s ethylene gas. It’s a natural hormone that tells plants to ripen and, well, decay. Fruits, especially bananas and apples, pump out a ton of it. So please, don’t put your beautiful arrangement next to the fruit bowl! A single banana can seriously cut down the life of your blooms. This isn’t just an old wives’ tale; it’s a botanical fact we lived by in the shop.
This brings us to that little packet of flower food. It’s not a gimmick! It usually contains three key things: sugar for energy, a disinfectant to kill bacteria, and an acidifier to help the stems drink more easily. Using it can easily double the vase life of your flowers.
Quick tip: The packet is usually measured for a quart or liter of water. If you’re using a small bud vase, don’t dump the whole thing in! You’ll create a sugary soup that can actually harm the flowers. Use about half the packet for a pint-sized vase and save the rest.
Setting Yourself Up for Success: Gear and Flowers
Your tools and vase are just as important as the flowers. Choosing the right ones makes the whole process smoother and, frankly, more fun. Let’s talk about what you actually need.
Choosing a Vase and Your Tools
The vase is more than just a water holder; it’s the anchor for your design. A tall, skinny one will keep flowers upright, while a wide-mouthed vase needs a little help to stop everything from flopping over. A good rule of thumb is to aim for the arrangement to be about 1.5 to 2 times the height of the vase, but hey, rules are made to be broken.
Most importantly, your vase must be squeaky clean. I mean, scrubbed with hot, soapy water. Lingering gunk from an old bouquet will destroy your new one. Glass is easy, but porous ceramics might need an extra scrub.
You don’t need a huge, expensive kit, but a few key items are total game-changers. Here’s your beginner’s toolkit:
- Sharp Bypass Pruners: Forget kitchen scissors. They crush the stem’s vascular system, making it harder for the flower to drink. A good pair of bypass pruners (where two blades sweep past each other) makes a clean slice. This is a worthy investment—a solid pair will run you $15 to $25 at any garden center and will last forever.
- Waterproof Floral Tape: This thin green or clear tape is the secret to taming wide-mouthed vases. A roll costs maybe $3 and is the best money you’ll ever spend on your flower hobby. We’ll use it to make a grid over the vase opening.
- A Decent Vase: You don’t need to spend a fortune. My favorite vases have come from thrift stores and flea markets for just a few dollars. Look for a simple glass cylinder or a classic pitcher shape to start.
Where to Actually Buy Your Flowers
You’ve got options, and each has its pros and cons. Let’s break it down:
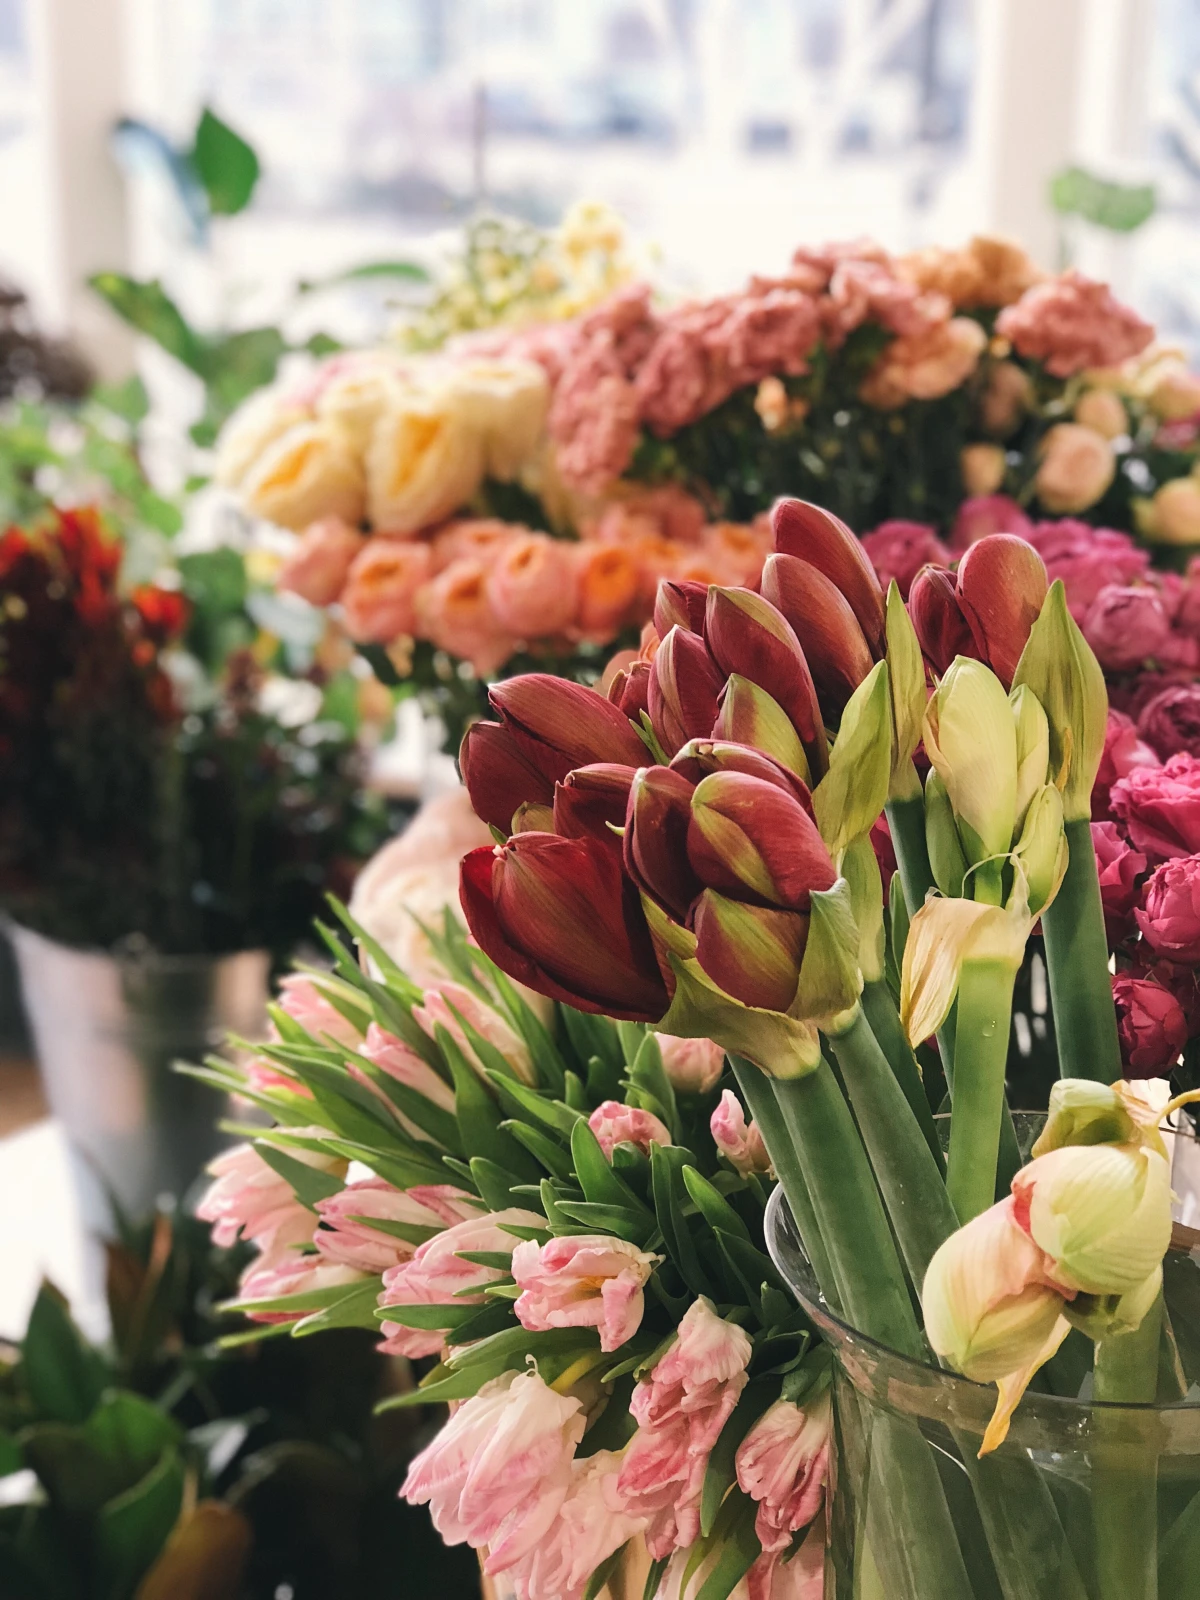
- The Grocery Store: This is your most convenient and budget-friendly option. The downside? Selection can be limited and freshness can be a gamble. Look for bunches with tight buds that aren’t fully open yet, and always check the stems for sliminess. You can build a really nice arrangement here for $20-$30.
- The Farmer’s Market: Here you’ll find amazing seasonal and local blooms that are usually incredibly fresh. The prices are often great, and you get to support local growers. You might find unique things like zinnias, cosmos, or interesting foliage you’d never see at a big chain store.
- A Local Florist: This will be the most expensive option, but you’re paying for quality and expertise. The flowers are professionally conditioned and the variety is top-notch. It’s a great choice if you need a specific, high-end flower like a peony out of season or just want to treat yourself to the absolute best.
A Quick Word on Floral Foam
You’ve probably seen that green, brick-like foam. It holds water and offers stability, but it’s essentially a single-use plastic made from some pretty harsh chemicals. It crumbles into microplastics that end up in our water systems. From my experience, you can create more beautiful, natural-looking arrangements without it. A ball of chicken wire (reusable forever!) or a simple tape grid gives you all the support you need with a much lighter environmental footprint.
Conditioning: The Pro’s Secret Weapon
If you take only one thing away from this, let it be this: you must condition your flowers. This is the non-negotiable first step of preparing and hydrating them before you even think about arranging. Skipping this is like trying to build a house on sand.
Here’s the full-on professional process:
- Prep Your Buckets: Fill a clean bucket with lukewarm water and the right dose of flower food. Most stems absorb lukewarm water more easily than icy cold water.
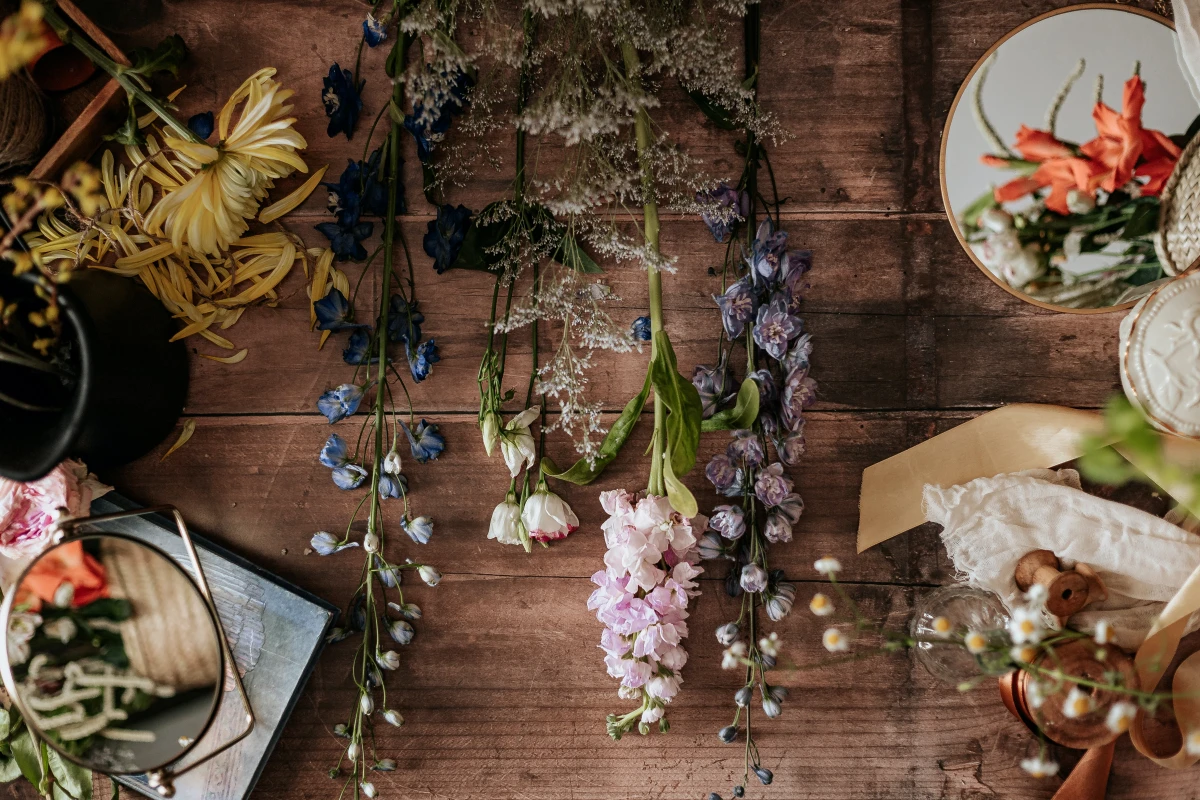
- Unpack and Strip: Get your flowers out of their plastic wrap right away. Strip off any leaves that will sit below the waterline in your final vase. Why? Submerged leaves rot, creating a bacteria party that will kill your flowers fast.
- Make a Fresh Cut: Using your sharp pruners, snip at least an inch off the bottom of each stem. Cut at a 45-degree angle to maximize the surface area for water absorption.
- Let Them Rest: Place your prepped flowers in the bucket and move them to a cool, dark place for at least four hours, or even overnight. A cool bathroom or basement is perfect. This “hardening off” period lets them drink deeply and become firm and ready to work with.
Time-saver hack: In a rush? I get it. If you don’t have four hours, at a minimum, give your stems a fresh snip and let them drink lukewarm water for 30 minutes while you prep your vase. It’s a million times better than just plunking them in straight from the store!
Building Your Arrangement, Layer by Layer
With fully hydrated, happy flowers, you’re finally ready to create. I think of it as building in three layers: the base, the stars, and the details. And always, always rotate your vase as you work to make sure it looks good from all sides.
Step 1: Create Your Structure
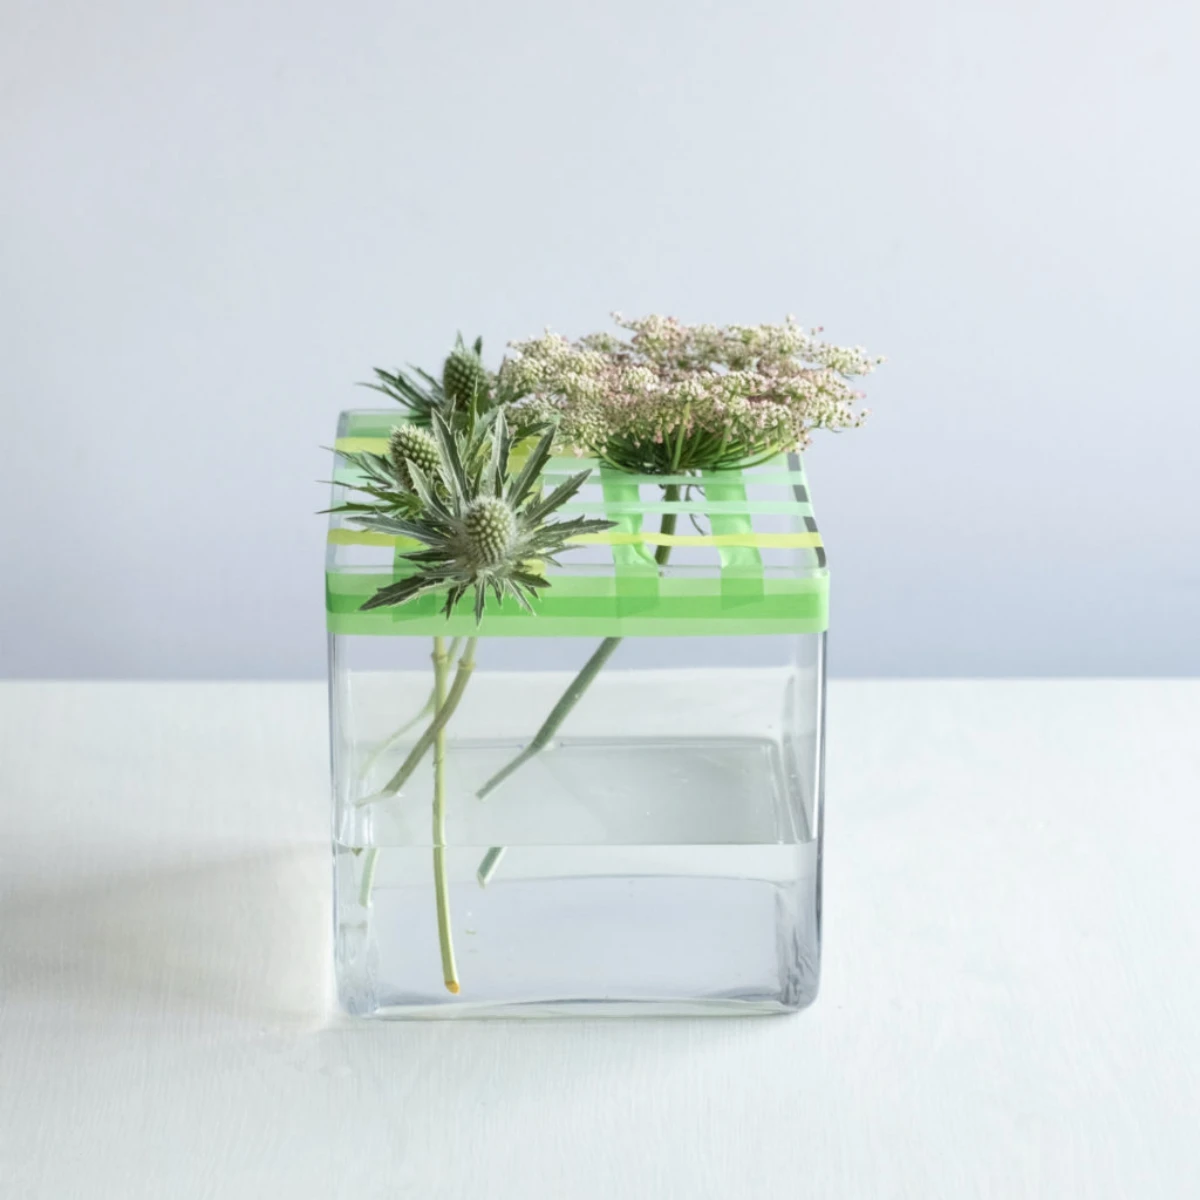
If you’re using a wide-mouthed vase, it’s time to build your tape grid. First, make sure the rim of the vase is bone dry or the tape won’t stick. Then, apply the waterproof tape in a hashtag or checkerboard pattern across the opening. The little squares will hold your stems exactly where you want them. Fill the vase with your prepared water after the grid is secure.
Step 2: Add Your Greenery Base
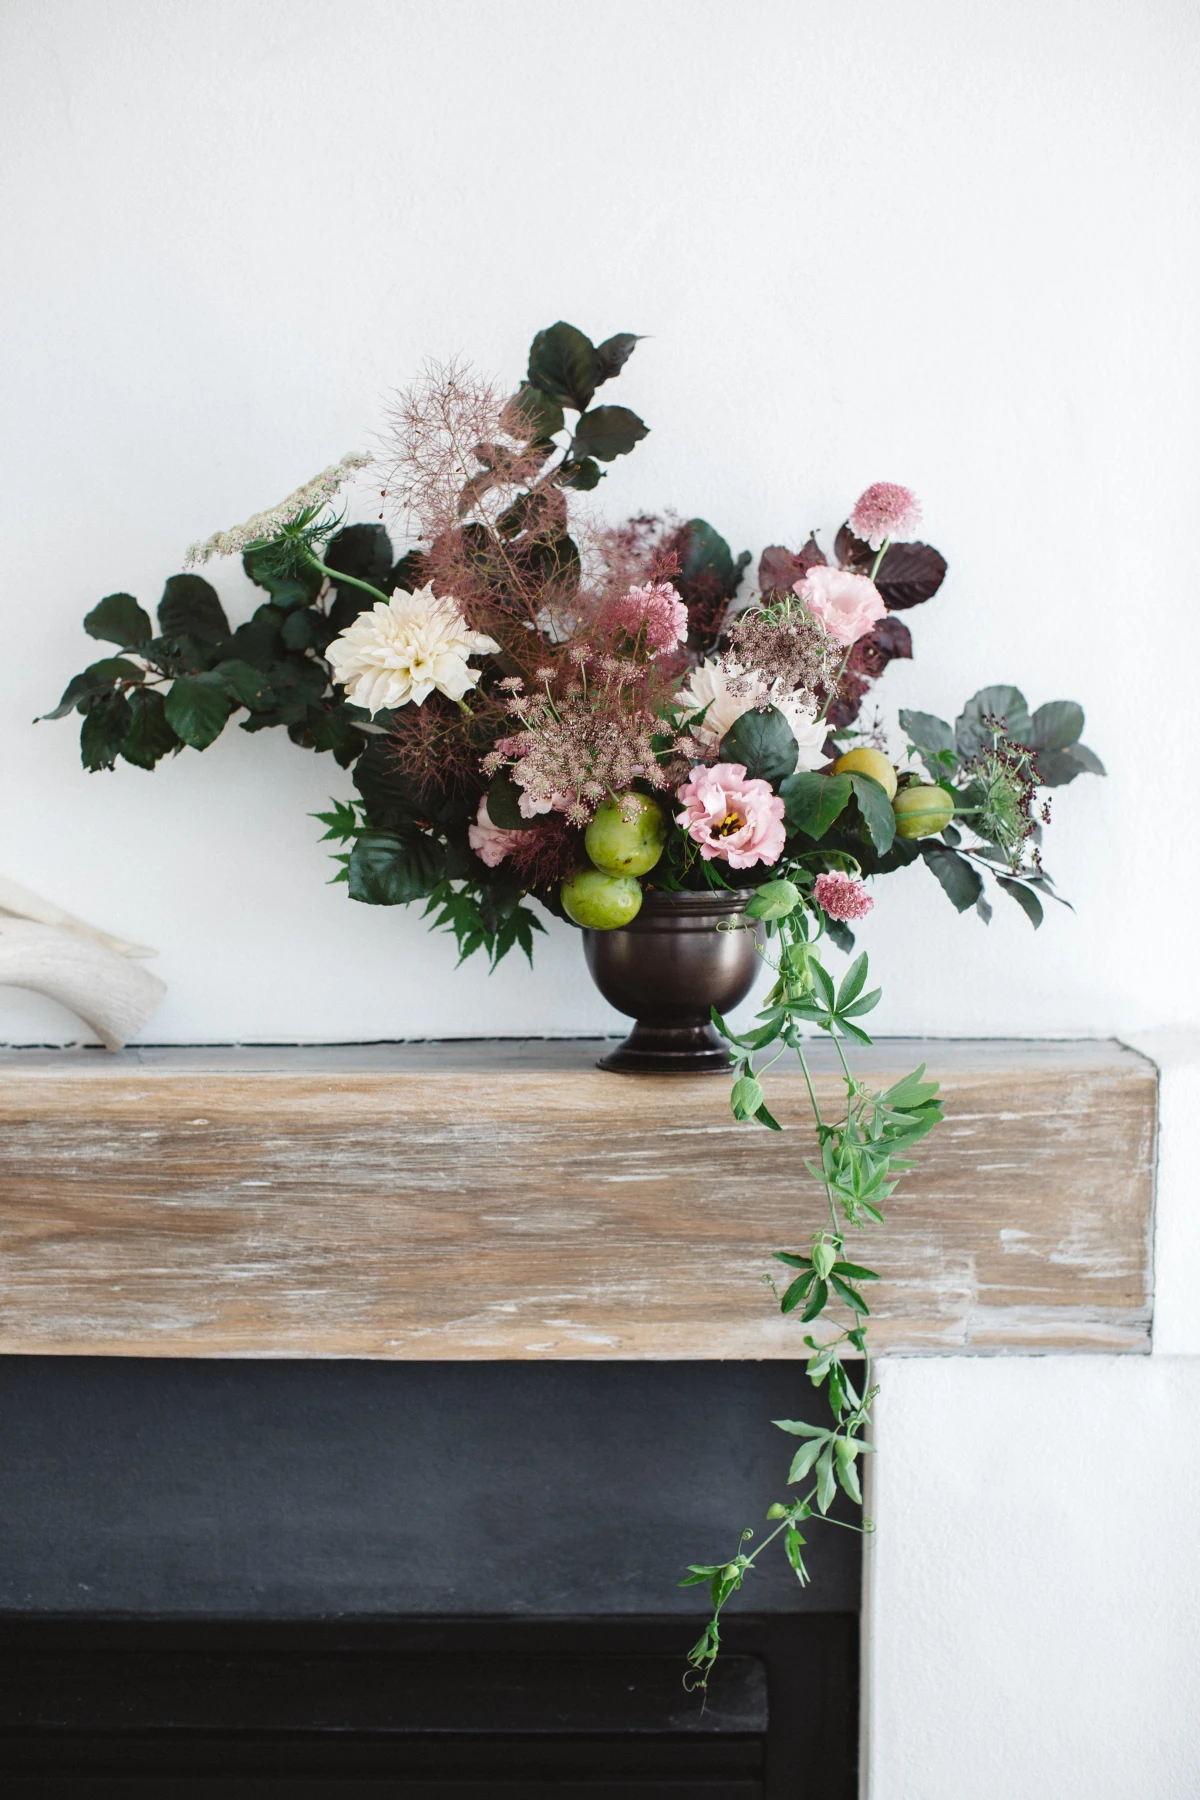
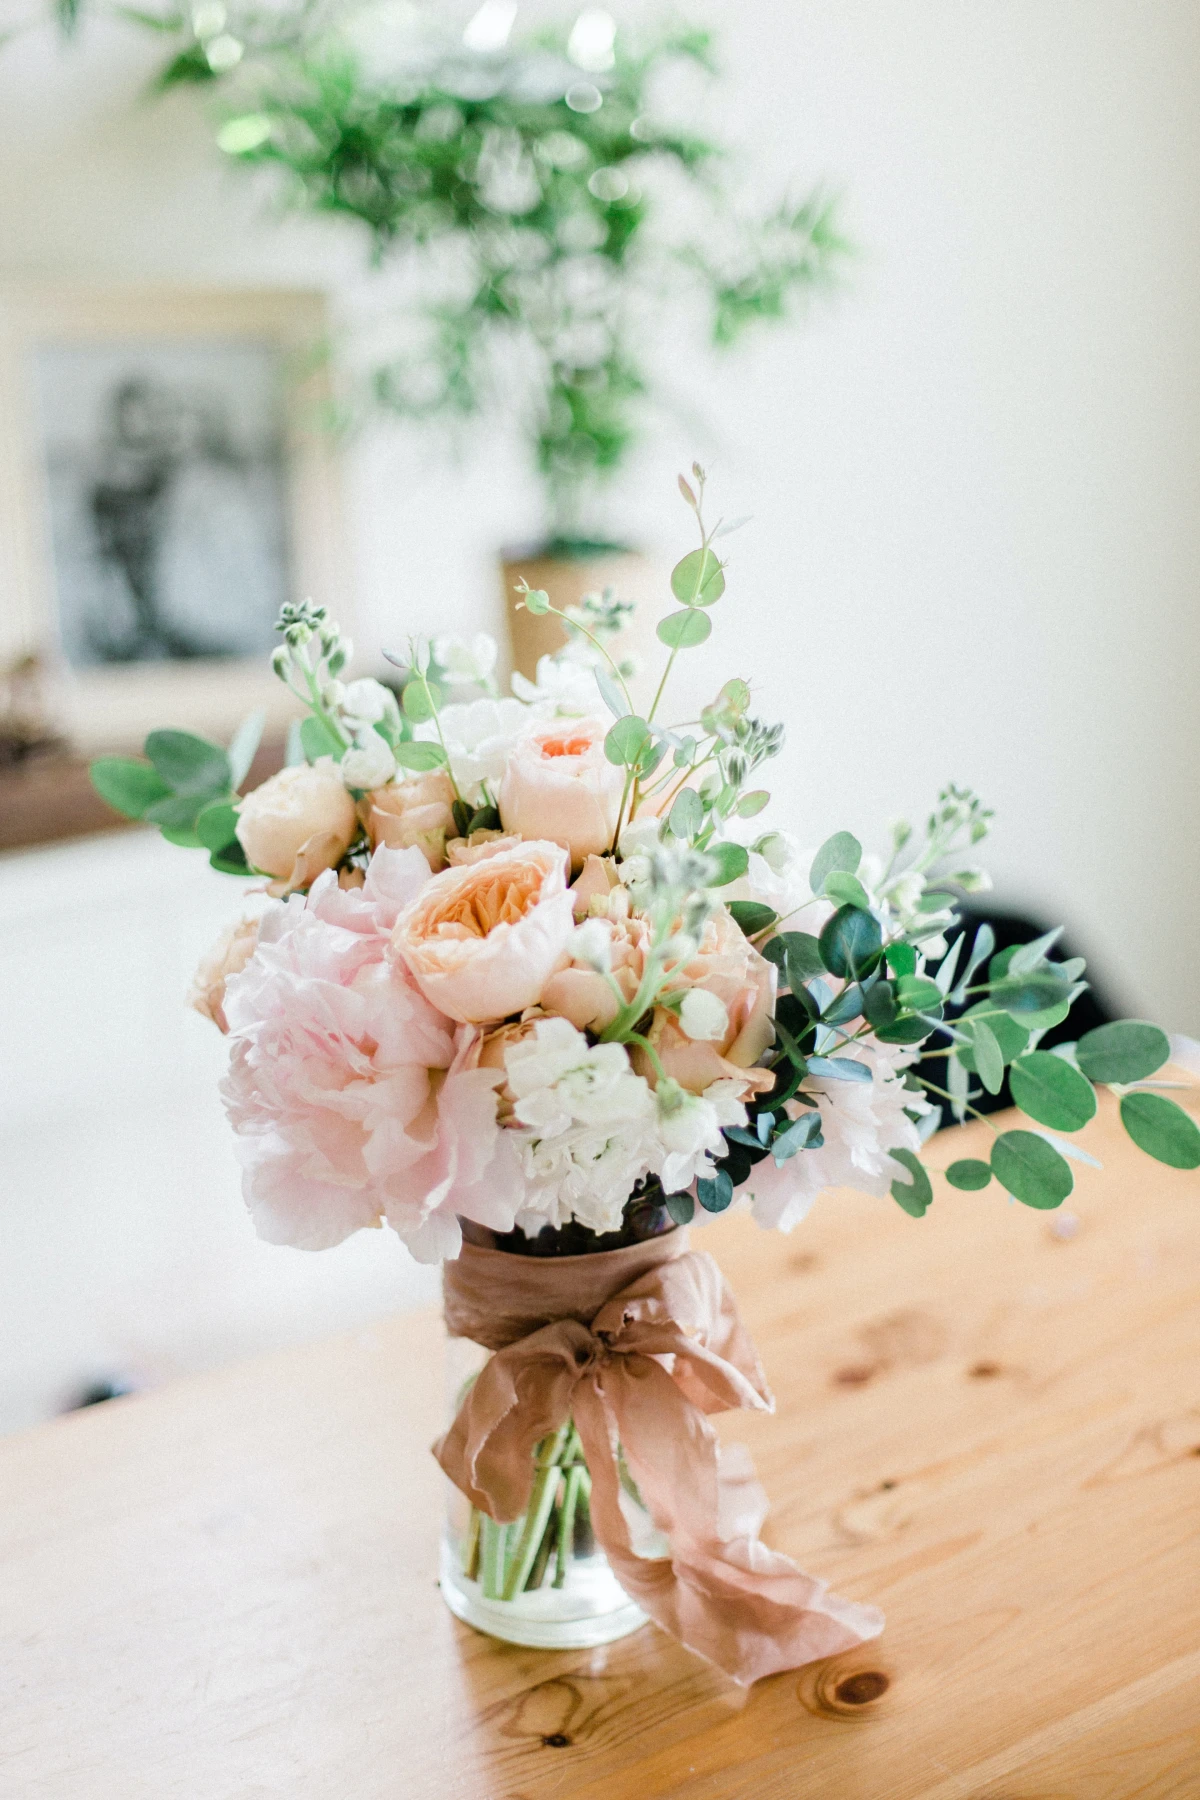
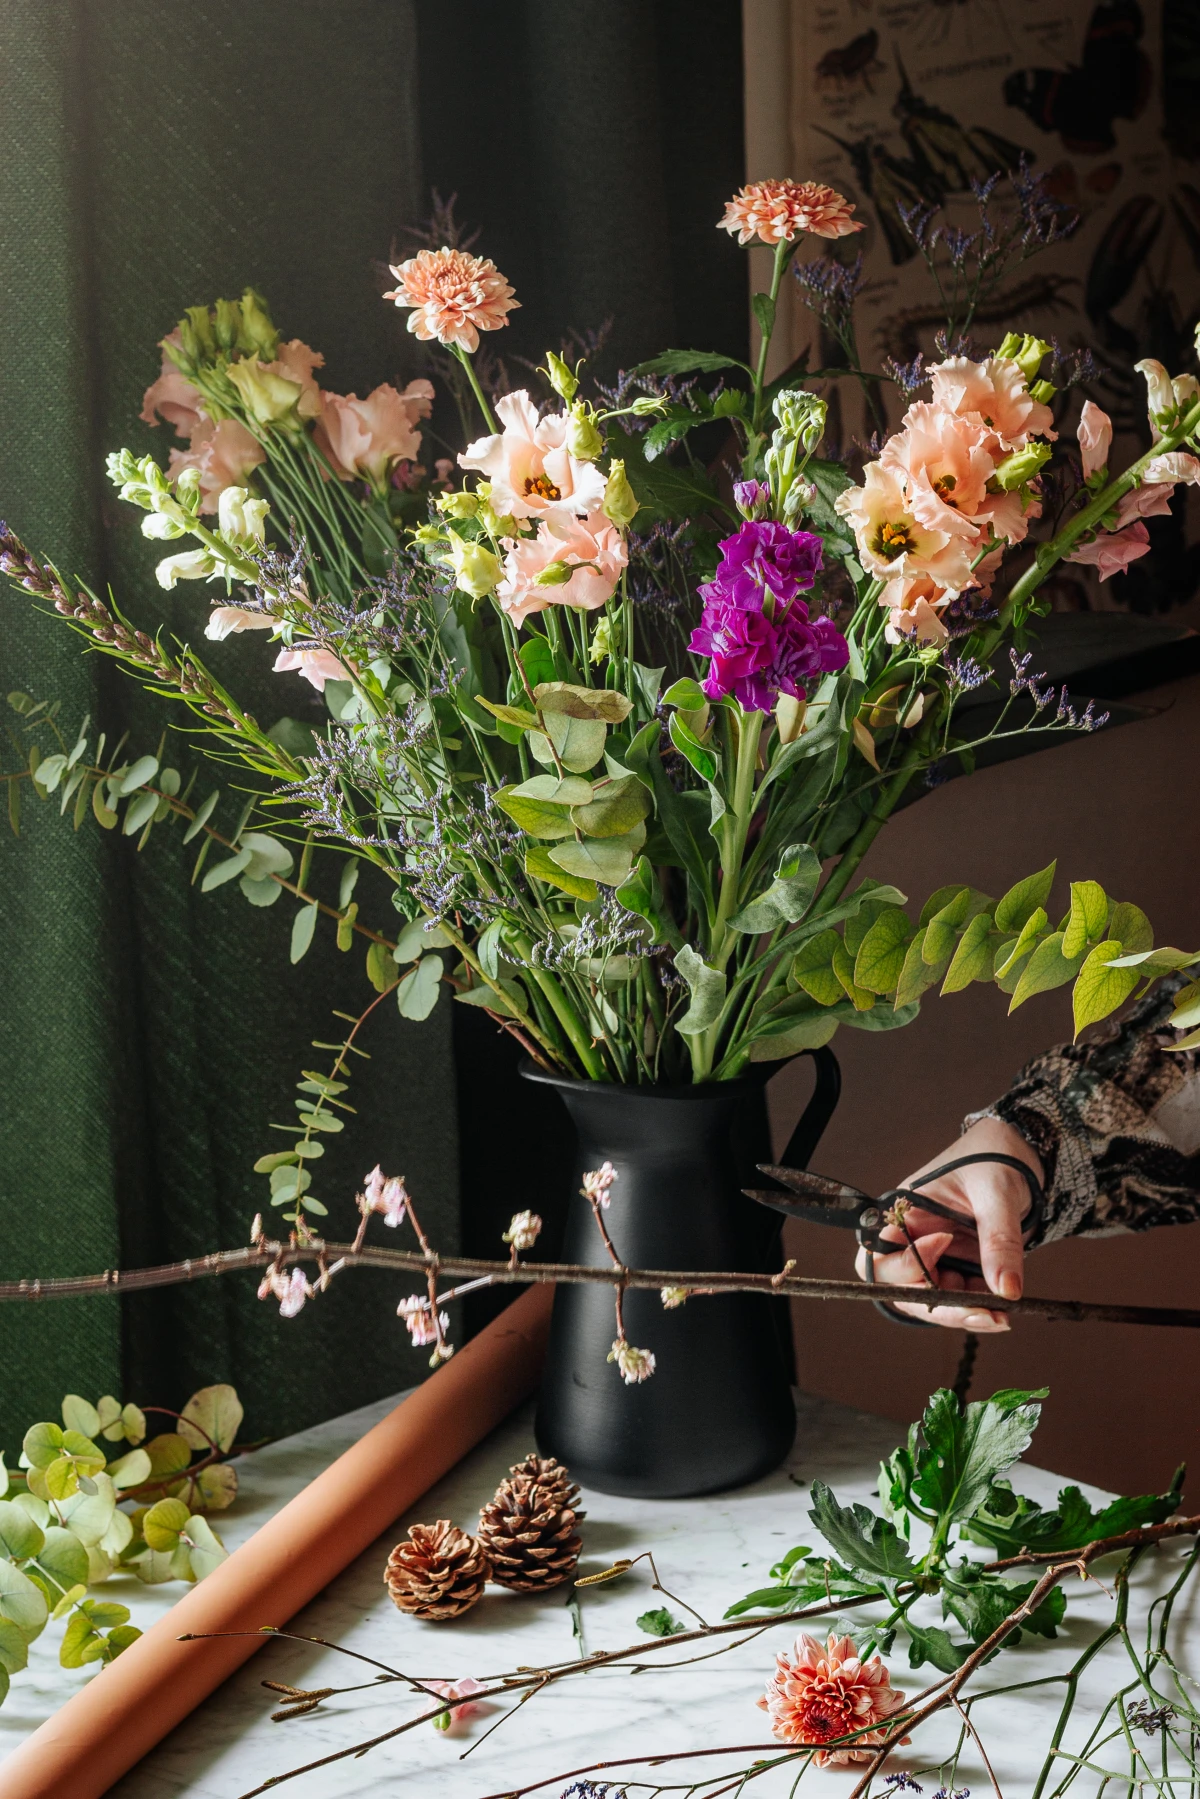
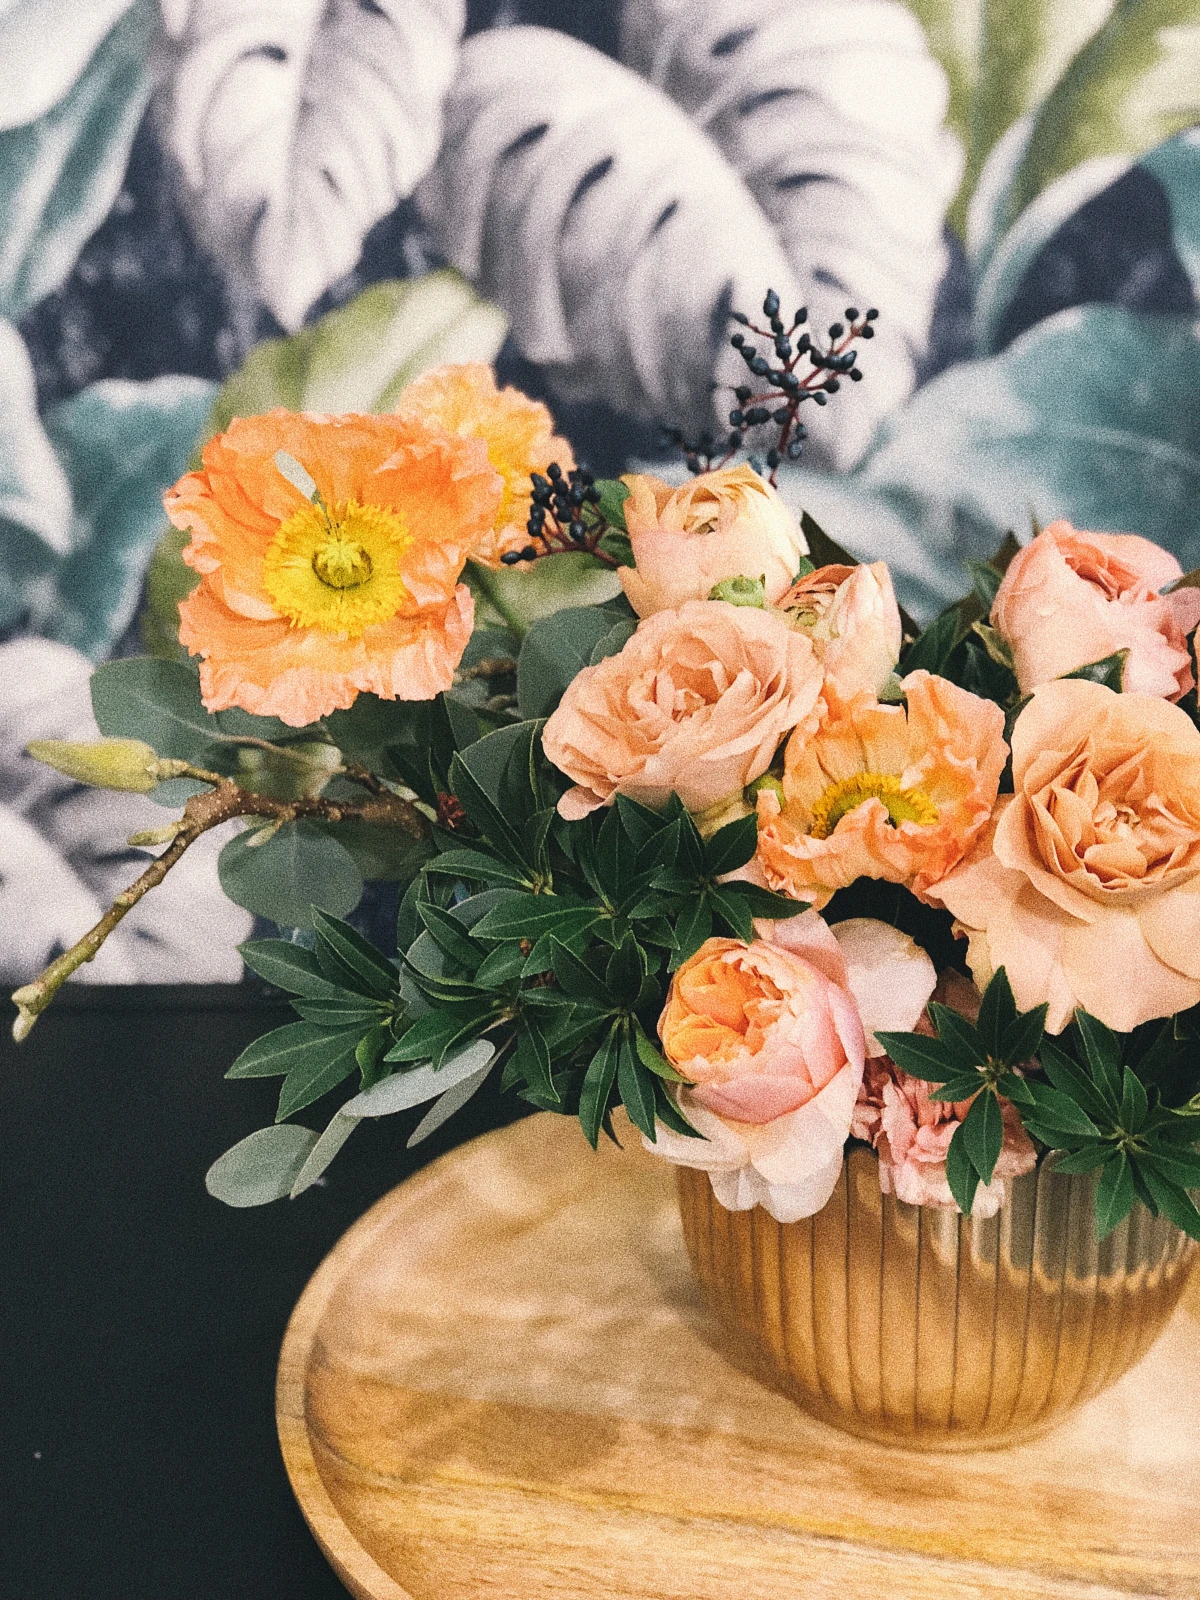
Your greenery is the skeleton of the arrangement. It defines the overall shape and size. I like using at least two kinds for texture. Start with something sturdy like Italian ruscus or leatherleaf fern to map out the shape. Then, add something softer and more fragrant, like silver dollar eucalyptus. This green base also creates a natural web that helps hold everything else in place.
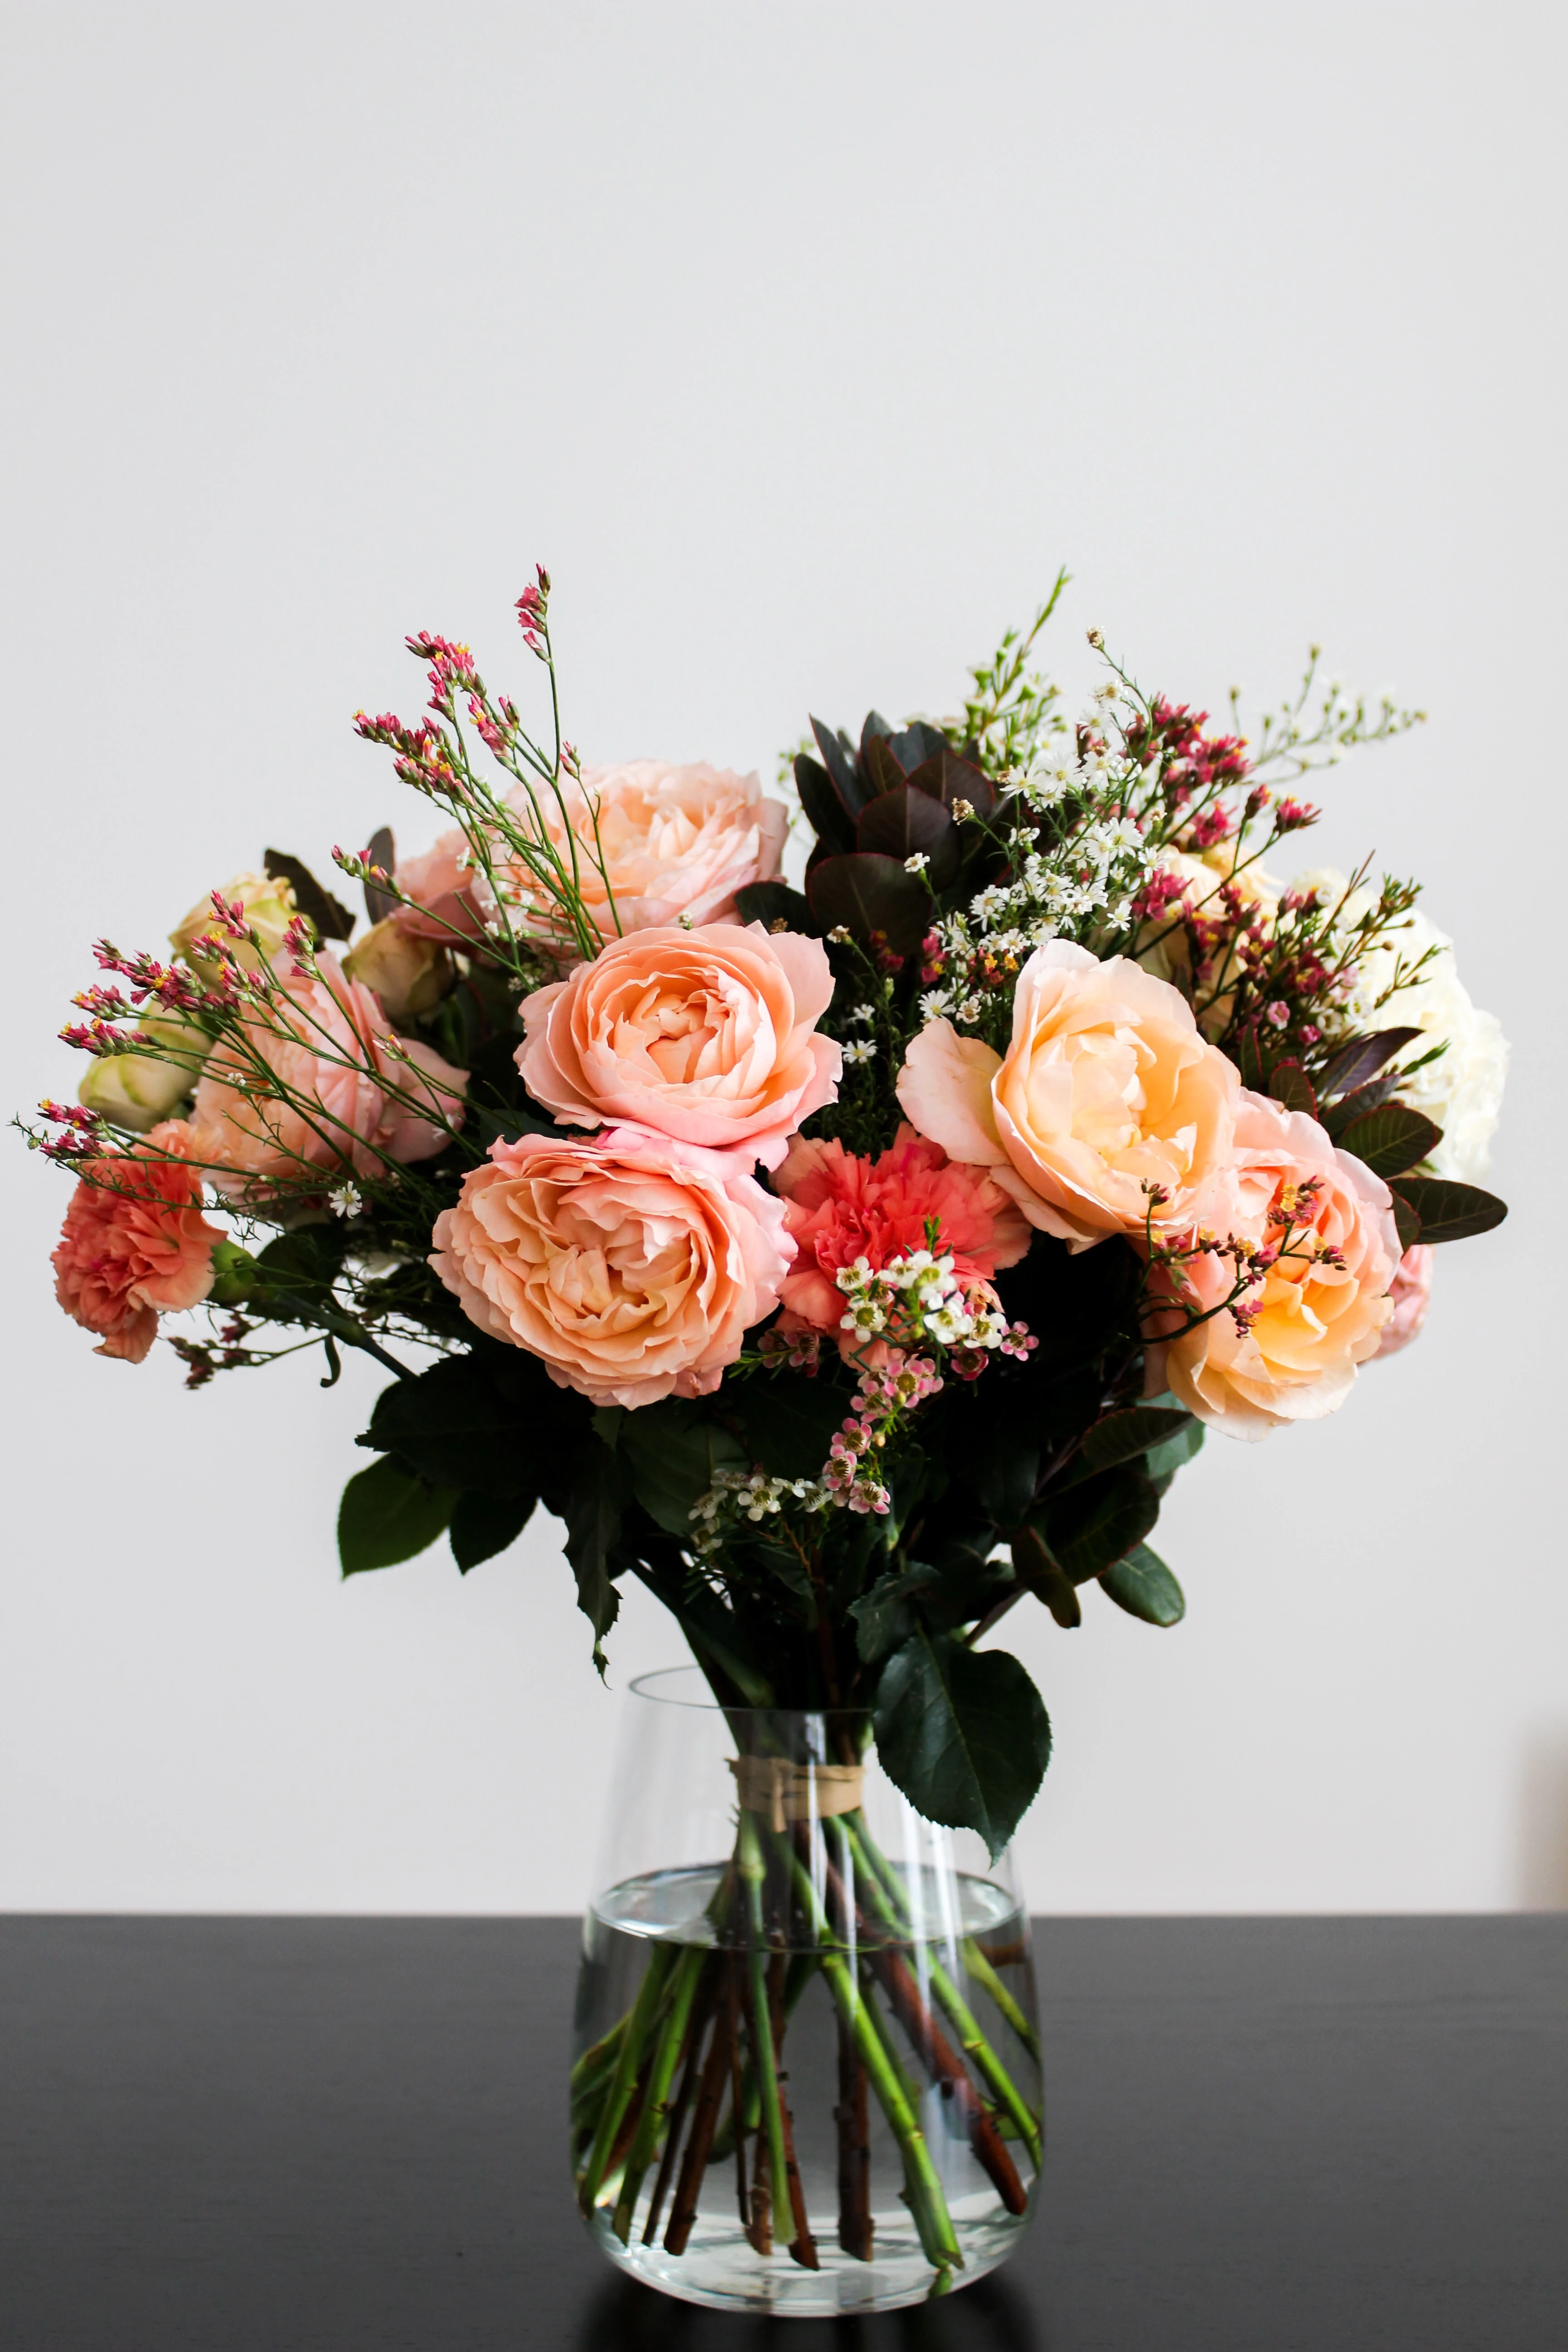
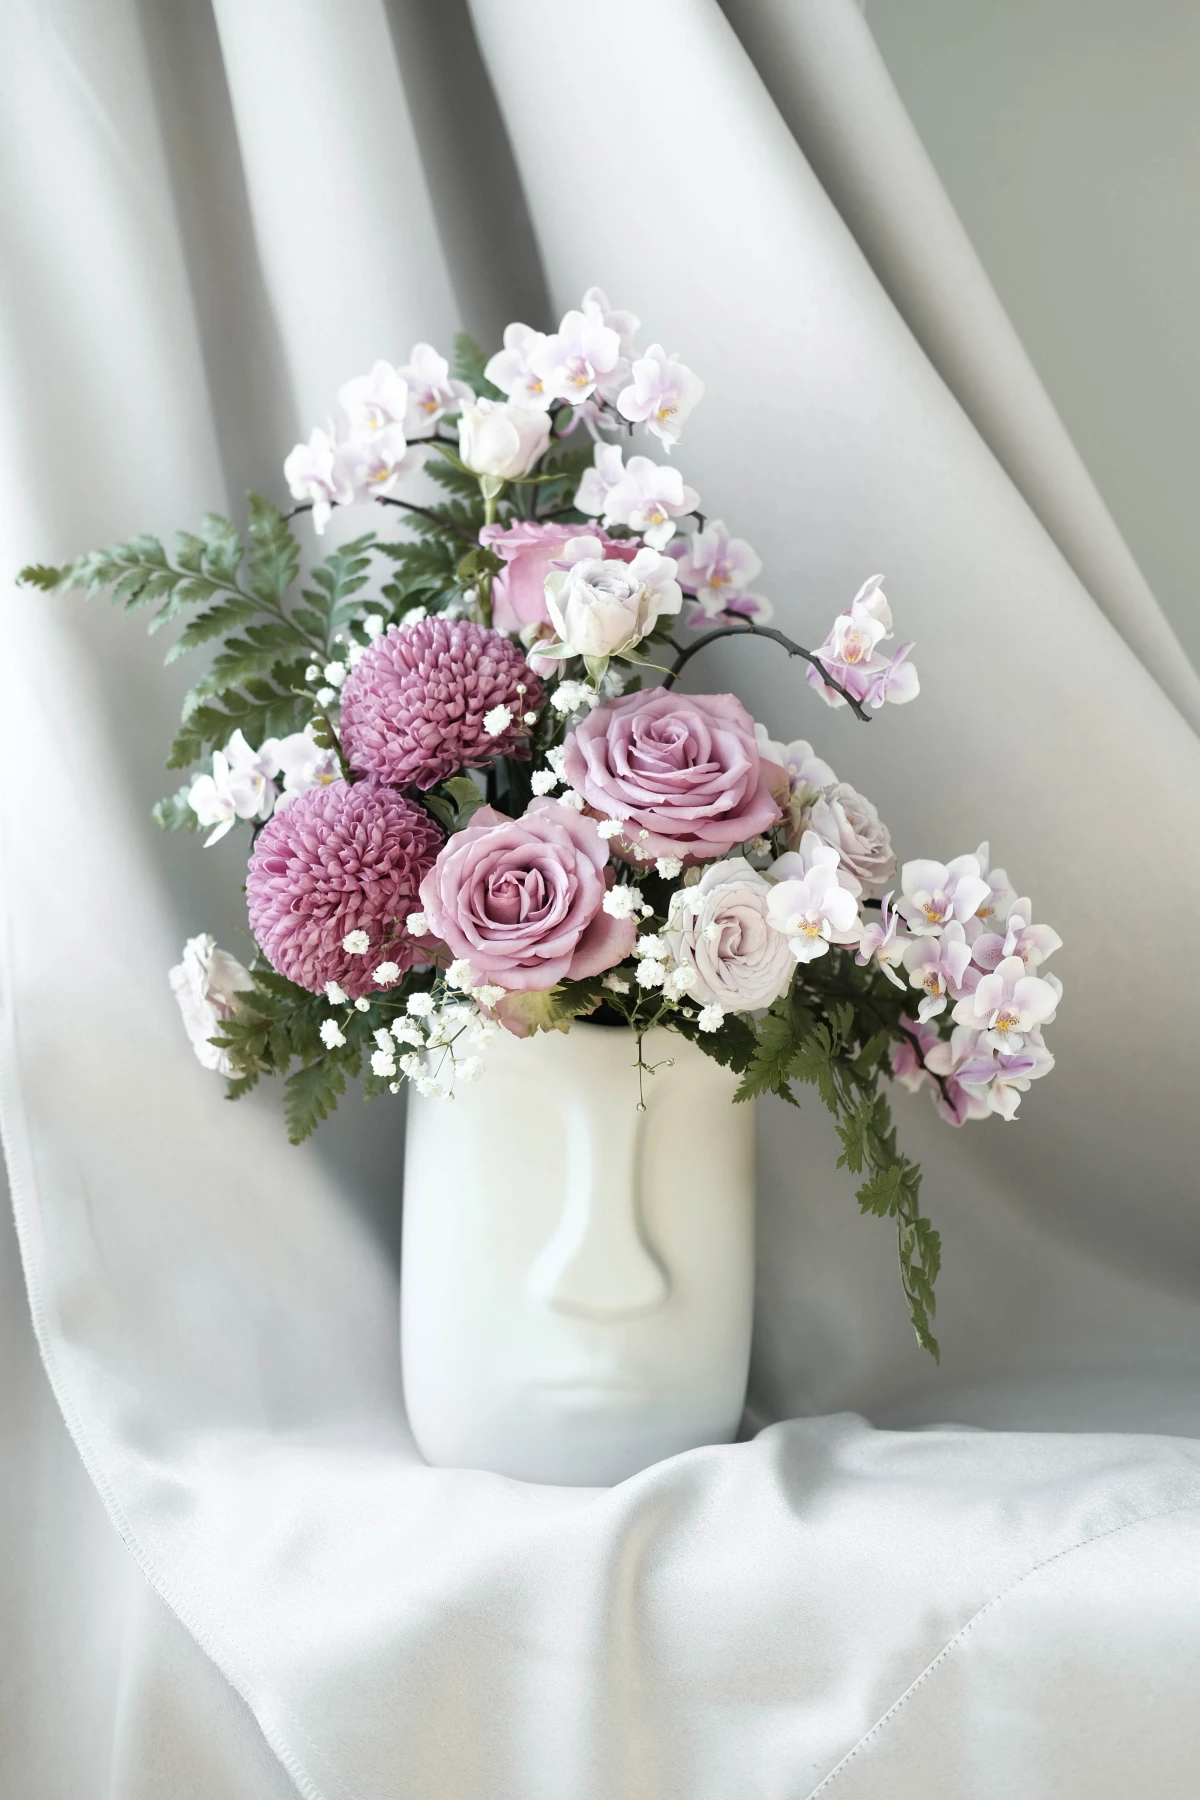
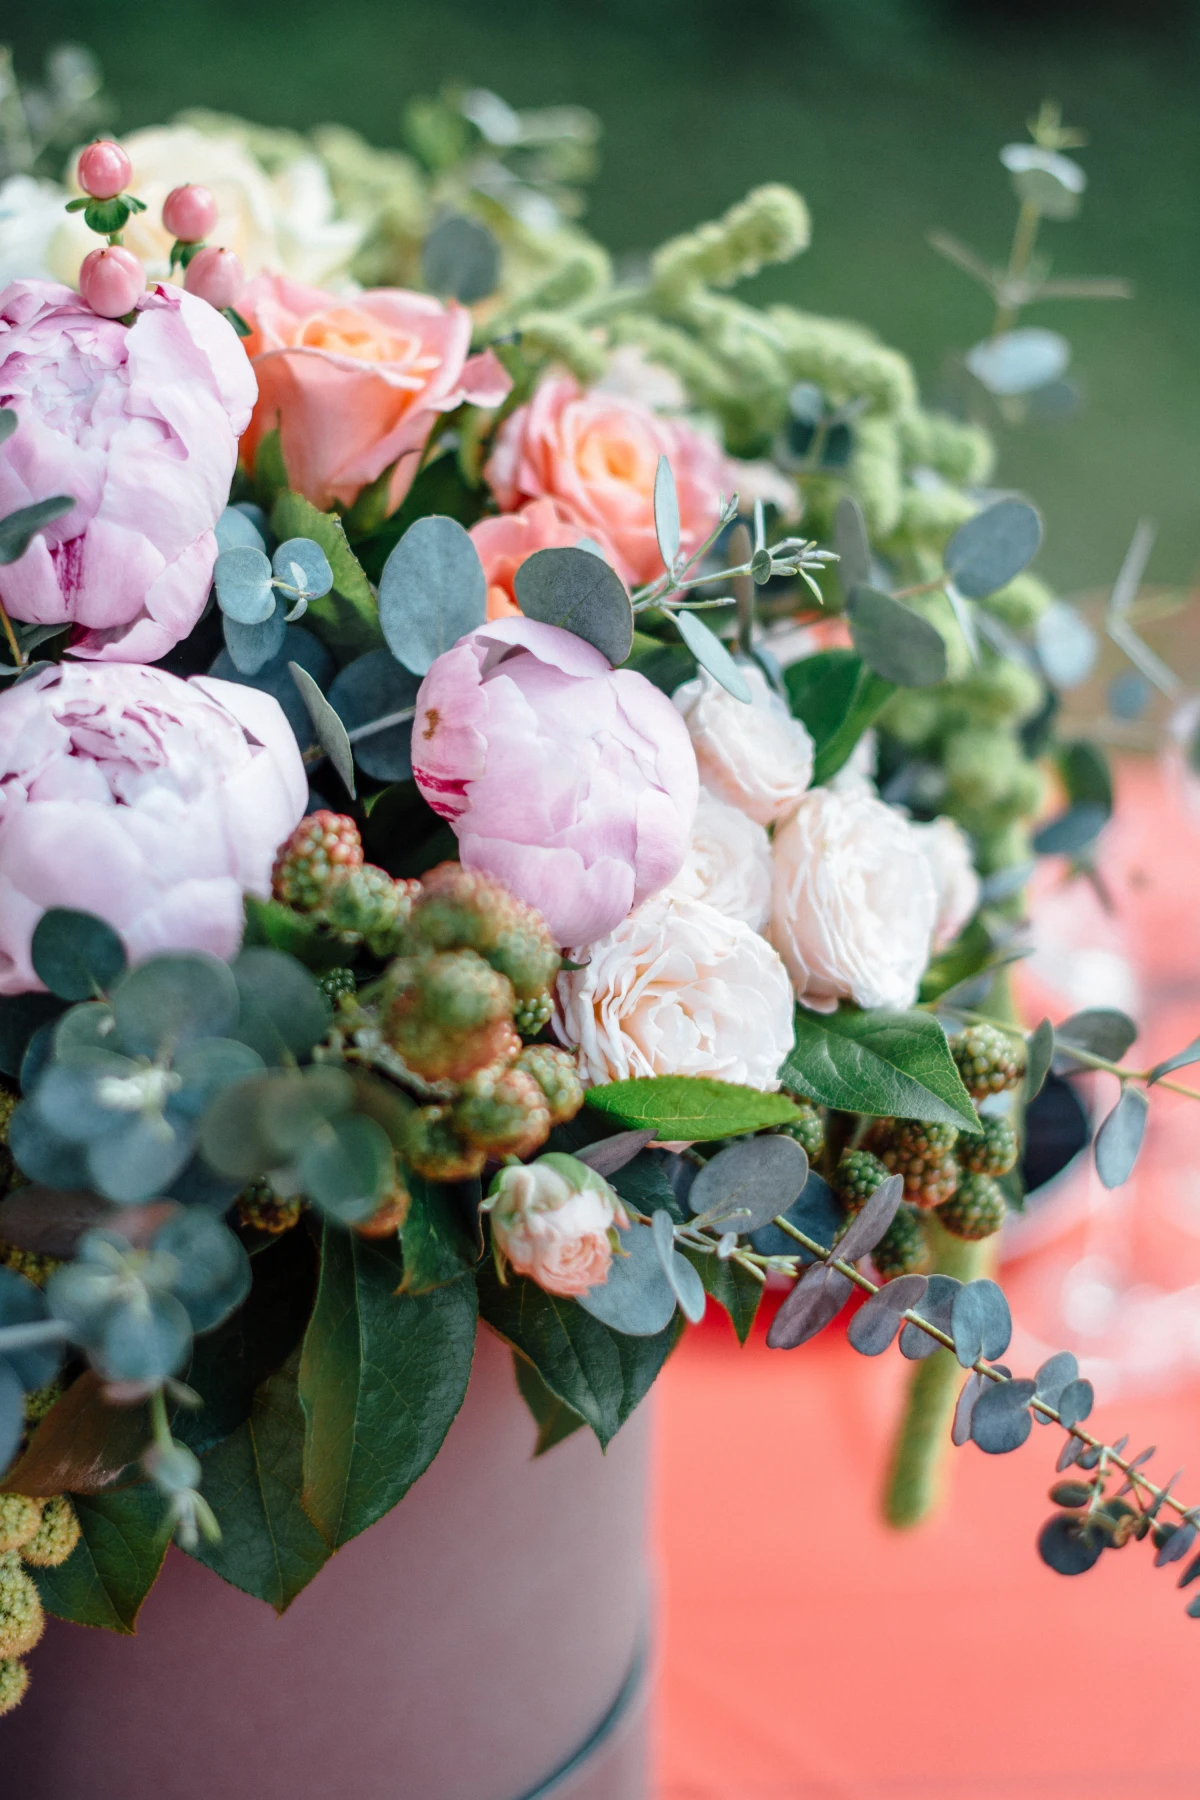
Step 3: Place Your Focal Flowers
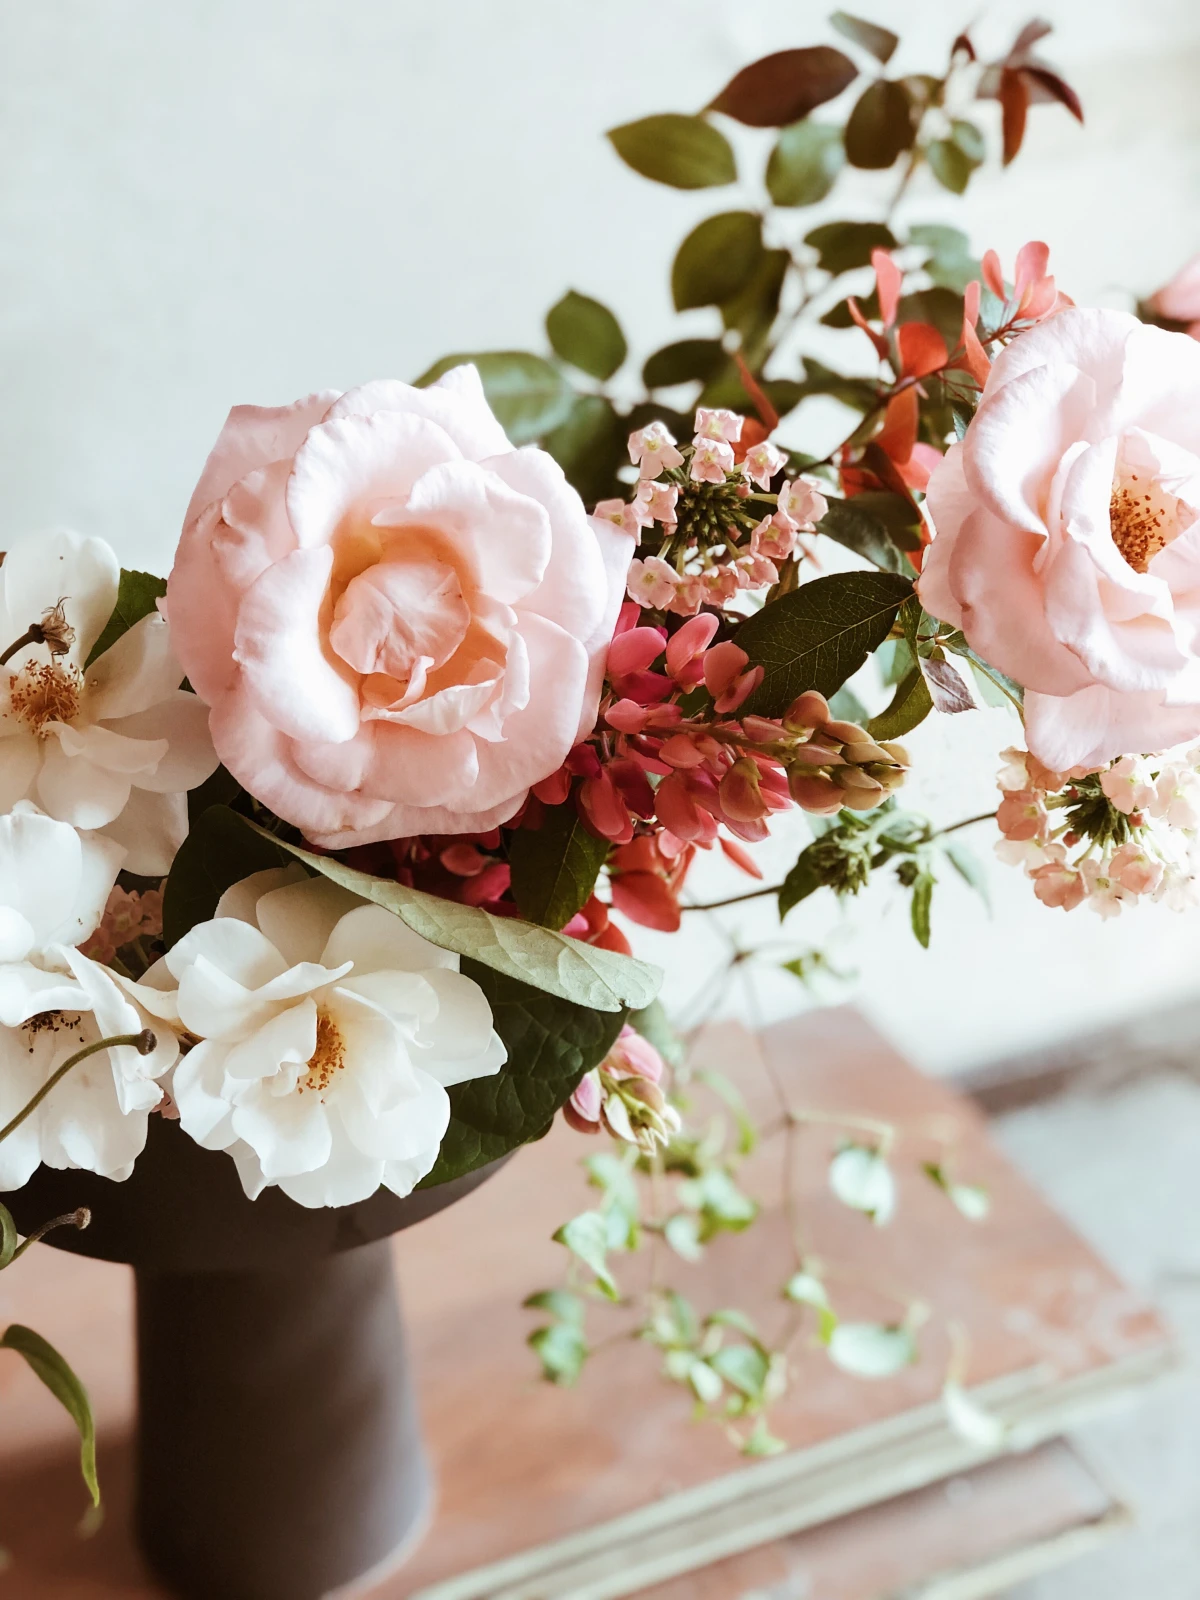
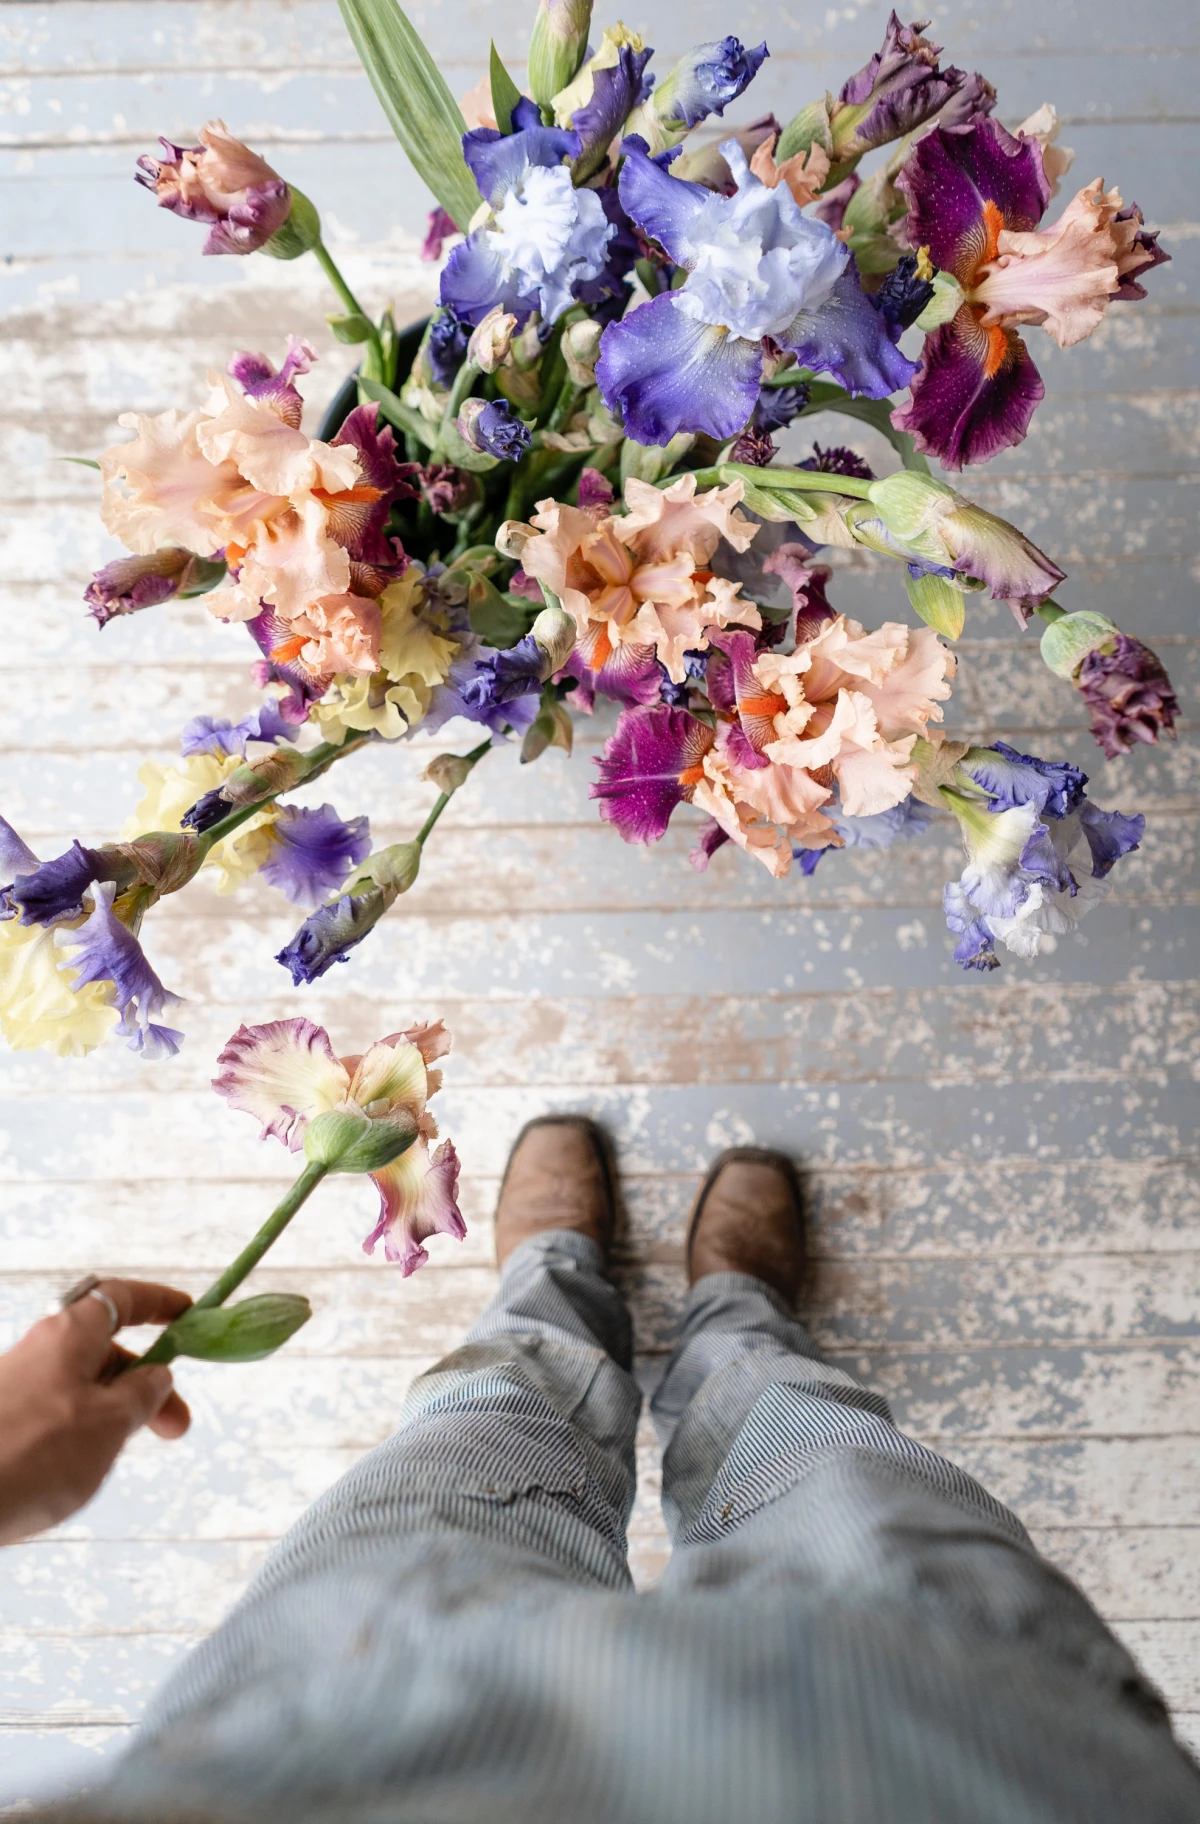
These are your big, beautiful star players—think roses, lilies, peonies, or dahlias. A classic design trick is to use an odd number, like three or five. Our eyes find asymmetry more natural and interesting. Place them at different heights to create depth; nestle one low and let another stand a bit taller.
Step 4: Add Secondary Flowers
These are the supporting cast. They’re usually smaller and help fill out the arrangement. Think carnations, alstroemeria, or spiky flowers like snapdragons that add a contrasting shape. Tuck them in around your focal flowers, reinforcing the shape and filling in any obvious gaps.
Step 5: Weave in Filler and Texture
This is the final, delicate layer that makes an arrangement look truly professional. Filler flowers are small and airy, like waxflower or solidago (don’t go too heavy on baby’s breath, it can look a bit dated). A lesson I learned the hard way is that it’s easy to overstuff. Sometimes, the empty space is just as important. I also love adding textural bits here—a wispy blade of grass, a few interesting seed pods, or trailing vines.
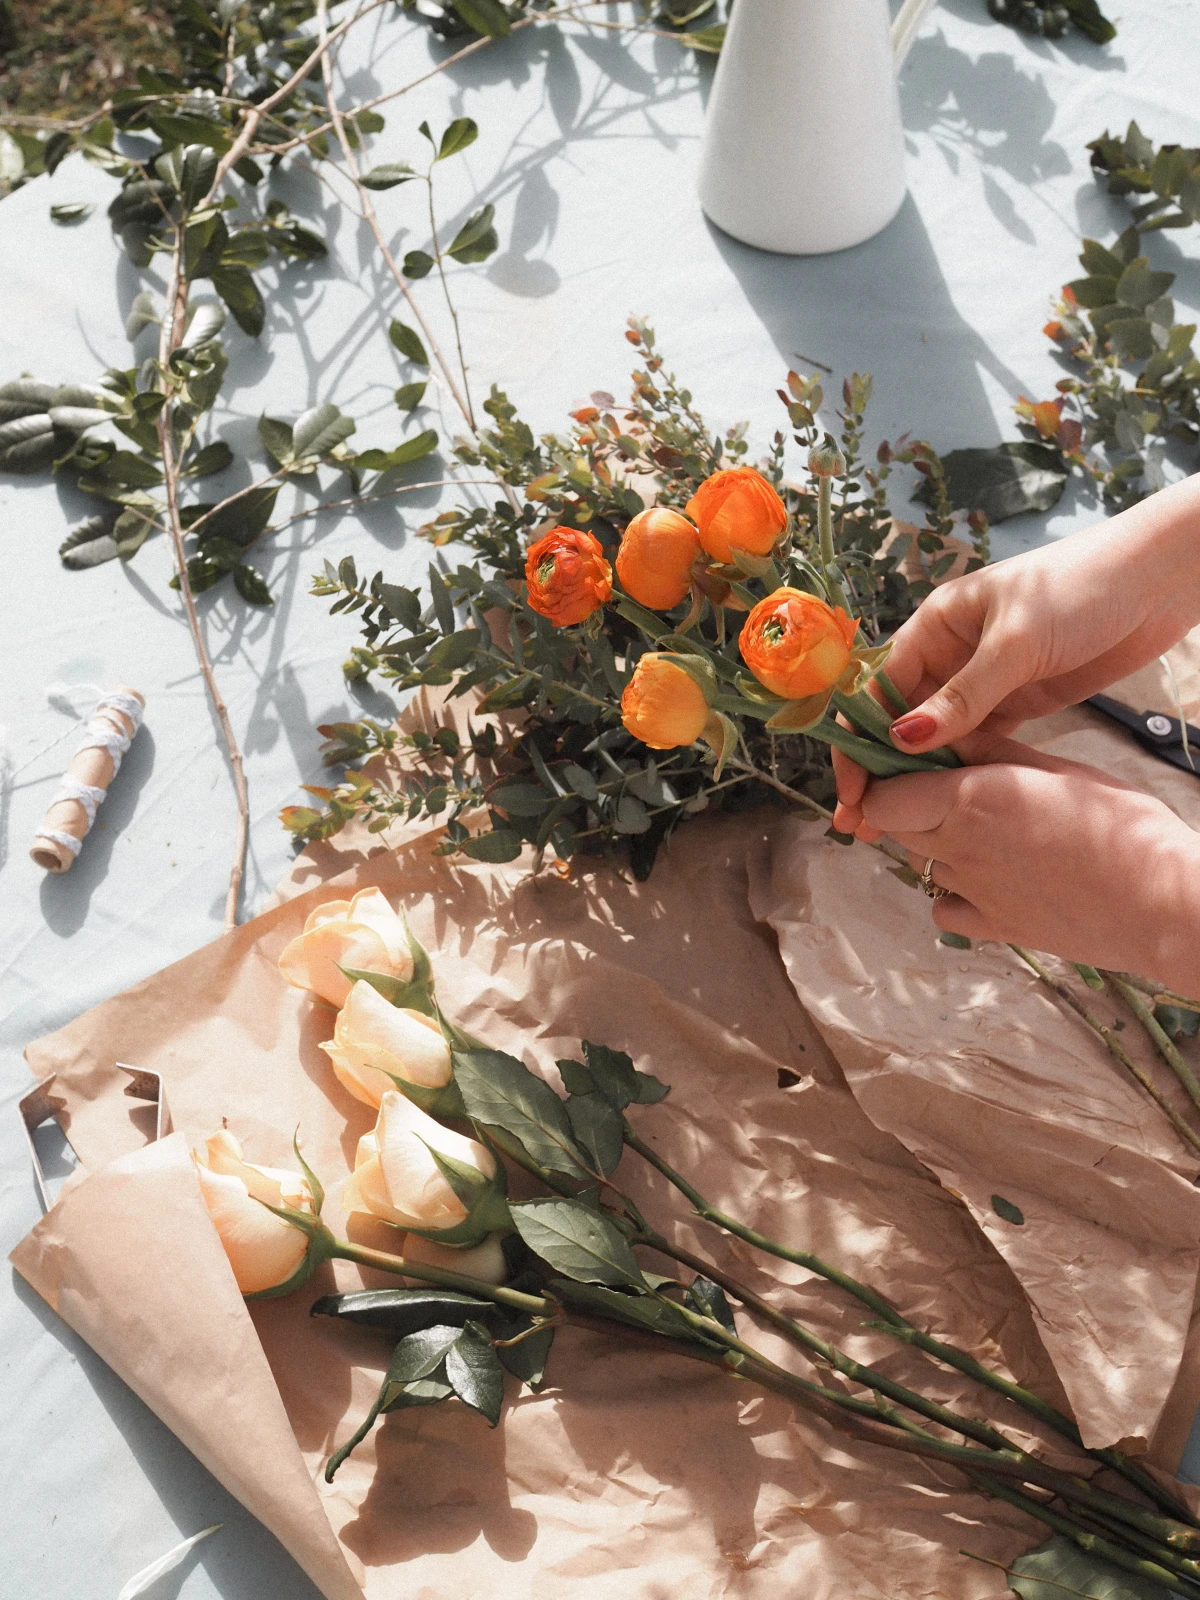
So, what does this look like in your grocery cart? It’s easier than you think. For a classic arrangement that costs around $25, try this recipe: grab 1 bunch of eucalyptus for your greenery, 5-7 roses or other large blooms for your focal flowers, and 1 bunch of alstroemeria or carnations as your secondary/filler. Done! You have everything you need for a gorgeous, balanced design.
Troubleshooting Common Flower Dramas
Even after years, flowers can still surprise you. Here are a few common meltdowns and how to handle them.
The Problem: My hydrangeas are totally wilted!
Don’t panic. This is the most common flower emergency because their big heads need so much water. If a fresh cut isn’t working, try this miracle cure: submerge the entire flower head in a sink of cool water for about 20-30 minutes. It sounds crazy, but it often brings them right back to life.
The Problem: My tulips are drooping and going wild!
Embrace it! Tulips are one of the few flowers that keep growing after being cut, and they also bend toward the light. Instead of fighting their graceful, dancing habit, work with it. If you absolutely need them to stand straight, you can wrap the bunch tightly in newspaper, give them a fresh cut, and stand them in a bit of water for a few hours. They’ll straighten right up.

The Problem: My arrangement looks… flat.
This usually means you haven’t varied your stem heights enough. Don’t be afraid to create depth. You need some flowers to be “in” and some to be “out.” Snip some stems short so they nestle right against the vase rim, and let others soar a few inches above the rest. That in-and-out placement is what gives an arrangement that professional, three-dimensional look.
Final Thoughts: Safety and Care
A couple of last, but important, points. Heads up for pet owners: many common flowers are toxic if ingested. Lilies are extremely dangerous for cats—even the pollen can cause kidney failure. Daffodils, foxglove, and many others can also be harmful. Always know what you’re bringing into a home with pets or small kids.
To make your hard work last, change the water completely every two days. While you’re at it, give the stems another quick snip. Pull out any individual blooms as they start to fade, because they release that pesky ethylene gas that will speed up the decline of their neighbors.
And remember, while anyone can learn to make a beautiful arrangement for their dining table, there are times to call a professional. For huge events like weddings, a florist manages logistics, sourcing, and large-scale design under immense pressure. The cost reflects not just the flowers, but the expertise and peace of mind that comes with hiring a pro.
The joy of working with flowers is that you’re always learning. Every bunch is different. This method is a reliable framework that handles the technical stuff, freeing you up to just play and create. Now go find some flowers and have fun.
Inspiration:
Struggling to control stems in a wide-mouthed vase? The floral industry’s best-kept secret is a simple taping grid. It creates a structural foundation, allowing you to place each stem exactly where you want it, preventing that dreaded sideways flop.
- Use clear, waterproof floral tape, like the one from Oasis, for an invisible finish.
- Create a grid pattern across the vase opening, leaving space between the strips.
- Place your sturdiest stems and greenery first to build the shape, then fill in with your more delicate feature flowers.
The iconic flower paintings of the Dutch Golden Age often depicted bouquets that were botanically impossible, combining flowers that bloomed in different seasons.
This artistic license offers a powerful lesson. To capture that dramatic, painterly feel with your grocery store finds, embrace imperfection. Let a tulip droop gracefully over the lip of the vase. Allow a sprig of eucalyptus to shoot out unexpectedly. The goal isn’t perfect symmetry, but a sense of life, movement, and untamed abundance, as if your bouquet was captured in a single, perfect moment.
The Tall Cylinder Vase: Perfect for showing off the long, elegant lines of flowers like delphiniums, snapdragons, or gladioli. It encourages a vertical, dramatic arrangement that draws the eye upward.
The Low Bowl Vase: Ideal for lush, mounded designs. This shape supports top-heavy blooms like hydrangeas or garden roses and works beautifully with a taping grid to create a full, rounded composition.
The vase isn’t just a container; it’s the foundation of your design’s silhouette.
Want an arrangement that looks effortlessly chic?
Think in threes. A professional trick is to group flowers of the same type or color in clusters of three or five. Instead of dotting single carnations evenly throughout the bouquet, bunch three together. This technique creates pockets of visual impact, making the arrangement look more lush and intentional than a random mix. It guides the eye through the bouquet instead of leaving it to wander.


