My Pro Cleaning System: How to Clean Less and Have a Tidier Home
Alright, let’s talk about cleaning. After spending what feels like a lifetime in the professional cleaning world, I’ve seen it all. From homes that look like magazine covers to places that have just survived a full-blown renovation war zone. And the first thing I always say is, let go of the idea of a perfectly spotless home. It’s not realistic.
In this article
A home is meant to be lived in, and life is messy. That’s a given. The real goal isn’t to be in a constant state of frantic scrubbing. It’s about setting up simple, smart systems that keep things consistently clean without sucking up all your free time. It’s about working smarter, not harder.
Early on, I used to hand my crews rigid checklists, but I quickly realized that was the wrong approach. The best results came when they understood the why behind what they were doing. Knowing how dust actually travels, how different cleaners work, and the most efficient way to move through a room—that’s what makes a clean last. This is the stuff I want to share with you. No magic wands, just a practical, systematic approach that really works.
First Things First: Gravity Is Your Friend
This is the golden rule, the one thing that will save you the most time and frustration. Always, always, always clean from top to bottom. Dust, crumbs, pet hair… it all falls down. If you vacuum your floors and then go to dust your bookshelves or wipe down the ceiling fan, you’ve just dusted all over your clean floor. You’ve literally created more work for yourself.
Just think of every room as having three levels:
- The High Zone: Think ceiling corners, tops of cabinets, light fixtures, and picture frames.
- The Mid Zone: This is everything at eye-level and waist-level, like your tables, countertops, chairs, and windows.
- The Low Zone: Basically, baseboards and the floor.
Start high and work your way down. It’s that simple, but doing it every single time is a total game-changer.
A Quick Chemistry Lesson (The Only One You’ll Need)
The cleaning aisle is designed to be confusing, but honestly, you don’t need a dozen different bottles. Most grime is either mineral-based or organic-based, and knowing which cleaner to use is key.
For mineral buildup—like the chalky white stuff on your shower door (hard water stains), soap scum, or rust—you need an acidic cleaner. Your best friend here is plain old white vinegar or any cleaner with citric acid. They work by dissolving these mineral deposits.
For greasy, oily, or food-based messes—like kitchen splatters and general grime—you need an alkaline cleaner. These are fantastic at breaking down fats and proteins. Think all-purpose cleaners, dish soap, or even baking soda.
I once watched a new trainee scrub a glass shower door for a solid 20 minutes with a standard all-purpose cleaner and get absolutely nowhere. I handed them a spray bottle with a 50/50 mix of vinegar and water, told them to let it sit for five minutes, and the buildup wiped off with zero effort. That’s what using the right tool for the job does.
Heads up! Never, ever use acidic cleaners like vinegar on natural stone surfaces like marble, granite, or travertine. The acid will literally eat away at the stone, causing permanent dull spots called etching. For those, you have to use a special pH-neutral stone cleaner.

Building Your Essential Toolkit
You don’t need a ton of gear, but investing in a few quality items will make your life so much easier. Cheap tools just don’t perform well and you’ll end up replacing them anyway. Here’s what I consider the non-negotiable starter kit.
1. A Good Vacuum with a HEPA Filter
Your vacuum is your number one tool. A good one doesn’t just clean floors; it cleans the air. Look for a model that specifically mentions a “sealed system” and has a HEPA filter. This is critical. A cheap vacuum without a sealed system just spits the fine dust particles back into the air through its own cracks. A HEPA filter captures 99.97% of tiny particles like dust mites, pollen, and dander.
So, what does a “good” one cost? You can get a fantastic canister or upright vacuum for around $150 to $400. Brands like Shark often have great budget-friendly models with sealed systems. If you want to invest like a pro, something like a Miele canister vacuum is a workhorse that can last for ages, but it’ll be on the higher end of that range. Whatever you get, check the filter and empty the canister or bag often—it won’t work well when it’s full!
2. Microfiber Cloths (Lots of Them)
Seriously, ditch the paper towels and old cotton rags. Pros live by microfiber because it works. The tiny fibers are split, creating a static charge that attracts and traps dust instead of just pushing it around. A big pack of color-coded cloths from Amazon or Costco for about $15 to $30 is perfect for home use. If you want to get what the pros use, check out a site like The Rag Company online.
We use a color-coded system to avoid cross-contamination, and you should too. It’s simple:
- Blue for Glass: Mirrors, windows, and general dusting.
- Green for Kitchen: Countertops and appliances.
- Yellow/Red for Bathrooms: Sinks, showers, and toilets (never mix these!).
A quick tip on washing them: wash microfiber only with other microfiber. And whatever you do, DO NOT use fabric softener. It will clog the fibers and ruin their dust-grabbing magic. Just let them air dry.
3. A Few Go-To Sprays
Forget the crowded cabinet. You can make the most effective cleaners yourself.
- All-Purpose Cleaner: For a standard 16oz spray bottle, just add about 1/4 teaspoon of a good dish soap (like Dawn) and fill the rest with warm water. It’s gentle and perfect for most surfaces.
- Acidic Cleaner: A 50/50 mix of white vinegar and water in a spray bottle. This is your secret weapon for soap scum, hard water spots on chrome, and streak-free windows. The smell fades quickly, I promise.
- Degreaser: For tough kitchen grease, an alkaline cleaner is a must. A simple paste of baking soda and water is great for scrubbing, or you can use your all-purpose spray for daily wipedowns.
Putting It All Together: The Daily & Weekly System
Consistency beats intensity every time. A little bit every day prevents you from facing a mountain of mess on the weekend.
The 15-Minute Daily Tidy
This isn’t deep cleaning; it’s just hitting the reset button. Try to do these things every day:
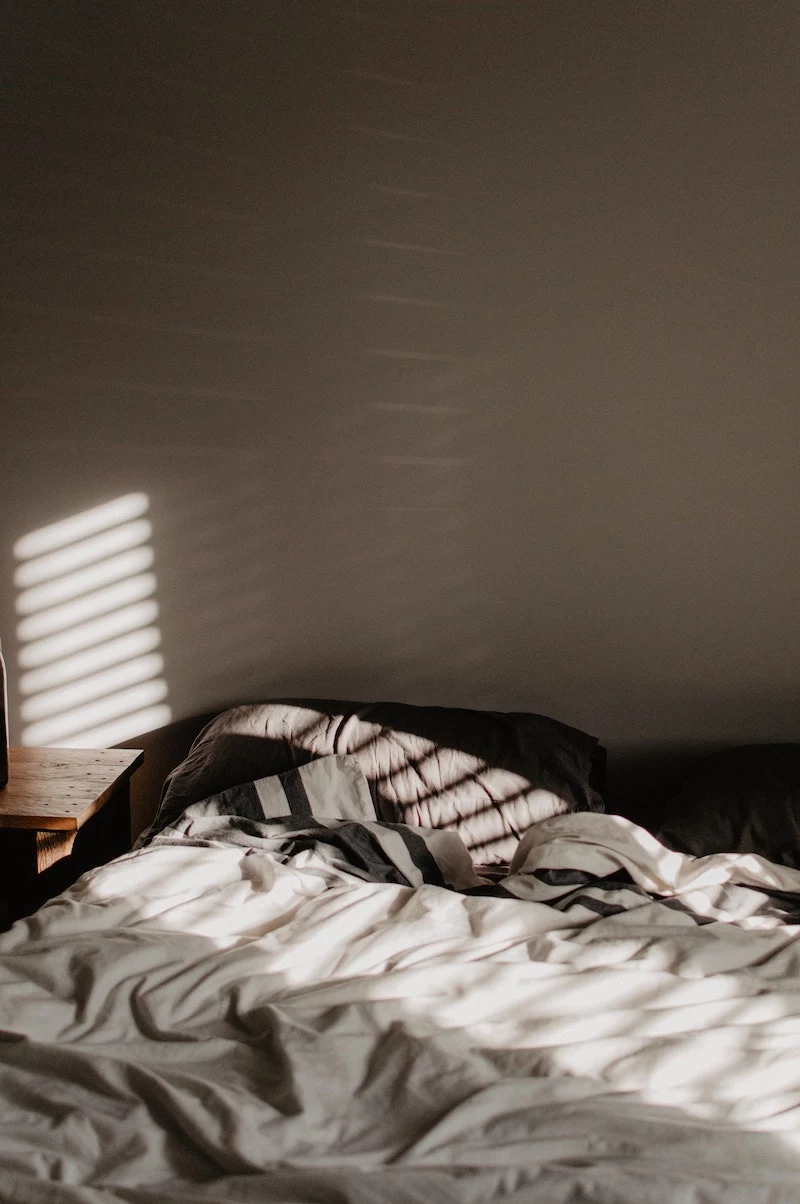
- Make your bed. It takes two minutes and makes the whole room feel more put-together.
- Clear the kitchen sink. An empty sink is a beautiful thing. Load the dishwasher or wash up right after you eat.
- Wipe down counters. A quick wipe of kitchen and bathroom counters keeps small spills from becoming sticky messes.
- Squeegee the shower. It takes 30 seconds after you shower and makes a HUGE difference in preventing soap scum buildup.
The Weekly Reset Clean
Set aside an hour or two once a week. Put on some music, grab your supplies, and get to it. We train our pros to “task batch,” which is way faster than cleaning room by room. It means you do one task (like dusting) throughout the entire house before moving on to the next task (like vacuuming). This keeps you focused and in a rhythm.
- Prep: Do a quick 5-minute clutter pickup throughout the house. Grab all the trash and recycling.
- Dusting & Wiping (Top to Bottom!): Start in the room furthest from your front door and work your way out. Dust everything high, then wipe down all the mid-level surfaces with a damp microfiber cloth.
- Kitchen & Bathrooms: Now for the wet work. Spray the toilets, tubs, and showers and let the cleaner sit for 5-10 minutes to do its job (this is called “dwell time”). While it sits, clean the mirrors and counters. Then go back and scrub the heavy-duty stuff.
- Floors (The Grand Finale): Now that all the dust has settled, it’s time to vacuum everywhere. Use your attachments for edges and corners. Then, mop your hard floors, starting in the far corner and working your way out of the room.
Solving Annoying Problems (The Pro Tricks)
- Streaky Stainless Steel: The trick is to wipe with the grain of the metal, not against it. Use a tiny bit of dedicated stainless steel cleaner or a lightly damp microfiber cloth, then immediately buff it dry with a separate, clean microfiber cloth.
- Stubborn Pet Hair: Oh yeah, the endless battle. I had a client once whose couch looked clean, but I took a damp rubber glove and wiped my hand across the cushion… and pulled up a horrifying amount of hidden fur. A rubber glove or a window squeegee works wonders on upholstery for pulling hair into a neat little pile.
- Mildew in Humid Areas: Prevention is everything. Run your bathroom fan for a good 20-30 minutes after every shower to get the moisture out. Good airflow is your enemy’s enemy.

A Serious Word on Safety
This is the most important takeaway. Never, ever, EVER mix different cleaning chemicals.
Specifically, mixing bleach with an ammonia-based cleaner (like many window cleaners) creates toxic chloramine gas. Mixing bleach with an acidic cleaner (like some toilet bowl cleaners) creates chlorine gas. This isn’t a joke; it can cause serious, permanent respiratory damage. If you need to use two different products on a surface, use one, rinse it thoroughly with water, and then use the other. And please, open a window or turn on a fan, especially in a small bathroom.
And by the way, it’s not a sign of failure to call for backup. If you’re dealing with a huge mess, a post-renovation disaster, or just feel completely overwhelmed, hiring a professional cleaning service for a deep clean can be an amazing investment in your own sanity. Sometimes, you just need a fresh start.
Inspirational Gallery
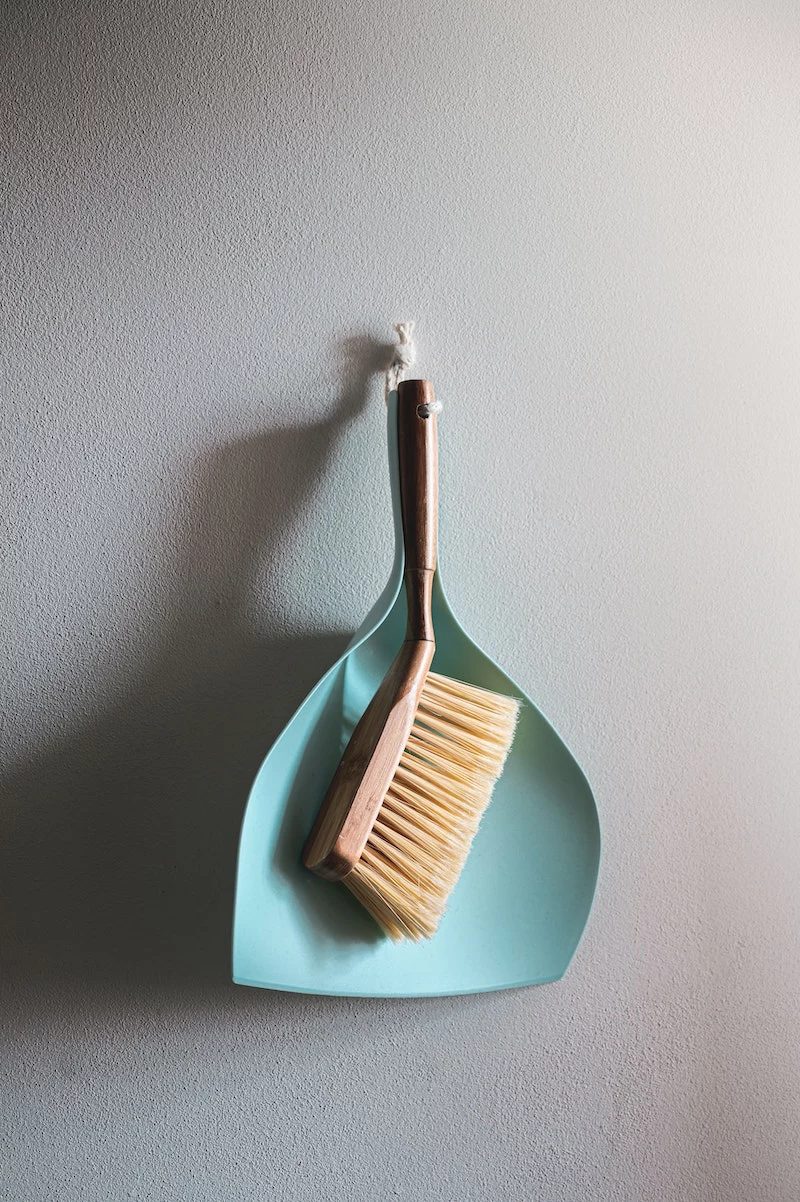
The Entryway Rule: The best way to have a cleaner home is to stop dirt at the door. Create a designated “landing strip” inside your main entrance. This means a durable doormat outside, an absorbent rug inside, and a shoe tray. Making it a household habit to remove shoes here can cut down on 80% of the dirt tracked into your home.
More than just unsightly, household dust can contain skin cells, fabric fibers, pollen, and microscopic dust mites. Regular removal isn’t just for aesthetics; it’s a key part of maintaining healthy indoor air quality.
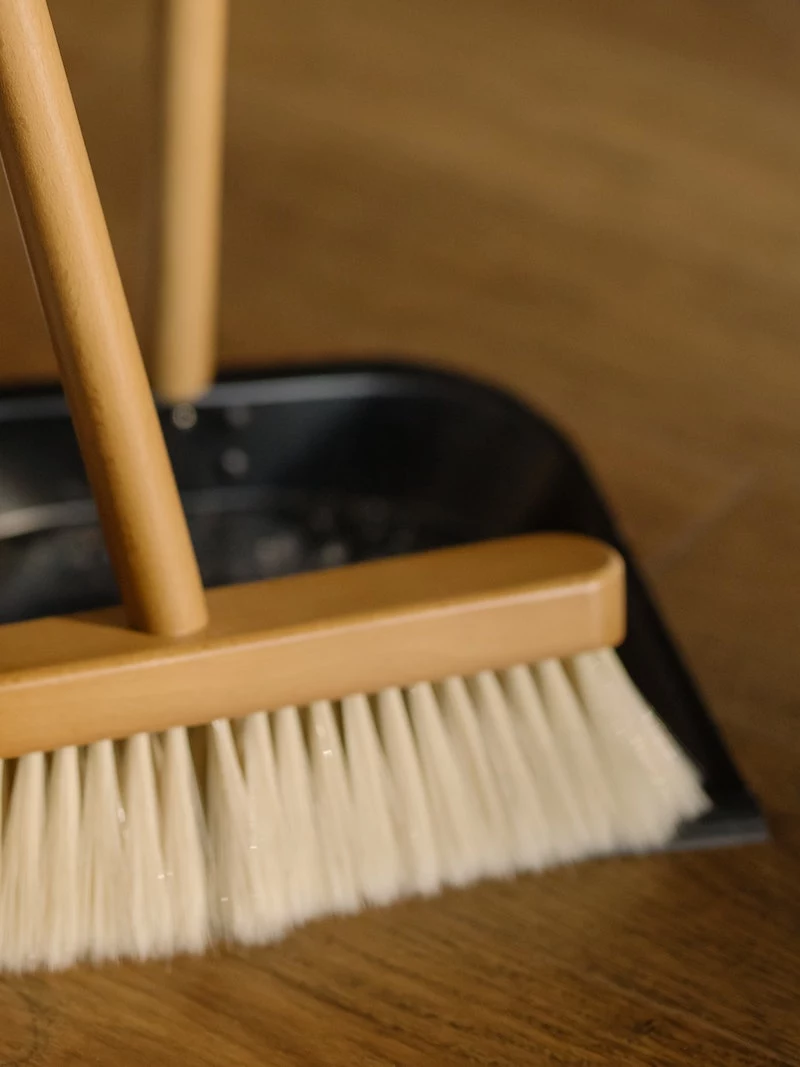
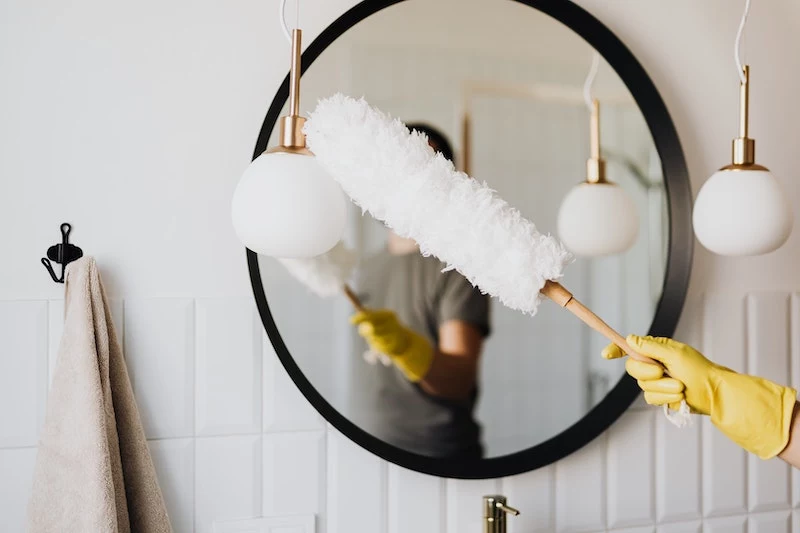
What’s the one tool professionals swear by for dusting?
A high-quality microfiber cloth. Forget feather dusters that just fling particles into the air. A good microfiber cloth, like those from E-Cloth or Norwex, uses a static charge to attract and trap dust. Lightly dampen it for extra grip on stubborn surfaces like baseboards and window sills. It’s the simple secret to a dust-free finish that lasts.
Embrace the power of the 10-minute nightly reset. Before winding down, set a timer and tackle these quick tasks to prevent small messes from piling up:
- Wipe down kitchen counters and the sink.
- Put away stray items (remotes, magazines, shoes).
- Fluff sofa cushions and fold throws.
- Load the last few dishes into the dishwasher.
It’s not about deep cleaning, but maintaining order so you wake up to a calmer, tidier space.
The scent of clean shouldn’t be chemical. For a fresh, natural aroma after you’ve finished, simmer a small pot of water on the stove with a few slices of lemon, a sprig of rosemary, and a dash of vanilla extract. It neutralizes odors and fills your home with a subtle, welcoming fragrance without the harshness of synthetic air fresheners.
- They absorb more liquid and grime.
- They leave a streak-free shine on glass and metal.
- They can be washed and reused hundreds of time.
The secret to making your microfiber cloths last? Wash them in a separate load with a gentle detergent and absolutely no fabric softener, which clogs the fibers and ruins their static-trapping ability. Air drying is best.
“The most common mistake I see is using too much cleaning product. A little goes a long way. Excess solution doesn’t make things cleaner; it leaves a sticky residue that actually attracts more dust and dirt.” – A Professional Cleaner’s Proverb
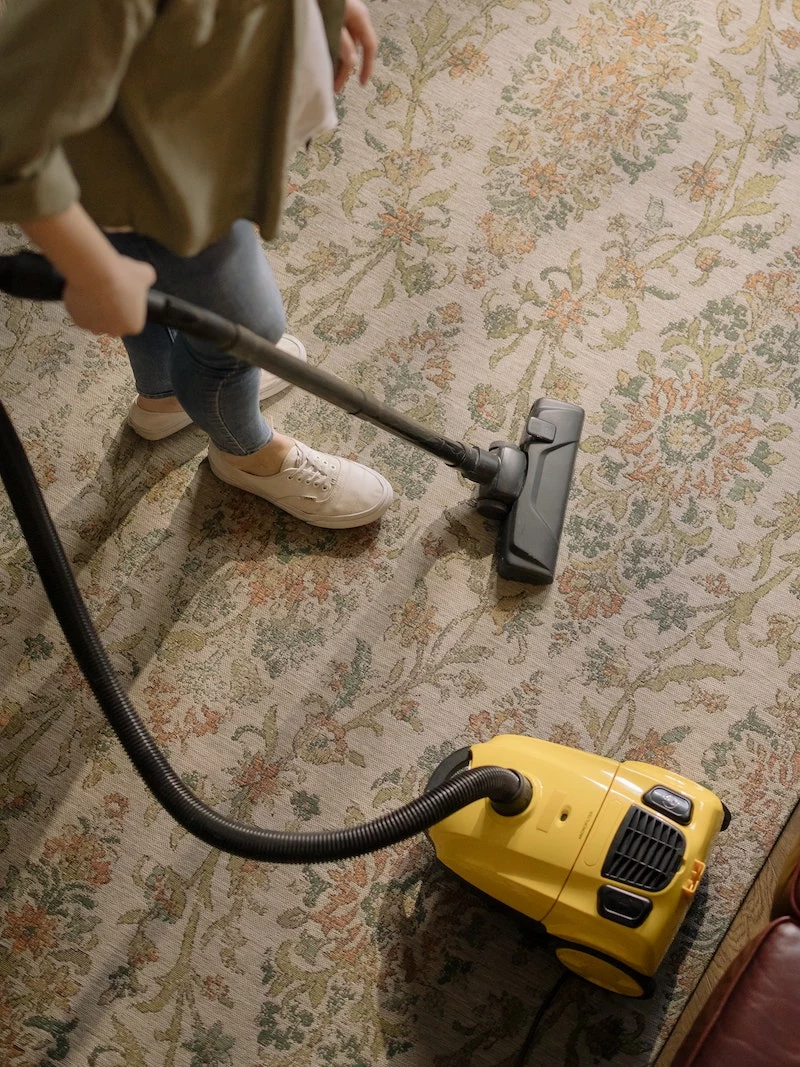
For daily upkeep: A lightweight cordless stick vacuum, like a Dyson V8 or a Shark Wandvac, is your best friend. It’s perfect for quickly tackling crumbs in the kitchen, pet hair on the sofa, and dust bunnies in high-traffic areas without the hassle of a cord.
For deep cleaning: A classic canister or upright vacuum, such as a Miele Complete C3 or a Sebo, still reigns supreme for power, offering deeper carpet cleaning and robust attachments for a thorough top-to-bottom session.
Many clean homes use both: the stick for the daily sprint, the canister for the weekly marathon.
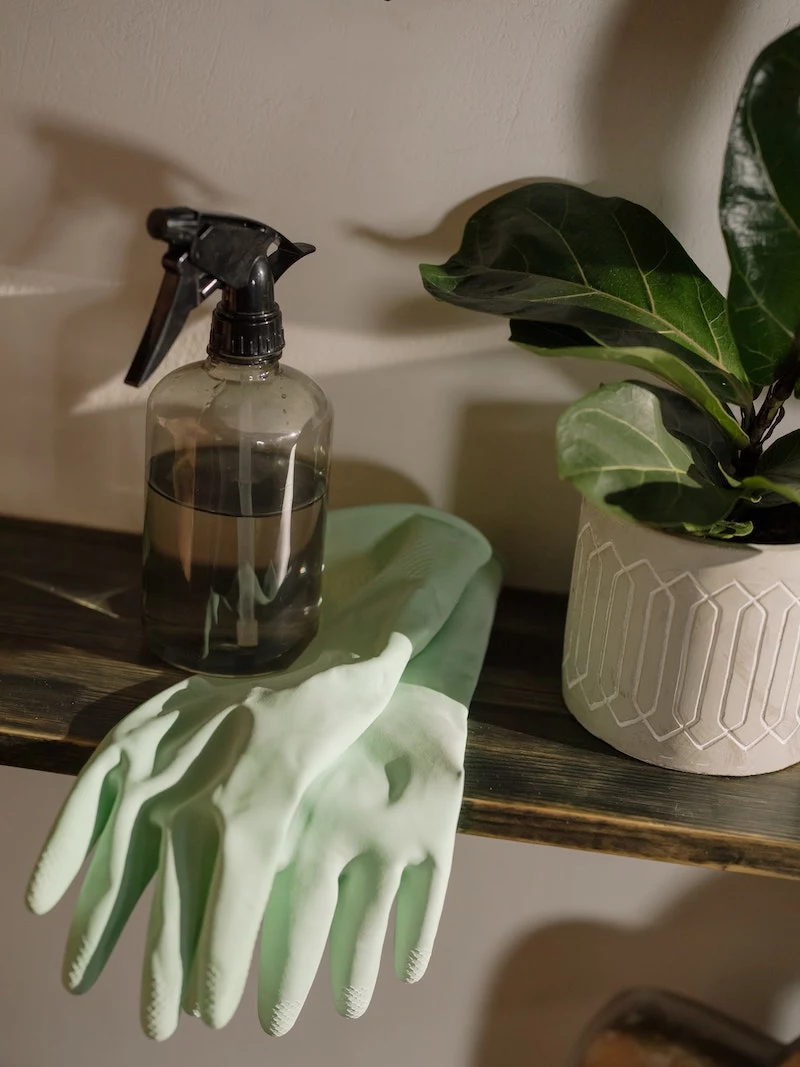
Inspired by the article’s chemistry lesson, you can create your own powerful, all-purpose cleaner. In a spray bottle, mix one part white vinegar with one part water. For a better scent and extra antibacterial properties, add 10-15 drops of an essential oil like lemon, lavender, or tea tree. It’s perfect for countertops, sinks (except natural stone like marble), and even glass. A simple, effective, and budget-friendly solution.
Have you heard of enzymatic cleaners? Unlike traditional soaps that just lift dirt, these cleaners (like those from brands such as Puracy or Biokleen) use natural enzymes to literally break down and digest organic stains like pet accidents, food spills, or sweat. They are exceptionally effective on carpets and upholstery, eliminating both the stain and the odor at its source.


