More Than Just Sweet: Your Practical Guide to Using Honey Like a Pro
My first real lesson about honey didn’t come from a book or a health blog. It came from my grandfather, who kept a few beehives tucked away behind his garden. He had this quiet, deep respect for his bees and taught me that honey wasn’t just some generic sweetener. It was, as he put it, captured sunlight and flowers, a living food made by a tireless colony.
In this article
He’d let me taste the difference between the light, floral honey from early summer and the dark, almost molasses-like stuff from the late fall goldenrod. That feeling—the smell of a healthy hive, the warmth of the sun, and the taste of real, unprocessed honey—stuck with me. It’s the foundation for how I see honey today, not as a miracle cure, but as a powerful, practical ingredient for the kitchen and home.
Over the years, I’ve picked up tips from culinary pros on how honey can balance a sauce and from wellness experts who pair it with specific herbs. This guide is a collection of that practical know-how. It’s about really understanding what’s in the jar so you can choose the right kind and use it in a way that truly works.
The Science Inside the Jar
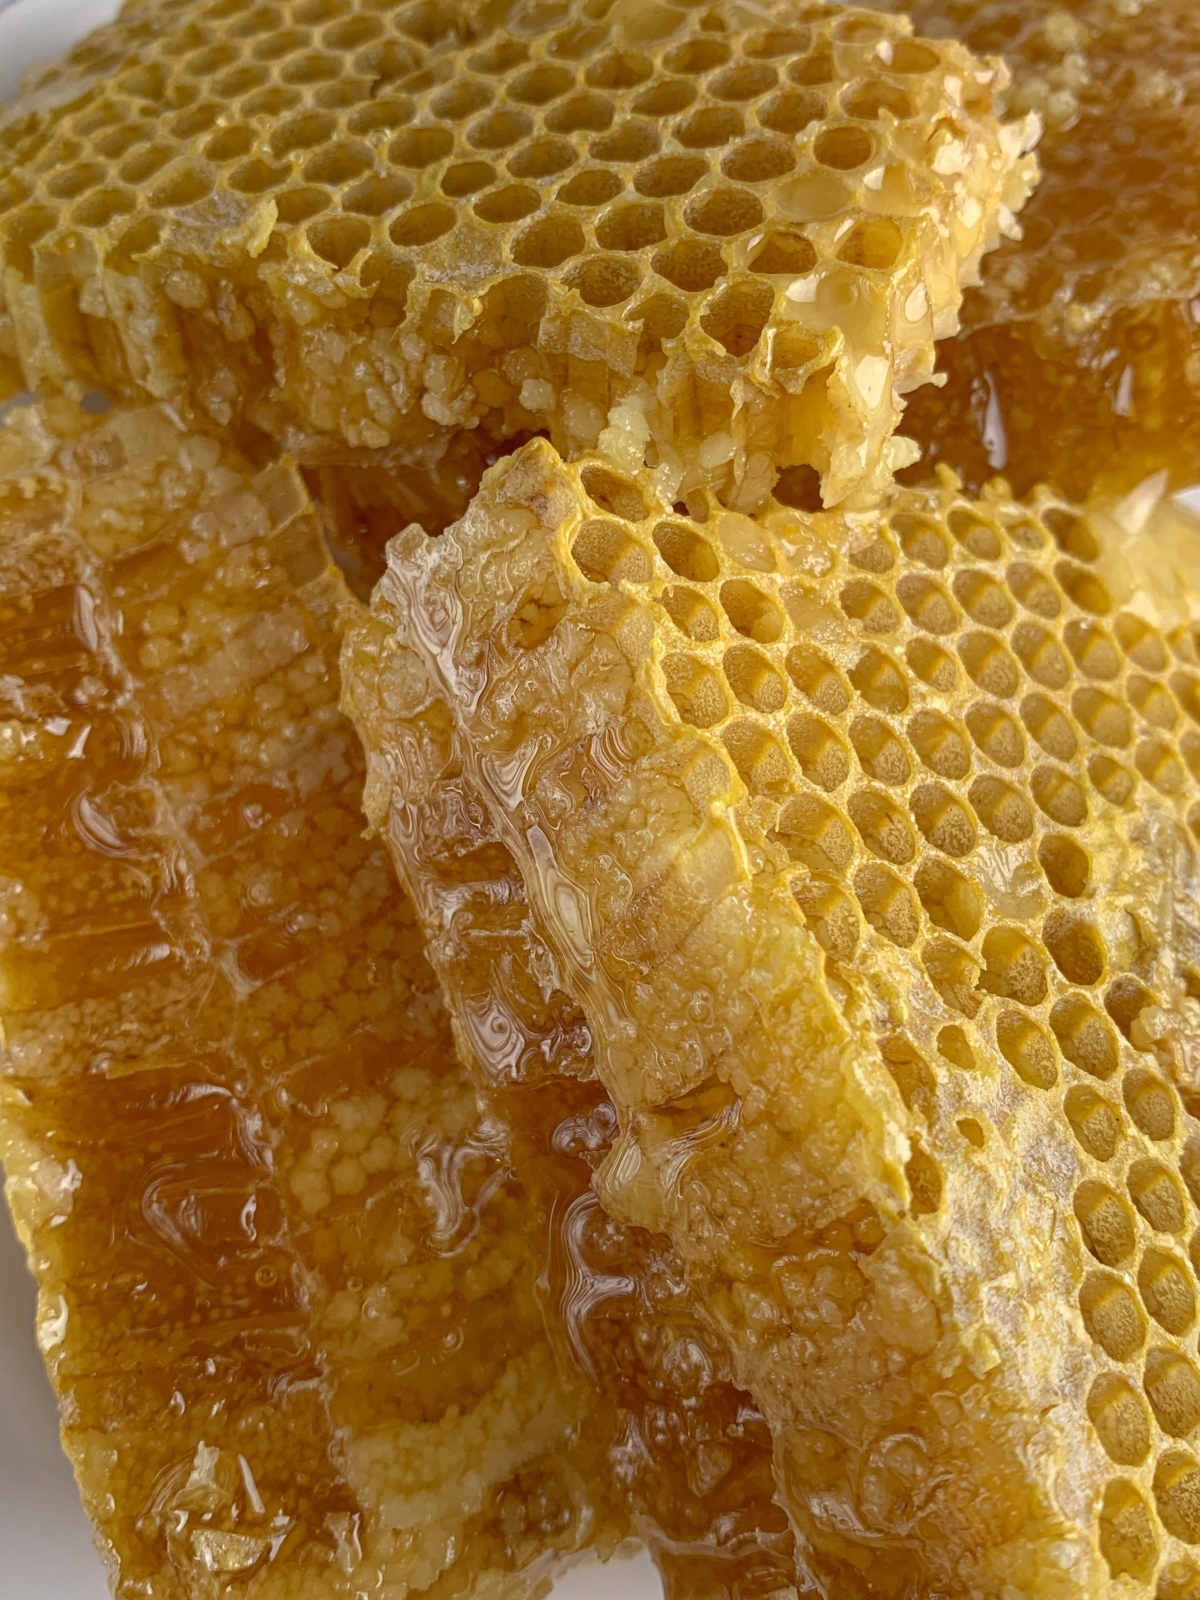
So, what’s actually going on in there? It’s way more than just sugar water. Honey is a complex substance created through an amazing natural process. It all starts with bees collecting nectar, which is mostly sucrose and water. Inside the bee’s special honey stomach, an enzyme gets to work, breaking that sucrose down into simpler sugars: glucose and fructose.
Back at the hive, they pass this nectar between them, reducing the water content and adding more enzymes with each pass. Finally, they deposit it into the honeycomb and fan it with their wings until the water content drops to around 17-18%. This super-low water content is the secret to its incredible shelf life. Once it’s ‘ripe,’ they cap the cell with beeswax, and that’s the signal to the beekeeper that it’s ready.
The real magic of honey comes from a few key properties:
- Low Water Content: This is why honey doesn’t spoil. There’s so little free water that bacteria and yeast just can’t get a foothold. They’re essentially dehydrated before they can cause any trouble.
- Natural Acidity: You might be surprised to learn that honey is quite acidic, with a pH somewhere between 3.2 and 4.5. This acidic environment is another barrier that keeps nasty microbes from growing.
- The Osmotic Effect: This sounds complicated, but it’s simple. Because honey is such a dense sugar solution, it literally pulls water out of its surroundings. When you put it on a minor scrape, it draws fluid out of the tissue, which helps clean the area and dehydrates bacteria. By the way, you can see this in action! Next time you use honey on a bandage, notice how much runnier it is when you change it. That’s the honey pulling moisture from the wound!
- Hydrogen Peroxide: Here’s the coolest part. Bees add an enzyme called glucose oxidase. When honey is diluted with a little bit of water (like on a moist wound), this enzyme activates and begins to produce very low, steady levels of hydrogen peroxide. It’s a gentle antiseptic that cleans effectively without damaging healthy tissue, unlike the harsh stuff from the brown bottle.
Choosing the Right Honey for the Job
Walking down the honey aisle can feel overwhelming. The squeezy plastic bear is a world away from the cloudy, solid stuff at the farmers’ market. Here’s what you need to know.
Raw vs. Processed
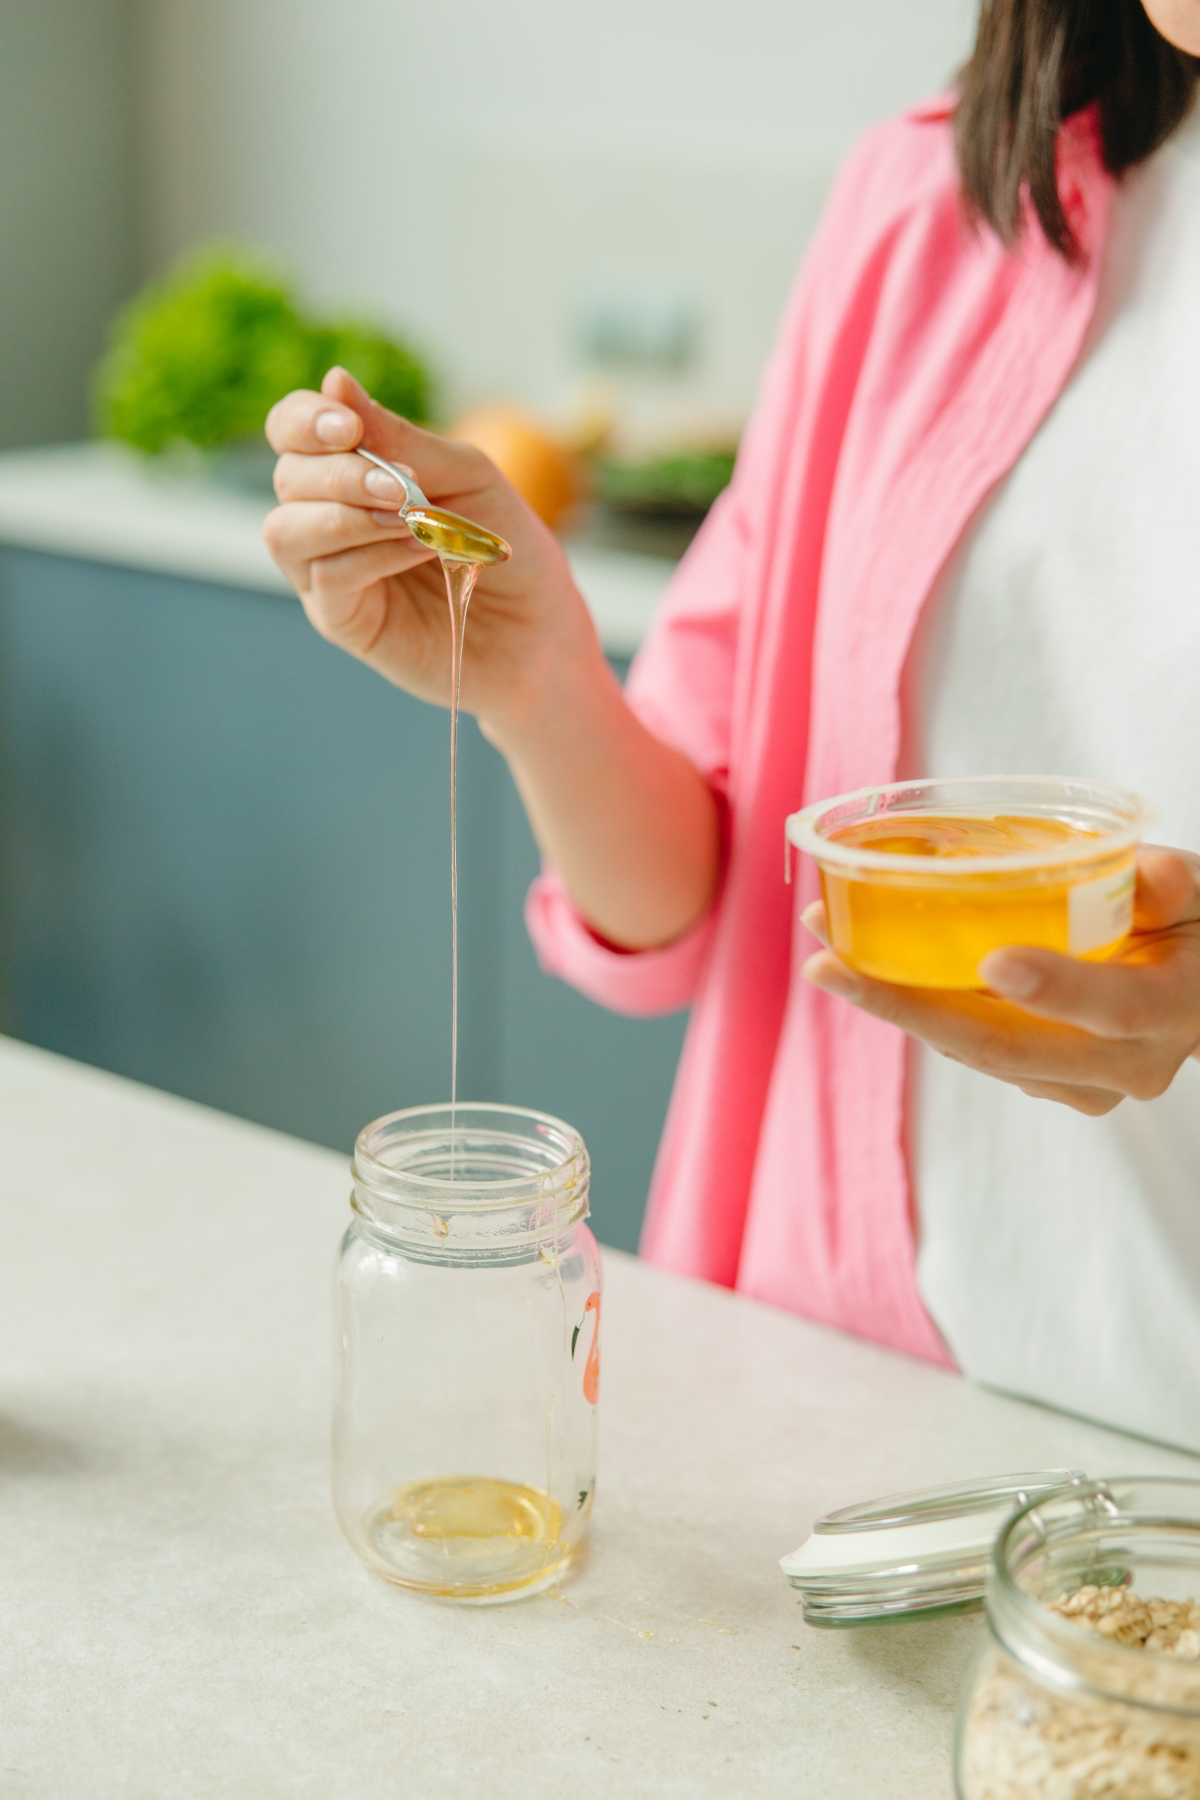
Most commercial honey is pasteurized (heated to high temps) and heavily filtered. This makes it look crystal clear and stops it from solidifying, which some people prefer. The downside? This process destroys the beneficial enzymes—like that all-important glucose oxidase—and can remove the pollen and other good stuff. Honestly, for anything beyond just sweetening, you lose what makes honey special.
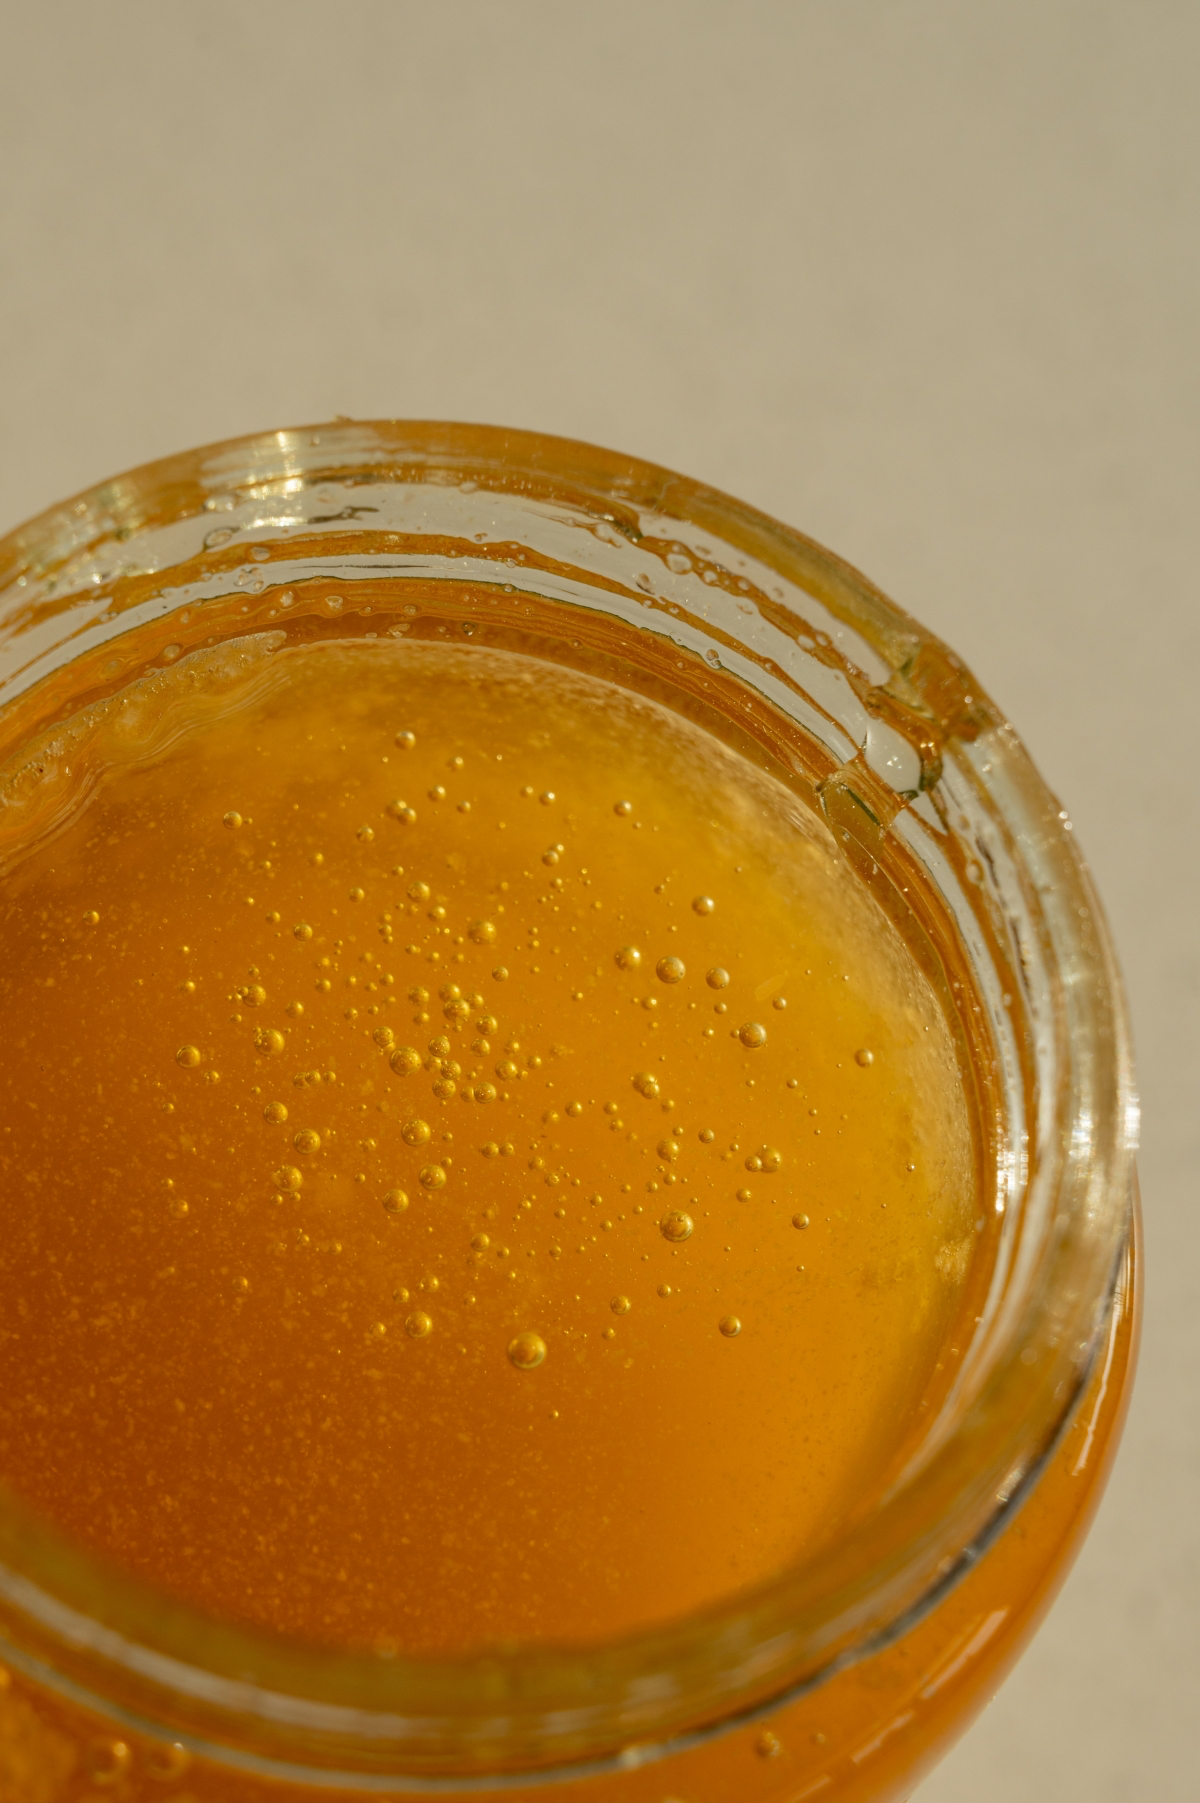
Raw honey, on the other hand, is the real deal. It’s usually just strained to get rid of big bits of wax but is never heated. It will be cloudy and will eventually crystallize. That’s a good thing! It’s a sign that your honey is alive and packed with all its natural goodness.
My Go-To Honey Lineup
I keep a few different honeys in my pantry, just like you’d keep different oils or vinegars. Each has its purpose.
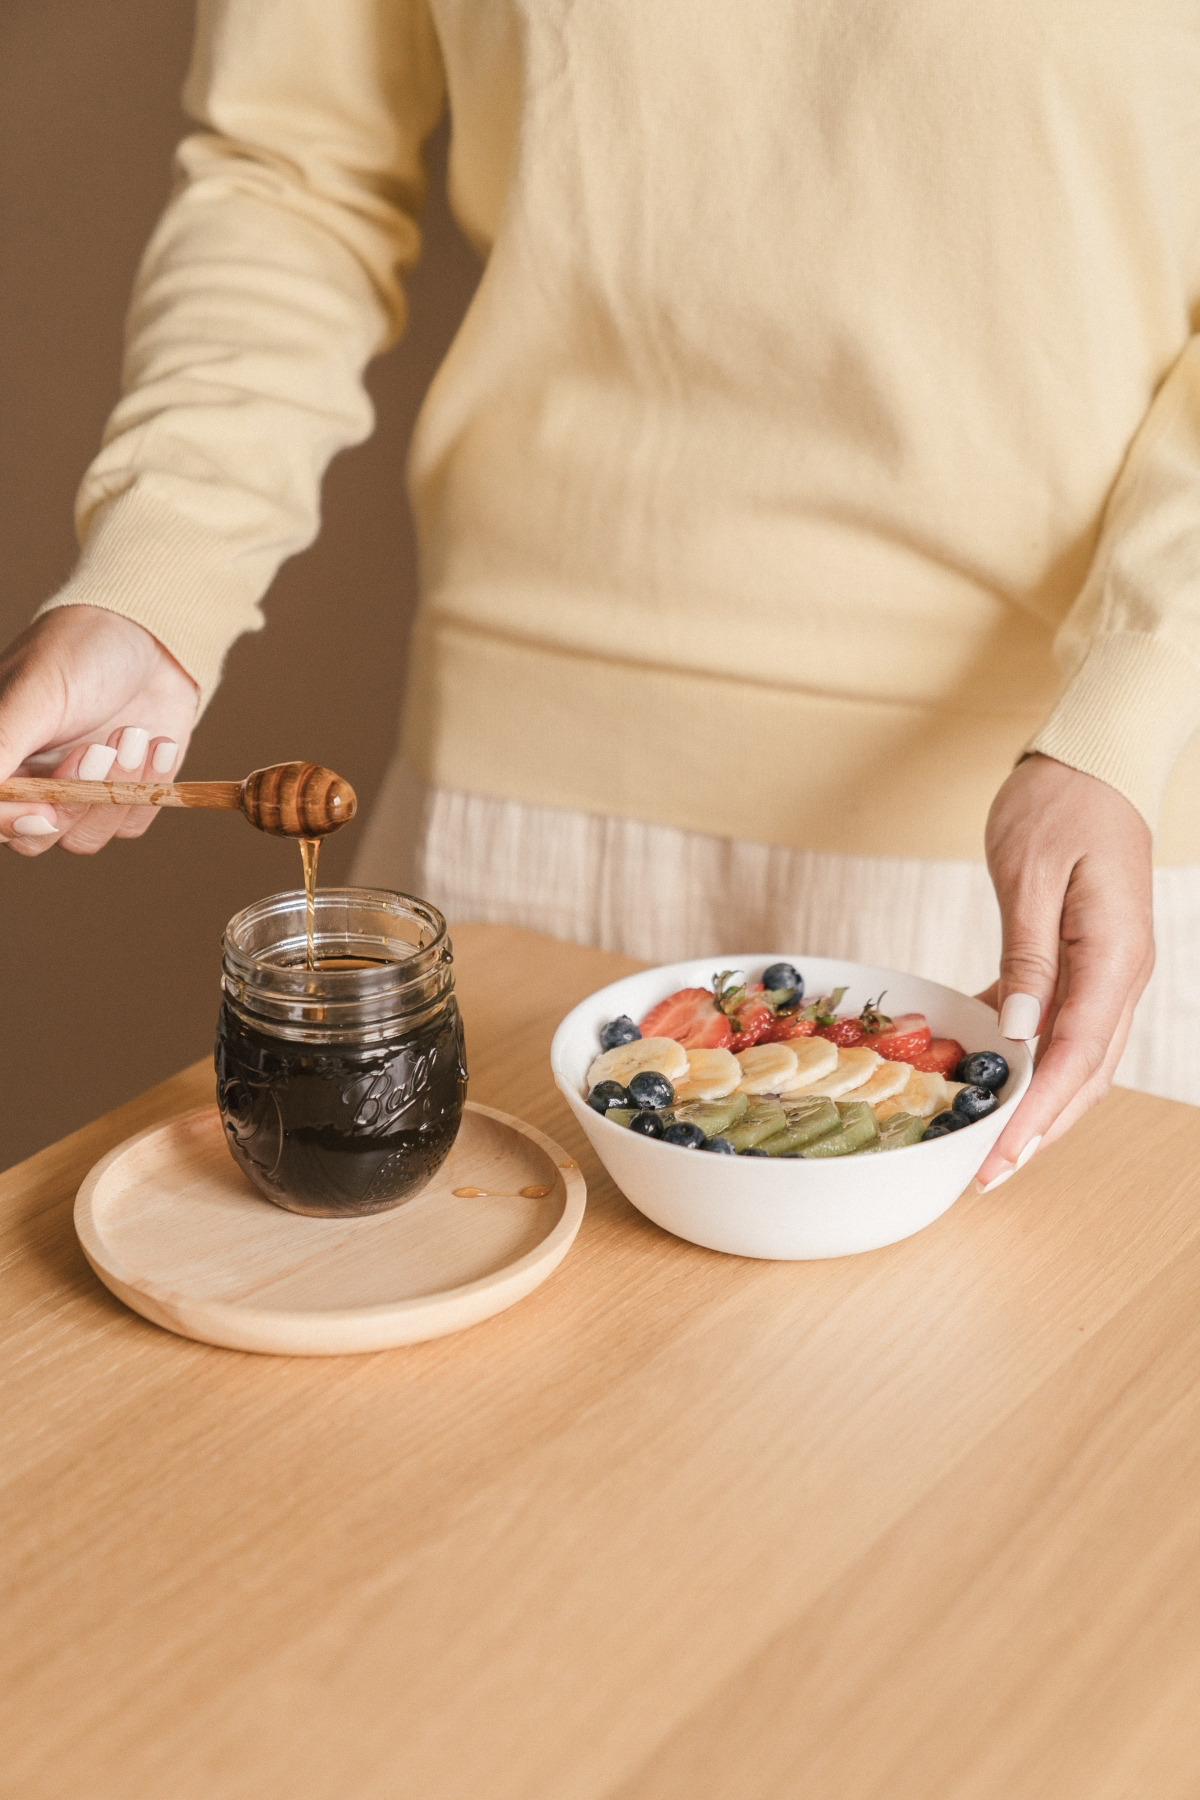
- Clover or Wildflower: These are your all-rounders. They’re light, mild, and great for sweetening tea or coffee without overpowering the flavor. A good 12oz jar of local, raw wildflower honey from a farmers’ market will usually set you back about $10 to $15.
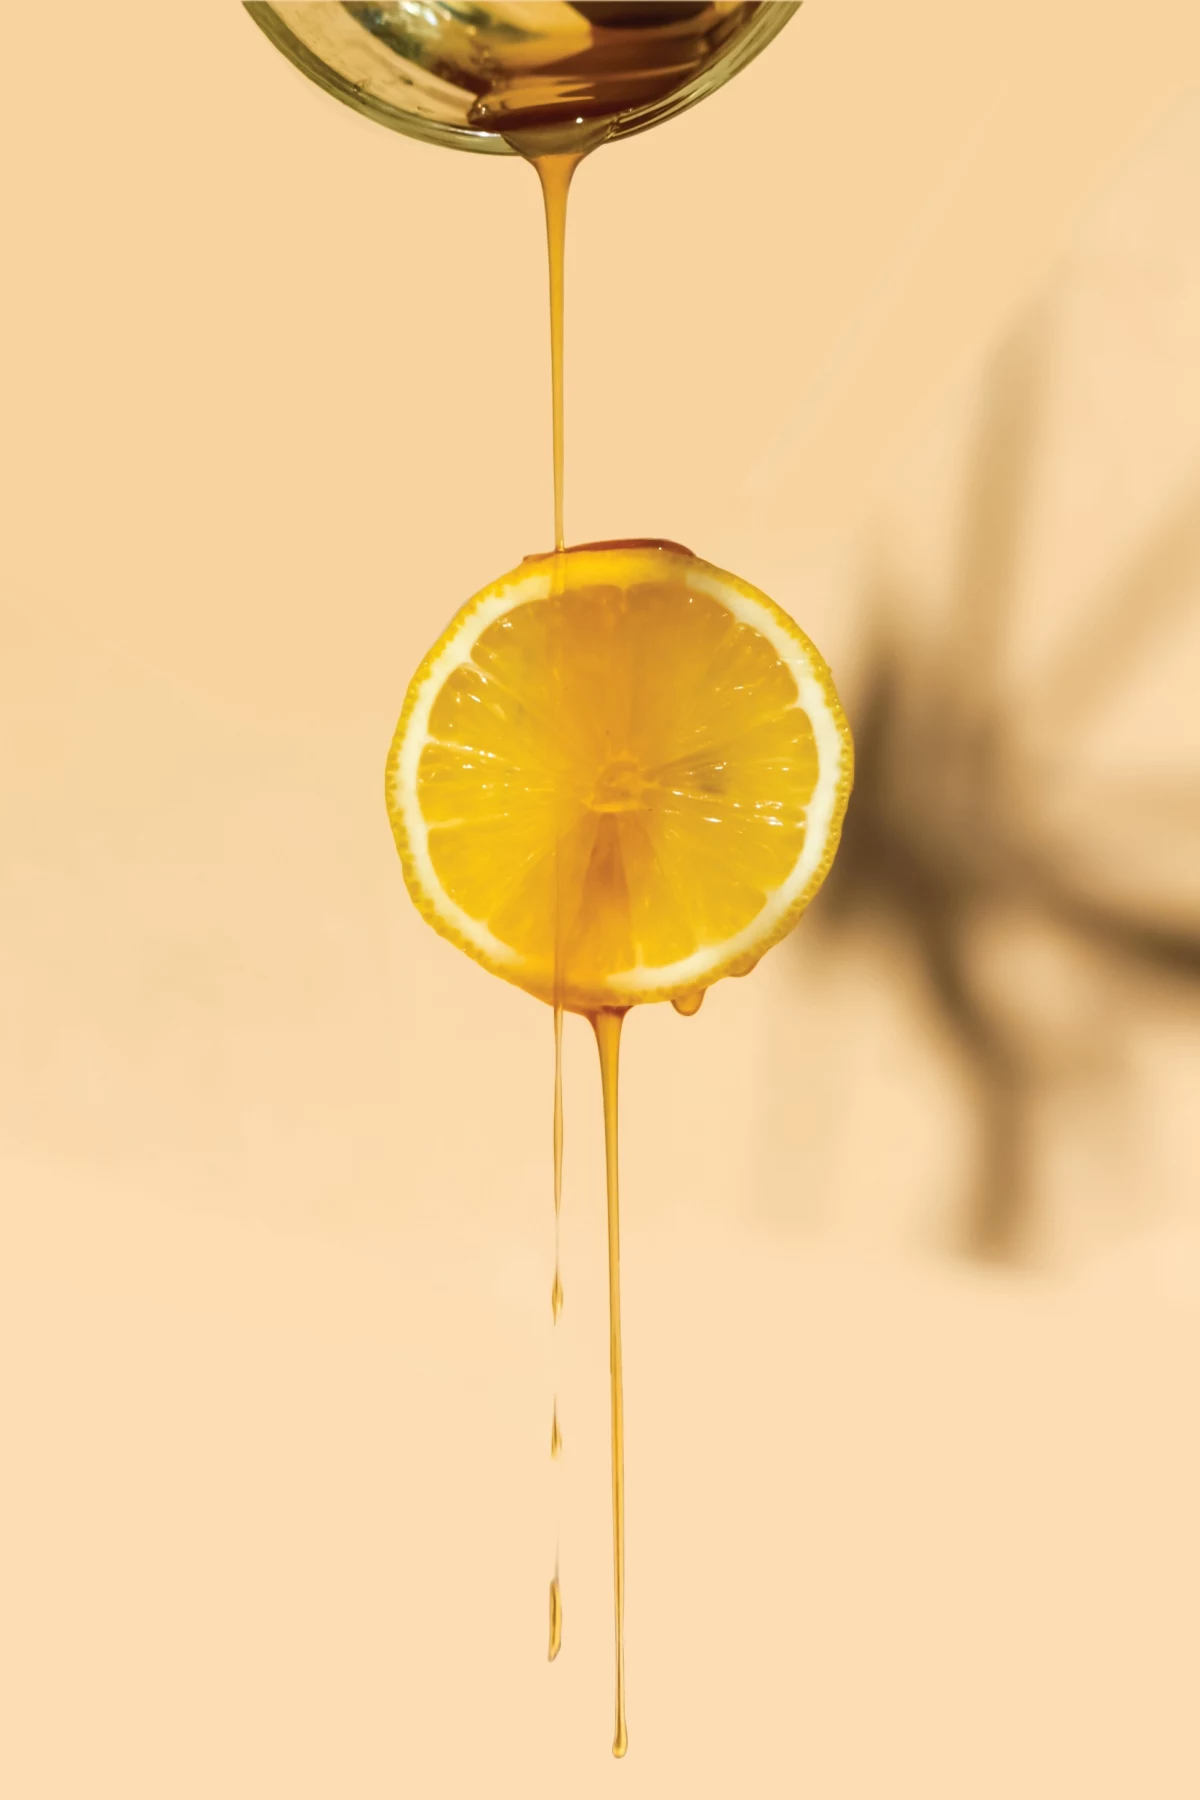
- Orange Blossom: Light with a beautiful citrusy scent. It’s fantastic in salad dressings or drizzled over yogurt and fruit.
- Buckwheat: This one’s a powerhouse. It’s nearly black, with a strong, malty flavor that’s not for everyone. But it’s incredibly high in antioxidants. This is my go-to for coughs and sore throats, where that robust character is a plus. It’s also amazing in marinades for red meat.
- Manuka: The medicinal specialist. Hailing from New Zealand and Australia, this honey comes from the Manuka bush. Its antibacterial properties are so potent they’re actually rated. Look for a UMF (Unique Manuka Factor) of 10+ or an MGO of 263+ for therapeutic-grade stuff. This is the only honey I use for first-aid, but heads up: it’s an investment. Expect to pay between $40 and $60 for a small 8oz jar.
Honey in the Kitchen: Tips from My Mistakes
When I first started baking with honey, I learned pretty quickly that you can’t just do a one-for-one swap with sugar. I ruined a batch of my grandmother’s cookies before I figured out the formula. The bottoms were burnt to a crisp while the centers were still doughy. Save yourself the trouble and follow these rules.
My Honey Baking Cheat Sheet:
- Use Less Honey: For every 1 cup of sugar in a recipe, substitute with about 2/3 to 3/4 cup of honey. It’s naturally sweeter.
- Reduce the Liquid: Honey is about 18% water, so for every cup of honey you add, reduce the other liquids (like milk or water) by about 1/4 cup.
- Lower the Oven Temp: Honey makes baked goods brown much faster. Drop your oven temperature by 25°F (around 15°C) to prevent burning.
- Add Baking Soda: To counteract honey’s natural acidity and ensure a good rise, add about 1/4 teaspoon of baking soda for each cup of honey, even if the recipe doesn’t call for it.
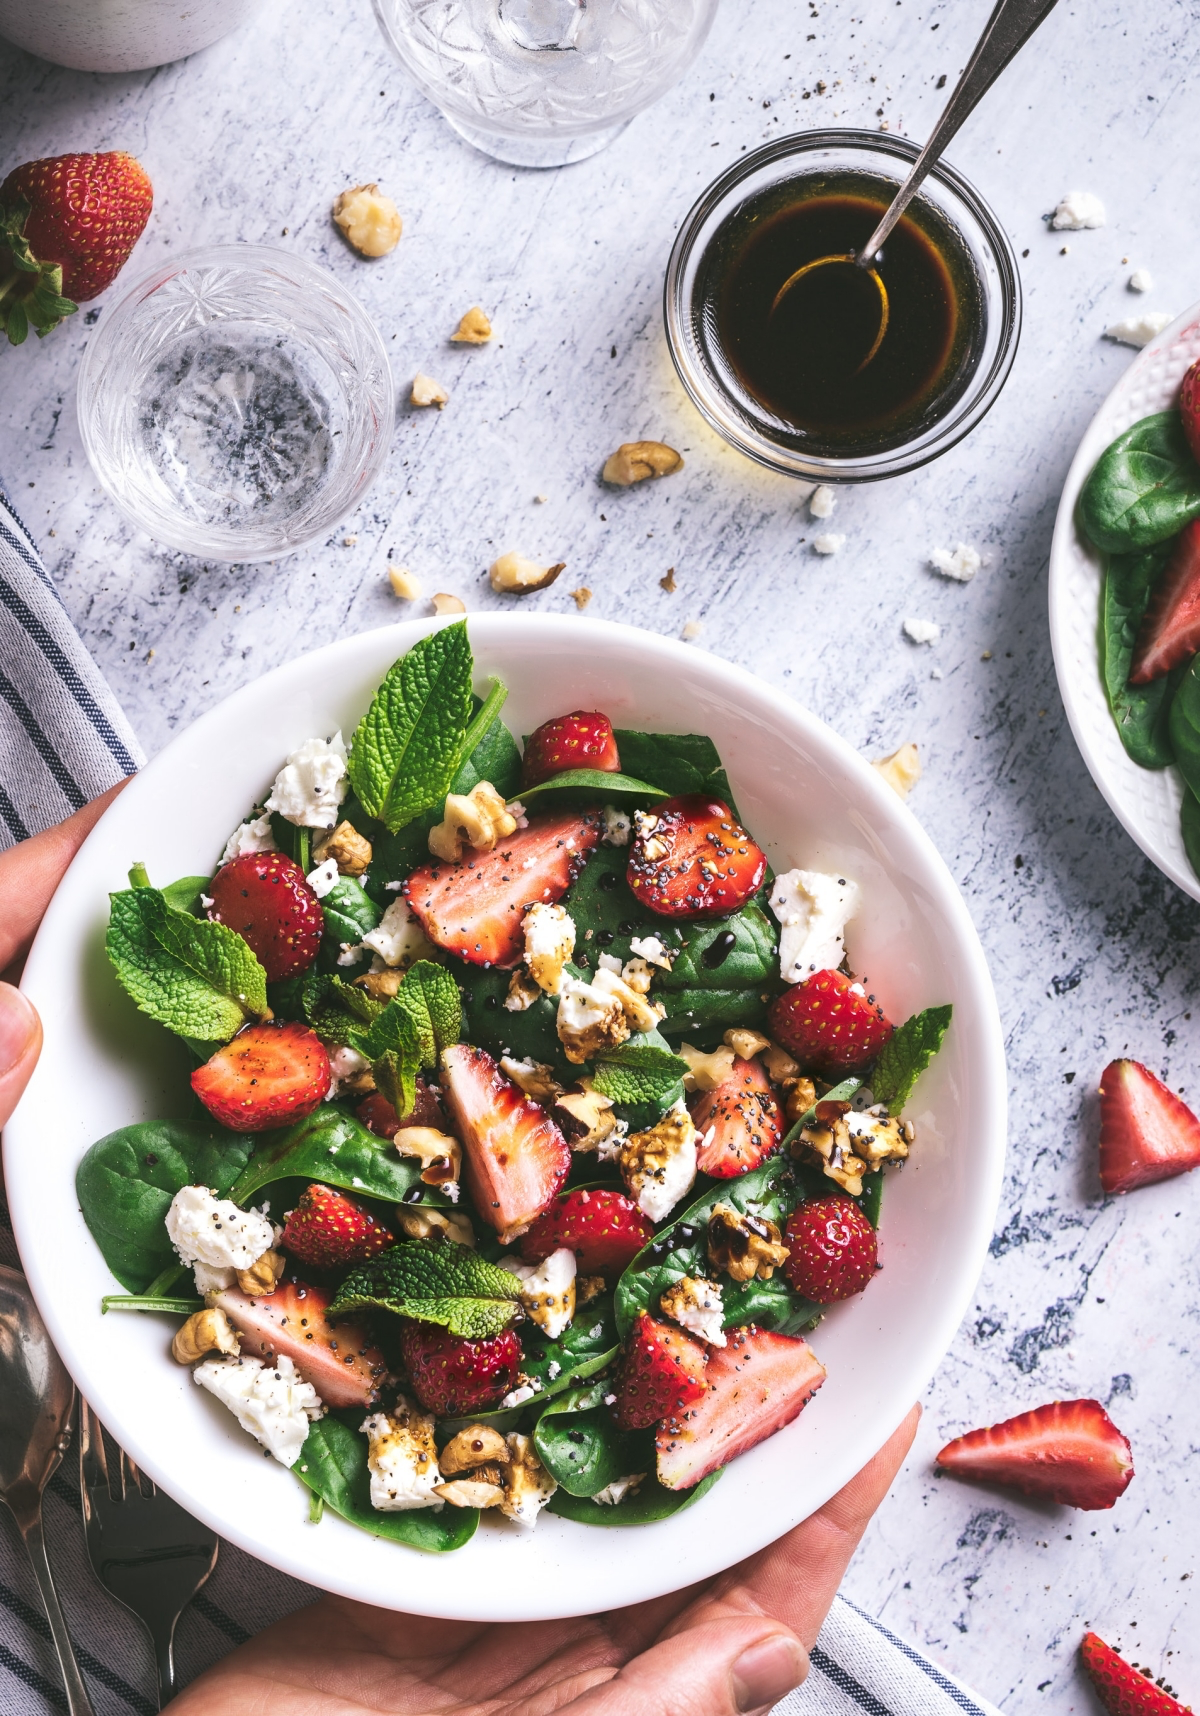
Oh yeah, and for dressings? Honey is a secret weapon. Its thickness helps bind oil and vinegar together, creating a creamy dressing that doesn’t separate. A simple vinaigrette is a great test: 3 parts olive oil, 1 part apple cider vinegar, a big spoonful of Dijon mustard, and a teaspoon of raw honey. Shake it in a jar, and you’ll get a perfect, stable dressing every time.
Using Honey for Home & First-Aid
Let’s be clear: honey is a wonderful aid, but it’s not a replacement for professional medical advice. It’s about being smart and realistic.
A CRITICAL SAFETY WARNING: Okay, let’s get serious for a moment. This is a non-negotiable safety rule. NEVER give honey—raw or otherwise—to an infant under 12 months old. It can contain spores that cause infant botulism, a rare but potentially fatal illness. An adult’s digestive system can handle it, but a baby’s can’t. No exceptions.
For Coughs and Sore Throats
This is probably honey’s most famous use, and for good reason. Its thick, syrupy texture coats an irritated throat, providing instant relief. I always reach for a dark, potent honey like buckwheat for this. My go-to mix is a mug of hot (not boiling) water, the juice of half a lemon, some freshly grated ginger, and a big tablespoon of buckwheat honey. It’s simple, comforting, and it really does help.

For Minor Burns and Scrapes
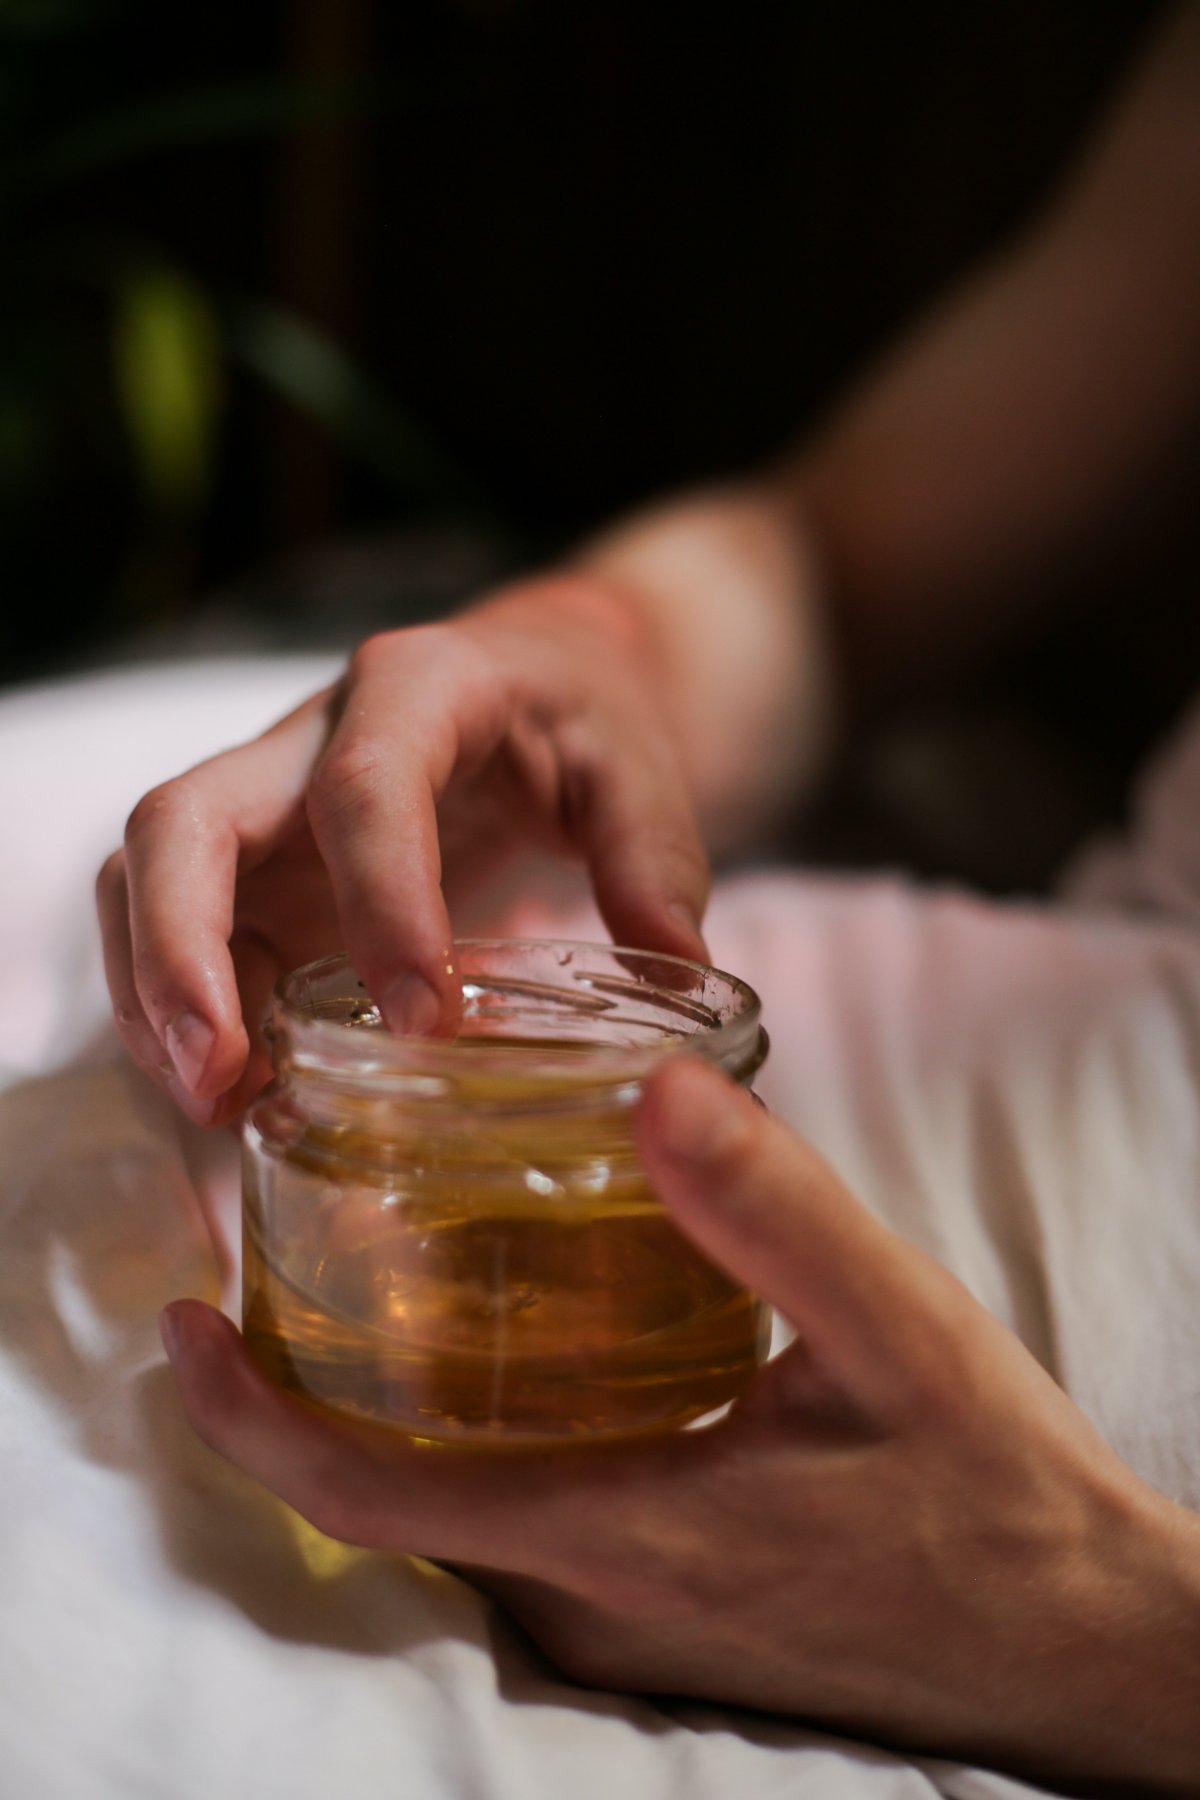
This is for more advanced users and requires good judgment. I only use this for minor things, like a scrape on the knee or a small kitchen burn. For deep cuts, puncture wounds, animal bites, or serious burns, go see a doctor immediately. Seriously, don’t mess around with major injuries.
If it’s a minor situation, here’s the method: first, clean the wound with saline or clean water. Then, apply a thin layer of high-potency raw honey (Manuka is best) to a sterile gauze pad and cover the wound. Change the dressing every 24 hours. The honey creates a moist healing environment that can help reduce scarring.
Common Wound Care Mistakes to Avoid:
- Using the wrong honey. The honey in the plastic bear is NOT for first-aid. It lacks the necessary properties and isn’t sterile. You need high-quality raw or medical-grade honey.
- Skipping the cleaning step. Honey is an aid, not a replacement for properly flushing a wound first to remove dirt and debris.
- Waiting too long to see a doctor. If the wound shows signs of infection (increased redness, swelling, pus) or isn’t improving, it’s time for a professional.
Common Questions I Always Get
“My honey turned solid. Is it bad?”
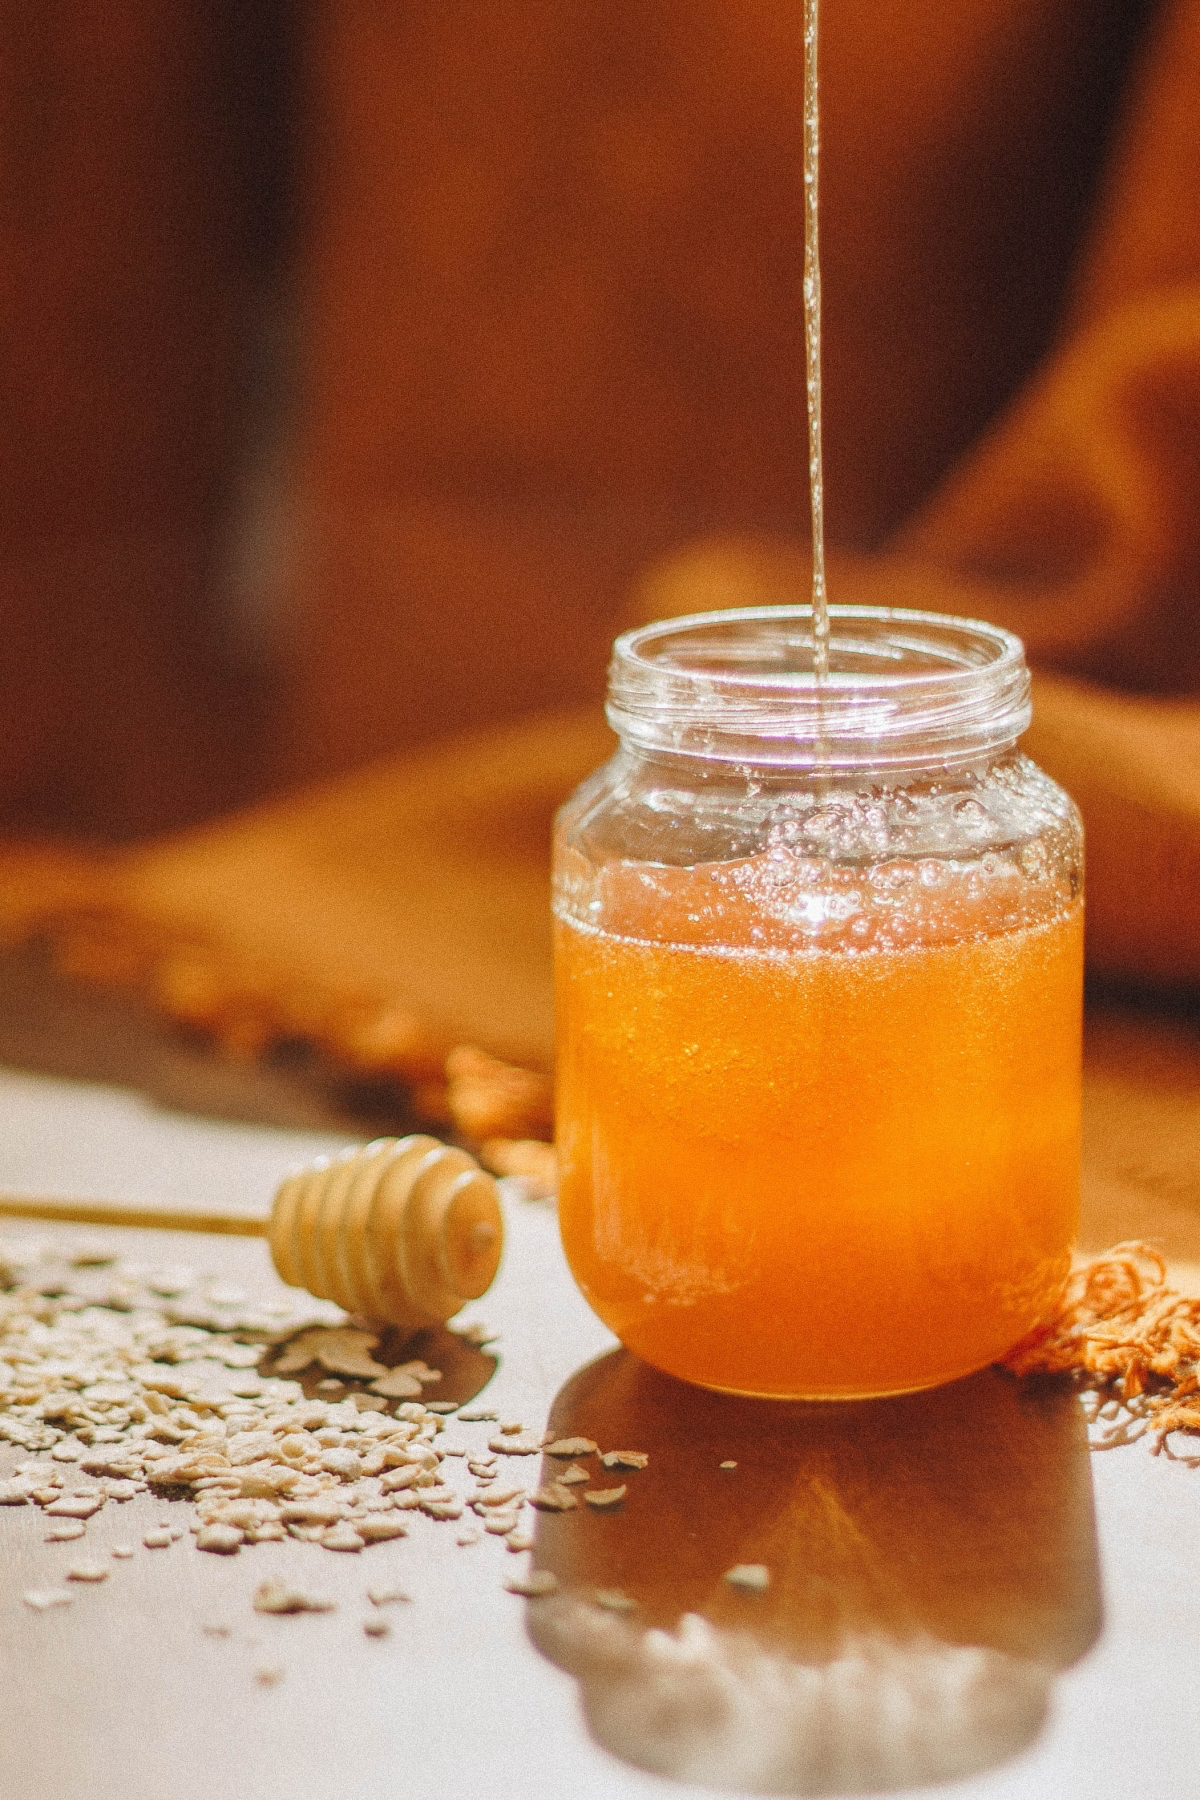
Nope! In fact, it’s a sign you have good, unprocessed honey. It’s called crystallization, and it happens when glucose separates out. To fix it, just place the glass jar in a pan of warm (not boiling!) water and stir gently. Please, never microwave it—you’ll destroy all the good stuff. I learned that lesson the hard way and ruined a beautiful jar of fireweed honey.
“Is honey vegan?”
This is a great question. Since it’s a product from an animal (bees), the general consensus is that honey is not vegan. If you’re looking for a vegan alternative for sweetening, things like maple syrup or agave nectar work great in recipes. Just remember they don’t have the same unique antibacterial or enzymatic properties as honey.
“What about that honey-for-a-hangover trick?”
To be frank, the effect is probably minimal. The theory is that the fructose helps your body process alcohol faster. But a spoonful of honey isn’t a magic wand. The real benefit is likely that you’re taking it with water or tea, which helps with rehydration. A minor help, not a miracle cure.
A Final Thought: Find Your Local Beekeeper
The absolute best honey you’ll ever have will probably come from someone in your own community. When you buy local, you’re not just getting amazing honey; you’re supporting a small-scale craftsperson who helps pollinate local farms and gardens. It’s easier than you think to find one. A quick search on sites like the National Honey Board’s Honey Locator or LocalHarvest.org can point you to beekeepers right in your area. That connection to the source is what makes using honey so rewarding—it’s a true partnership with nature.
Galerie d’inspiration
Acacia Honey: With its pale, liquid clarity and light floral taste, Acacia honey is the ultimate team player. It sweetens without overpowering, making it perfect for delicate green teas, drizzling over yogurt, or in vinaigrettes where you want the vinegar and herbs to shine.
Buckwheat Honey: Dark, robust, and reminiscent of molasses, this is a honey that makes a statement. Its strong, malty flavor stands up beautifully in barbecue sauces, marinades for red meat, or as the star in hearty baked goods like gingerbread. Use it when you want the honey’s character to be a central part of the flavor profile.
There are more than 300 unique types of honey in the United States alone, each originating from a different floral source.
This incredible diversity means there’s a honey for every palate and purpose. Don’t just grab the generic clover honey. Experiment with varieties like orange blossom for a citrusy note in desserts, or dark, mineral-rich Manuka honey from New Zealand, prized for its potent wellness properties.
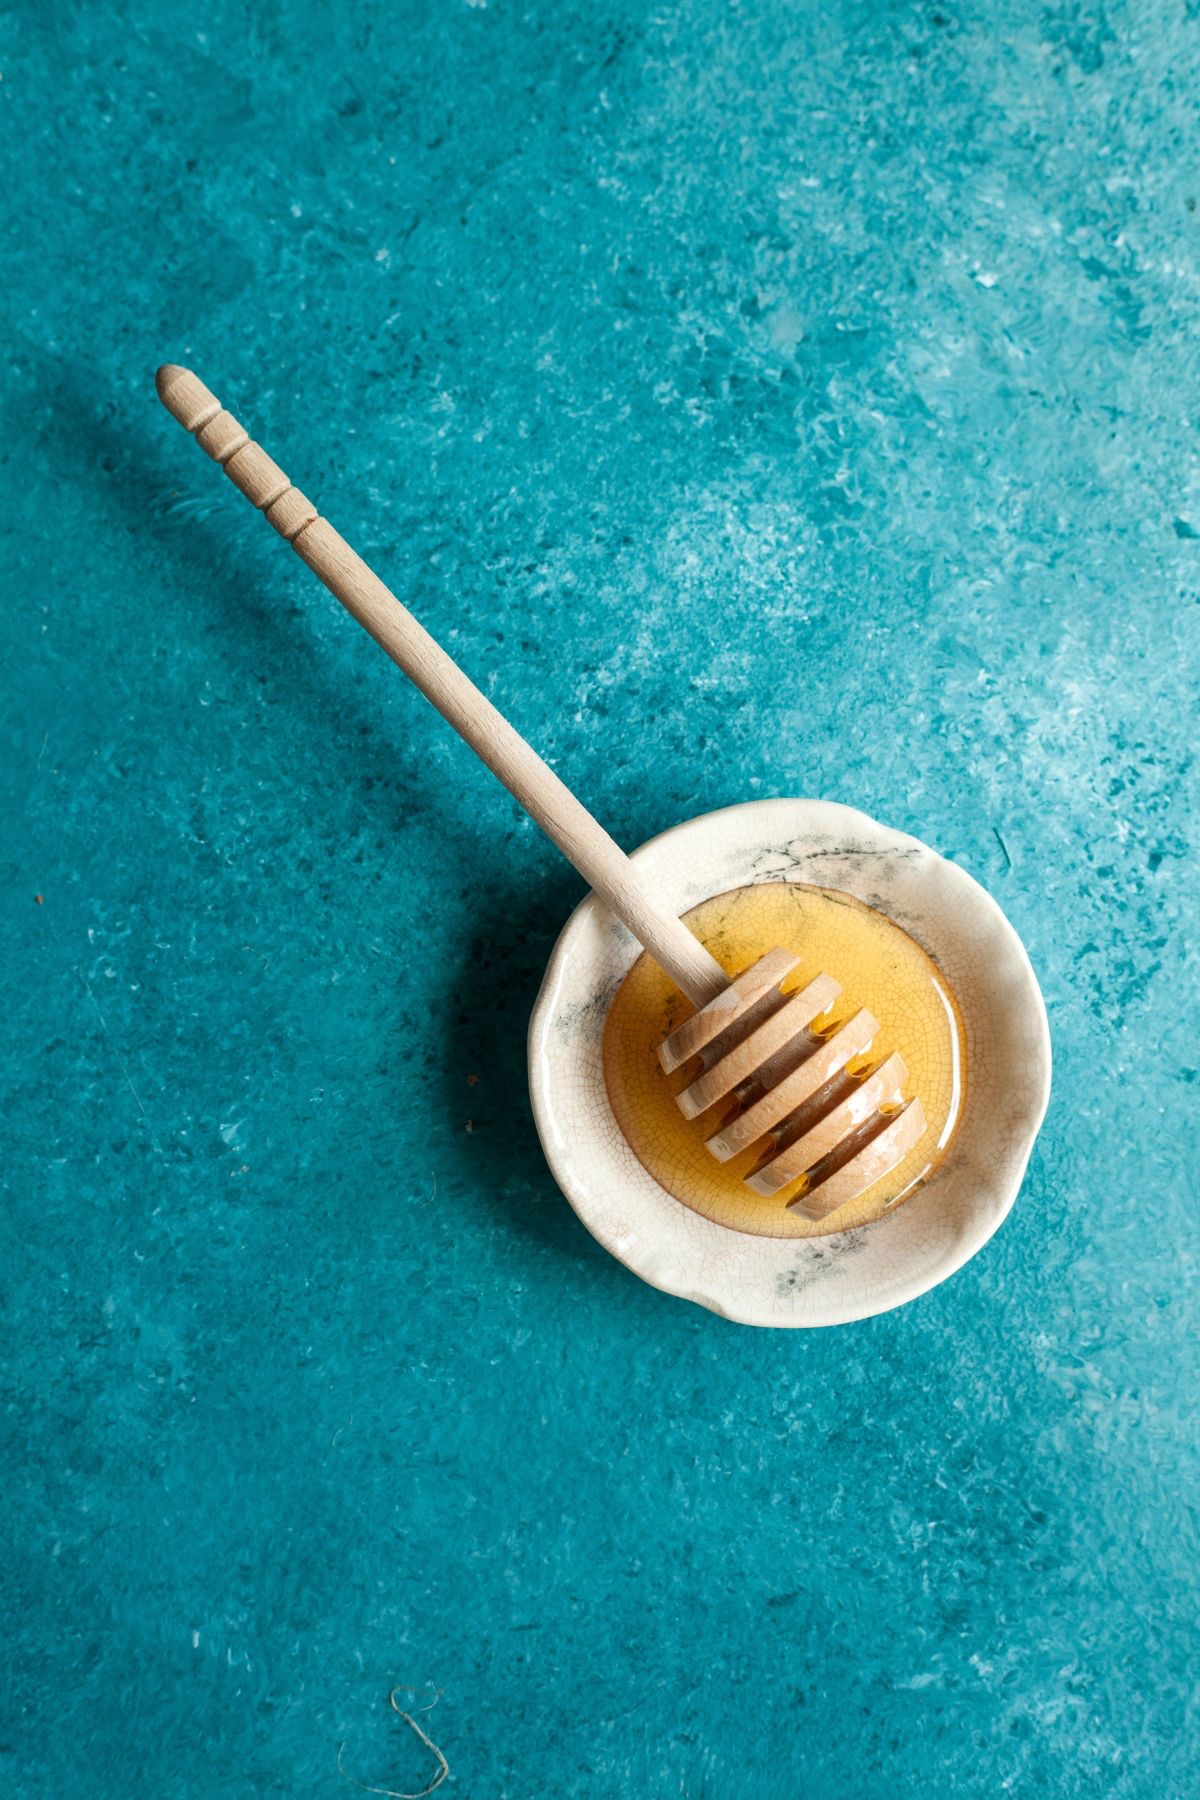
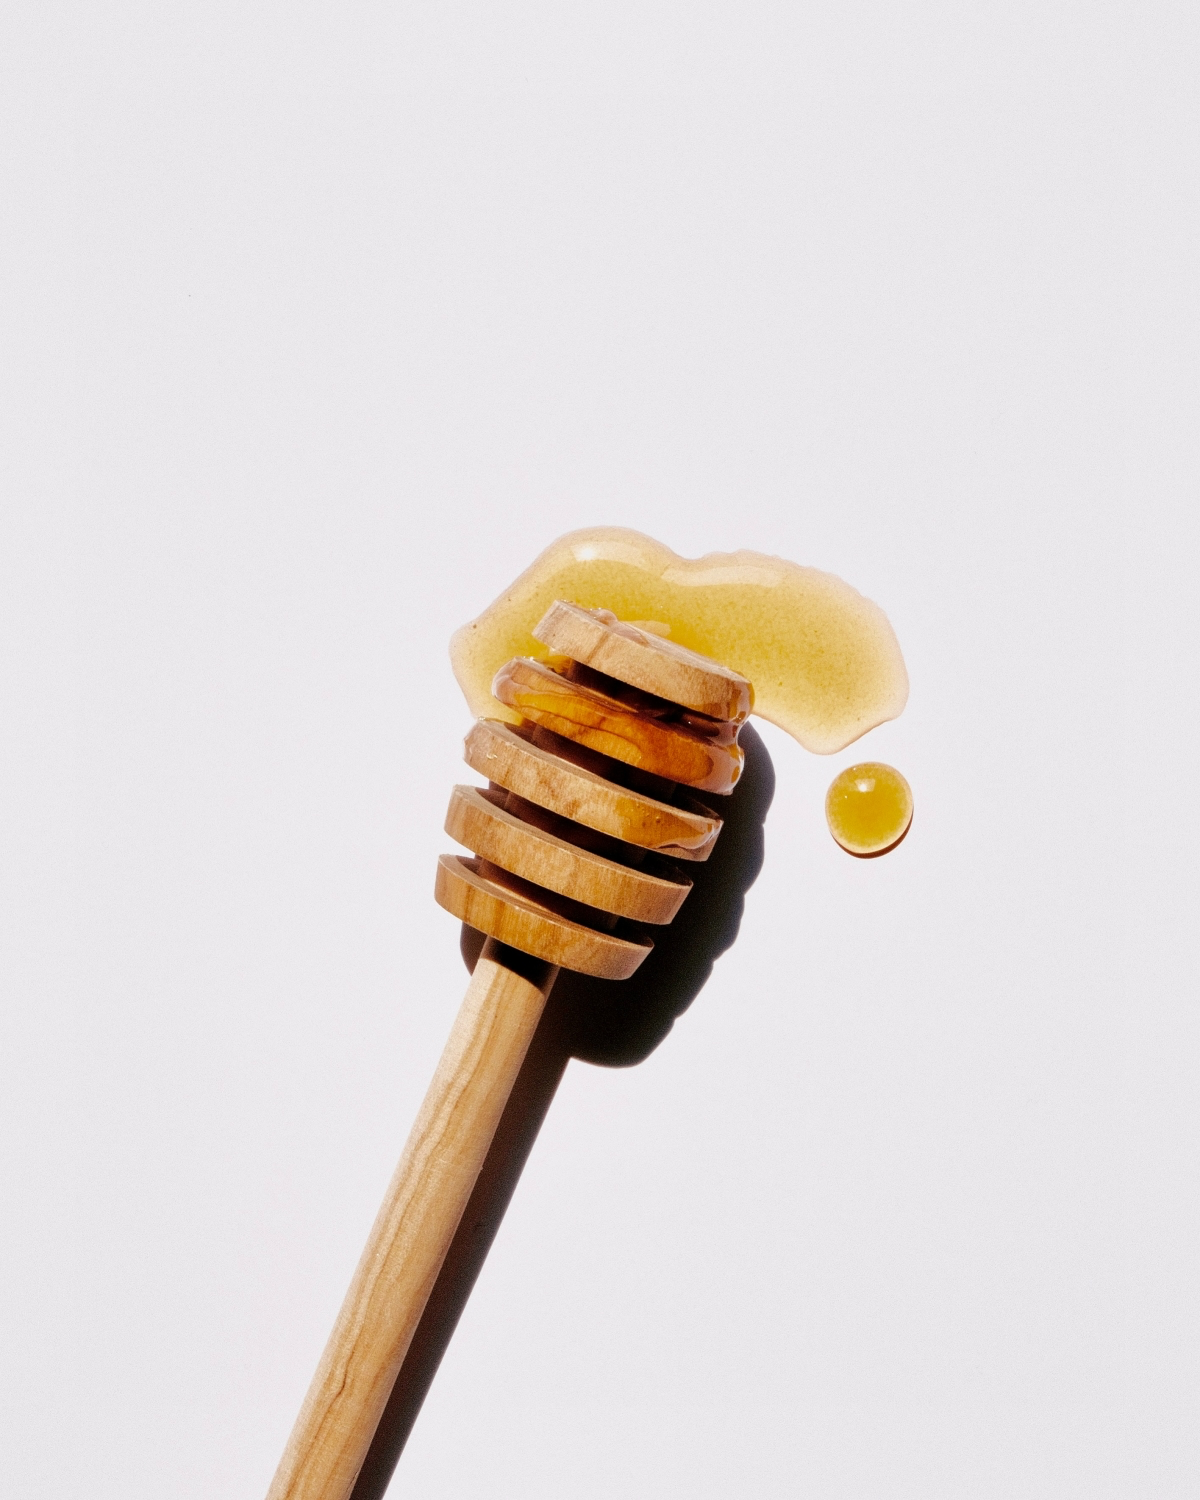
Does the spoon you use for honey really matter?
While any spoon will do in a pinch, avoiding metal spoons for long-term storage or serving is a good habit. Honey is naturally acidic, and over a very long period, this acidity could theoretically react with metals. That’s why traditional honey dippers are made of wood. For daily use, a quick dip with a stainless steel spoon is perfectly fine, but for a jar you treasure, stick to wood, ceramic, or glass to preserve its purest taste.
Quick Fix for Crystallized Honey: Don’t throw it out! Crystallization is a natural process and a sign of high-quality, raw honey. To return it to its liquid state, simply place the glass jar in a bowl of warm (not boiling) water. Let it sit for 20-30 minutes, stirring occasionally, until the crystals dissolve. Microwaving is not recommended as it can destroy the honey’s delicate enzymes and aromas.


